Hello all,
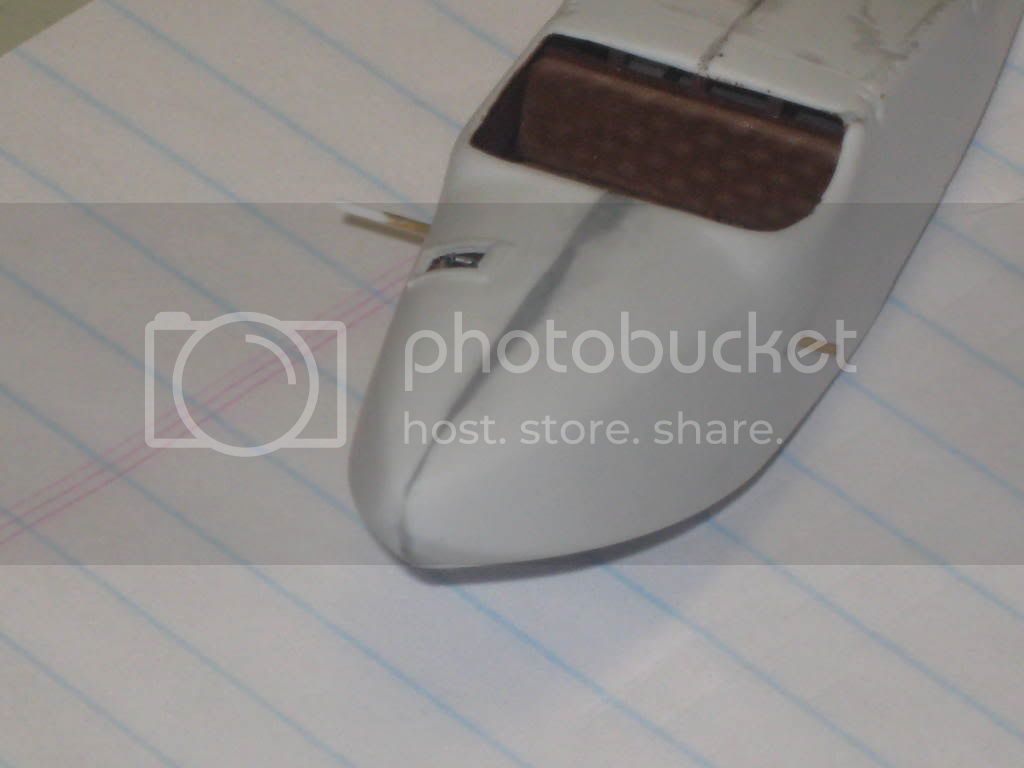
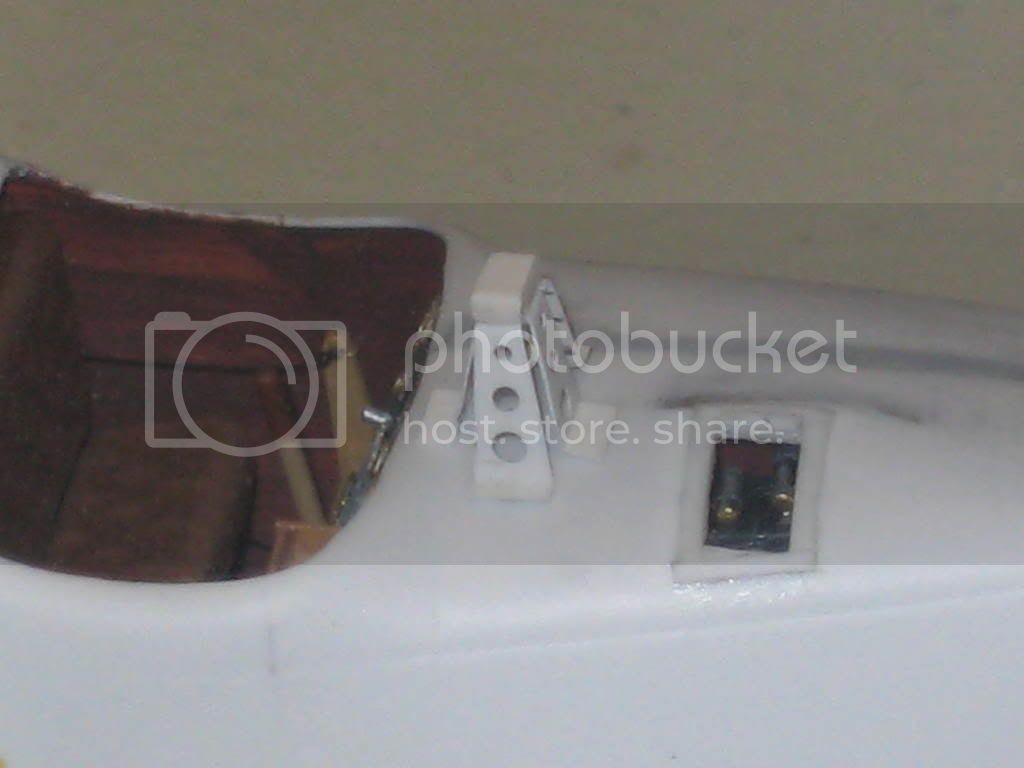
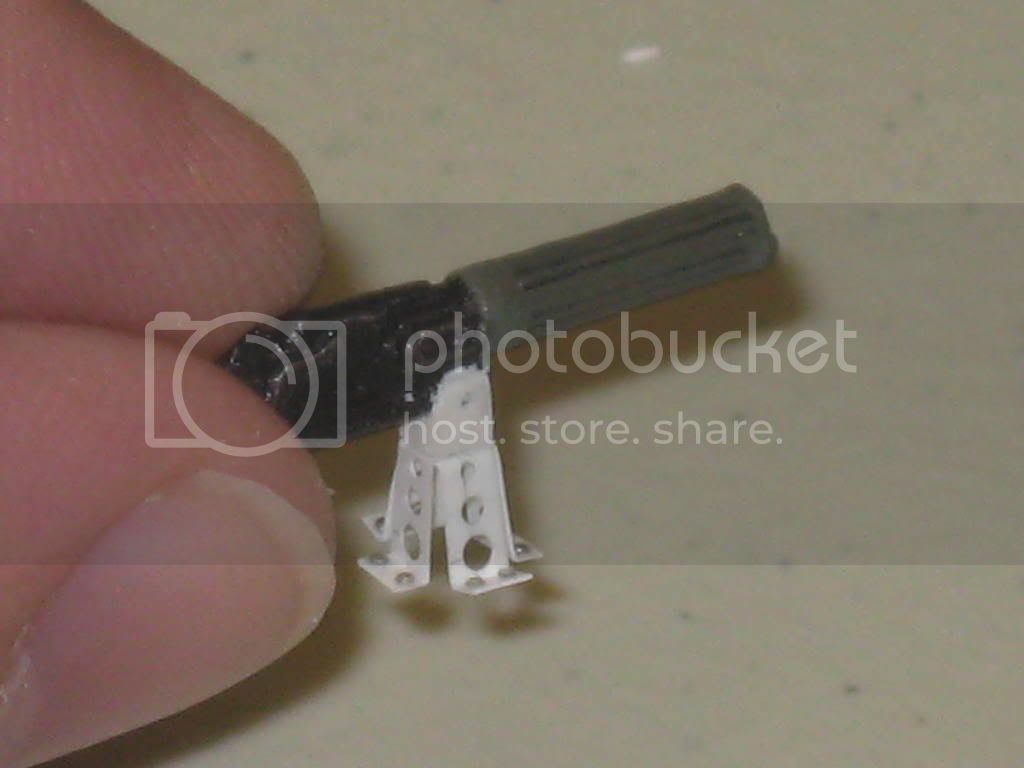
I've done some painting on the Maxim machine gun and want to share what I did with you. Here's the gun with the front painted RLM Grey and the back painted flat black.

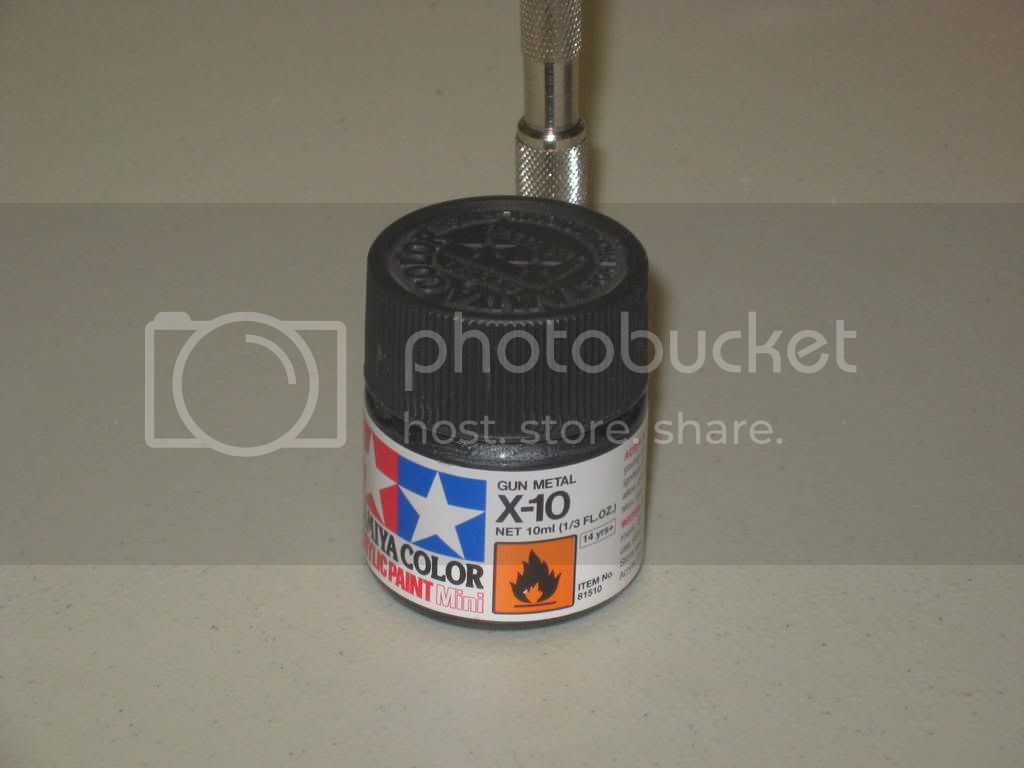
I'll use Gun Metal to drybrush the details on the back part.
Wipe of as much of the paint as you can. You might think it won't deposit any paint but it will.
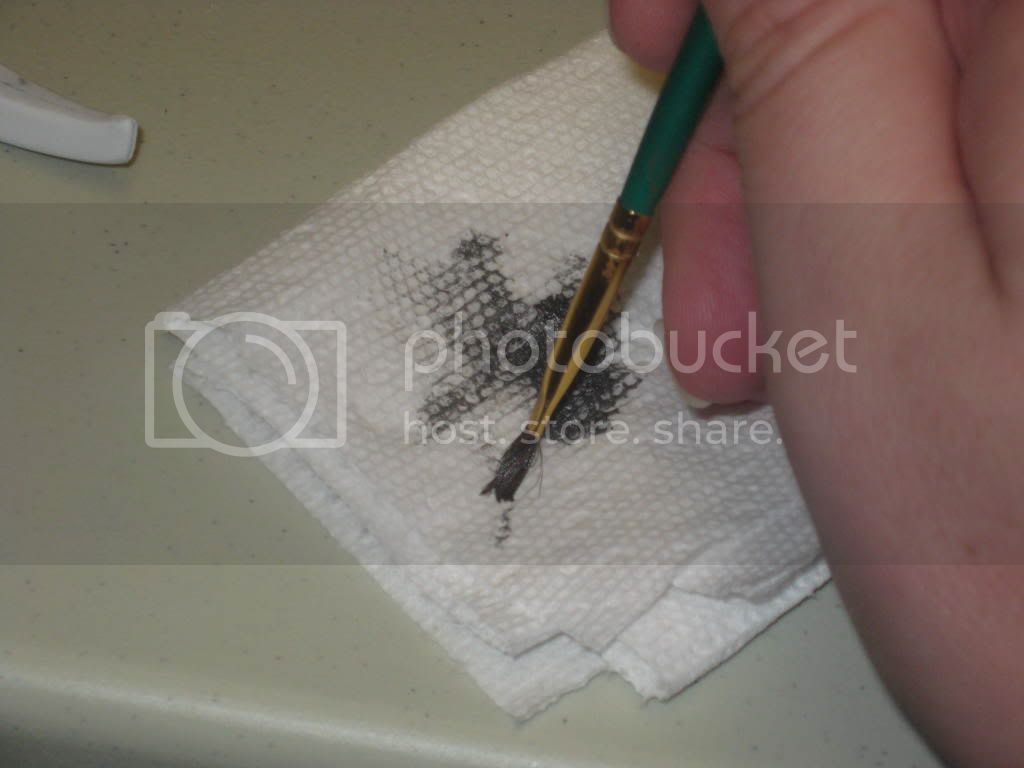
Drag the brush over the details in an up and down and X movement and the paint will stick to the highest raised details.
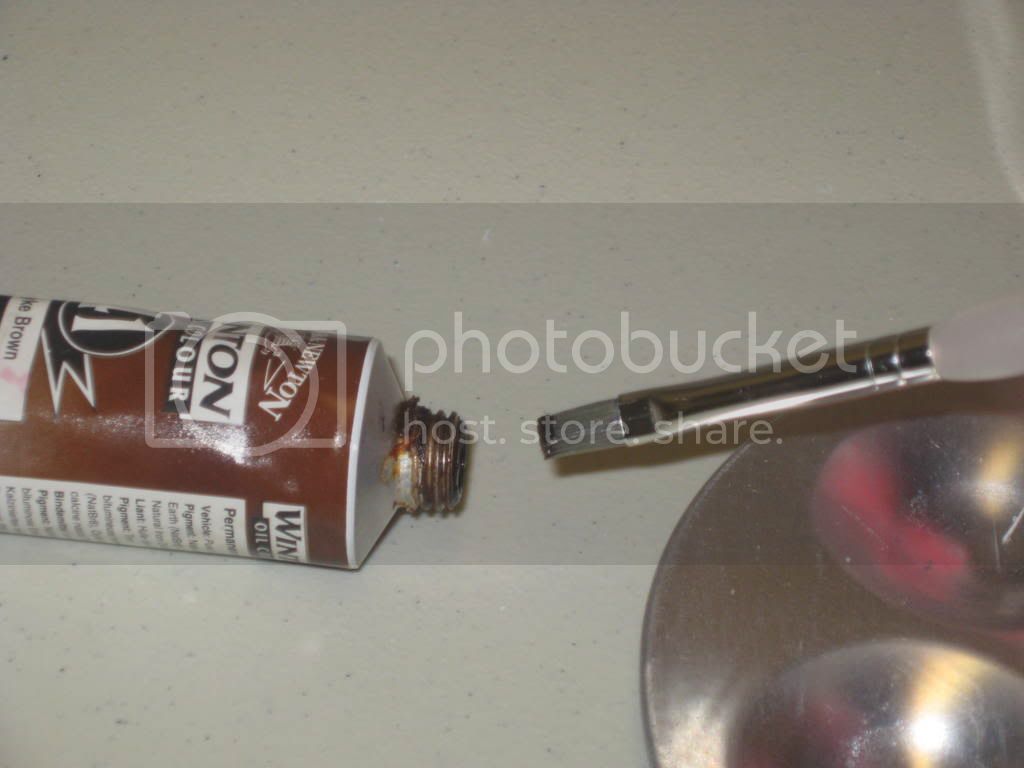
Next I did a wash of Vandyke brown to the front part.
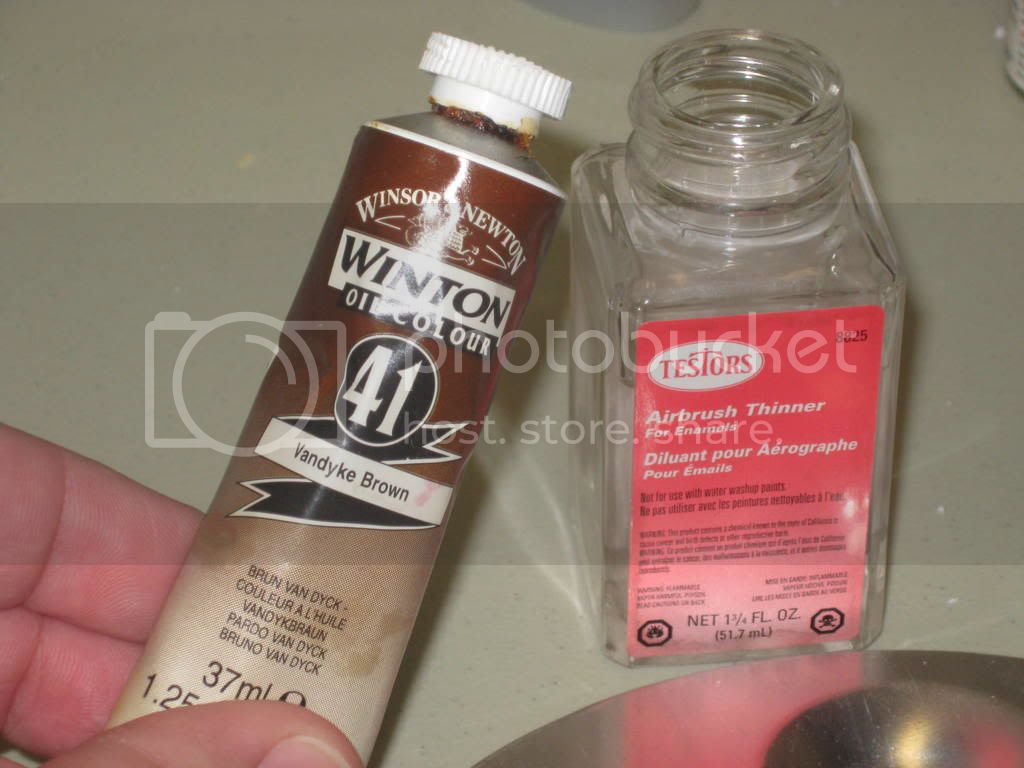
Put a little thinner on the pallete..........

You won't need much paint....................
Mix it up....................

It should run like muddy water..................
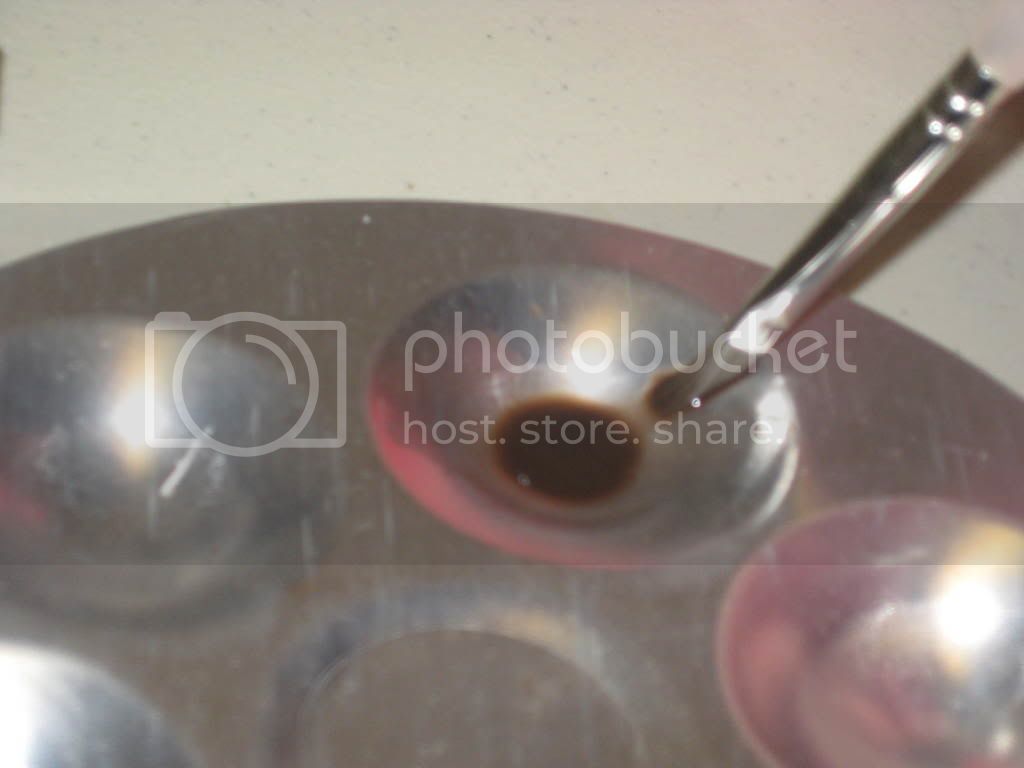
Touch the brush to the indentations and let capillary action pull the thinner in. You'll have to give shallow indentations like these a few aplications.

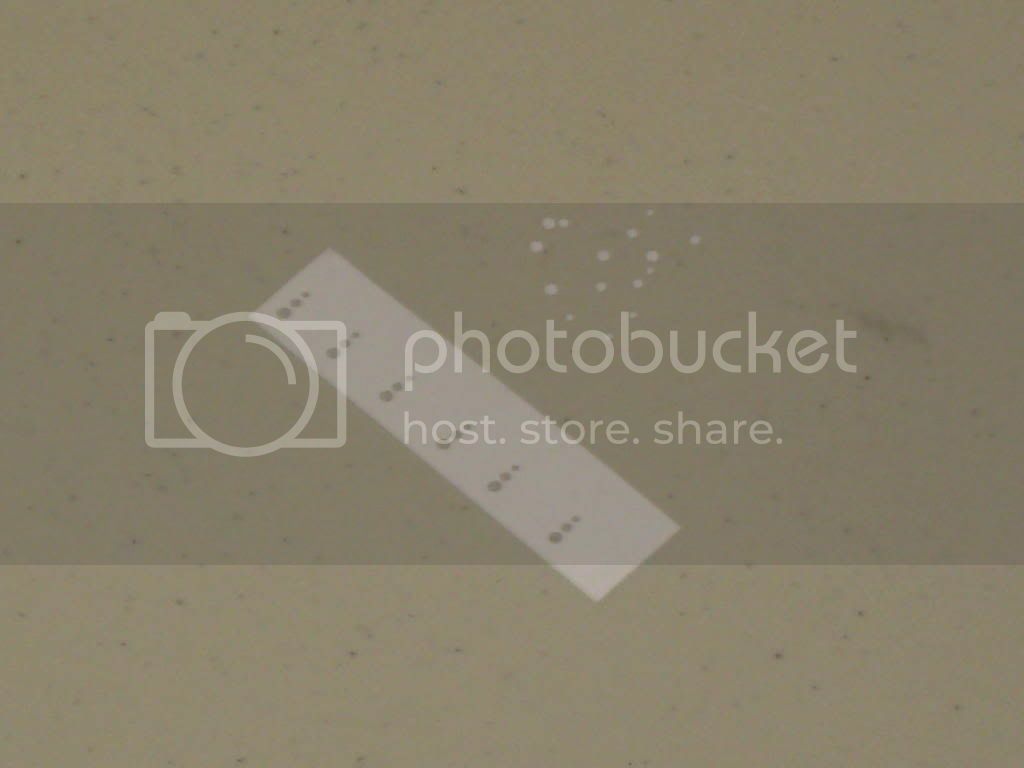
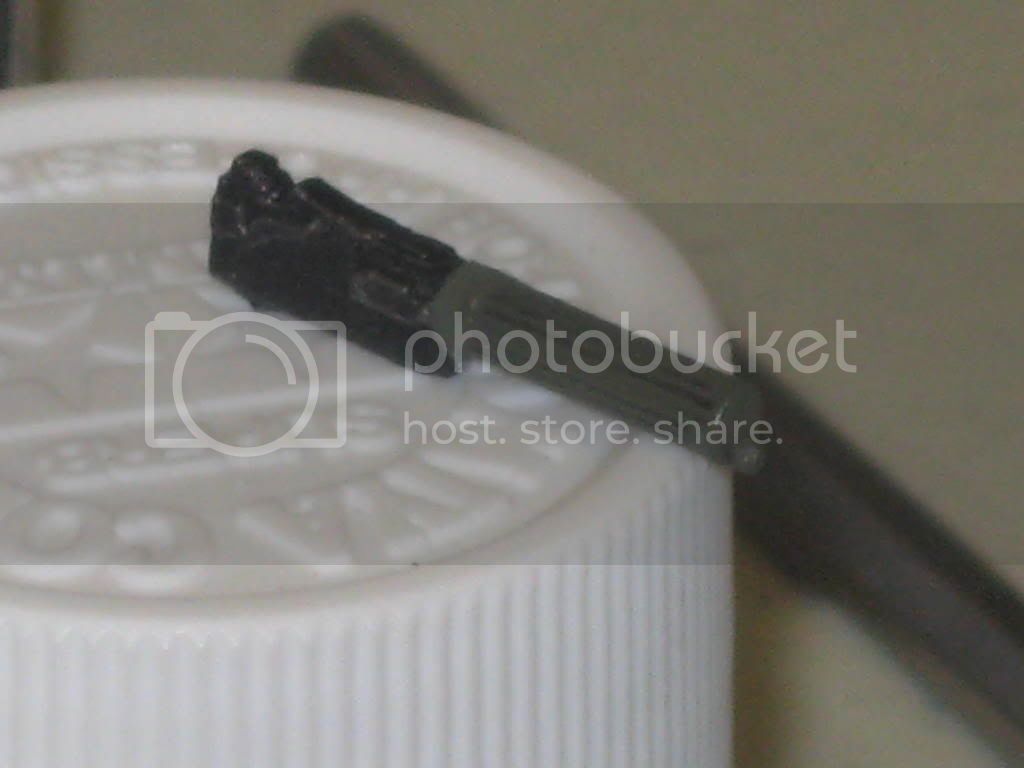
I did the same procedure with Ivory black because I wanted it to have more depth.
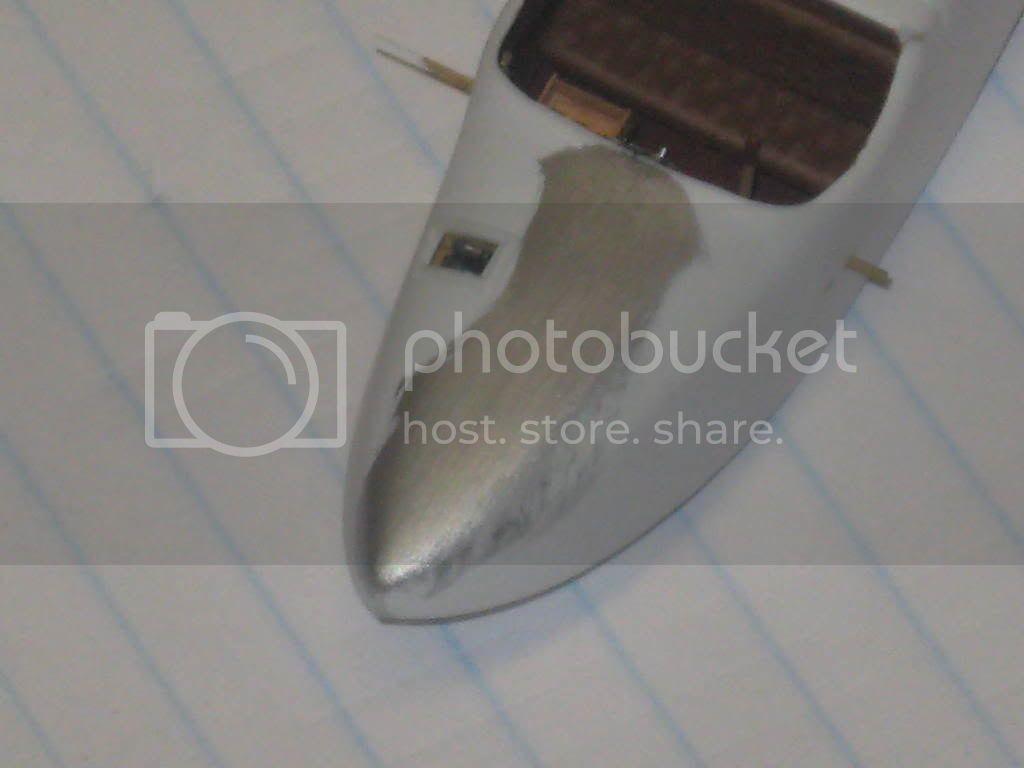
After it all dries, it's time for drybrushing. Here's the RLM Grey and White paint.

I want a lighter shade than the base coat so I mix about 70% RLM Grey with 30% White.
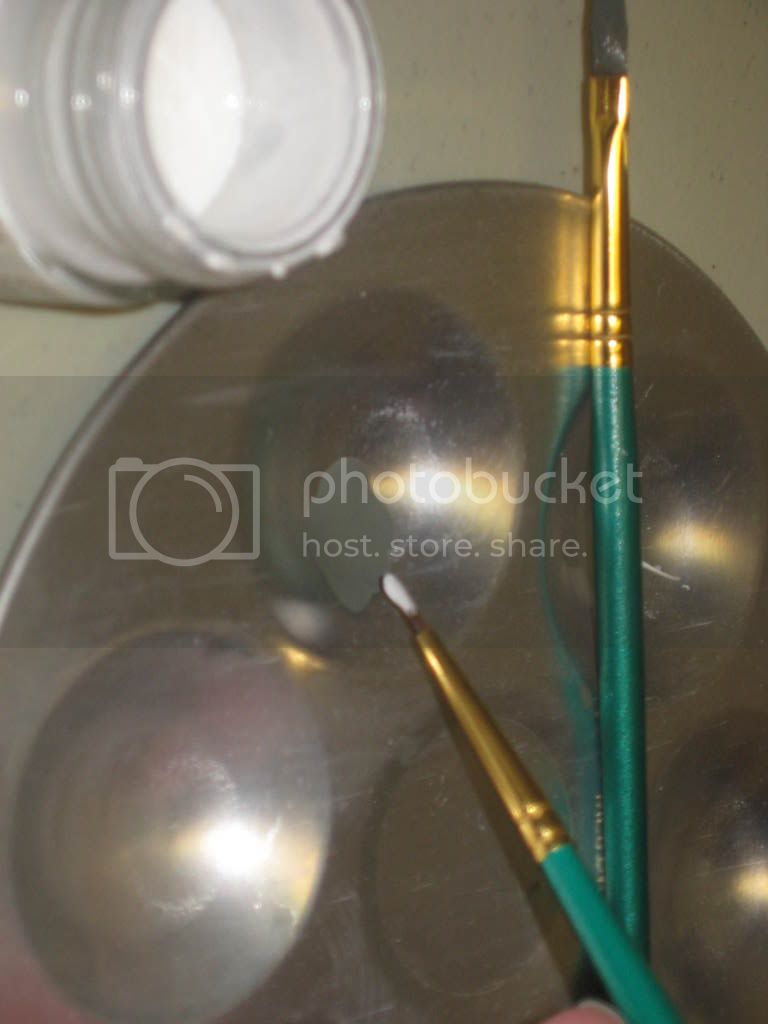
Mix it up...........

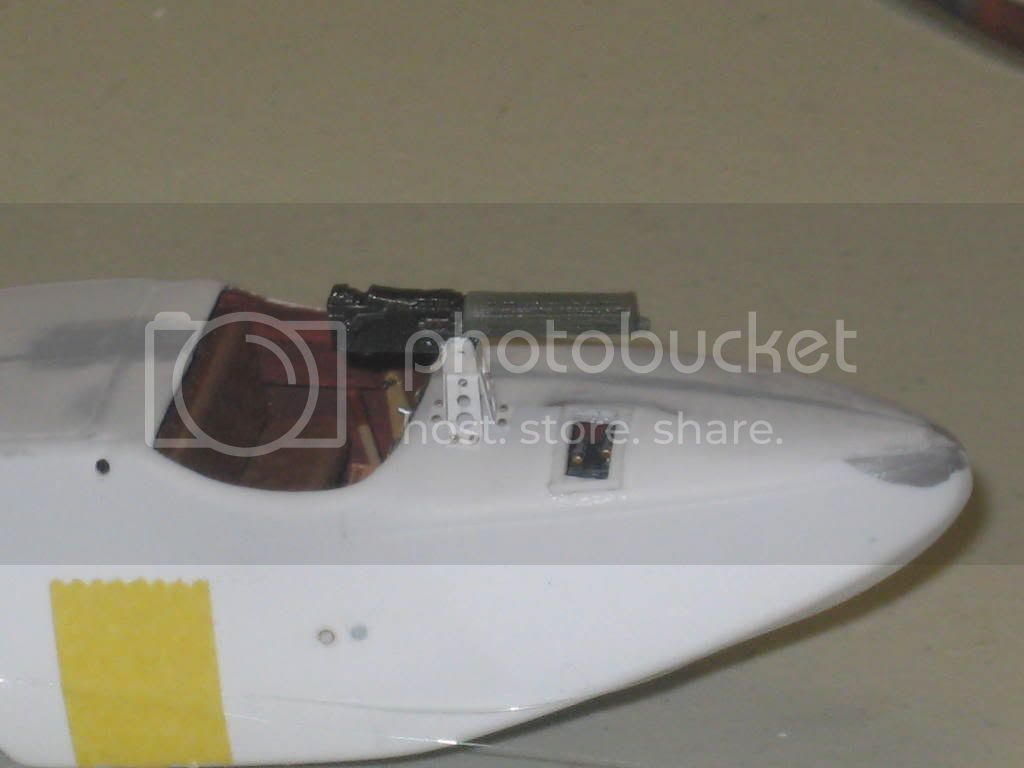
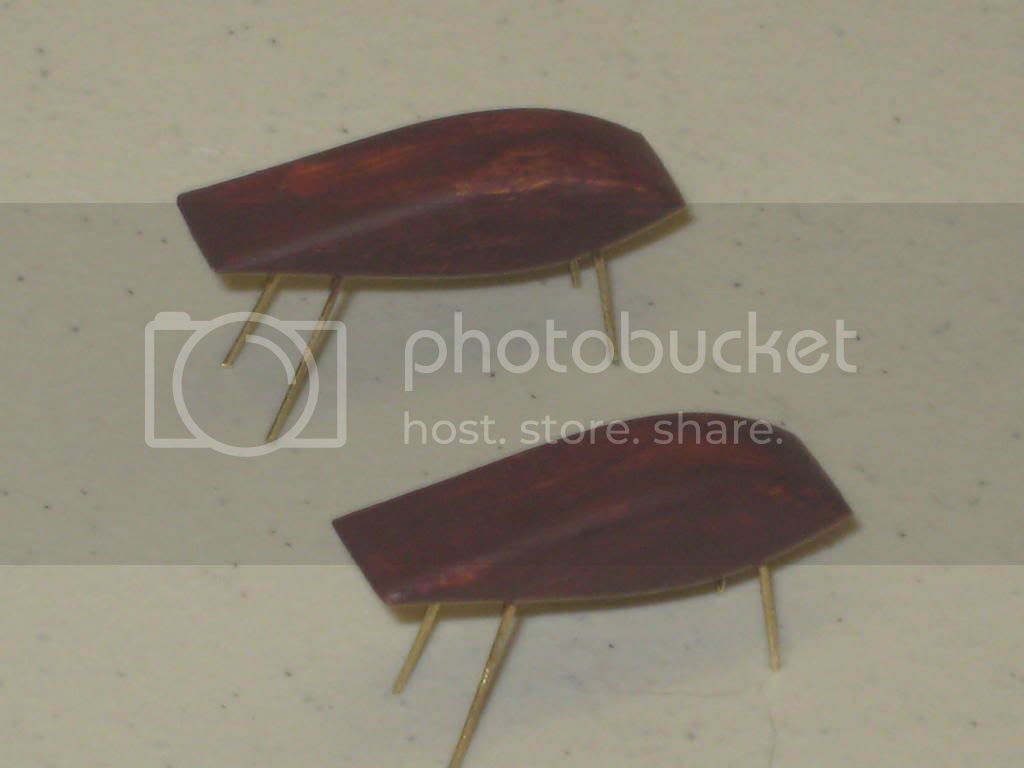
Here's the end result................................


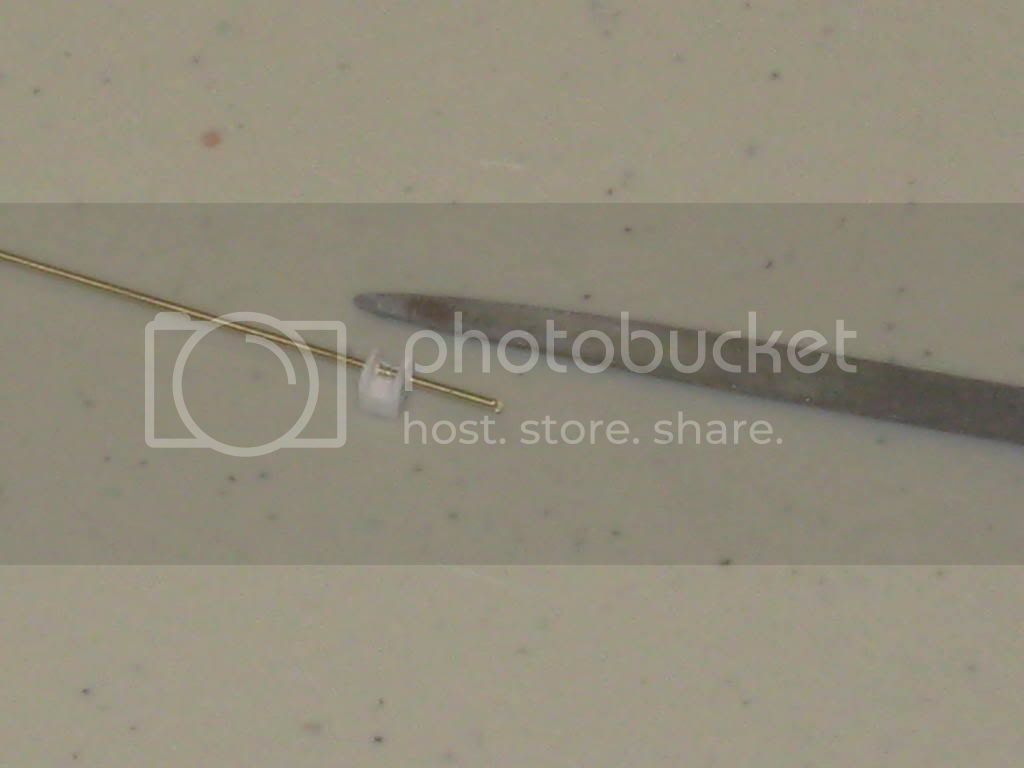
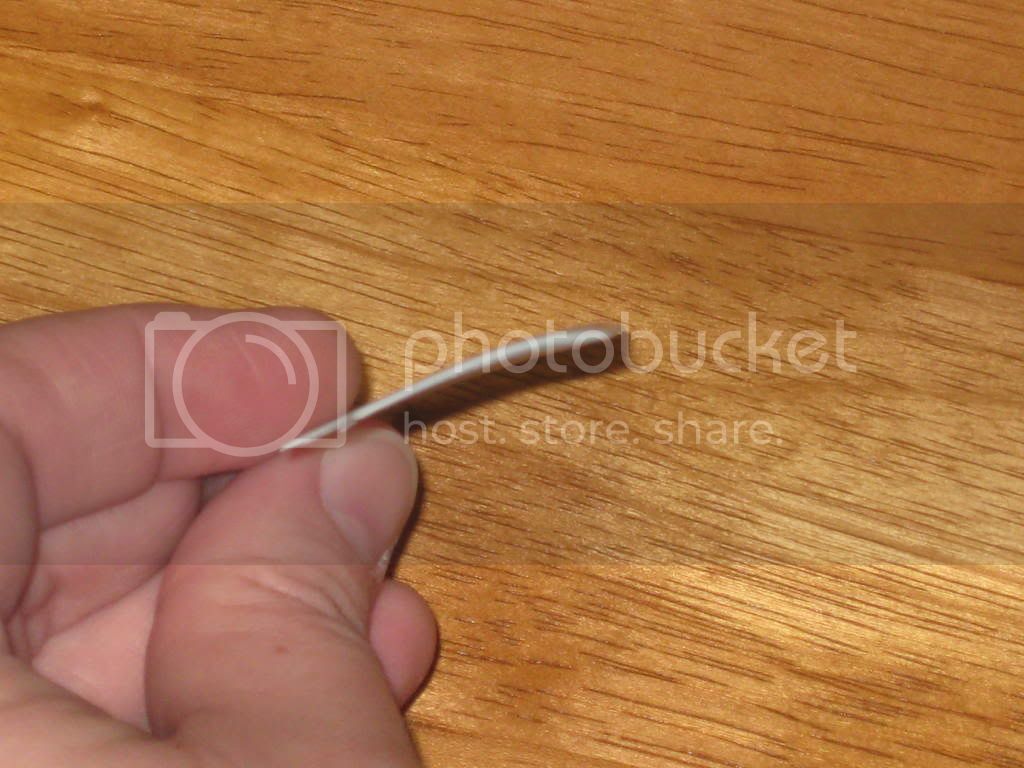
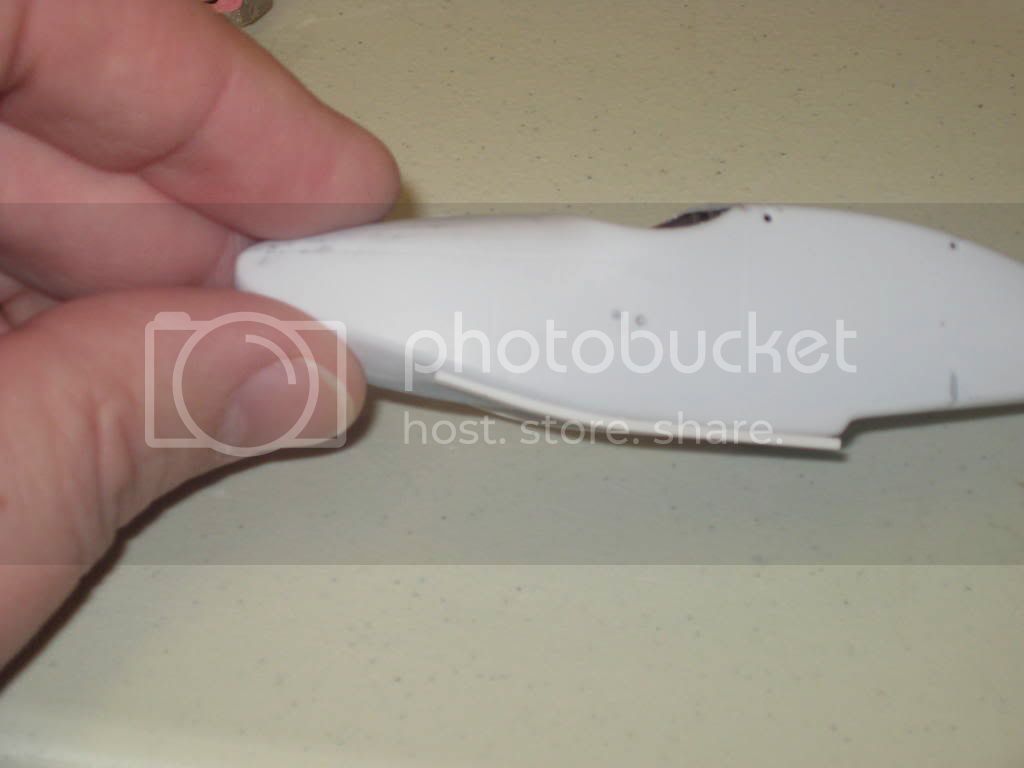
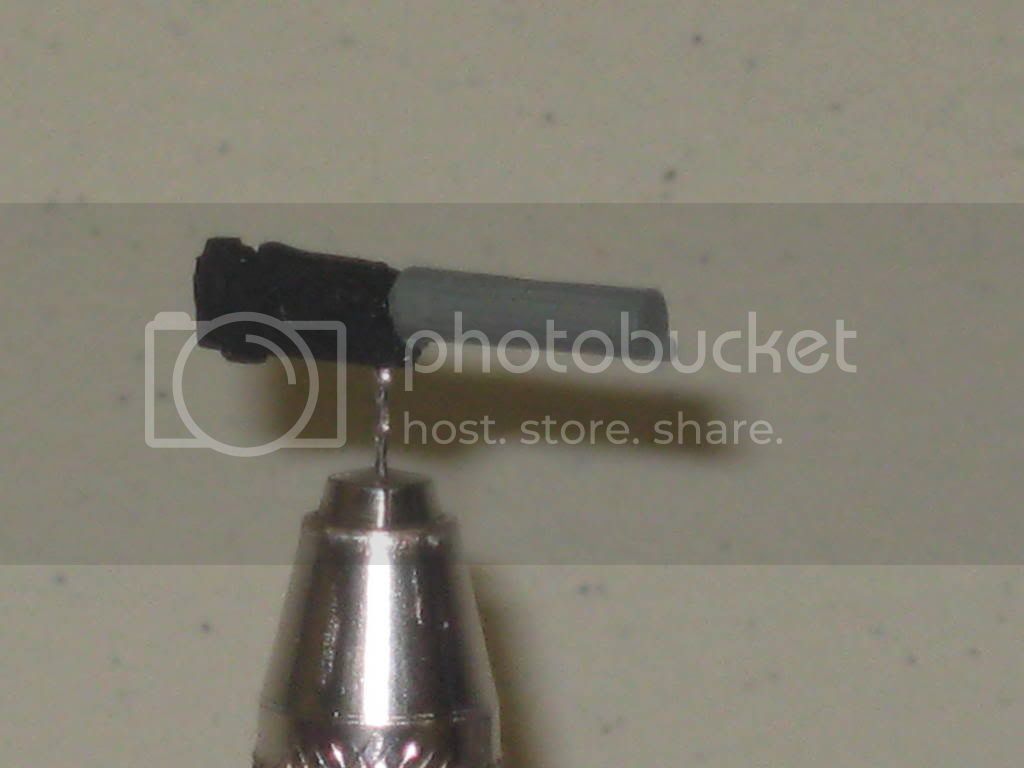
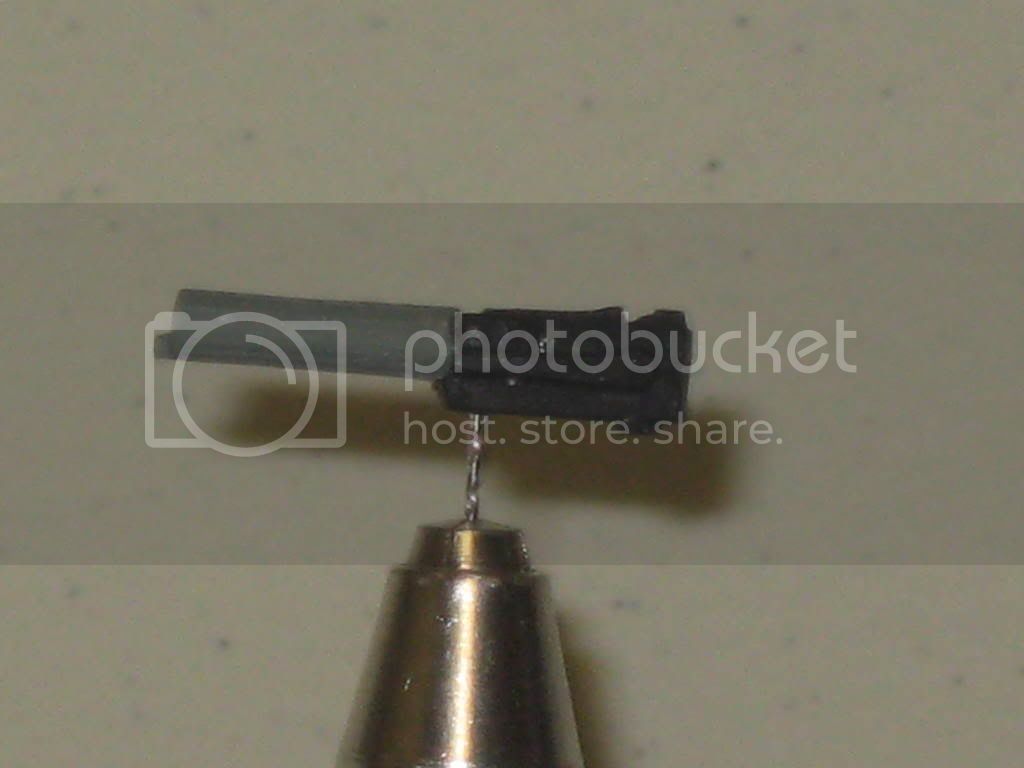
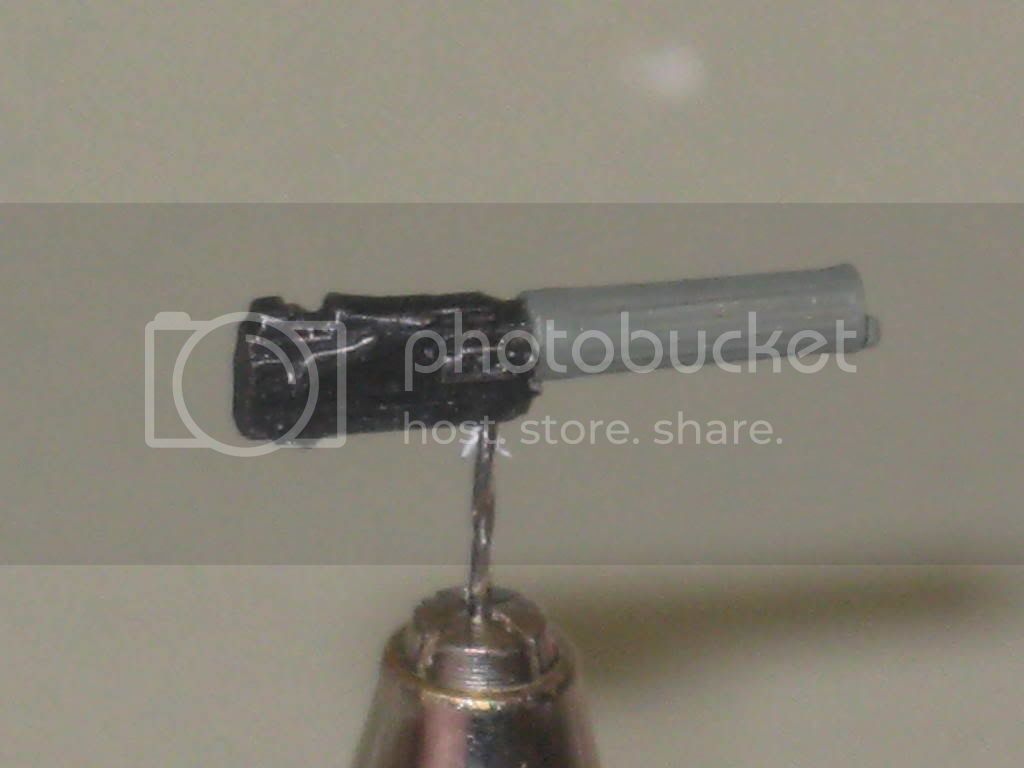
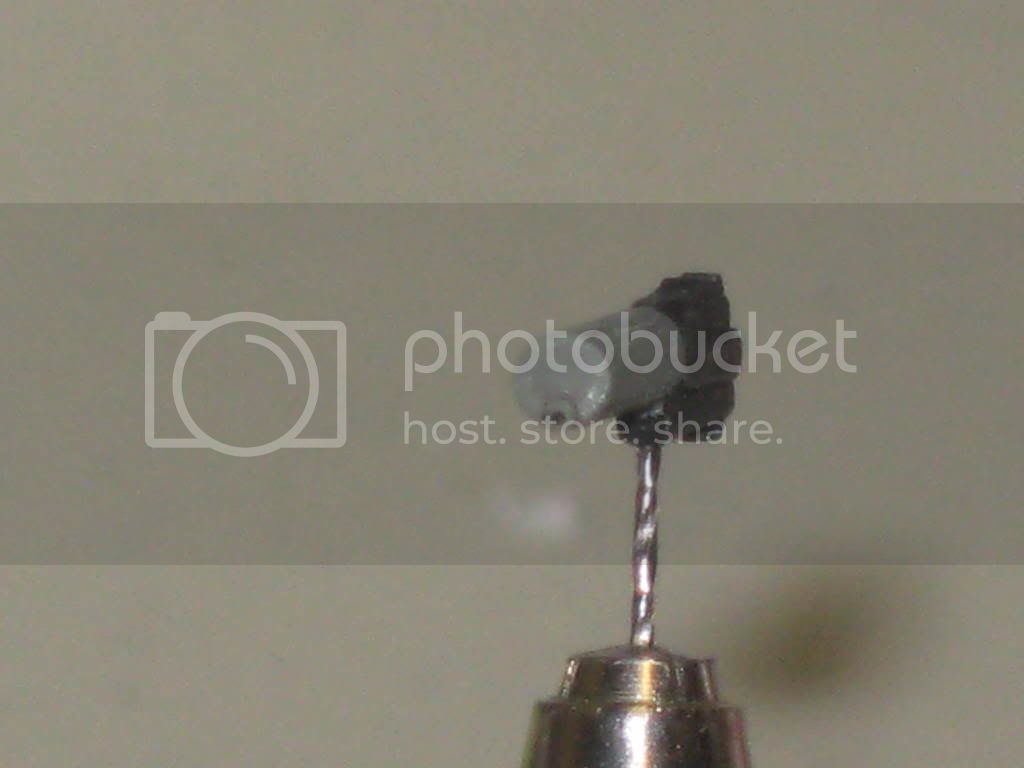
Oh yeah, don't forget to drill the barrel out.....
I will probably end up giving the front end a coat of Dullcoat.
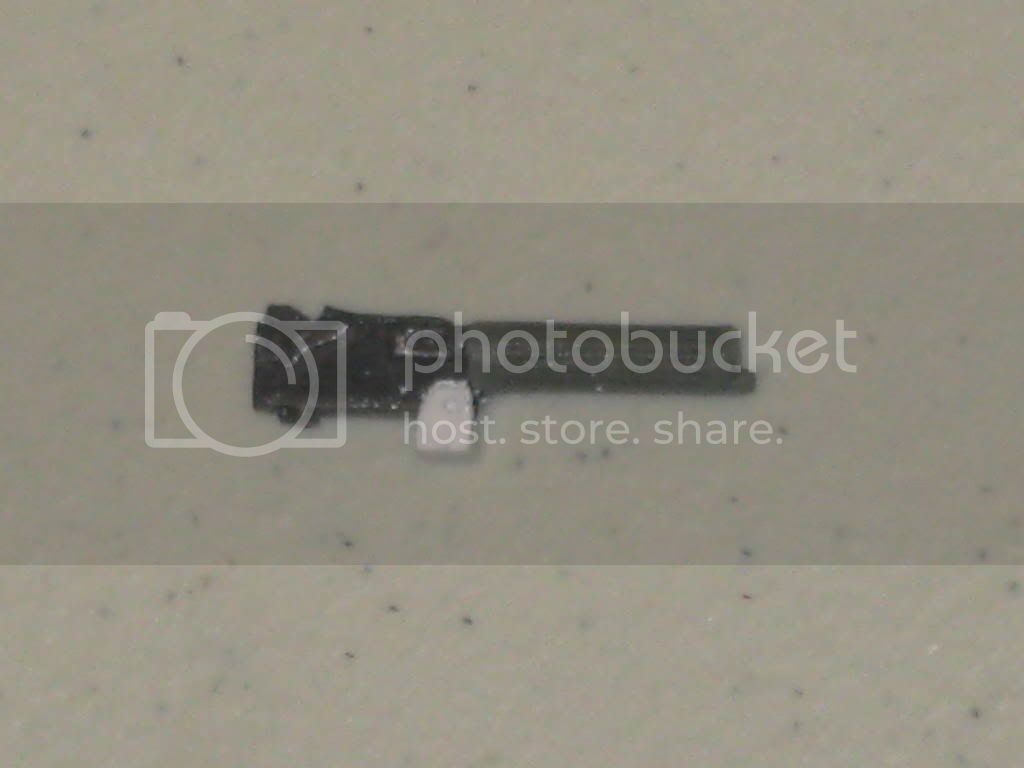
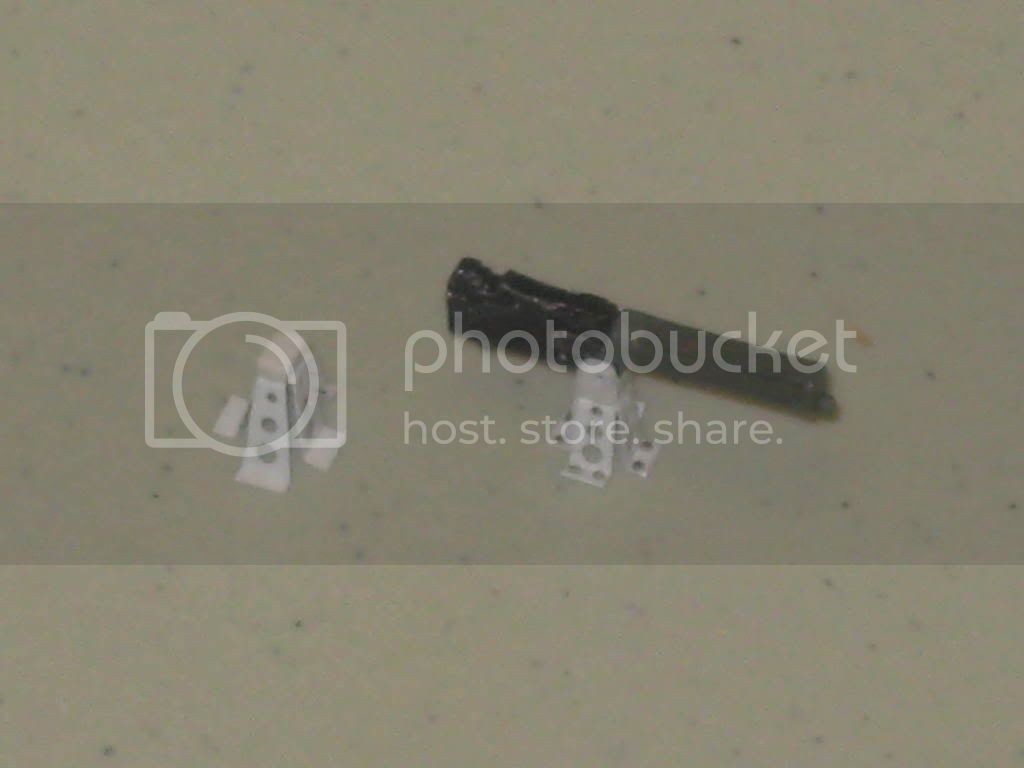
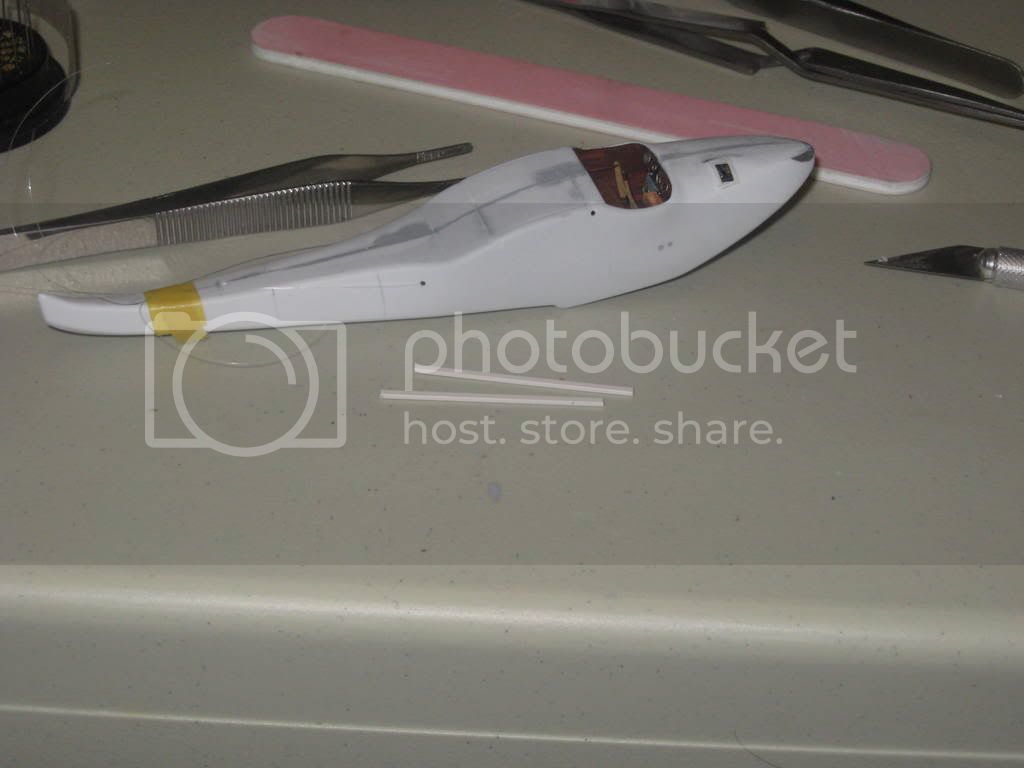
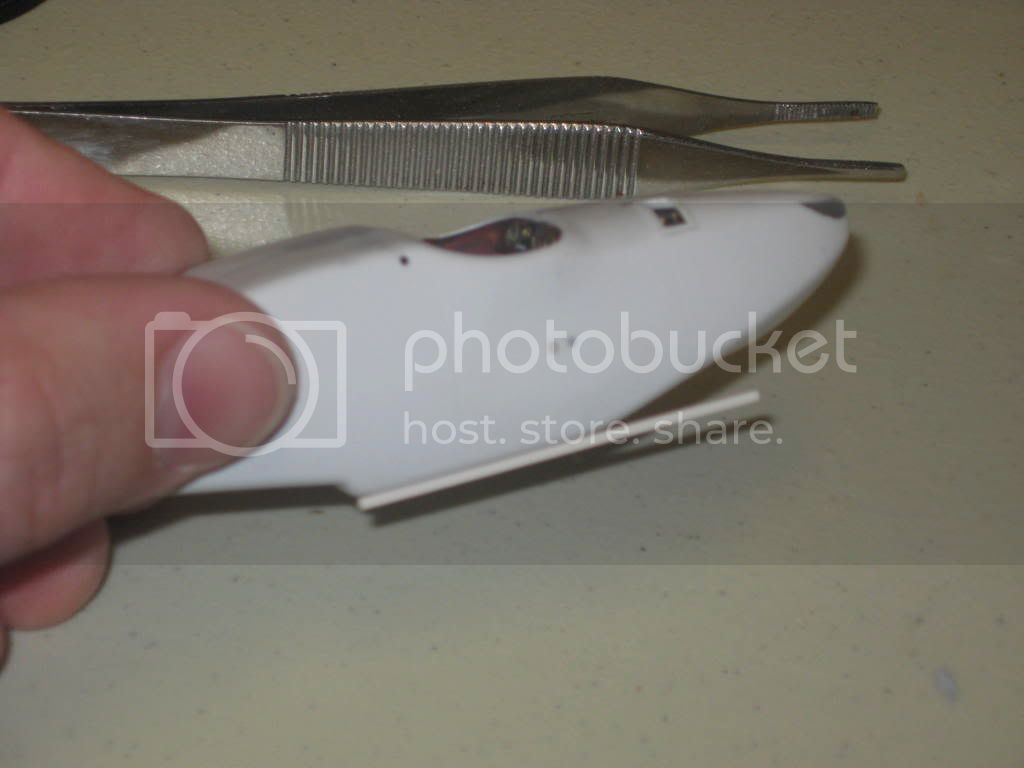
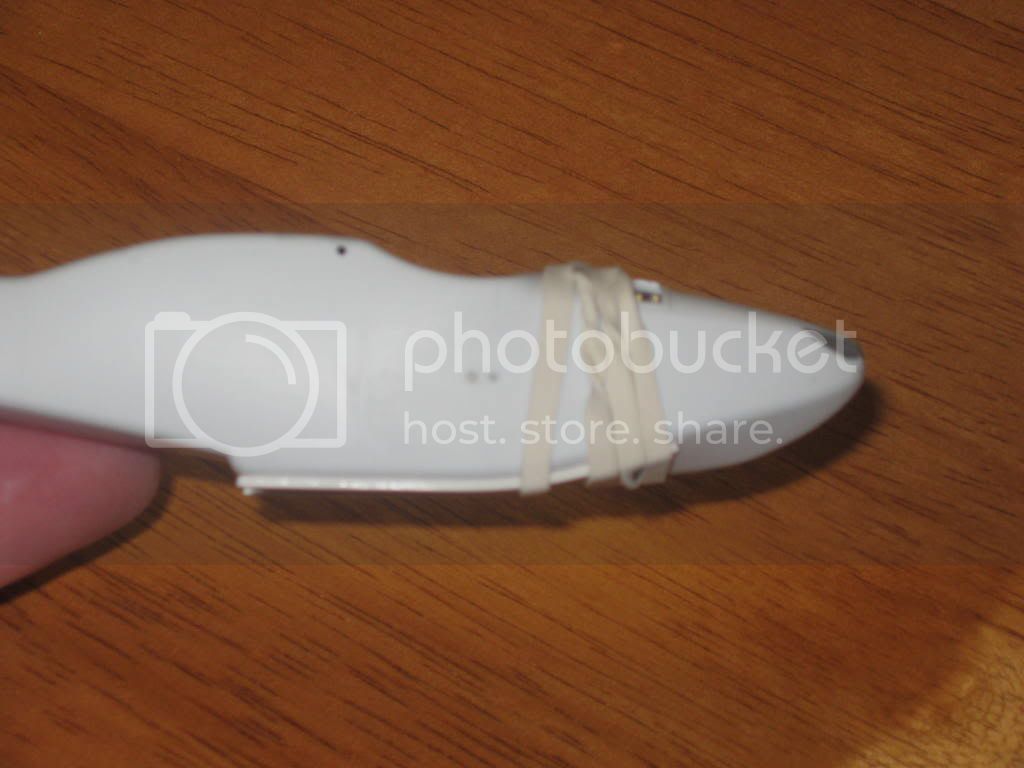
So here it is......................before...................
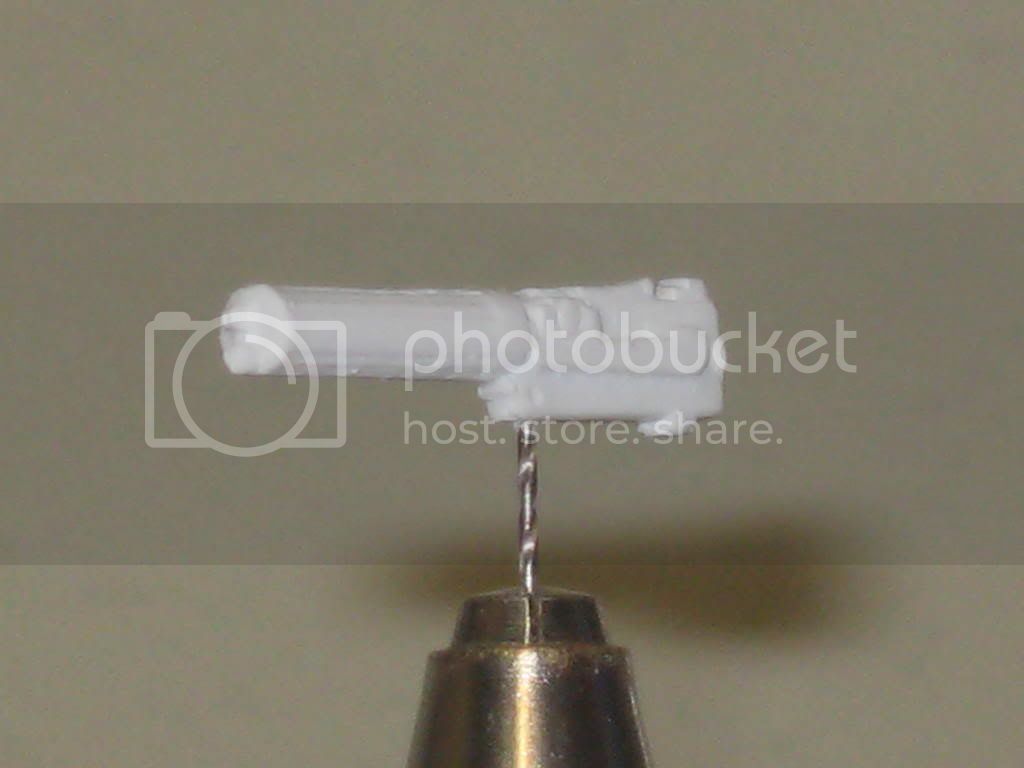
........and after...........
More soon.
Mark