Hejsan!
OK, here´s next part of my last post.
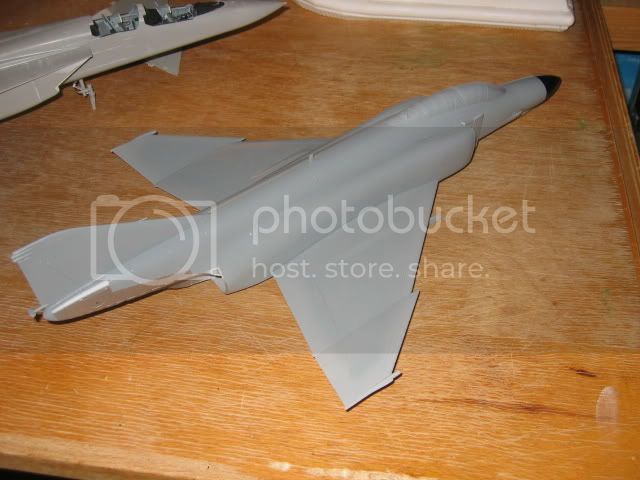
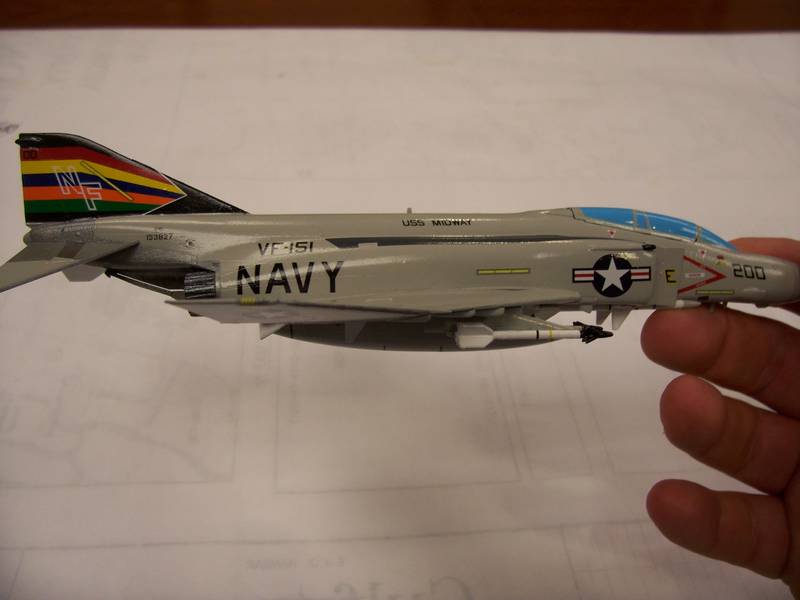
As I said earlier, I encounterd some problems when applying the fin-flash, and you can see that the colored flash don´t follow the white backing pefectly.
It´s hard to see on the model tough so I can live with it!

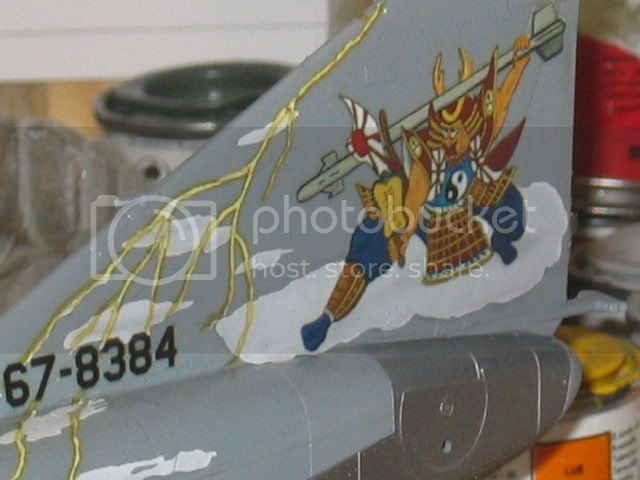
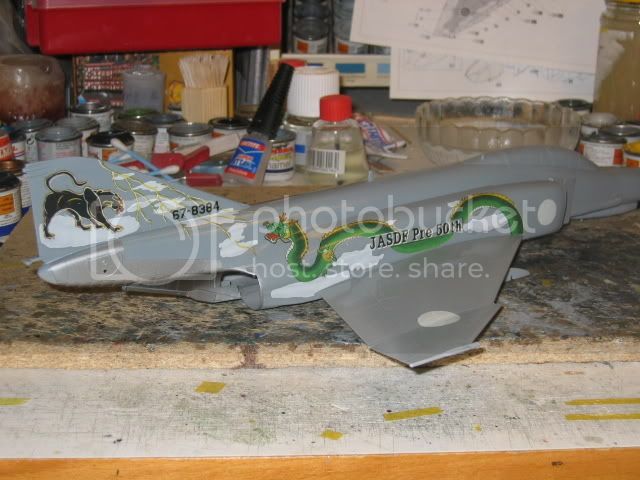
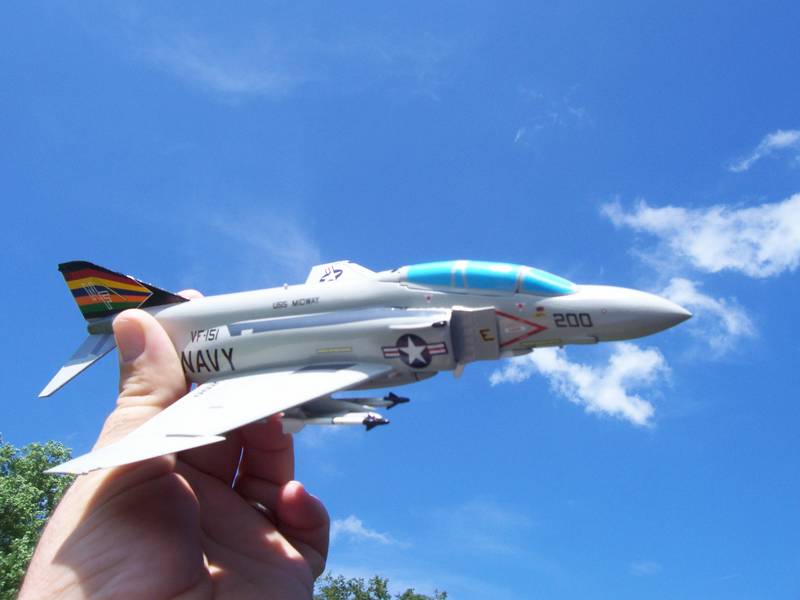
As the squadron calls themselves the "Panthers", of course they have a big black Panther on the fin!
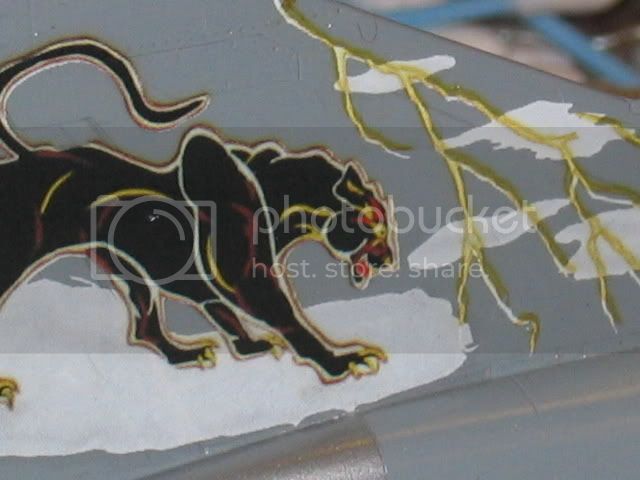
On the left side of the fin, I cut the flash-decal on several smaller pieces and now it was a snap to get it to follow the backing!
Oh, why did I not do this from the beginning!
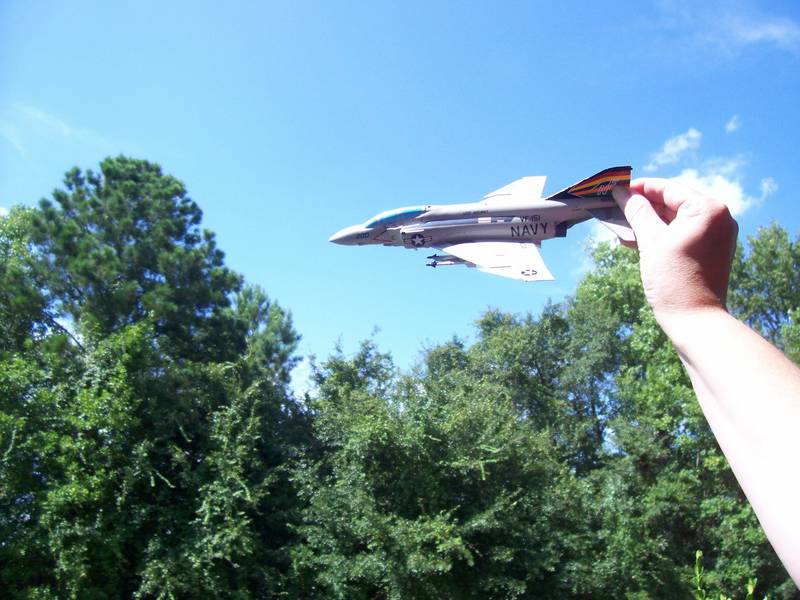
The Samurai (which is the Phantom "spook" if you look closley) holds his sword in one hand and a missile in the other.
Japanese symbolism at it´s very best, paired with a touch of humor!
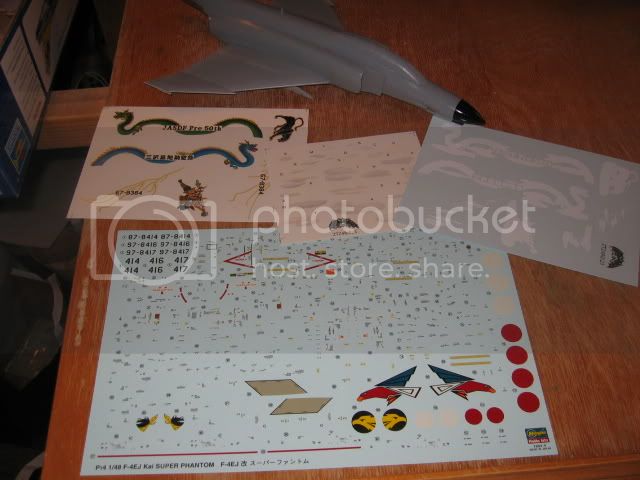
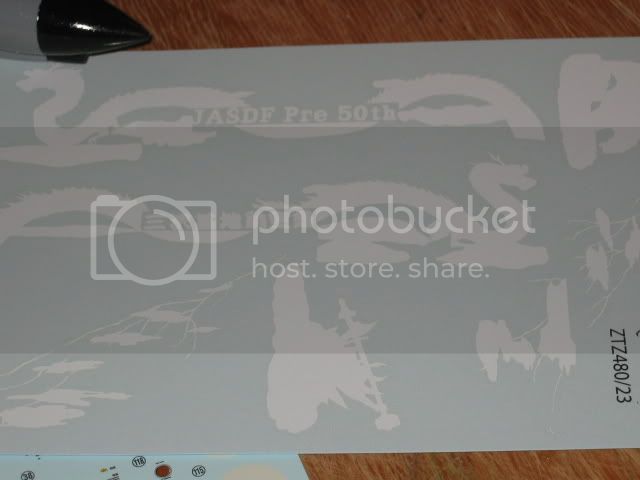
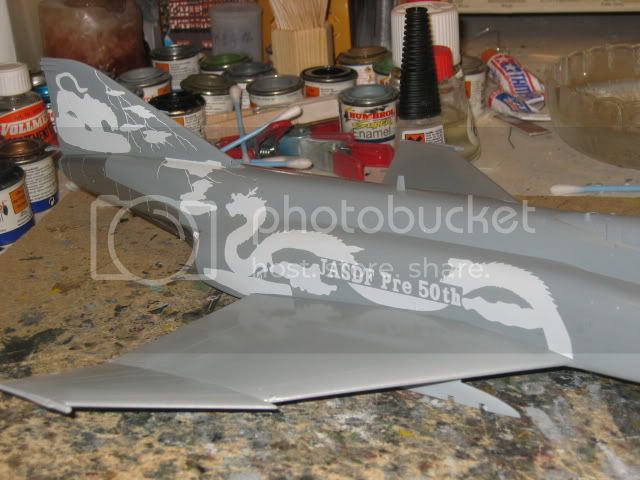
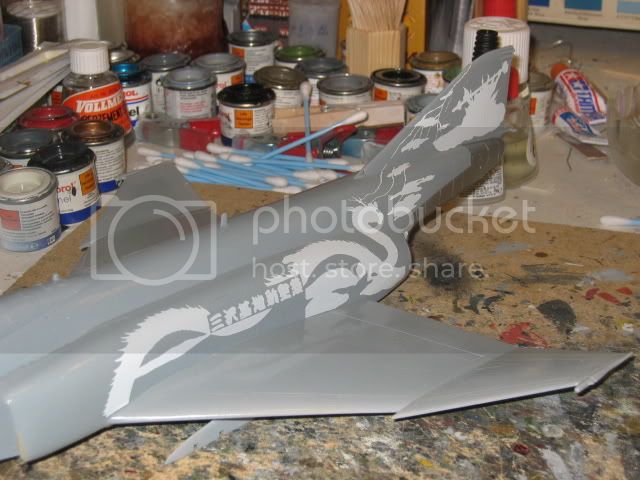
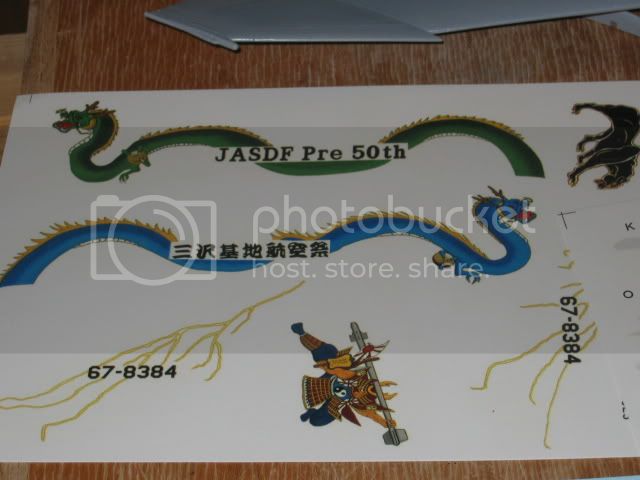
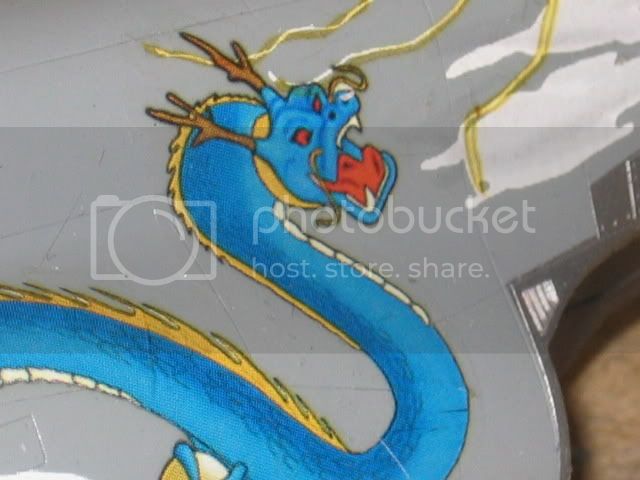
Then I could turn to the colorful dragons!
As I had been burnt before, I cut them in 3 pieces each and had no problems whatsoever applying them!
The blue one;
...and the green one;
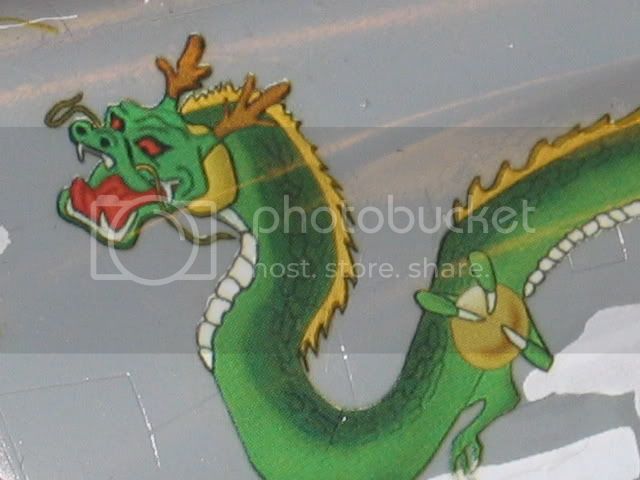
The pics can´t show the true brilliant colors of the decals as the flash makes them look pale and flat.
But think Shapphire blue and Emerald green and you´ll get the idea about the true colors.
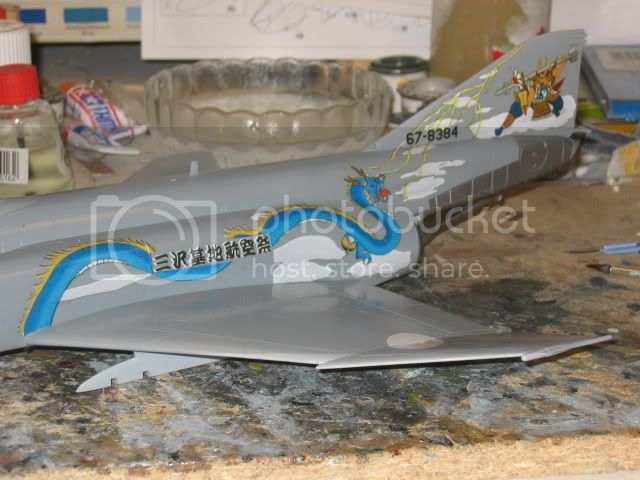
Now it was time to get all those small clouds in place.

This will be easy, I tought!
No way!
When I dipped the paper in the water, the clouds dissapeared totally!
It was very hard to see the decals and I had to do some guesswork, but finally I got´em in place and the effect is really striking!
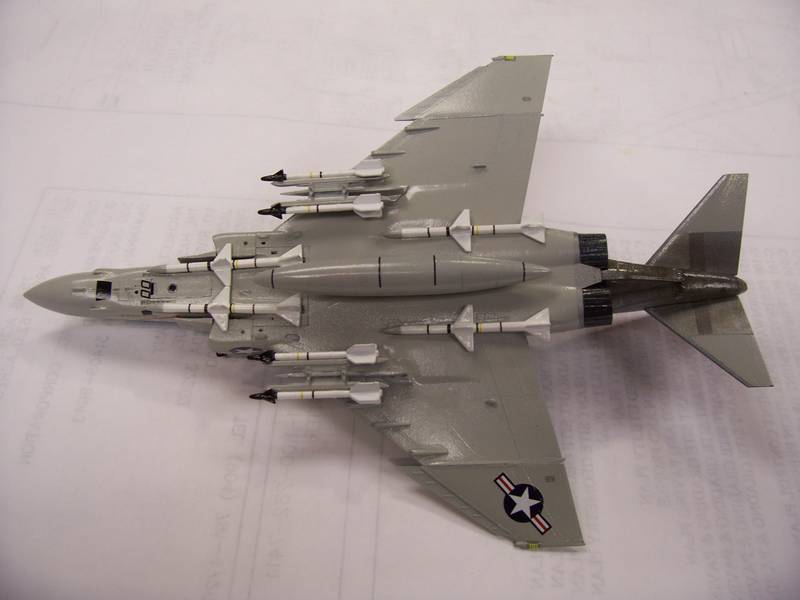
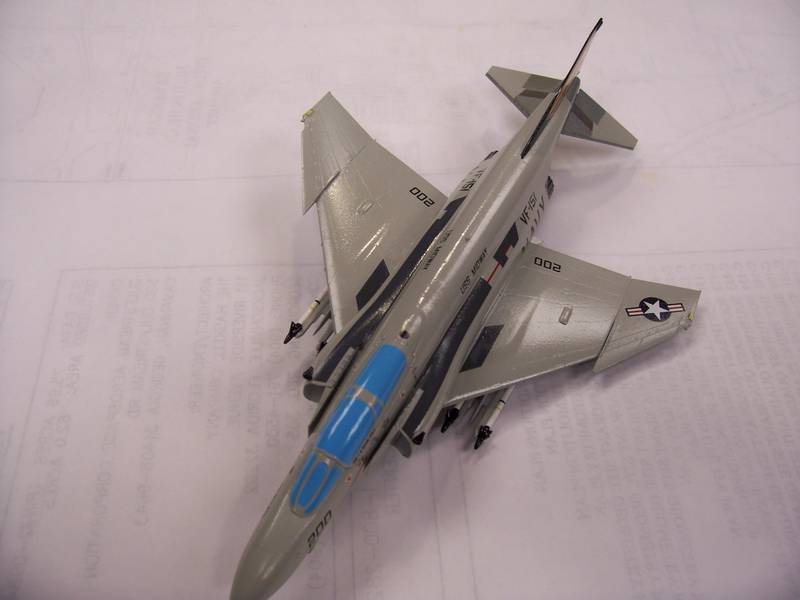
Then came the most dreaded moment, all those pesky stencils!
How come nearly all Phantoms have the manual written on the airframe?
Hasegawa have kindly gatherd many stencils into larger decals but it´s an awful number to apply anyway!
Here´s a section of the belly;
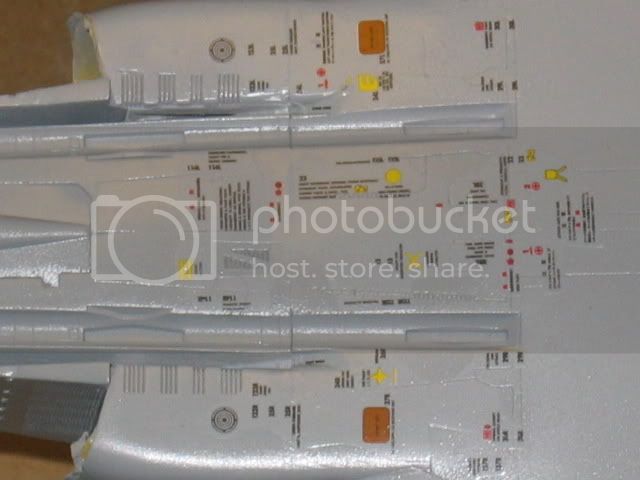
On top of a wing;

The nose;
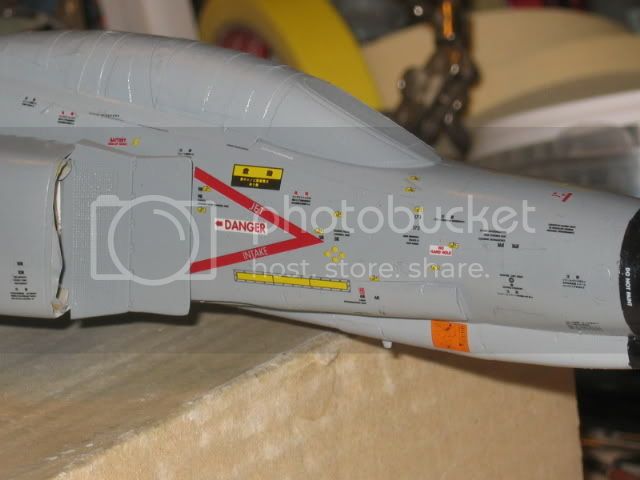
It looks as if a drunken spider had walked all over it!
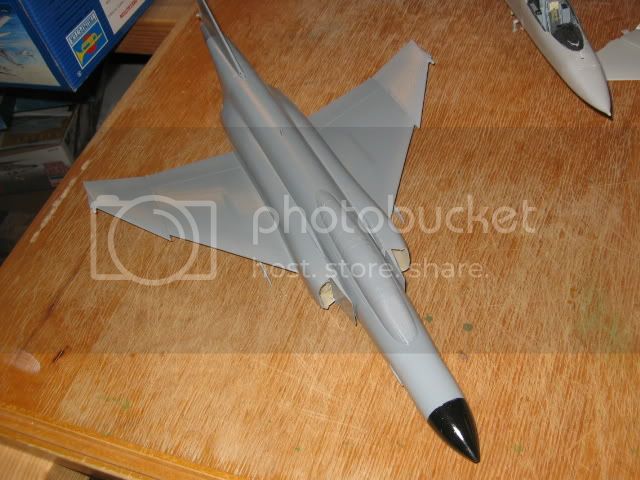
Finally, all decals were applied and the decalling was done!
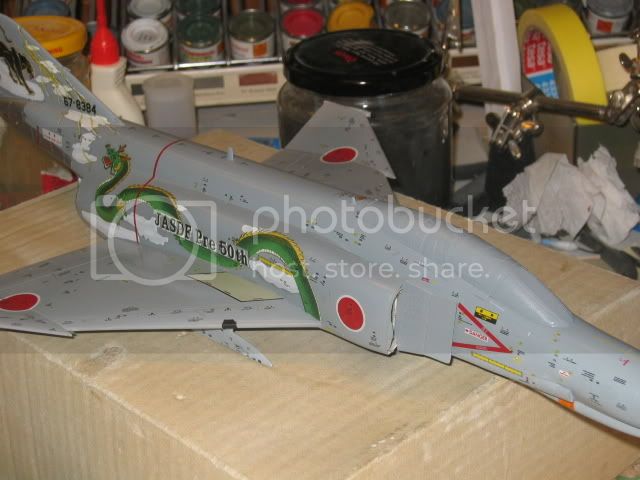
Hasegawa´s decals worked perfectly and behaved very well together with micro-set and -sol.
A quick dip in the water and the decals release in 10 seconds (i used mostly rather "cold" water, about 20C).
They are very thin, opaque and in perfect register.
When applied they snuggle down perfectly and looks as if they were painted on the model.
I spent almost 20 hours only on the decalling, during 5-6 sessions!
I had one small problem with this set of decals from Zotz, It´s intended for a earlier issue and not the one i had!
What´s the problem then as the plastic is exactly the same?
The decals in the kit of course!
In the intended issue you can build some aircrafts from the "Black Panthers", so the Zots set did not include the nose numbers!
Can´t blame Zots as the fault is completly my own!
How I solved the "number-issue" will be revealed in the next update!
Cheers!

Stefan E


 /image.file[/img]
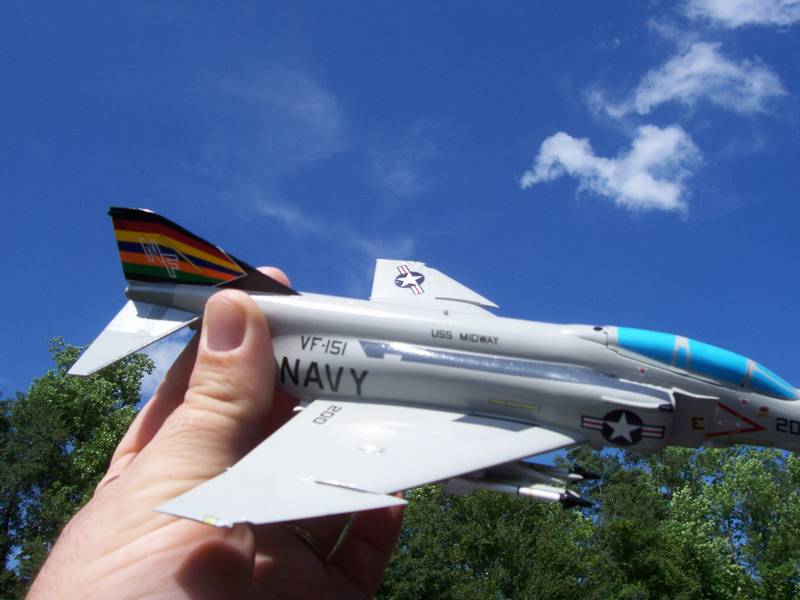


 [/URL]