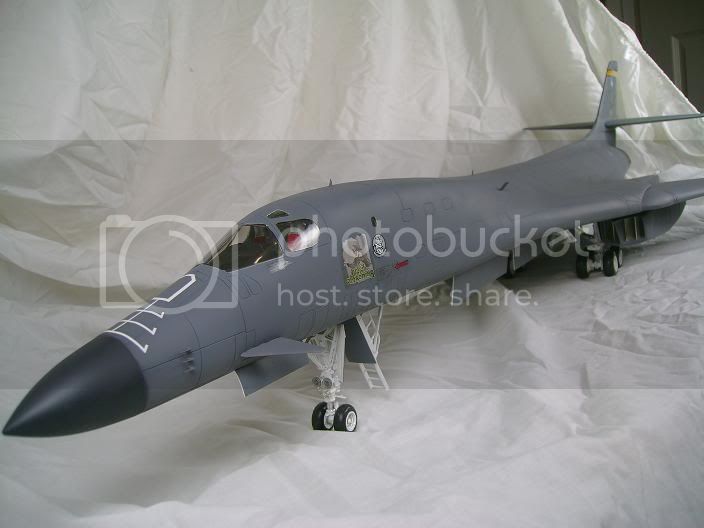
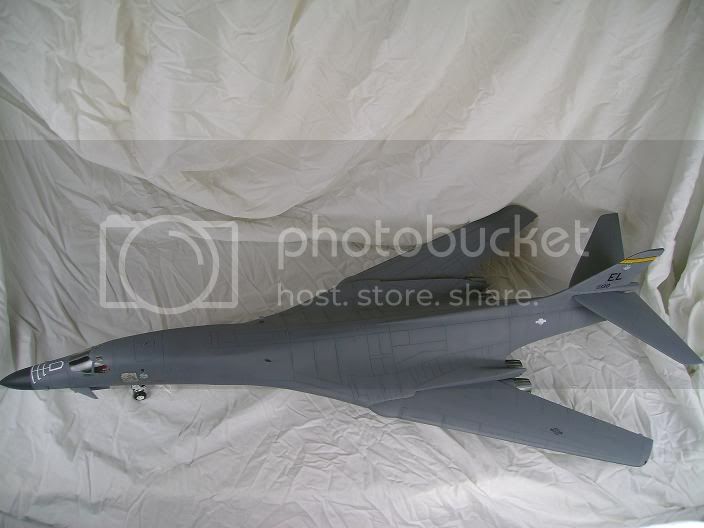
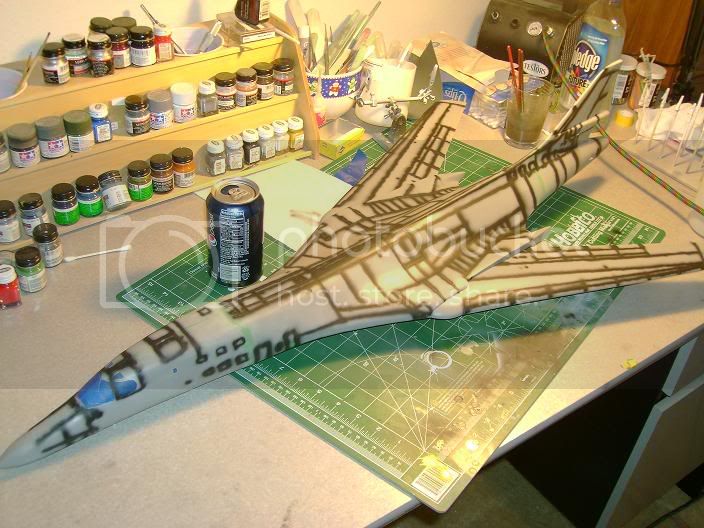
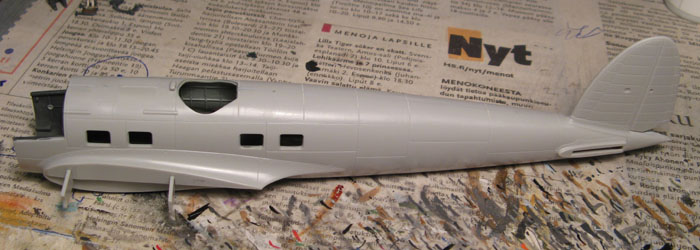
It's starting to look like a bomber now!
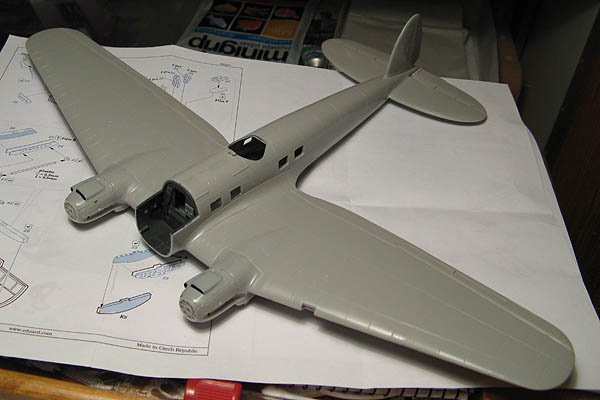
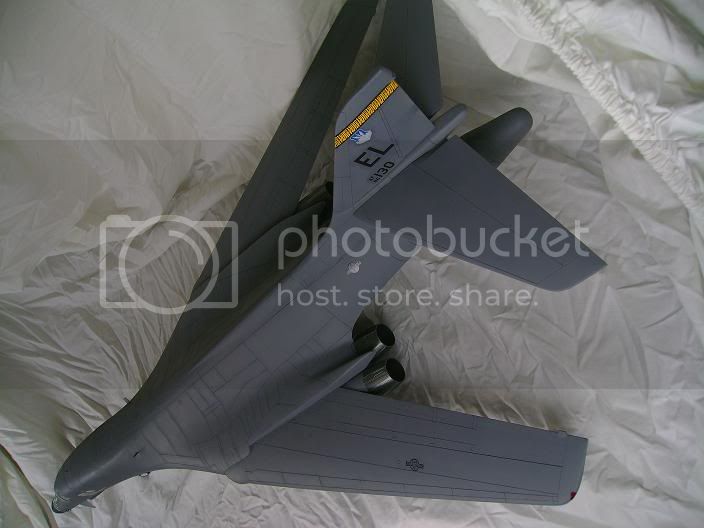
The stabilizers fit very well (those nifty interlocking locator tabs should be standardized!), with only a tiny gap on the right underside. Just PVA or Gator glue should be enough to take care of that.
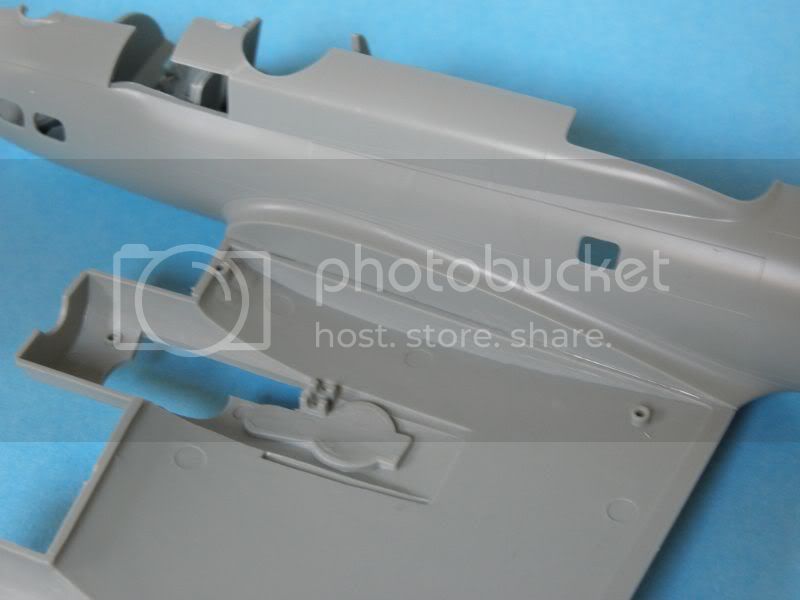
The wings, even with their hefty locator spars and apparently good fit, proved somewhat problematic, probably my own fault at least to some extent. The left wing fit without problems, but there was a slight gap on the underside with the right one. As the wing halves lined up nicely on the leading and trailing edges and matched the fuselage as well, there had to be something wrong either on the fuselage's gluing surface or the wing's, but I couldn't confirm that either...

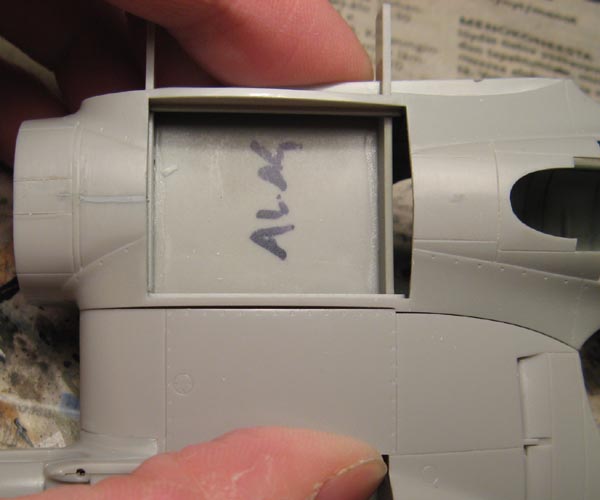
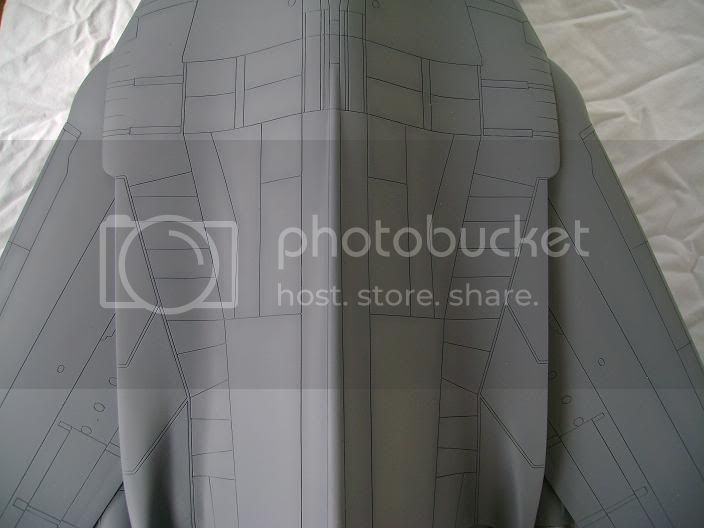
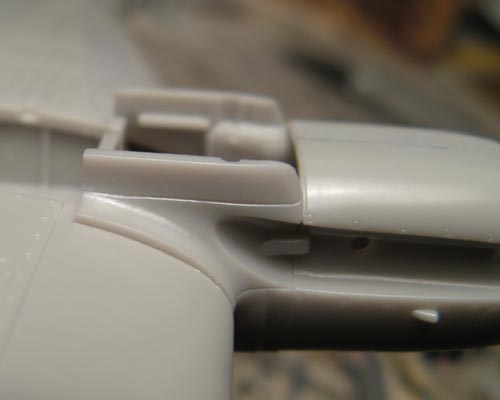
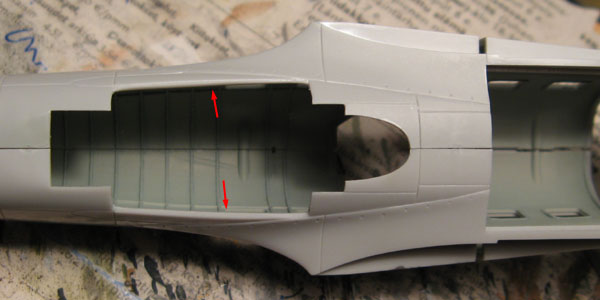
Anyway, with surface detail right next to the seam, I naturaylly didn't like the idea of having to dabble with putty and sandpaper. After a quick pondering, I cut up a piece of thick styrene sheet and inserted it to the bomb bay to spread out the fuselage to get a better fit.
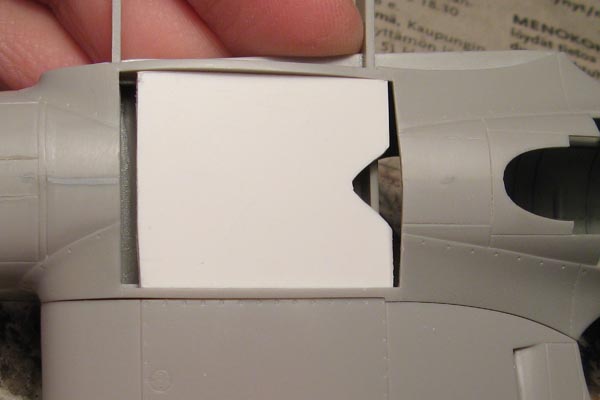
That worked, no filling required next to the surface detail, but even though only by moving the gap from between the fuselage and wing to between the fuselage and the external bomb rack, the gap looks should be easier to fix there.
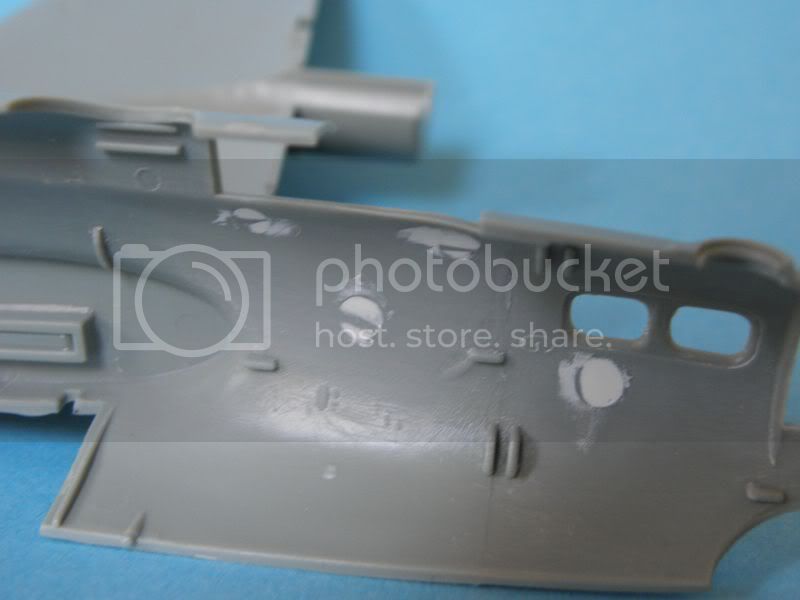
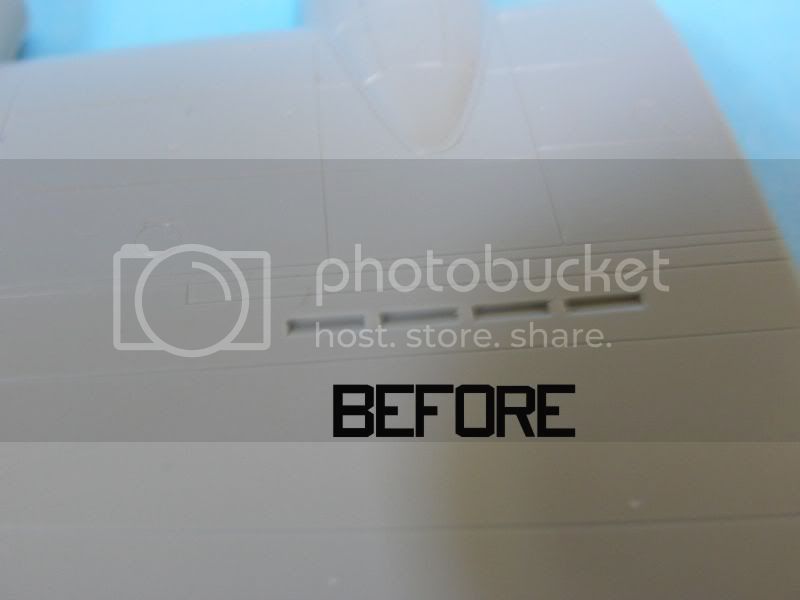
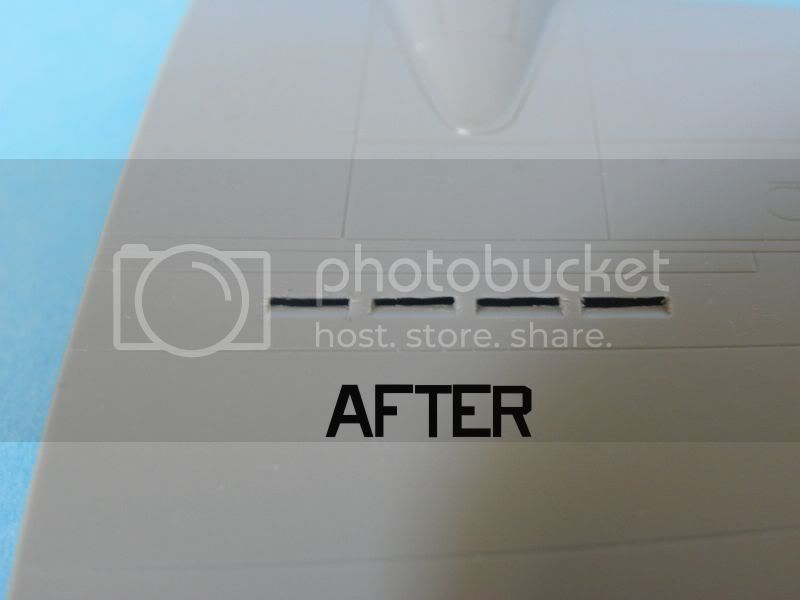
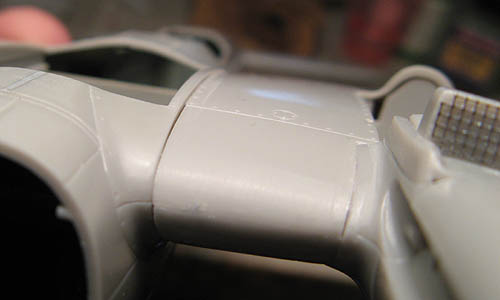
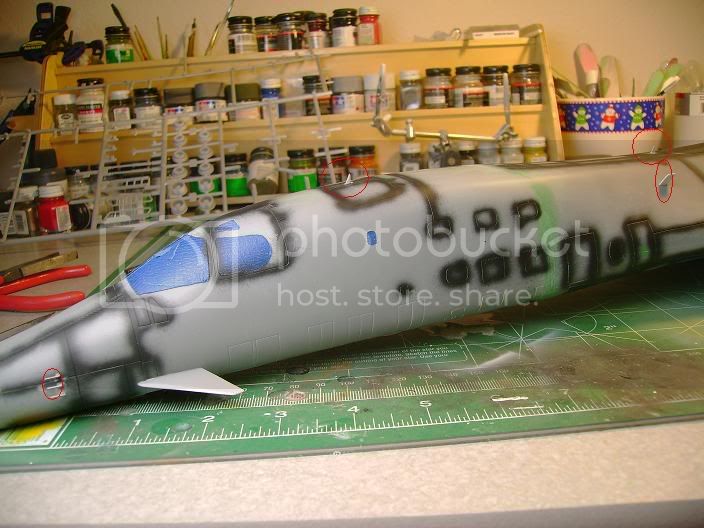
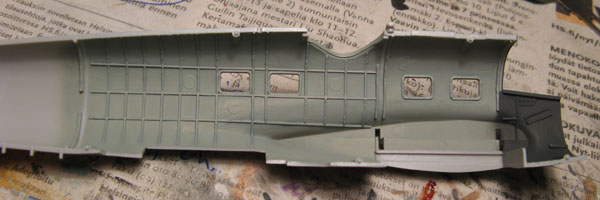
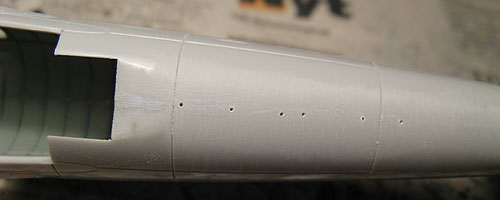
With the wings in glued in, I noticed that I should have kept a closer eye on the fit...
The left side is okay:
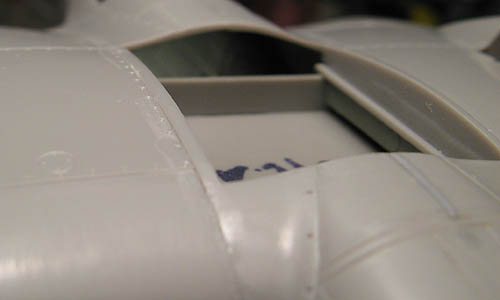
...But the right side is not quite so:
That left me quite puzzled, as the thickness of both should be the same at the wing root (I glued sort-of bulkheads found inside to each other on both), and the upper side lined up nicely all the way. I'm pretty certain I didn't contribute to that myself while holding the parts when gluing either, as the wing spars fit snuggly and shouldn't have allowed hardly any movement. Though it's surely nothing some sanding and a bit of putty can't fix, it's something I would rather have avoided by doing some more dryfitting prior to bringing out the glue...

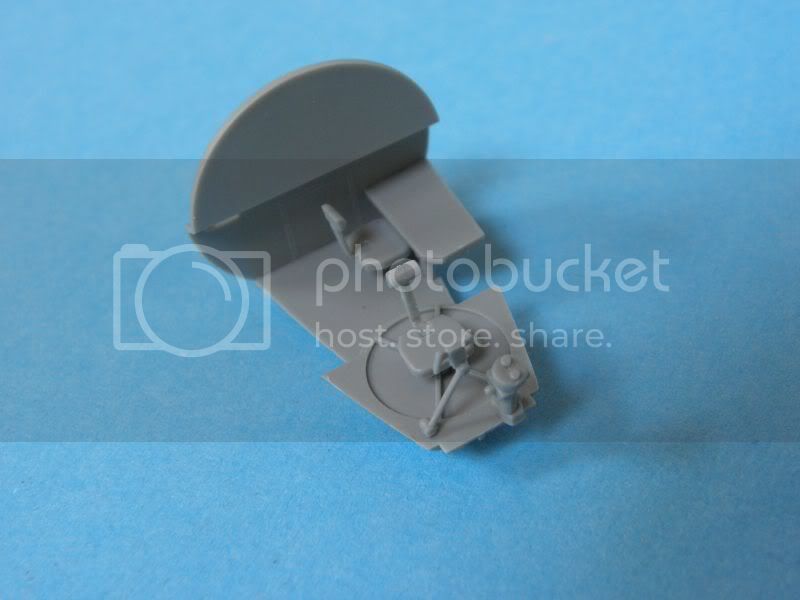
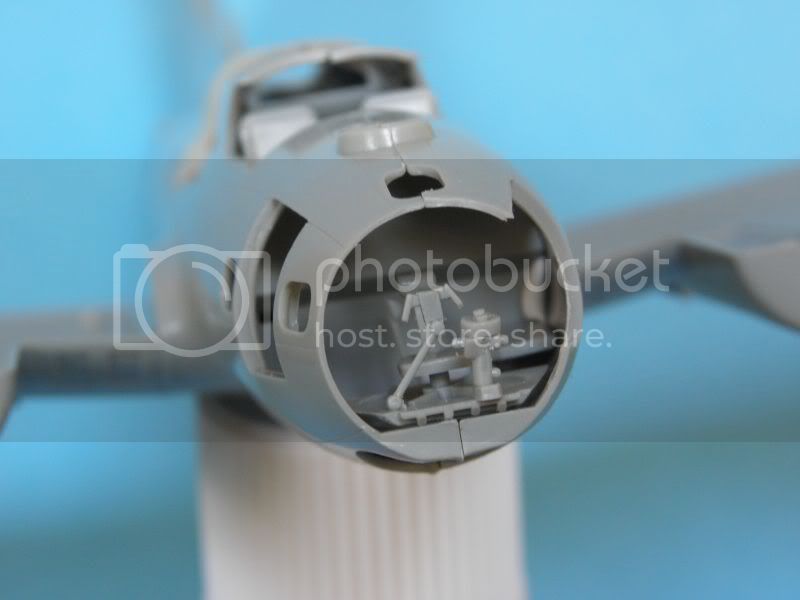
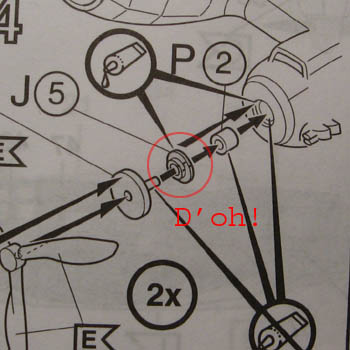
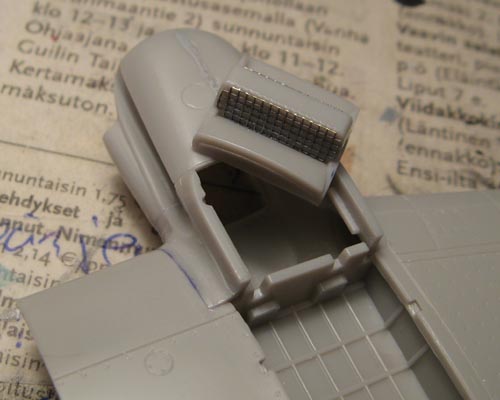
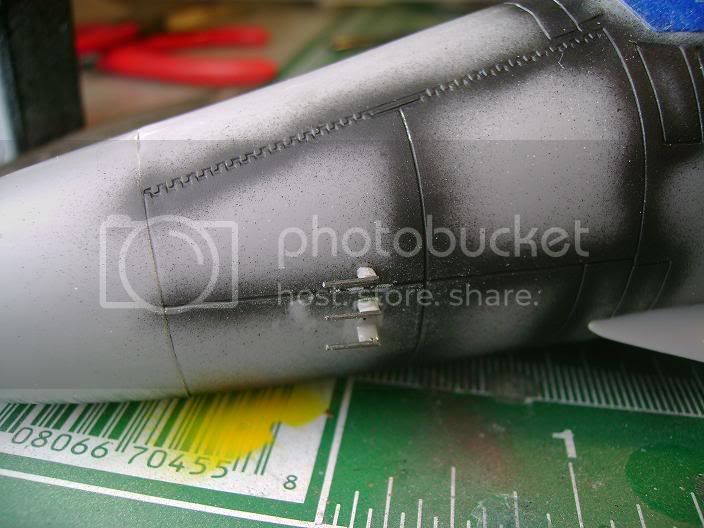
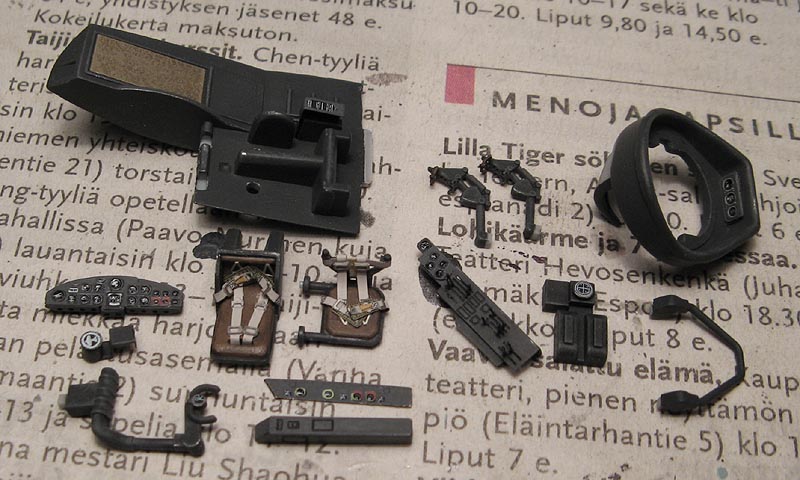
And another thing, be careful with the part attaching to the front of the engine nacelle face, trapping in the prop-retaining grommet. I of course happened to glue mine the wrong way around.
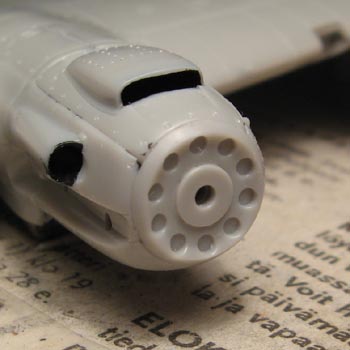
While nothing serious on it's own and something that won't be seen with the props in place, it of course, as mistakes tend to do, lead to more:
Dryfitting the part J5 incorreclty with the small nub facing inwards, the grommets wouldn't fit in. I then cut the grommets a little shorter to get them in, but doing that sliced off a bit too much, resulting in them fitting less than snuggly. The grommets now having just a bit of space to move back and forth, the props won't stay in place without drooping.
Fortunately that's easily fixed with either small blobs of blu-tac or PVA to hold the propellers properly.


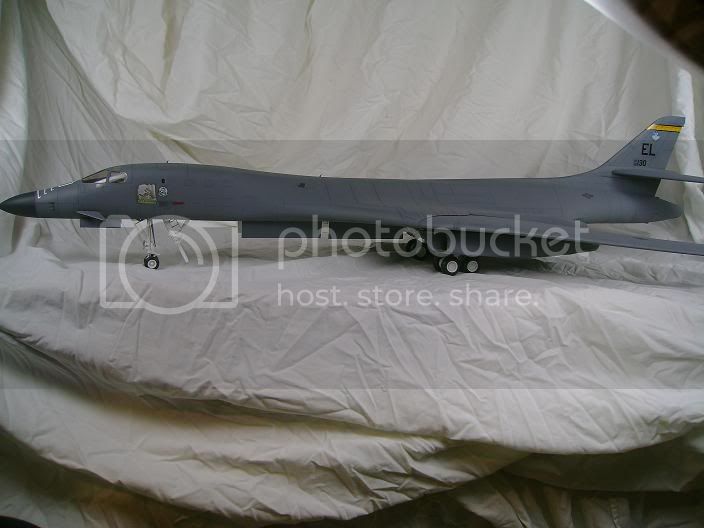
 A very impressive model.


 .....
.....