Air Campaigns
Want to start or join a group build? This is where to start.
OFFICIAL: Big Beautiful Bombers Campaign
Dirkpitt289
_VISITCOMMUNITY
New Jersey, United States
Joined: May 24, 2008
KitMaker: 346 posts
AeroScale: 307 posts
Posted: Monday, March 08, 2010 - 02:34 AM UTC
Evening Lady and gentlemen. Nothing much to report on this front other then the little bits and pieces.

[U]Some history of the B-17E[/U]

By the summer of 1940, the threat of war between the Axis powers and America was becoming too obvious to be ignored, and by the fall of that year the Air Corps had ordered 277 new Fortresses, to be designated "B-17E". Bigger orders were expected to follow.

The B-17E was a major redesign. The lack of a tail turret in the B-17D and its predecessors was a significant flaw, because the easiest way for a fast fighter to destroy a bomber was to get on its tail and hammer away at it. Attacks from other quarters meant a quick pass and tricky deflection shooting. Contemporary RAF bombers had a tail turret to discourage this tactic, but the Fortress was highly vulnerable to attack from the rear.

The B-17E was given a new rear fuselage from the radio operator's position back to the tail, where a new gun position was added. Fitting a full turret was impossible given the narrow real fuselage, so the gun position was in the form of a "stinger" with twin 12.7 millimeter guns with a limited traverse.

The new rear fuselage was about 1.8 meters (6 feet) longer. The tail gunner knelt behind glass windows and manually aimed the guns. The tailplane assembly was entirely new and bigger, featuring in particular a tall vertical tailplane. For this reason, the B-17E and its descendants were referred to as "big-assed" Fortresses, while the B-17D and its ancestors were called "shark-finned Fortresses".

The changes didn't stop there. As the rear fuselage had to be redesigned anyway, the teardrop-shaped windows for the pedestal-mounted waist guns were changed to rectangular windows. A remote-controlled Bendix power turret was installed in the belly, with twin 12.7 millimeter guns controlled by a gunner lying prone and peering through a periscopic sight.

The radioman retained the upward-firing 12.7 millimeter gun, but a new Sperry power turret with twin 12.7 millimeter guns was installed just behind the cockpit. The nose was made longer, and provisions were made for mounting one or two 7.62 millimeter machine guns in the front Plexiglas. The nose gun fit was not very effective, but for the moment nobody could figure out a better way to put defensive armament into the cramped nose.

Although the B-17E was heavier than the B-17D while being powered by the same engines, it was not much slower due to aerodynamic improvements in its design, with a maximum speed of 512 KPH (318 MPH).

The first B-17E rolled off the production line at the end of September 1941. Flight experience quickly showed that the remote-controlled belly turret was impractical. Trying to track an attacking fighter through a periscope was all but impossible, and much worse caused severe nausea and motion sickness.

The answer was to replace the remote-control turret with a Sperry "ball" turret with the 113th B-17E. The gunner crawled into the ball turret after takeoff and sat straddled by the two guns while aiming down between his legs. The ball turret could cover almost the entire lower hemisphere below the Fortress and could be directed accurately. However, it generally required a gunner of relatively small stature, and the gunner could not wear a parachute while he occupied it. Another disadvantage was that there was no room to store spent cartridges inside the turret, and the rain of cartridges from the ball turret could pose a hazard in formation flying.

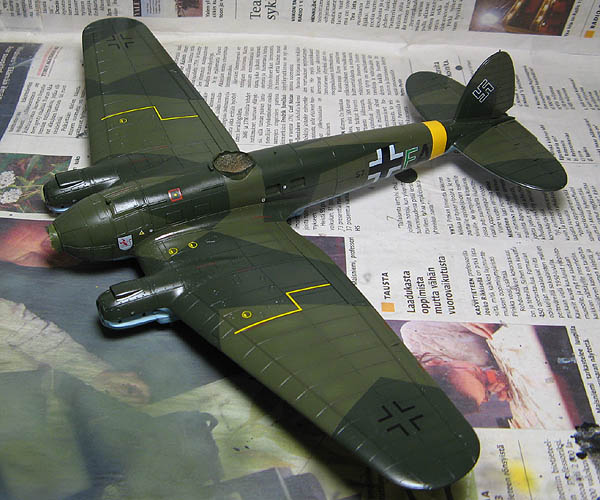
The new B-17E was dramatically different from its predecessors. The THRILLING WONDER STORIES look of the early Fortresses was gone. The B-17E was a serious weapon and looked like one.

Back to the model

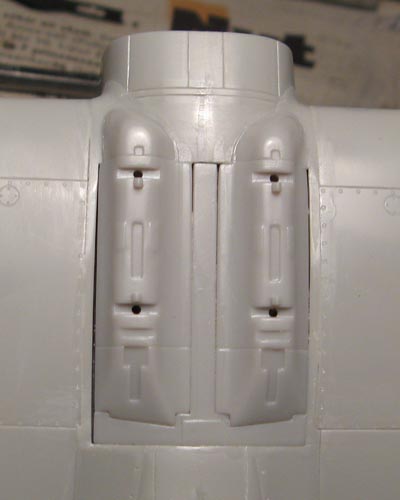
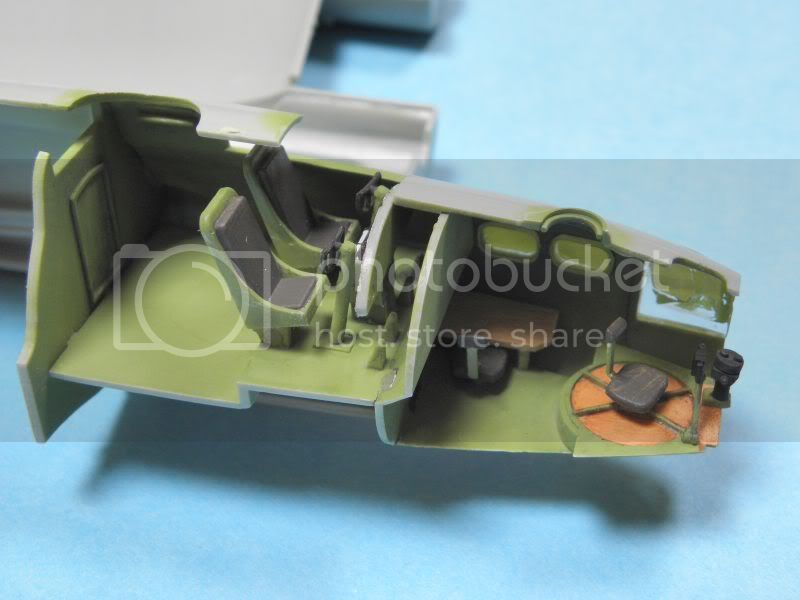
Here are the nose windows have been put in place along with other shots of the interior.


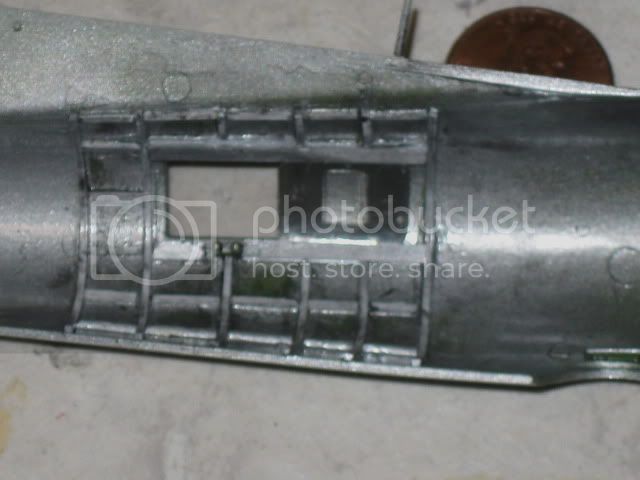
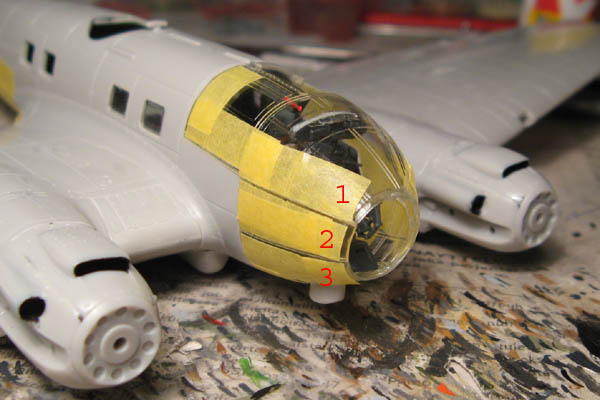
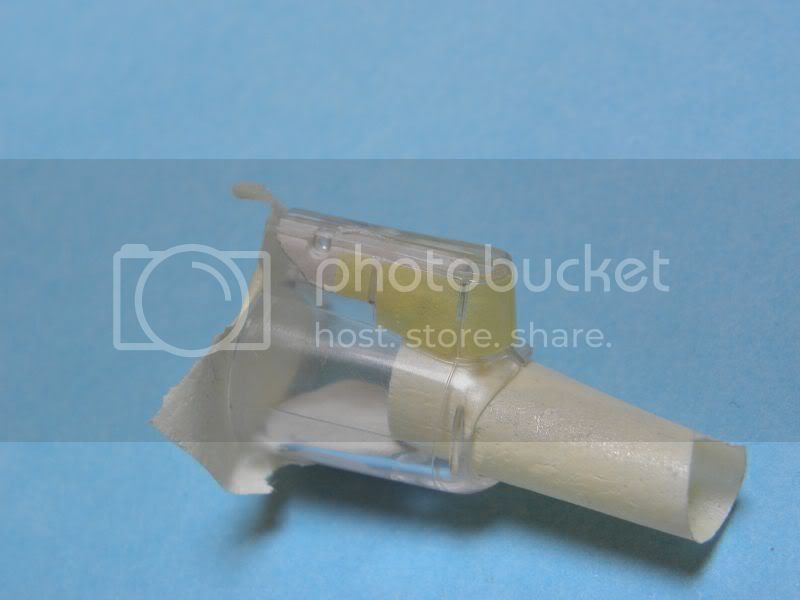
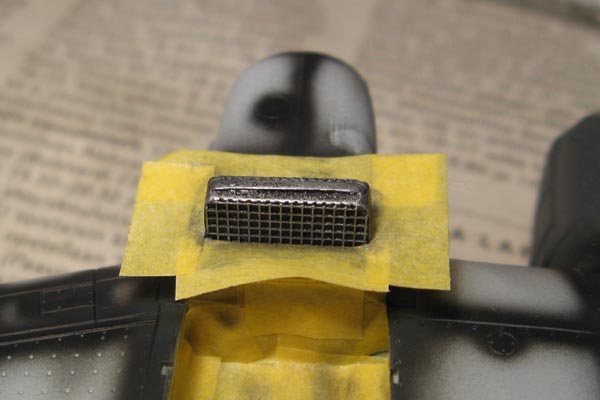
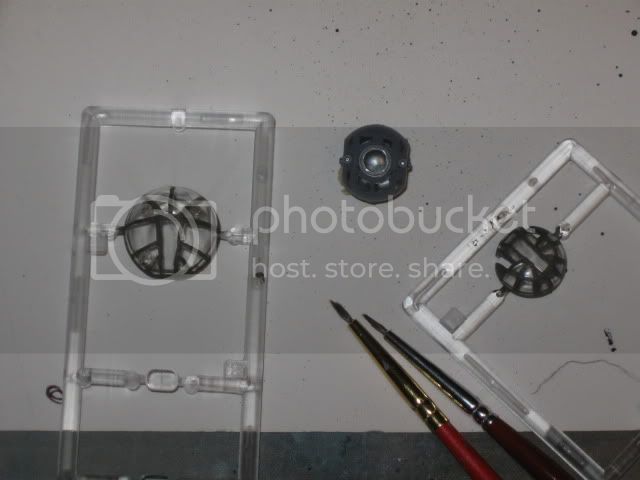
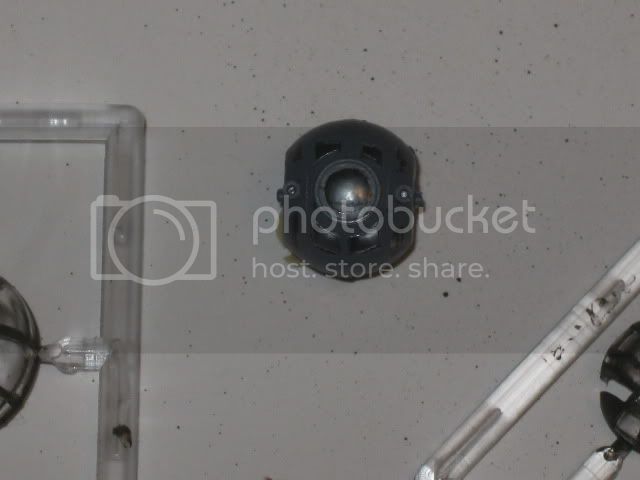
Nose Glass, Top Turret and the Ball Turret
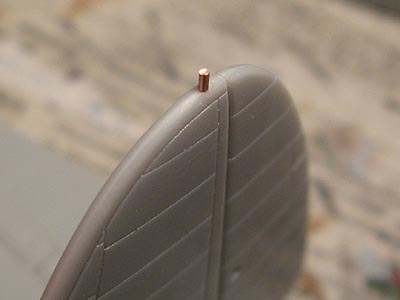
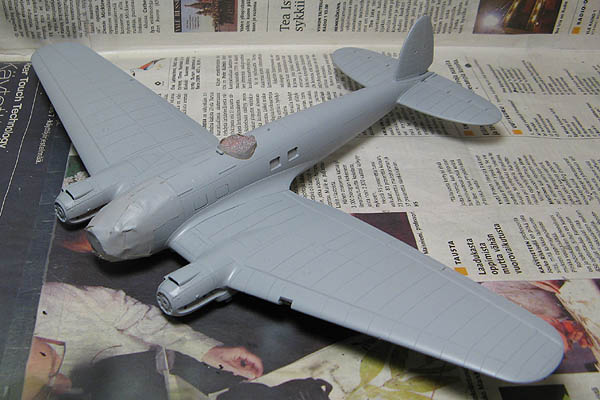
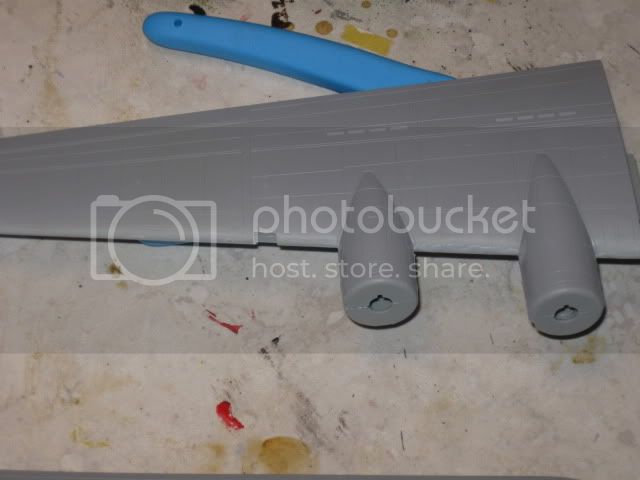


Wings put together


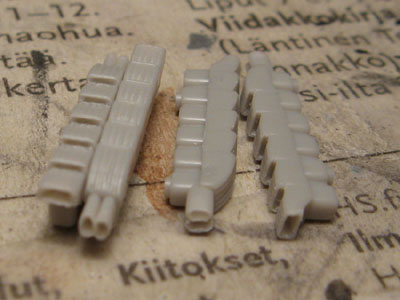
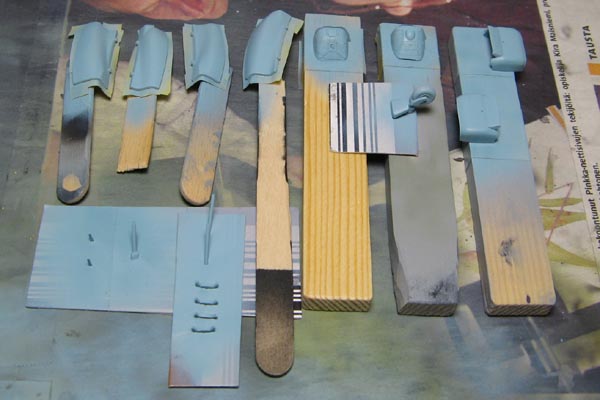
For the next phase I had to crack open my Academy B-17F and harvest its stash of weapons.


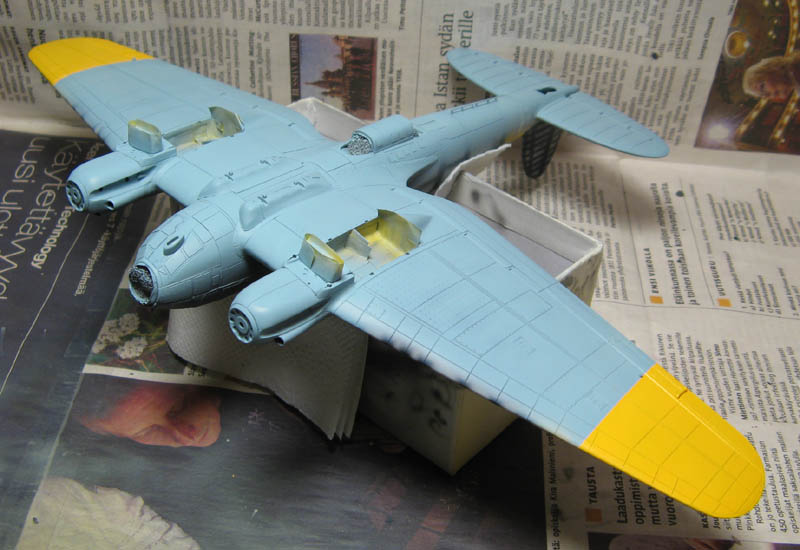
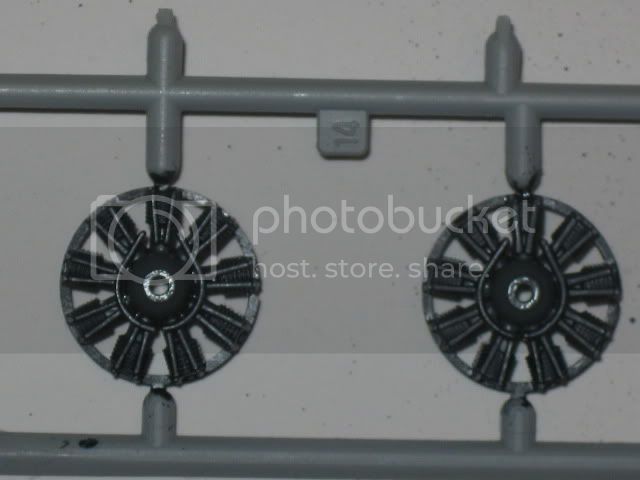
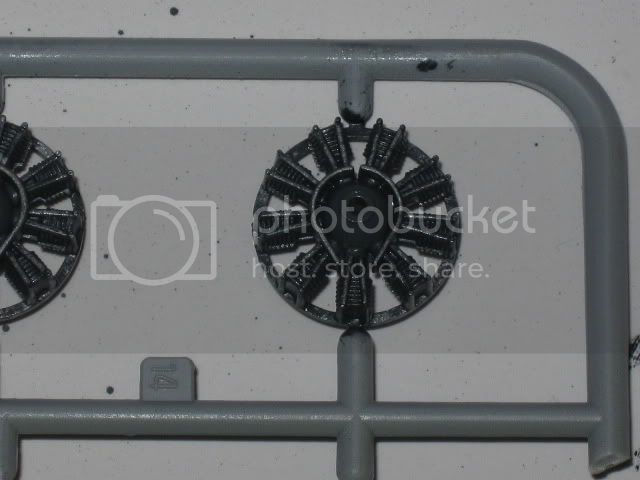
Painting the engines


Hopefully the next time I'll have something of more substance to share.

Thanks for taking the time to look at my work.
Emeritus
_VISITCOMMUNITY
Uusimaa, Finland
Joined: March 30, 2004
KitMaker: 2,845 posts
AeroScale: 1,564 posts
Posted: Tuesday, March 09, 2010 - 08:24 AM UTC
Nice progress everyone! And finished entries too, that B-1 turned out real nice.

I've been making some progress on my Heinkel. Should be ready for the clear parts soon.
Bomb racks glued in place:

As I noted earlier, dealing with the wing-to-fuselage fit by spreading the bomb bay sides resulted in gaps between the fuselage and the outer sides of the bomb racks.

The outer gaps were easily taken care with thin styrene sheet and stretched sprue.

Now there's the shorter middle gaps and the space between the bomb rack and the plane's belly (caused by sanding and filing of the wing root area) to sort out, the latter pointed by the arrow in the pic.

As the kit was missing the small antenna mast on the fin, I made that from a short length of copper wire glued to a hole drilled to the fin.

A groove was filed to the top of the wire to make fitting the wire easier.

Closing this update are the exhausts. They were moulded solid, so I opened them by drilling out the oval holes in the front and used a bare-metal scriber for the rectangular openings of the pipes themselves.


That's all folks for this time.
Emeritus
_VISITCOMMUNITY
Uusimaa, Finland
Joined: March 30, 2004
KitMaker: 2,845 posts
AeroScale: 1,564 posts
Posted: Tuesday, March 16, 2010 - 03:01 AM UTC
Another bit of progress.


Just the intial colouring though: light rusty brown basecoat followed by a black wash, drybrushed with a metallic paint mixture supposed to have a 'burnt metal' appareance. I think they still need something though...

The raised ribs on the ailerons were somewhat pronounced so I sanded them down a little and brushed liquid cement over them to smooth them a bit.


With the fuselage seam taken care of and the rest of the construction moving along, I added the towel rack antennas under the fuselage.
MichaelSatin
Staff MemberCampaigns Administrator
AEROSCALE
_VISITCOMMUNITY
Colorado, United States
Joined: January 19, 2008
KitMaker: 3,909 posts
AeroScale: 2,904 posts
Posted: Friday, March 19, 2010 - 11:49 AM UTC
Hey Matt!

Would a B-25 count, even if it has the strafer nose? I've been looking for an excuse to do an AM kit.

Let me know

Mike
Emeritus
_VISITCOMMUNITY
Uusimaa, Finland
Joined: March 30, 2004
KitMaker: 2,845 posts
AeroScale: 1,564 posts
Posted: Monday, March 22, 2010 - 07:44 AM UTC
Some more progress again.

Cockpit components in place prior to attaching the canopy:


Because the "greenhouse" is made up from three parts (numbered in the pic), I assembled it before gluing it to the fuselage. Notice the instrument panel and the central console on the roof. Although the gluing surfaces of the greenhouse components have ledges to ease alignment, I applied masking tape to protect the clear panels next to the seams and taped the assembly to the fuselage to dry in order to ensure proper alignment.

When dry, I glued the canopy to the fuselage.

To avoid unnecessary coats of paint on the clear parts, I taped over the greenhouse canopy and the ventral gondola before giving the model a coat of Mr. Surfacer 1000 primer. I also masked the gluing surfaces of the tail wheel and main landing gear with tape to avoid having to scrape paint from those awkward places later on.


At this time I also primed almost all other smaller parts as well.


Next it's time to apply the Eduard masks and start laying down some paint.

Red4
_VISITCOMMUNITY
California, United States
Joined: April 01, 2002
KitMaker: 4,287 posts
AeroScale: 1,164 posts
Posted: Tuesday, March 23, 2010 - 03:33 AM UTC
You guys are killing me Everybody is making progress. Well, everybody except me.I'm still bogged down with other projects....go figure. Glad to see the progress you all are making. Hopefully I can clear my plate of some of this stuff and contribute to the effort. Thanks for keeping things going in my absence folks, much appreciated. Thanks, "Q"
Mecenas
Joined: December 23, 2007
KitMaker: 1,596 posts
AeroScale: 1,275 posts
Posted: Saturday, March 27, 2010 - 11:53 PM UTC
Finally I managed to spent some time on my Big Bomber. This is what I did so far.

Painted bombardier and pilots offices


And prepared some clear parts for painting.


The fit of the side walls of the nose wasn't perfect so I had to spent some time on filling and sanding. The final result is not bad but still need some touches.


And this is the starboard gunner's window, laso needed some putty.
Emeritus
_VISITCOMMUNITY
Uusimaa, Finland
Joined: March 30, 2004
KitMaker: 2,845 posts
AeroScale: 1,564 posts
Posted: Monday, March 29, 2010 - 11:12 PM UTC
Looks nice. Btw, are you planning on adding some seatbelts to the cockpit?
Those must be an Eduard masks you're using?

Some more progress on my Heinkel:

The landing gear looked intimidating at first, but they turned out surprisingly robust when assembled. Now I just have to hope it still flexes enough for slipping in the wheels.
The only additions to the kit parts are the brake lines for which I used copper wire.

The machine guns are also almost straight from the box: I only drilled out the muzzles and added masking tape straps to the magazines.
Altough the kit instructions pointed out for the MG FF cannon to be installed in the nose station, photos of the Detachment Kuhlmey transport clearly show a machine gun in the nose. So no cannons for this one.


RLM65 is on! And no more simple masking to do on this one. Masking the splinter camo will take a while and some tape...


While I was at it, I airbrushed all the smaller bits going to the underside with RLM65 as well.
AussieReg
Staff MemberAssociate Editor
AUTOMODELER
#007
_VISITCOMMUNITY
Victoria, Australia
Joined: June 09, 2009
KitMaker: 8,156 posts
AeroScale: 3,756 posts
Posted: Monday, March 29, 2010 - 11:55 PM UTC
Hi Eetu, your Heinkel is looking really nice !! What paint did you use for your RLM65 ?

Cheers, D
Mecenas
Joined: December 23, 2007
KitMaker: 1,596 posts
AeroScale: 1,275 posts
Posted: Tuesday, March 30, 2010 - 12:28 AM UTC

Quoted Text

Looks nice. Btw, are you planning on adding some seatbelts to the cockpit?
Those must be an Eduard masks you're using?


Hi Eatu,
yap, the masks are from Eduard. They are really easy going although some of them still needs resizing to fit perfectly.

I consider adding seatbelts, but surely not from the PE. I hope to build them using aluminium foil. All the clear parts are ratcher thick so there won't be much visible of the iterior details.
Emeritus
_VISITCOMMUNITY
Uusimaa, Finland
Joined: March 30, 2004
KitMaker: 2,845 posts
AeroScale: 1,564 posts
Posted: Tuesday, March 30, 2010 - 01:21 AM UTC

Quoted Text

Hi Eetu, your Heinkel is looking really nice !! What paint did you use for your RLM65 ?

Cheers, D


Thanks! Glad you like it. That's Xtracrylics on the underside, both the RLM04 and 65.

camogirl
_VISITCOMMUNITY
England - North East, United Kingdom
Joined: October 20, 2005
KitMaker: 1,045 posts
AeroScale: 622 posts
Posted: Saturday, April 03, 2010 - 02:22 AM UTC
Here is my Mossie so far:


Since the pics have been taken the fuselage has been put together I will do updates as and when but at the minute with my leg I just sit down and get on with the building rather than stopping and taking pics like I normally do
AussieReg
Staff MemberAssociate Editor
AUTOMODELER
#007
_VISITCOMMUNITY
Victoria, Australia
Joined: June 09, 2009
KitMaker: 8,156 posts
AeroScale: 3,756 posts
Posted: Saturday, April 03, 2010 - 03:04 AM UTC
Hiya Sam, the Mossie is coming along great. The detail work on the cockpit is really clear.

Cheers, D
Emeritus
_VISITCOMMUNITY
Uusimaa, Finland
Joined: March 30, 2004
KitMaker: 2,845 posts
AeroScale: 1,564 posts
Posted: Saturday, April 03, 2010 - 03:08 AM UTC
Lookin' good!

Camo painting underway:


Camo painted, just a couple of more coats of Future and it's ready for decals:


Actually, masking the splinter camo wasn't that tedious at all, it was masking the undersides!
Although I got both Xtracrylics RLM70 and 71 at hand, I used Vallejo's #888 olive grey for the lighter RLM71 in order to have a bit more contrast between the two colors so the camo pattern wouldn't look monochromatic under the white winter wash that's to follow the decaling. Probably not exactly 100% accurate, as I have the impression that 70 and 71 were quite close similar. But hey, no worries. Even the standard Luftwaffe bomber camo on this plane is likely to be wrong as I was told it had a upperside scheme of some Italian greens. But without any references on that, I followed the kit instructions and those reference book I have at hand.

SGTJKJ
#041
_VISITCOMMUNITY
Kobenhavn, Denmark
Joined: July 20, 2006
KitMaker: 10,069 posts
AeroScale: 3,788 posts
Posted: Wednesday, April 07, 2010 - 11:11 PM UTC
Looks great, Eetu! The camouflage is very nice.

I agree with you on the colours used - sometimes it is good to take a bit of artistic freedom and make the colours look nice. After all colours do fade, get produced slightly wrong etc.

Looking forward to see more.
Emeritus
_VISITCOMMUNITY
Uusimaa, Finland
Joined: March 30, 2004
KitMaker: 2,845 posts
AeroScale: 1,564 posts
Posted: Thursday, April 08, 2010 - 02:19 AM UTC
Thanks! Glad you like it.

Decals are on:


As with most Revell-Germany kits, there were no swastikas, so I used a pair from an Xtradecal sheet.
While the kit decals weren't bad at all (sheet says "printed in Italy": Cartograph perhaps?), the Xtradecals are just simply beautiful. Very opaque printing, extremely thin carrier film (a single of coat of varnish virtually blends them in the surface), and nice responsiveness to setting solutions. Oh why can't all decals be like that?
AussieReg
Staff MemberAssociate Editor
AUTOMODELER
#007
_VISITCOMMUNITY
Victoria, Australia
Joined: June 09, 2009
KitMaker: 8,156 posts
AeroScale: 3,756 posts
Posted: Thursday, April 08, 2010 - 02:24 AM UTC
Looking really nice Eetu, great work !!

Cheers, D
Frigate
_VISITCOMMUNITY
West Virginia, United States
Joined: April 22, 2006
KitMaker: 500 posts
AeroScale: 243 posts
Posted: Friday, April 09, 2010 - 02:43 PM UTC
Gents,
Well, there are some really nice models being produced and shown here. Unfortunately, I am severely behind in my build. (Canberra T-17 1/144) But I'm hoping to get it going again. In the meantime, you folks are doing Great...Keep building !
Mecenas
Joined: December 23, 2007
KitMaker: 1,596 posts
AeroScale: 1,275 posts
Posted: Saturday, April 10, 2010 - 06:39 AM UTC
Show must go on so let's roll!

Pictures below shows the progress made last week, I had no time to work with this model due to other modeling "things".


The first painting shown some gaps in filling the joints of the clear parts with fuselage. On this picture everything is already removed and repainted. I have to do a bit of rescribing now.

Bigrip74
_VISITCOMMUNITY
Texas, United States
Joined: February 22, 2008
KitMaker: 5,026 posts
AeroScale: 2,811 posts
Posted: Saturday, April 10, 2010 - 06:55 AM UTC
Michal, that ball turret is fantastic. How long did it take you to mask off the glass?

Bob
Mecenas
Joined: December 23, 2007
KitMaker: 1,596 posts
AeroScale: 1,275 posts
Posted: Saturday, April 10, 2010 - 06:59 AM UTC

Quoted Text

Michal, that ball turret is fantastic. How long did it take you to mask off the glass?

Bob


Thank you Robert. Surprisingly not much, about half an hour. Eduard did a good job this time and only one or two of the masks for the ball turet required a bit of surgery.
Emeritus
_VISITCOMMUNITY
Uusimaa, Finland
Joined: March 30, 2004
KitMaker: 2,845 posts
AeroScale: 1,564 posts
Posted: Monday, April 12, 2010 - 12:08 AM UTC
Yesterday I took on what seemed the most daunting painting stage for this model, the worn coat of white-wash, but it turned out to be perhaps the least troublesome so far.

Bigrip74
_VISITCOMMUNITY
Texas, United States
Joined: February 22, 2008
KitMaker: 5,026 posts
AeroScale: 2,811 posts
Posted: Monday, April 12, 2010 - 03:22 AM UTC
Eetu, that is really an impressive airbrush job. Keep up the good work.


Bob
Murdo
_VISITCOMMUNITY
Scotland, United Kingdom
Joined: May 25, 2005
KitMaker: 2,218 posts
AeroScale: 211 posts
Posted: Wednesday, April 14, 2010 - 08:20 AM UTC
Hi guys,

I have a nice Mossie B IV to build (the pure bomber version) but can't seem to find the "Enlist" button.

Any help?
Blueheeler
_VISITCOMMUNITY
New South Wales, Australia
Joined: March 18, 2008
KitMaker: 347 posts
AeroScale: 223 posts
Posted: Wednesday, April 14, 2010 - 01:23 PM UTC
Wow Eetu! That is brilliant work with the winter camo. How did you achieve it so well? Briiliant mate