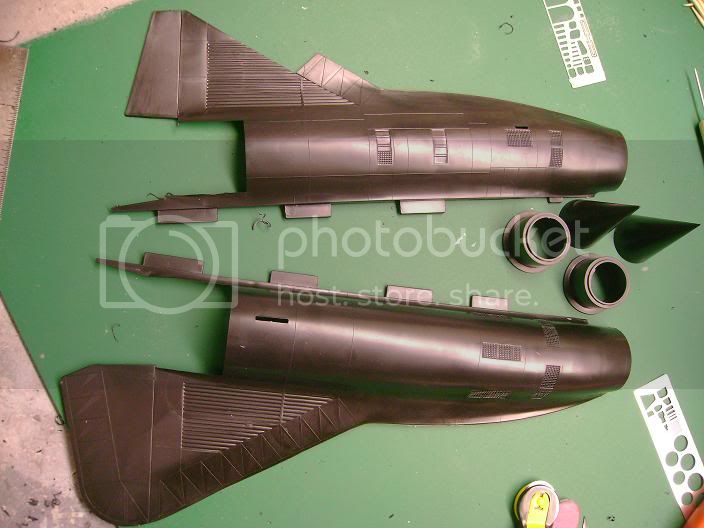
So progress since my last post.I have been spending some time gathering photos for references from walkarounds and other photos and I feel I have enough now.One thing that surprised me was the fact that I could not find one picture where someone shows you the correct panel lines as the Testors kit has a few flaws that I have found so far and quite a few people have re scribed this kit.Normally this would not be an issue to me but since I feel like I'm basically creating my own kit i felt I might as well fix it.So I started wit part#19 why because it was the biggest part i grabbed a hold of first.

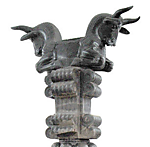
You can see the left side is re scribed the right side is not.First I took my scribing template laid it on top of the line I wanted to scribe and then drew my hobby knife with a sharp blade turned backwards across 5 times as this plastic is really soft and I didn't want to go to deep.Second I took my needle and drew it through my scribed line to open it up.Third I started sanding with a 280 grit sanding stick to remove the raised panel lines and raised parts from scribing.
I then went over this with a 600 grit sanding stick followed by a wet sand with 2000 grit.I then ran my needle through everything again to remove all of the sanding particles.
Forth I took a tooth pick and ran back over all the lines as this makes them smooth and more life like.I continued this process for the remainder of the pc.
Before:

After:And through photo references I noticed there was visible rivet detail on the tail section so I added these in with my trumpeter rivet wheel.

I then moved forward where things under went some changes...

The spots I marked are incorrect and should be removed.
And it should look like this:

All of this should be removed as well:

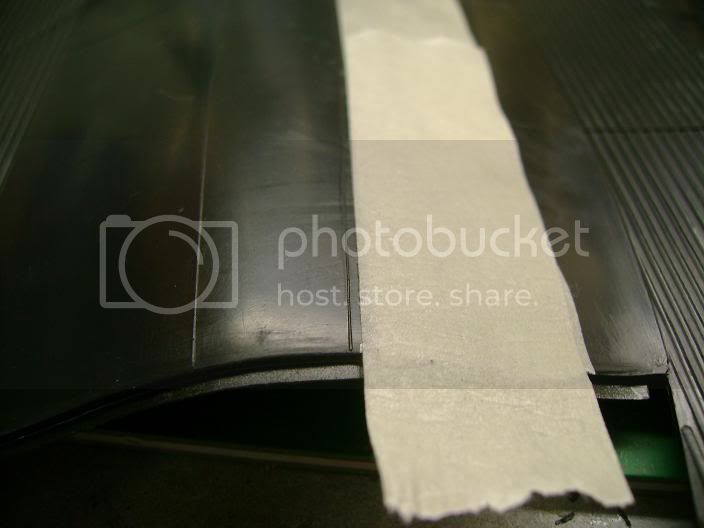
The center panel line on the top does not run the entire length of the plane.It only runs to about a foot in front of the parachute doors with testors didn't bother to mold into the top of the fuselage so I scribed one.Also My kit was way of center so I had to measure and fix all the lines on the top so they were where they should be.I used a pc.of tape to show you how far its off.

Here is the finished pc.corrected and washed and put up so that I can start the next one.

More later thanks for watching


 thanks for the kind words and watching.


 In the immortal words or Monty Burns "Exxxxxxxxxxcellennnnnt !"


 that's all I have to say about that.Ive been on one ever since my last update