Progress
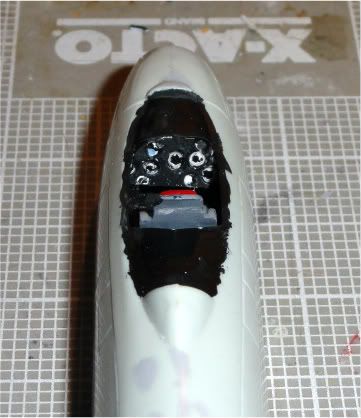
Cockpit:
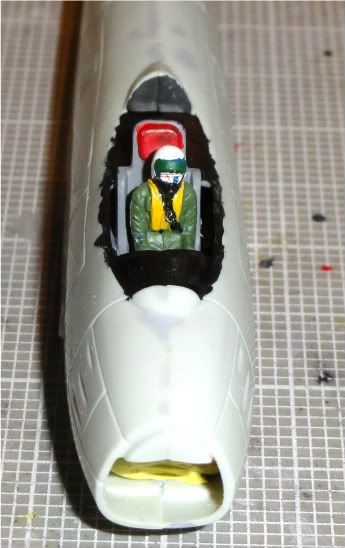
Pilot in place:
Air Campaigns
Want to start or join a group build? This is where to start.
Hosted by Frederick Boucher, Michael Satin
OFFICIAL Matchbox Flying Nostalgia Campaign
Posted: Wednesday, March 21, 2012 - 05:54 PM UTC
Posted: Thursday, March 22, 2012 - 10:53 PM UTC
Improvising a bit with colours, XF-72 or the straps and belts, XF-49 for the 'chute . . . .
I even gave him some eyebrows with a fineliner !
Mark, nice job on the office, your pilot looks right at home there !
Adam, great to see you here, Im looking forward to seeing what you do with the He115. I built that kit a couple of years ago for the Seaplanes Campaign, some pics HERE on my club website.
Daniel, welcome aboard mate. Please post some pics of your kit and build once you get started.
Cheers, D
Posted: Thursday, March 22, 2012 - 11:42 PM UTC
After a wash of highly thinned XF-1 Flat Black Enamel to make the details pop out a bit better, he's done !
Now to get some paint on the office for him so he can sit down and get to work.
Apologies for the ordinary picture quality, I'm in desperate need of a decent camera.
Cheers, D
Now to get some paint on the office for him so he can sit down and get to work.
Apologies for the ordinary picture quality, I'm in desperate need of a decent camera.
Cheers, D
mtnflyer
Alberta, Canada
Joined: March 08, 2009
KitMaker: 394 posts
AeroScale: 360 posts
Joined: March 08, 2009
KitMaker: 394 posts
AeroScale: 360 posts
Posted: Friday, March 23, 2012 - 01:49 AM UTC
Neat job on the pilot, Aussie. At first I thought 1/72 and wondered, "How'ed he do that?". Did the parachute come with him?
I've never done a figure, but, might just follow your lead.
Posted: Friday, March 23, 2012 - 11:40 PM UTC
Thanks for the kind comments Guy. If it was 1/72 my technique would probably be to just dunk him in the paint and put a spot of white on the face, that's about how well I would be able to see it ! I actually really enjoyed painting him, it was a nice break from the airbrushing and assembly, and a good initiation for the figures I will be doing in my 1/24 dio (when I finaly get back to it HERE ).
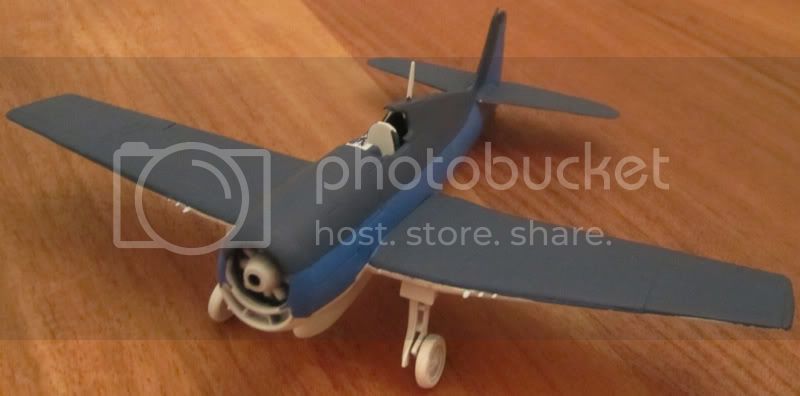
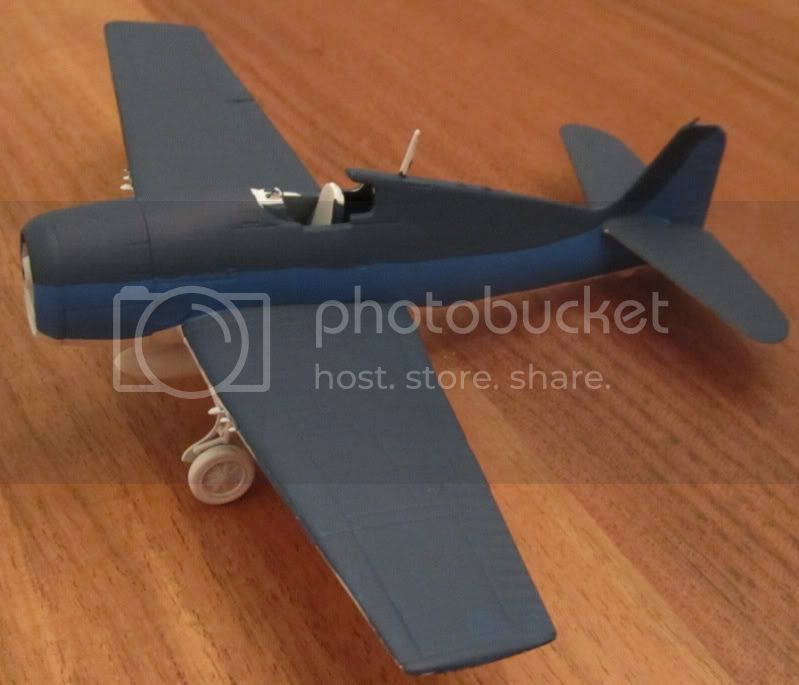
Anyway, back to business, I got some airbrushing time tonight, so here's "The Office - Stage 1" . . .
Cheers, D
Anyway, back to business, I got some airbrushing time tonight, so here's "The Office - Stage 1" . . .
Cheers, D
Posted: Saturday, March 24, 2012 - 10:39 AM UTC
Nice job on the pilot, Damian. Looking forward to see more on the cockpit.
Cool choice of kit, Adam. You might need some filling around the clear parts, but otherwise great kit.
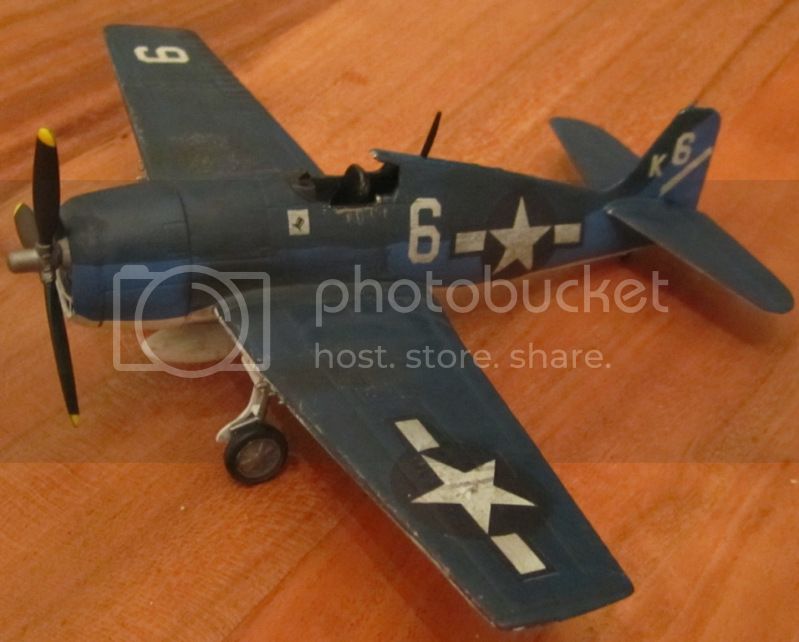
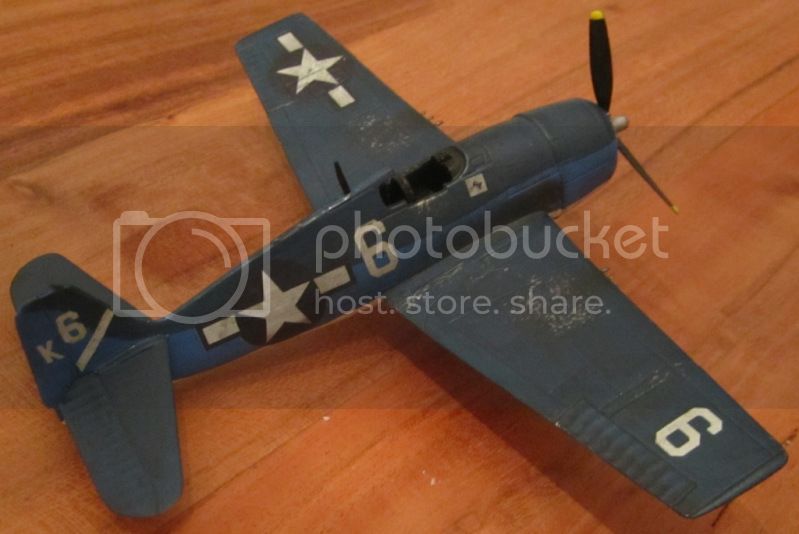
I made a little more progress on my Hellcat. I handpainted all, so need to do a few touch ups. More to follow.
Cool choice of kit, Adam. You might need some filling around the clear parts, but otherwise great kit.
I made a little more progress on my Hellcat. I handpainted all, so need to do a few touch ups. More to follow.
Posted: Sunday, March 25, 2012 - 01:11 AM UTC
Hi Jesper. Your Hellcat is coming along really nicely. Hand-painted ? Man, you ARE going for 100% nostalgia on this one !
I got some time to detail paint and sludge up the office today.
and the pilot jumped in for a test-fit . . .
Once again, apologies for the poor quality photos.
Cheers, D
I got some time to detail paint and sludge up the office today.
and the pilot jumped in for a test-fit . . .
Once again, apologies for the poor quality photos.
Cheers, D
Posted: Sunday, March 25, 2012 - 06:57 AM UTC
Here's my progress so far
The T55 is assembled
Primed
and spray with Alclad Aluminium
Any tips on how to do weathering raised panel lines????
The T55 is assembled
Primed
and spray with Alclad Aluminium
Any tips on how to do weathering raised panel lines????
Posted: Friday, March 30, 2012 - 12:46 AM UTC
Nice job on the Alclad Tomcat, looking good. It might be worth trying a thin "sludge wash" like Promodeller that you can wipe down with a damp Q-tip if it's too heavy.
Some more assembly done on my 109, got the fuselage closed up and the stabilizers in place.
Working on the main wing assemblies tonight while I have a beer and celebrate my birthday.
Cheers , D
Some more assembly done on my 109, got the fuselage closed up and the stabilizers in place.
Working on the main wing assemblies tonight while I have a beer and celebrate my birthday.
Cheers , D
mtnflyer
Alberta, Canada
Joined: March 08, 2009
KitMaker: 394 posts
AeroScale: 360 posts
Joined: March 08, 2009
KitMaker: 394 posts
AeroScale: 360 posts
Posted: Friday, March 30, 2012 - 01:14 AM UTC
Quoted Text
Working on the main wing assemblies tonight while I have a beer and celebrate my birthday.
The build is moving along quite nicely. Don't drink too much beer, as it has a tendency to dampen your efforts for a bit. And thats experience talking. But have a wonderful, happy birthday!
Posted: Friday, March 30, 2012 - 10:05 AM UTC
Oh Goosh, D's having another 29th birthday party?
Posted: Friday, March 30, 2012 - 10:56 AM UTC
Quoted Text
Oh Goosh, D's having another 29th birthday party?
Yep, this will be 16 years in a row I've turned 29 !
Posted: Friday, March 30, 2012 - 11:12 AM UTC
Quoted Text
Yep, this will be 16 years in a row I've turned 29 !
Keep practicing, you'll get it right sooner or later.
oraora
Kuching, Malaysia
Joined: June 19, 2002
KitMaker: 216 posts
AeroScale: 128 posts
Joined: June 19, 2002
KitMaker: 216 posts
AeroScale: 128 posts
Posted: Saturday, March 31, 2012 - 11:13 PM UTC
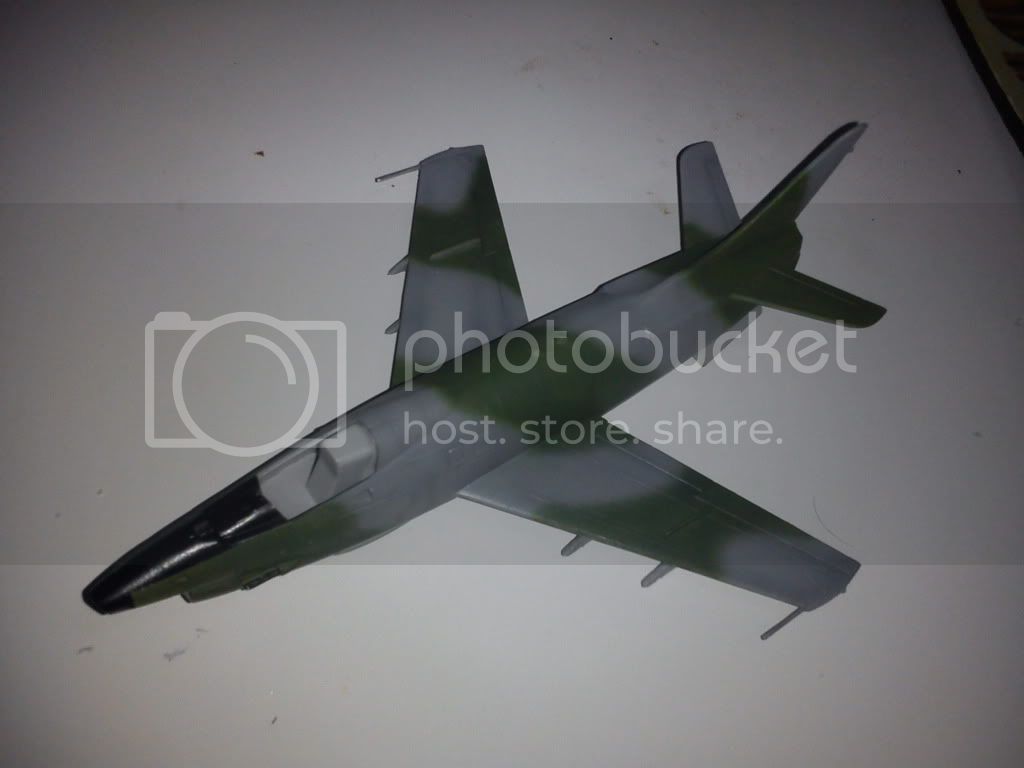
I'm stuck, I dunno weather to continue my G-91Y or not. My decals just breaks to small pieces when dipped in water. I'm hopping I could get a replacement but chances are slim..
Posted: Saturday, March 31, 2012 - 11:34 PM UTC
That's bad news Ken, but it's always a chance with kits of this age. If you can't get a replacement set, just finish it in a "what-if?" scheme, I would be perfectly happy with that option.
Cheers, D
Cheers, D
Posted: Sunday, April 01, 2012 - 02:12 AM UTC
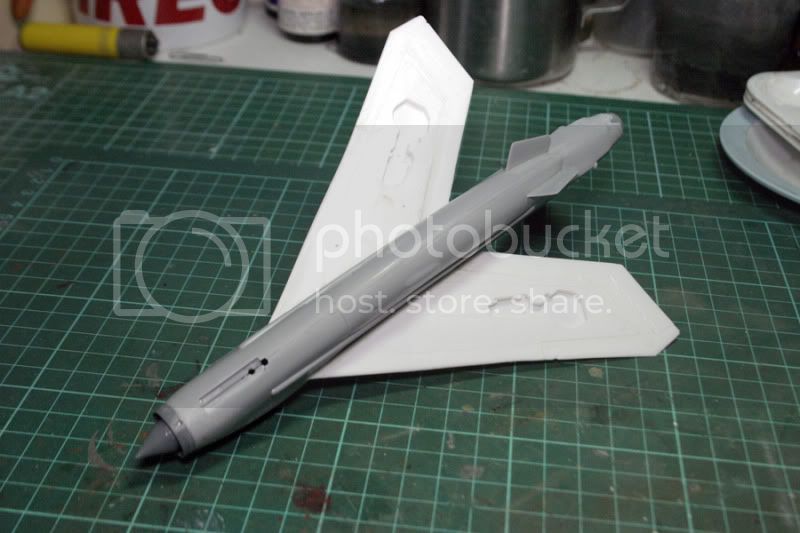
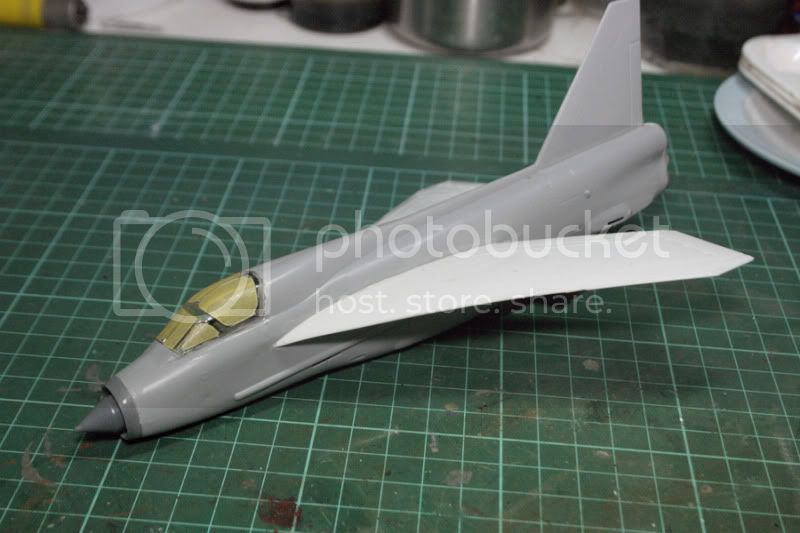
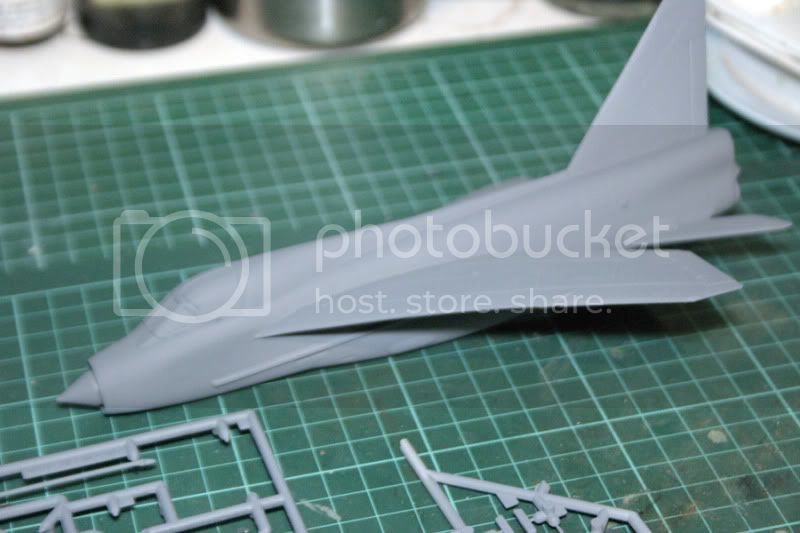
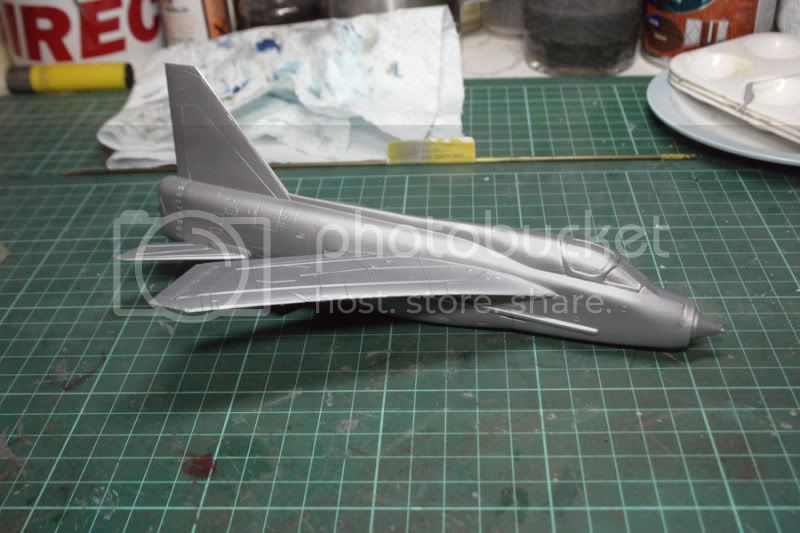
Meanwhile, back at Chateau Reggie, we have wings !
The fit is surprisingly good, I might even get away with not using any putty on this !
Cheers, D
The fit is surprisingly good, I might even get away with not using any putty on this !
Cheers, D
Posted: Sunday, April 01, 2012 - 02:14 AM UTC
update time!
due to the fact that the only details in the cockpit are two seats and a joystick I've got this together a lot quicker than I normally do
I was eight years old when this was first issued!
one thing I do find slightly annoying about matchbox kits is that wings and fuselages got chopped up in order to fit in a standard sized box-
in this case, the fact that the joining tabs were a sloppy, loose fit meant I had to use shims to get a nice straight wing
heres where I'm at now-
another thing I couldn't believe is that the gondola glazing and the bomb aimers glazing is in fact just outlines on the fuselage
Posted: Sunday, April 01, 2012 - 02:21 AM UTC
Quoted Text
another thing I couldn't believe is that the gondola glazing and the bomb aimers glazing is in fact just outlines on the fuselage
Maybe you could try masking the glazed areas off and spraying them with some clear paint ??
Looking great so far Phil, very nice work.
As I always do, I have been updating everybody's progress in the Roll Call/Build Status post on page 1, so please take a look to get a snapshot of where we are all at.
Cheers, D
Posted: Sunday, April 01, 2012 - 06:51 AM UTC
I was thinking of painting them gloss black, I did consider cutting out and glazing the windows but the very rear gondola window is a curved semi circular section that really needs a vac form piece to do it justice.
on a slightly brighter note, I'm now the owner of a matchbox percival provost thanks to a well known auction site, that I'll be building as part of this campaign as well.
Posted: Sunday, April 01, 2012 - 07:30 AM UTC
I'll vote for painting the missing glazings gloss black and then covering with future. My last adventure at faking windows went painfully awry. I spent a month cutting filling and sanding sanding to get CA windows and ended up having to paint them gloss black at the end.
Janglais
Australian Capital Territory, Australia
Joined: March 04, 2012
KitMaker: 16 posts
AeroScale: 8 posts
Joined: March 04, 2012
KitMaker: 16 posts
AeroScale: 8 posts
Posted: Sunday, April 01, 2012 - 09:24 AM UTC
The Buffalo I ordered arrived a week or so ago, but haven't had a chance to start it as yet.
Had a look over the weekend...
1) Unopened box (dated 1983).
Untitled by JanglaisModeller, on Flickr
2) Parts and box - the decal sheet doesn't look like it has aged too well.
Untitled by JanglaisModeller, on Flickr
Might get started on this in the coming days while doing research on my other project (Vietnam RAAF Canberra).
I'm currently looking into 453 Squadron casualties, so I might try and get some decals for one of their aircraft.
Cheers,
Daniel
oraora
Kuching, Malaysia
Joined: June 19, 2002
KitMaker: 216 posts
AeroScale: 128 posts
Joined: June 19, 2002
KitMaker: 216 posts
AeroScale: 128 posts
Posted: Sunday, April 01, 2012 - 03:05 PM UTC
Damian, I'll try to save it first with a coat of future.. dunno if it works or not. Otherwise I will have to go with your advice on a what-if unless if I could get my hands on some Italian roundels and squadron markings to make it reasonably close..
My updates so far...
Posted: Tuesday, April 03, 2012 - 05:18 AM UTC
Quoted Text
Hi Jesper. Your Hellcat is coming along really nicely. Hand-painted ? Man, you ARE going for 100% nostalgia on this one !
Cheers, D
Definitely! I even insisted on using the old decals although part of the covering paper is still stuck to it. Pictures to follow shortly.
My plan is to finish the Hellcat old school and then do a Halifax or Lancaster to the best of my ability - which might not make much difference anyway
Damian, nice progress on the office in the Messerschmitt.
Nice T55, Allen. I have had good results with pastels on raised panel lines. However, never on all metal surfaces. I use the pastels or the Tamiya "makeup kit" before the final layer of varnish. This makes it possible to be heavy handed and then have the varnish tone it down and blend it in. Hope this helps.
Great progress on the JU 188, Phil. Looking forward to see more on this bird. I have a couple in my stash, but have not gotten around to build them yet.
Ken, I have not read the start of your problems. You need decals? I think I have some in my stash - if they work. I know for sure I have one of these kits in my stash, so if you need decals I can probably donate the Italian ones to you and build the other version myself.
After all, I have to make myself a little usefull as second in command for this campaign
Posted: Wednesday, April 04, 2012 - 03:48 AM UTC
A little more progress on my Hellcat. It is almost done. An overall mat coat and the cockpit glazing and I am calling this one done.
More to follow soon.
oraora
Kuching, Malaysia
Joined: June 19, 2002
KitMaker: 216 posts
AeroScale: 128 posts
Joined: June 19, 2002
KitMaker: 216 posts
AeroScale: 128 posts
Posted: Thursday, April 05, 2012 - 03:05 AM UTC
Thanks for the offer, Jesper. I would love it but though there are 2 options for the kit, both are Italian machines. So only 1set of Italian decals were provided and if you were to give me yours, you won't have any for yourself. I did try to use future but it din't work. I think I will come out with something..
Btw, very nice hellcat built you got there, considering you hand painted it completely.