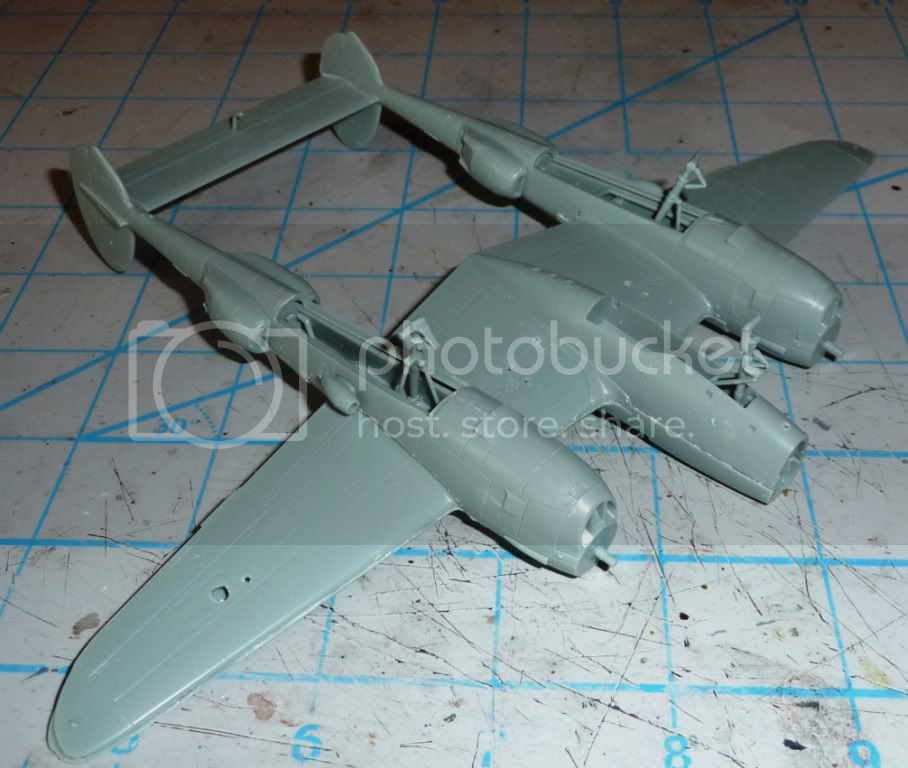
Welcome to the Pin-ups 2 campaign!
Please post your progress and campaign fellowship here
If you haven't already joined, you can Enlist Here
Please post the photos of you completed build in the Official Campaign Gallery
Air Campaigns
Want to start or join a group build? This is where to start.
Want to start or join a group build? This is where to start.
Hosted by Frederick Boucher, Michael Satin
OFFICIAL: Pin-ups 2 Campaign
Posted: Saturday, March 31, 2012 - 08:43 PM UTC

Keeperofsouls2099

Joined: January 14, 2009
KitMaker: 2,798 posts
AeroScale: 2,443 posts

Posted: Sunday, April 01, 2012 - 05:07 AM UTC
Welcome all I look forward to all the interesting builds and fun.remember post lots of pics and enjoy your builds.i will be starting on my p-47n soon 

Dimitar

Joined: November 08, 2011
KitMaker: 414 posts
AeroScale: 126 posts

Posted: Sunday, April 01, 2012 - 06:29 AM UTC
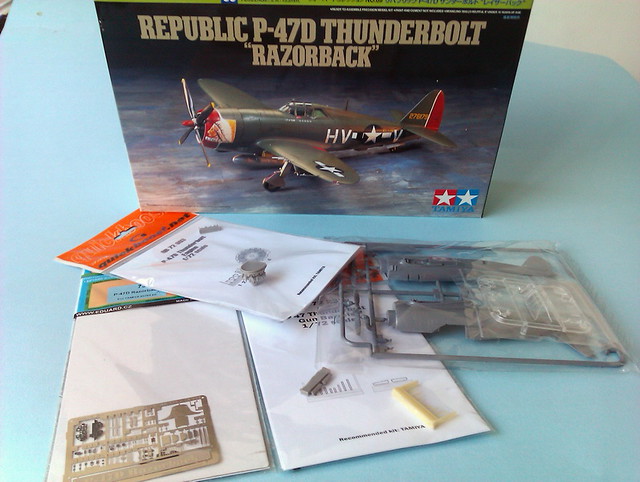
So, being only six month long campaign I'll go for a P-47 instead of P-61. But it will be a P-47 with a Black Widow suitable name - P-47D-15-RA "Sleepy Time Gal" Serial Number 42-23224. The model is a Tamiya 1/72 edition with some aftermarket items. Tomorrow I'll post some pics of the whole thing. Good luck to all of you!
StefanBuysse

Joined: December 18, 2010
KitMaker: 32 posts
AeroScale: 27 posts

Posted: Wednesday, April 04, 2012 - 08:39 AM UTC
Hi,
I'll be building a P-40L of the checkertail clan with the "Trixie" nose art.
The kit is the AMTech kit and the decals are from an Aeromaster sheet.
Cheers, Stefan.
I'll be building a P-40L of the checkertail clan with the "Trixie" nose art.
The kit is the AMTech kit and the decals are from an Aeromaster sheet.
Cheers, Stefan.

Keeperofsouls2099

Joined: January 14, 2009
KitMaker: 2,798 posts
AeroScale: 2,443 posts

Posted: Thursday, April 05, 2012 - 12:11 PM UTC
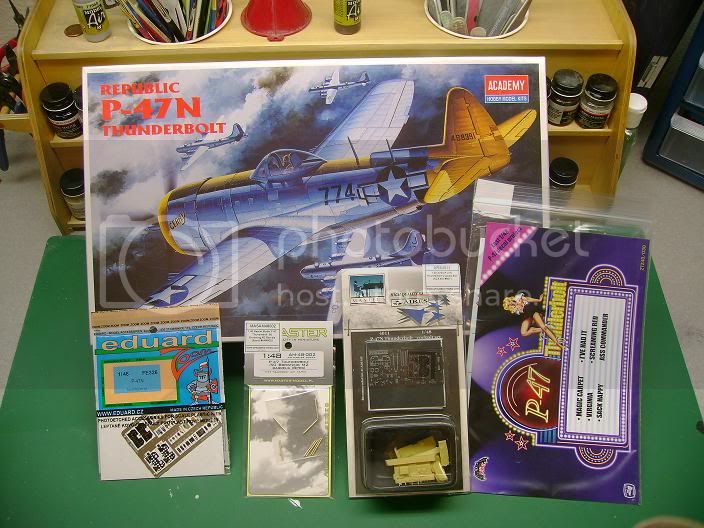
So I will be building Academy's 1/48th P-47N using and aires cocpit set,master gun barrels,eduard photo etch,and zots decals.I should start soon looking forward to this one 


Posted: Tuesday, April 10, 2012 - 03:26 AM UTC
Looks to be a fun build with lots of improvement to the basic kit, Justin. Looking forward to follow your progress.
I will probabl;y build the Revell/Monogram 1/48 B-25 bomber. But as usual I might change my mind a lot of times.
I will probabl;y build the Revell/Monogram 1/48 B-25 bomber. But as usual I might change my mind a lot of times.


Keeperofsouls2099

Joined: January 14, 2009
KitMaker: 2,798 posts
AeroScale: 2,443 posts

Posted: Tuesday, April 10, 2012 - 04:02 AM UTC
Ahhh that's ok you still have plenty of time I think it's something that seams to be eluding me 


Keeperofsouls2099

Joined: January 14, 2009
KitMaker: 2,798 posts
AeroScale: 2,443 posts

Posted: Tuesday, April 10, 2012 - 04:03 AM UTC
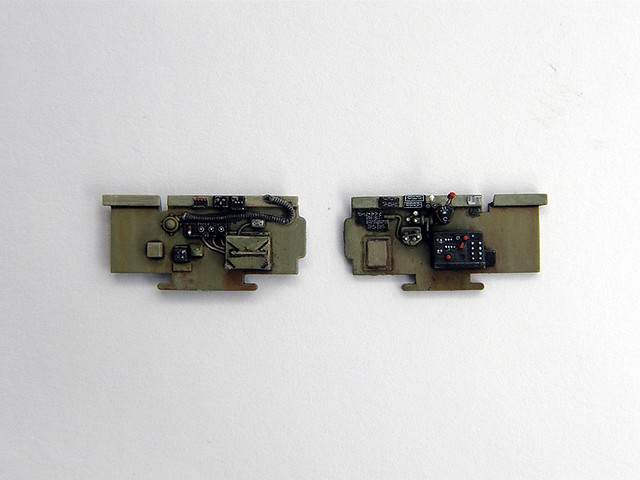
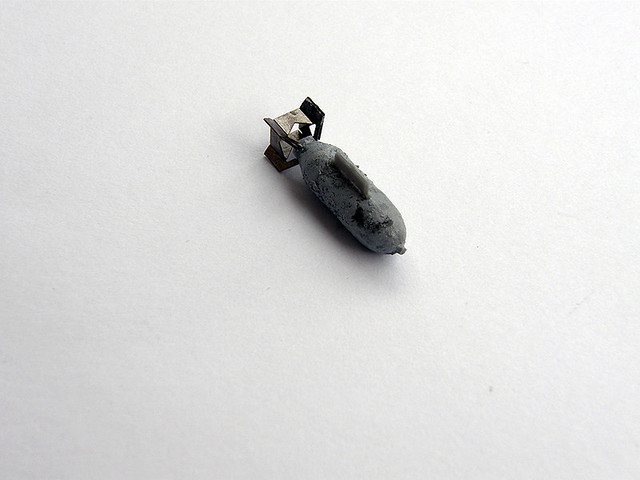
Although I did manage to get the resin cleaned up 


Dimitar

Joined: November 08, 2011
KitMaker: 414 posts
AeroScale: 126 posts

Posted: Wednesday, April 11, 2012 - 08:35 PM UTC
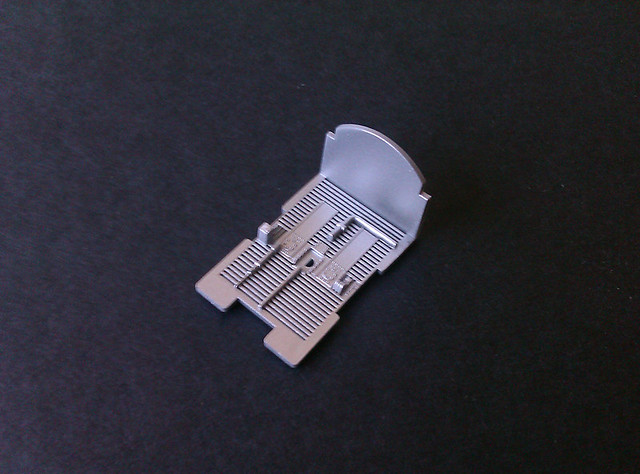
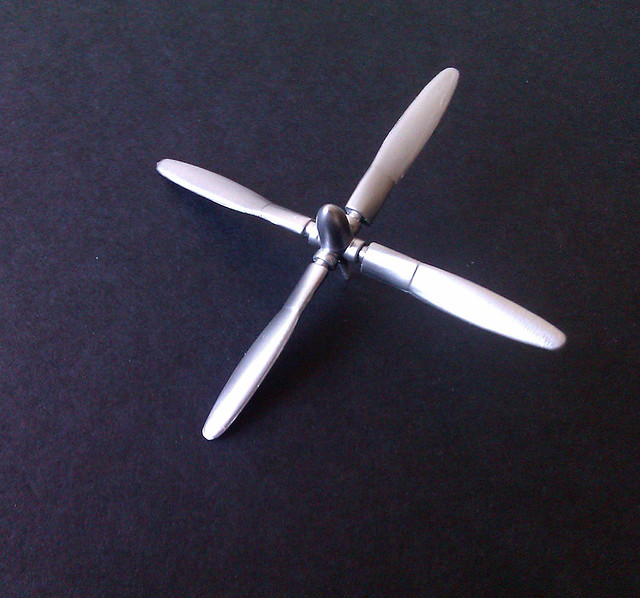
Finally, the chosen subject for this group build.
IMAG0741
I did some preparation work (searching photos, camouflage and markings instructions) only to find that the Quickboost R-2800 is completely wrong. So for now I'll only use the PE set and gun barrels. Sadly, some parts of the set are equally dreadful as they are missing bending lines.

IMAG0741
I did some preparation work (searching photos, camouflage and markings instructions) only to find that the Quickboost R-2800 is completely wrong. So for now I'll only use the PE set and gun barrels. Sadly, some parts of the set are equally dreadful as they are missing bending lines.

Keeperofsouls2099

Joined: January 14, 2009
KitMaker: 2,798 posts
AeroScale: 2,443 posts

Posted: Wednesday, April 11, 2012 - 11:00 PM UTC
Good to see you have started and look forward to your progress sir 


Dimitar

Joined: November 08, 2011
KitMaker: 414 posts
AeroScale: 126 posts

Posted: Thursday, April 12, 2012 - 04:30 AM UTC

Dimitar

Joined: November 08, 2011
KitMaker: 414 posts
AeroScale: 126 posts

Posted: Sunday, April 15, 2012 - 10:29 PM UTC

Keeperofsouls2099

Joined: January 14, 2009
KitMaker: 2,798 posts
AeroScale: 2,443 posts

Posted: Sunday, April 15, 2012 - 11:15 PM UTC
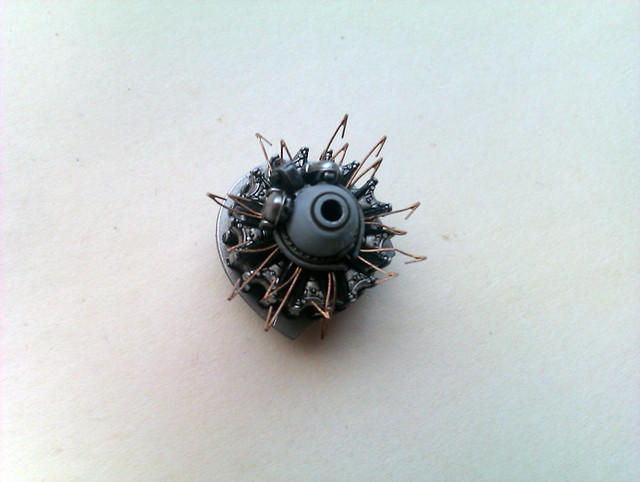
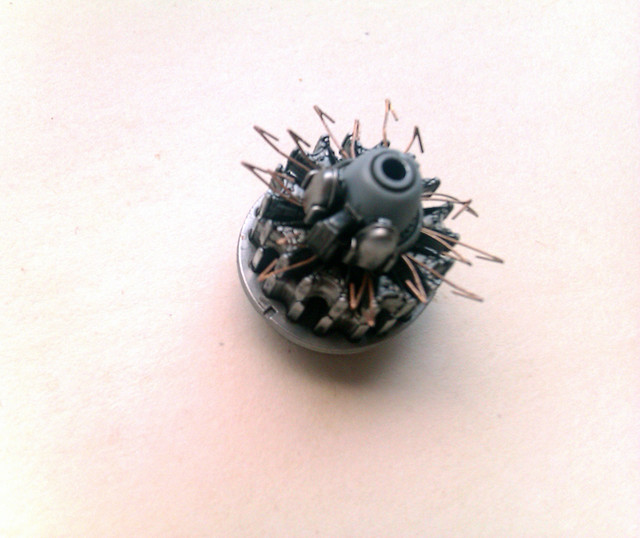
Good detail work the engine came out excellent 


Dimitar

Joined: November 08, 2011
KitMaker: 414 posts
AeroScale: 126 posts

Posted: Thursday, April 19, 2012 - 07:17 AM UTC

Keeperofsouls2099

Joined: January 14, 2009
KitMaker: 2,798 posts
AeroScale: 2,443 posts

Posted: Friday, April 20, 2012 - 02:00 PM UTC
Nice work your all over the place on this build and from the looks of it has seen ALOT of action good work 

ltb073

Joined: March 08, 2010
KitMaker: 3,662 posts
AeroScale: 174 posts

Posted: Saturday, April 21, 2012 - 05:15 AM UTC

Keeperofsouls2099

Joined: January 14, 2009
KitMaker: 2,798 posts
AeroScale: 2,443 posts

Posted: Saturday, April 21, 2012 - 05:26 AM UTC
Sweet one of my faves look forward to your build.painting is a snap just take your time 

ltb073

Joined: March 08, 2010
KitMaker: 3,662 posts
AeroScale: 174 posts

Posted: Thursday, April 26, 2012 - 02:47 AM UTC

Keeperofsouls2099

Joined: January 14, 2009
KitMaker: 2,798 posts
AeroScale: 2,443 posts

Posted: Thursday, April 26, 2012 - 12:34 PM UTC
Excellent can't wait to see it finished 

Posted: Tuesday, May 01, 2012 - 06:14 AM UTC
Nice progress, Sal. Looking forward to see it with some paint on.
Very nice engine and office, Dimitar. The painting and level of detail is top notch.
Very nice engine and office, Dimitar. The painting and level of detail is top notch.
ltb073

Joined: March 08, 2010
KitMaker: 3,662 posts
AeroScale: 174 posts

Posted: Monday, May 07, 2012 - 01:04 AM UTC
Quoted Text
Nice progress, Sal. Looking forward to see it with some paint on.
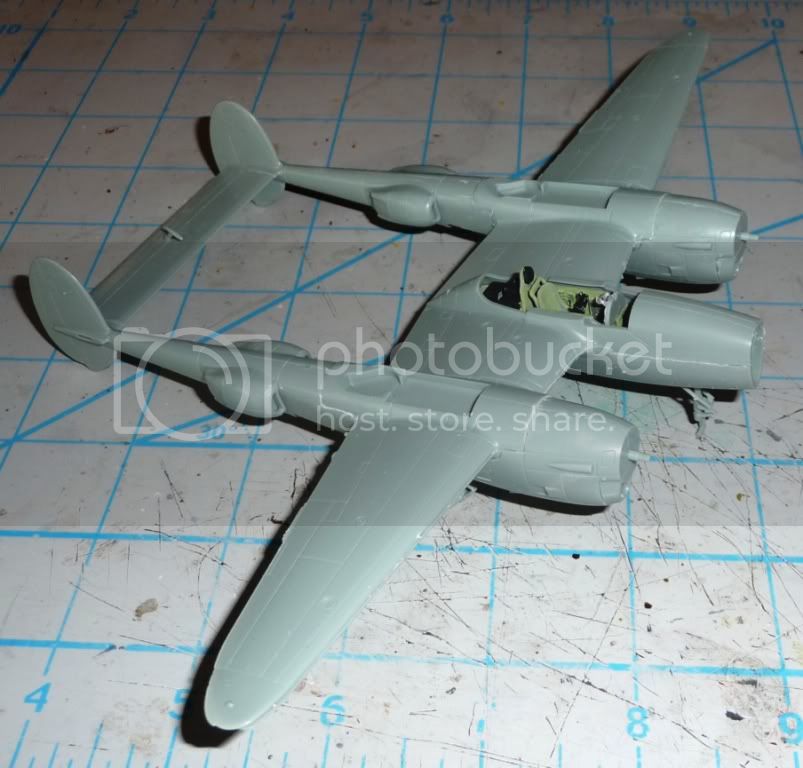
Thanks Jasper, here it is with some paint Tamyia OD green airbrushed
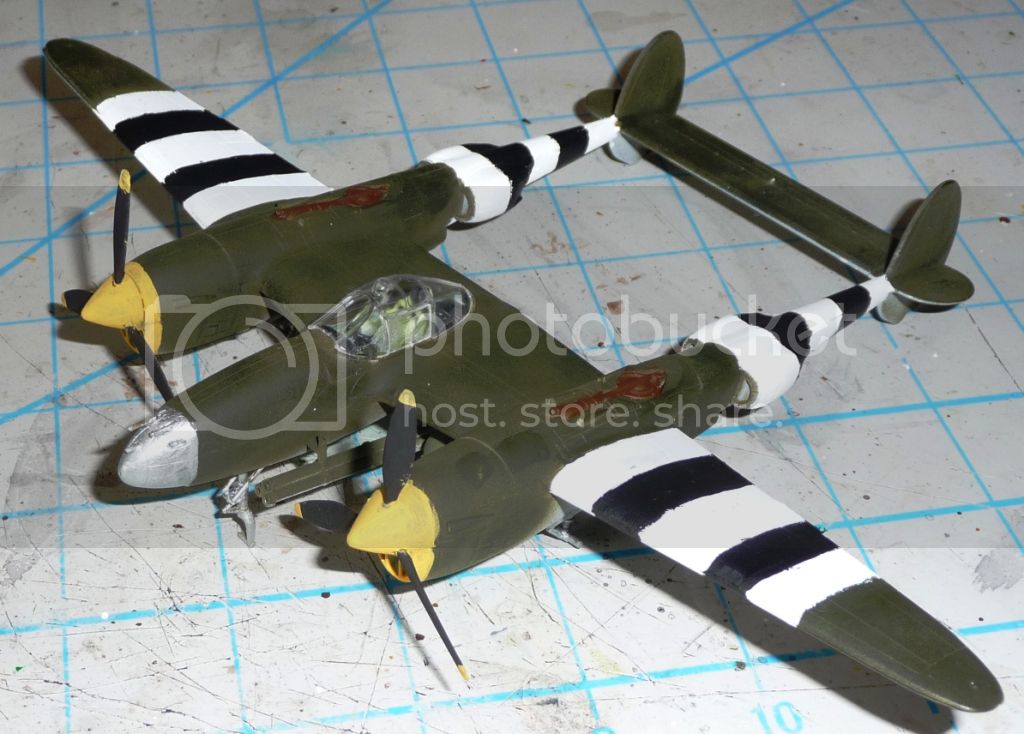
The stripes I did by hand with no masking

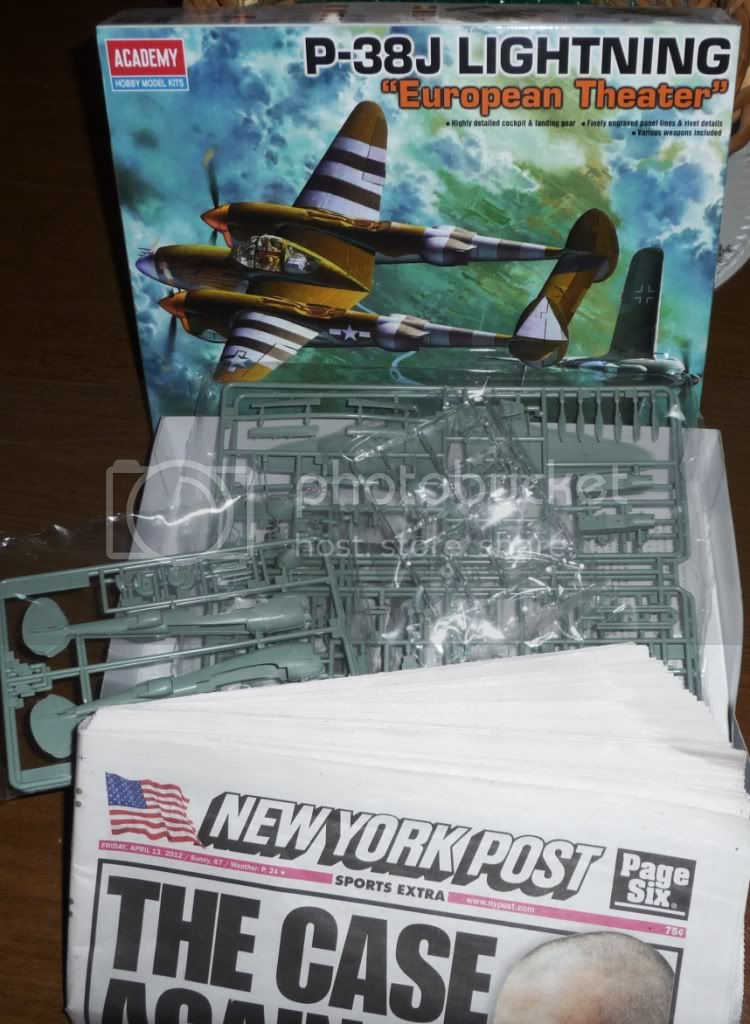
My question is who to you weather a bird like this

My 1st time since back to the hobby that I am building a bird that aint silver


Dimitar

Joined: November 08, 2011
KitMaker: 414 posts
AeroScale: 126 posts

Posted: Monday, May 07, 2012 - 03:09 AM UTC
Quoted Text
Very nice engine and office, Dimitar. The painting and level of detail is top notch.
Thank you. Soon to upload some progress pics.
Sal, you're one fast modeller!
Your D-Day stripes are made freehand entirely, am I right? They could benefit some masking to make the edges sharper. About the weathering - some silver chipping around the cockpit entrance, and the areas where the ground crew would walk, exhaust stains behind the superchargers... That's for starters. If you are experienced with your airbrush you can post shade some panel lines and also imitate the fading of the OD paint.

Keeperofsouls2099

Joined: January 14, 2009
KitMaker: 2,798 posts
AeroScale: 2,443 posts

Posted: Monday, May 07, 2012 - 11:43 AM UTC
Good progress looks like you will be the first one to land on the deck 

ltb073

Joined: March 08, 2010
KitMaker: 3,662 posts
AeroScale: 174 posts

Posted: Monday, May 07, 2012 - 01:08 PM UTC
Quoted Text
Sal, you're one fast modeller!
Your D-Day stripes are made freehand entirely, am I right? They could benefit some masking to make the edges sharper. About the weathering - some silver chipping around the cockpit entrance, and the areas where the ground crew would walk, exhaust stains behind the superchargers... That's for starters. If you are experienced with your airbrush you can post shade some panel lines and also imitate the fading of the OD paint.
Fast Yes, I am retired

 Free hand stripes yes as well I didnt want to mask them and take the chance of the tape pulling off the paint
  I will try the chipping but that never goes right for me and my shading/fading skills are not that great either but we will see. Thanks for the help

Keeperofsouls2099

Joined: January 14, 2009
KitMaker: 2,798 posts
AeroScale: 2,443 posts

Posted: Monday, May 07, 2012 - 03:05 PM UTC
A coat of future would insure you not pulling up paint.Also good dry times I usually give mine a good day between steps for the paint to cure really good.pre cleaning to get all the oils off before painting.another good one is to put the tape on your pants and pull it off to remove some of the tack first 

 |


