

Looking forward to see more.


Lance shes coming together real Nice, the black looks nicely worn in already. I'm not going to say.... Oh you missed ... cos I'm not that evil and besides You havent missed anything... but... no...
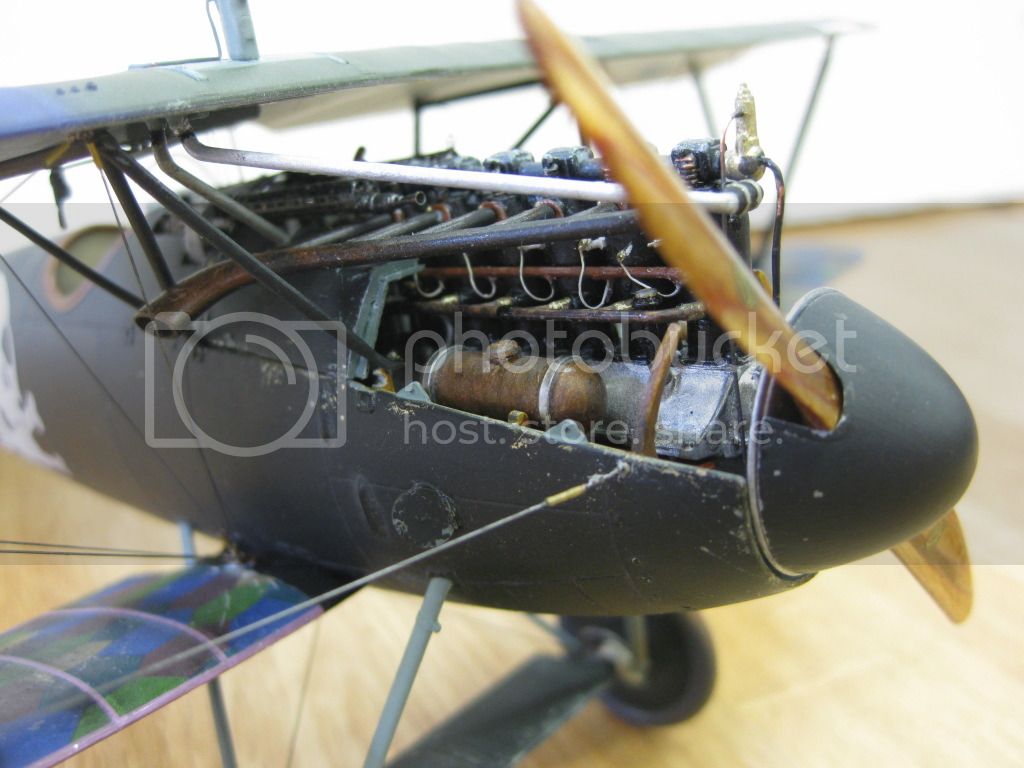
You going to prerig the lower mounting points before adding the upper wing?
BTW if you wonder what happened to my AMS Albie, its plodding along, times tight atm and succumbing to another D.V iin a moment of weakness didnt help, so theres 2 on the bench at once.
I hope you make the deadline my friend. I take it the *How to build the WNW albie book is worth the money then?
Keith


 (Mad laughing)


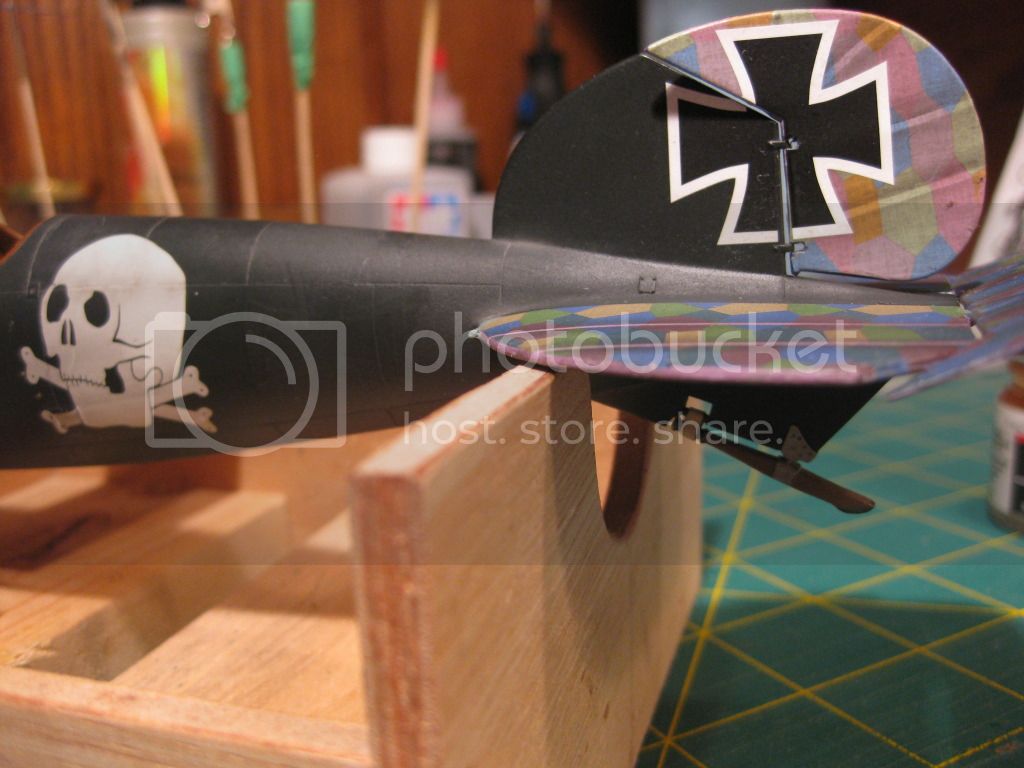
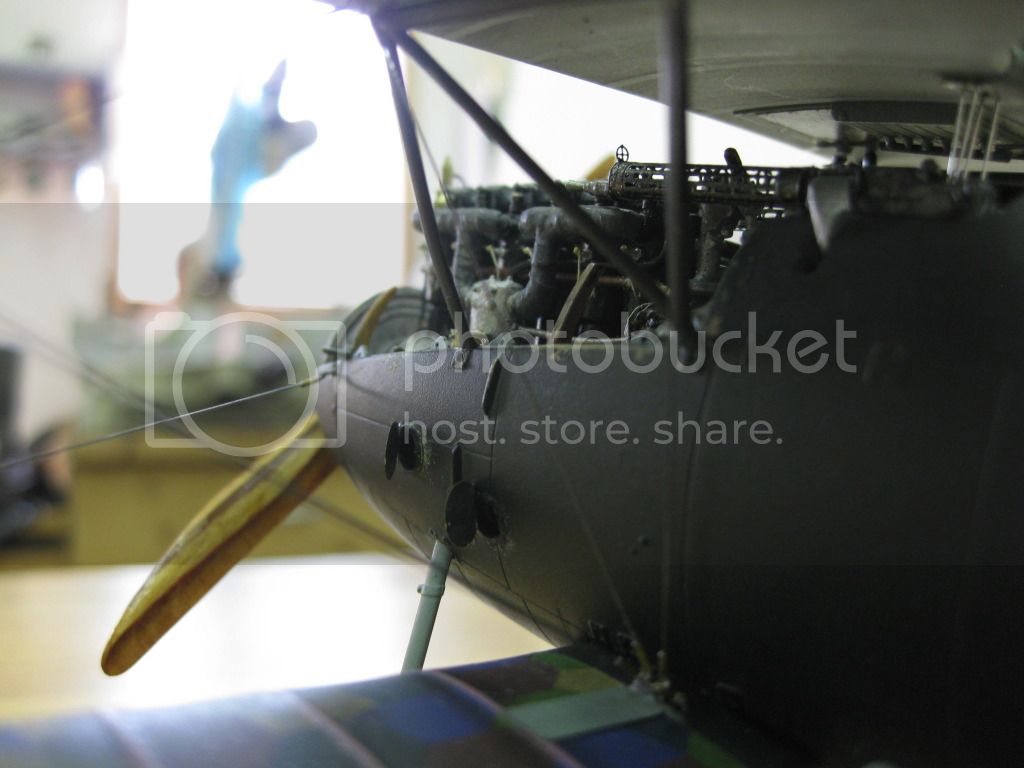
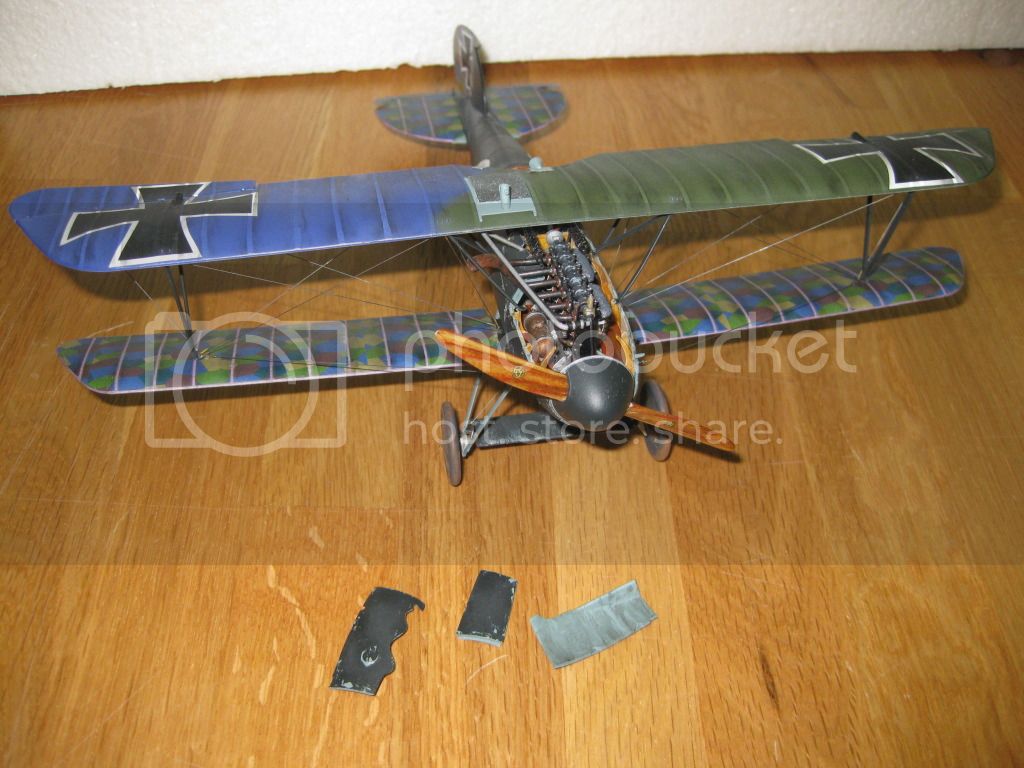
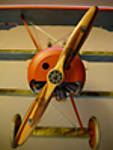
 If you look at the forward "N" Strut in the photo below you can see the "WOW" in it.
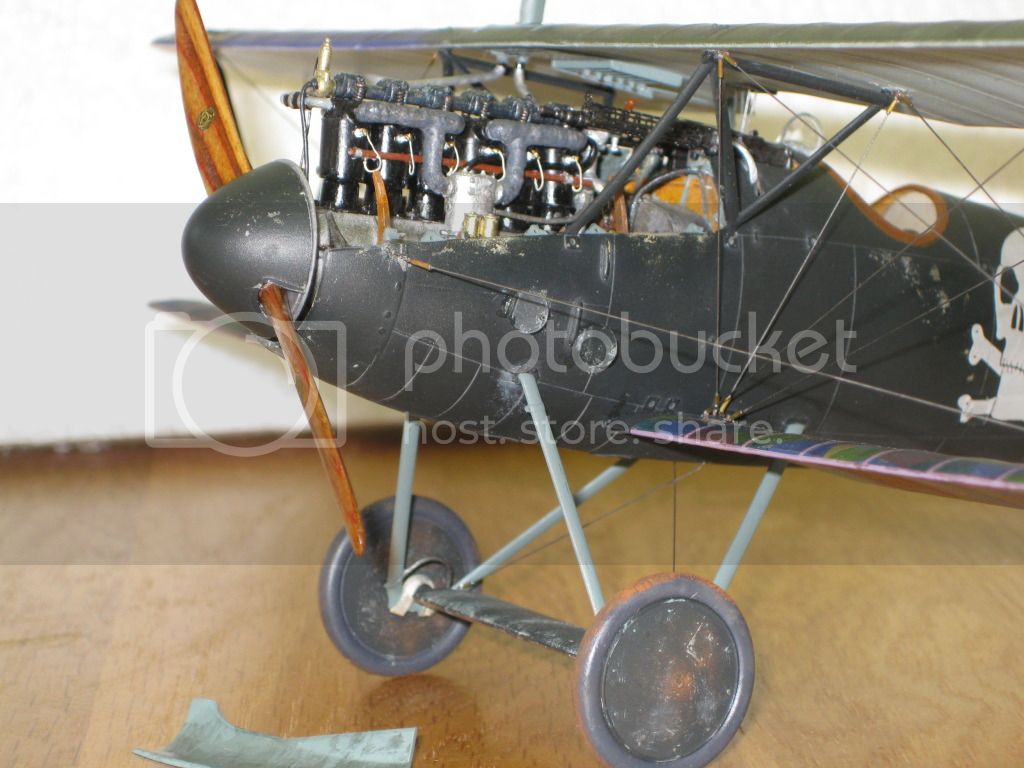


If you look at the forward "N" Strut in the photo below you can see the "WOW" in it.
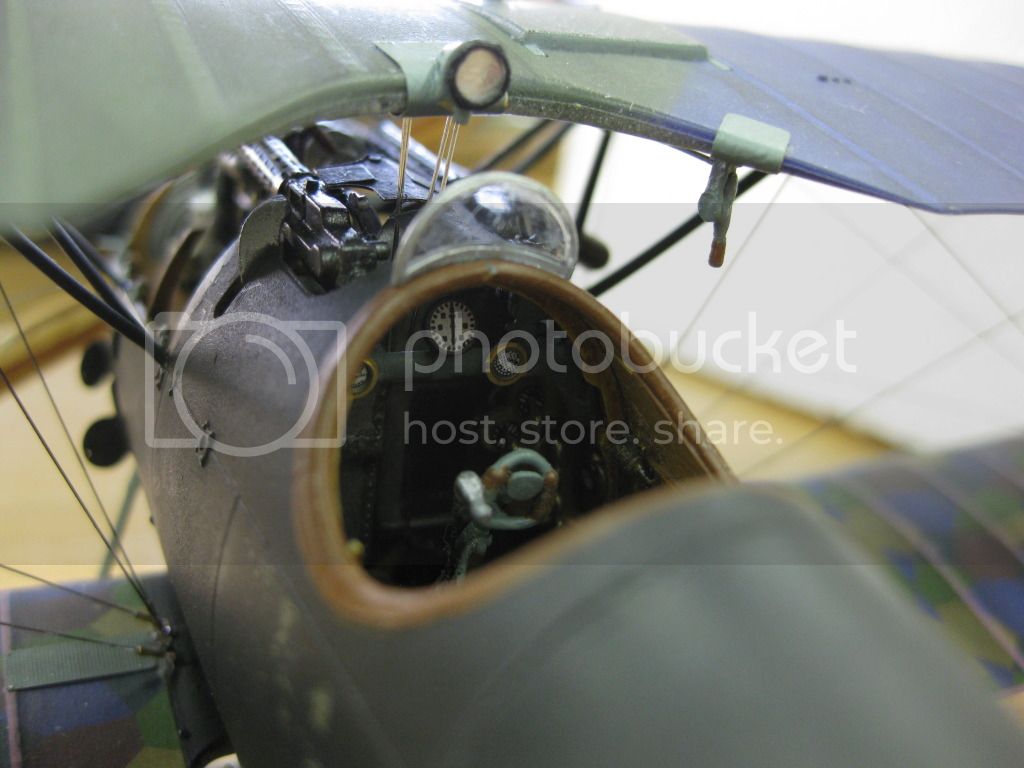
Quoted TextIf you look at the forward "N" Strut in the photo below you can see the "WOW" in it.
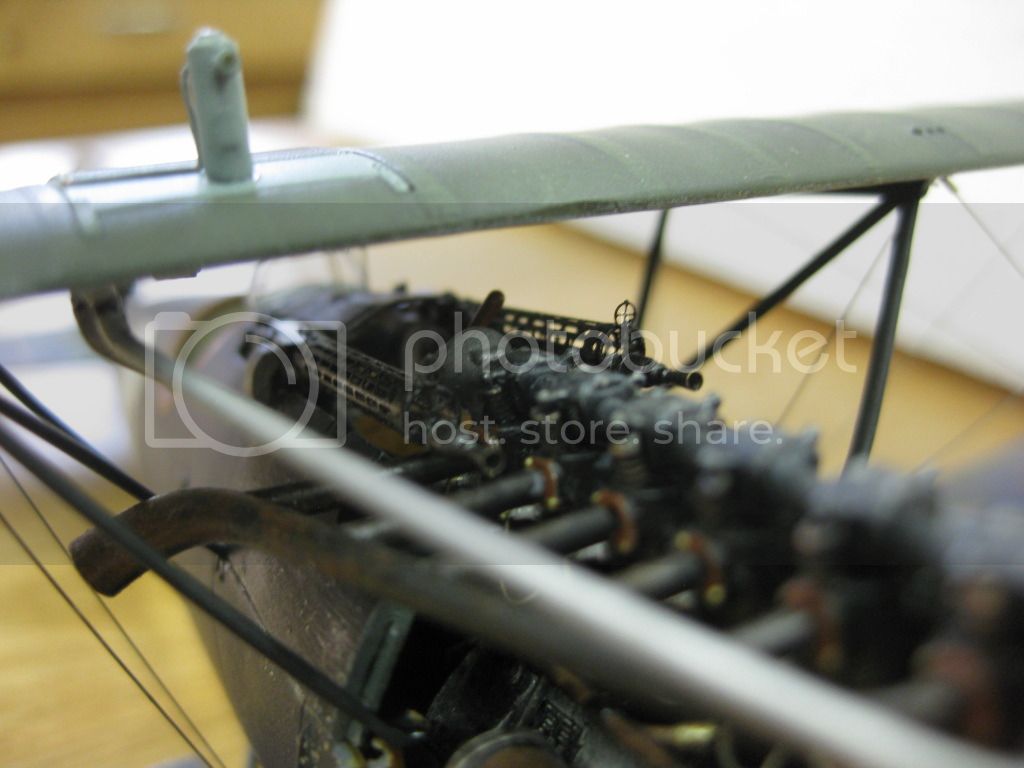
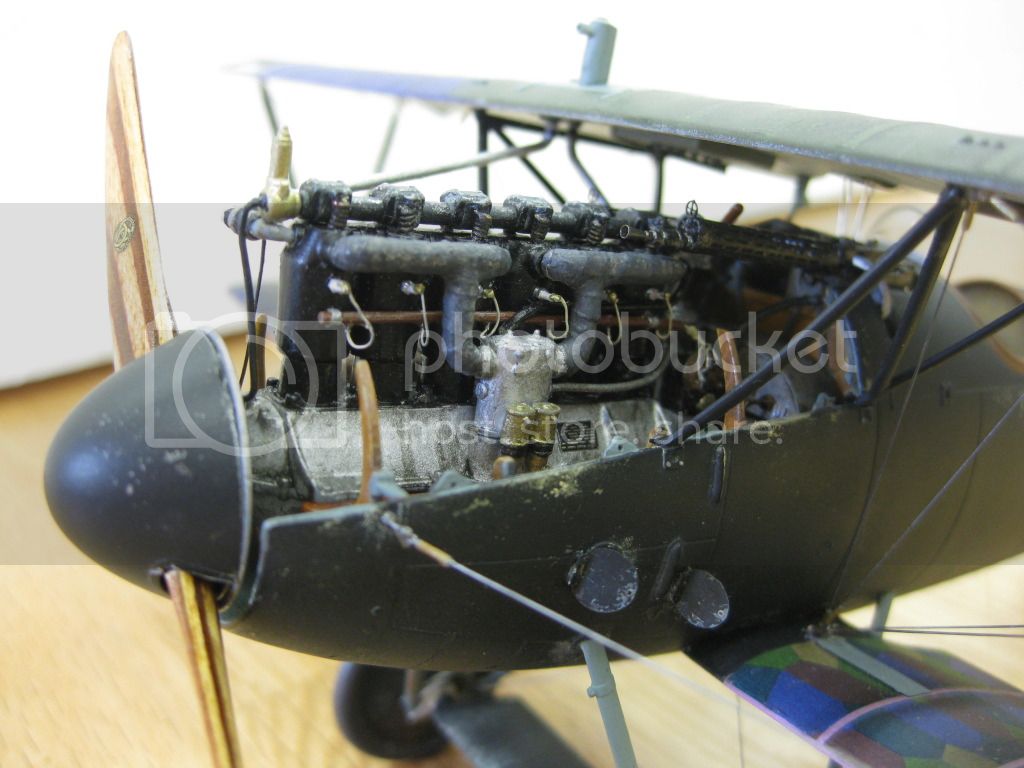
"Horst, you verdammt cow-handed dumkopf! I told you to do it right! That's it, you're on Hangar sweeping duty all month! What's the world coming to? I need riggers, not farmboys who think a delicate adjustment is done with a sledgehammer!"


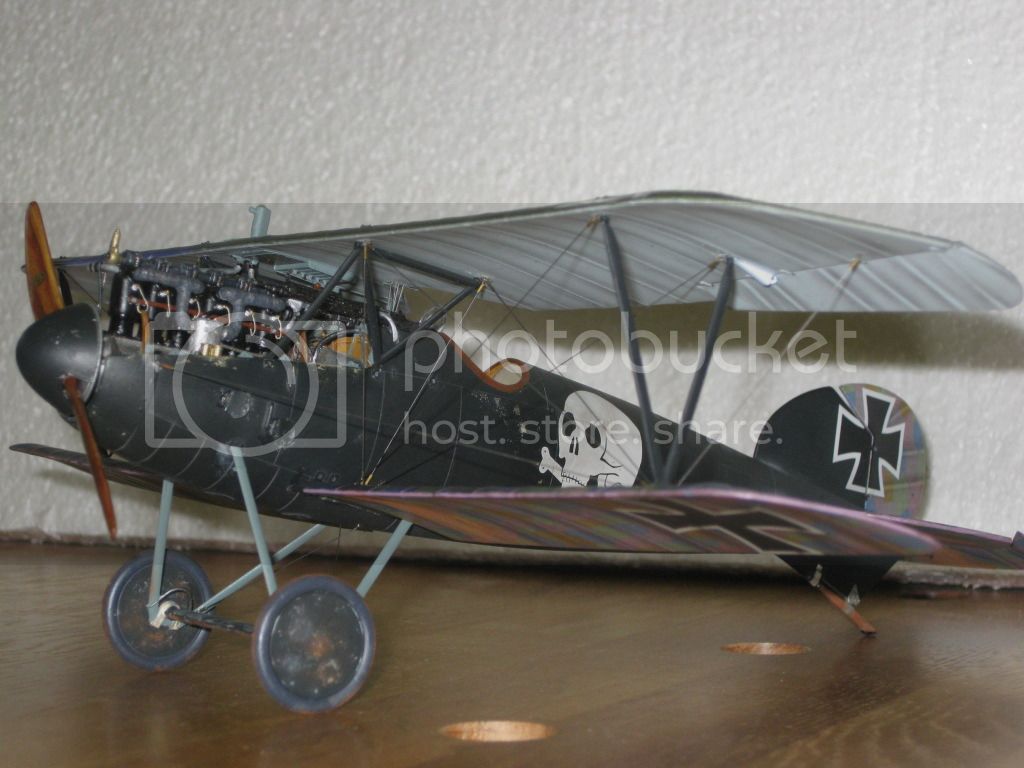
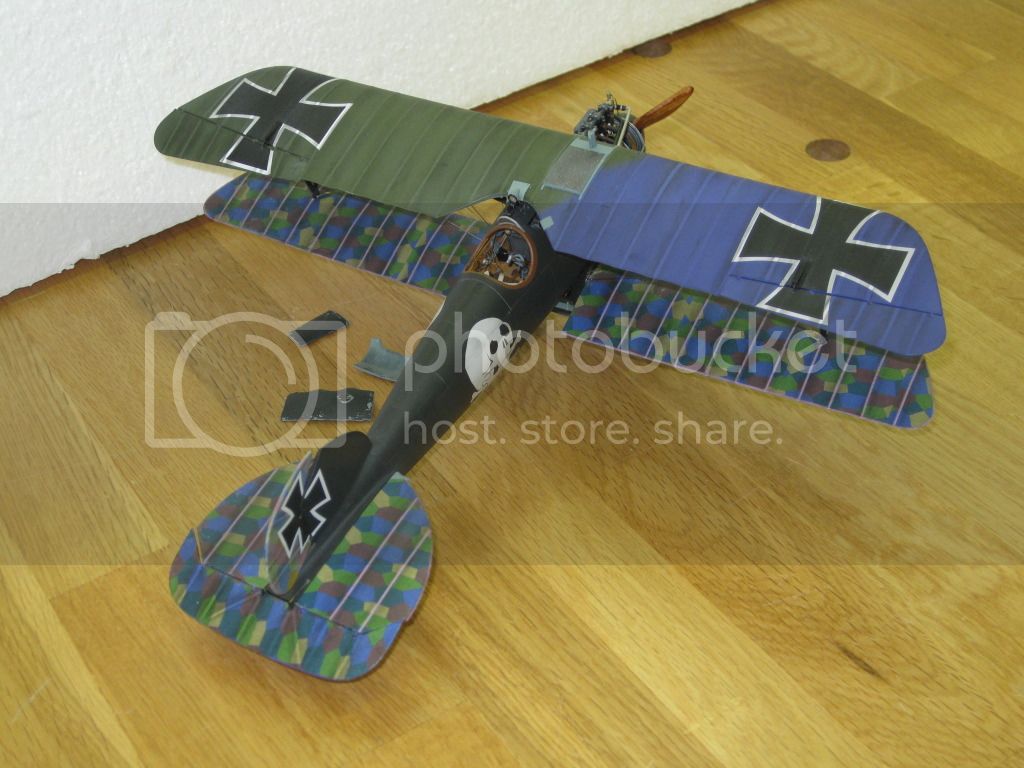
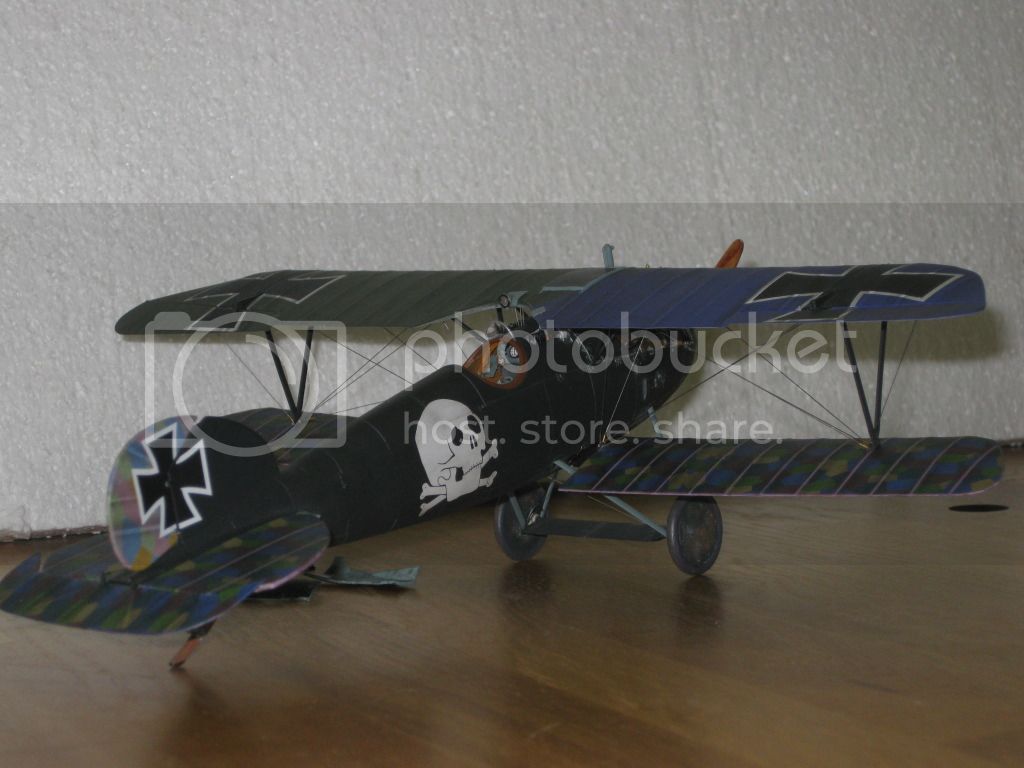
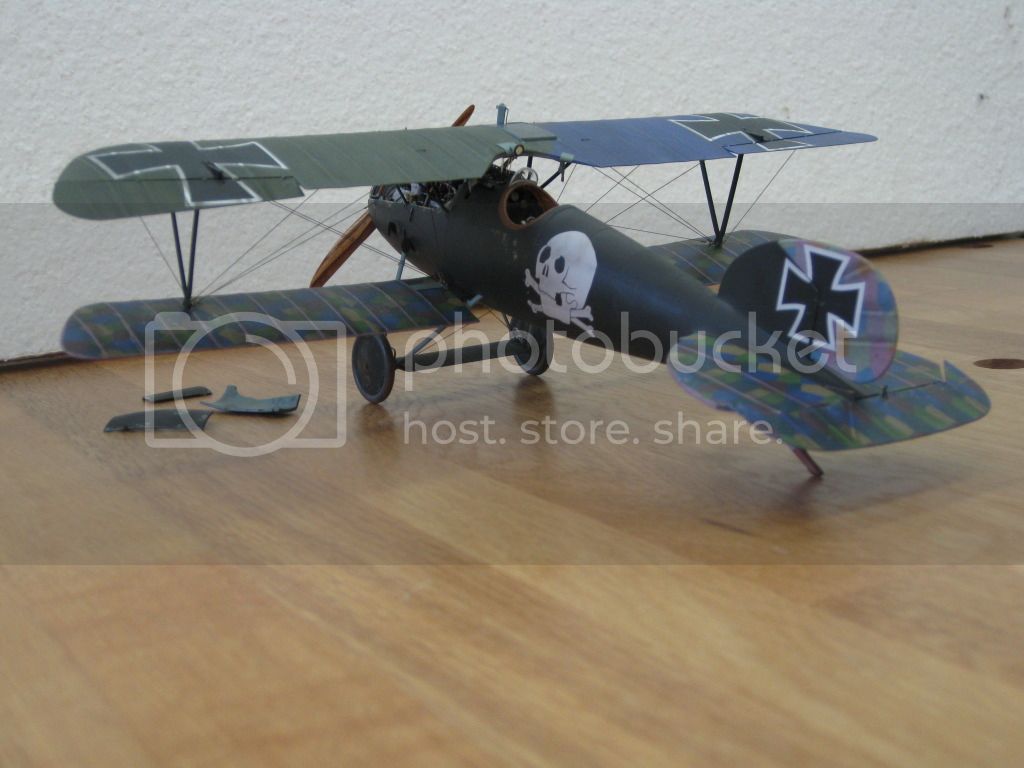


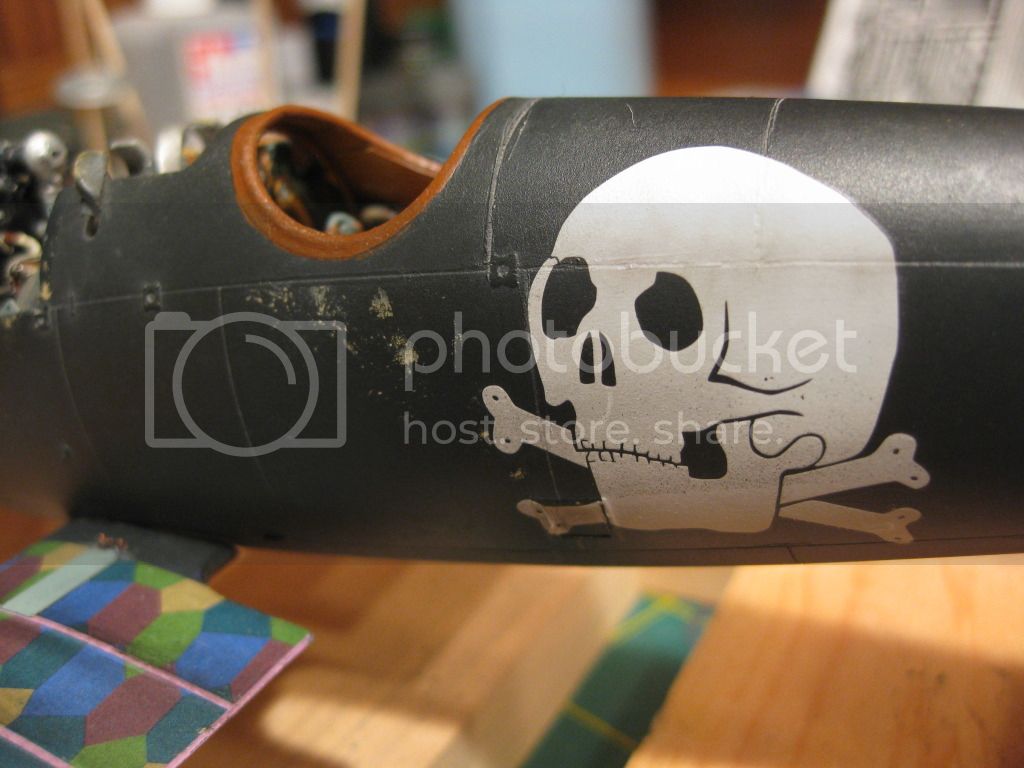
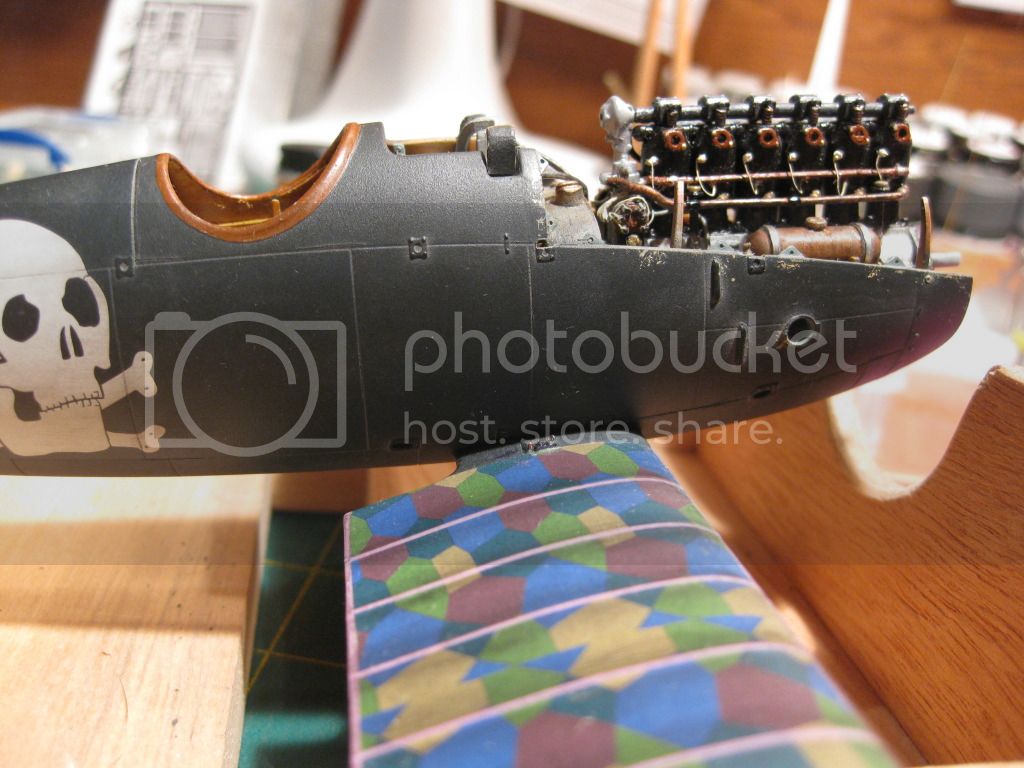
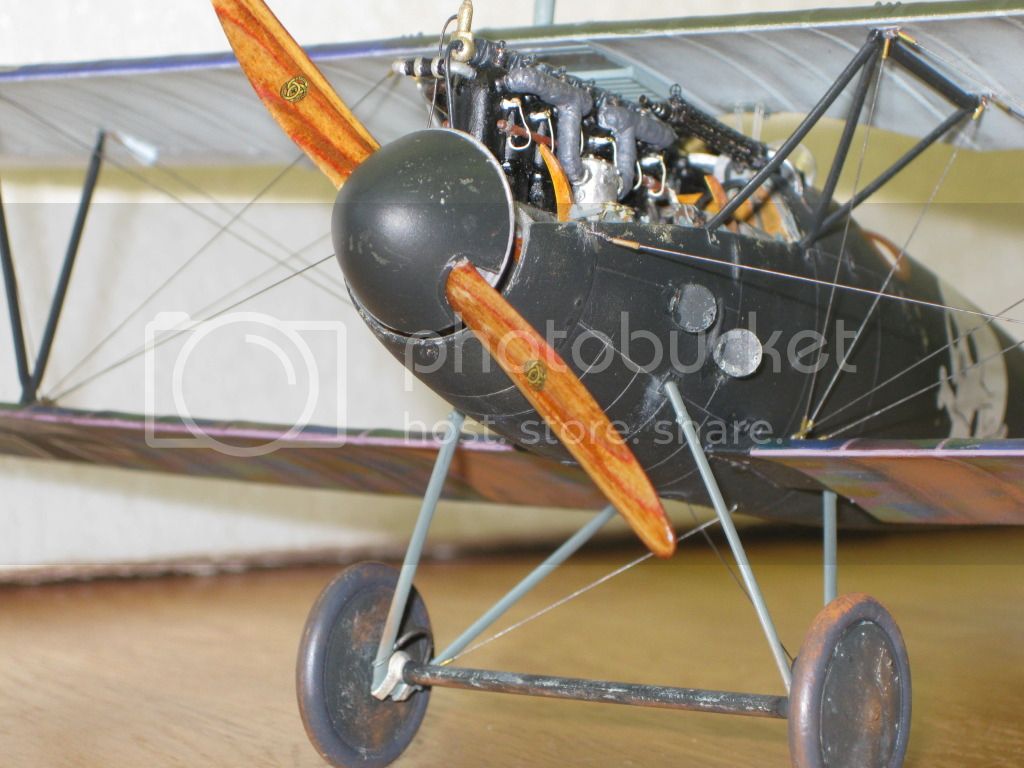
Very Striking Lance: Turned out very nice. It is a simple scheme but your painting, shadowing and subtle weathering really make this a stand out model.
Outstanding work my Friend.
Best
Mark
Albilishus Lance.
Keitn
 |


