


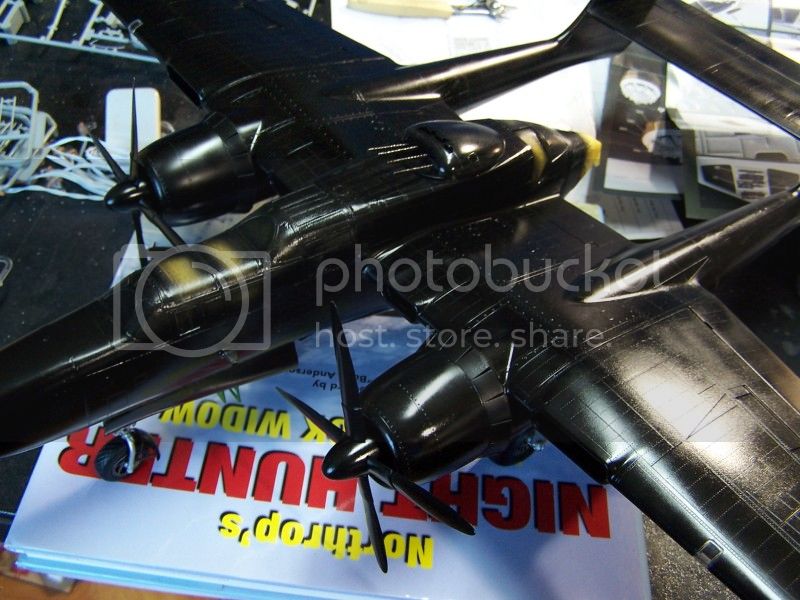
Proof of life


 looks like you of to a good start so far
 Hey look who joined the party


Justin, took a look at the start of your cockpit. One issue that jumped out at me, that I would like to find a practical way to resolve, is the thickness of those seat bottoms. The easy way would be just to thin them out by sanding. But that would make the seat bottom to narrow and shallow, causing the bars of the seat to need to be bent in to be able to attach them. The other option, and the one that I think I'm going to try, is to thin the sides out from the inside out.
Joel
Quoted TextJustin, took a look at the start of your cockpit. One issue that jumped out at me, that I would like to find a practical way to resolve, is the thickness of those seat bottoms. The easy way would be just to thin them out by sanding. But that would make the seat bottom to narrow and shallow, causing the bars of the seat to need to be bent in to be able to attach them. The other option, and the one that I think I'm going to try, is to thin the sides out from the inside out.
Joel
Depending on how the seats are moulded, another option is to use wine bottle foil. Burnish the foil over the bottom of the seat so it takes the shape, trim it out, then use that to replace the plastic seat bottom. It would be very fragile, but as long as it doesn't get bumped it would recreate the thin metal stampings quite well. Perhaps thin brass sheet might be a more sturdy alternative?
Not sure that I would go with the foil as my 1st choice for the very reasons you mention. Brass seems too hard to work with. I think I'll cruise around Michaels art & crafts, and see if anything would be a better option. If not, then I'll try the foil. Maybe double it up to stiffen it up some.

Might I suggest a soda can?


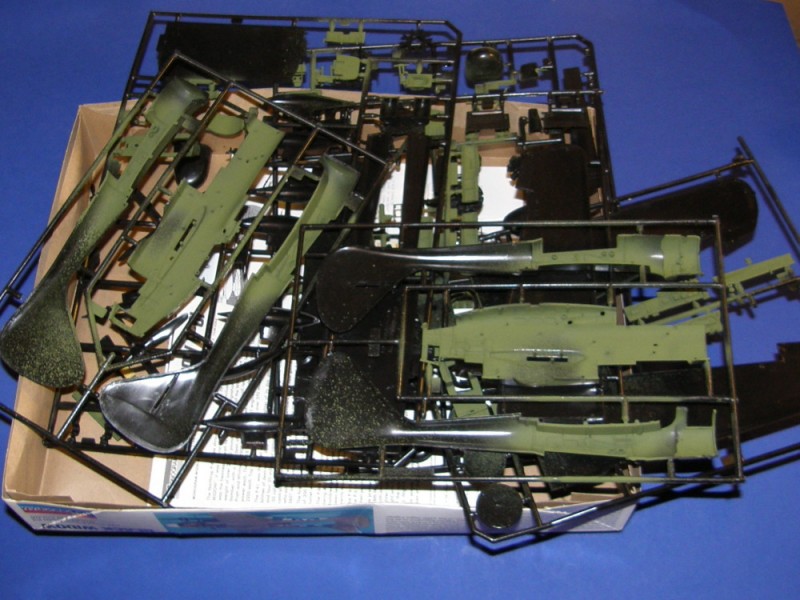

First, some interior green needs to go on
 |


