MORE FUSELAGE REPAIRS
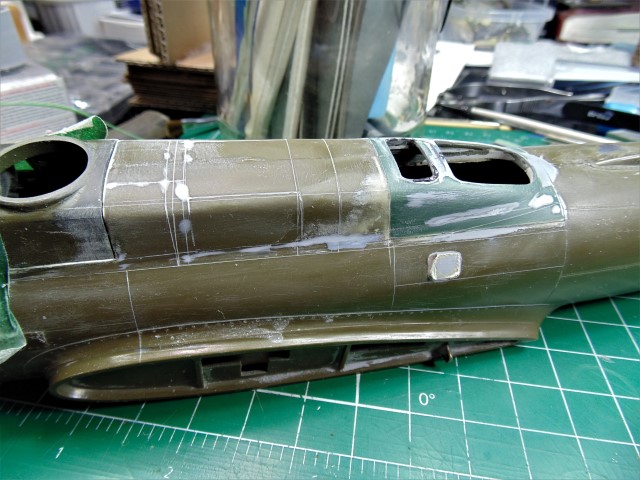
H.G.'s work on the fuselage continues, a combination IMO of artistry and tedium as he takes the fuselage between the radio room and the pilots' compartment down to bare
metal plastic, uses various fillers to get rid of my imperfect panel lines, scribes some of his own, and then re-primes for scribing and detailing.
When I think of my hours of work on this area way back when combined with his work now, I wonder if this just might be the most OCD'd, overworked model in history.
Myth of Sisyphus stuff, though I am sure I am overthinking this and that H.G. would disagree!
Anyway, check this out.
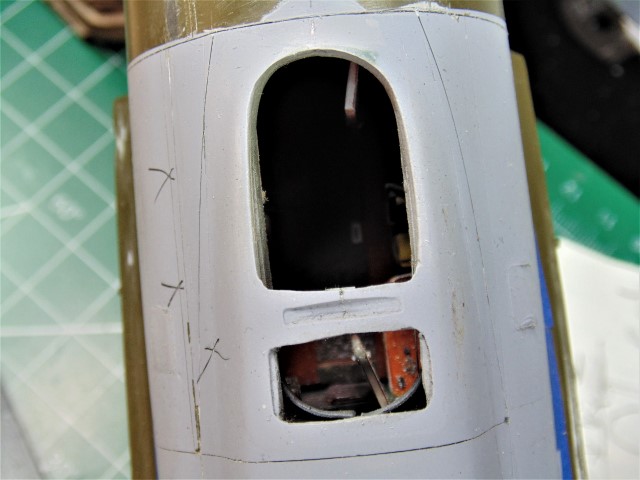
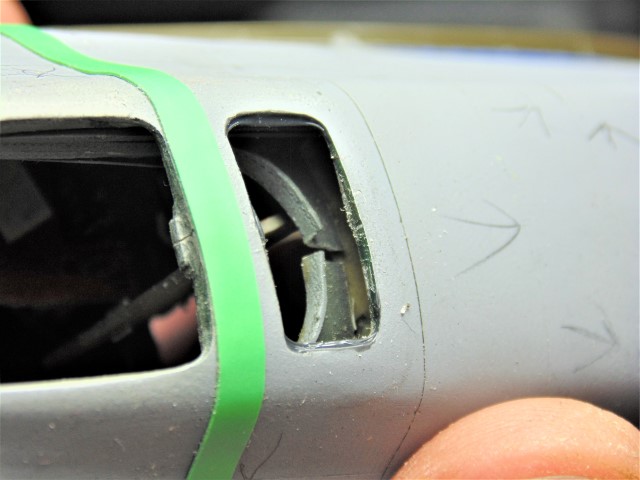
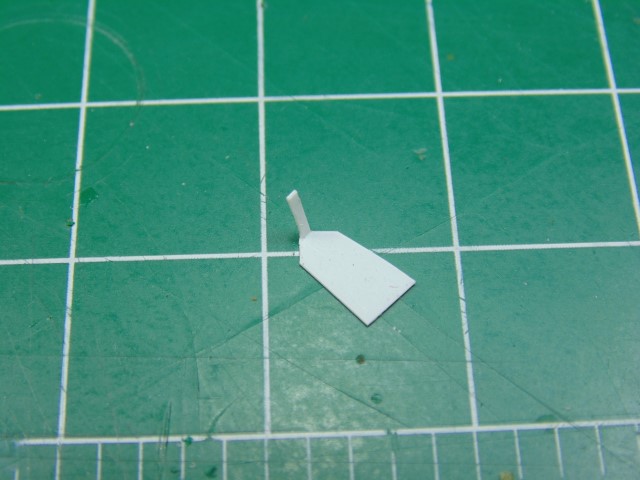
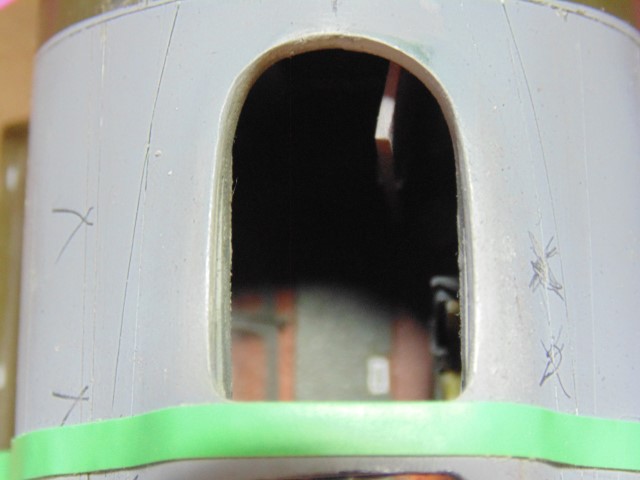
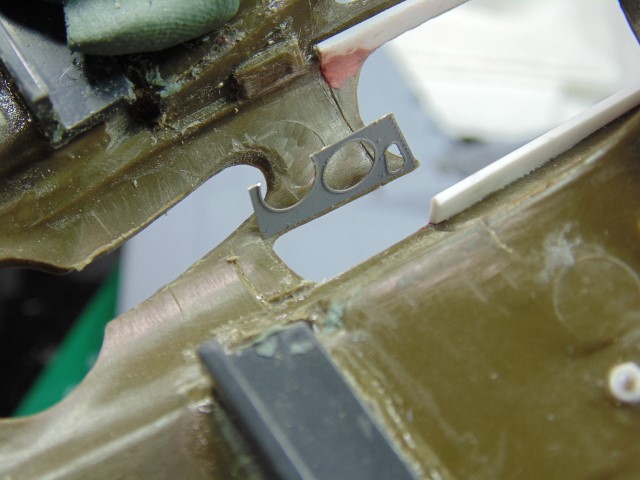
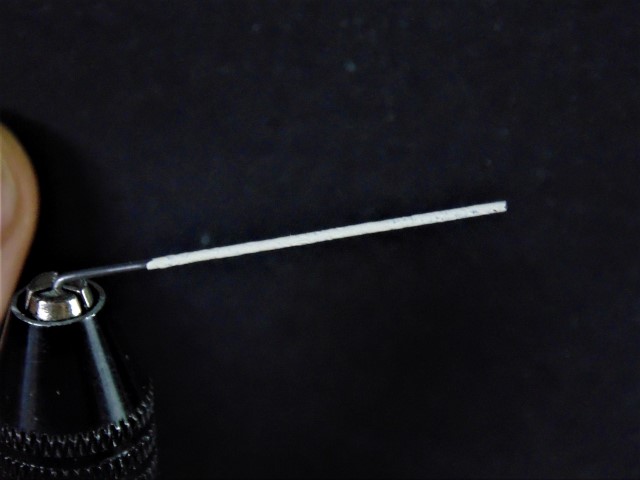
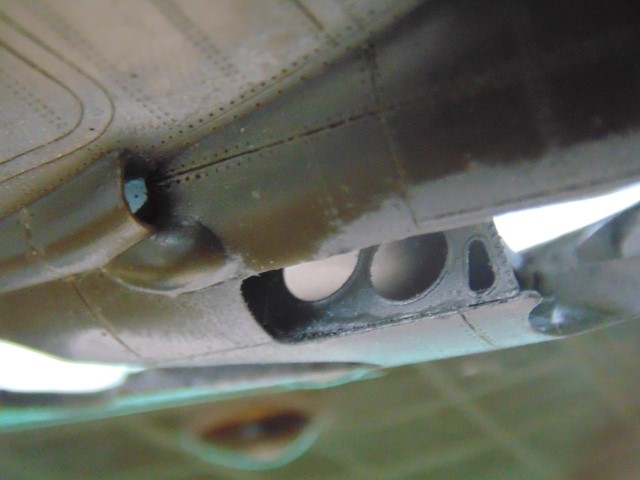
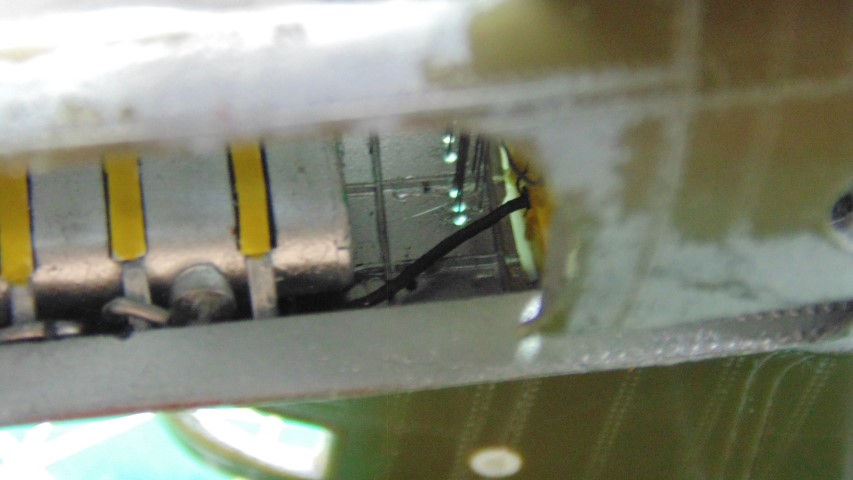
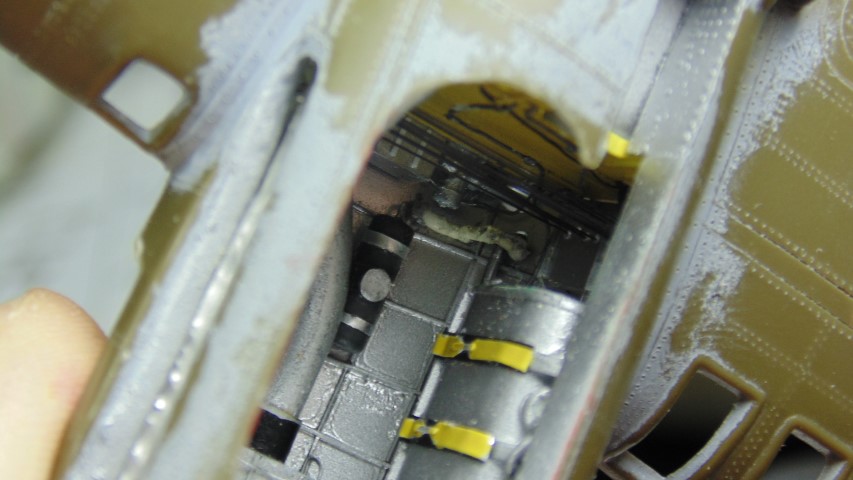
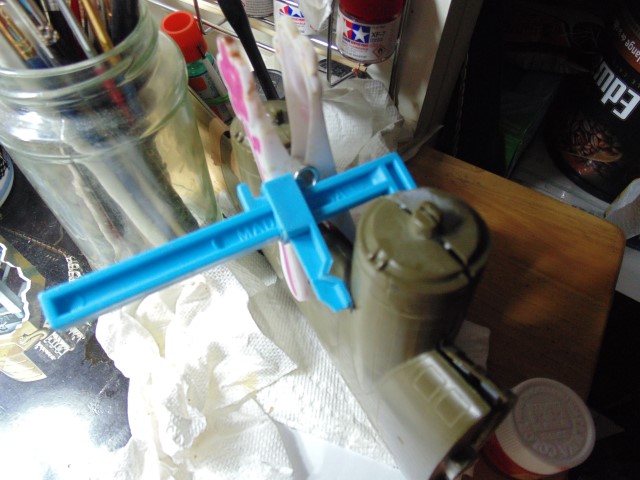
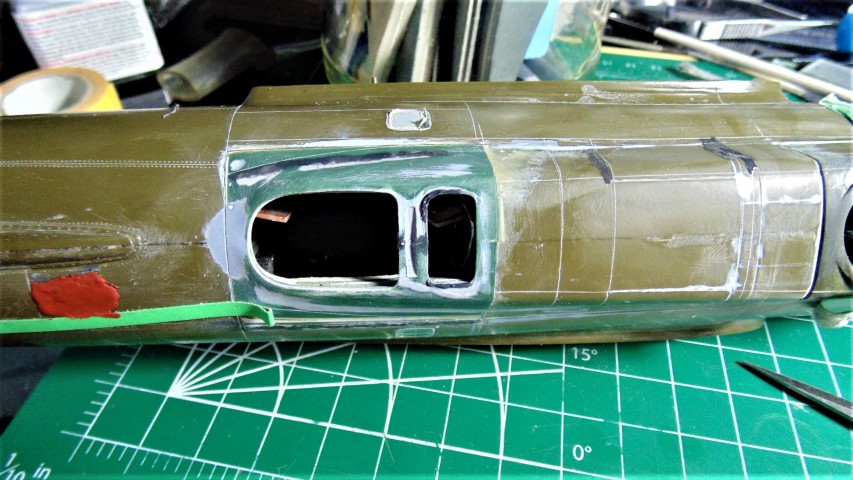
Eeek, a crack!
But I am mailing him a replacement part.
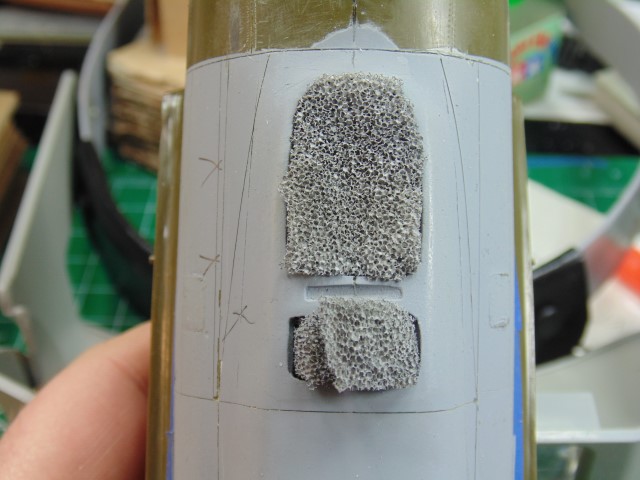
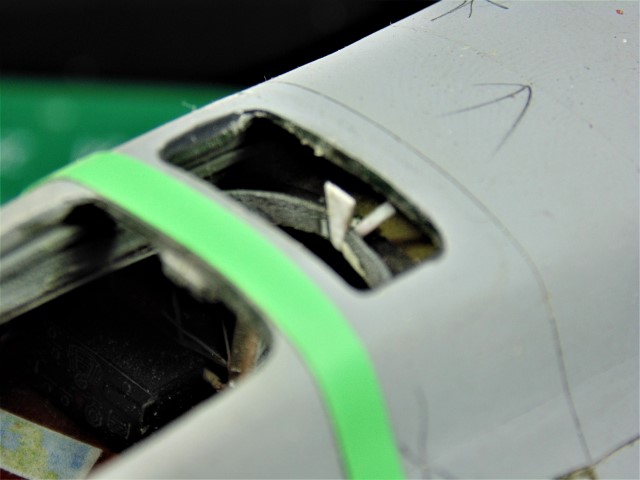
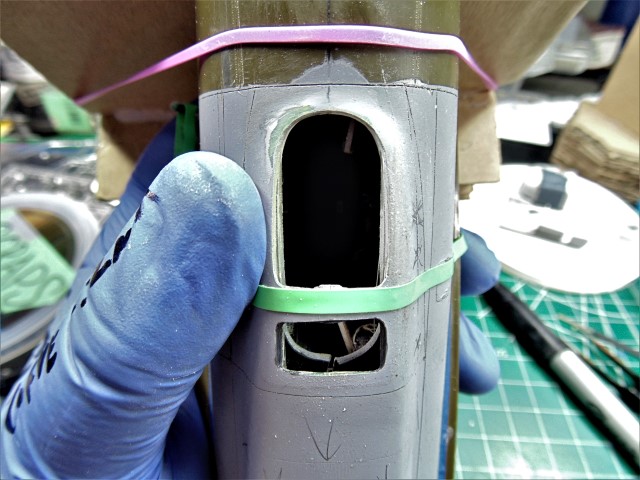
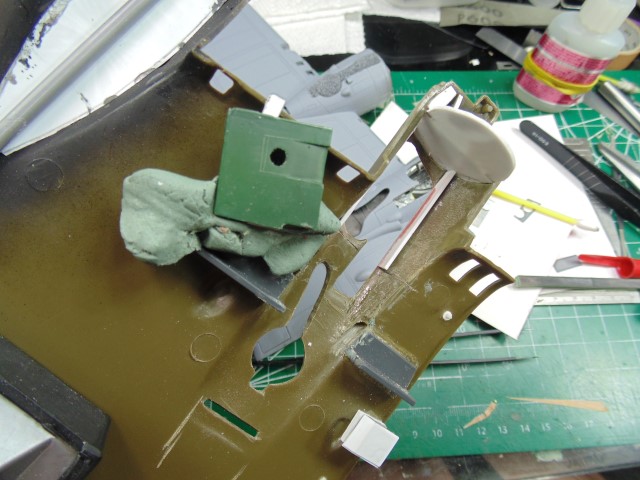
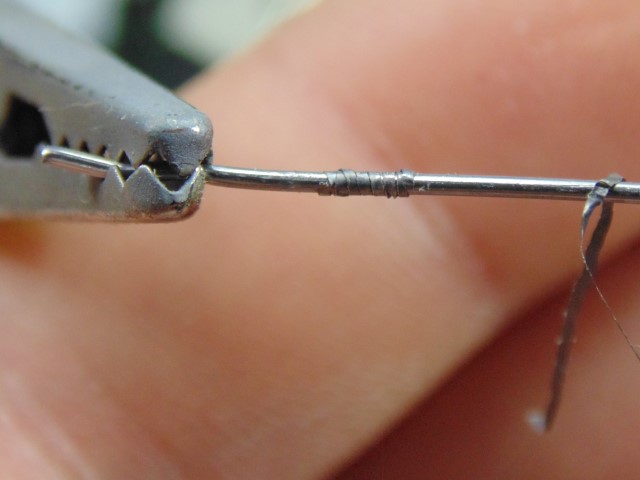
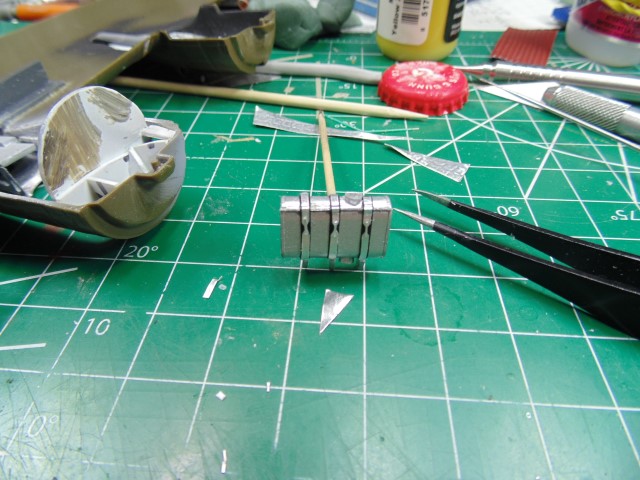
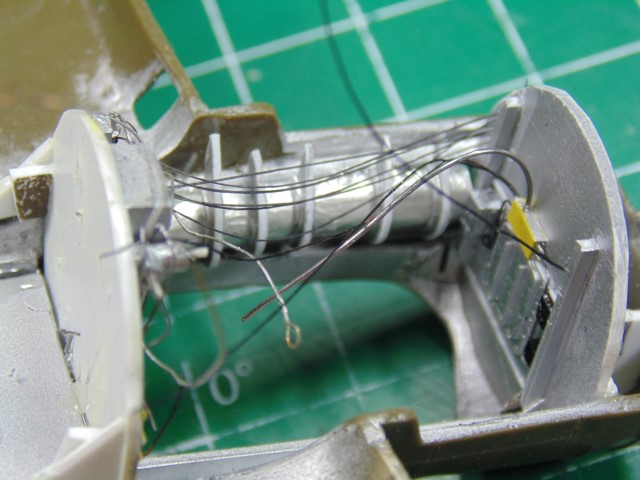
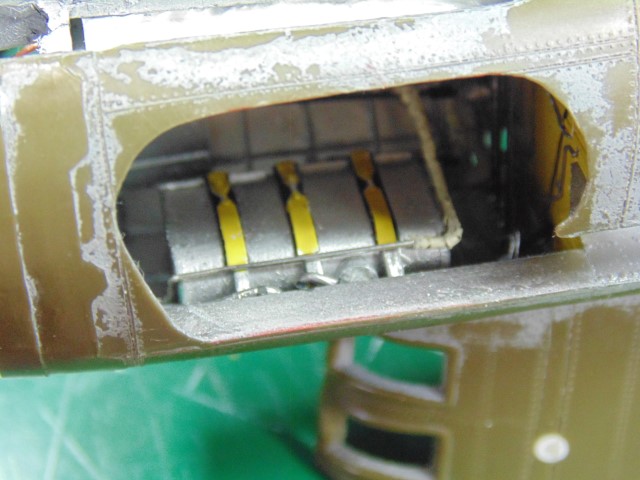
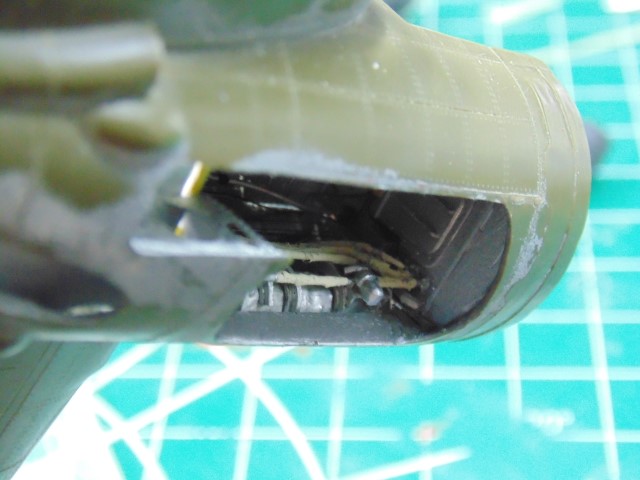
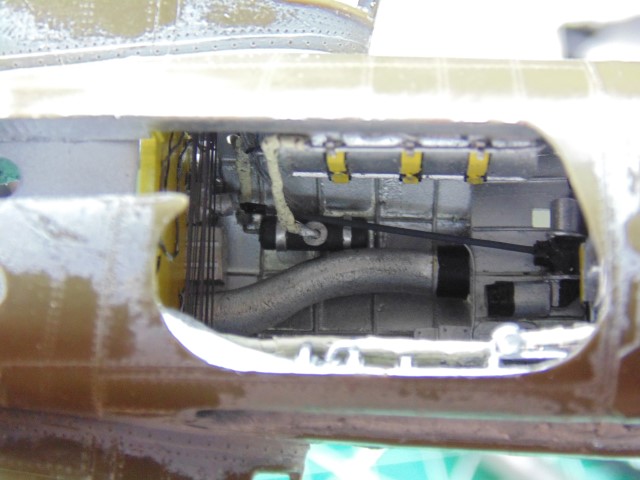
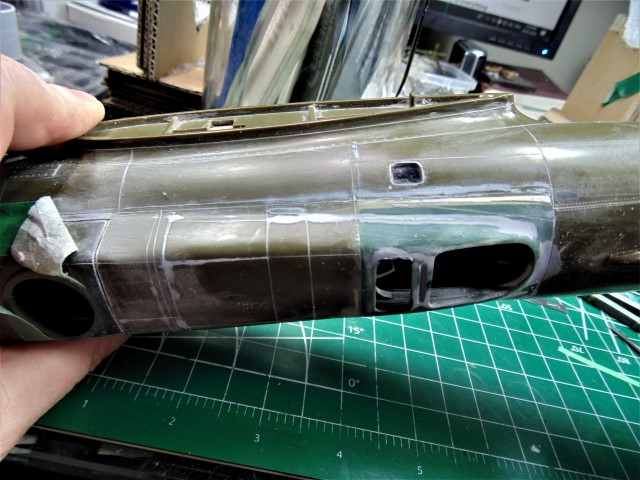
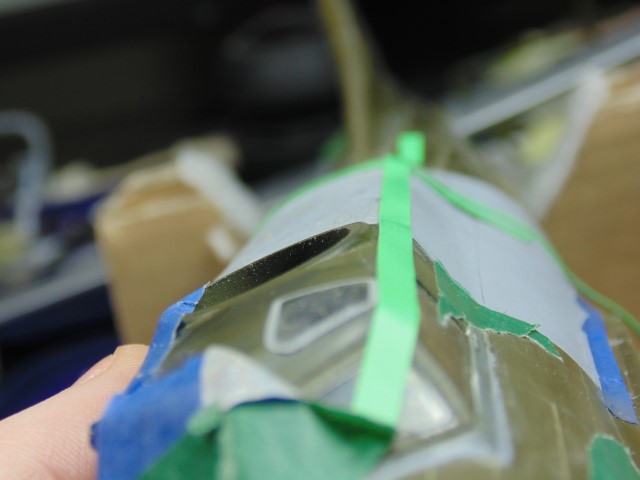
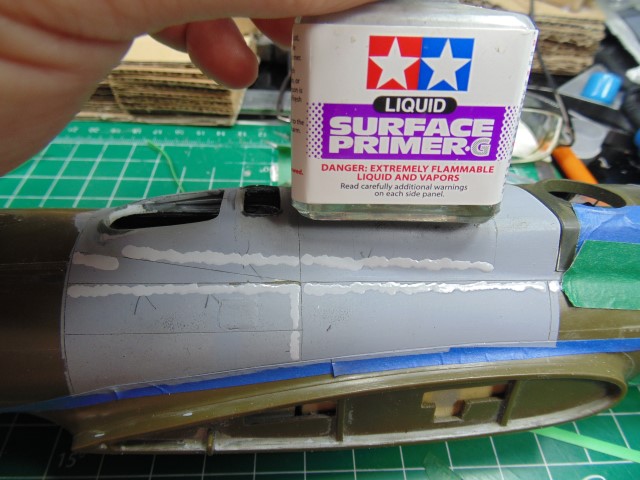
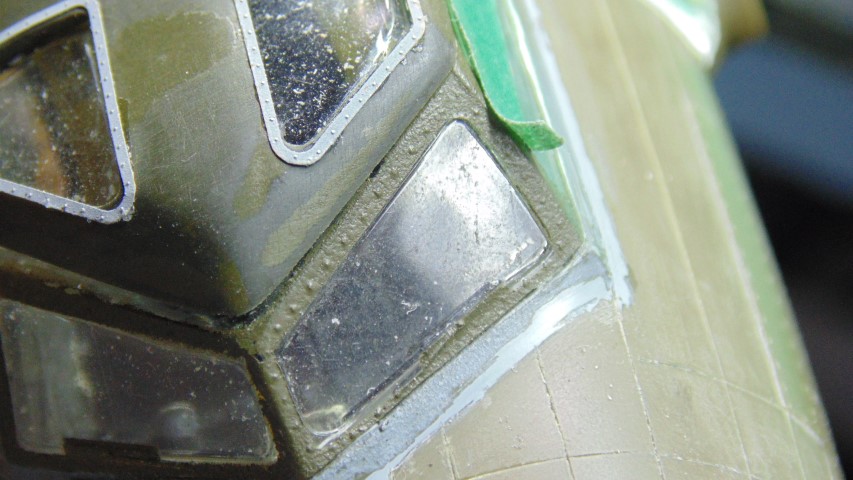
Phenomenal stripping of the center fuselage
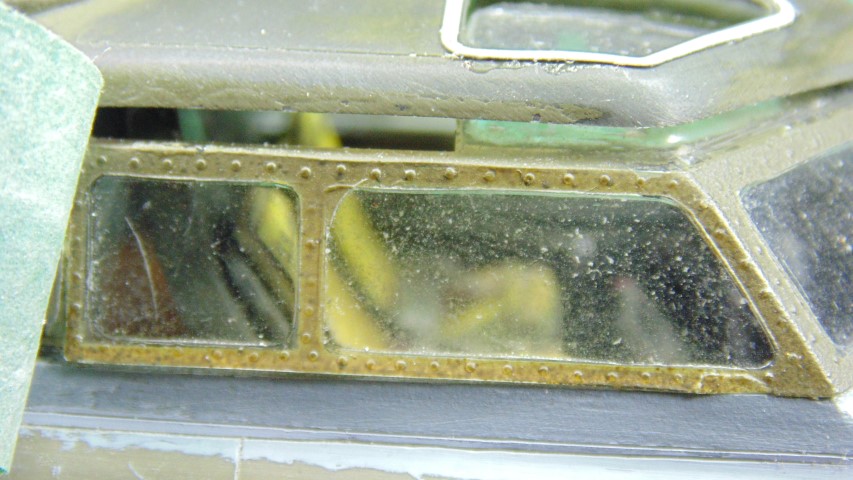
with some brass around the cockpit roof windows
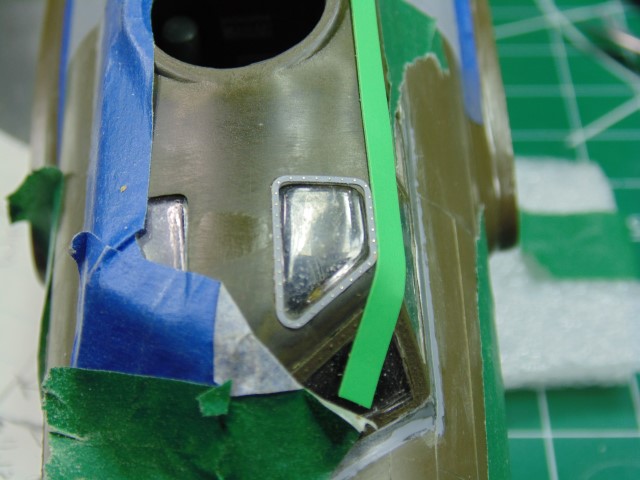
that he's not entirely happy with so is modifying the roof to make the brass more flush with its surroundings.

Un-freaking-believable. I would not even have thought of it!
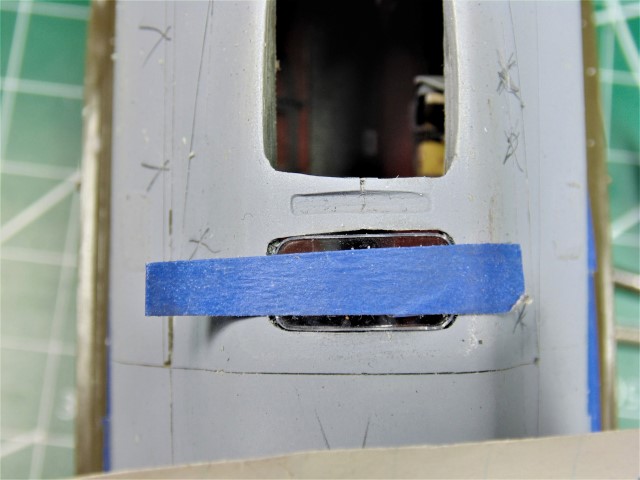
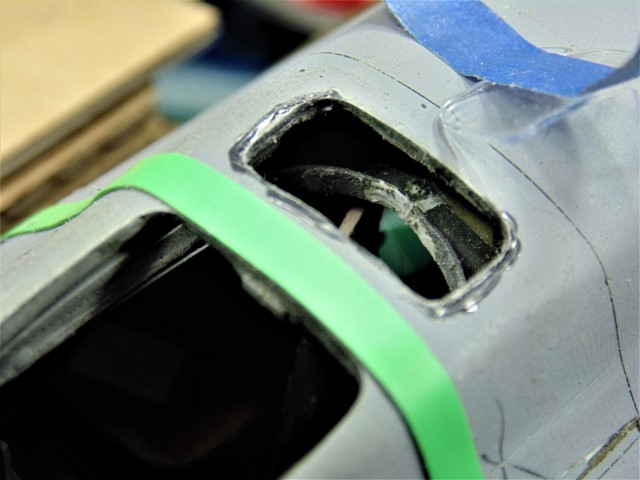
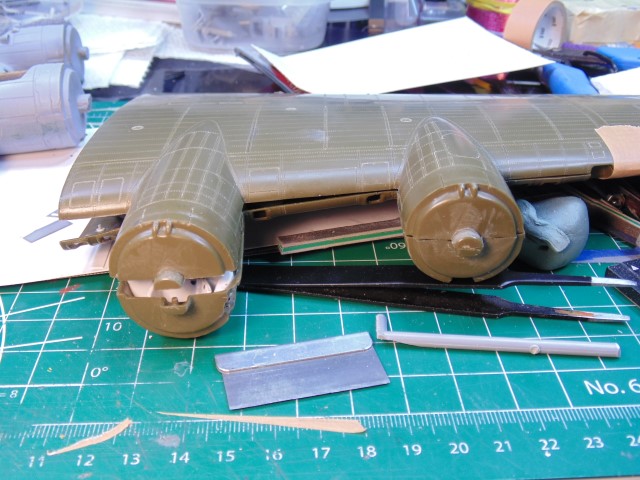
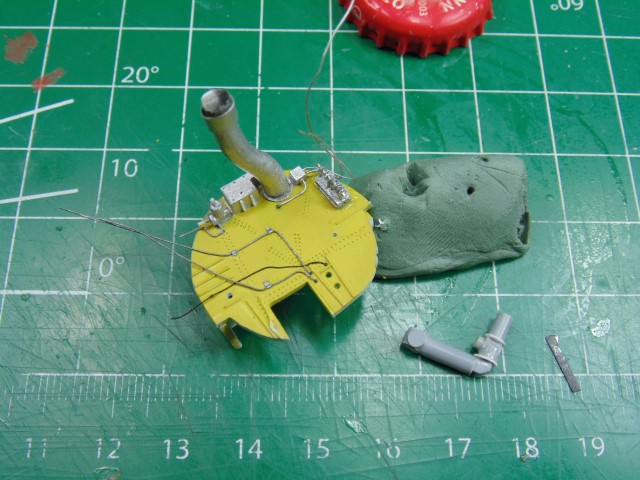
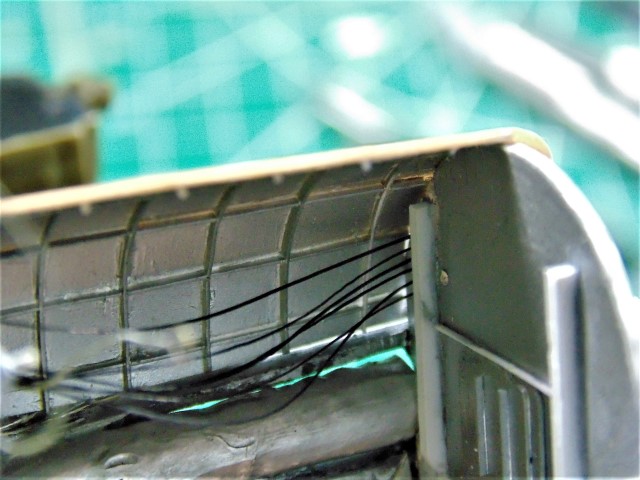
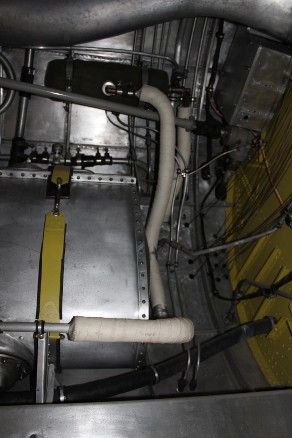
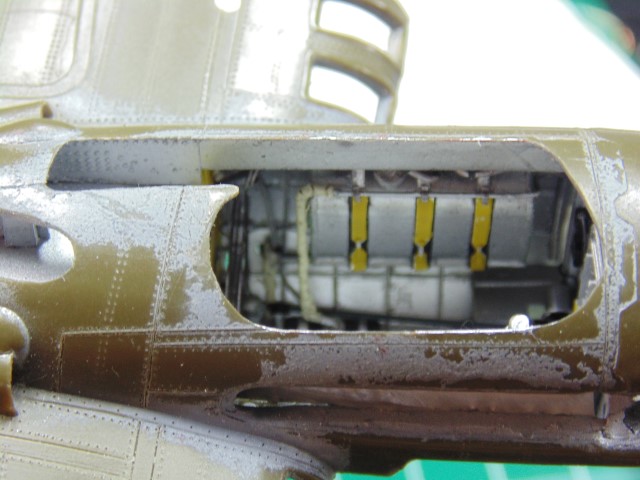
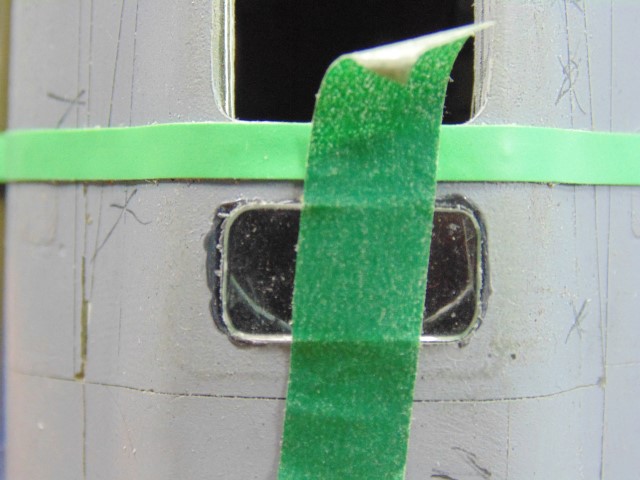
Note the tapes running aft to make straight lines for accurate panel lines.
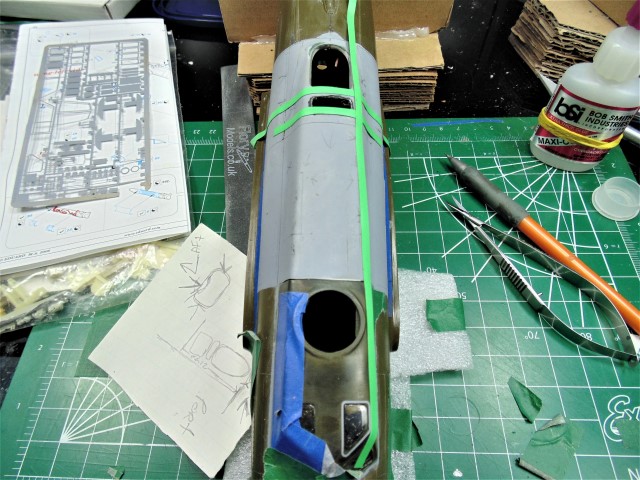

and the careful measurements providing additional benchmarks for accurate scribing.
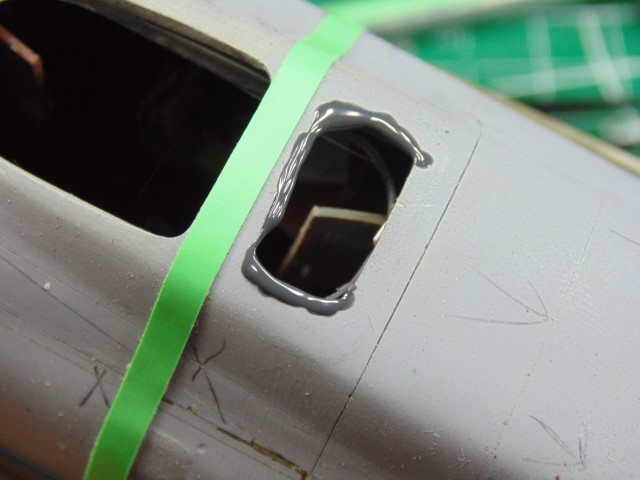
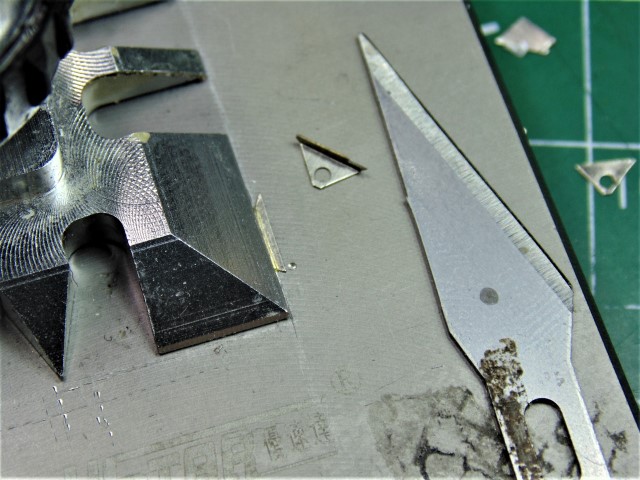
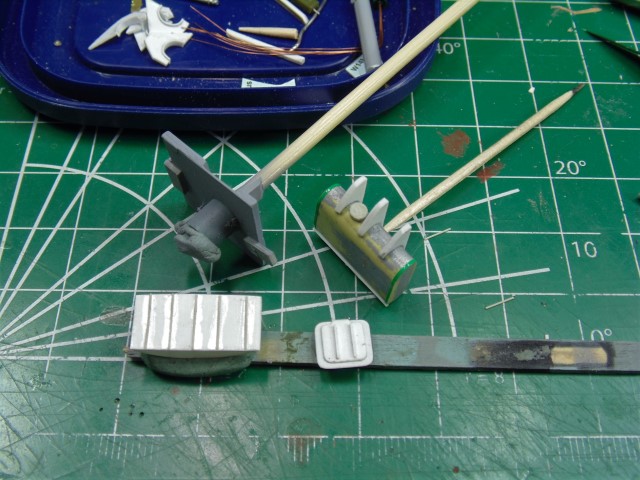
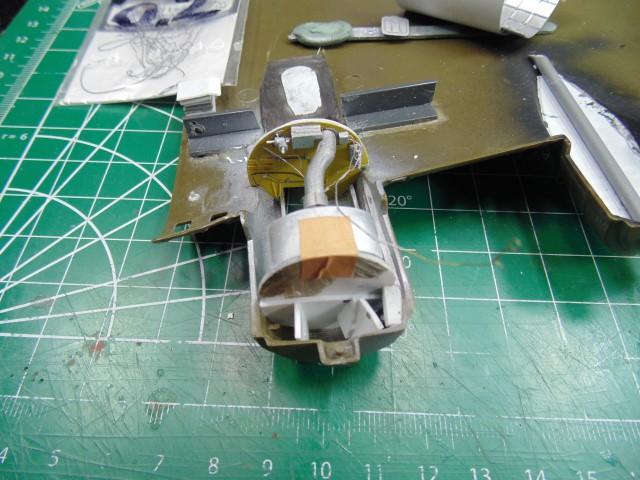
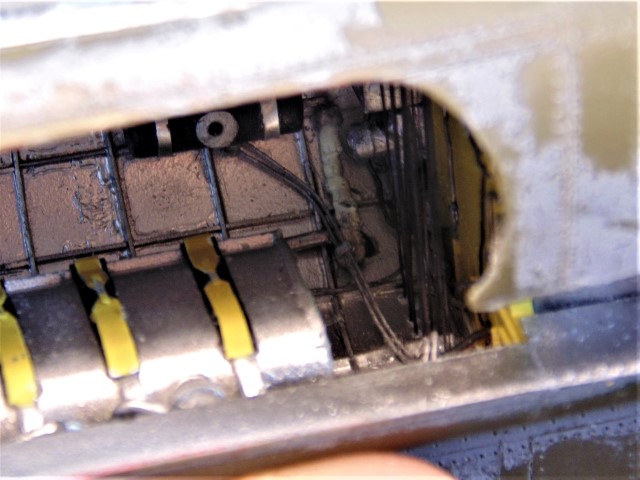
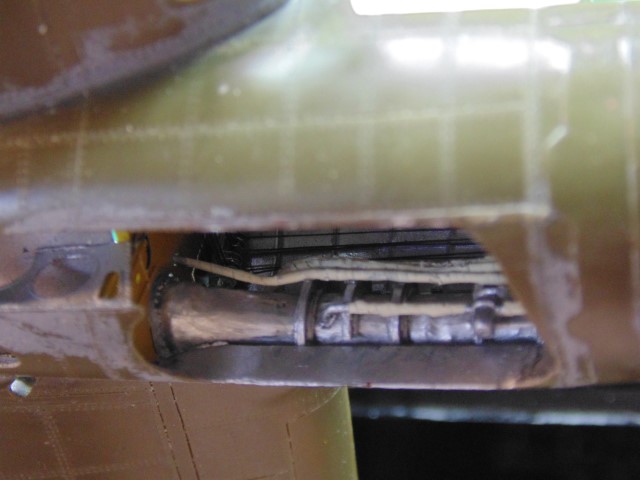
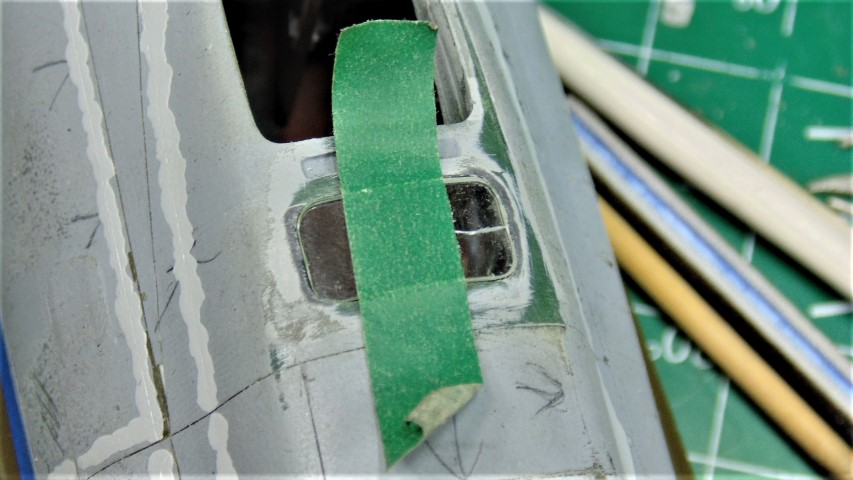
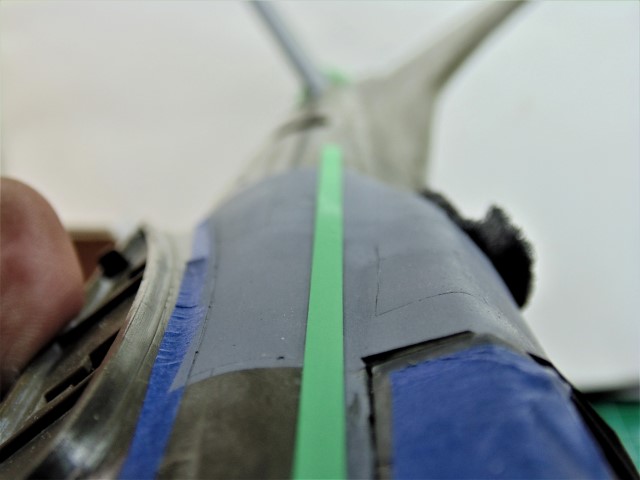
Finally, there's this application of filler to correct my "off the mark" lines.
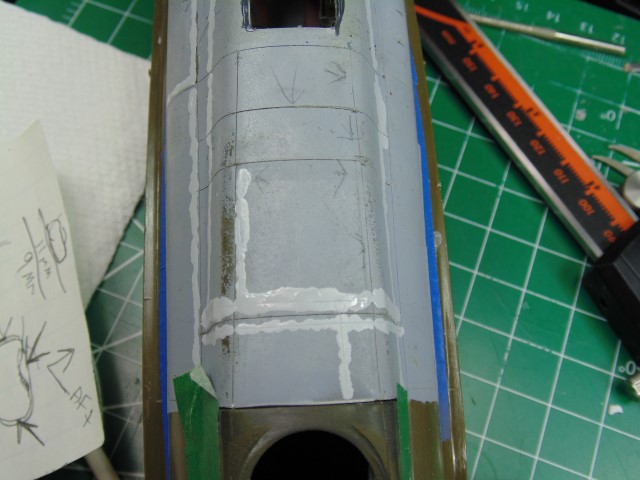
Jeeze!
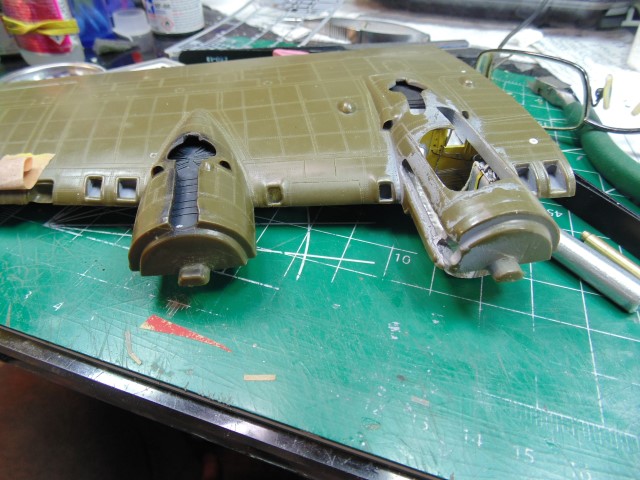
How is something like
this going to clean up? His comment is:
Quoted Text
That was a lot of sanding and I know it looks awful but it's a major step closer to moving to the next area. Please note that most of the lines and white scratches you see are actually filled. Once primed again with Mr. Surfacer, it will hide all that.
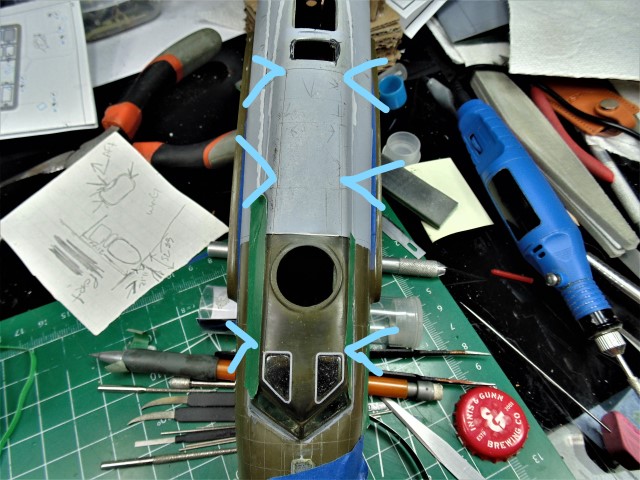
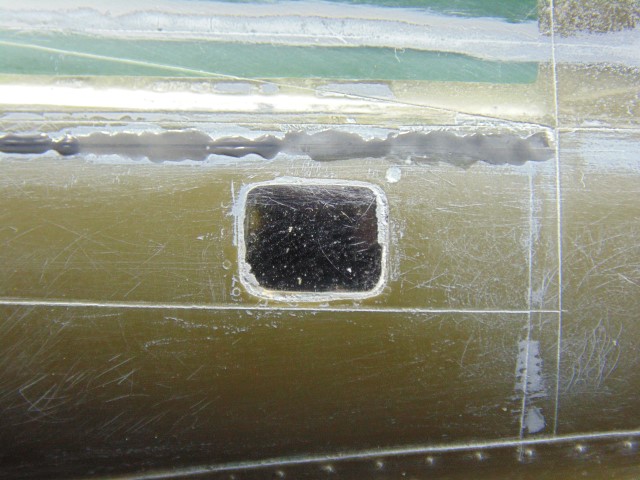
We both worry about the windows. How will
they clean up?
An even bigger worry is the fit and transparency of the pilots' compartment windows.
For me, these areas are particularly cringeworthy, despite all the effort I put into this all-important area.
I simply have to leave it in H.G.'s capable hands.
There are similar issues with the nose windows, but one challenge at a time!