World War II
Discuss WWII and the era directly before and after the war from 1935-1949.
Hosted by Rowan Baylis
1/48 B-17F Build - 303rd BGs Luscious Lady
Redhand
#522
_VISITCOMMUNITY
New Jersey, United States
Joined: January 20, 2013
KitMaker: 1,460 posts
AeroScale: 1,443 posts
Posted: Friday, April 17, 2020 - 12:16 AM UTC

Quoted Text

Sorry to hear about your friend.

Rob.


Thank you. He's only 63 years old, too. I've known him since the early 80s, so this is hard to "process," as it were.
Joel_W
Staff MemberAssociate Editor
AUTOMODELER
_VISITCOMMUNITY
New York, United States
Joined: December 04, 2010
KitMaker: 11,666 posts
AeroScale: 7,410 posts
Posted: Friday, April 17, 2020 - 01:26 AM UTC
Brian,
I'm truly saddened to hear about Art's declining health.

And I'm looking forward to seeing your duel builds of those massive Grumman Guardians. Sure hope that your glass display cases have the room for both.

HG's work continues to be on a scale that few if any ever attain. That wheel well is truly amazing in scope and detail.

Joel
Redhand
#522
_VISITCOMMUNITY
New Jersey, United States
Joined: January 20, 2013
KitMaker: 1,460 posts
AeroScale: 1,443 posts
Posted: Friday, April 17, 2020 - 01:54 AM UTC

Quoted Text

Brian,
I'm truly saddened to hear about Art's declining health.

And I'm looking forward to seeing your duel builds of those massive Grumman Guardians. Sure hope that your glass display cases have the room for both.

HG's work continues to be on a scale that few if any ever attain. That wheel well is truly amazing in scope and detail.

Joel


Thanks Joel. Good to hear from you. Yeah, I will be doing a build blog on the Guardians. Hardest part is going to be the instrument panels, I think because there are no aftermarket parts or even decals for 'em in the kit.

The business about Art is tough. I know we're at the age * * * but he's seven years younger and has been a true friend for decades. The build is a tribute -- if you know what I mean.

I also have a Grumman Tracker in 1/48 that may be a follow-up: there's an early sea-blue scheme out there for which I have a decal sheet.

Later and as we say nowadays, "Stay Safe."
chukw1
_VISITCOMMUNITY
California, United States
Joined: November 28, 2007
KitMaker: 817 posts
AeroScale: 729 posts
Posted: Friday, April 17, 2020 - 05:12 AM UTC
So sorry to hear of your friend's illness- truly a cruel curse.

I grew up in West Trenton, NJ- and my high school bio teacher was one Bob Starret. He was a Navy pilot, and flew the 'pregnant' version of the Guardian. He was a big fella, and liked the spacious cockpit, compared to the Grumman F9F Panther, which was a rather tight fit for him. His carrier operated in the Bermuda Triangle at one point, and another Guardian pilot went missing. All they ever found was a single landing gear floating on a bed of kelp.
Redhand
#522
_VISITCOMMUNITY
New Jersey, United States
Joined: January 20, 2013
KitMaker: 1,460 posts
AeroScale: 1,443 posts
Posted: Friday, April 17, 2020 - 06:02 AM UTC
Thanks Chuck. I didn't say what the illness is, but it should be obvious. "We're not sure how much time he has left" is the best way to put it.
Another thing that intrigued me about the Guardian was learning that one of my ex-mother in law's brothers was a retired Navy Chief Aviation Machinist Mate. When we visited him once in Ocala, Florida many years ago I saw a cruise book he had to Westpac in the 50s and the carrier he was on had Guardians! Would that I had it now!

The pictures were quite remarkable and always stuck with me. Some of these cruise books are available online and before I pick what aircraft to model I'm going to see if I can find out what squadron and ship he served on.

Later!
Redhand
#522
_VISITCOMMUNITY
New Jersey, United States
Joined: January 20, 2013
KitMaker: 1,460 posts
AeroScale: 1,443 posts
Posted: Sunday, April 19, 2020 - 10:28 AM UTC
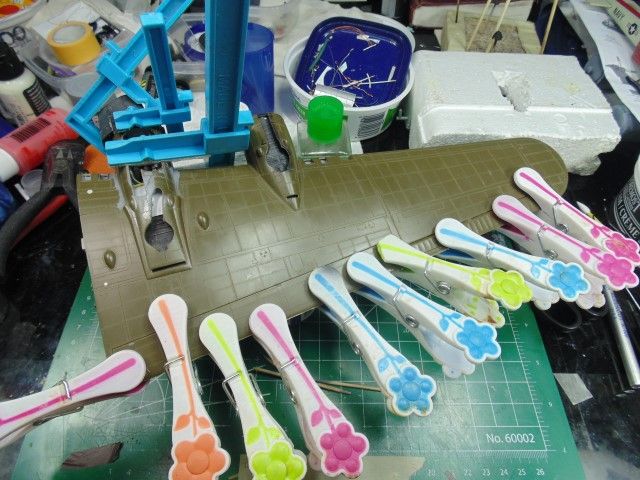
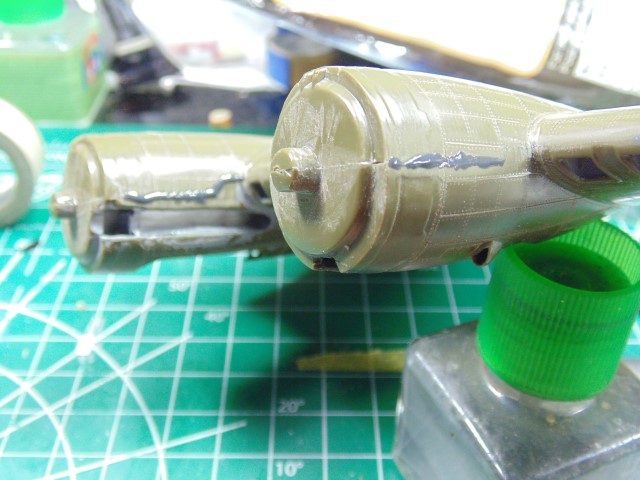
LEFT-WING - CLOSING THE GAP

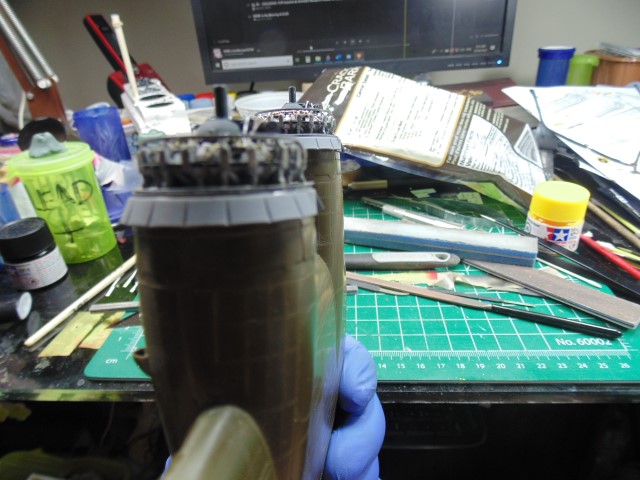
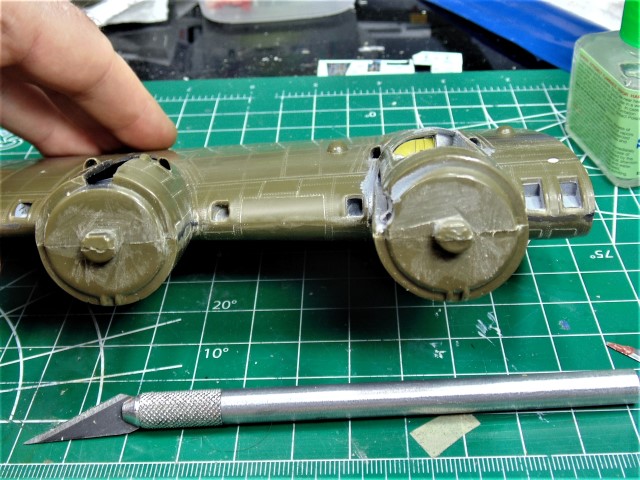
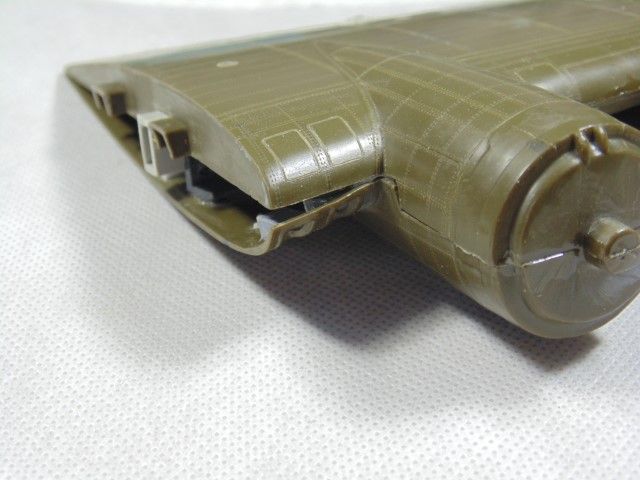
This is a brief post about H.G.'s gluing the left-wing together after all that work done on the wheel well. The big problem here is the gap due to part warping at the leading edge near the junction with the fuselage.


Given my own unsophisticated building techniques, I didn't think this was going to be a major problem. But I didn't factor in the impact it would have on his scratch-building of the wheel well. Had I realized, I would have sent another wing part to him!

Anyway, here it is to this point.

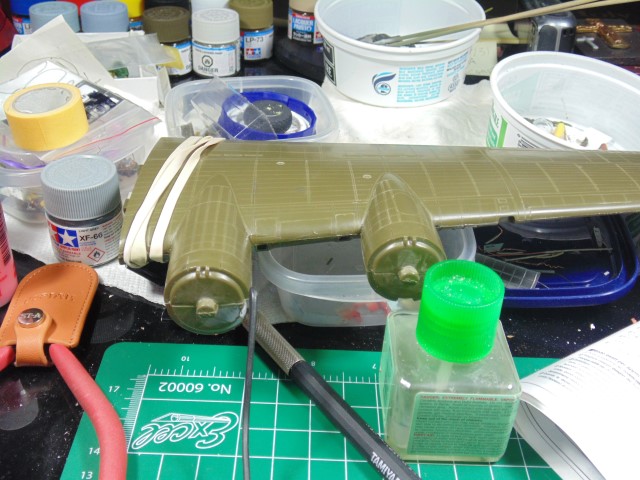
He started with the trailing edge, using thin glue.


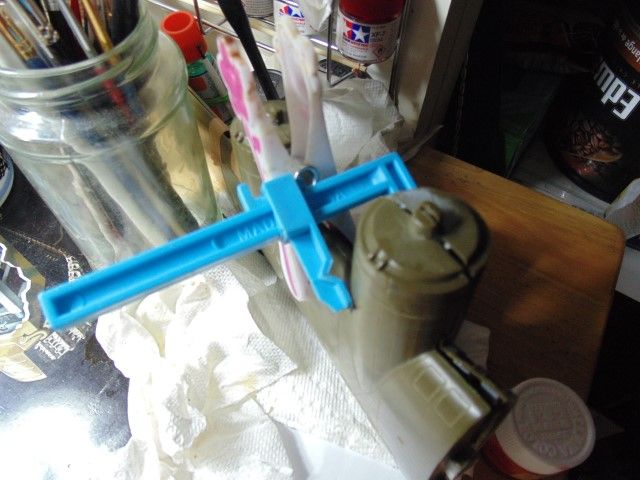
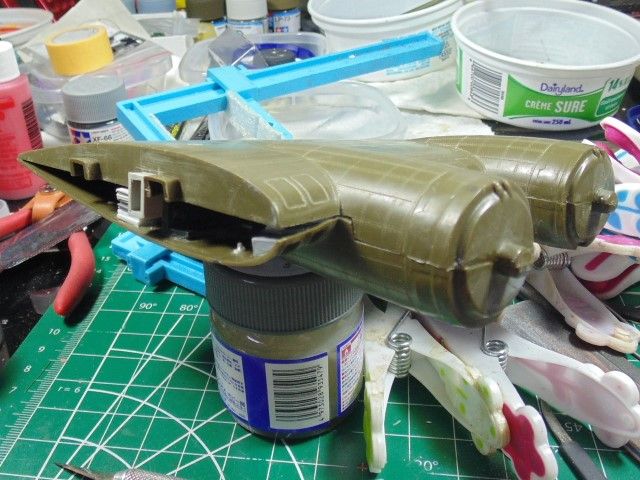
Notice, of course, that the front is clamped around the nacelle. Here's another view of that.


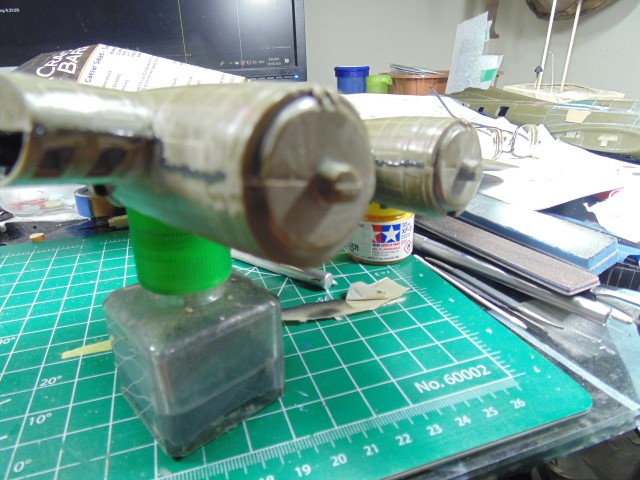
And here we see the nacelle joined, waiting for the next step.


When I emailed H.G. about the state of the effort this morning I got this response.


Quoted Text

My day is going to consist of clamping and holding this wing for a minimum of six hours. Yup you heard me right, 6 hours. If the cement weld pops off while still curing it will be an absolute mess to fix. I'll watch a few movies or shows or something... It may be 10PM your time before I can take a photo.



I can only but appreciate his devotion to "the mission." But it's at times like this that I fear my own obsession with the project is like a virus, IYKWIMAITYD.

No snark intended! I'm just self-conscious about the help I've received, rather like an undeserving Tom Sawyer.


I want to take this opportunity to again thank everyone who has helped move this project along, encouraged me in it, over the six years is has taken to date, including Art, Joel, Karl, and H.G., last but not least. The build would never have gotten this far without you.
Joel_W
Staff MemberAssociate Editor
AUTOMODELER
_VISITCOMMUNITY
New York, United States
Joined: December 04, 2010
KitMaker: 11,666 posts
AeroScale: 7,410 posts
Posted: Sunday, April 19, 2020 - 11:39 AM UTC
Brian,
It's hard to realize that your journey is into year 6, but by now all of us that have stayed the course, can see a small light at the end of the tunnel.

It's been a very special journey, and I've been honored to have been along with you from day one. With HG at the helm, I can't imagine just where it will end up.

Joel
Redhand
#522
_VISITCOMMUNITY
New Jersey, United States
Joined: January 20, 2013
KitMaker: 1,460 posts
AeroScale: 1,443 posts
Posted: Sunday, April 19, 2020 - 11:49 AM UTC

Quoted Text

Brian,
It's hard to realize that your journey is into year 6, but by now all of us that have stayed the course, can see a small light at the end of the tunnel.

It's been a very special journey, and I've been honored to have been along with you from day one. With HG at the helm, I can't imagine just where it will end up.

Joel


Agreed. H.G.'s work has taken it beyond my fondest hopes. And yeah, it's been six years but with the end sort of in sight.
Redhand
#522
_VISITCOMMUNITY
New Jersey, United States
Joined: January 20, 2013
KitMaker: 1,460 posts
AeroScale: 1,443 posts
Posted: Monday, April 20, 2020 - 01:56 AM UTC
JOINED!


Per H.G.


Quoted Text

This will sit for a couple of days then get the sanding and filling treatment.


I'm good with that. It's literally "coming together."
Redhand
#522
_VISITCOMMUNITY
New Jersey, United States
Joined: January 20, 2013
KitMaker: 1,460 posts
AeroScale: 1,443 posts
Posted: Thursday, April 30, 2020 - 05:29 AM UTC
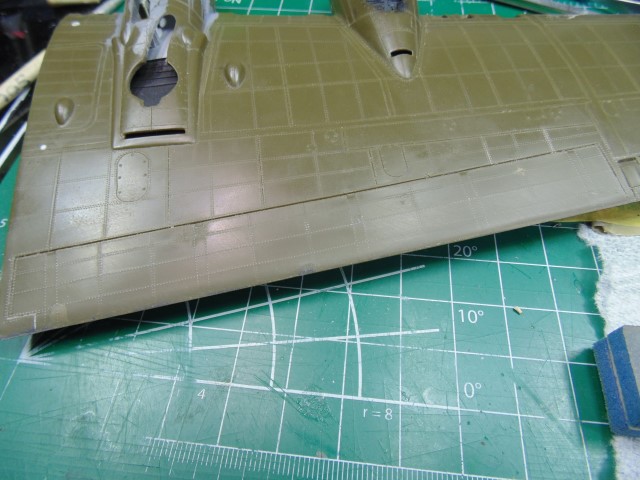
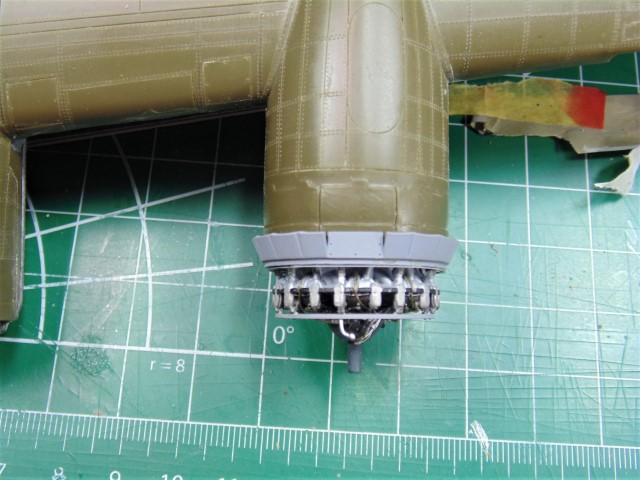
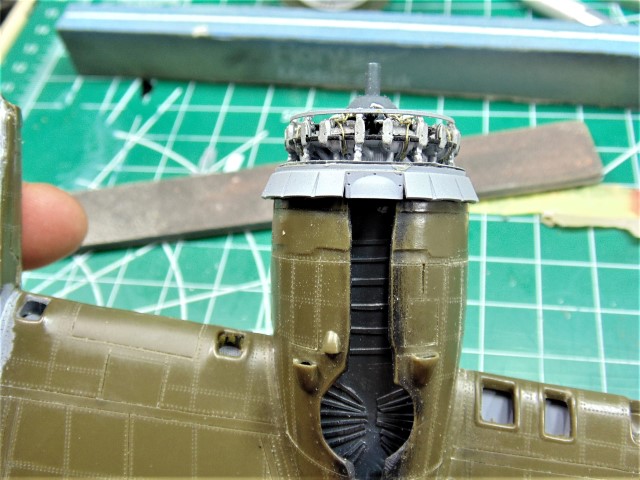
LEFT WING TOGETHER

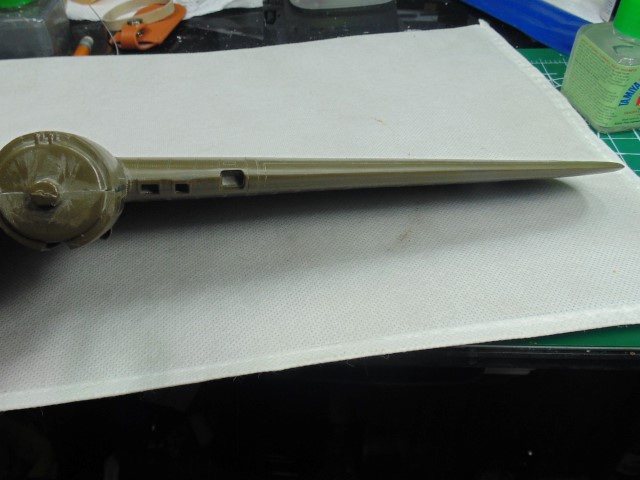
H.G. successfully joined the upper and lower wings, including the warped leading edge near the fuselage.


Here's the other side


as well as the trailing edge.


And finally, some "shape of things to come" with the engines dry-fitted!


Damn, that looks great!. We're getting there.

H.G. and I will shortly be choosing weathering tints for the wheel wells.

Much more to come!
Redhand
#522
_VISITCOMMUNITY
New Jersey, United States
Joined: January 20, 2013
KitMaker: 1,460 posts
AeroScale: 1,443 posts
Posted: Monday, May 04, 2020 - 07:18 PM UTC
THE FRUIT OF HIS LABORS

H.G. sent me a couple of teaser pics of his work on the left-wing.


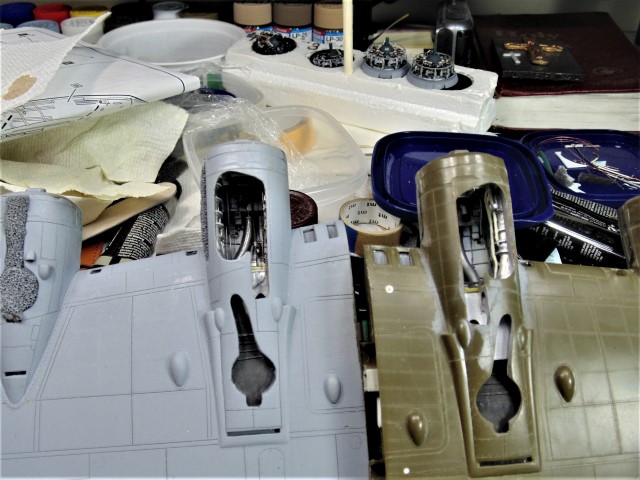
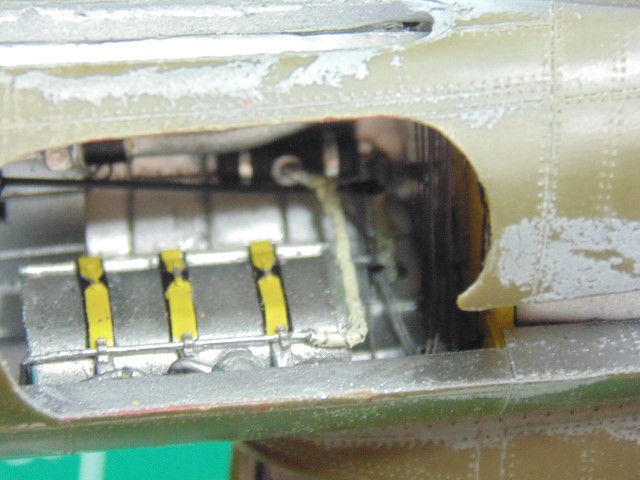
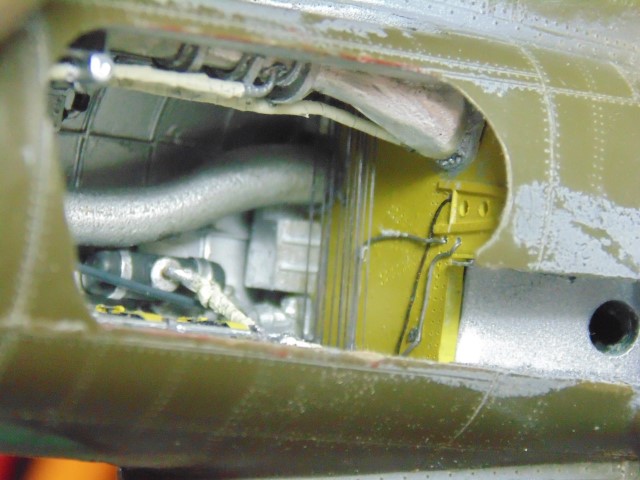
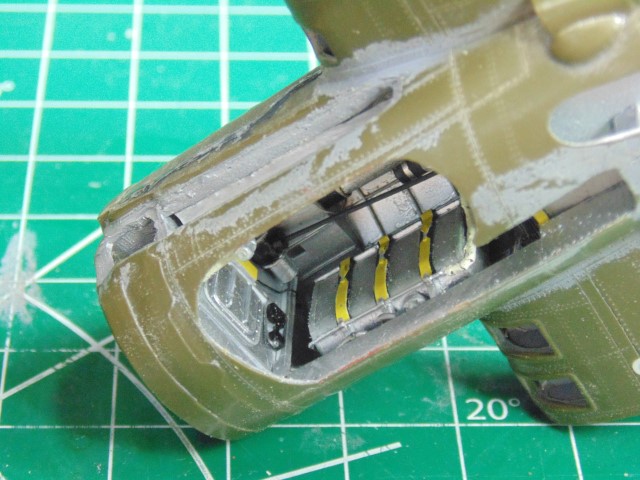
Here's a tantalizing image of the lower wings, and one can readily see the heating system features of the left wheel well.


Also, check out the engines at the top of the photo.

After some discussion, I concurred in H.G.'s recommendation not to weather the wells. They look great even without the landing gear installed. (That comes much later).

Soon H.G. will be returning to the fuselage, and at this point, I would say we're well past 50%, though many challenges remain!

Later.
Joel_W
Staff MemberAssociate Editor
AUTOMODELER
_VISITCOMMUNITY
New York, United States
Joined: December 04, 2010
KitMaker: 11,666 posts
AeroScale: 7,410 posts
Posted: Tuesday, May 05, 2020 - 04:56 AM UTC
Brian,
I continue to be amazed at what HG has accomplished on top of all that you achieved. What a truly fantastic update.

Joel
Redhand
#522
_VISITCOMMUNITY
New Jersey, United States
Joined: January 20, 2013
KitMaker: 1,460 posts
AeroScale: 1,443 posts
Posted: Saturday, May 09, 2020 - 12:44 PM UTC
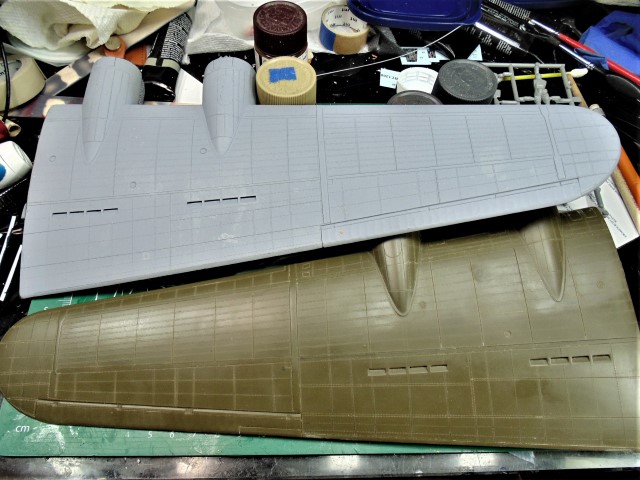
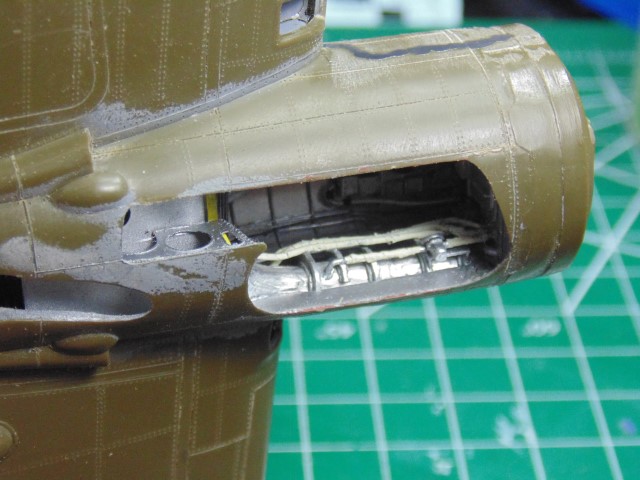
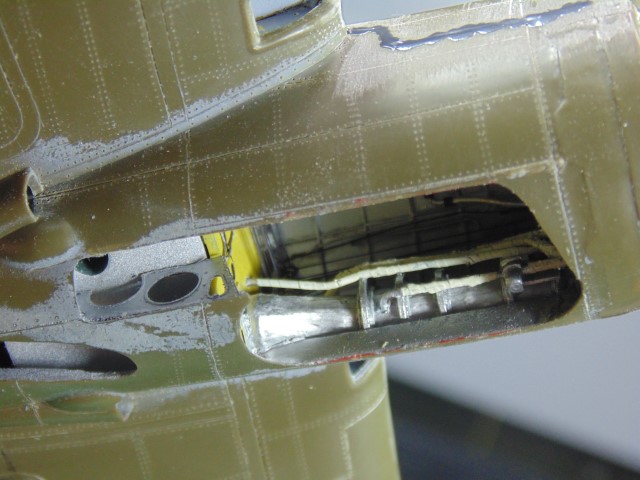
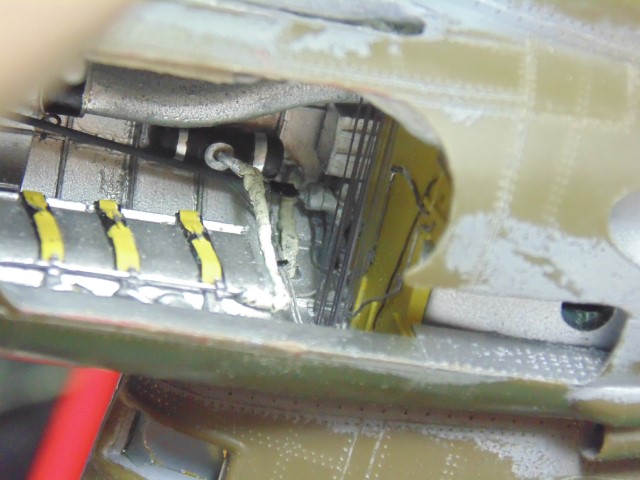
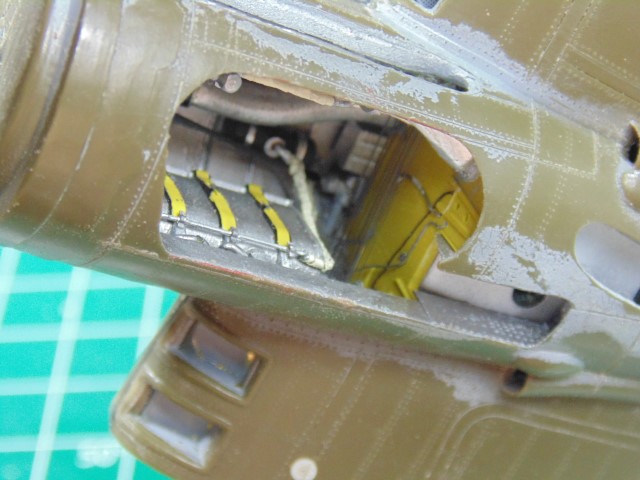
LEFT-WING AND WHEEL WELL - THE STATE OF PLAY

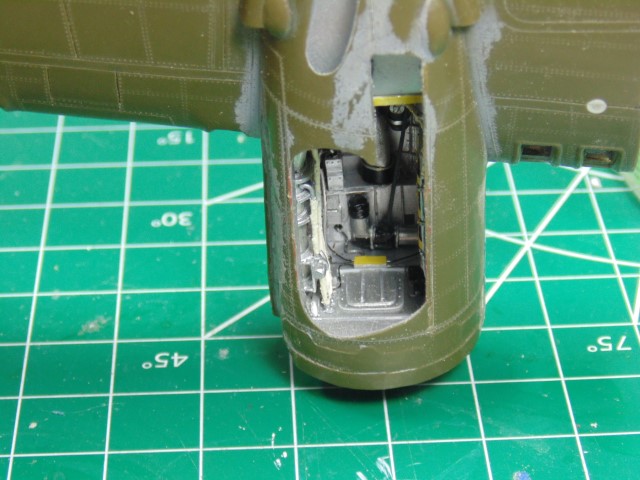
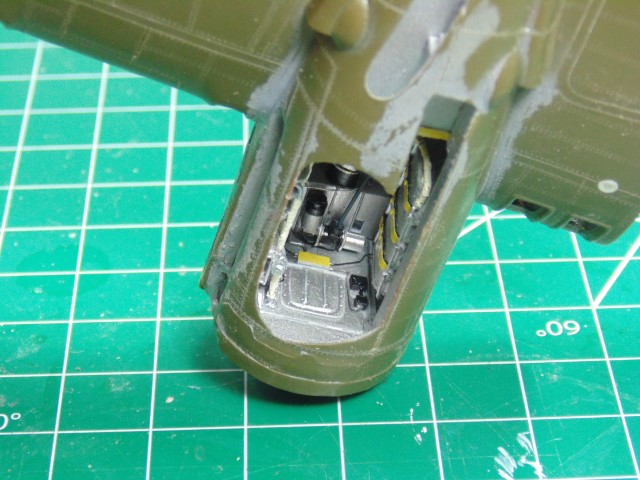
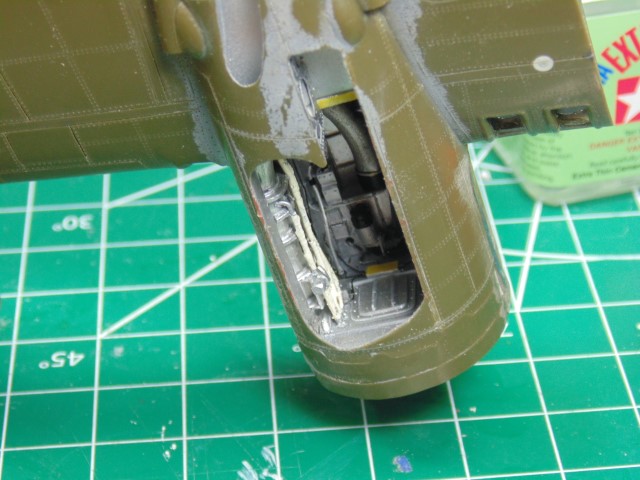
H.G. is finished with the left-wing and wheel-well . . . for now. Here are two wing views, followed by many of the wheel-well. Enjoy.


Here are multiple views of the wheel-well.


Next up: A return to the fuselage, finishing the nose.
Joel_W
Staff MemberAssociate Editor
AUTOMODELER
_VISITCOMMUNITY
New York, United States
Joined: December 04, 2010
KitMaker: 11,666 posts
AeroScale: 7,410 posts
Posted: Sunday, May 10, 2020 - 02:15 AM UTC
Brian,
The wings look fantastic. I still marvel at the rescribing. it's absolutely perfect. HG certainly make it all look easy, which is the true mark of an expert, as we all know that it's quite the opposite.

Joel
KPHB17FE
_VISITCOMMUNITY
Illinois, United States
Joined: January 12, 2015
KitMaker: 292 posts
AeroScale: 292 posts
Posted: Sunday, May 10, 2020 - 06:19 AM UTC
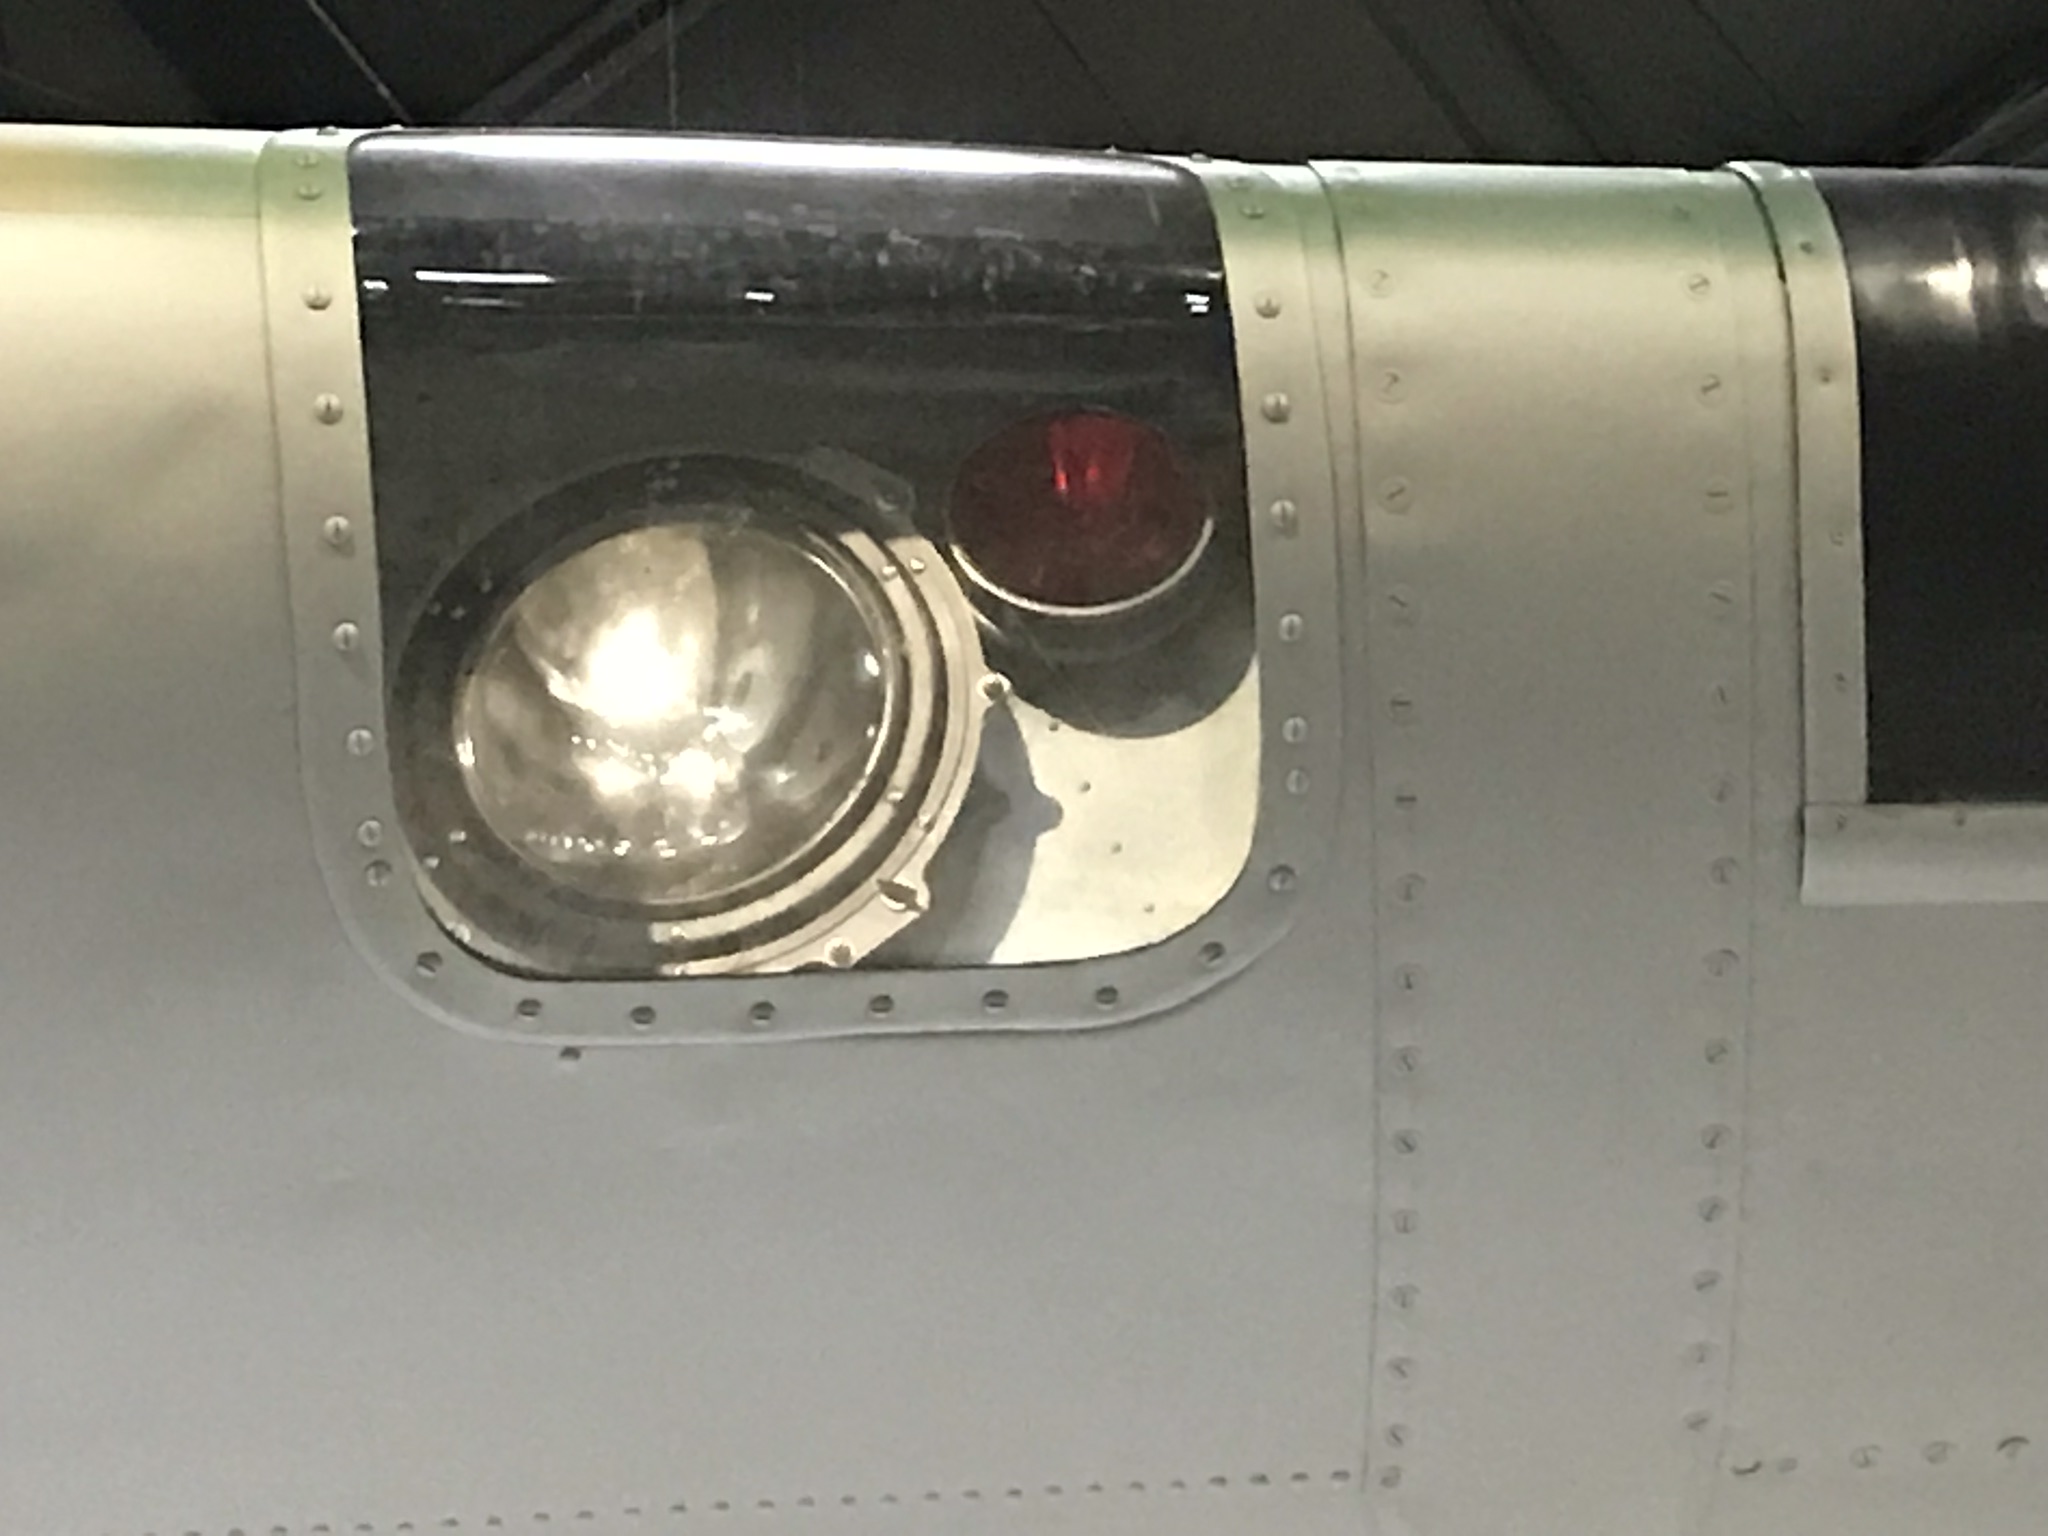
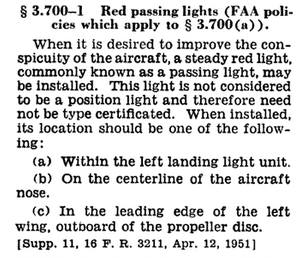
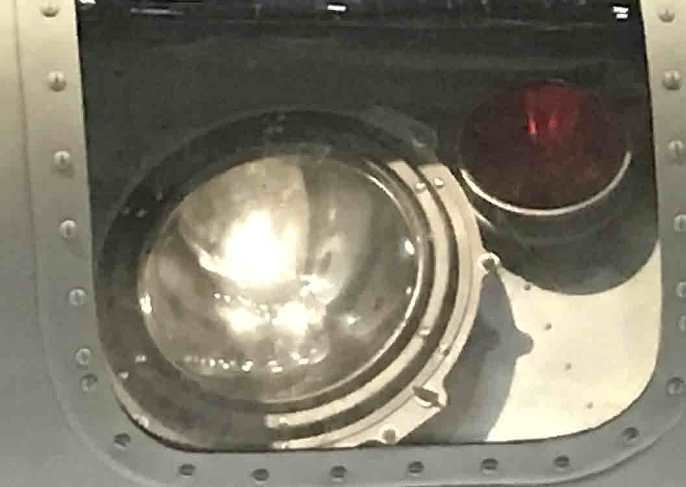
Looking good. I presume at some point he will want to address the landing lights. In the left one ONLY, there was a red passing light:


What is a passing light you ask? Well, here is the explanation. There were many light systems on these combat aircraft that were not used, this is just one of them.

Redhand
#522
_VISITCOMMUNITY
New Jersey, United States
Joined: January 20, 2013
KitMaker: 1,460 posts
AeroScale: 1,443 posts
Posted: Sunday, May 10, 2020 - 07:42 AM UTC

Quoted Text

Looking good. I presume at some point he will want to address the landing lights. In the left one ONLY, there was a red passing light


Thanks, Karl. H.G. and I were actually discussing this last week. I appreciate the great picture. Far better than what I had.

Look for another post tonight on the beginning of his work on the nose.

Best,

Brian
rdt1953
_VISITCOMMUNITY
New Jersey, United States
Joined: February 06, 2015
KitMaker: 1,098 posts
AeroScale: 900 posts
Posted: Sunday, May 10, 2020 - 07:56 AM UTC
Still following this Brian - very nice work indeed!
Redhand
#522
_VISITCOMMUNITY
New Jersey, United States
Joined: January 20, 2013
KitMaker: 1,460 posts
AeroScale: 1,443 posts
Posted: Sunday, May 10, 2020 - 08:49 AM UTC

Quoted Text

Still following this Brian - very nice work indeed!


Thanks. We're getting there!
Redhand
#522
_VISITCOMMUNITY
New Jersey, United States
Joined: January 20, 2013
KitMaker: 1,460 posts
AeroScale: 1,443 posts
Posted: Sunday, May 10, 2020 - 09:10 AM UTC
NOSE JOB

As mentioned earlier, H.G. is now moving to the nose. I've given him license to make whatever corrections are necessary, though we'll be discussing them step by step.

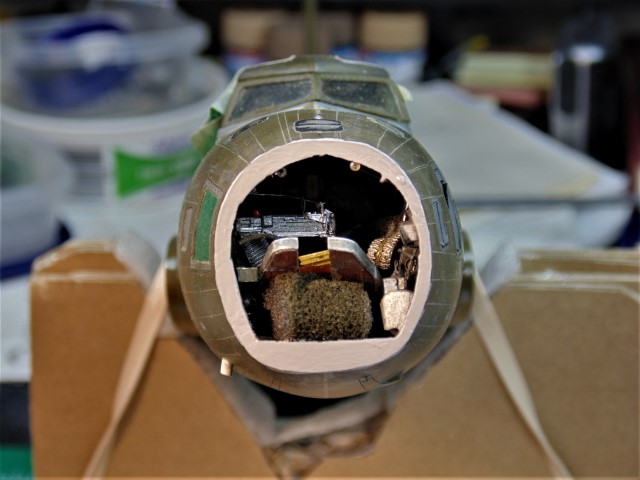
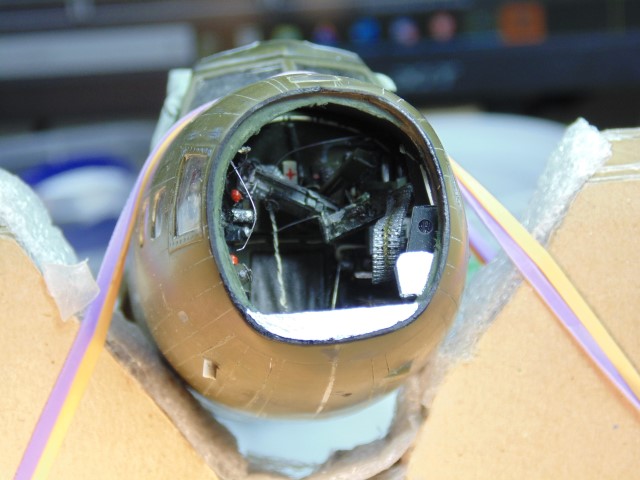
Here's what the nose looked like when shipped out to Edmonton a year ago. (Yes, it's been a year!)


You can see things got a bit shaken up in transit.

Here's the actual front Plexiglas parts I sent:


and there's this that goes around the Bombardier aiming panel.


Here's the nose configuration for Luscious Lady, to refresh your recollection.


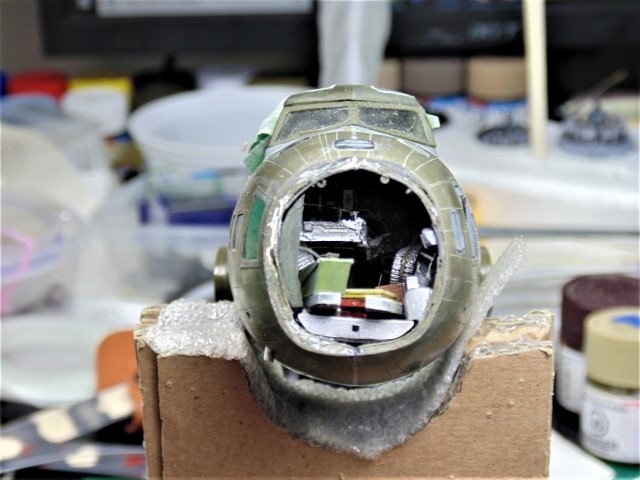
H.G. started by tapering down the front fuselage opening along the bottom to ensure a better positioning of the nose cone.

He is now filling it to ensure a smooth mating surface.


Note the way he has elevated the nose on a cardboard jig to provide an easy working surface.


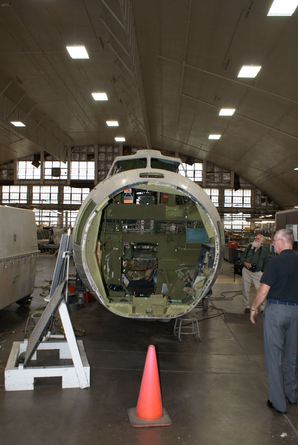
Note here how close the model looks to the Memphis Belle under renovation.


Damn! I like the contrast!

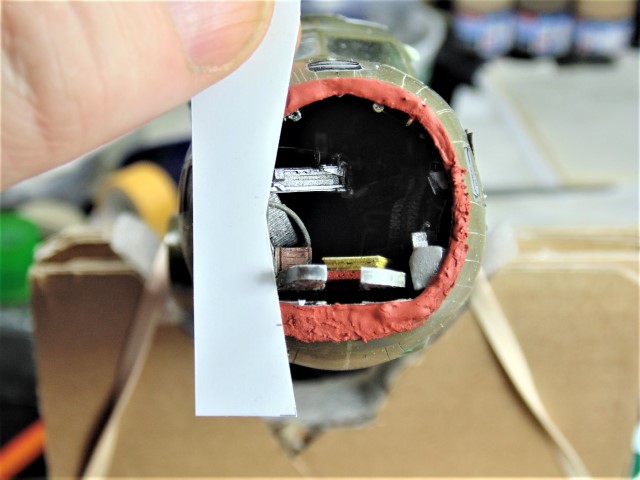
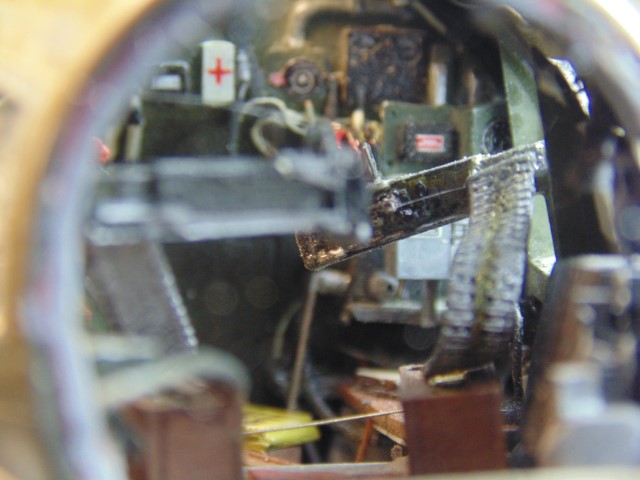
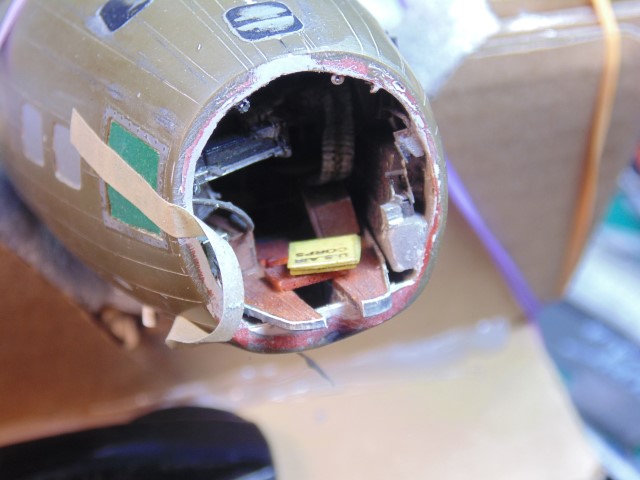
However, before we even think of putting the Plexiglass nose on there are significant repairs and additions just inside the nose opening that must be completed.

Stay tuned.
Redhand
#522
_VISITCOMMUNITY
New Jersey, United States
Joined: January 20, 2013
KitMaker: 1,460 posts
AeroScale: 1,443 posts
Posted: Thursday, May 28, 2020 - 10:25 AM UTC
LANDING LIGHTS PART 1

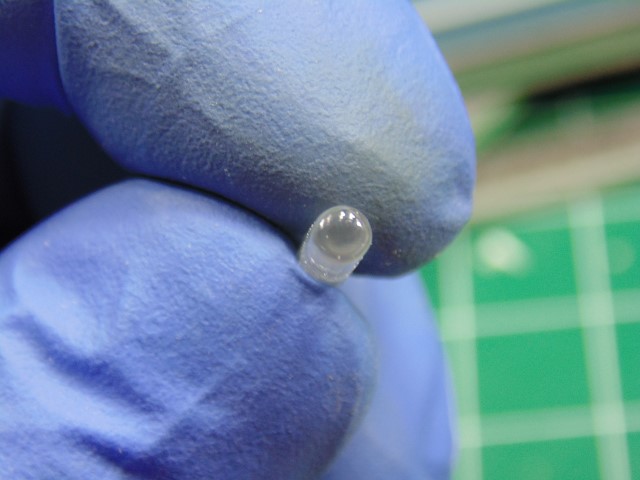
I want to briefly cover some of the preparation work for installation of the landing lights in the wings. I had a pretty decent set of railroad lights for model trains that I thought would get the job done, but they proved too big.


At least the main clear lenses did, but we have another, smaller, red one that will go in the port wing with the main light.

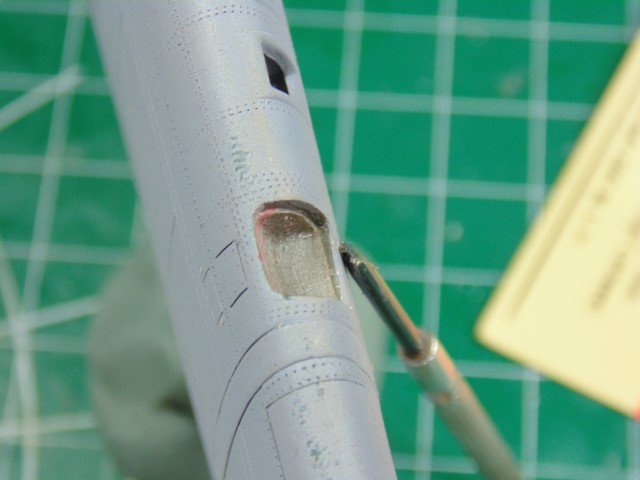
All will fit nicely after HG finishes preparing the openings for the light fixtures.

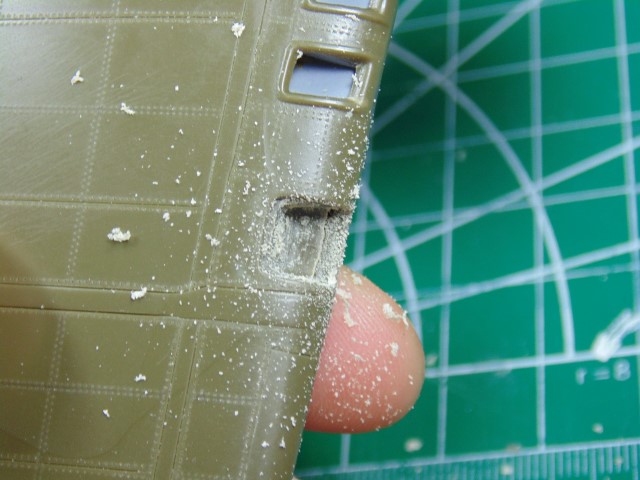
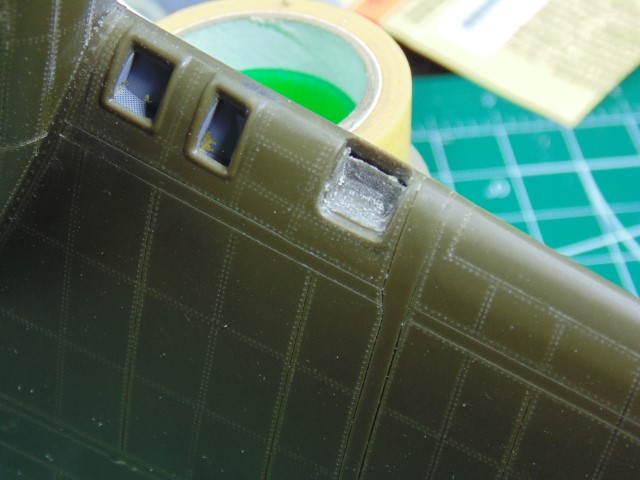
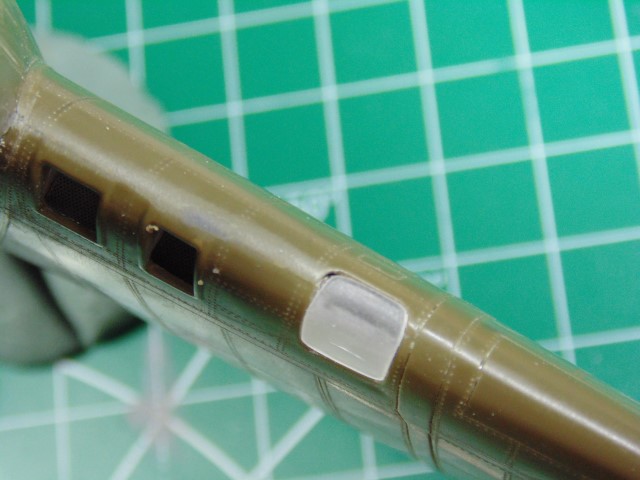
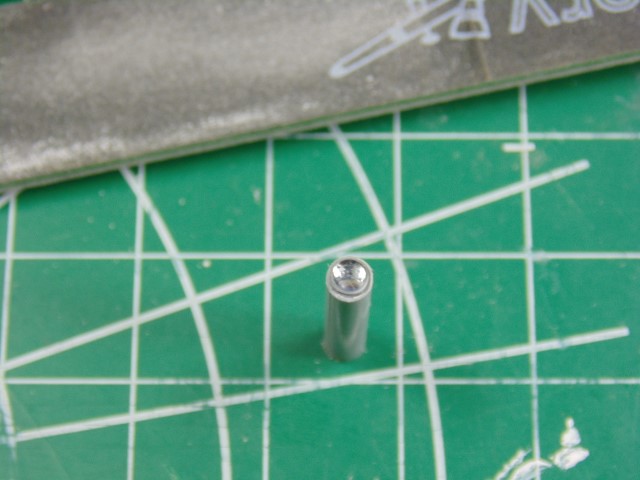
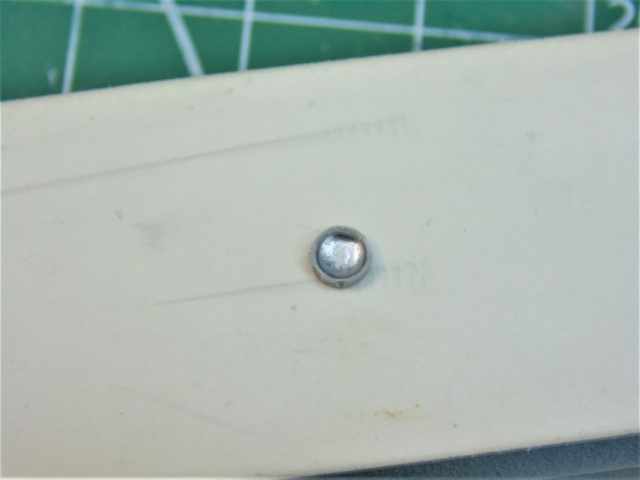
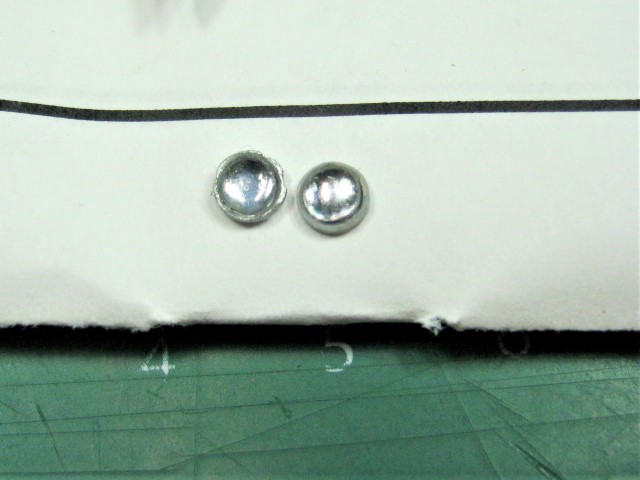
Here is a progression of shots showing his cleanup and enlarging of the openings to fit everything in.


Obviously, there is more fitting work to be done on this one!

And here is the parallel opening on the starboard wing. This is the one that will only have the single, clear landing light.


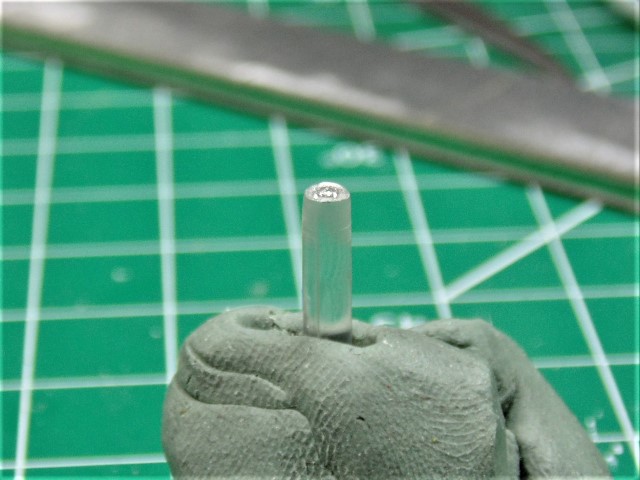
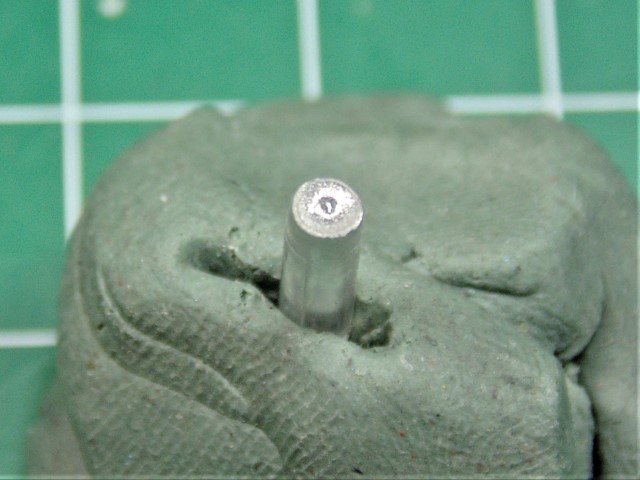
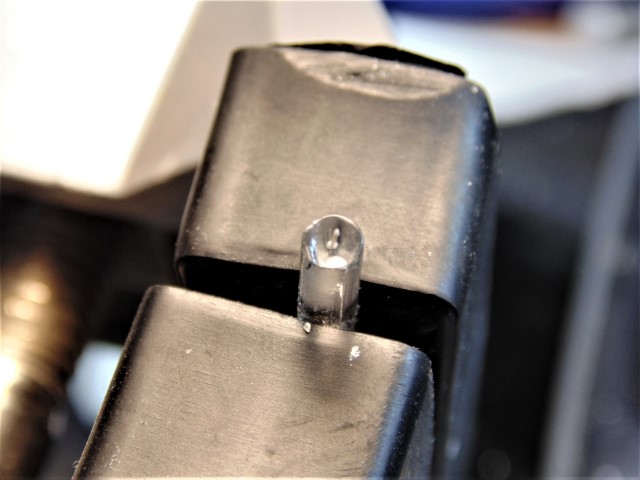
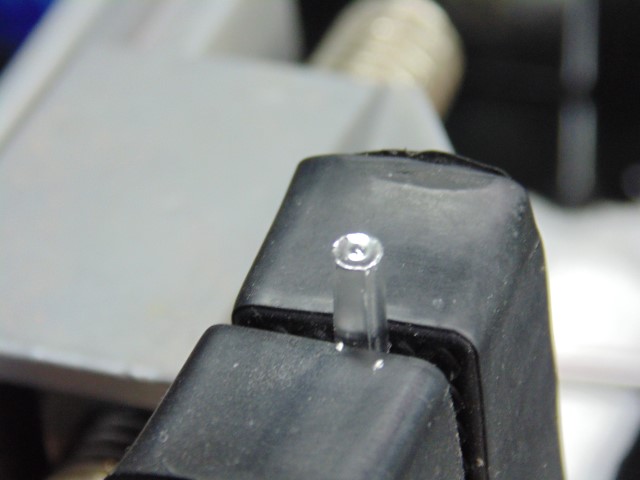
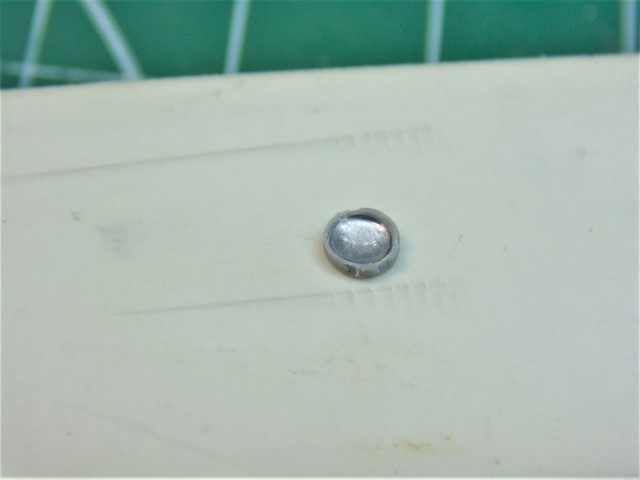
I wondered what source HG would use as a substitute for the oversized railroad lights, and was told it would be "no problem" for him that make them on his own. I'm not gonna pretend to know how this he did this but here is the work in progress, culminating in an acceptable backing for the lens.


I can't argue with this one.

Completion of this part of the build has been postponed until HG gets some new tools that have been ordered. Another post should be up very soon.
Redhand
#522
_VISITCOMMUNITY
New Jersey, United States
Joined: January 20, 2013
KitMaker: 1,460 posts
AeroScale: 1,443 posts
Posted: Thursday, May 28, 2020 - 01:58 PM UTC
LANDING LIGHTS PART 2

What follows are some excellent shots of the details that HG is adding to the light subassemblies. You will see lenses and you will also see the beginnings of his work on the delicate metal bases into which the lenses fit.


The comparison with the real thing is impressive, no?


Redhand
#522
_VISITCOMMUNITY
New Jersey, United States
Joined: January 20, 2013
KitMaker: 1,460 posts
AeroScale: 1,443 posts
Posted: Thursday, May 28, 2020 - 03:50 PM UTC
PAN'S LABYRINTH (RETURN TO THE NOSE)


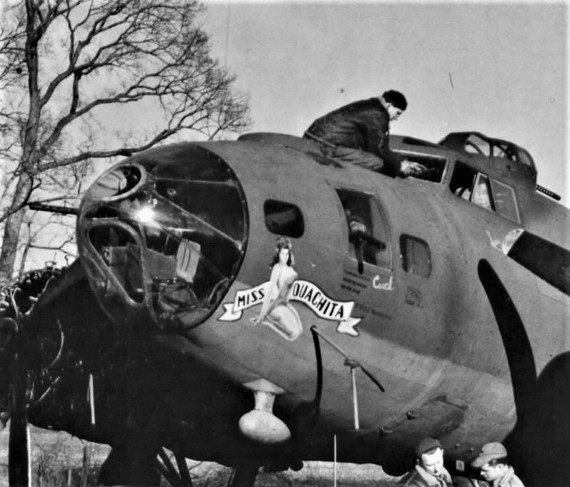
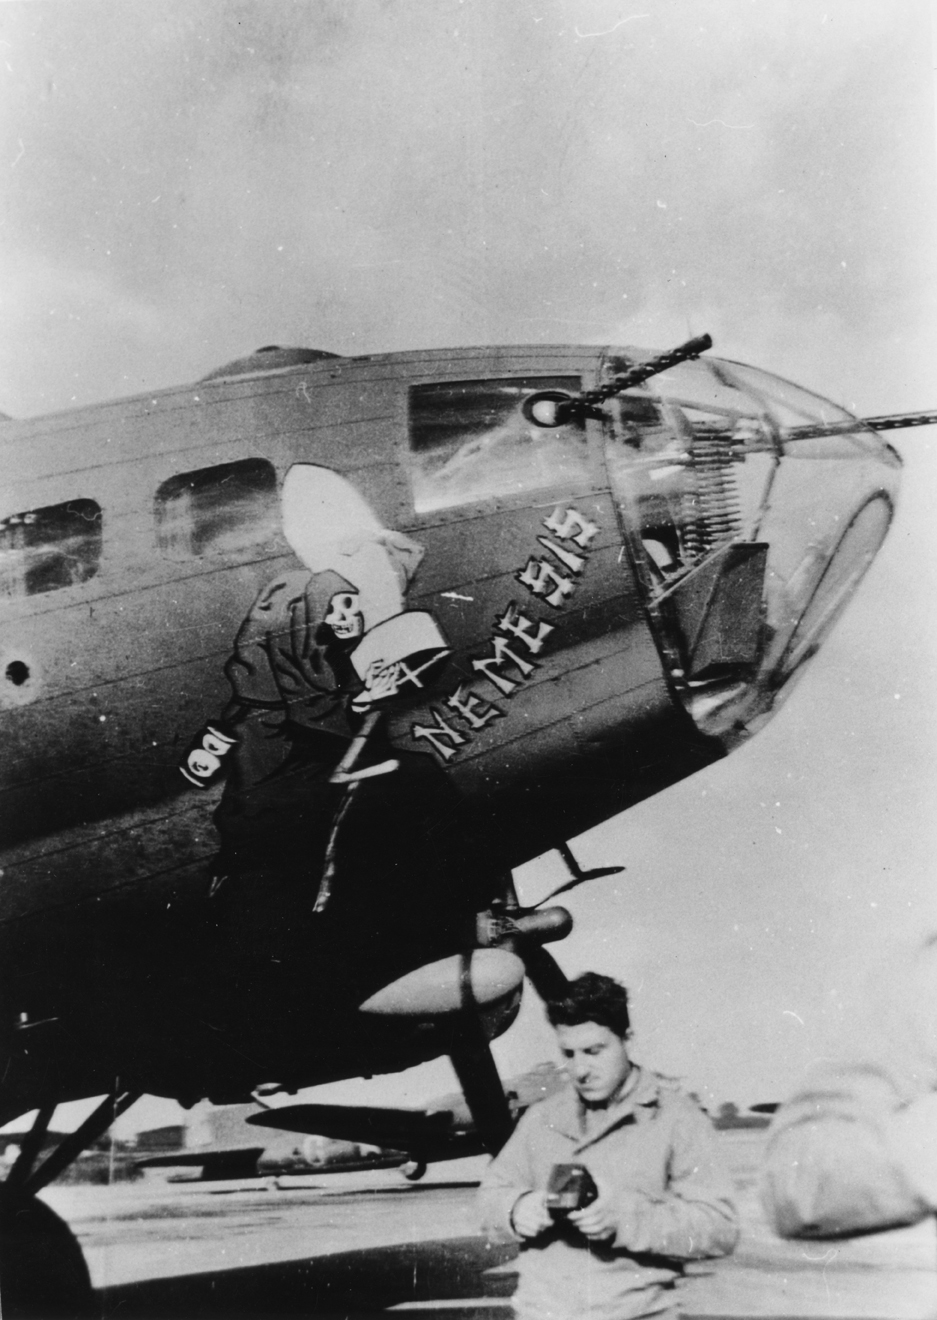
Well, I am exaggerating a bit. Anyway, we now come to the part of HG's return my prior work on the nose to create something closer to this image below.


It's pretty clear that Luscious Lady had this kind of nose configuration.

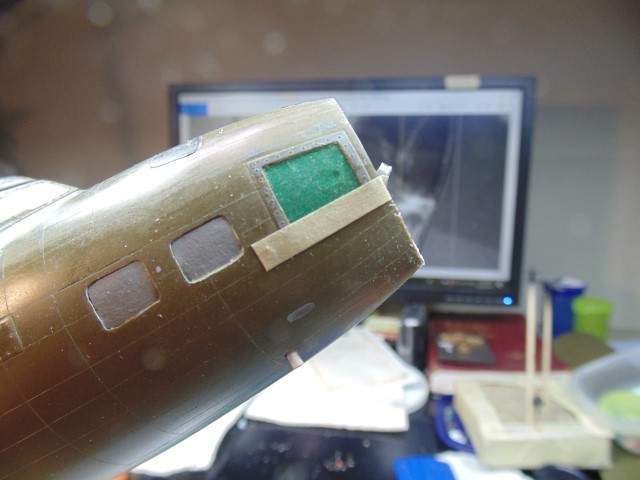
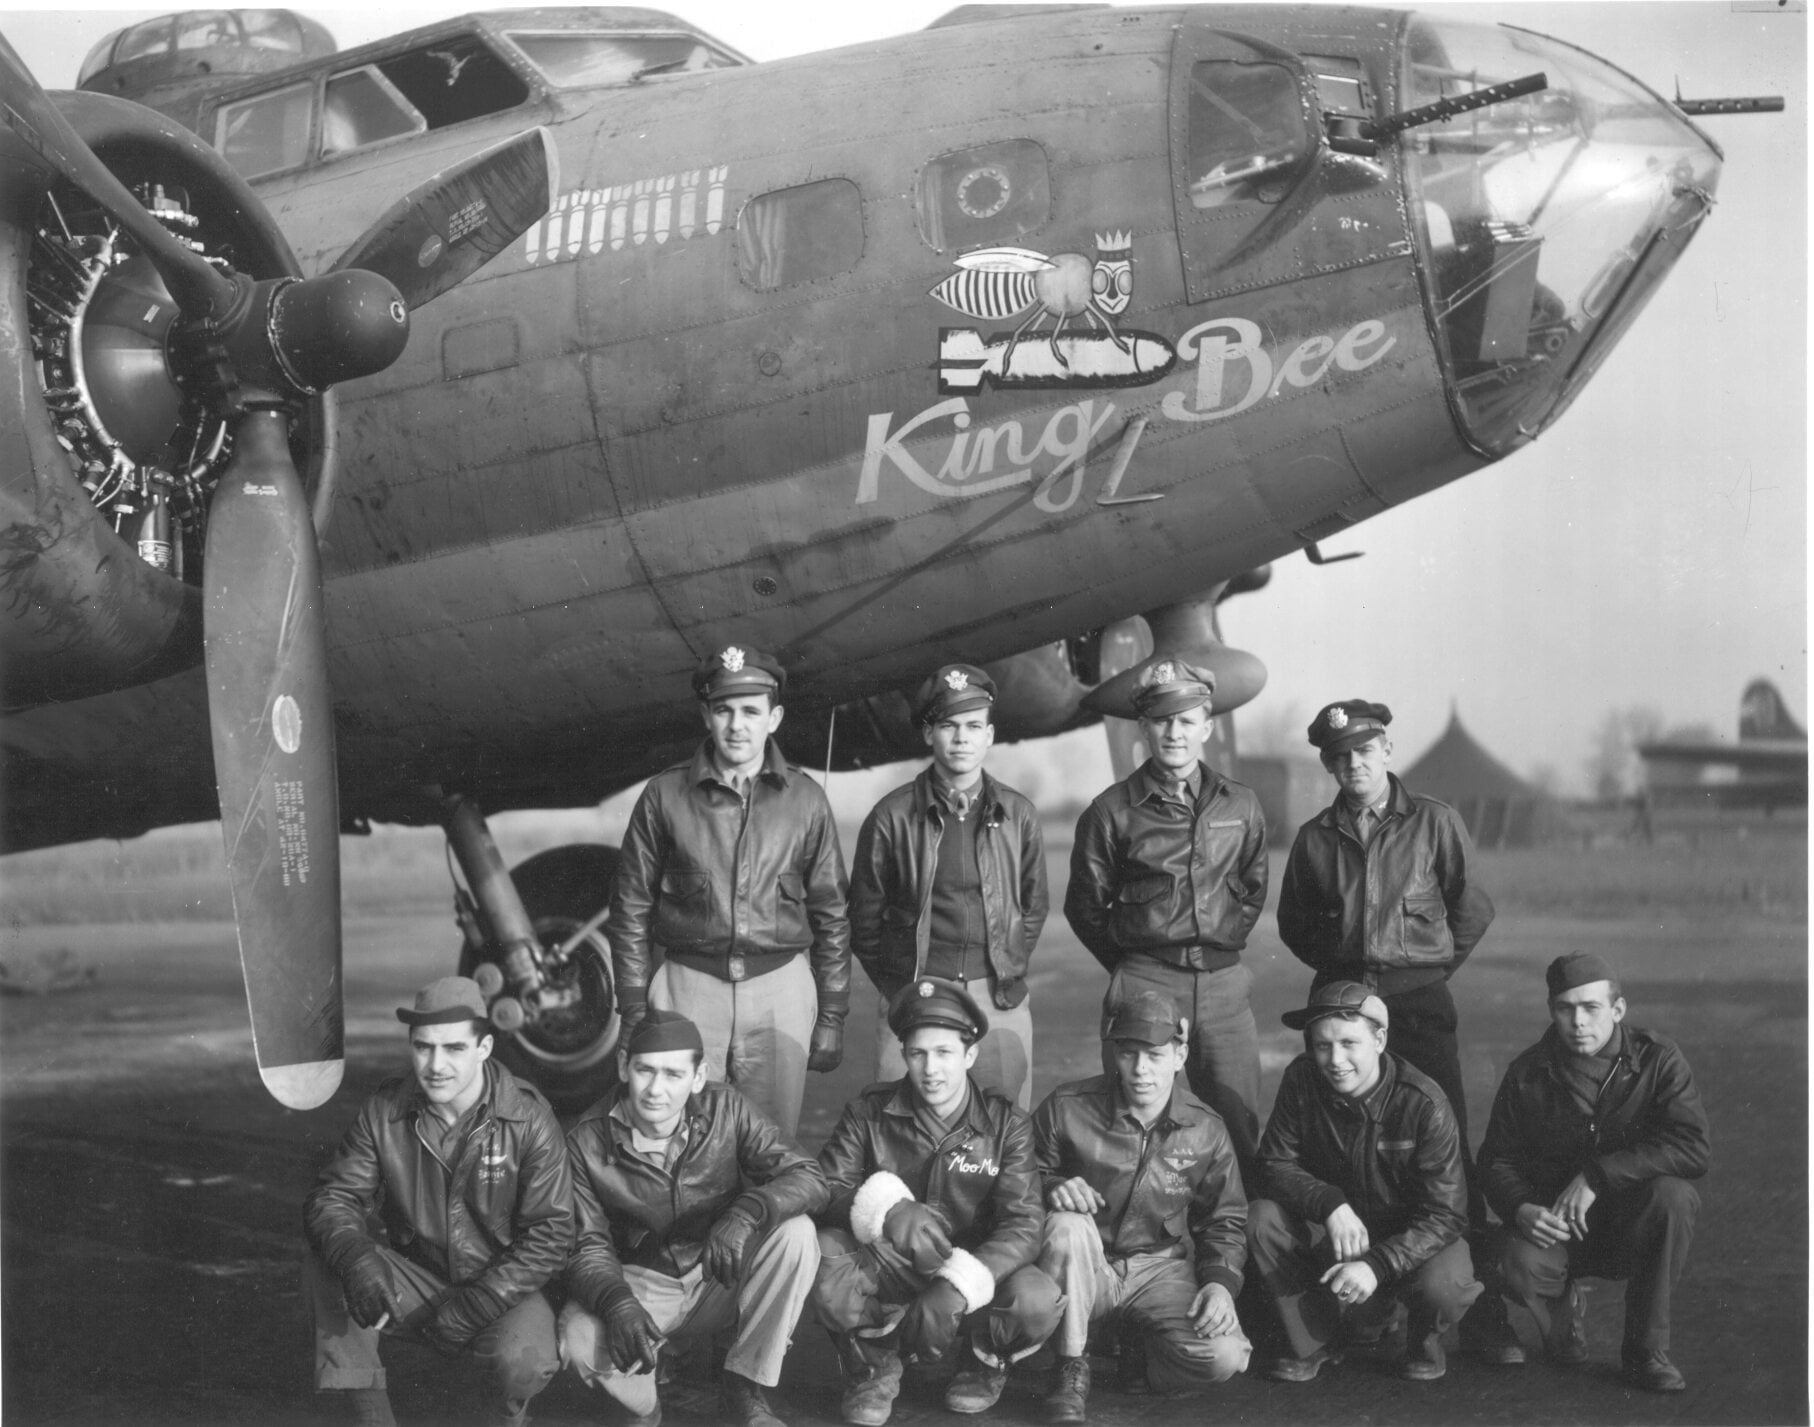
Before I get into a discussion about the Plexiglas nose, however, let me open up a "big reveal." If you look at the side windows of Miss Quachita you will note how flush they are with the outer skin of the fuselage. That's not the way they are in the model.


Also, no amount of polishing could get them back to the original clear finish that we both wanted.

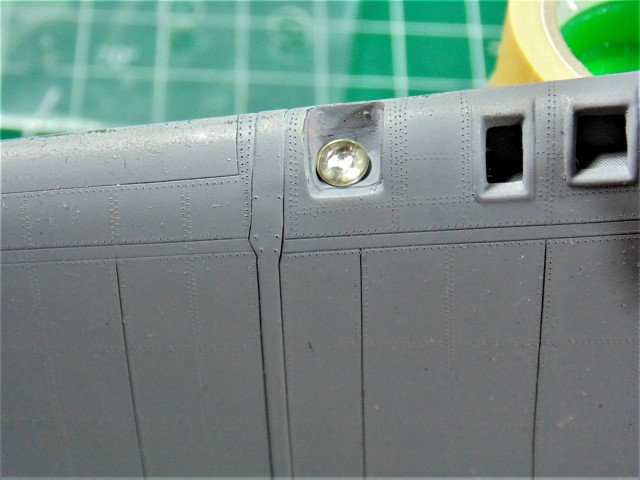
HG and I talked about this and discussed various solutions and I have left it up to him to figure out how to install new flush windows in the nose.


How exactly he's going to do that I can't say. However, I decided to take a


we will finish the job approach to this. So, when the tools come in we shall see.

In the meantime, let's return back to the nose cone. To get this right, I also gave HG permission to go into the nose.


to get it ready for the tricky job of (1) literally straightening it up and (2) marrying the vacuform nosecone nose opening. Since this will involve also removing the cheek guns, because the windows are being replaced, he will be dealing with that as well.


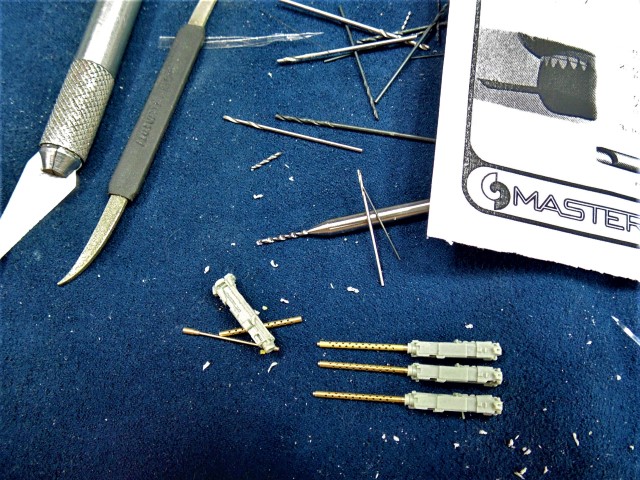
These are "Master" brass gun barrels married to the outstanding stocks that were part of "True Details'" otherwise problematic resin sets for the B-17G nose and waste positions. I agree with HG that these are the single best one-piece depictions of those gun parts out there. It is a shame that they are apparently out of production now, but we have enough to do all the handheld guns in this build.

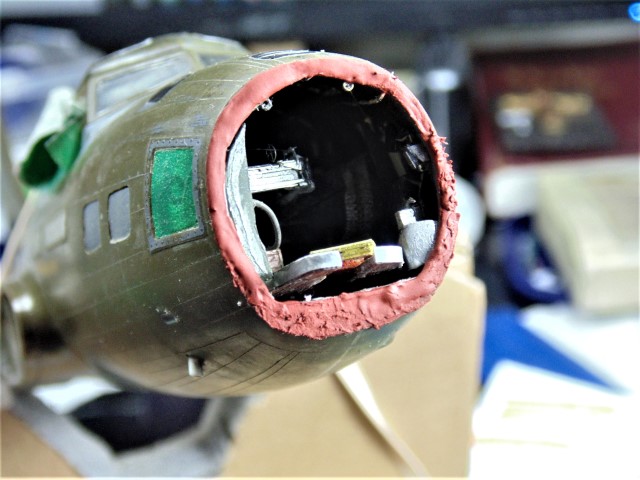
So, HG is starting where I left off with this:


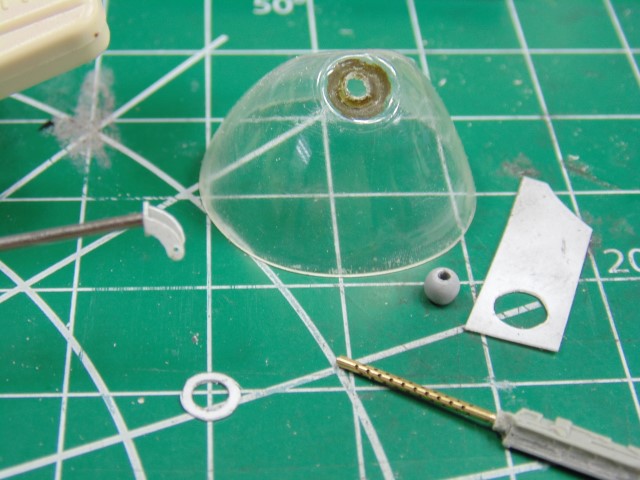
And here you can see some of his preliminary work on this critical subassembly of the entire model. (I mean, it's one of the first things that anyone looking at the build is going to focus on.)


I should mention upfront that the vacuform nose you see here isn't the one for the final kit. It's what I was working on but we are going to use an extra I sent him for a cleaner presentation.

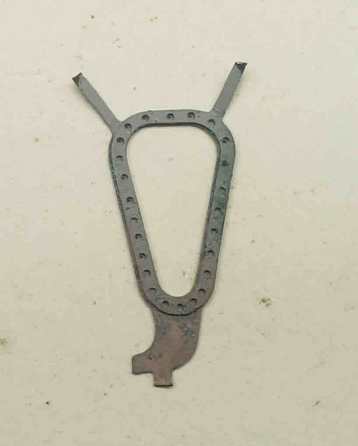
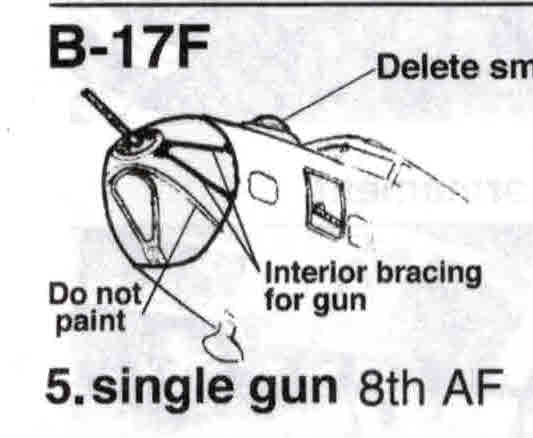
If you look back at the previous picture of what I sent, the one thing that he will retain is the metal nose gun bracket that reaches back to the sides of the nose opening. The resin ring to which the bracket ends fit is being discarded as unnecessary because he will be replicating it on the nose itself.

How you may ask?

Well, here is a start.


And yes, it looks pretty rough. But, note the transformation.


Stay tuned. I think things will get very interesting in the next few posts.
KPHB17FE
_VISITCOMMUNITY
Illinois, United States
Joined: January 12, 2015
KitMaker: 292 posts
AeroScale: 292 posts
Posted: Friday, May 29, 2020 - 12:23 AM UTC
Before you go too much further: The nose cone and mount on "Miss Ouachita" is not the same as what was on "Luscious Lady". You need the deeper recessed mount as seen here:


Joel_W
Staff MemberAssociate Editor
AUTOMODELER
_VISITCOMMUNITY
New York, United States
Joined: December 04, 2010
KitMaker: 11,666 posts
AeroScale: 7,410 posts
Posted: Friday, May 29, 2020 - 01:09 AM UTC
Brian,
All I can say once again is that I'm simply speechless. World Class modeler building a world class model. Just can't get any better then that.

joel
Redhand
#522
_VISITCOMMUNITY
New Jersey, United States
Joined: January 20, 2013
KitMaker: 1,460 posts
AeroScale: 1,443 posts
Posted: Friday, May 29, 2020 - 01:44 AM UTC

Quoted Text

Before you go too much further: The nose cone and mount on "Miss Ouachita" is not the same as what was on "Luscious Lady". You need the deeper recessed mount as seen here:


Oh my! Do you have any head-on shots? Ugh! Am I correct that this configuration is NOT one of the vacuform noses in Koster's "Nose Job" B-17 set?

This makes sense, but it's a bit of a shock since I had assumed * * * NEVER ASSUME.

We will be grateful for any additional info!