Air Campaigns
Want to start or join a group build? This is where to start.
OFFICIAL:- Airfx III campaign
tinbanger
_VISITCOMMUNITY
Ontario, Canada
Joined: February 04, 2008
KitMaker: 2,507 posts
AeroScale: 1,814 posts
Posted: Thursday, January 08, 2015 - 03:05 AM UTC

Quoted Text


Quoted Text

Great work Richard!
The Gallery is not set up for this campaign yet.


OOPS! My bad, sorry.

The Airfix III Campaign Gallery!

Nice work Richard!


Michael


Thank you Michael!
Bushioka
_VISITCOMMUNITY
Oregon, United States
Joined: January 13, 2014
KitMaker: 107 posts
AeroScale: 105 posts
Posted: Thursday, January 08, 2015 - 04:31 AM UTC
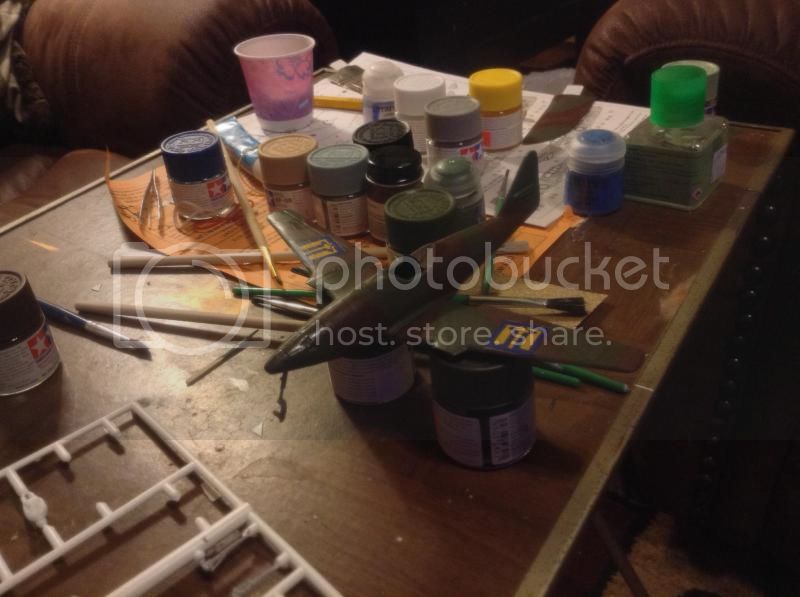
The Schwalbe is starting to look like a Schwalbe now:


Just not sure how to get the nose weighed down so it sits right once completed. Experimenting with some fishing weights I picked up, so we'll see.
Striker
_VISITCOMMUNITY
Wisconsin, United States
Joined: August 21, 2003
KitMaker: 94 posts
AeroScale: 6 posts
Posted: Thursday, January 08, 2015 - 07:45 PM UTC
Here are some in progress shots, tank built then with paint on it. Weathering and details are next.


Berwickboy
_VISITCOMMUNITY
England - East Midlands, United Kingdom
Joined: April 27, 2013
KitMaker: 450 posts
AeroScale: 387 posts
Posted: Friday, January 09, 2015 - 04:35 AM UTC
Seeing as how our weather has warmed up a bit my workshop (garage) is more welcoming so I have spent a few hours in there tonight

First job, paint the visible parts of the engine so grey plastic is not obvious to the observer.

Second, begin the cockpit by liberating the instrument panel from the sprue and sanding down the back to a more realistic thickness. Airscale suggest one cuts a piece of plastic card to apply the decal to, not me, I've reversed the clear instrument insert, well, it's the right shape. I've 'primed' it by dipping in Future which provides a god surface for the decal.

Final job was to start on the wings. The sprue gates are very thick so I used a small razor saw to remove the wings, no problem. Next job was to remove the upper wing panels to fit the new doors for the cannons. Airfix have included a deep groove on the inside of the wing which made removal using a sharp knife easy.

This is a so far piccie

I am not a quick builder but I am making progress. The biggest problem so far is the age of the kit, this was originally a Mk1 and can still be built that way as all parts are there including all 8 Brownings. Extra parts are included for the MkV including both types of tropical filter and some bits I can't yet identify. There are also the cannons, YUK! they are some of the worst representations of weapons I have ever seen so I'm glad I'm going to 'button' it all up and use the Master barrels for the visible part.

Hopefully I shall do more this weekend and celebrate another win for Kettering Town, Northampton Saints and Green Bay Packers. Have a good weekend folks
md72
#439
_VISITCOMMUNITY
Washington, United States
Joined: November 05, 2005
KitMaker: 4,950 posts
AeroScale: 3,192 posts
Posted: Friday, January 09, 2015 - 10:16 AM UTC
Found it! I want to build this one for Airfix III:
tinbanger
_VISITCOMMUNITY
Ontario, Canada
Joined: February 04, 2008
KitMaker: 2,507 posts
AeroScale: 1,814 posts
Posted: Friday, January 09, 2015 - 06:11 PM UTC
Cool choice Mark!
I saw these at a RAF base in the UK when I was a kid.
beefy66
_VISITCOMMUNITY
England - North East, United Kingdom
Joined: October 22, 2007
KitMaker: 971 posts
AeroScale: 11 posts
Posted: Friday, January 09, 2015 - 07:10 PM UTC
OK so this little kit is taking longer than I had planned all built up now and painted now for the rigging wish me luck


Keith
beefy66
_VISITCOMMUNITY
England - North East, United Kingdom
Joined: October 22, 2007
KitMaker: 971 posts
AeroScale: 11 posts
Posted: Friday, January 09, 2015 - 07:12 PM UTC


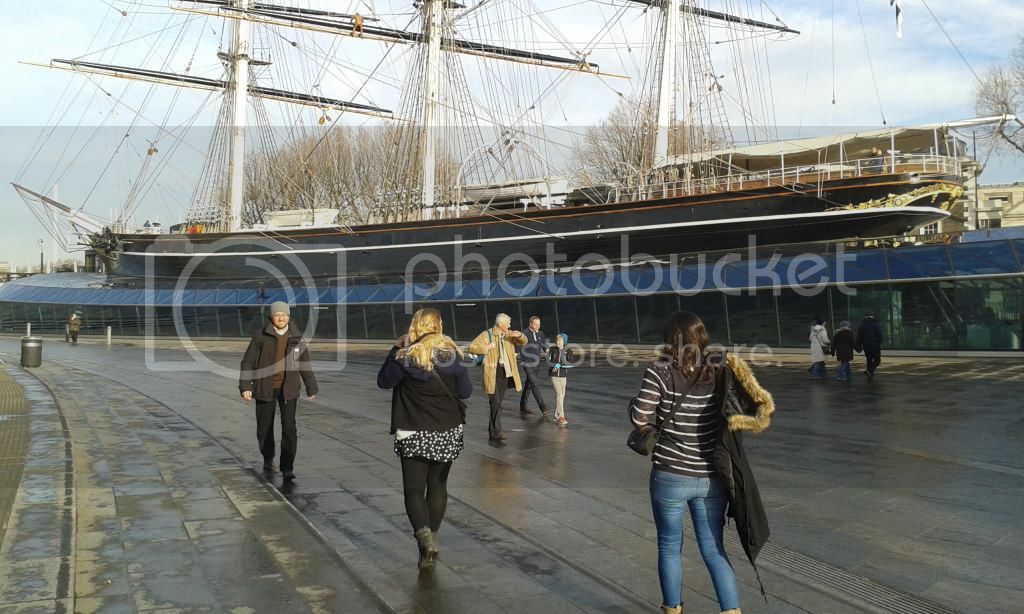
And the real deal when on a visit to the capial

Keith
tinbanger
_VISITCOMMUNITY
Ontario, Canada
Joined: February 04, 2008
KitMaker: 2,507 posts
AeroScale: 1,814 posts
Posted: Friday, January 09, 2015 - 09:09 PM UTC

Quoted Text

OK so this little kit is taking longer than I had planned all built up now and painted now for the rigging wish me luck


Good luck with all the rigging!
I thought aircraft were a challenge.


Keith

firstcircle
_VISITCOMMUNITY
England - South East, United Kingdom
Joined: November 19, 2008
KitMaker: 2,249 posts
AeroScale: 34 posts
Posted: Friday, January 09, 2015 - 11:35 PM UTC
So I too will make a start on the Airfix kit I received as a Christmas present. In 1975 or 6.

Apparently the new release is identical, though I can't quite believe the tyres and tracks are still moulded from anything quite so squidgy, or is it that they have gone this squidgy after almost 40 years?
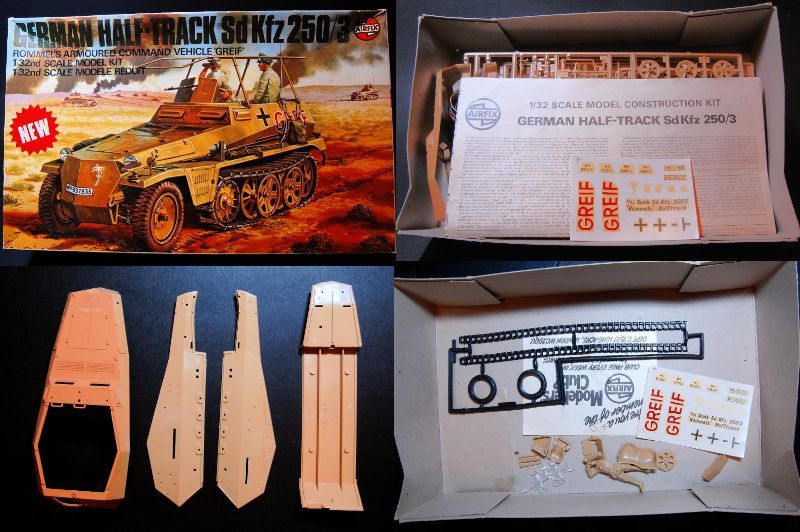
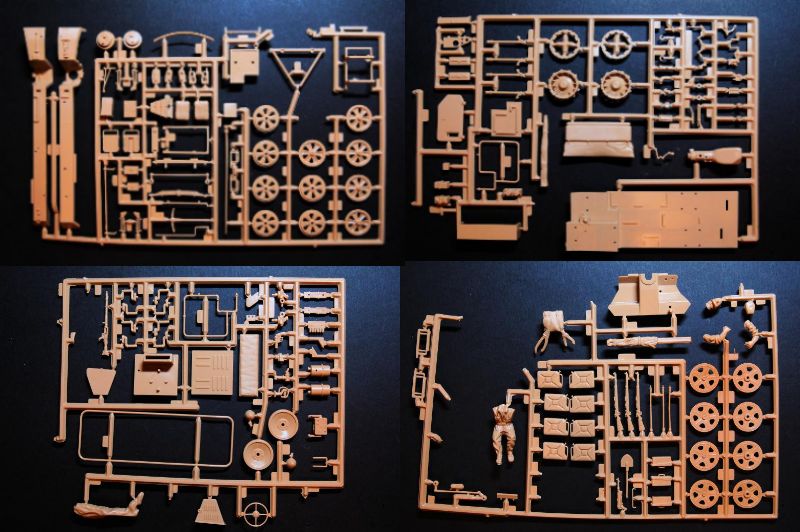


A few pieces have fallen off the sprues, Rommel has gone walkabout somewhere (probably a good thing) and I did a bit of pre-painting of the wheels and upper hull with my Badger 250, but otherwise no glue has been put to plastic, so I believe it can be considered unstarted.

So this is Steps 1 to 4, minus the driver figure...


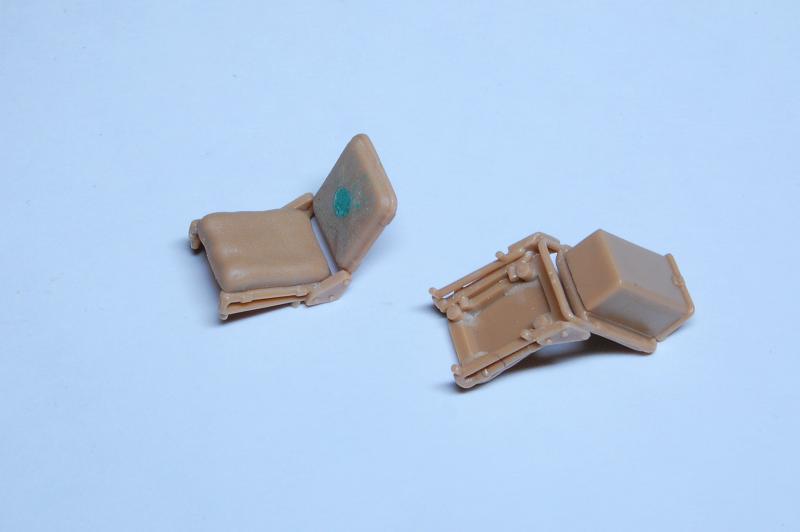
and the seats:


I now need to start painting this before the sides and top can go on.


firstcircle
_VISITCOMMUNITY
England - South East, United Kingdom
Joined: November 19, 2008
KitMaker: 2,249 posts
AeroScale: 34 posts
Posted: Friday, January 09, 2015 - 11:38 PM UTC
Forgot to enlist... now done.
Cbacon84
_VISITCOMMUNITY
California, United States
Joined: October 10, 2012
KitMaker: 204 posts
AeroScale: 52 posts
Posted: Saturday, January 10, 2015 - 10:36 AM UTC
So decided to go with this one. tried to build a Testors ex-hawk SBD a while ago but had to scrap it Airfix's SBD parts are almost the same but with better internal detail on the Airfix kit. although I think the Testors kit had better detail on the SBD's nose as the Airfix kit looks a little soft
tinbanger
_VISITCOMMUNITY
Ontario, Canada
Joined: February 04, 2008
KitMaker: 2,507 posts
AeroScale: 1,814 posts
Posted: Saturday, January 10, 2015 - 05:30 PM UTC
Matthew I have not seen this model from Airfix before! Looking forward to the build.
Casey welcome to the campaign!
Bushioka
_VISITCOMMUNITY
Oregon, United States
Joined: January 13, 2014
KitMaker: 107 posts
AeroScale: 105 posts
Posted: Saturday, January 10, 2015 - 11:49 PM UTC
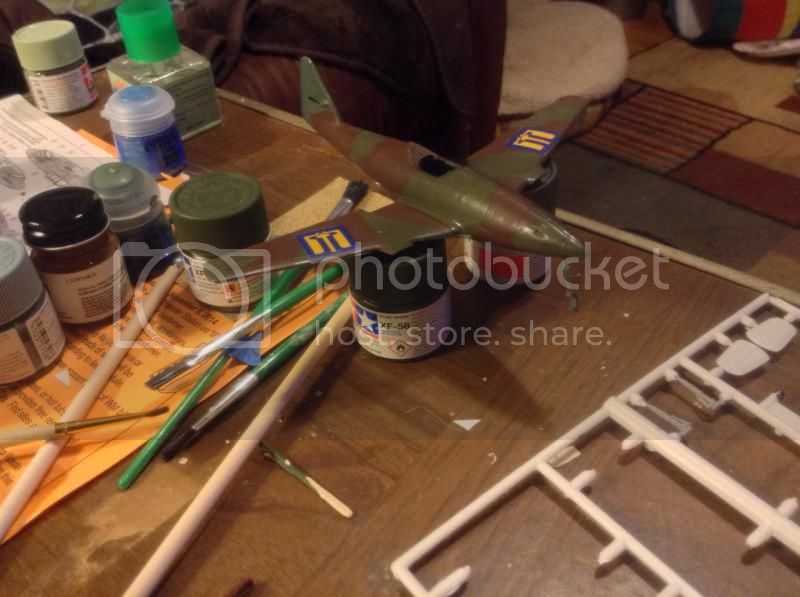
Ukrainian Scwalbe all but finished!

RedDuster
_VISITCOMMUNITY
England - South East, United Kingdom
Joined: March 01, 2010
KitMaker: 7,078 posts
AeroScale: 118 posts
Posted: Sunday, January 11, 2015 - 11:37 PM UTC
On with the Dornier.

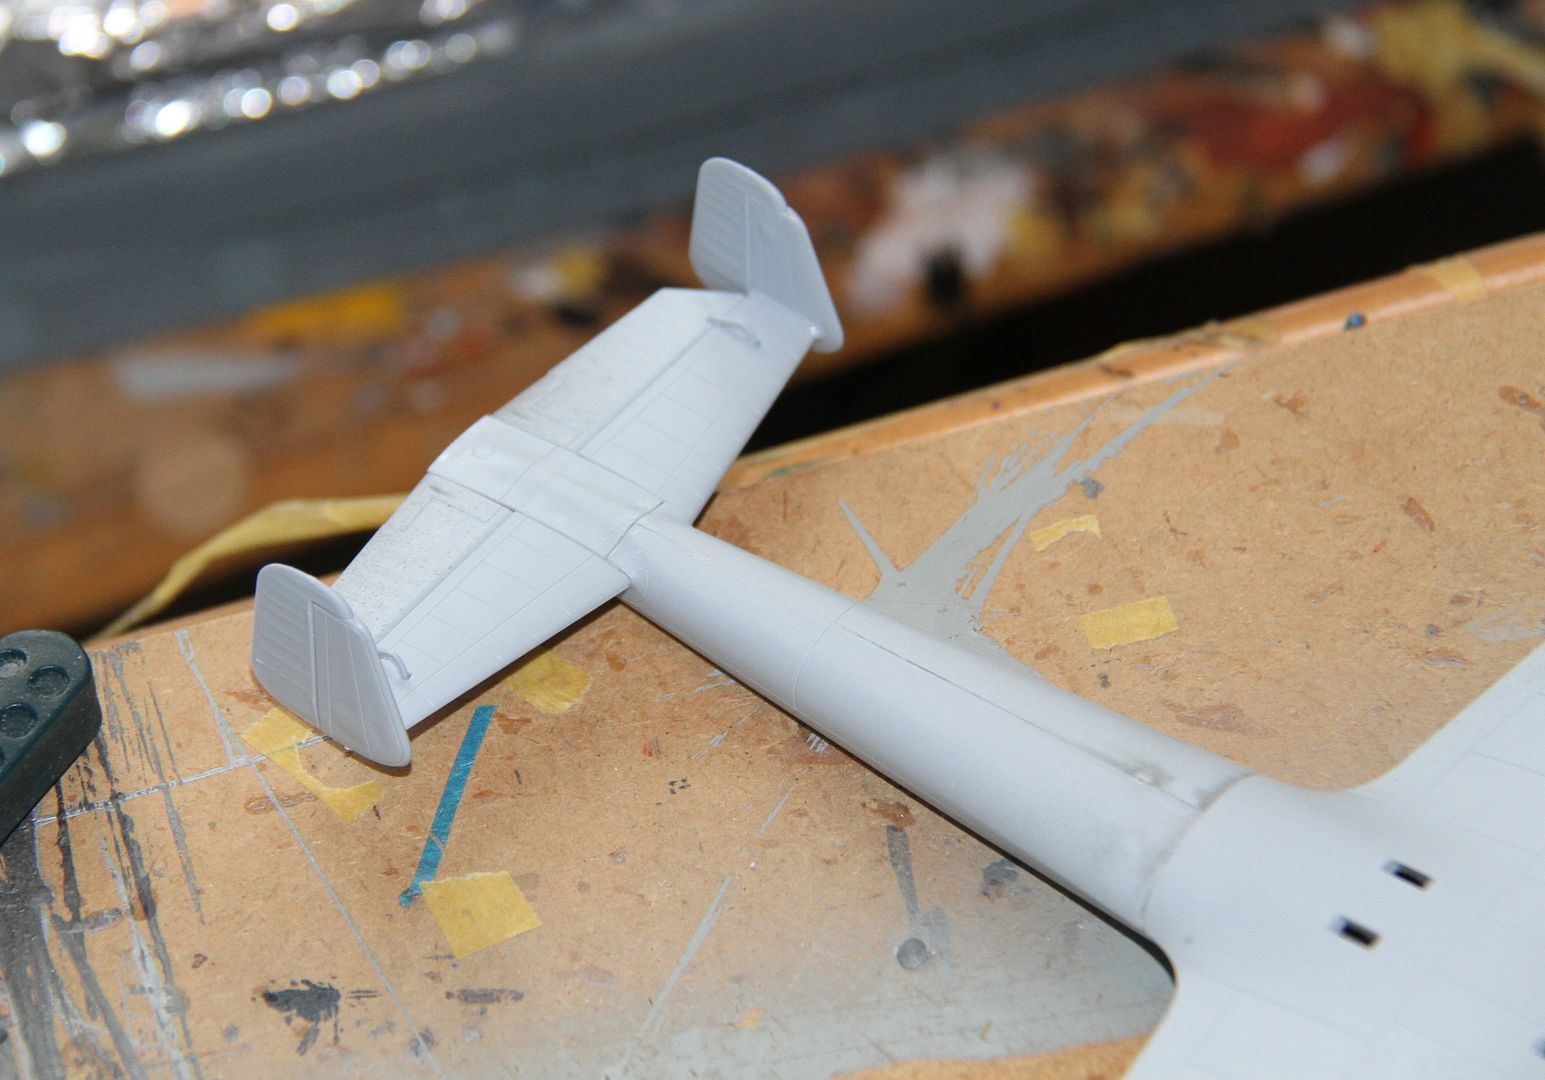
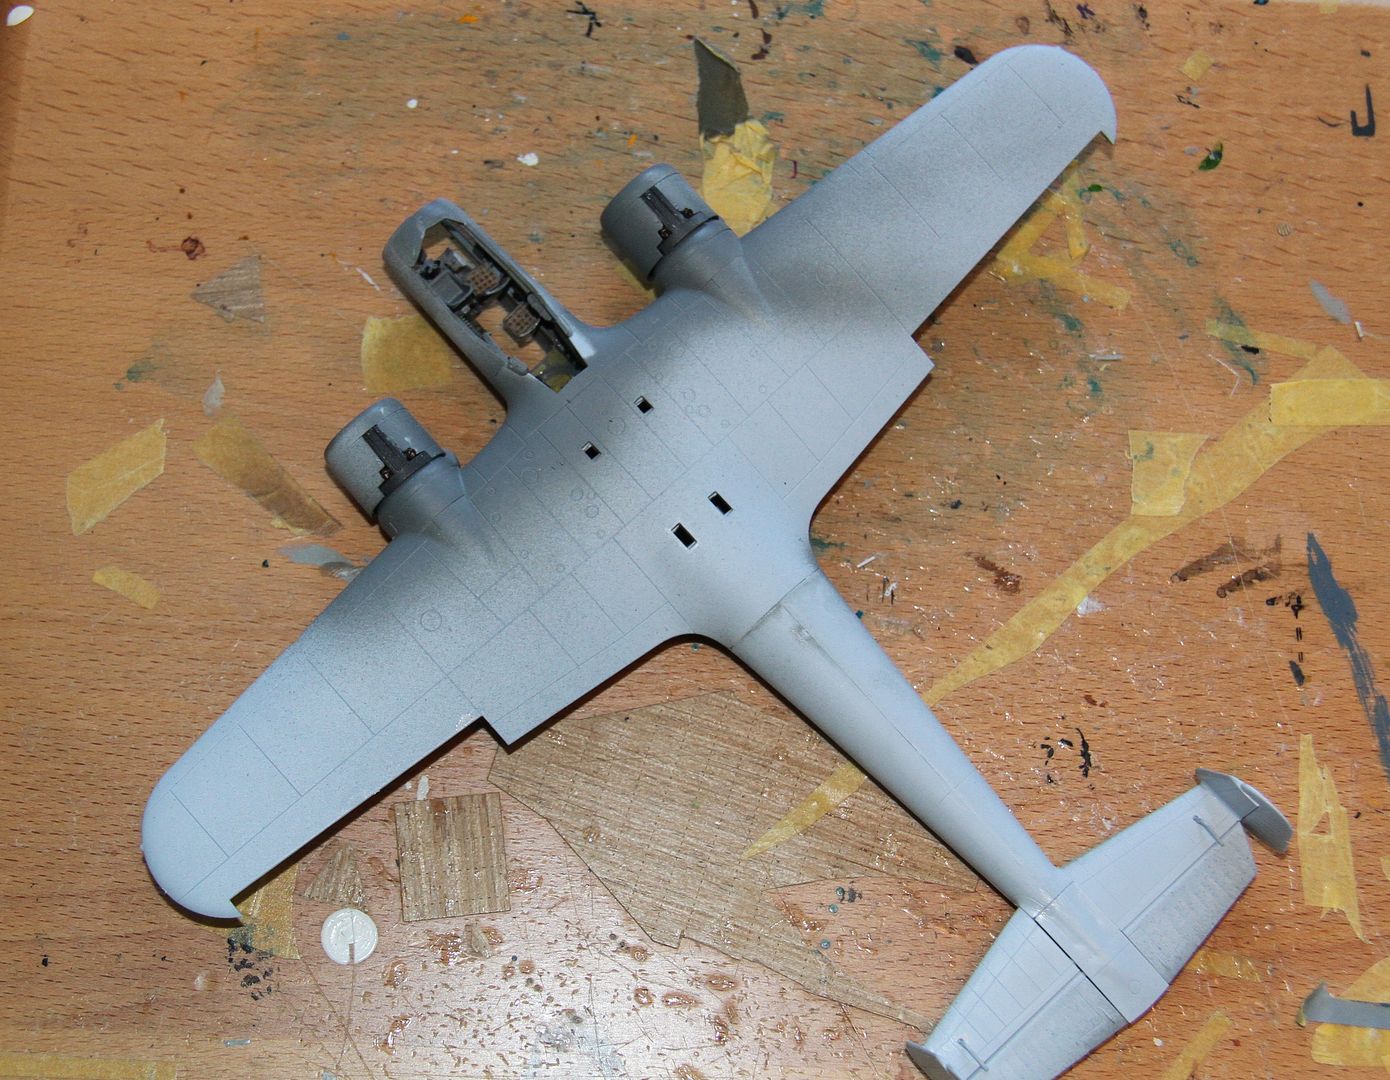
The horizontal stabiliser and the elevators fitted, they can be set at any suitable angle, I have kept it neutral.


Fins and rudders added to complete the tail group.


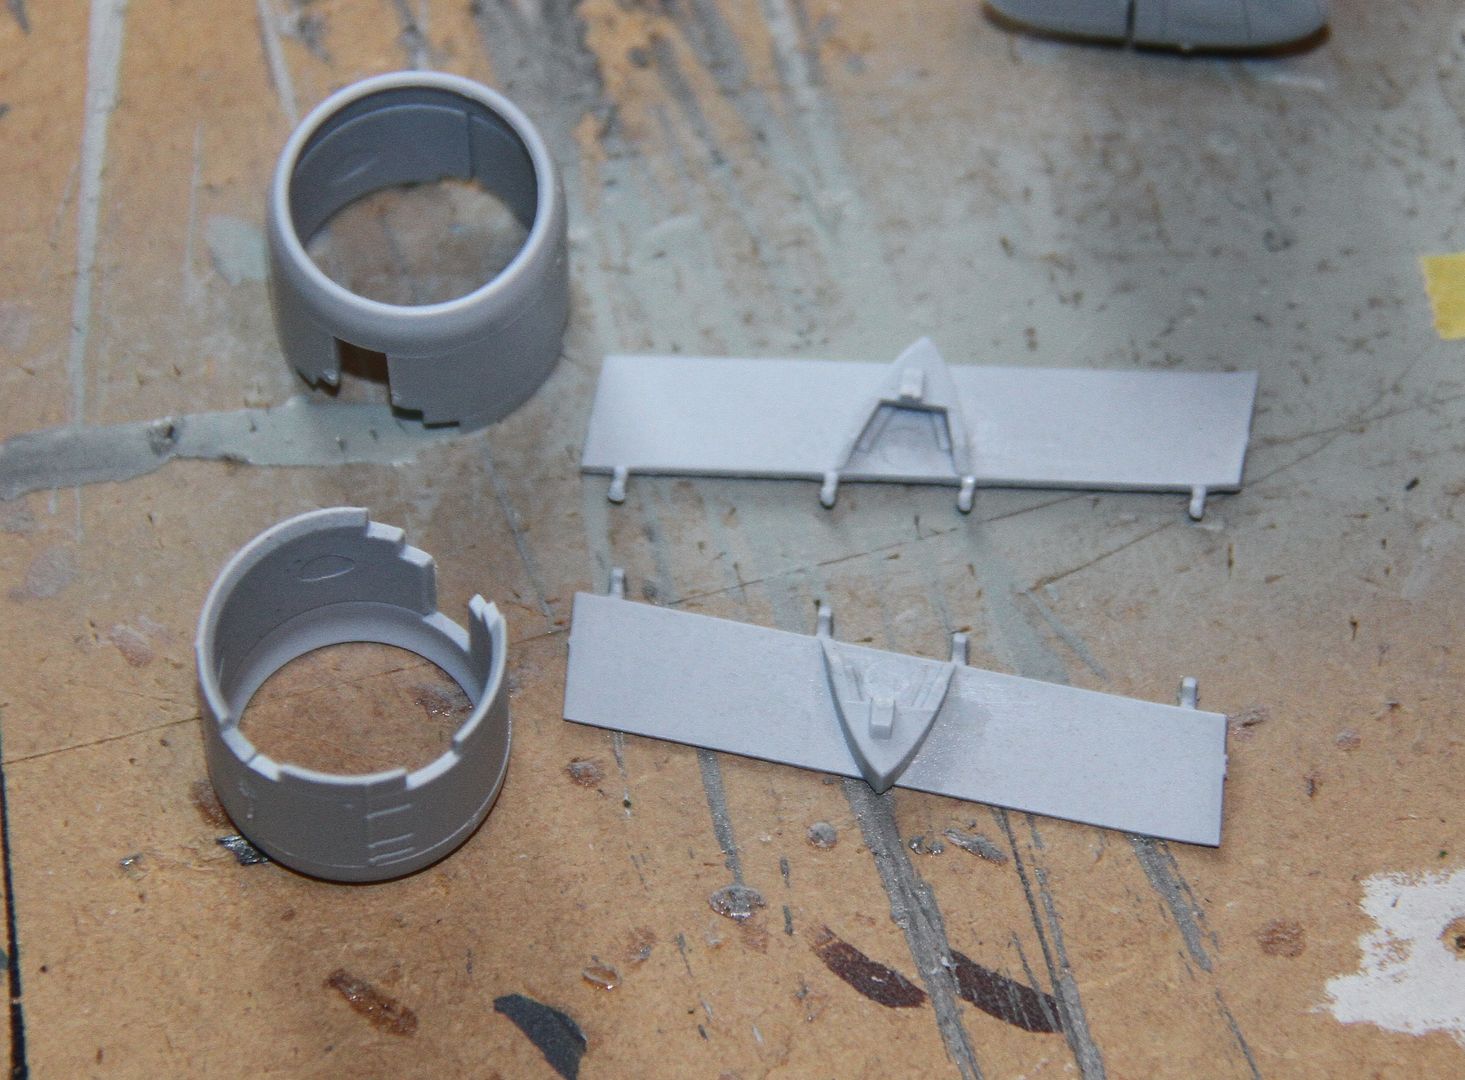
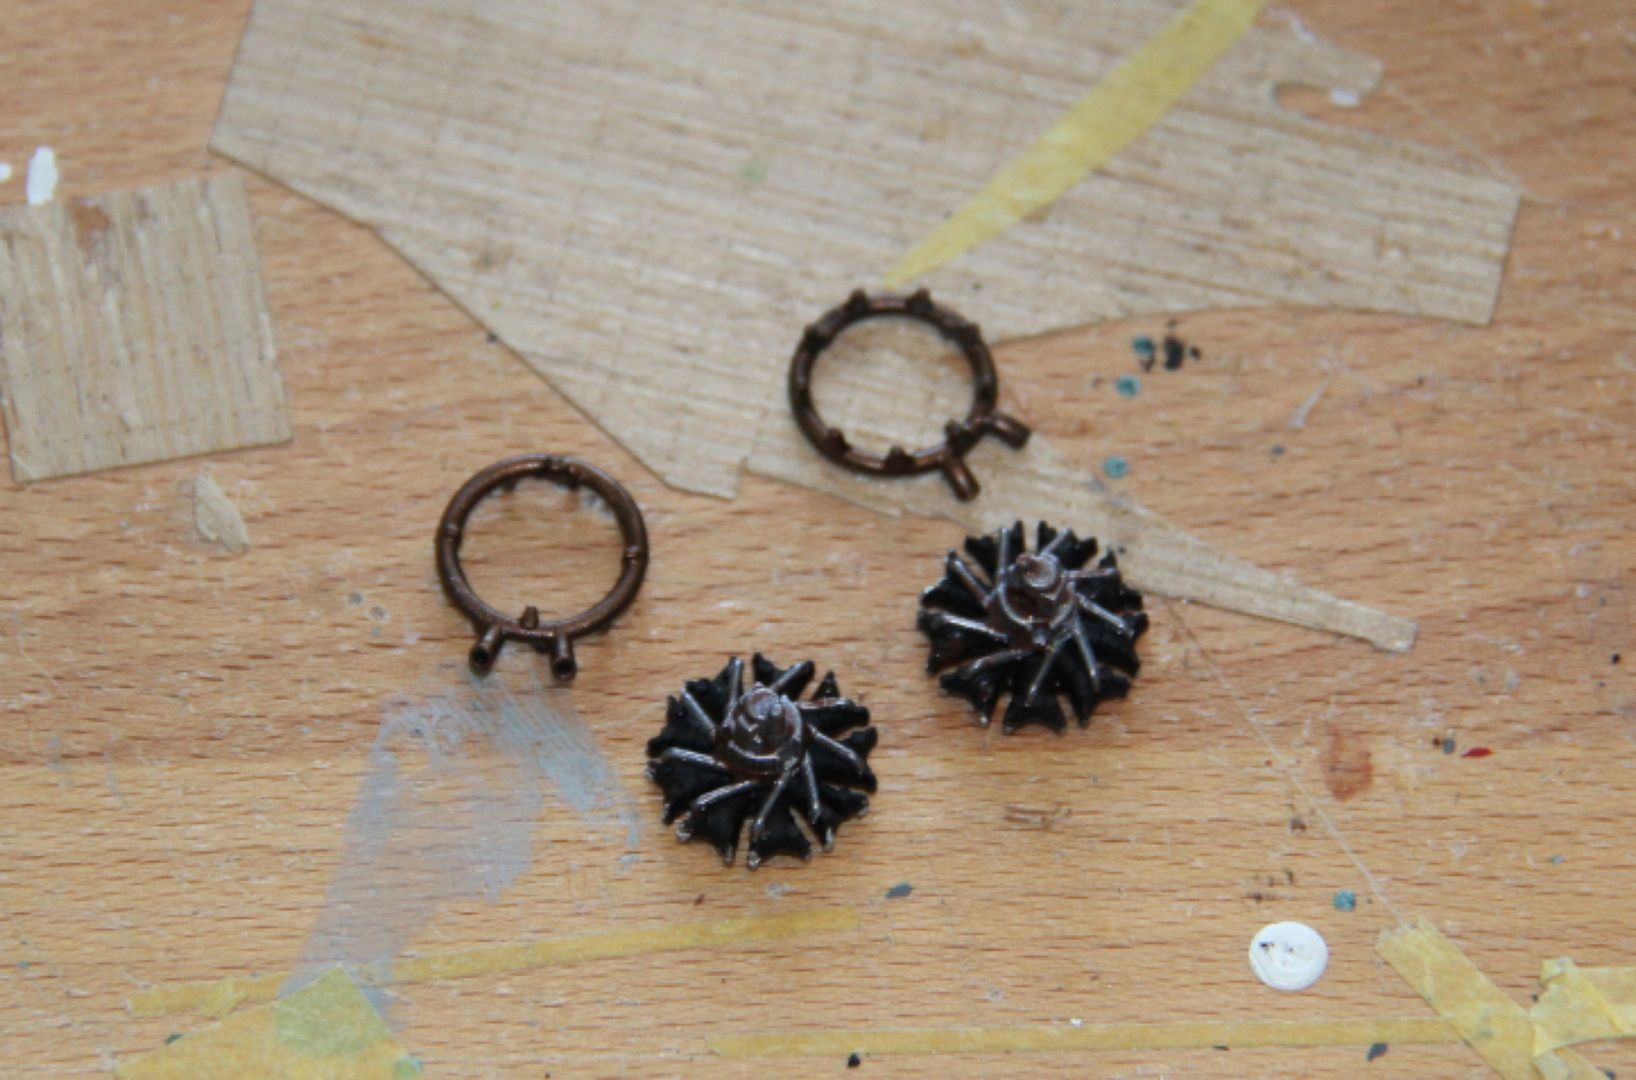
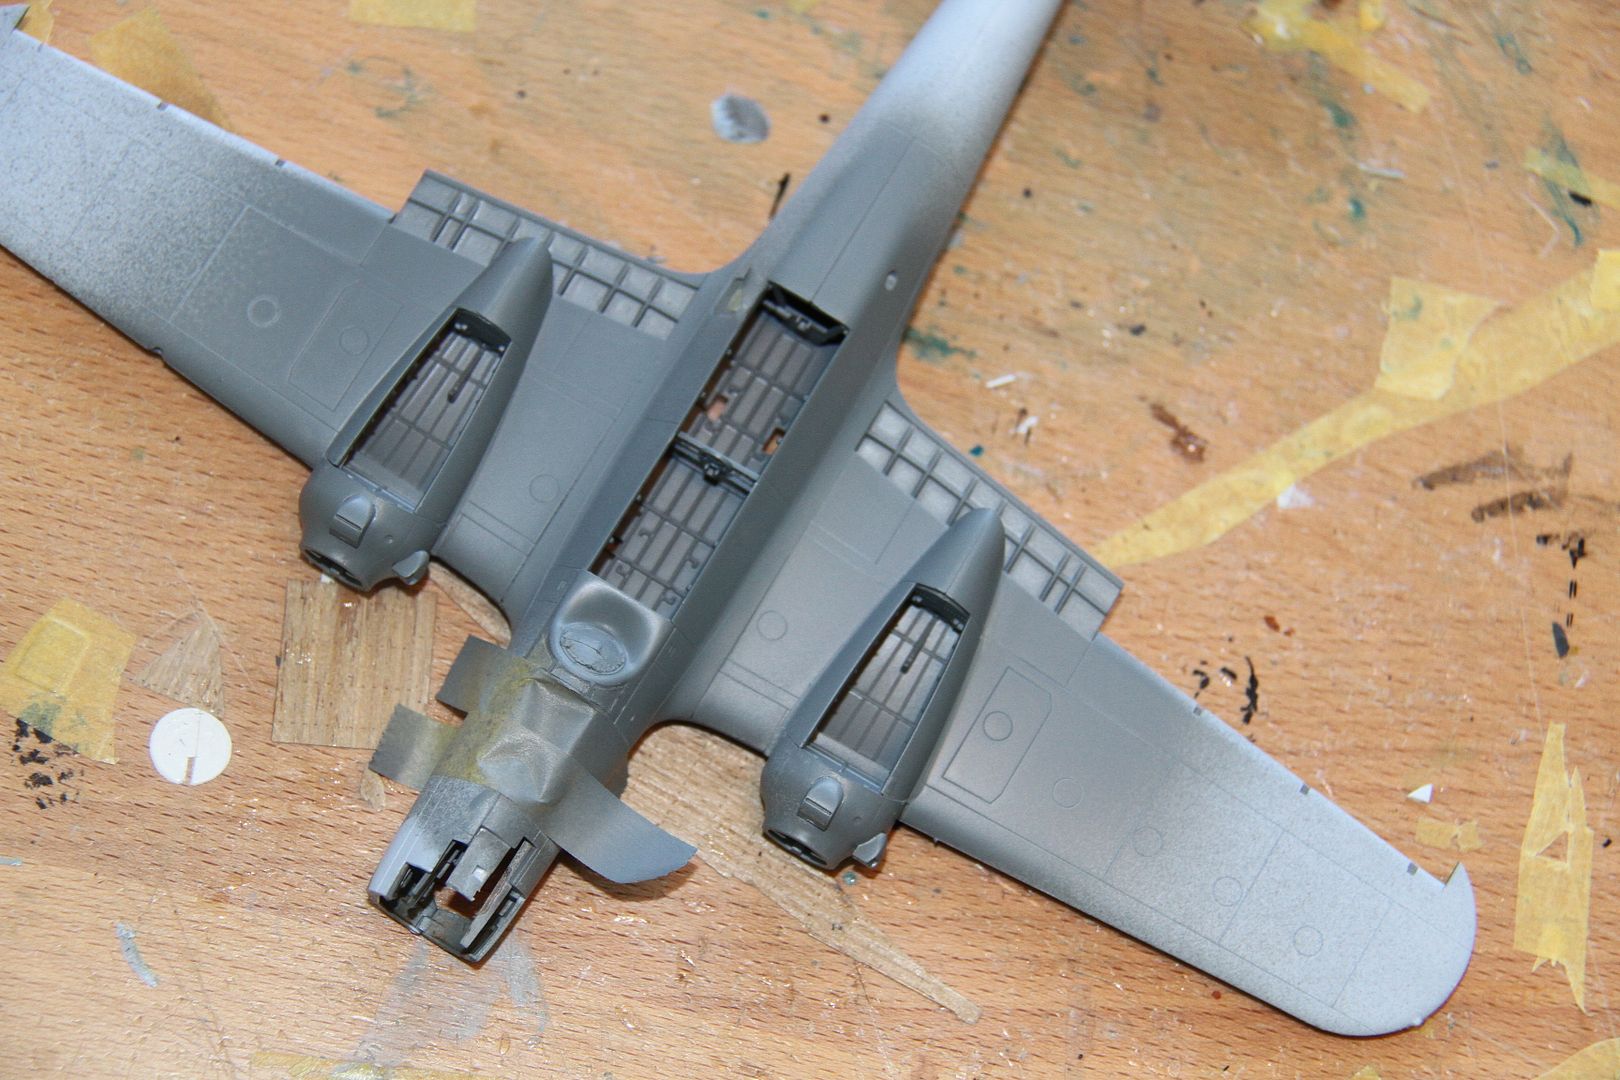
getting ready for the next spraying session the flaps and nacelles assembled.


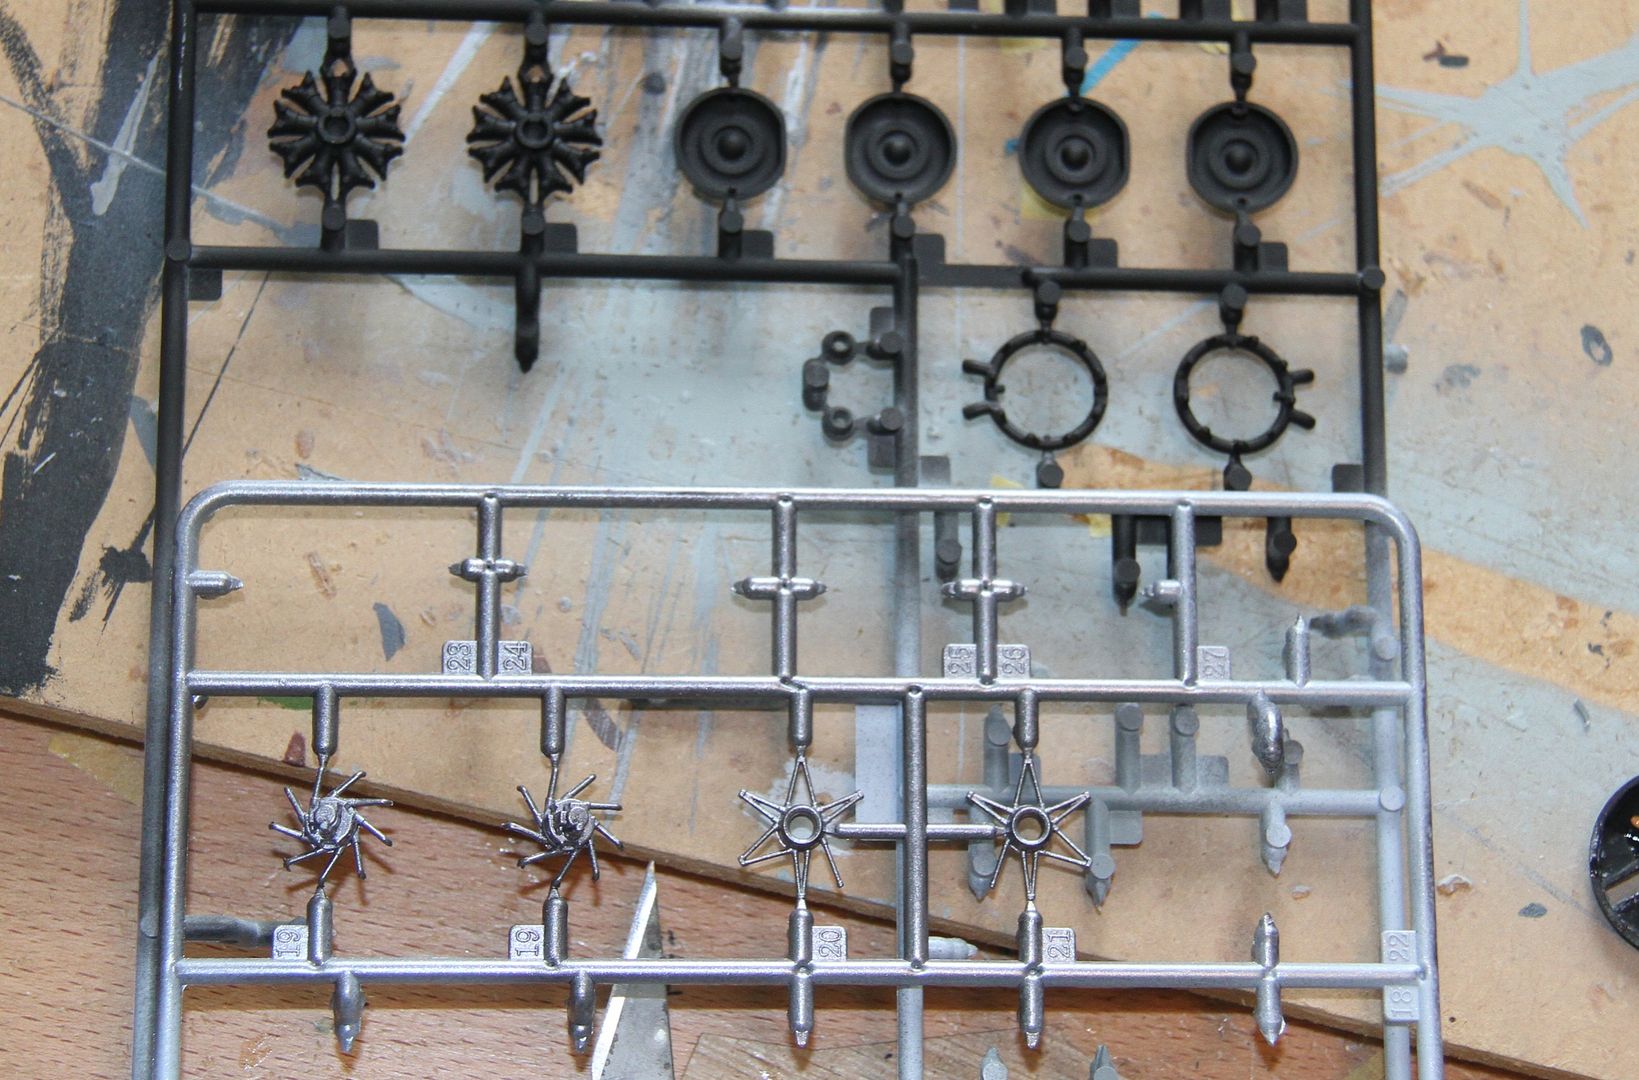
The engines, wheels and exhaust rings base coated black, and the engine mounts and ancillary equipment sprayed light gunmetal.


More soon.

Si
Mcleod
_VISITCOMMUNITY
Alberta, Canada
Joined: April 07, 2010
KitMaker: 1,028 posts
AeroScale: 939 posts
Posted: Monday, January 12, 2015 - 02:54 AM UTC
A small first progress report. I'm putting considerable effort into the models exterior finish, hoping it all works out.


There's a lot of interesting kits being worked on here, and with fine effort. Well done everyone.
md72
#439
_VISITCOMMUNITY
Washington, United States
Joined: November 05, 2005
KitMaker: 4,950 posts
AeroScale: 3,192 posts
Posted: Monday, January 12, 2015 - 04:58 AM UTC
@Casey. Hmm, thought I commented about building the Tester's SBD. I'm sure it's a mid 50's mold, the cockpit is two benches, with a 'praying' pilot and gunner. Both figures have their hands clasped in front of their faces. The wing is one piece with the landing gear etched in the retracted position. The engraved star and ball markings on the wings had been polished out, but not the ones on the side of the fuselage. the markings on my sample were for a Battle of Midway plane, but the fuselage was closer to a -5 than a -1 (has a cowling inlet, and no telescope) and the dual machine guns were rare for a BoM flavor.

I've got the Airfix one in the stash somewhere, I recall it being a lot better kit overall than the Tester's Hawk flavor.
Cbacon84
_VISITCOMMUNITY
California, United States
Joined: October 10, 2012
KitMaker: 204 posts
AeroScale: 52 posts
Posted: Monday, January 12, 2015 - 10:59 AM UTC

Quoted Text

@Casey. Hmm, thought I commented about building the Tester's SBD. I'm sure it's a mid 50's mold, the cockpit is two benches, with a 'praying' pilot and gunner. Both figures have their hands clasped in front of their faces. The wing is one piece with the landing gear etched in the retracted position. The engraved star and ball markings on the wings had been polished out, but not the ones on the side of the fuselage. the markings on my sample were for a Battle of Midway plane, but the fuselage was closer to a -5 than a -1 (has a cowling inlet, and no telescope) and the dual machine guns were rare for a BoM flavor.

I've got the Airfix one in the stash somewhere, I recall it being a lot better kit overall than the Tester's Hawk flavor.


Yep that is the one, The Hawk can still look adequate but you have to do a little extra work and deal with the engraved markings. Although from my understanding the Airfix SBD is no spring chicken ether, Mid-70's or so (someone who might know correct me if I'm wrong). The Airfix definitely has the Hawk beat in the cockpit department because like you said the Hawk is just two benches. also definitely a better rear gun. However the Hawk still has a better cowl then the Airfix

This is the Cowl on the Hawk SBD notice the exhaust pipe and machine gun port


Now here is the Airfix cowl. A lot softer detail on the machine gun port


and no exhaust pipe


but in the end, both both can turn out looking alright. would be nice to see a new tooled SBD in 1/72 though
RedDuster
_VISITCOMMUNITY
England - South East, United Kingdom
Joined: March 01, 2010
KitMaker: 7,078 posts
AeroScale: 118 posts
Posted: Tuesday, January 13, 2015 - 12:00 AM UTC
Small update on the Dornier,

Engines given a drybrush and wash.


Rear section fitted and washed, the exhaust rings have had a coat of citadel "Tin Bitz".


More soon.

Si
RedDuster
_VISITCOMMUNITY
England - South East, United Kingdom
Joined: March 01, 2010
KitMaker: 7,078 posts
AeroScale: 118 posts
Posted: Wednesday, January 14, 2015 - 04:49 AM UTC
More on the Dornier, I have to say I am really enjoying this build, the level of detail and the fit are superb.

The wheel and flap bays and engine mounts sprayed.


Engines completed and mounted.


And the cowlings on.


More soon.

Si
Berwickboy
_VISITCOMMUNITY
England - East Midlands, United Kingdom
Joined: April 27, 2013
KitMaker: 450 posts
AeroScale: 387 posts
Posted: Thursday, January 15, 2015 - 04:06 AM UTC
A bit further on. I have progressed with the wings and added the gun hatches

As expected there are some fit issues. The upper bulge sits proud of the wing at both ends so will need filling. The hatches do not fit very well, partly moulding and partly me, The inner (non bulged) hatch needs filling as it is not visible on a 'b' wing as does the corresponding exhaust port for which a piece of plastic card has been glued over on the inside so it can be filled, Next step is to sand the wing to remove some detail as Spit wings were pretty flush.

The instrument panel has been begun, the first layer of paint has been added and the back sanded thinner. The panel decal has been added to the reversed insert but truth be known, it is not sticking very well but as it will be sandwiched between the panel and insert I am not too concerned, Next step will be to add the instrument glass which will be with Glue-n-glaze.

I have used Humbrol for the Green and Revell for the Black.

Onwards and aownwards
c4willy
#305
_VISITCOMMUNITY
Christchurch, New Zealand
Joined: February 01, 2006
KitMaker: 1,673 posts
AeroScale: 1,517 posts
Posted: Thursday, January 15, 2015 - 04:40 AM UTC
Damn Si what a fantastic new mould kit from Airfix, the work you're doing that's just stunning .... adds Dornier to list of must have kits. Damn you Airfix my wallet is barely holding it's own!
Bushioka
_VISITCOMMUNITY
Oregon, United States
Joined: January 13, 2014
KitMaker: 107 posts
AeroScale: 105 posts
Posted: Thursday, January 15, 2015 - 11:22 AM UTC
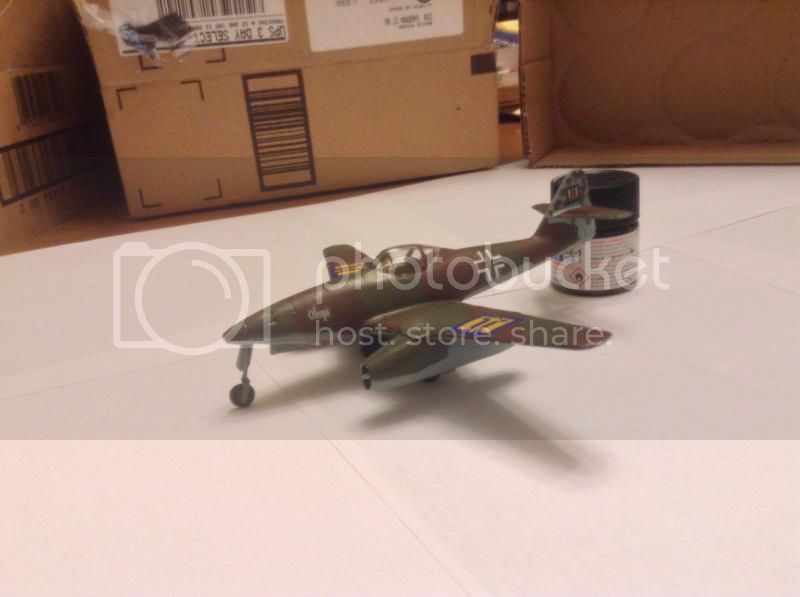
The USAirfix Schwalbe is finished. Since the decals from the original kit were missing, I took it upon myself to make it a what if? Me-262. I based it on Russian Liberation Army aircraft listed on Wings Palette with an alternate history twist. So that's how I came to build an Me-262 of the Ukrainian Liberation Army, under German command.


tinbanger
_VISITCOMMUNITY
Ontario, Canada
Joined: February 04, 2008
KitMaker: 2,507 posts
AeroScale: 1,814 posts
Posted: Thursday, January 15, 2015 - 04:50 PM UTC
Nice build Martyn!
Please post photos in campaign gallery.
bm4247
_VISITCOMMUNITY
Scotland, United Kingdom
Joined: December 29, 2014
KitMaker: 88 posts
AeroScale: 26 posts
Posted: Friday, January 16, 2015 - 07:19 PM UTC
I have thrown my hat into the ring. Last built a model 38 years ago and it was glued together with decals added and that was it. Always been interested but have a lot to learn. Just bought 1:72 Curtiss P-40B Warhawk and a Mitsubishi Zero dogfight double. Please be patient and happy to receive advice. Happy modelling!
Brian