Hi friends,
got some pictures now of my finished chopper.
Photos for the gallery will follow tomorrow I hope.
Hope you like it
Cheers Peter
Air Campaigns
Want to start or join a group build? This is where to start.
Hosted by Frederick Boucher, Michael Satin
OFFICIAL: Hangar Queen V
Posted: Sunday, June 14, 2015 - 01:29 AM UTC
MLD
Vermont, United States
Joined: July 21, 2002
KitMaker: 3,569 posts
AeroScale: 419 posts
Joined: July 21, 2002
KitMaker: 3,569 posts
AeroScale: 419 posts
Posted: Sunday, June 28, 2015 - 05:08 AM UTC
The Su-34 has taken a bit of a rest, all those decals.. end of the school year, family vacation.
Just back to the bench.
The Natter just needs the takeoff rockets, nose cone and 'sight', but I finished the Fi 103 today. Late war all but paper designs, so the paint schemes are pretty conjectural. Mostly just practicing for other builds.
Was going to try the plywood for the Natter body and wings, but couldn't get a convincing effect. I am pretty happy with the poorly sprayed/incomplete coverage of the cammo over the plywood effect though.
Removed by original poster on 08/08/15 - 01:58:08 (GMT).
heavyjagdpanzer
Georgia, United States
Joined: February 17, 2013
KitMaker: 173 posts
AeroScale: 108 posts
Joined: February 17, 2013
KitMaker: 173 posts
AeroScale: 108 posts
Posted: Friday, August 07, 2015 - 07:00 AM UTC
MLD
Vermont, United States
Joined: July 21, 2002
KitMaker: 3,569 posts
AeroScale: 419 posts
Joined: July 21, 2002
KitMaker: 3,569 posts
AeroScale: 419 posts
Posted: Sunday, August 09, 2015 - 01:22 AM UTC
And another one is down, but not without a fight..
yesterday afternoon,
Carpet Monster( bare concrete floor monster?) 1
Me 0
Behold the 99.99% complete 1/72 Do335. Can't tell if it is Hobby Boss quick build, Tamiya shake and bake, or DML slog can you?... I know.
I'm pretty happy w that.
HAH! fooled you. Tamiya doesn't MAKE a 1/72 Do 335..
Last piece, the very last thing to do. Loop antenna. I've got the bib in my lap, get it off the sprue undamaged, start to file off the sprue gate and just like that... GONE!
30 min later, floor swept, 4 dead spiders, 8 lbs of dog hair, and 1.2 pounds of old decal paper. Nothing.
Carpet monster's lady sister 1. Me 0
Now it's going to be metal foil tape for ducts/insulation and a lot of measuring, rolling, swearing and general grumpiness. Model building is fun.. right?
Today's efforts,
Surprisingly much less swearing and throwing of things than I expected.
Metal foil for furnaces, round rod, xacto and tweezers.
Roll the round rod once along the metal furnace tape to get circumference of rod.
Mark and Cut tape to circumference of rod.
Score and remove a thin strip of backing from one edge.
Start rolling tape around rod from the opposite side and onto exposed adhesive.
Measure width (probably too side still, but hey) and roll rod/tape combo with an xacto.
Slide 'ring' off end of rod.
Peel backing paper with xacto and tweezers and as the Canukians say, 'Bob's your uncle'
It's beer-thirty here in my world.
Posted: Sunday, August 09, 2015 - 02:41 AM UTC
Nice looking Pfeil, Mike.
And nice scratch built bit. I'll remember that.
MLD
Vermont, United States
Joined: July 21, 2002
KitMaker: 3,569 posts
AeroScale: 419 posts
Joined: July 21, 2002
KitMaker: 3,569 posts
AeroScale: 419 posts
Posted: Thursday, August 13, 2015 - 11:44 PM UTC
Bigrip74
Texas, United States
Joined: February 22, 2008
KitMaker: 5,026 posts
AeroScale: 2,811 posts
Joined: February 22, 2008
KitMaker: 5,026 posts
AeroScale: 2,811 posts
Posted: Friday, August 14, 2015 - 12:19 AM UTC
Mike, nice job on the under surface. I would have trouble trying to produce it.
Bob
Bob
MLD
Vermont, United States
Joined: July 21, 2002
KitMaker: 3,569 posts
AeroScale: 419 posts
Joined: July 21, 2002
KitMaker: 3,569 posts
AeroScale: 419 posts
Posted: Friday, August 14, 2015 - 02:30 AM UTC
Quoted Text
Mike, nice job on the under surface. I would have trouble trying to produce it.
Bob
Thanks Bob. The wing and fuselage stripes line up with panel lines so I am pretty happy w those. The ones on the tail less so.
TheHB kit has a pebbled texture, plastic or mold not hot enough?, but hanging from my classroom ceiling, who is going to know?
Posted: Saturday, August 22, 2015 - 01:26 PM UTC
Posted: Tuesday, August 25, 2015 - 03:21 AM UTC
I figure this would be a prime time to post an update on my primary projects for this post. As you can see I am primarily in the priming stage. The Sword kit(s) was my attempt at the Club Med Campaign last year. The other 2 were to be for the 70th BoB Anniversary. At least they are all catching up.
Cheers
Cheers
Posted: Wednesday, August 26, 2015 - 05:21 AM UTC
Robb that's a fine looking production line! it will be awesome if they all come to the finish line together!
Posted: Friday, August 28, 2015 - 07:53 PM UTC
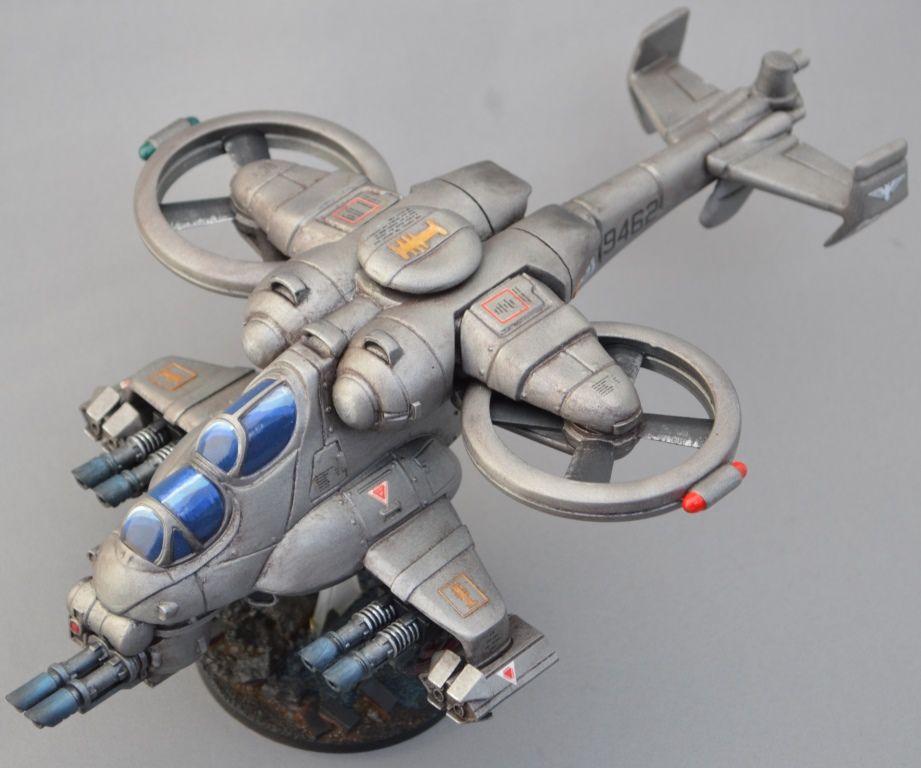
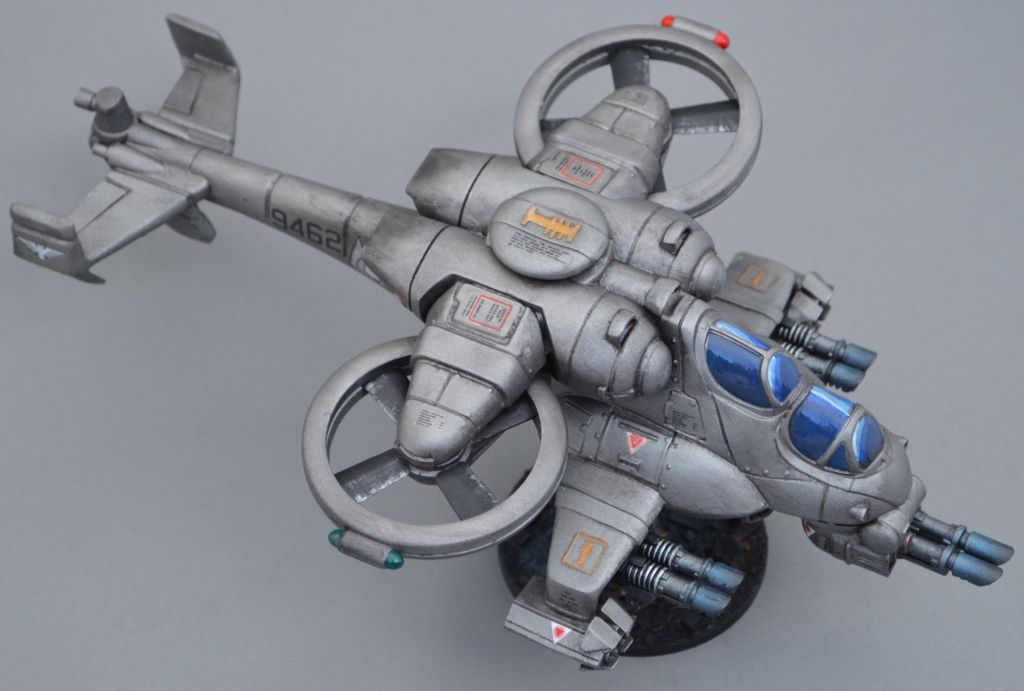
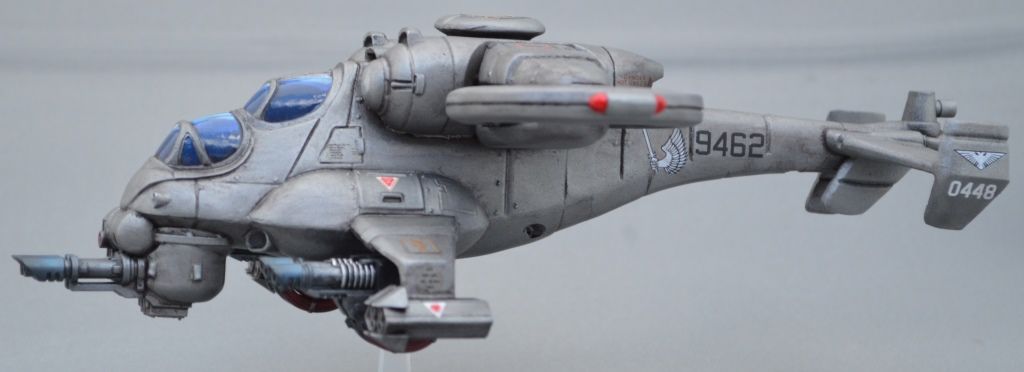
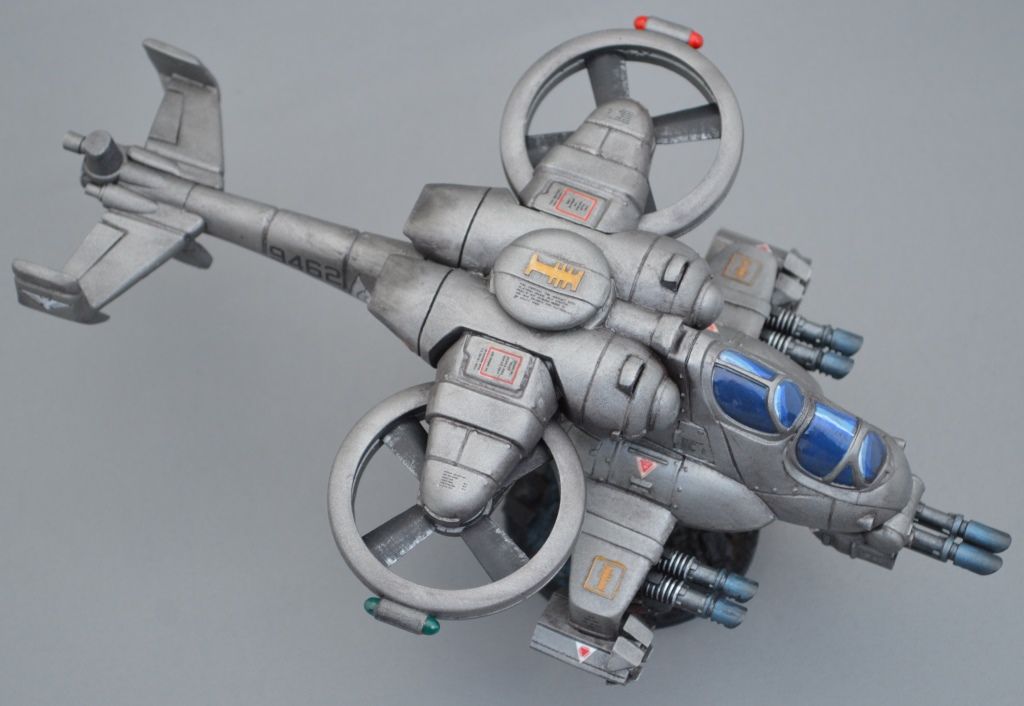
I have finished my Hangar queen. I still need to make a new base, but the aircraft is done.
It is a Sci-Fi Hind-ish combat helicopter. Glad that it is done. It has been a tough resin build with lots of filling, sanding followed by more filling and sanding.
I have started one more of this kit and expect it will be much easier second time around.
Looking forward to see everybody elses hangar queens getting done.
Posted: Friday, August 28, 2015 - 08:50 PM UTC
Very interesting Jesper. Is there a book or movie it belongs to?
MichaelSatin
Campaigns Administrator
Colorado, United States
Joined: January 19, 2008
KitMaker: 3,909 posts
AeroScale: 2,904 posts
Joined: January 19, 2008
KitMaker: 3,909 posts
AeroScale: 2,904 posts
Posted: Sunday, September 13, 2015 - 06:37 PM UTC
In case anyone wash't aware, the gallery is experiencing issues. Admin is aware of it and working on it. I'll try to post when it gets fixed.
Michael
Michael
MichaelSatin
Campaigns Administrator
Colorado, United States
Joined: January 19, 2008
KitMaker: 3,909 posts
AeroScale: 2,904 posts
Joined: January 19, 2008
KitMaker: 3,909 posts
AeroScale: 2,904 posts
Posted: Tuesday, September 15, 2015 - 04:45 AM UTC
OK, apparently the galleries are fixed. A big thanks to Jim at Admin! Post away everyone!
Michael
Michael
Posted: Sunday, October 04, 2015 - 02:56 AM UTC
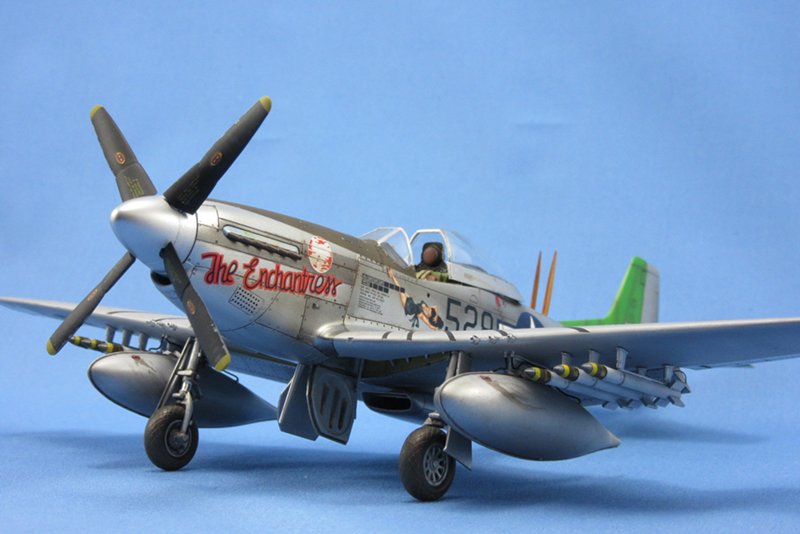
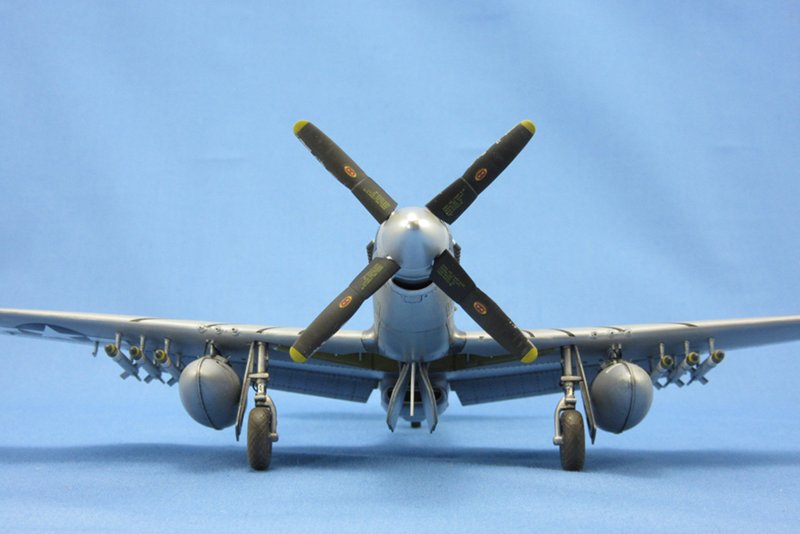
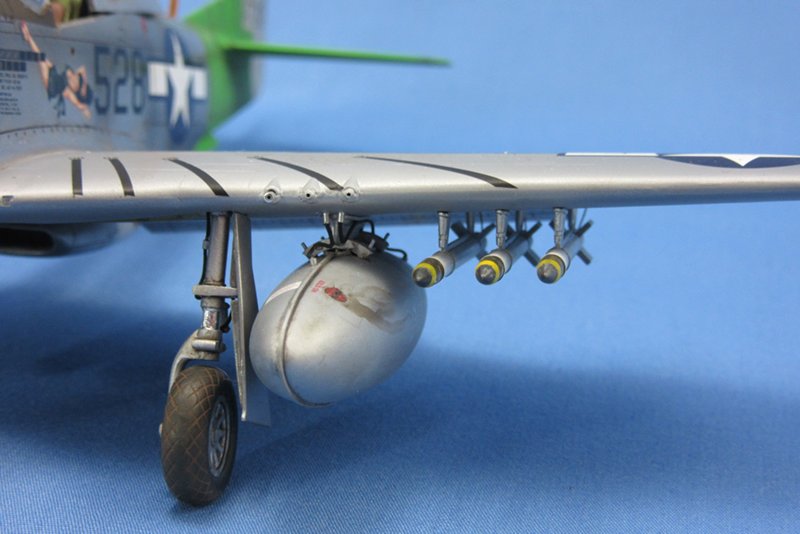
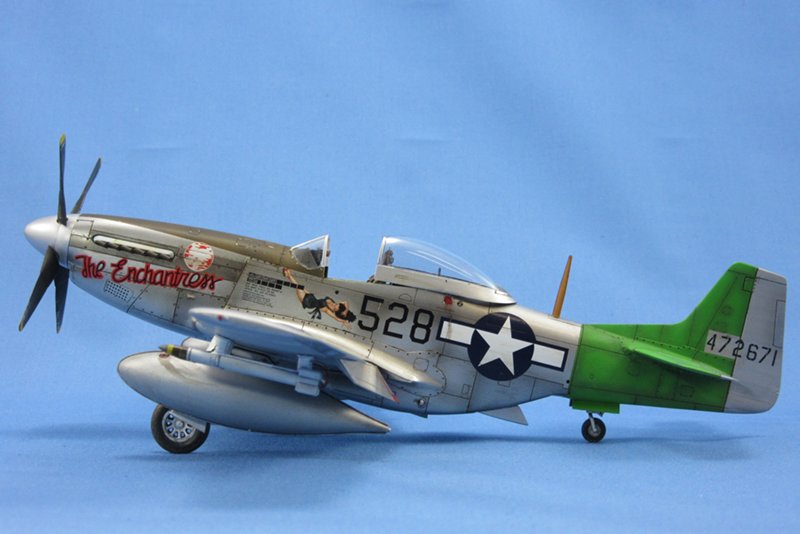
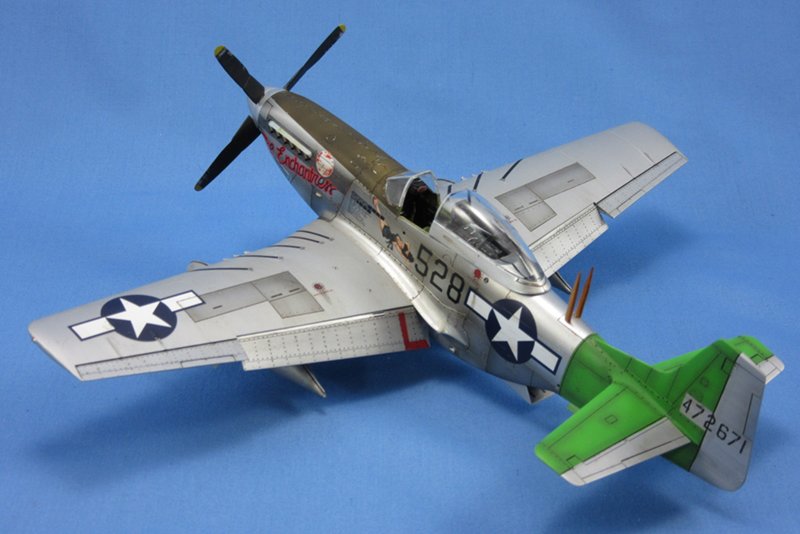
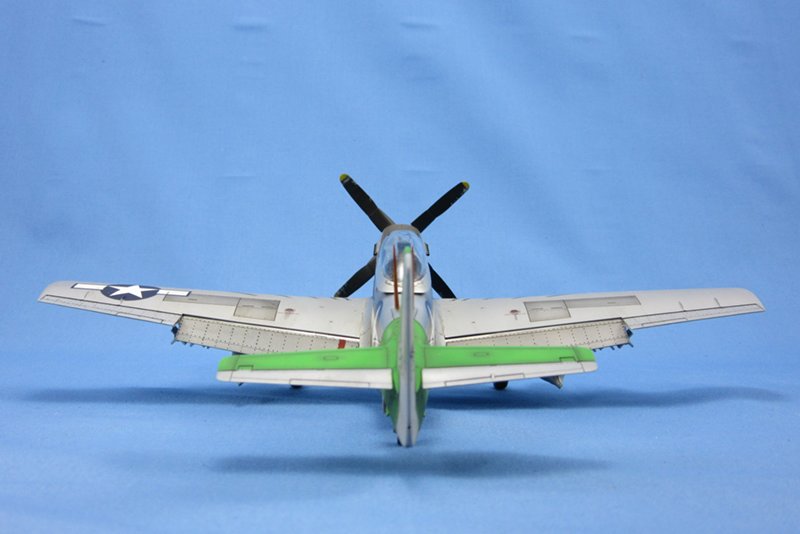
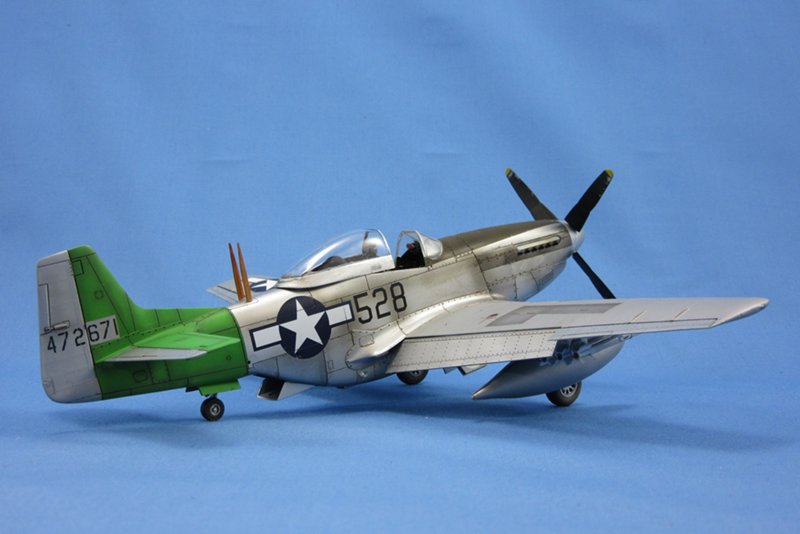
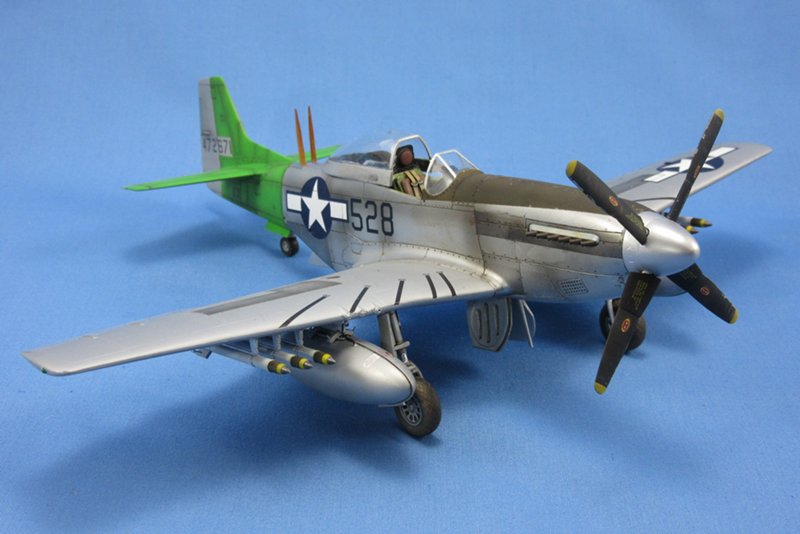
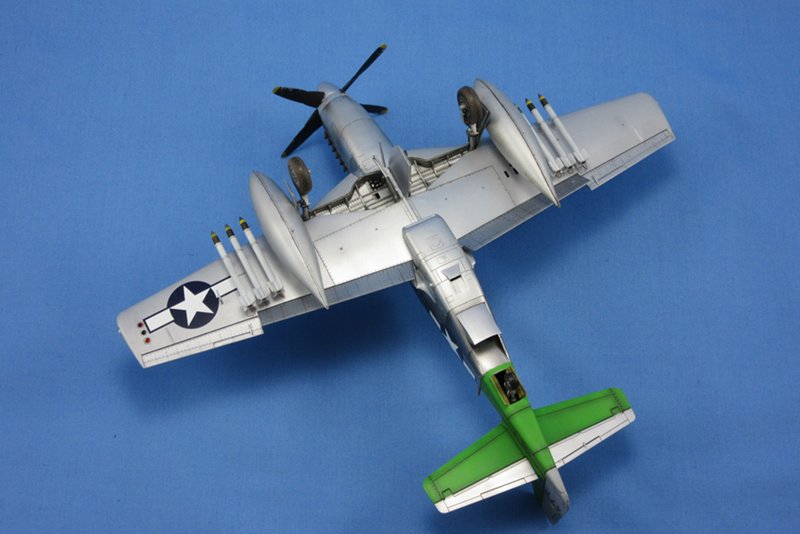
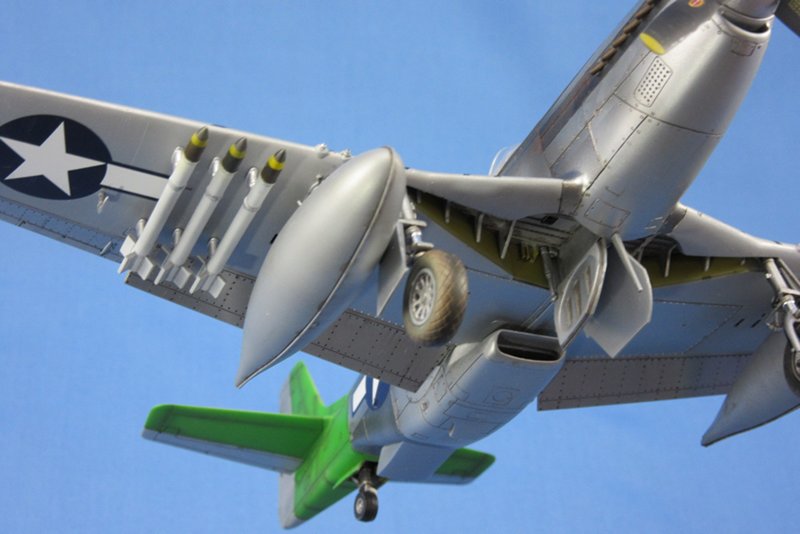
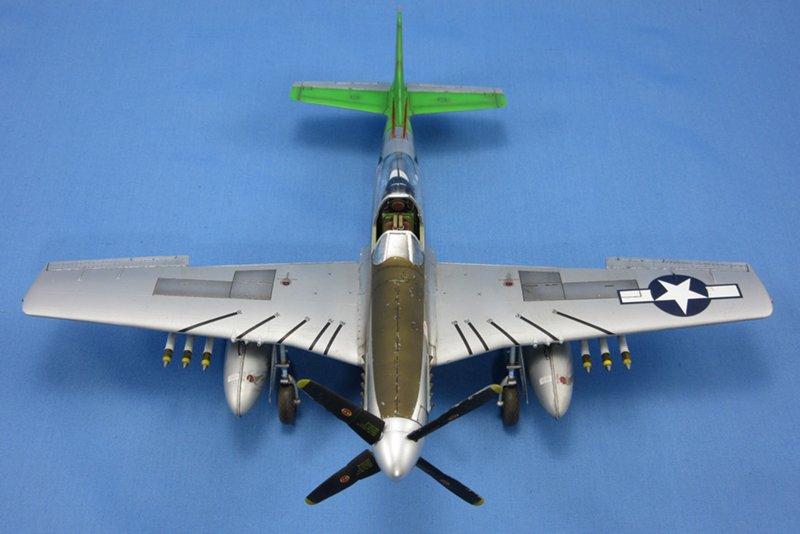
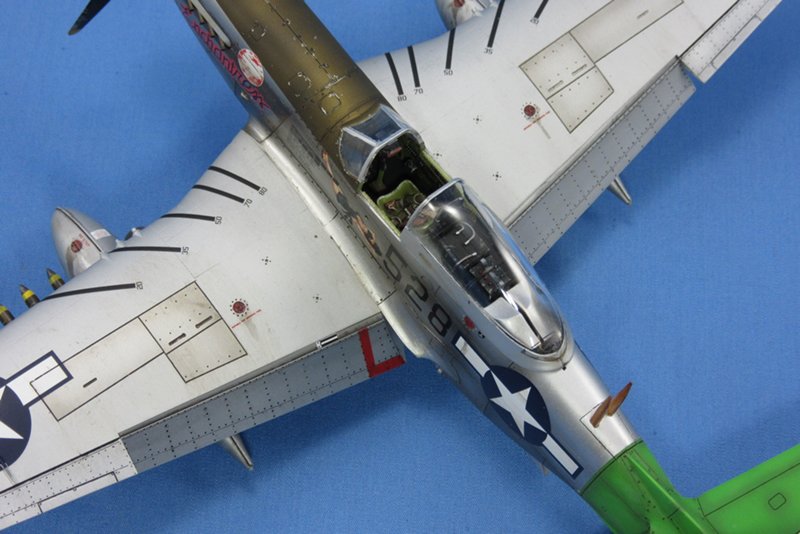
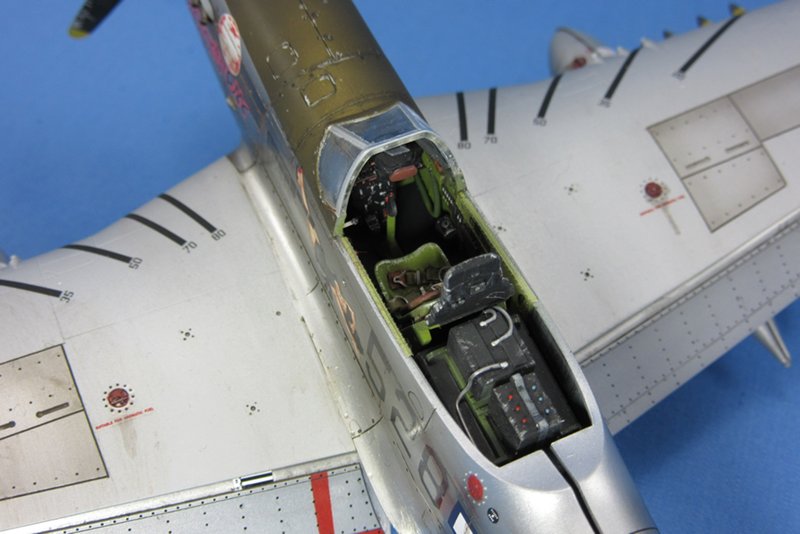
1:48 Tamiya P-51D "The Enchantress"
Another Hangar Queen cleared off the shelf. This was originally my entrant for the 75 Years Mighty Mustang Campaign, but unfortunately I got distracted all summer long. I am really happy with the way she turned out, I put some new techniques to use after picking up AK Interactive's Aircraft Scale Modelling F.A.Q. Highly recommended reference btw.
Anyway, here she is in all her glory:
The only AM i used was in the cockpit, a True Details seat and Eduard Zoom. Everything else was either scratch built or modified from kit parts/spares. I really like the NMF weathering using Tamiya Smoke, it gives it a very worn and real feel.
Looking forward to seeing what everyone else finishes up out of the shelf of doom.
Posted: Sunday, October 04, 2015 - 03:52 AM UTC
wow PJ that's just a fantastic finished model!
lots to look at there. The metal finish is quite amazing.
The angle sight lines on the wings are rather interesting, I dont think Ive seen that before. congratulations on a very pleasing museum quality model.
my own little orphan project has gone begging, just need to design and print decals....
The resta you mugs - there are still 10 weeks left to get something off the shelf this year!
heavyjagdpanzer
Georgia, United States
Joined: February 17, 2013
KitMaker: 173 posts
AeroScale: 108 posts
Joined: February 17, 2013
KitMaker: 173 posts
AeroScale: 108 posts
Posted: Sunday, October 04, 2015 - 06:05 AM UTC
PeeJay, great looking Mustang!
PeteDoc
Northern Ireland, United Kingdom
Joined: April 10, 2012
KitMaker: 164 posts
AeroScale: 24 posts
Joined: April 10, 2012
KitMaker: 164 posts
AeroScale: 24 posts
Posted: Monday, October 19, 2015 - 03:54 AM UTC
Gorgeous Mustang!
PrickleHead
Western Australia, Australia
Joined: December 31, 2013
KitMaker: 338 posts
AeroScale: 190 posts
Joined: December 31, 2013
KitMaker: 338 posts
AeroScale: 190 posts
Posted: Wednesday, October 21, 2015 - 06:05 PM UTC
Had this sitting on my shelf for a while and don't know why I didn't finish it.
Posted: Sunday, November 01, 2015 - 06:32 AM UTC
Howdy Y'all
I haven't been building for awhile. I hope to get this Corsair finished this year. It's Academy's 1/72 F4U-1.
Take care,
Don "Lakota"
I haven't been building for awhile. I hope to get this Corsair finished this year. It's Academy's 1/72 F4U-1.
Take care,
Don "Lakota"
Posted: Sunday, November 01, 2015 - 08:29 PM UTC
Hiya Don, and Pricklehead - two Corsairs getting done, thats fine. a Corsair sub-campaign
Posted: Monday, November 02, 2015 - 10:50 PM UTC
Howdy Y'all
This little plane is giving me fits. When I originally started building it, I dropped it and the wing separated from the fuselage. The two do not want to be glued back together. Each time I try the model easily comes apart again. I'll let it dry for a half day and then try to use the capillary effect to get more cement on the joints again. I don't want to use CA glue; I hate the "boogers" I always end up with.
Right now I'll work on the wheels and try to relax.
@Paul-nice job on the P-51D, I've been wanting to do the same plane using Tamiya's 1/72 P-51D. You'll be an inspiration when I get around to it someday.
Take care,
Don "Lakota"
Posted: Friday, November 06, 2015 - 12:31 AM UTC
Howdy Y'all
A little more work done on the Corsair. I painted the bottom with a rattle can Tamiya Navy Blue and of course got some overspray in the main wheel wells. So I'll need to do some touch-up there.
I put a little putty on a visible seam topside that still needs to be sanded and then drilled a hole for the mast. The previous mast broke off. I've found that a plastic tub makes an excellent stand for my little model. I don't know why I didn't think of it sooner. The work I'll do next is: working on the wheels, installing the masts and rattle can painting on the topside.
Take care,
Don "Lakota"