1/48 Hasegawa Ki 43 Hayabusa build
New Jersey, United States
Joined: February 06, 2015
KitMaker: 1,098 posts
AeroScale: 900 posts
Posted: Sunday, January 28, 2018 - 11:52 PM UTC
Quoted Text
Richard,
Wow!! both in the scope and the detail of your diorama. You certainly have taken this to a whole new level from your original build concept.
I keep on having mixed feelings about the rear wheel dolly, and seeing it just to the side. Honestly, if you didn't tell me what its purpose was, I might have assumed correctly, or I might have thought it was just some cart used for aircraft maintenance. If I thought that, then other viewers just might think that as well. So why not show it for what it is, a dolly for the rear wheel?
Joel
Joel - I hear you and thought the same but as the Idea is to show the starter truck engaged I'm sure they would not want to " wind the clock " with the tail up in the air in a cart . I have an idea in my head with another Oscar being spotted with a dolly and two ground crewmen . I have another PE wheel set and all the tooling is now made so banging out another dolly should be a breeze .
I hope to get to use my bamboo idea as well .
Thanks for all your interest and input all along - Richard
Joel_W
 Associate Editor
New York, United States
Joined: December 04, 2010
KitMaker: 11,666 posts
AeroScale: 7,410 posts
Posted: Monday, January 29, 2018 - 02:31 AM UTC
Quoted Text
Quoted Text
Richard,
Wow!! both in the scope and the detail of your diorama. You certainly have taken this to a whole new level from your original build concept.
I keep on having mixed feelings about the rear wheel dolly, and seeing it just to the side. Honestly, if you didn't tell me what its purpose was, I might have assumed correctly, or I might have thought it was just some cart used for aircraft maintenance. If I thought that, then other viewers just might think that as well. So why not show it for what it is, a dolly for the rear wheel?
Joel
Joel - I hear you and thought the same but as the Idea is to show the stater truck engaged I'm sure they would not want to " wind the clock " with the tail up in the air in a cart . I have an idea in my head with another Oscar being spotted with a dolly and two ground crewmen . I have another PE wheel set and all the tooling is now made so banging out another dolly should be a breeze .
I hope to get to use my bamboo idea as well .
Thanks for all your interest and input all along - Richard
Richard,
Looking forward to seeing that idea take shape. No need to thank me for staying the course. it's been a great ride. Enjoyed every post of it.
Joel
On my Workbench:
Monogram 1/24 scale 427 Shelby Cobra
Just Completed:
Beemax 1/24 scale BMW M3 E30 1992 Evolution II
New Jersey, United States
Joined: February 06, 2015
KitMaker: 1,098 posts
AeroScale: 900 posts
Posted: Saturday, February 03, 2018 - 04:16 AM UTC
The base is progressing - made up two angle iron stakes and rings out of brass shim for tie downs-
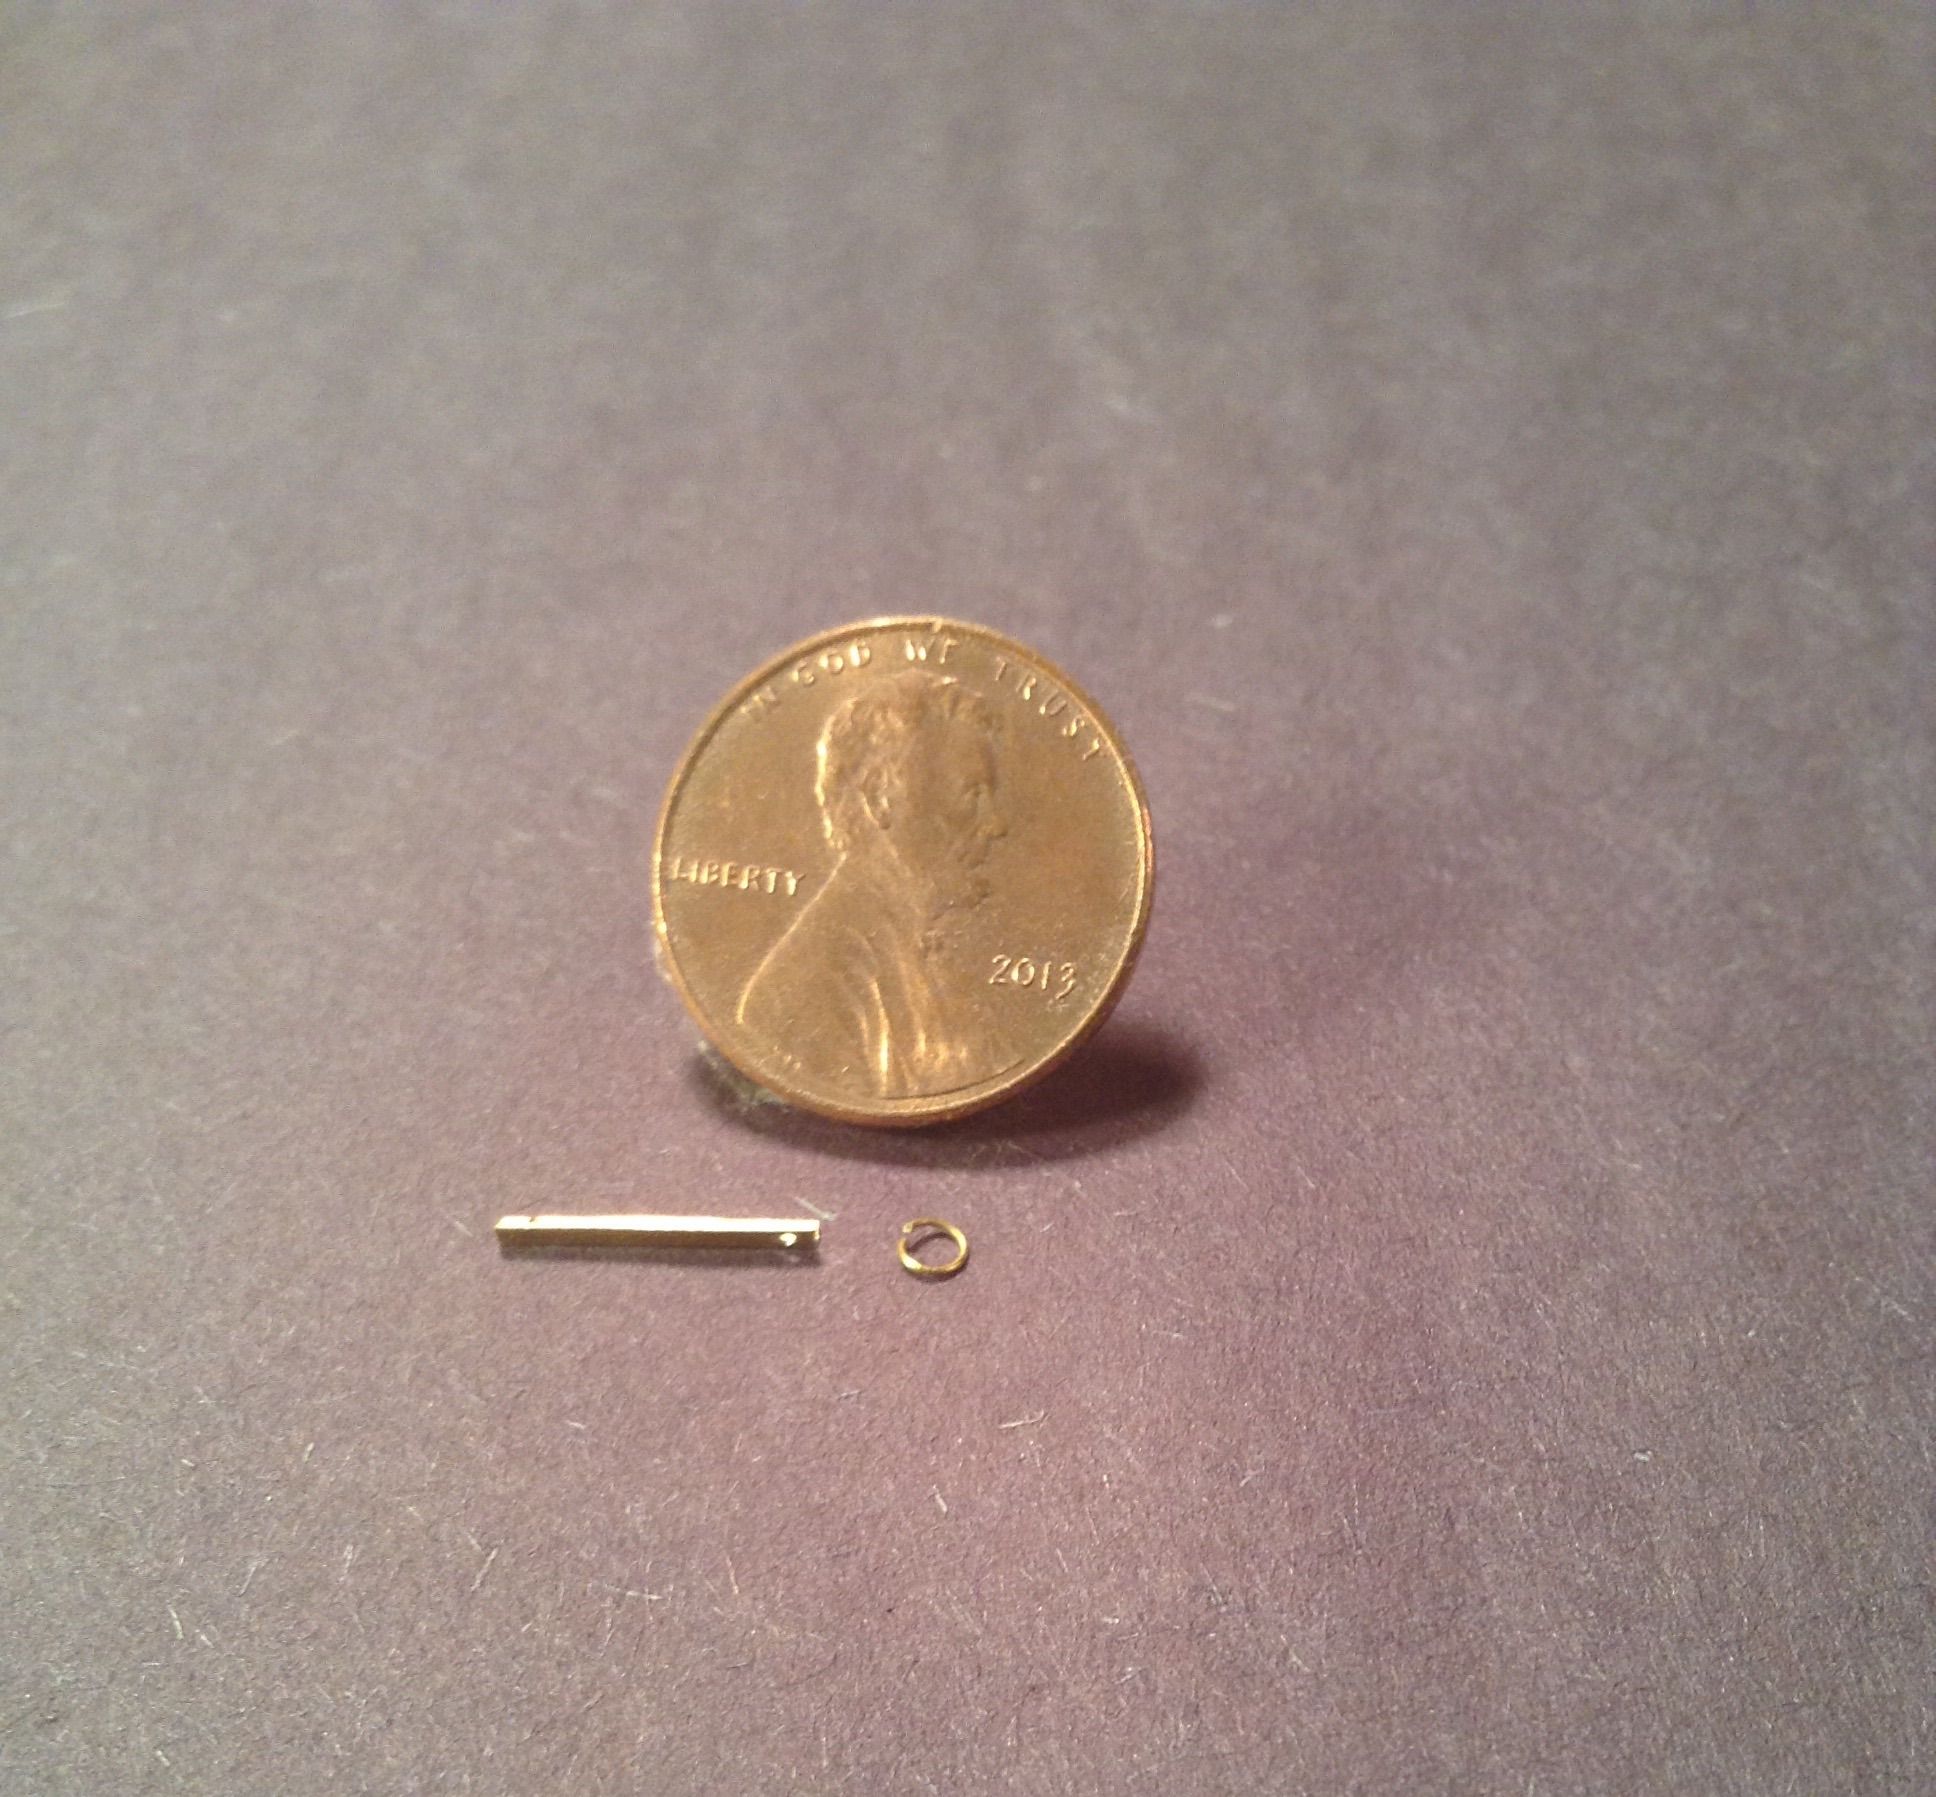
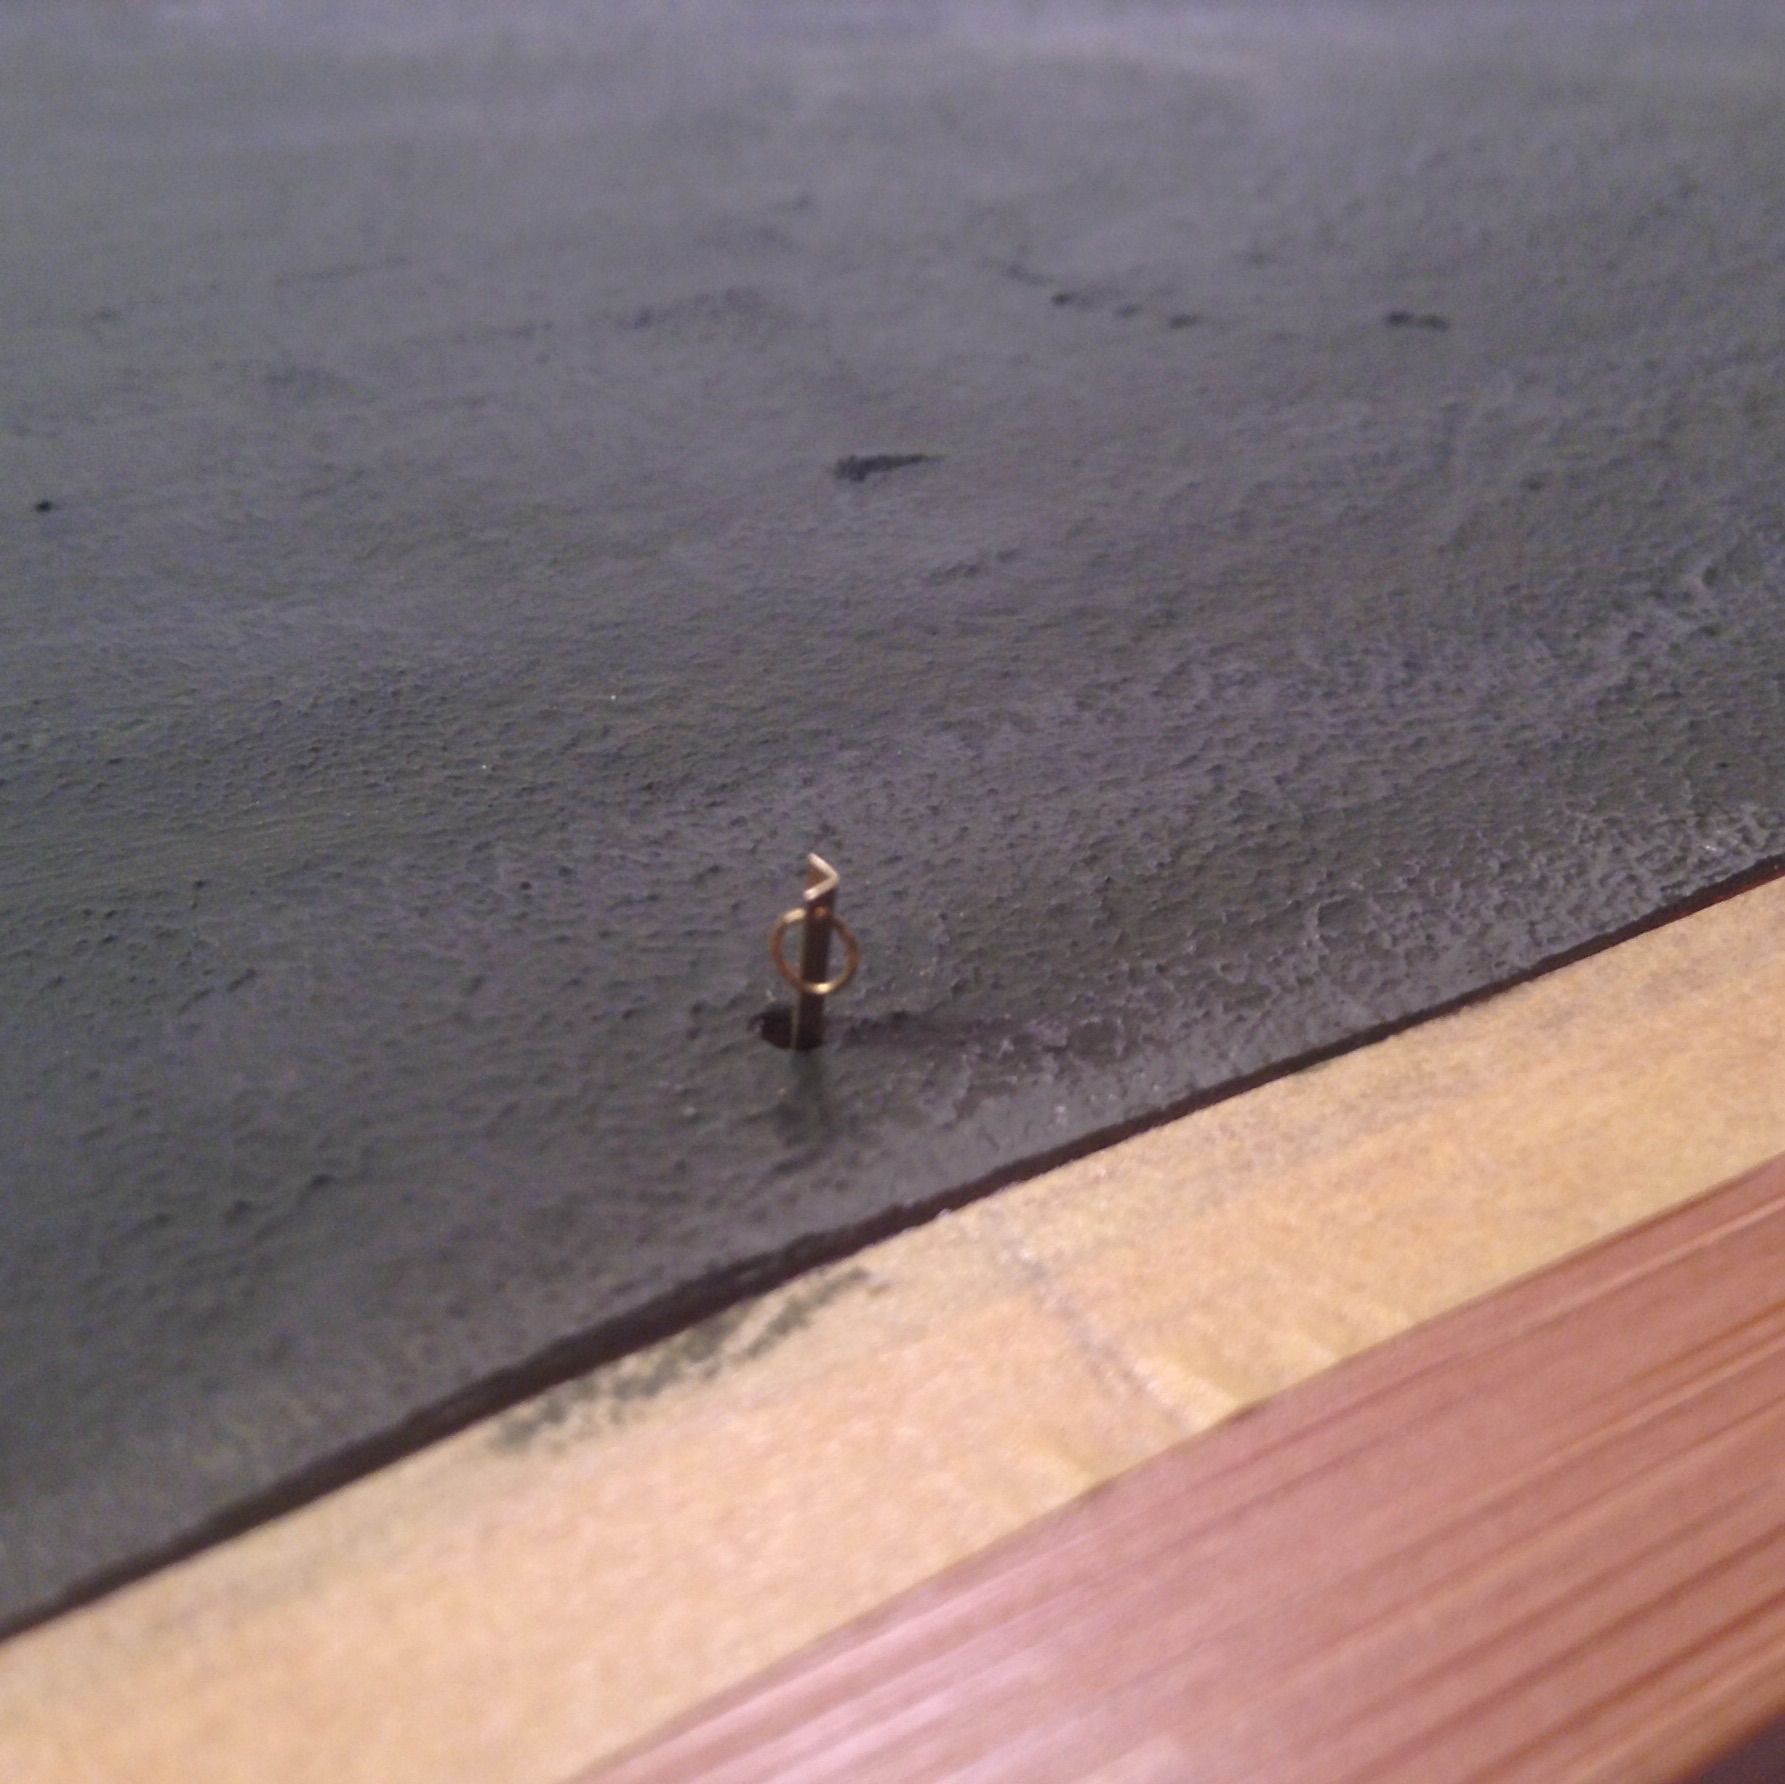
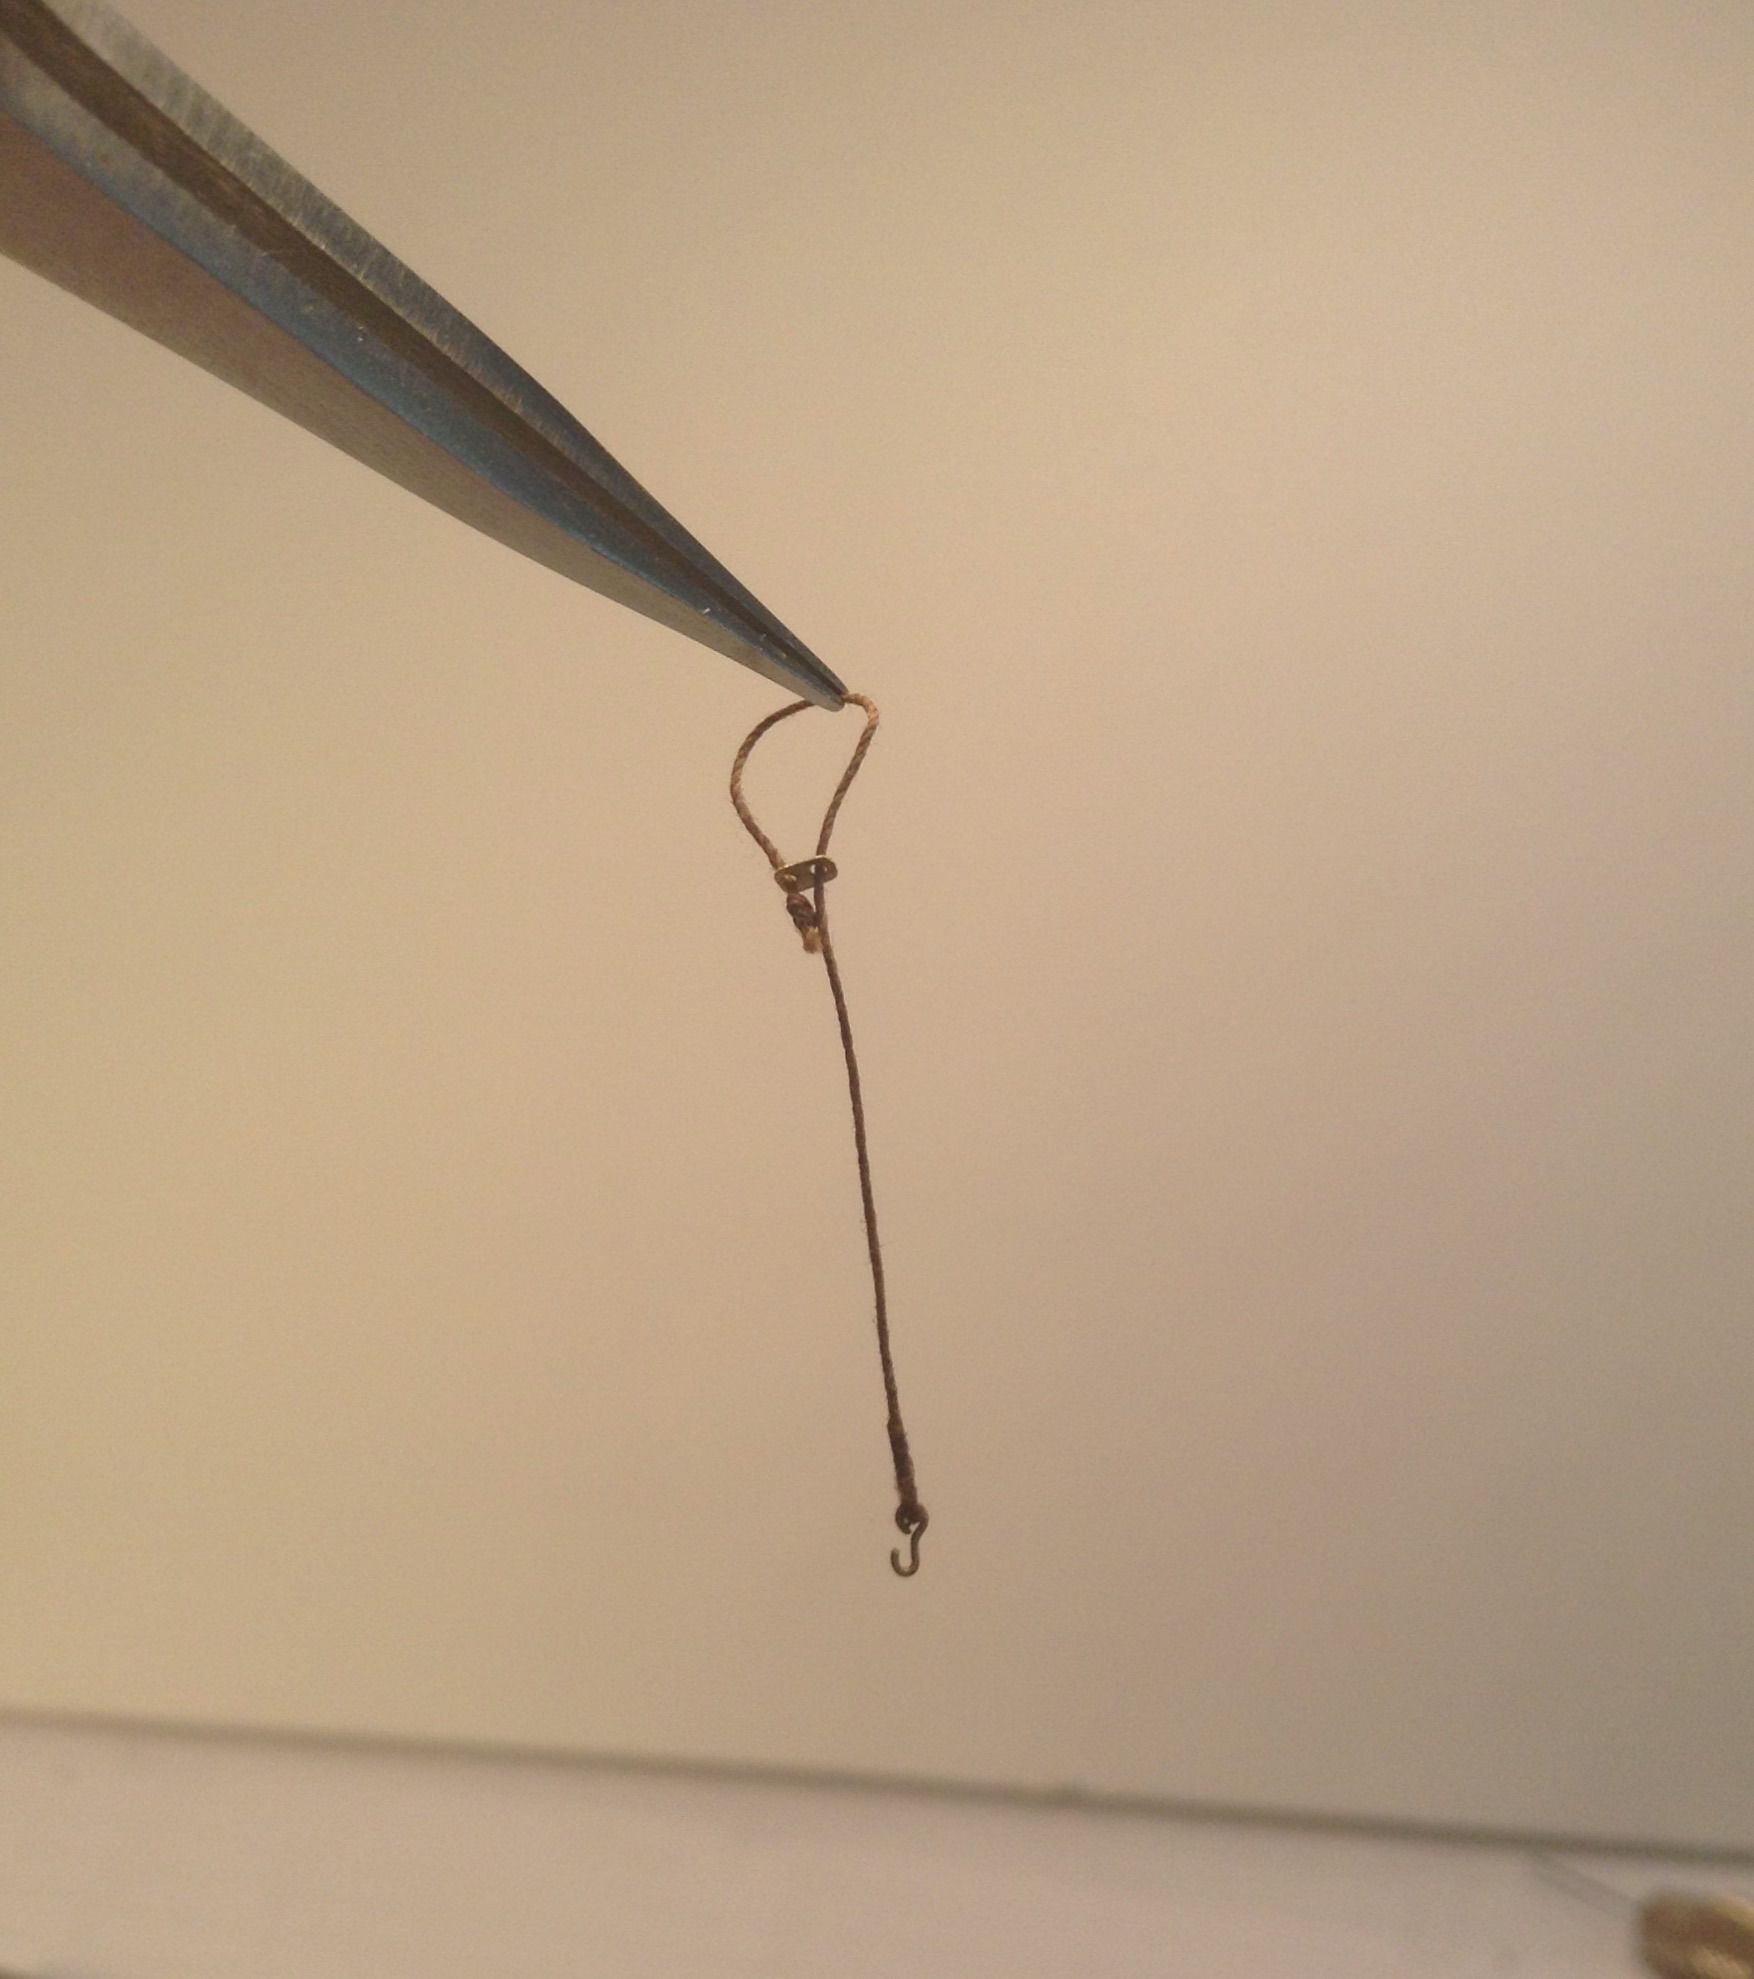
here are tie downs complete with hooks and cinch toggles -
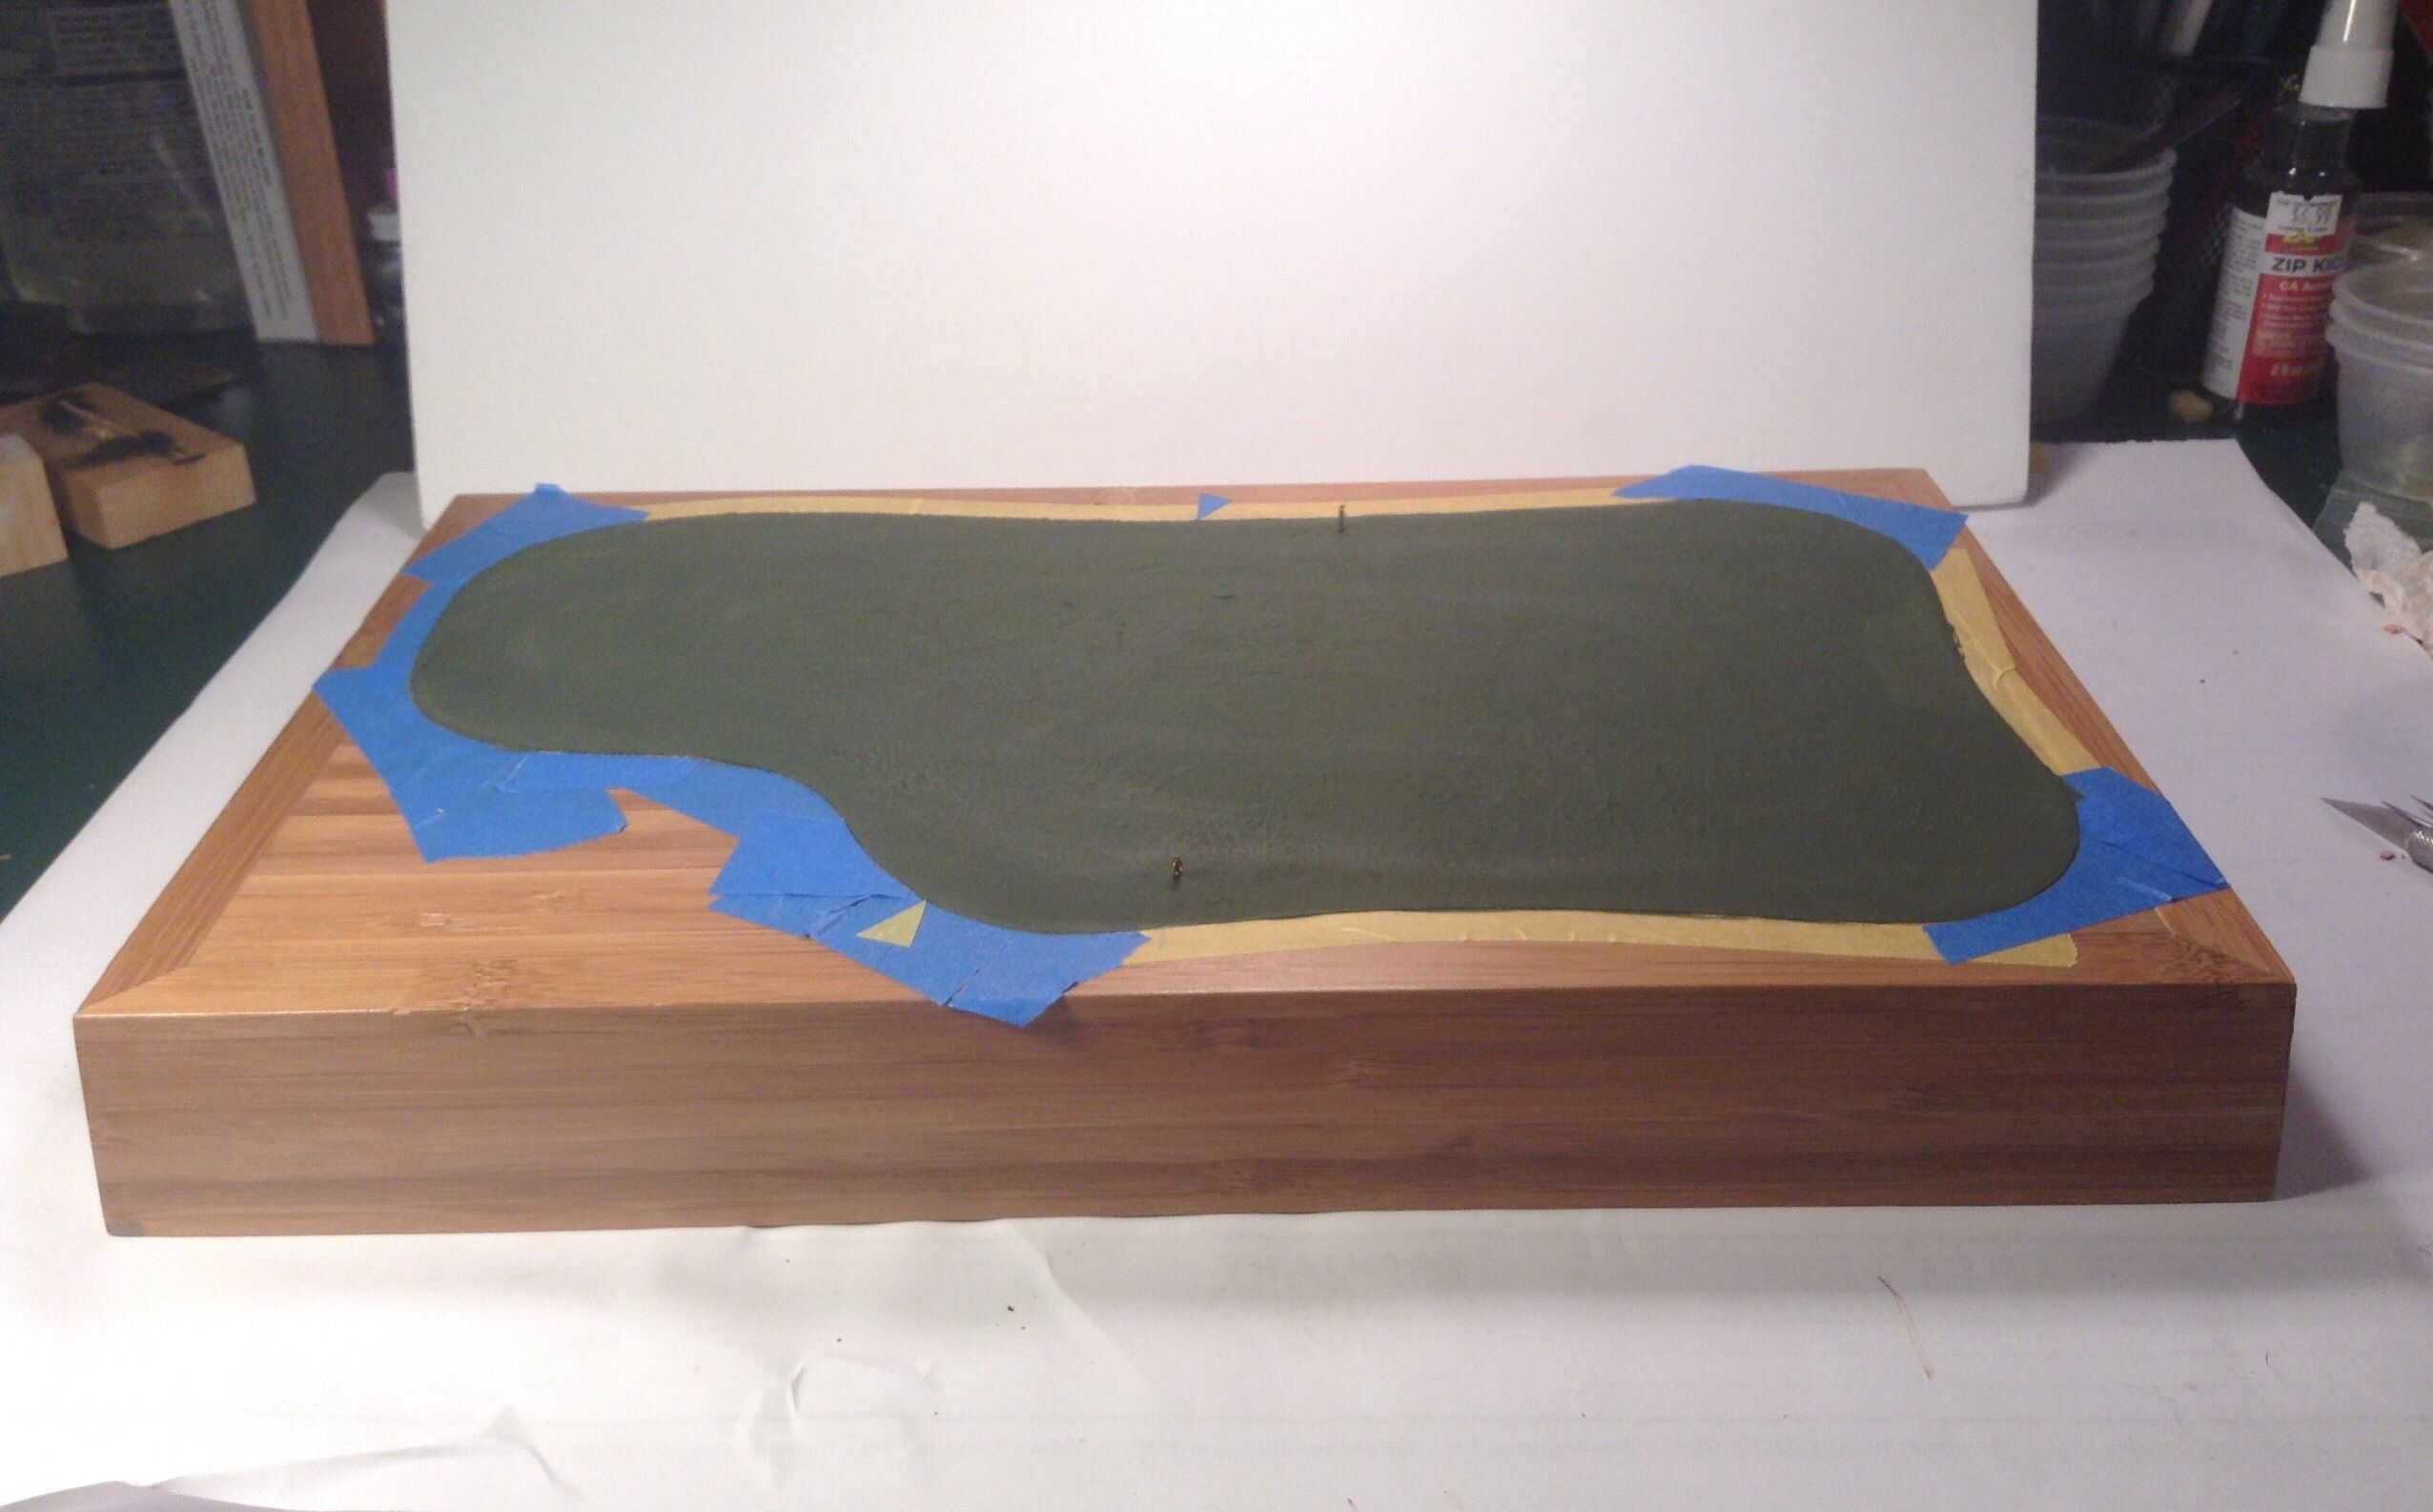
groundwork/static grass -
chocks set-

cast off tie downs/stakes -
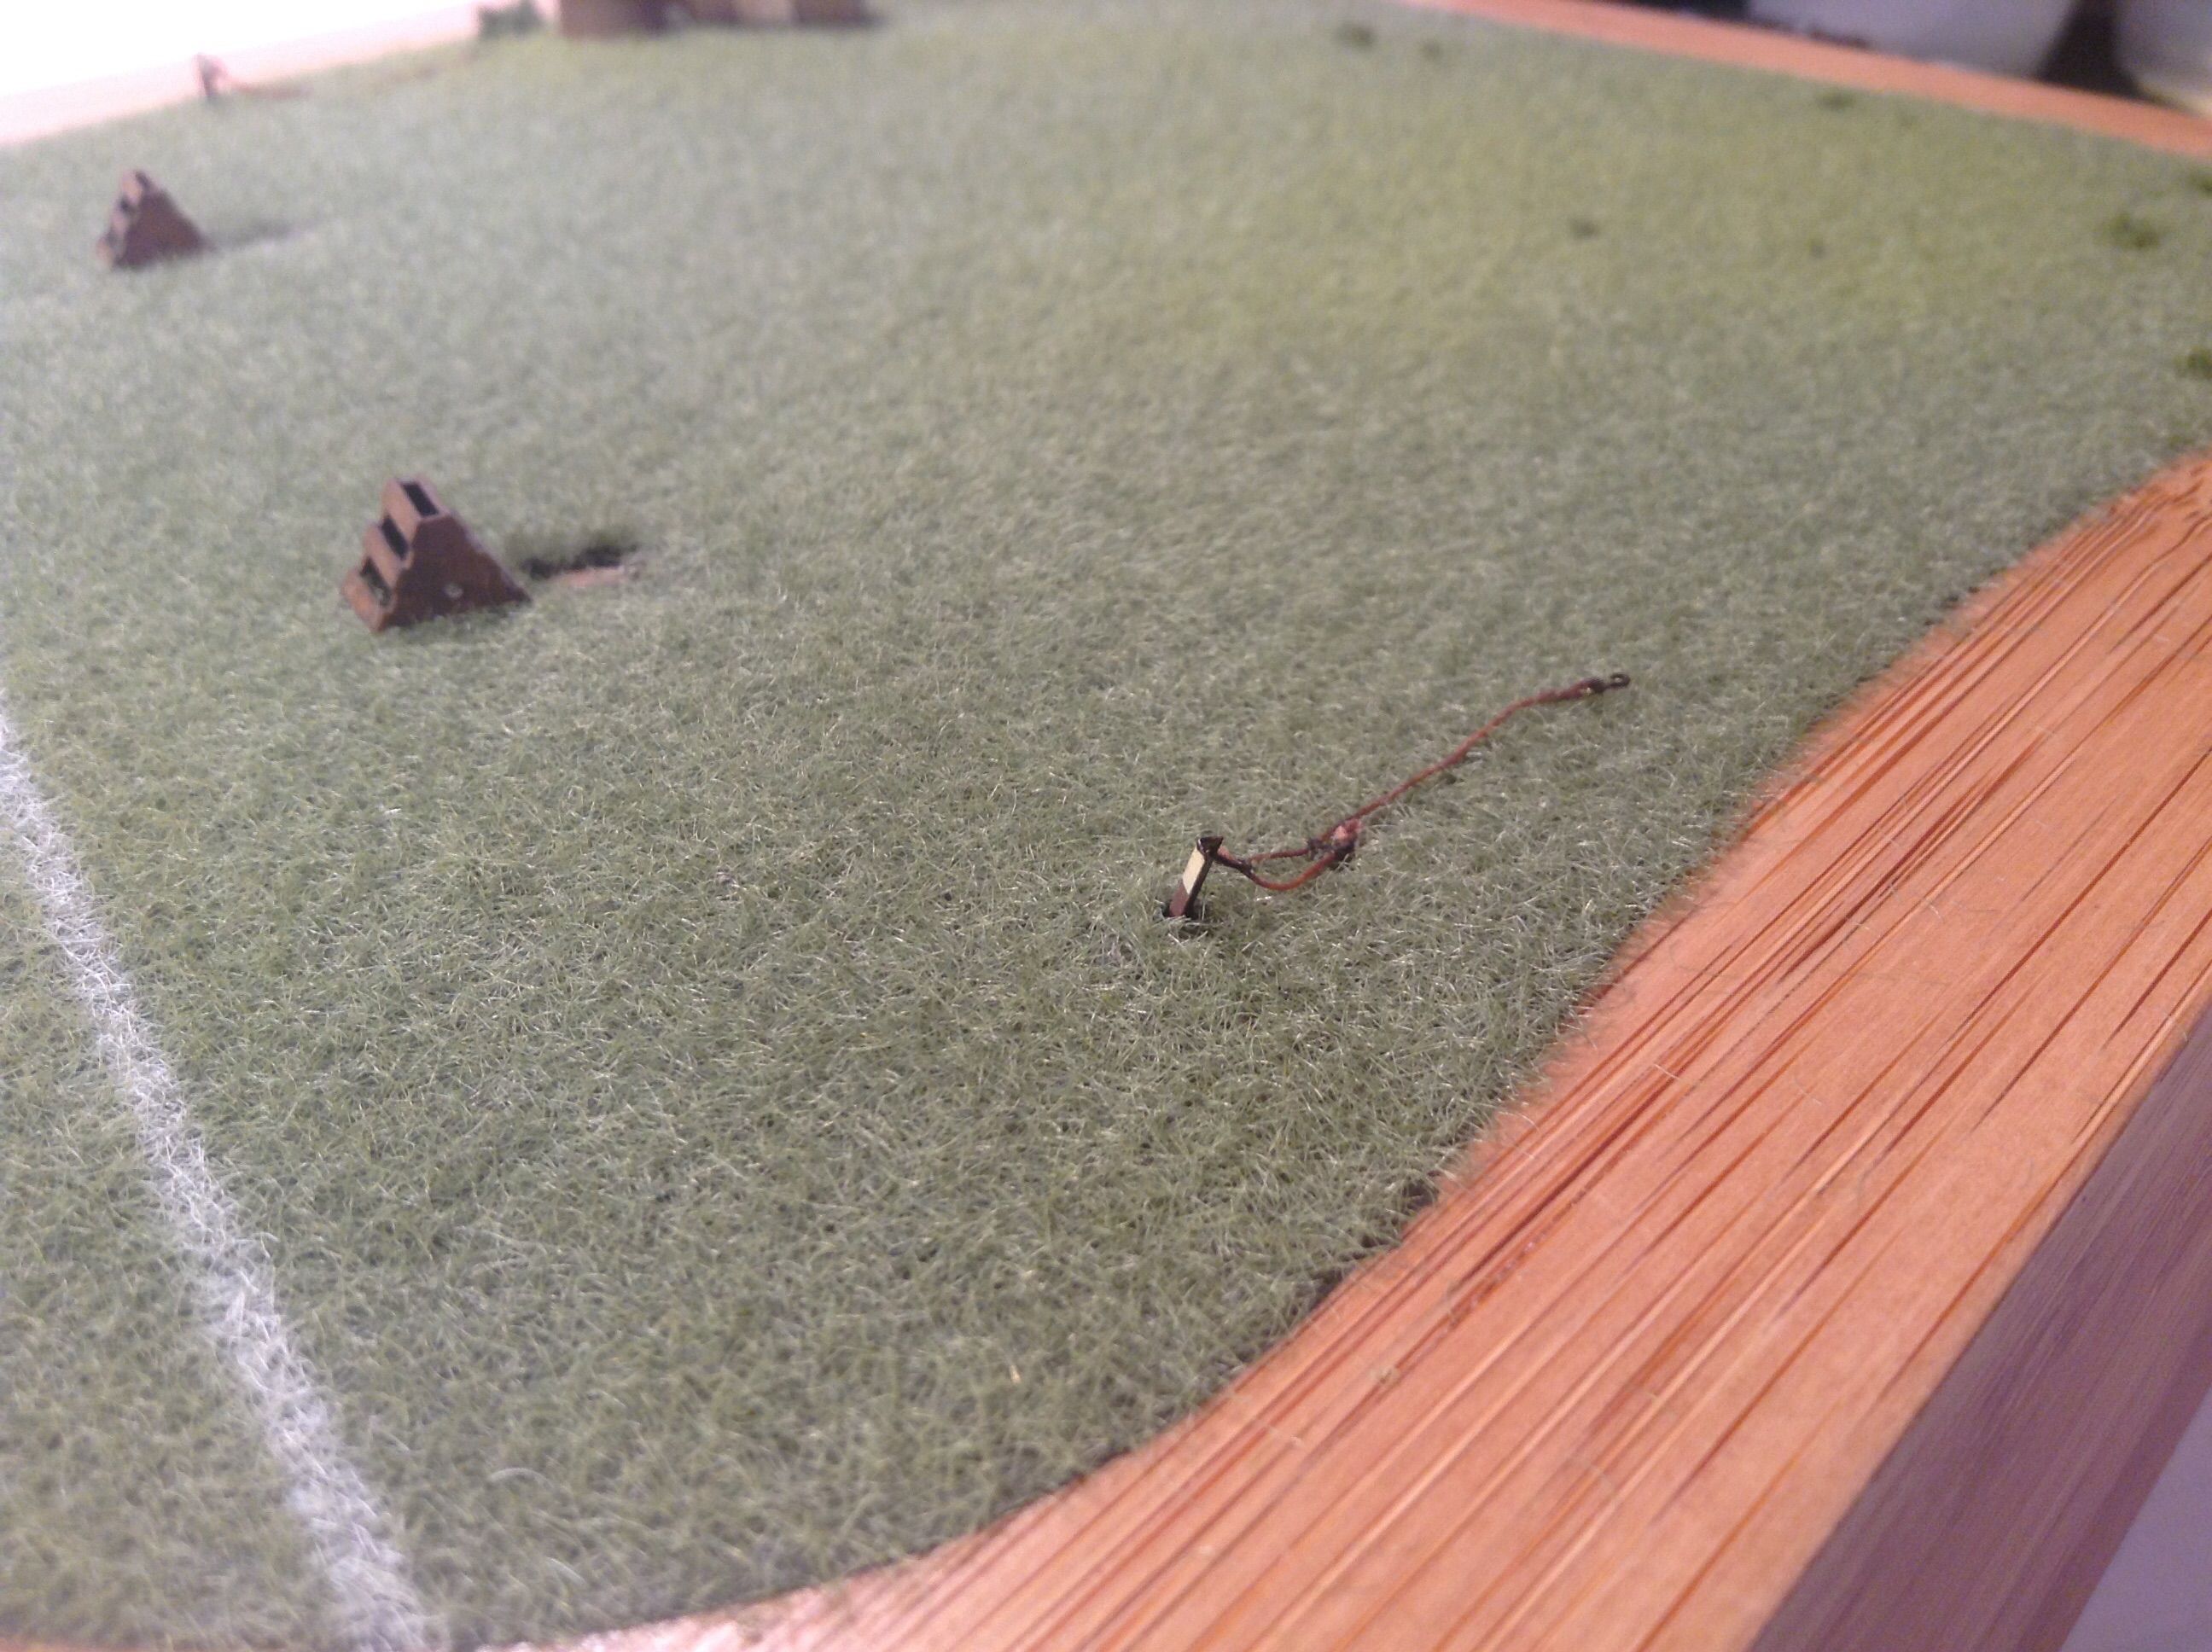
drums and the start of coarse turf to break up sterile look -
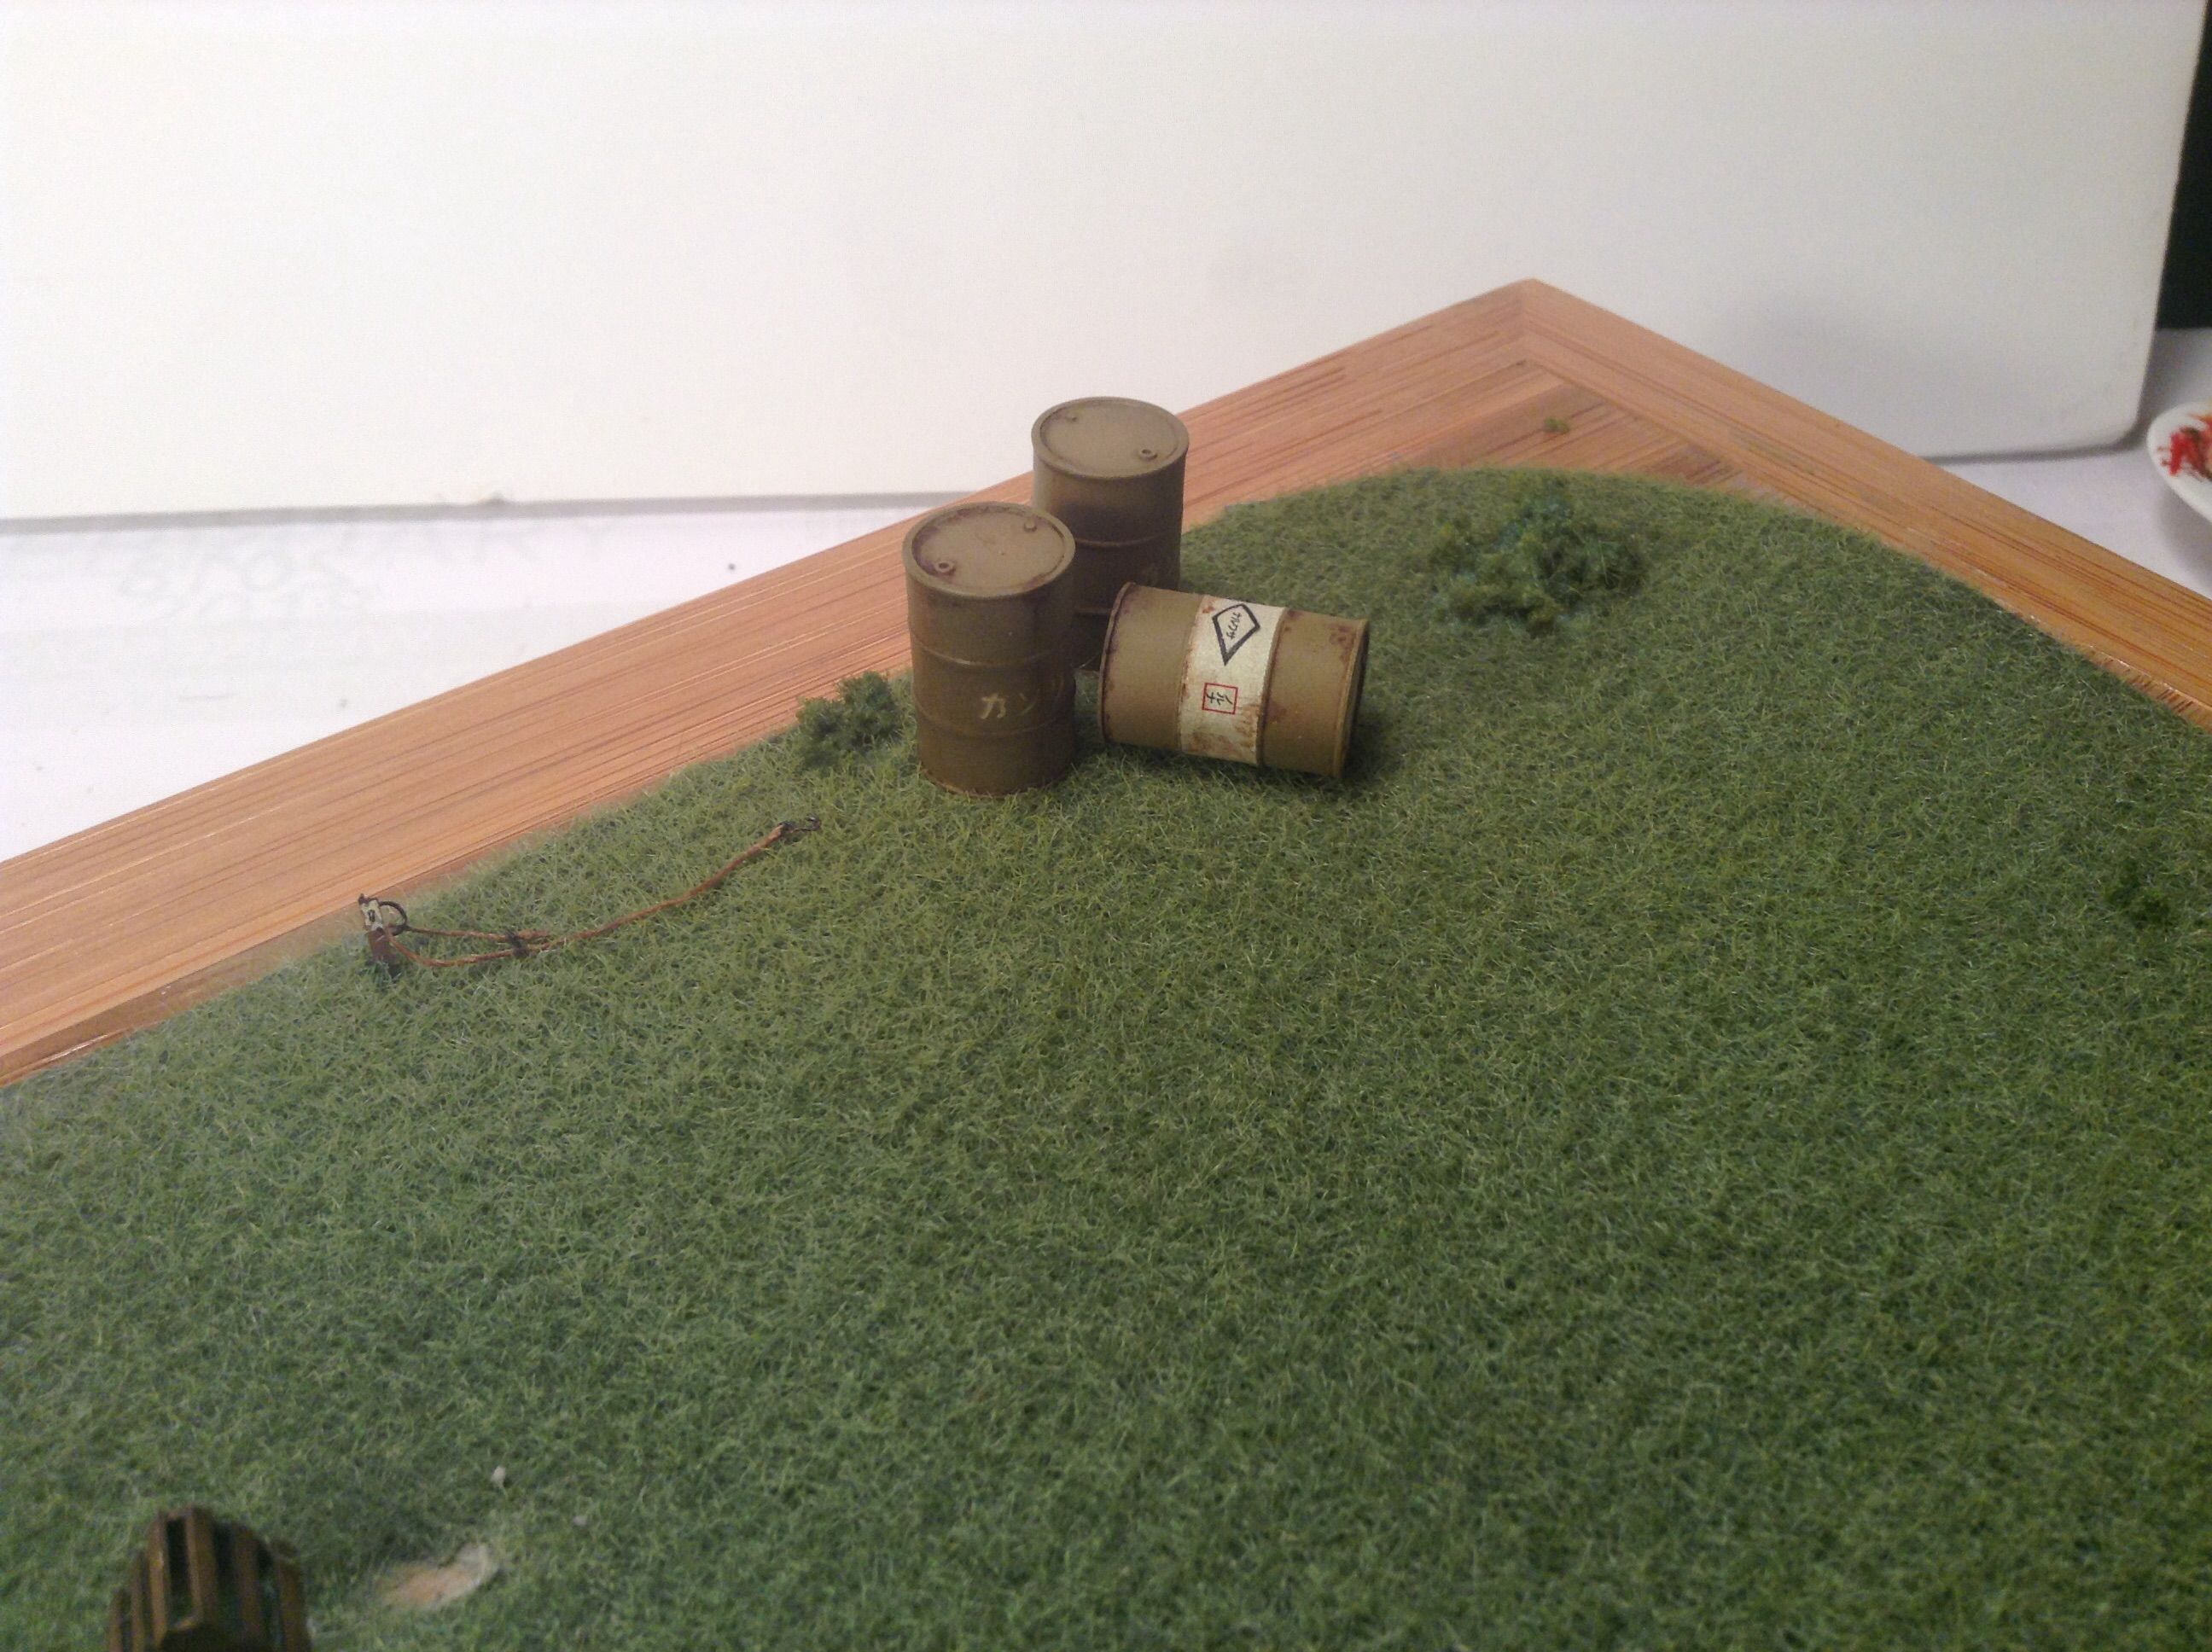
now on to finishing up the Hayabusa - Thanks for looking and as always, all comments/ input welcome !
Cheers - Richard
Joel_W
 Associate Editor
New York, United States
Joined: December 04, 2010
KitMaker: 11,666 posts
AeroScale: 7,410 posts
Posted: Saturday, February 03, 2018 - 08:04 AM UTC
Richard,
those details are truly amazing. How on earth did you tie those knots? I can't even imagine how you're accomplishing all this macro detailing.
You're going to blow away the competition at the Mosquitocon and Noreastcon for sure.
Joel
On my Workbench:
Monogram 1/24 scale 427 Shelby Cobra
Just Completed:
Beemax 1/24 scale BMW M3 E30 1992 Evolution II
New Jersey, United States
Joined: February 06, 2015
KitMaker: 1,098 posts
AeroScale: 900 posts
Posted: Sunday, February 11, 2018 - 02:26 AM UTC
Joel - Thanks again for all your interest - I'm getting excited about Mosquitocon - Barring any unforseen events I plan on attending along with my brother in law.
Diorama is nearly complete - I'll be posting some pics immediately following this .
Cheers - Richard
New Jersey, United States
Joined: February 06, 2015
KitMaker: 1,098 posts
AeroScale: 900 posts
Posted: Sunday, February 11, 2018 - 02:47 AM UTC
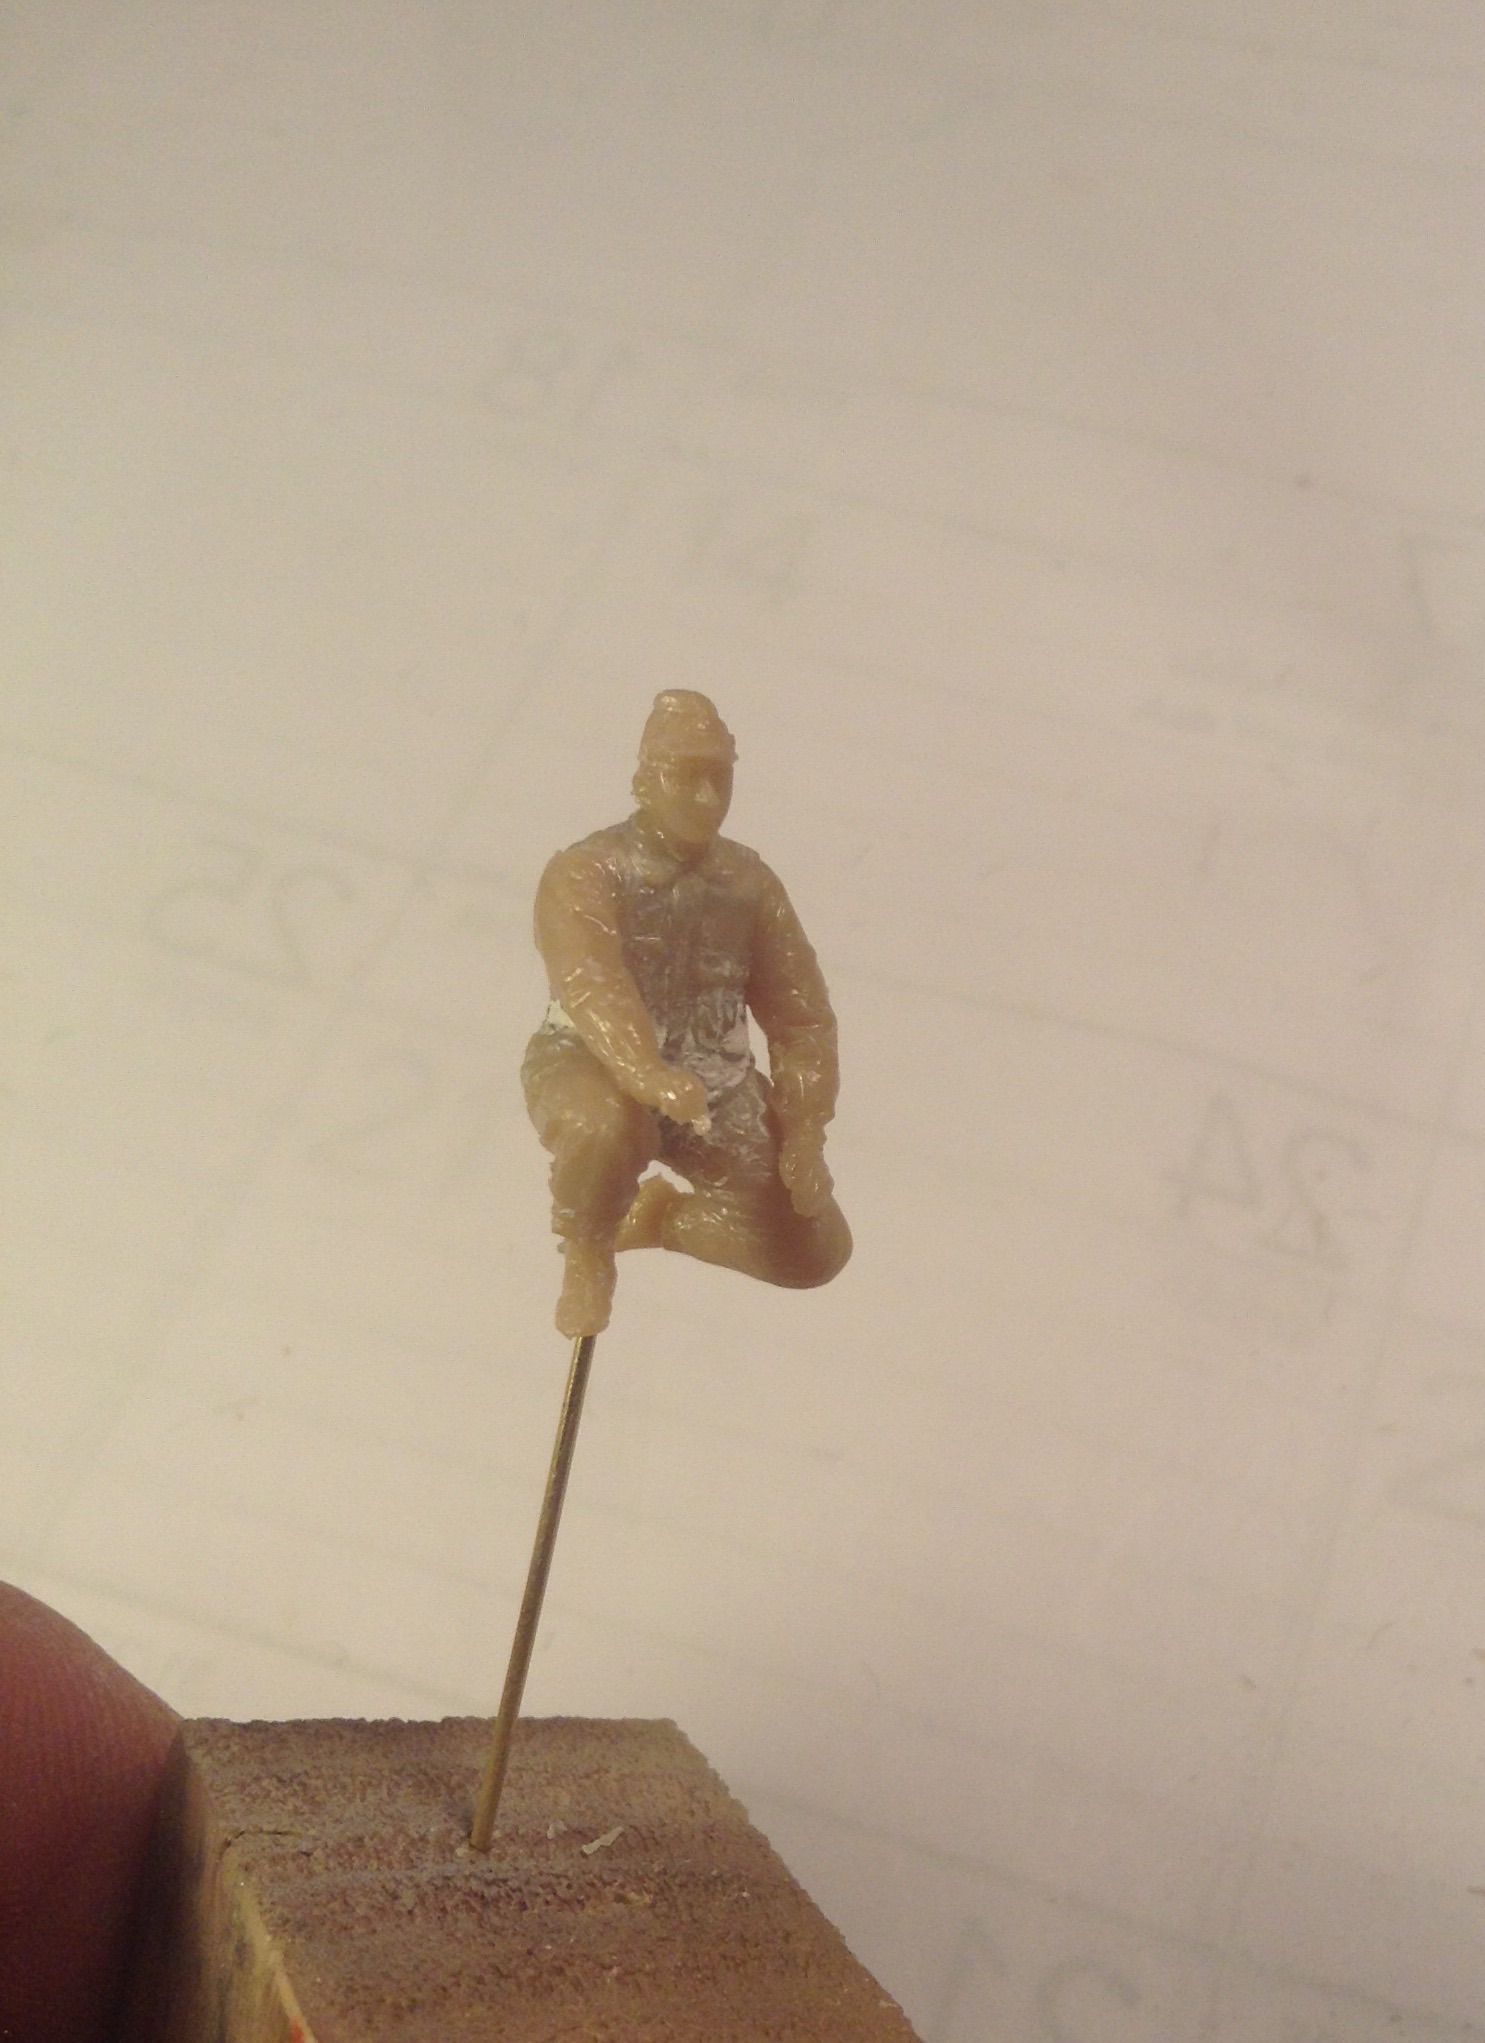
So I am nearly done - all that remains is the addition of a third ground crewman who will be kneeling and attending the starboard wheel chock and installing the antenna wire. I hope to enter this in the Mosquitocon in early April so I am leaving the antenna off until the last minute due to it's fragile nature.
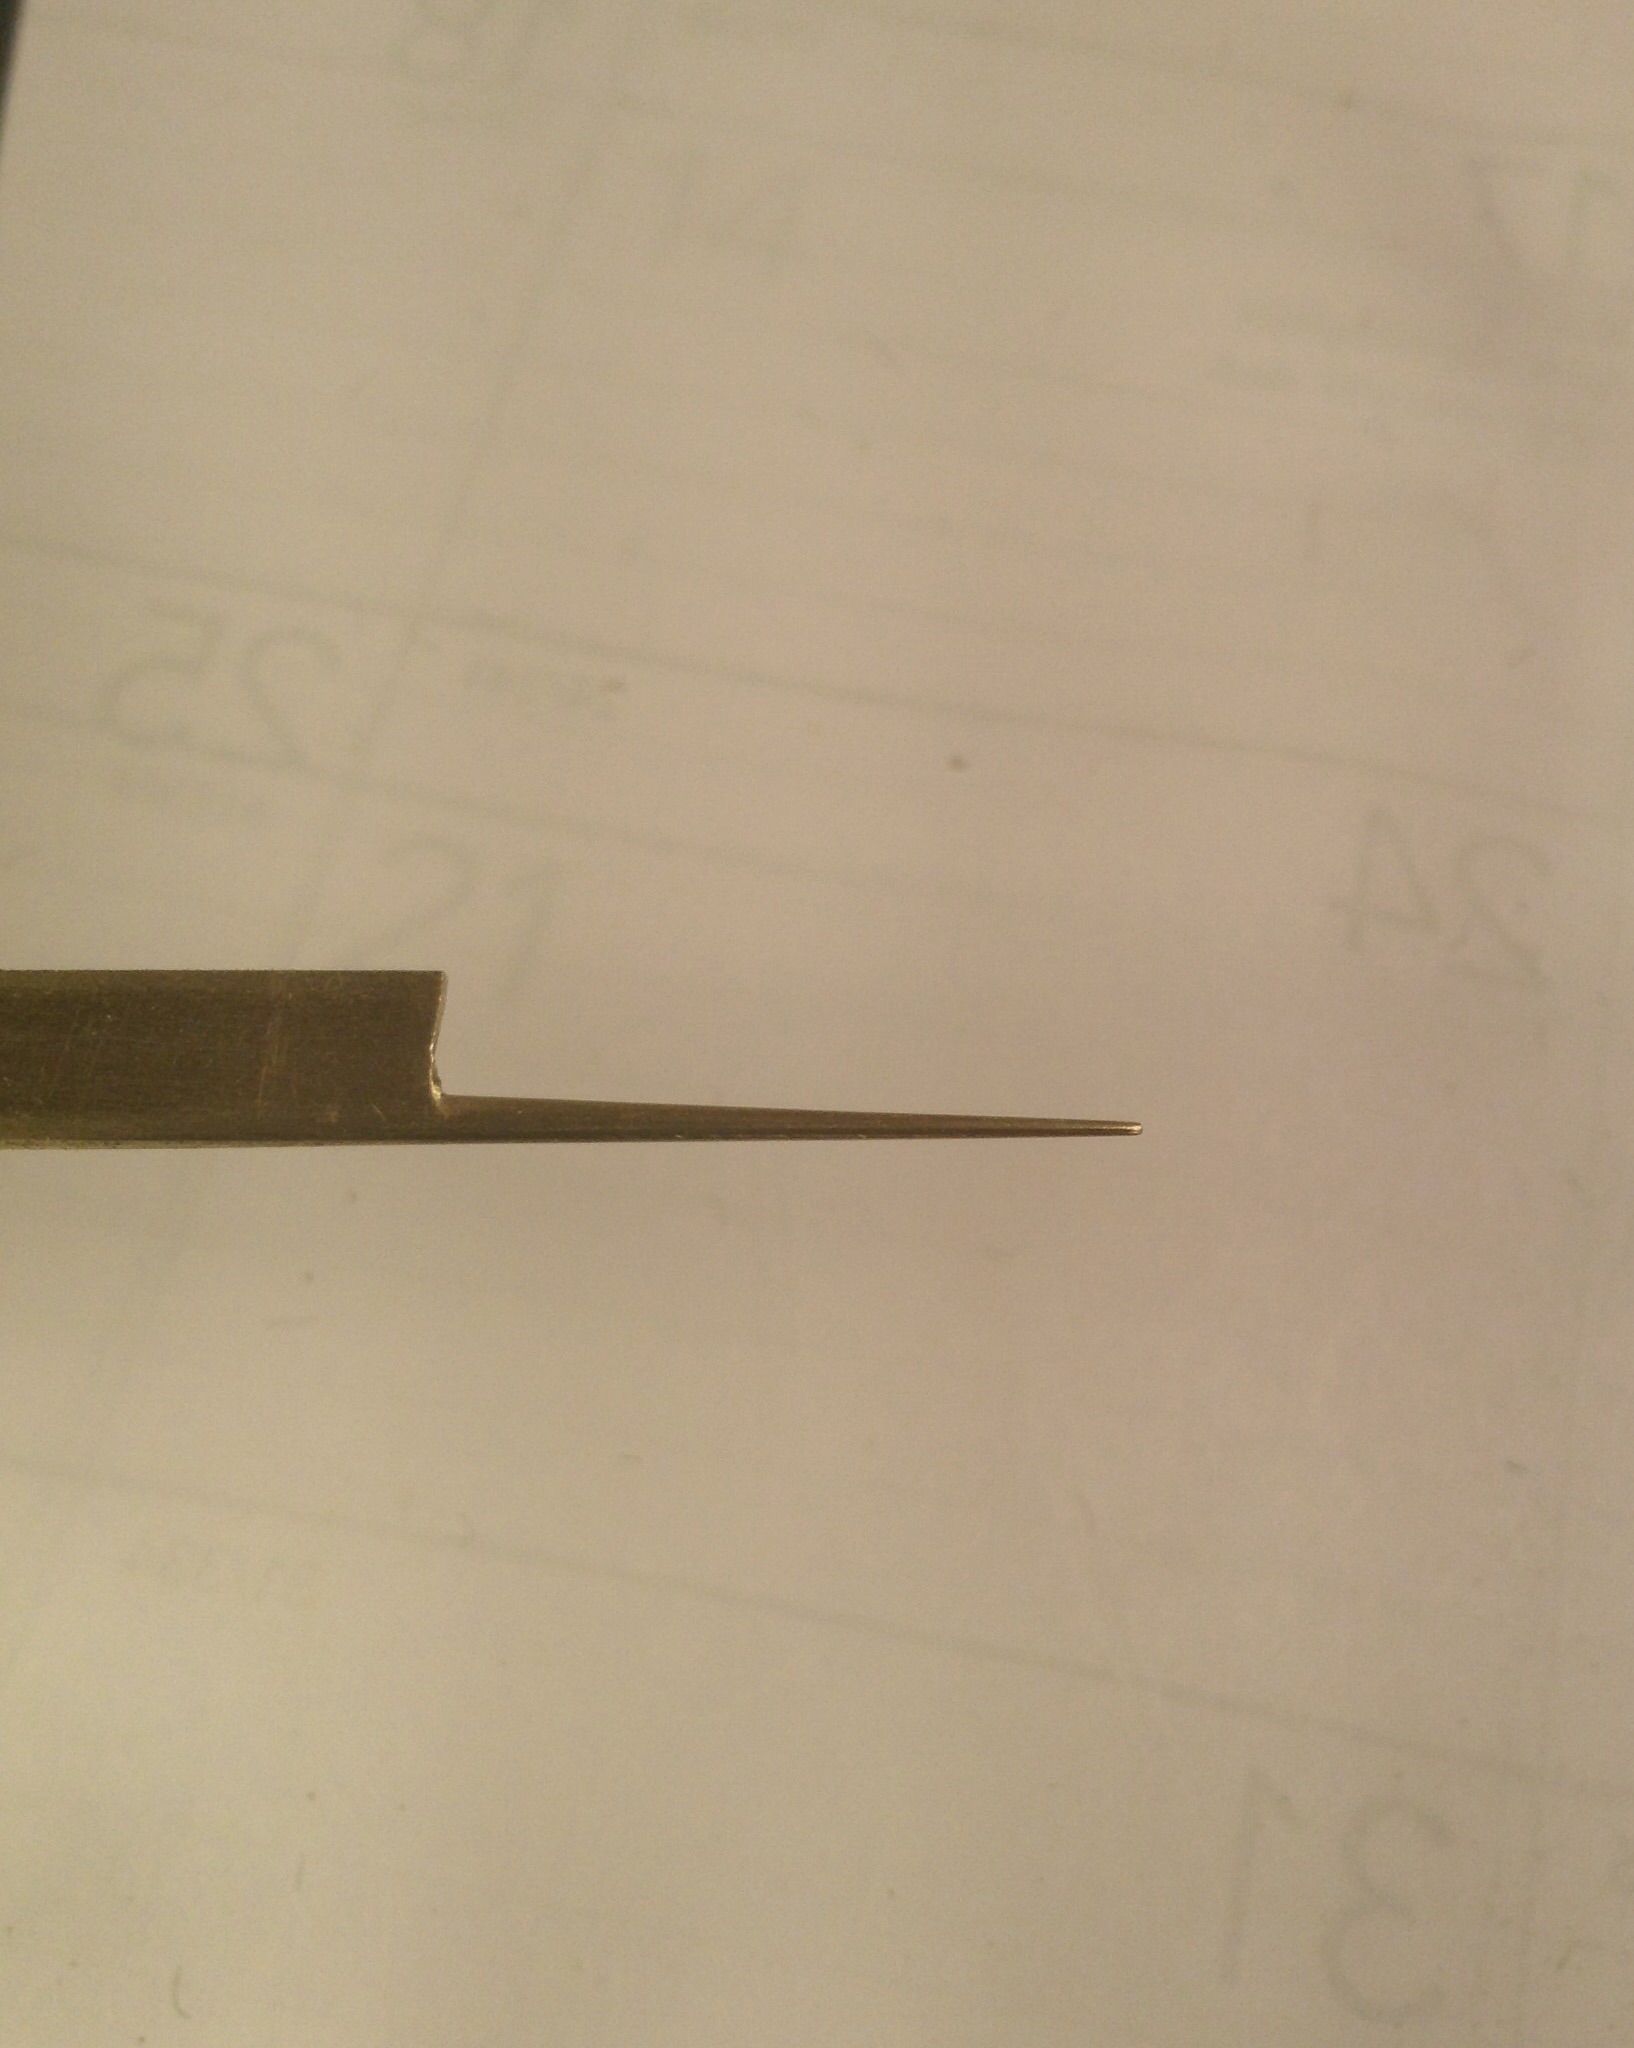
I've made the antenna mast out of brass as I'm certain the plastic one would break sooner rather than later - ditto for the Pitot tube.
Here is the new member of the ground crew modified from a Hasegawa fuel truck figure -
Here is a foot stool for the pilot and the brass pitot filed up in a Dremel tool-

And some shots of the diorama - I'll take some more (and hopefully better !) shots when complete.

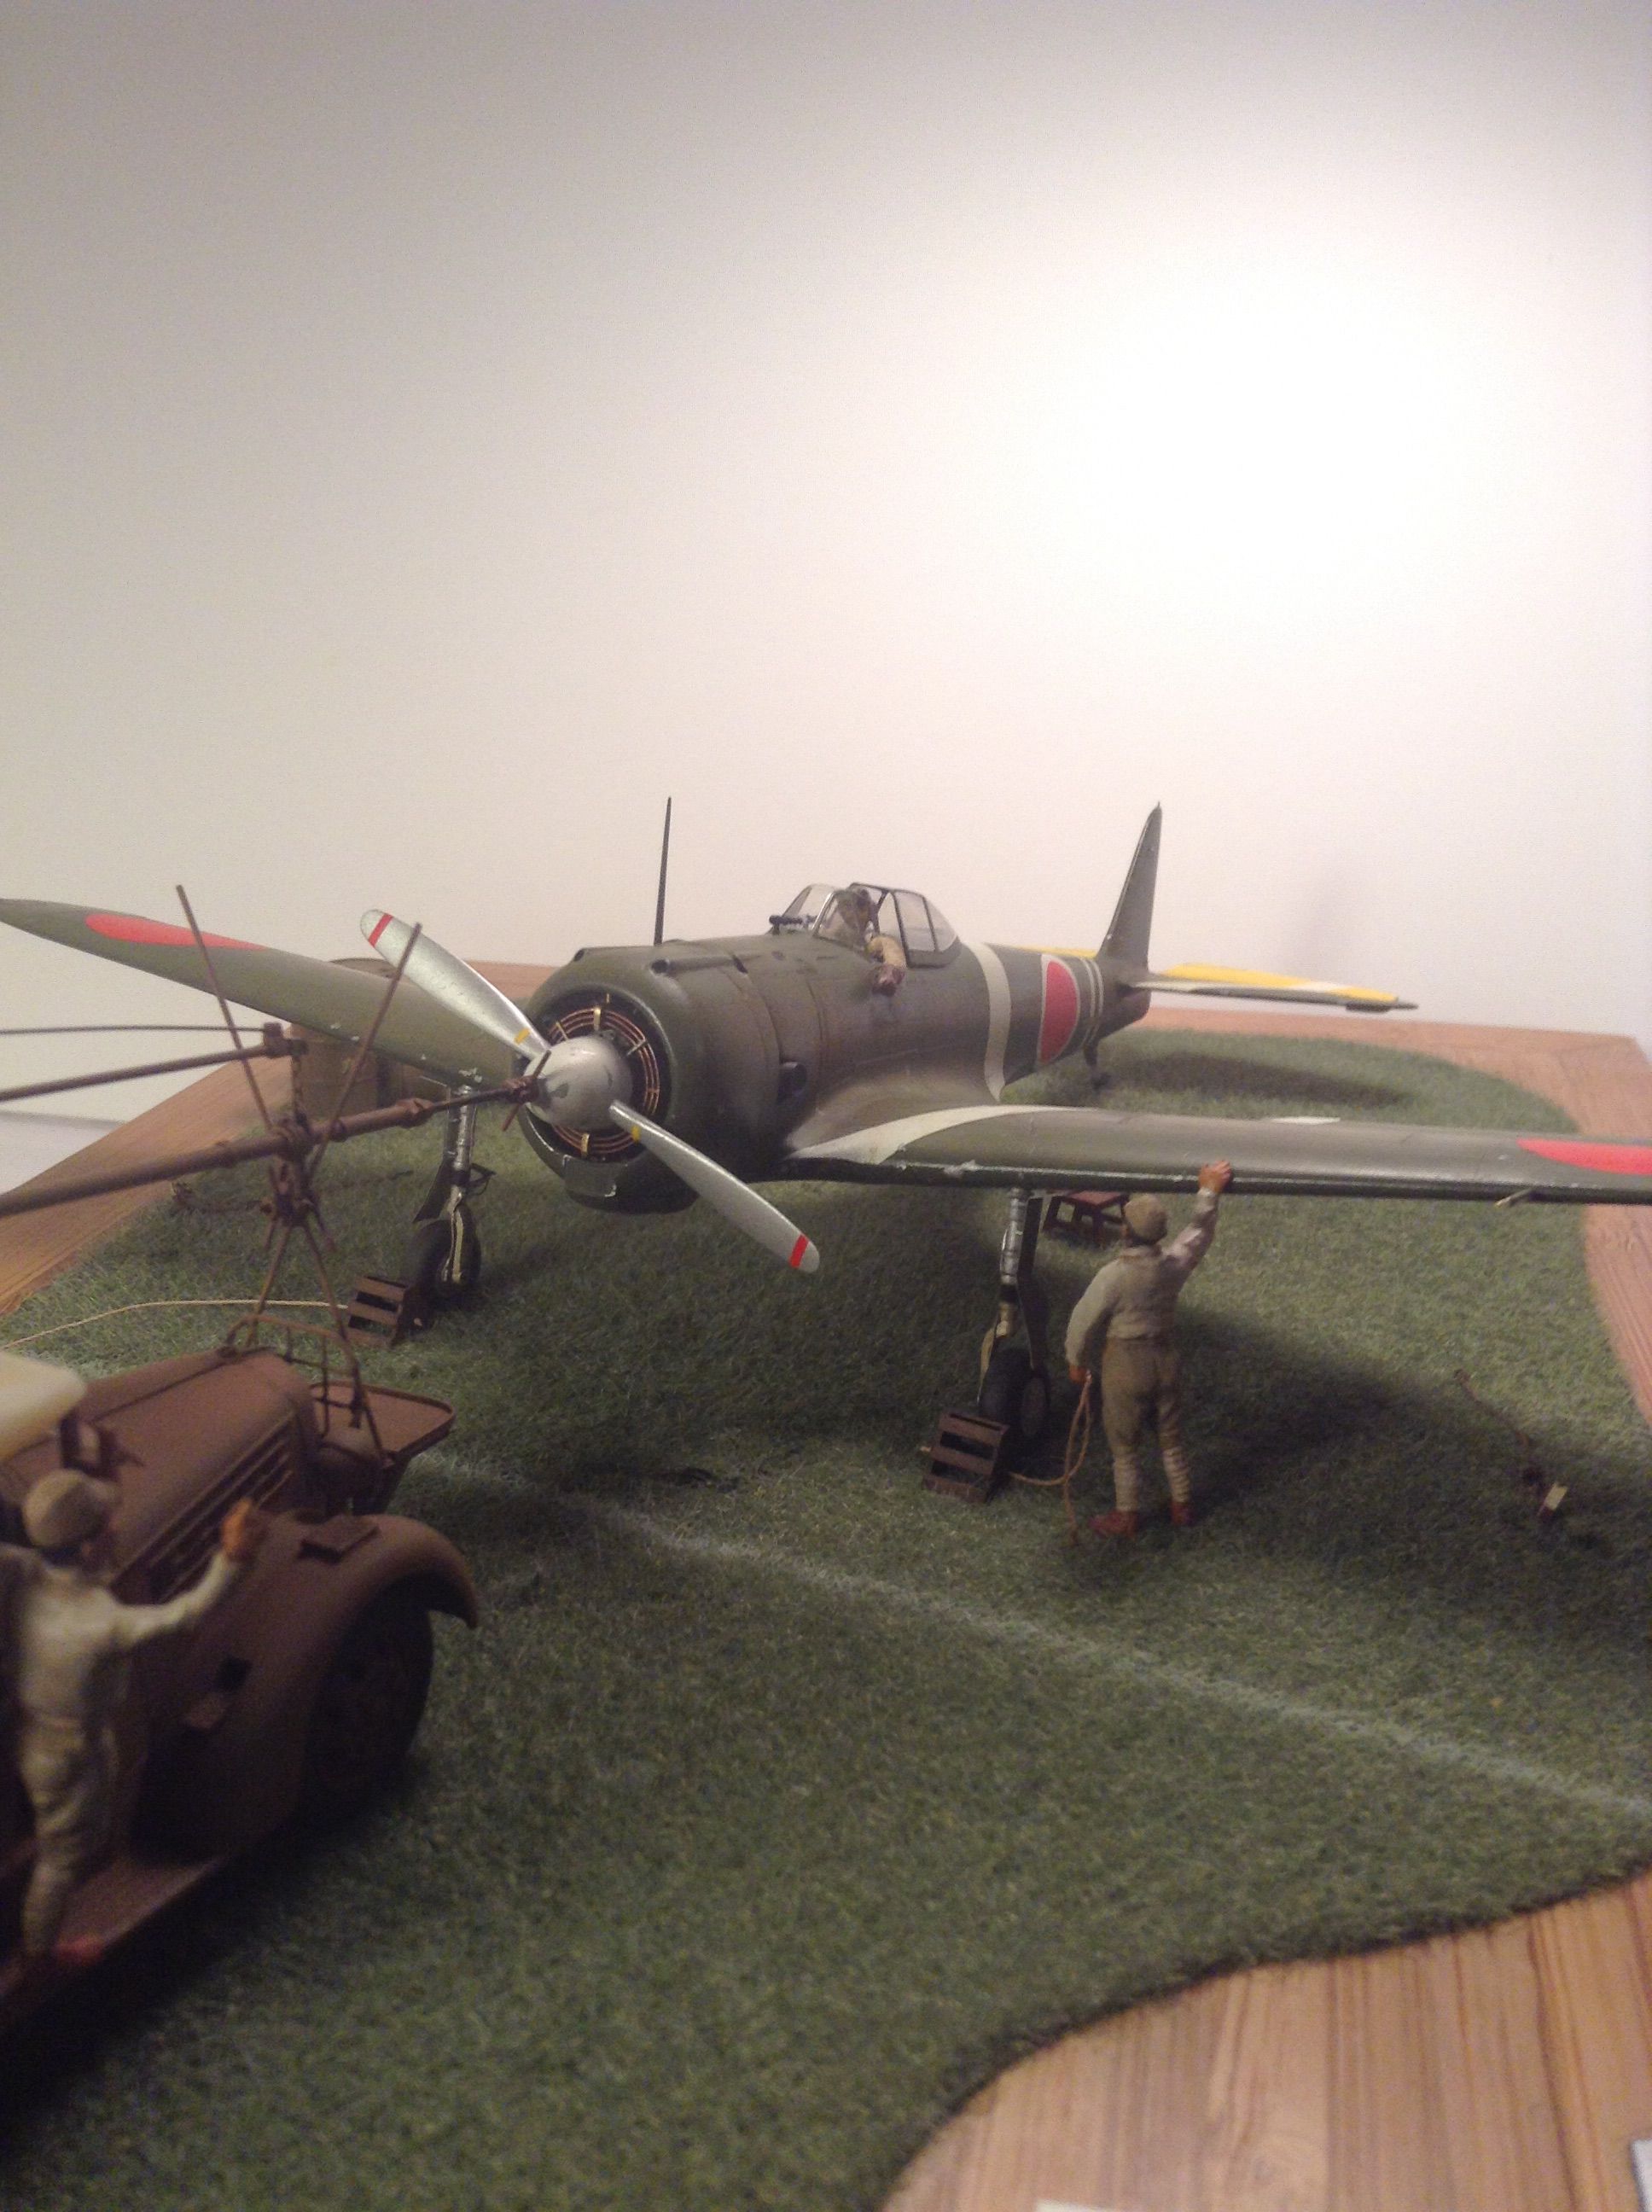
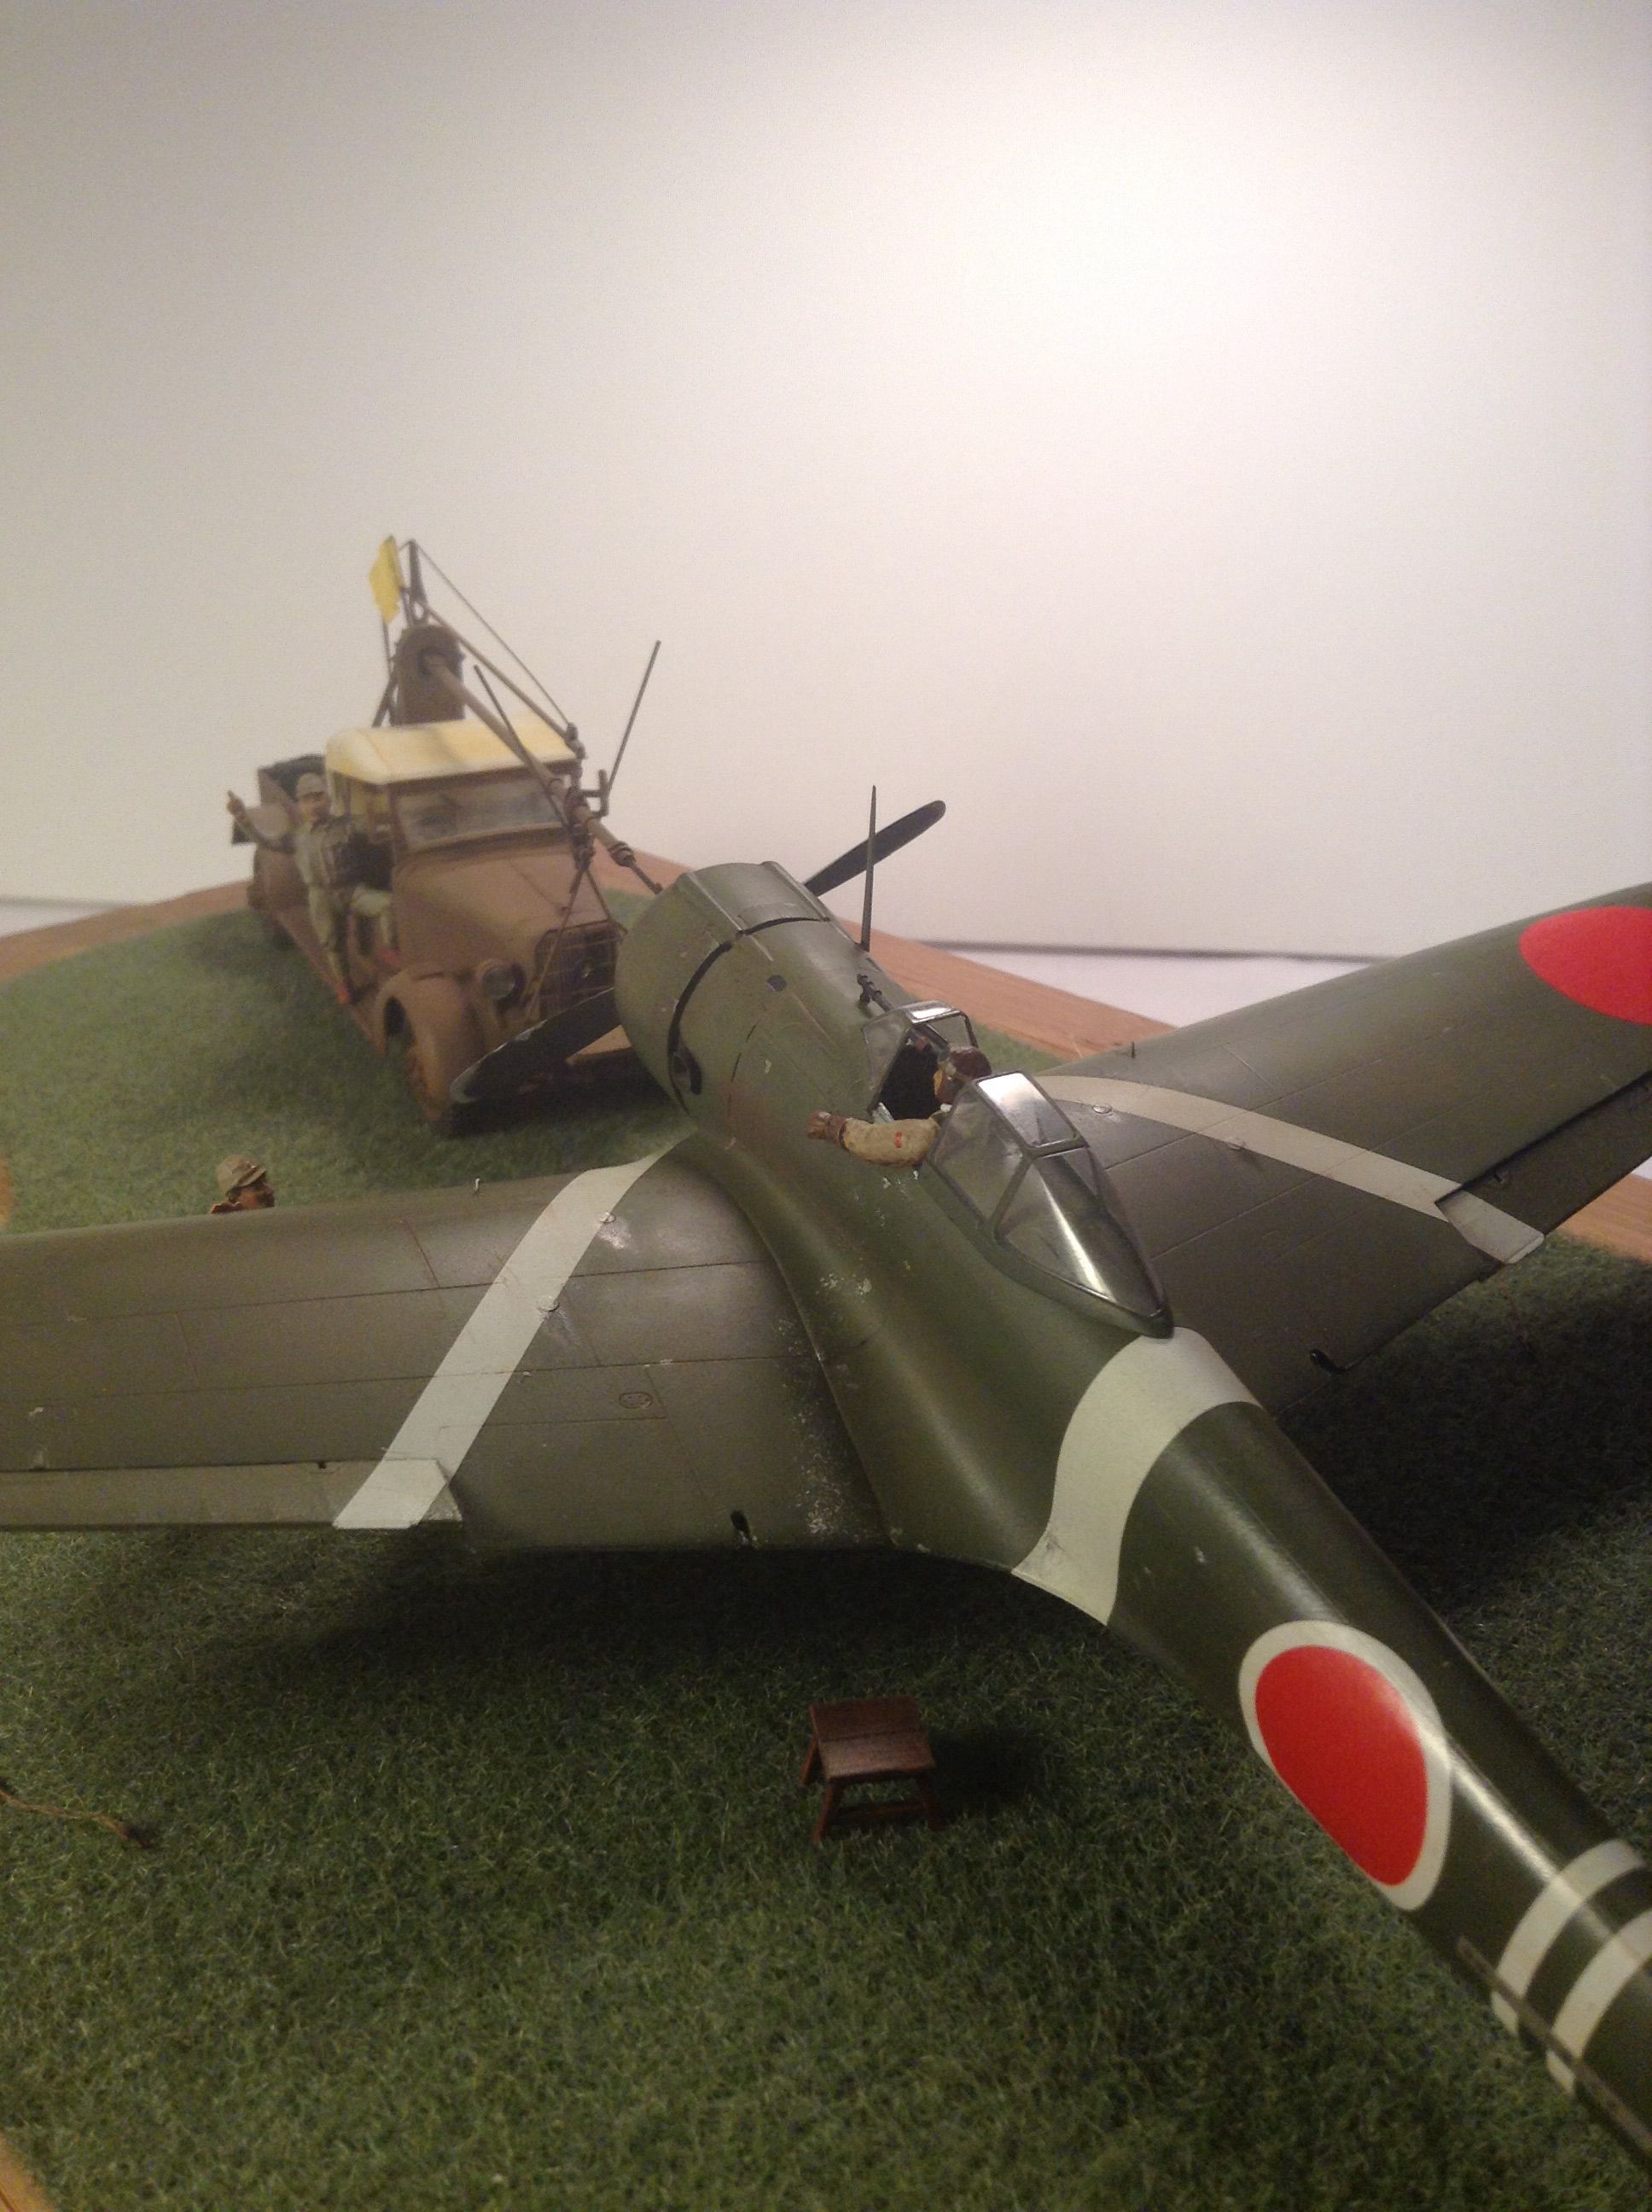

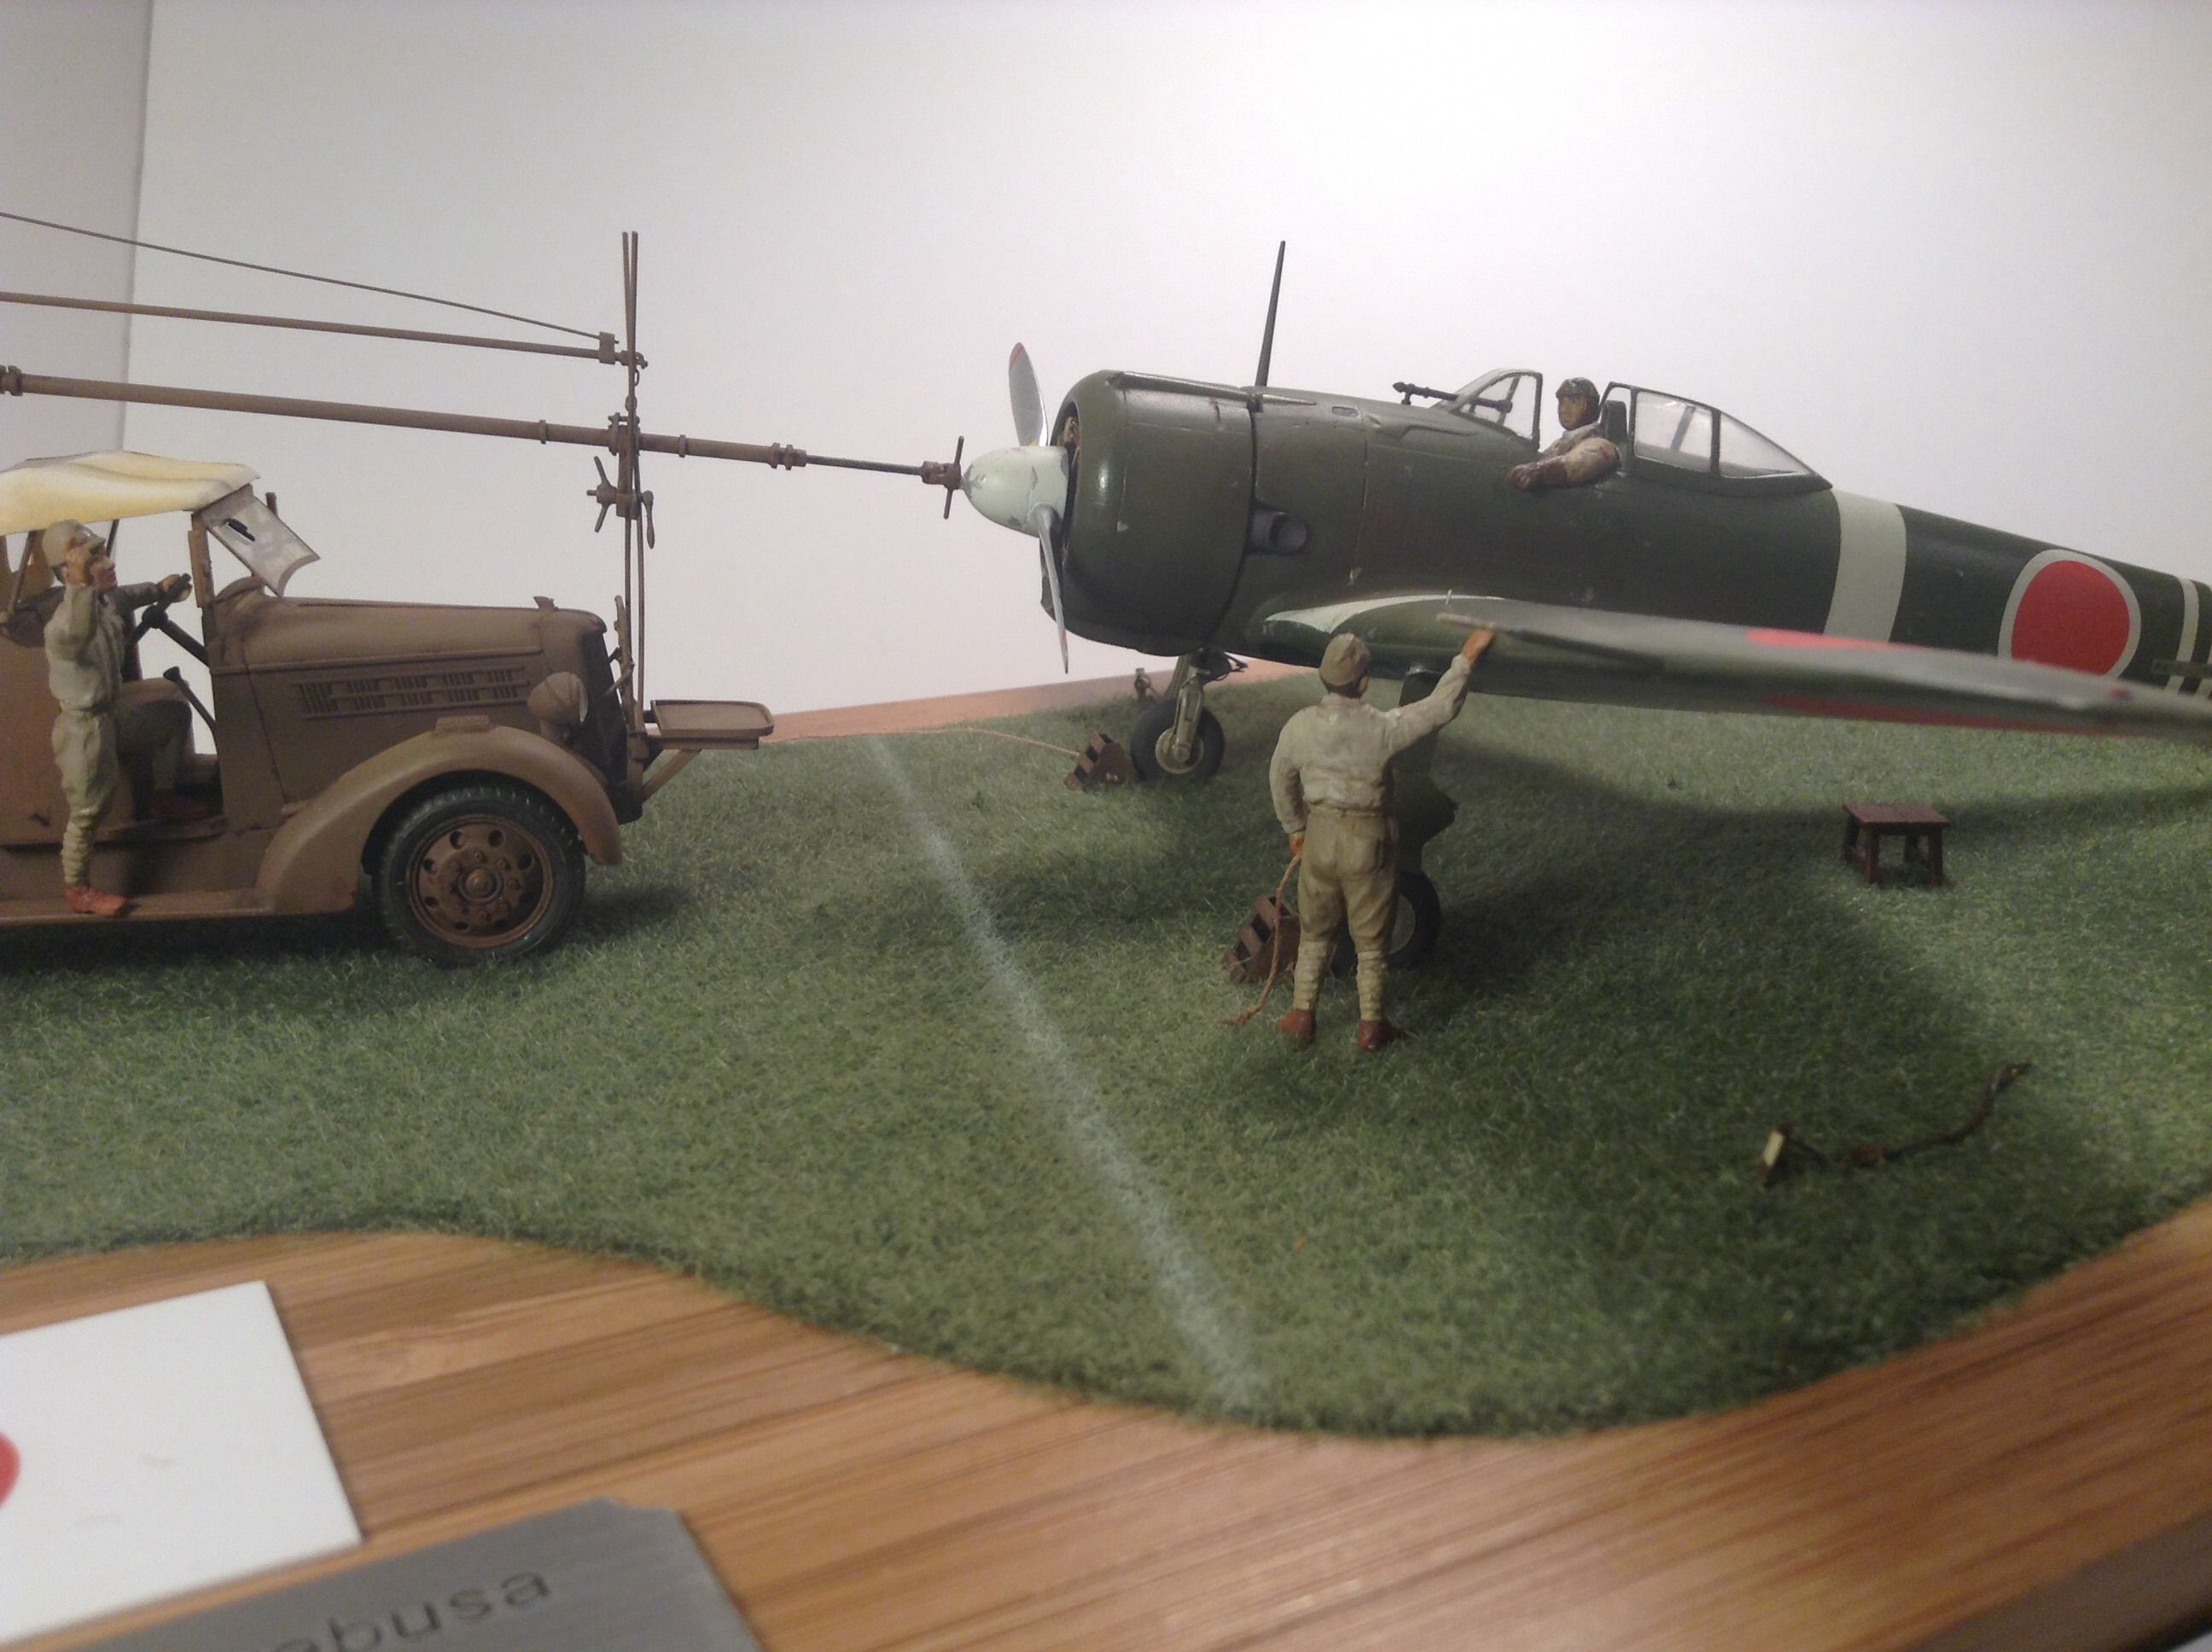
Thanks to everyone for their interest all along and all comments welcome as always - more to follow when complete -
Happy modeling ! - Richard
Joel_W
 Associate Editor
New York, United States
Joined: December 04, 2010
KitMaker: 11,666 posts
AeroScale: 7,410 posts
Posted: Sunday, February 11, 2018 - 02:54 AM UTC
Richard,
I'm speechless. the kneeling figure looks like it was molded that way. Your Diorama should do really well with all the details you've scratched out.
I'm dragging my brother as well, so we'll double date. I finally spoke with Brian. He can't make the Mosquitocon as he'll be out of the country, but will be at the Noreastcon.
Joel
On my Workbench:
Monogram 1/24 scale 427 Shelby Cobra
Just Completed:
Beemax 1/24 scale BMW M3 E30 1992 Evolution II
New Jersey, United States
Joined: February 06, 2015
KitMaker: 1,098 posts
AeroScale: 900 posts
Posted: Sunday, February 11, 2018 - 03:14 AM UTC
Joel - don't be too impressed- the figure was molded in a kneeling position but the torso was hunched over - I repositioned the torso , head and arms to pose him in the position I wanted . I also slimmed him down a little by sawing up through the torso sideways and through the pelvis front to back . While I realize that people vary in size in real life I thought he looked too big in relation to the figures in the foreground.
Too bad Brian can't make it - I met him there last year but I'm anxious to meet you and your brother as well ! Should be a good time . If you frequent Missing-Lynx - Brett Green's armor site you can check out my brother in law Jim Guld's latest effort which I'm sure he'll bring to Mosquitocon. Look for the Churchill AVRE Boase Bangalore in constructive comments section.
Cheers ! Richard
Joel_W
 Associate Editor
New York, United States
Joined: December 04, 2010
KitMaker: 11,666 posts
AeroScale: 7,410 posts
Posted: Sunday, February 11, 2018 - 03:50 AM UTC
Quoted Text
Joel - don't be too impressed- the figure was molded in a kneeling position but the torso was hunched over - I repositioned the torso , head and arms to pose him in the position I wanted . I also slimmed him down a little by sawing up through the torso sideways and through the pelvis front to back . While I realize that people vary in size in real life I thought he looked too big in relation to the figures in the foreground.
Too bad Brian can't make it - I met him there last year but I'm anxious to meet you and your brother as well ! Should be a good time . If you frequent Missing-Lynx - Brett Green's armor site you can check out my brother in law Jim Guld's latest effort which I'm sure he'll bring to Mosquitocon. Look for the Churchill AVRE Boase Bangalore in constructive comments section.
Cheers ! Richard
Richard,
That's a lot of work on a figure. Going to checkout your brother's builds in a few. If you want to see what my brother has been up to. He's a long, long time 1/32 scale modeler on LSP.
Joel
On my Workbench:
Monogram 1/24 scale 427 Shelby Cobra
Just Completed:
Beemax 1/24 scale BMW M3 E30 1992 Evolution II
New Jersey, United States
Joined: February 06, 2015
KitMaker: 1,098 posts
AeroScale: 900 posts
Posted: Tuesday, February 13, 2018 - 04:06 AM UTC
Here is the new kid on the block -
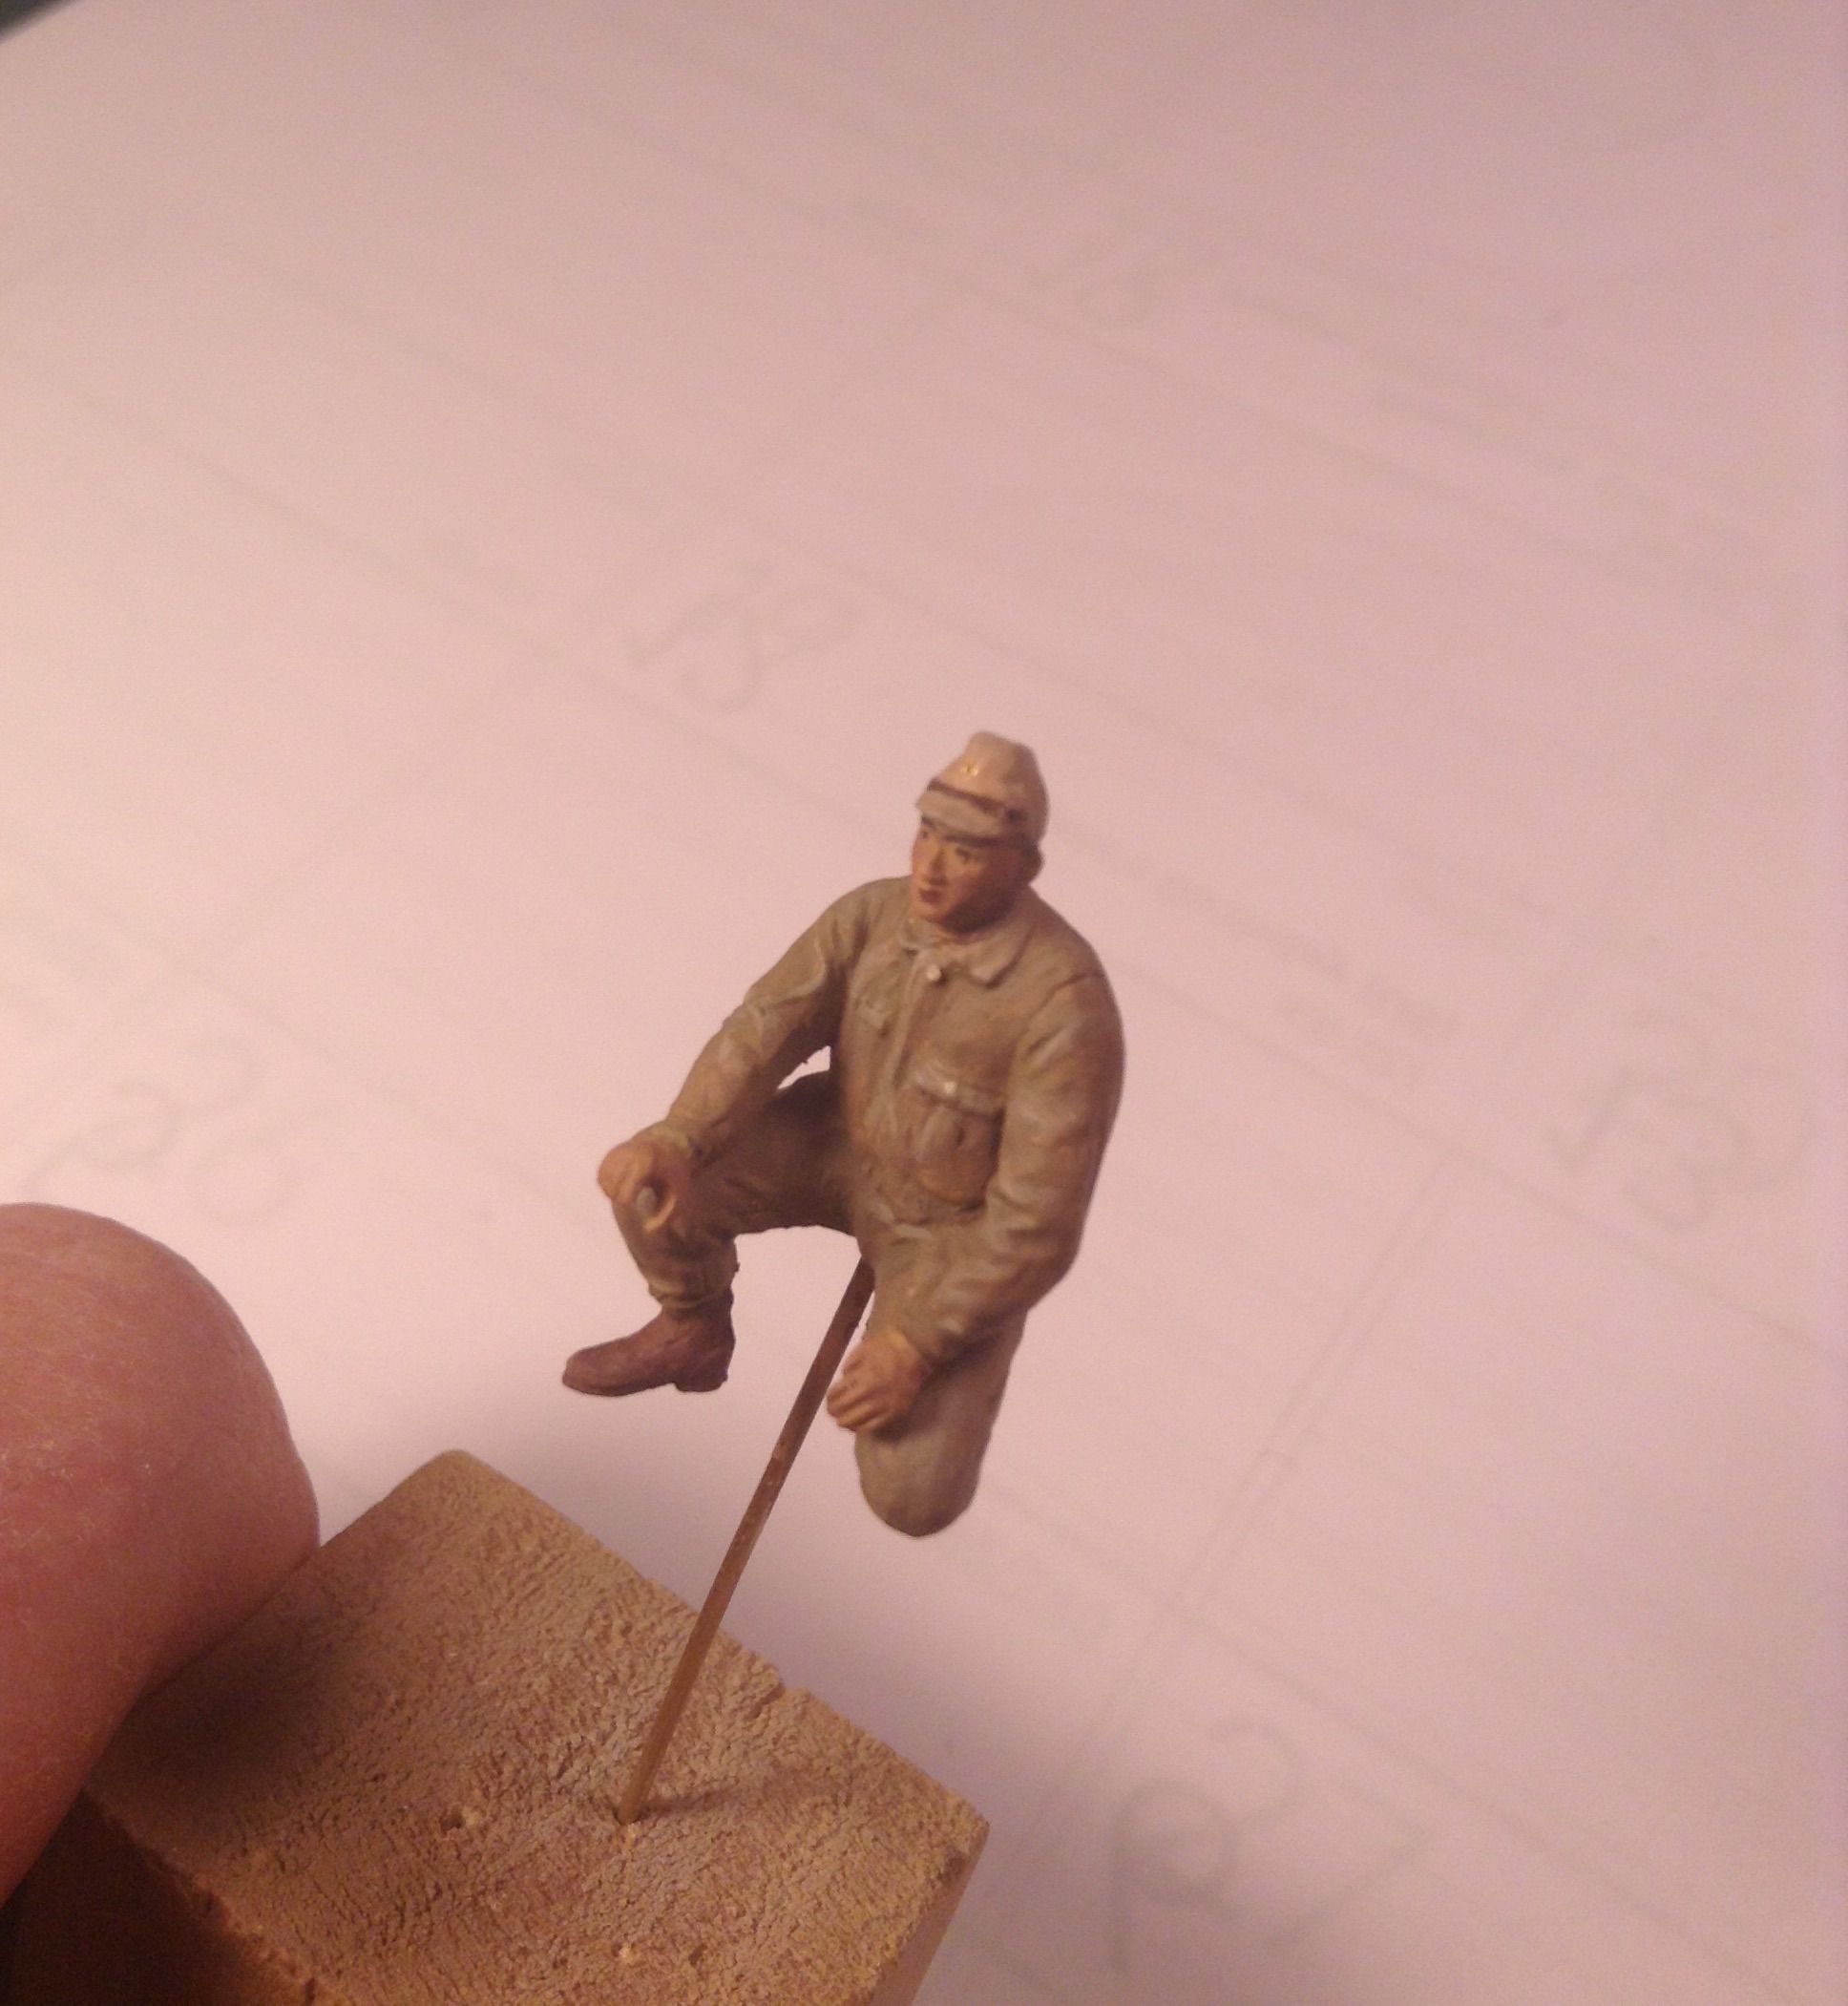
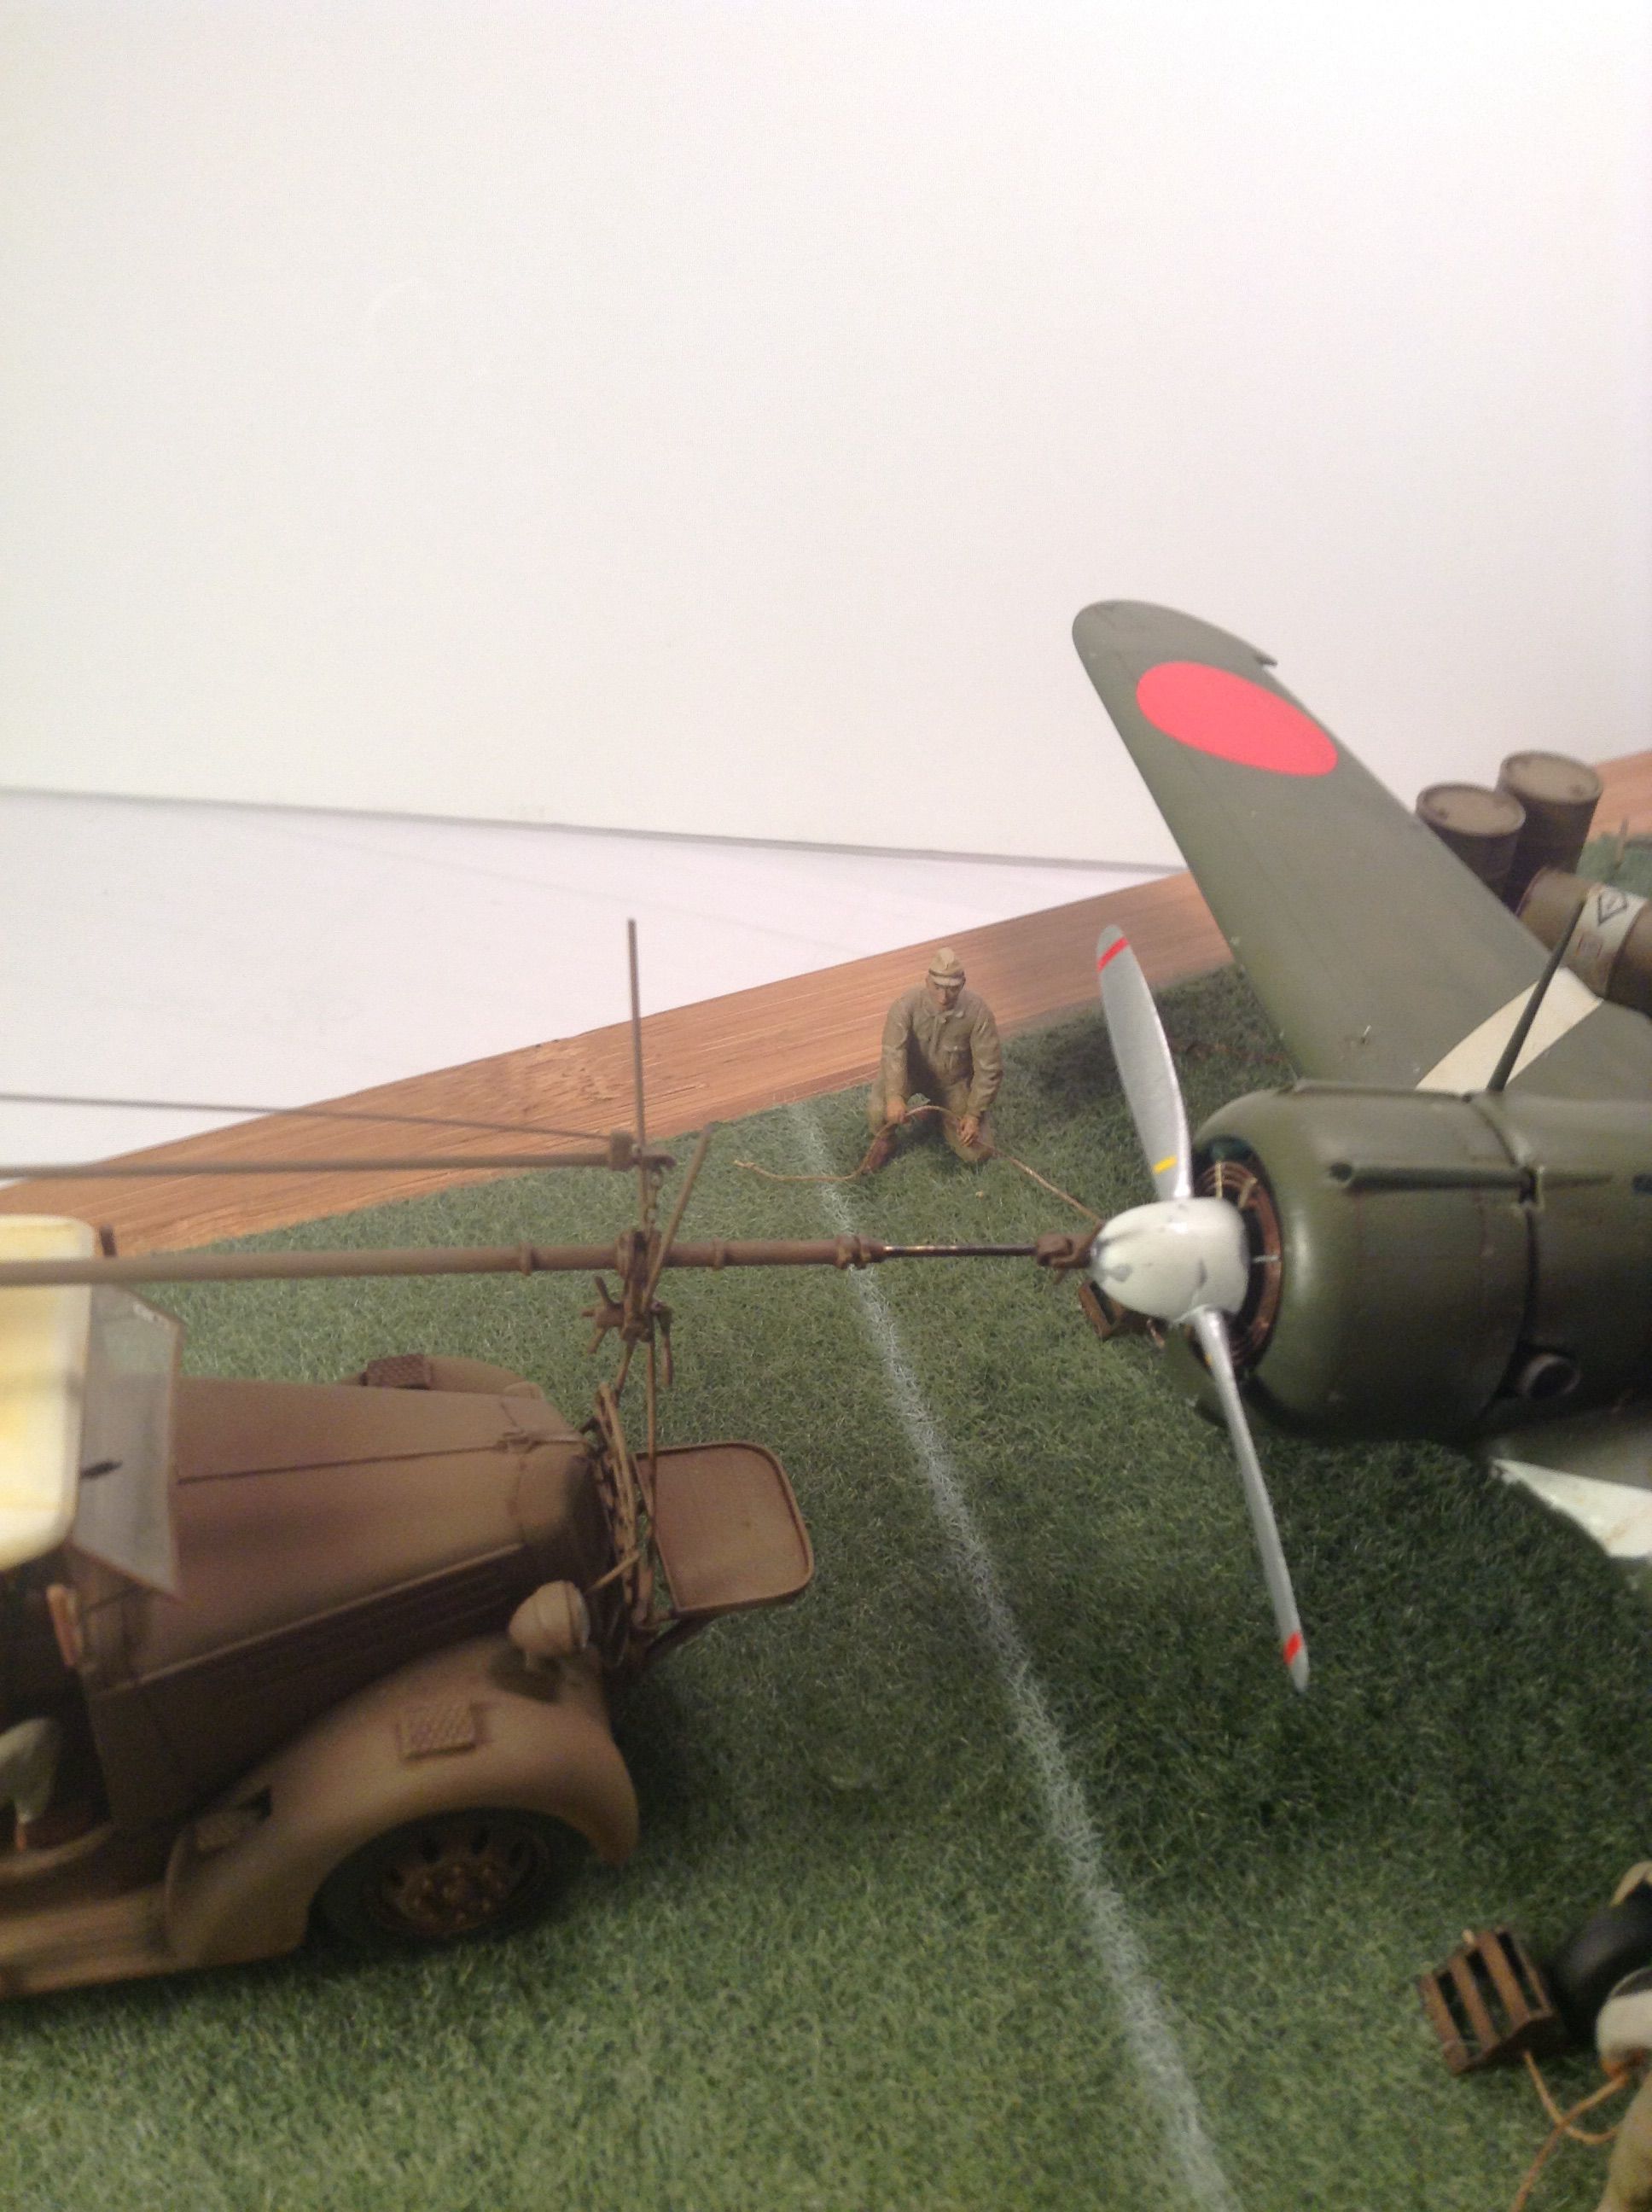
more to follow after antenna wire installation -
Thanks for looking - Richard
Joel_W
 Associate Editor
New York, United States
Joined: December 04, 2010
KitMaker: 11,666 posts
AeroScale: 7,410 posts
Posted: Tuesday, February 13, 2018 - 04:21 AM UTC
Richard,
Darn nice looking kid
Joel
On my Workbench:
Monogram 1/24 scale 427 Shelby Cobra
Just Completed:
Beemax 1/24 scale BMW M3 E30 1992 Evolution II
Lisboa, Portugal
Joined: August 27, 2010
KitMaker: 679 posts
AeroScale: 669 posts
Posted: Tuesday, February 13, 2018 - 04:42 PM UTC
Richard,
Your diorama is just amazing, all combines to make a true portrait of a possible ww2 jap photo. Overall top notch, plane, truck and figures. I am envyous since I could never getarpund to build any scene remotely as good as yours

Cheers
Pedro
New Jersey, United States
Joined: February 06, 2015
KitMaker: 1,098 posts
AeroScale: 900 posts
Posted: Wednesday, February 14, 2018 - 06:07 AM UTC
Joel - Thanks for the compliment and I'll pass it along to the gentleman in question!

Richard
New Jersey, United States
Joined: February 06, 2015
KitMaker: 1,098 posts
AeroScale: 900 posts
Posted: Wednesday, February 14, 2018 - 06:14 AM UTC
Quoted Text
Richard,
Your diorama is just amazing, all combines to make a true portrait of a possible ww2 jap photo. Overall top notch, plane, truck and figures. I am envyous since I could never getarpund to build any scene remotely as good as yours 
Cheers
Pedro
Pedro - Thanks for the kind words . I have admired your builds on Aeroscale for some time now so I am very flattered that a person with your skills likes what I have done - I hope I am saying /spelling this correctly - Obrigado !
Richard
Stockholm, Sweden
Joined: May 02, 2006
KitMaker: 1,953 posts
AeroScale: 1,902 posts
Posted: Thursday, February 15, 2018 - 02:27 AM UTC
Richard! I never get around to doing it myself but doing a scene like this really turns a nice model into something really special! The figures are lovely, they have the right poses and one can really see the interaction between them.

Magnus
Press banner to the right to follow my trail to the new forums!
New Jersey, United States
Joined: February 06, 2015
KitMaker: 1,098 posts
AeroScale: 900 posts
Posted: Thursday, February 15, 2018 - 04:04 AM UTC
Quoted Text
Richard! I never get around to doing it myself but doing a scene like this really turns a nice model into something really special! The figures are lovely, they have the right poses and one can really see the interaction between them.

Magnus
Thank you Magnus - does tuck mean the same in Svenske as in Norske ? My mother was from Tonsberg Norge but her father was was from Svierge - nice to hear from people from my mothers part of the world !
God Dag ! Richard
Bayern, Germany
Joined: January 17, 2006
KitMaker: 673 posts
AeroScale: 492 posts
Posted: Saturday, February 17, 2018 - 01:35 AM UTC
Masterfully executed build all around Richard. Your scratchbuilding is first rate and the diorama is setup to tell a story remarkably well.
Ernest
Joel_W
 Associate Editor
New York, United States
Joined: December 04, 2010
KitMaker: 11,666 posts
AeroScale: 7,410 posts
Posted: Saturday, February 17, 2018 - 03:51 AM UTC
Quoted Text
Masterfully executed build all around Richard. Your scratchbuilding is first rate and the diorama is setup to tell a story remarkably well.
Ernest
Ernest,
Well said.
Joel
On my Workbench:
Monogram 1/24 scale 427 Shelby Cobra
Just Completed:
Beemax 1/24 scale BMW M3 E30 1992 Evolution II
New Jersey, United States
Joined: February 06, 2015
KitMaker: 1,098 posts
AeroScale: 900 posts
Posted: Friday, February 23, 2018 - 06:12 AM UTC
Ernest & Joel - Thank you both for the kind words.
I am posting a list of the mods I did to the Hayabusa since a great deal of the blog is now incomplete thanks to PhotoF _ _ kit and to keep it alive somewhat till I do the antenna.
1- Fuselage shape and length corrected
2- Cowling corrected
3- Control surfaces separated/repositioned
4- Flaps retracted
5- Pilot figure built/posed from various figure sets
6- Missing handholds cut in instrument hood
7- Airscale instrument decals
8- Scratchbuilt annular copper oil cooler
9- Engine wired with all 28 ignition leads
10- Photoetch gear doors,oleo scissor torque links & brake lines
11- All trailing edges thinned
12- Rob Taurus vacuformed windscreen/canopy
13- Gear down indicators added
14- Missing cabin air intake added
15- Antenna mast & Pitot scratch built of brass
Thanks to all for their interest ,comments and input - Richard
Joel_W
 Associate Editor
New York, United States
Joined: December 04, 2010
KitMaker: 11,666 posts
AeroScale: 7,410 posts
Posted: Friday, February 23, 2018 - 10:09 PM UTC
Richard,
Looking forward to seeing your masterpiece and finally meeting you at the Mosquitocom, then meeting up again at the Noreastcon.
Joel
On my Workbench:
Monogram 1/24 scale 427 Shelby Cobra
Just Completed:
Beemax 1/24 scale BMW M3 E30 1992 Evolution II
New Jersey, United States
Joined: February 06, 2015
KitMaker: 1,098 posts
AeroScale: 900 posts
Posted: Friday, February 23, 2018 - 11:55 PM UTC
Quoted Text
Richard,
Looking forward to seeing your masterpiece and finally meeting you at the Mosquitocom, then meeting up again at the Noreastcon.
Joel
Joel - Likewise - just a few more weeks !
Richard
Alberta, Canada
Joined: January 19, 2008
KitMaker: 6,743 posts
AeroScale: 6,151 posts
Posted: Saturday, February 24, 2018 - 08:56 PM UTC
Richard , fantastic workmanship on this build . Even if there is no palm trees . I really like how your plan turned out with the diorama

Terri
New Jersey, United States
Joined: February 06, 2015
KitMaker: 1,098 posts
AeroScale: 900 posts
Posted: Saturday, February 24, 2018 - 10:47 PM UTC
Quoted Text
Richard , fantastic workmanship on this build . Even if there is no palm trees . I really like how your plan turned out with the diorama 
Terri
Thanks Terri ! - I know it's not a Mustang but -


Richard
Krakow, Poland
Joined: January 29, 2016
KitMaker: 96 posts
AeroScale: 91 posts
Posted: Sunday, February 25, 2018 - 01:08 PM UTC
Fantastic work, Richard.
Only one thing, I think that it would do good if the grass got a little colour variation, some squeezes here and there, tire tracks - it now looks too perfect to my eyes.
Best regards
Hubert
New Jersey, United States
Joined: February 06, 2015
KitMaker: 1,098 posts
AeroScale: 900 posts
Posted: Sunday, February 25, 2018 - 04:43 PM UTC
Quoted Text
Fantastic work, Richard.
Only one thing, I think that it would do good if the grass got a little colour variation, some squeezes here and there, tire tracks - it now looks too perfect to my eyes.
Best regards
Hubert
Thank you Hubert - I agree with you completely - I tried to do just that and I ruined it on the first go around by trying to blend in the clumps . I wound up stripping the grass off completely and redoing it so I am going to leave it be this time.
I also tried to press in tracks but it springs back . As this is my first experience with static grass I've learned that you have to plan for tracks in advance which I did not do . Nice to see you back with your Hayabusa's also !
Cheers- Richard


