

Here's the clear sprue after painting:
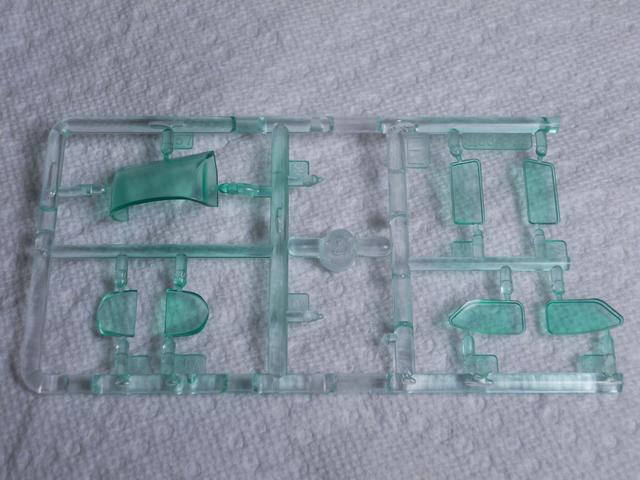
I am pretty happy with the way this looks, so the next step is to button the fuselage up (after installing the windows, of course)!
Have fun modeling!
Mike


I enjoyed this one so much, I am done. Maybe I will have to look in my stash and build another.


 .
. 


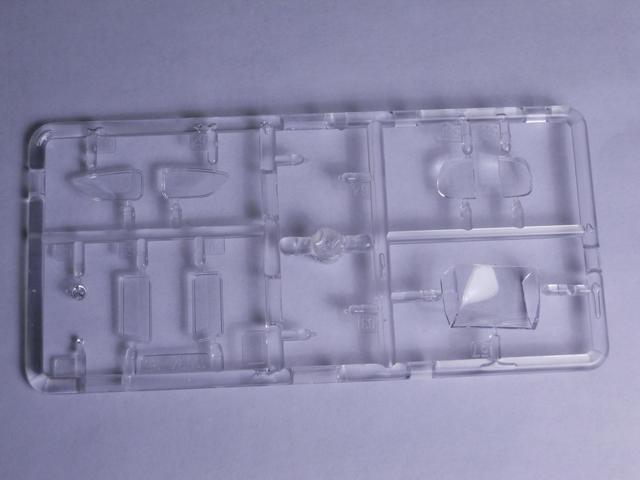
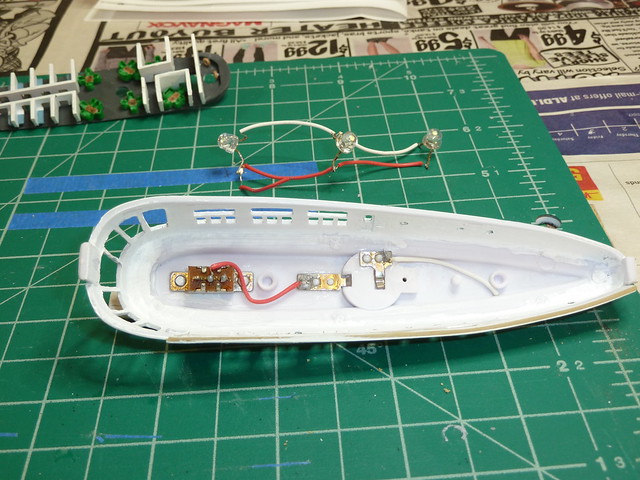
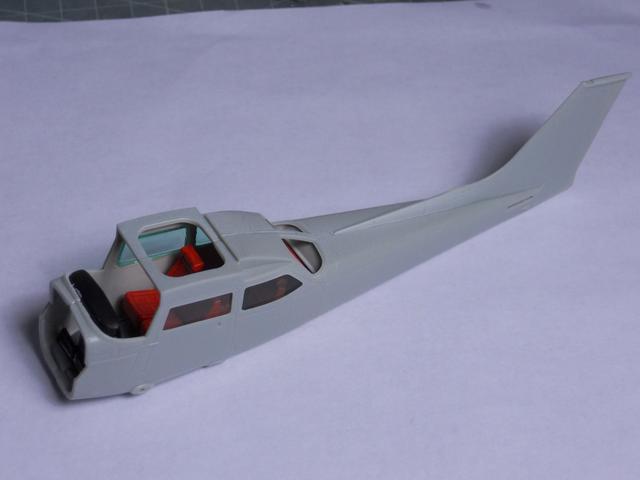
After looking at photos of the Ethiopian Cessna 172s, all of them appear to have their glass windows tinted a clear green. This makes sense as they operate in a hot and sunny climate so the tinted windows will cut down on the glare and some heat. I decided to duplicate this by spraying the clear plastic windows with a dilute mix of Tamiya clear green. Here's the clear sprue before painting:
Here's the clear sprue after painting:
I am pretty happy with the way this looks, so the next step is to button the fuselage up (after installing the windows, of course)!
Have fun modeling!
Mike


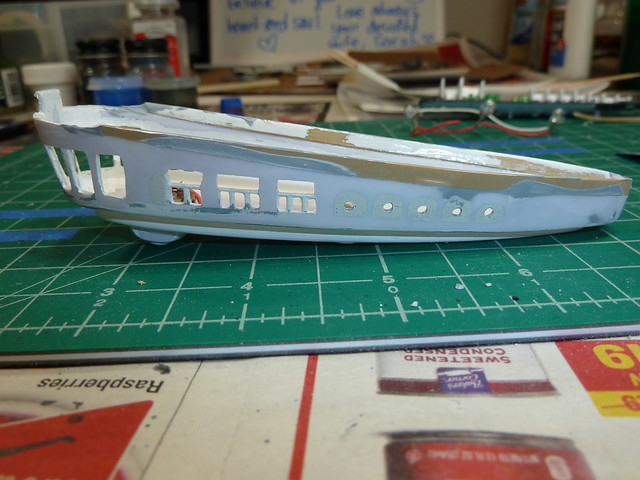
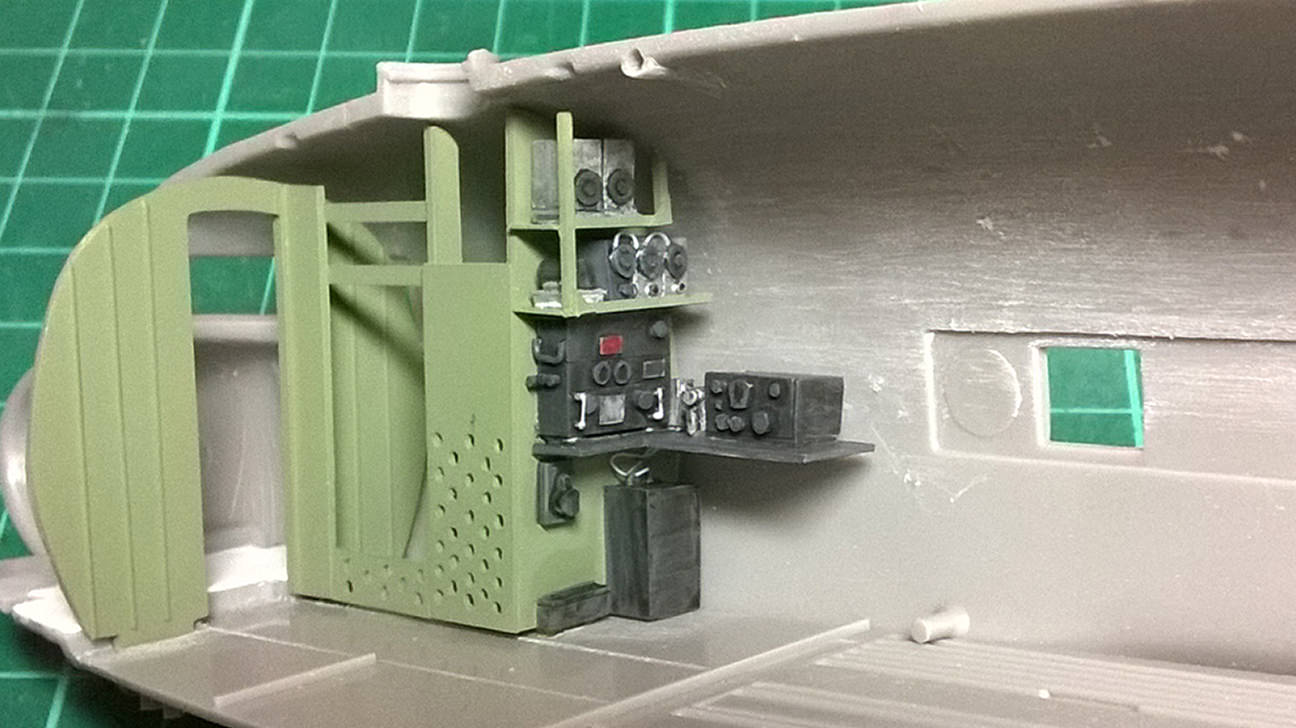
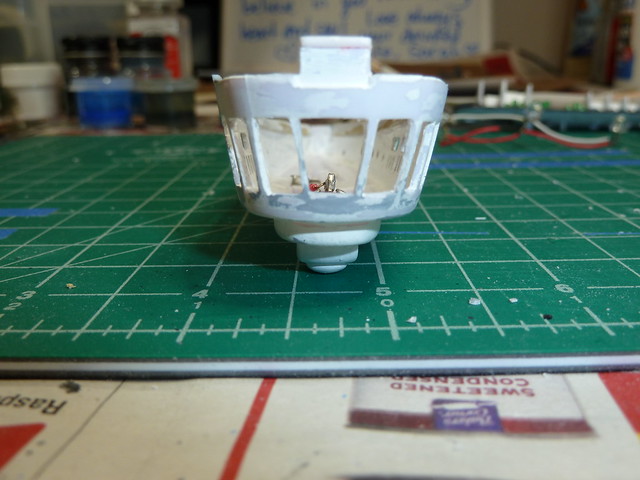 I do wish they had put more detail into the bridge, but whatever. Most of this won't be visible anyway.

 Solid resin castings I fear them more than vacuforms.
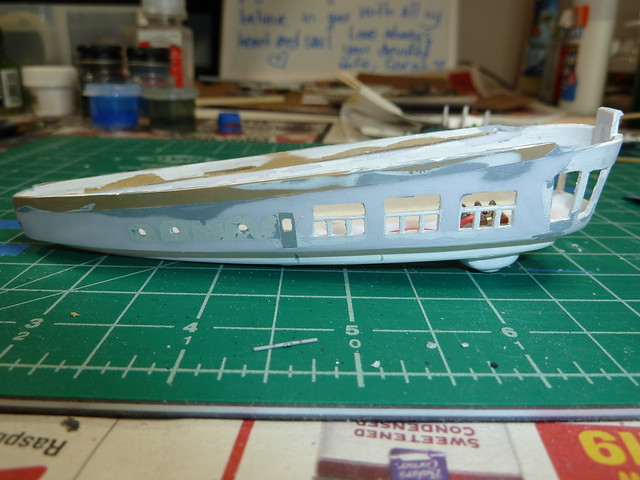
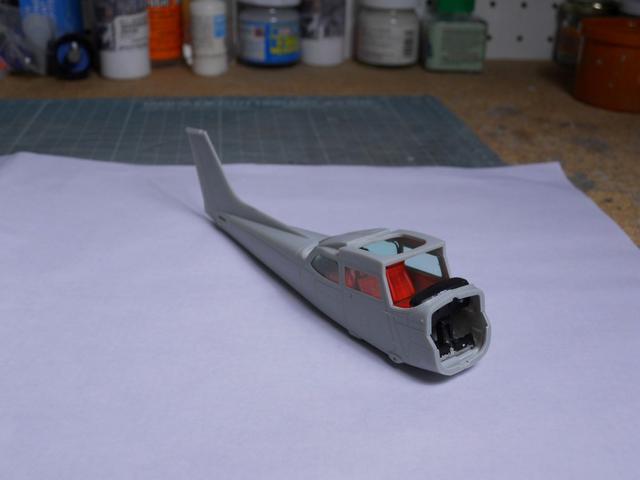
Just a word of advice. Be careful with the side windows regarding handling of the model after they are glued in. Because the side windows glue from the inside, they can accidentally be pushed in after the fuselage half's are put together. This happened to me with the front passenger window. Fortunately, I have not glued the wing on so was able to re-glue the window in. I may try and keep the wing off during the whole painting process just in case.
Alan M.

 .
. 
 |


