Hi All,
Lots of really nice builds going on here! I've not made an update in quite some time due to getting side-lined for six weeks, and apparently the recovery time was also about six weeks. Fortunately, all seems to have worked, more follow-ups will tell. I was able to do a little bit of work on the C-47, and as I got stronger, a lot more. So, without further ado, here's where I've gotten to, including some writing from prior to my absence.
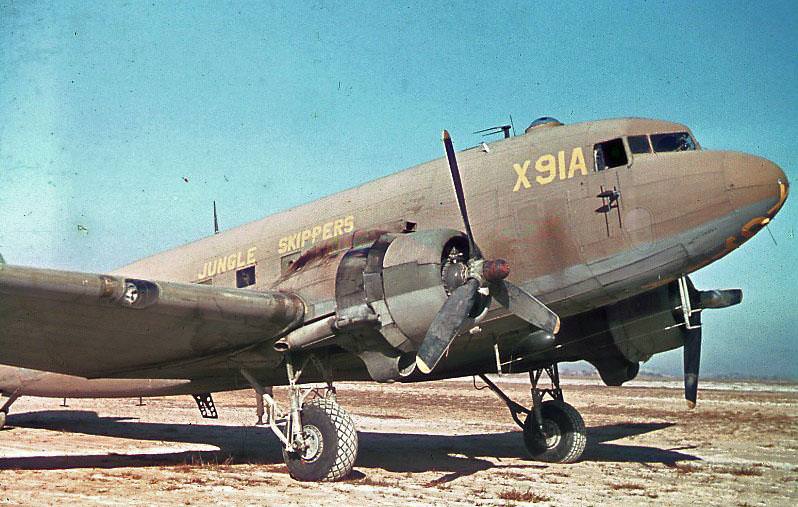
Jessica and Paul, never underestimate the modelling section called researching your project. Guilty with an explanation! Ironically while a CAF groupie in my youth I got to fly, fly in, work on and in DC-3s. Based on that background and knowing that this build for me is about seams and stripes, I figured I was good to go. I took Jessicas advice and did some background and found a pretty darned cool pic of the plane that happens to have the decals in the kit (not the best, but will make for some stencils, maybe). Looks like Ill be doing Surf and Sport Special a bit after D-Day. The pictures were taken during operation Market Garden, with the white stripes removed from the top, along with some flak patches. Yes, the grommets are quite visible in the pic as a few are removed. We live and learn. Paul, I believe that youre right, it wont detract from the build. Im not going to add them now!
I did manage to get the glass in, and it turned out ok. Ill need to do some white glue along the edges to tidy things up. I then closed up the fuselage after a basic wash on what may be visible through the boarding door in the rear. Still not sure if itll be open or not
most likely yes.
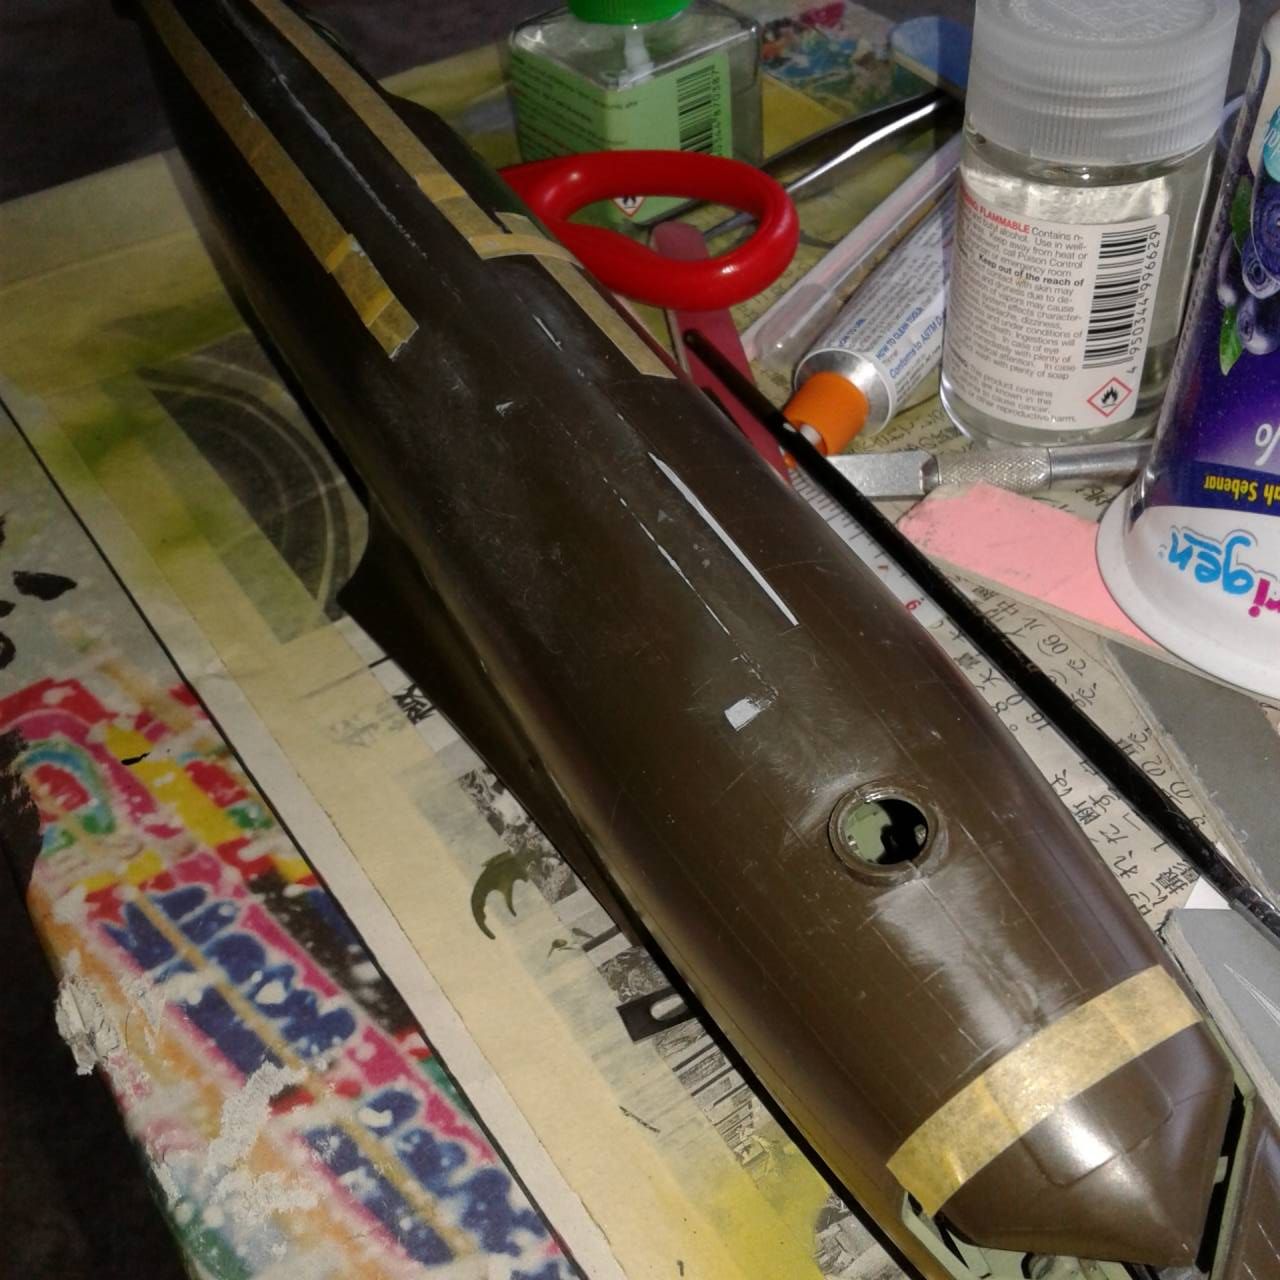
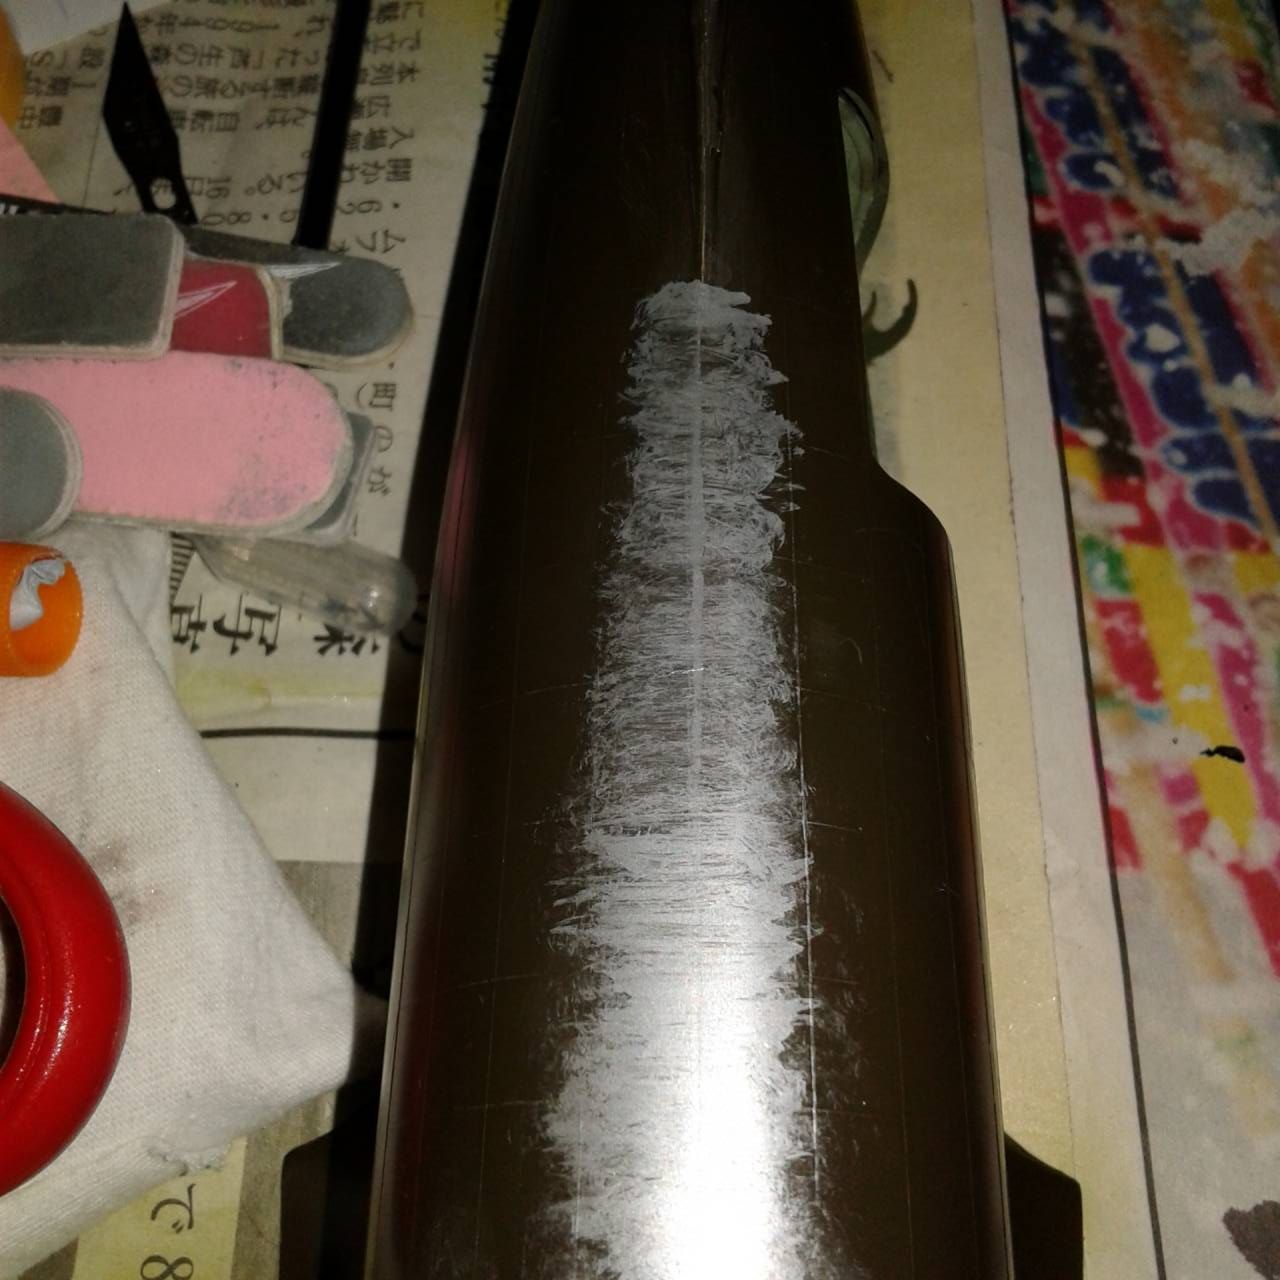
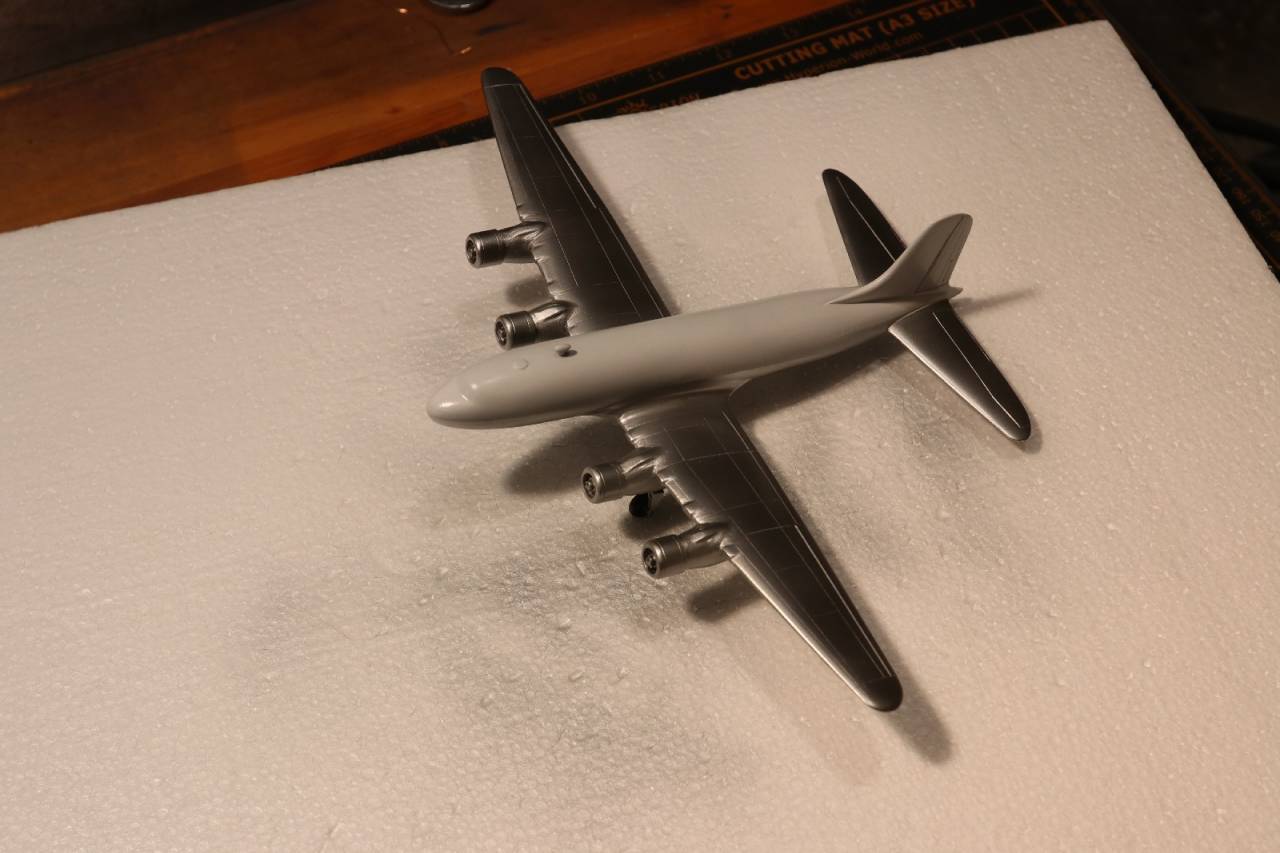
Next came the arduous task of filling the rather large seam on the top of the fuselage. I began with Tamiya grey putty, sanded, then Mr. Surfacer 500, filled and sanded three times. Finally, I used Mr. Surfacer 1000, sanding and testing it with some Tamiya chrome silver.
The joys of seam filling!
I then moved onto the wings. Not liking the way the landing lights looked, I tried something new to me. I opted to make some new ones by cutting some acrylic rod (1/2 inch) in half, then smoothing it out. I then drilled a hole in the back, added a drop of chrome silver, and painted the back black. Next, I epoxied the new lights into their respective places on the wings. This was followed with some strategic grinding with the Dremel, and then sanding down using progressively finer grits until they were clear.
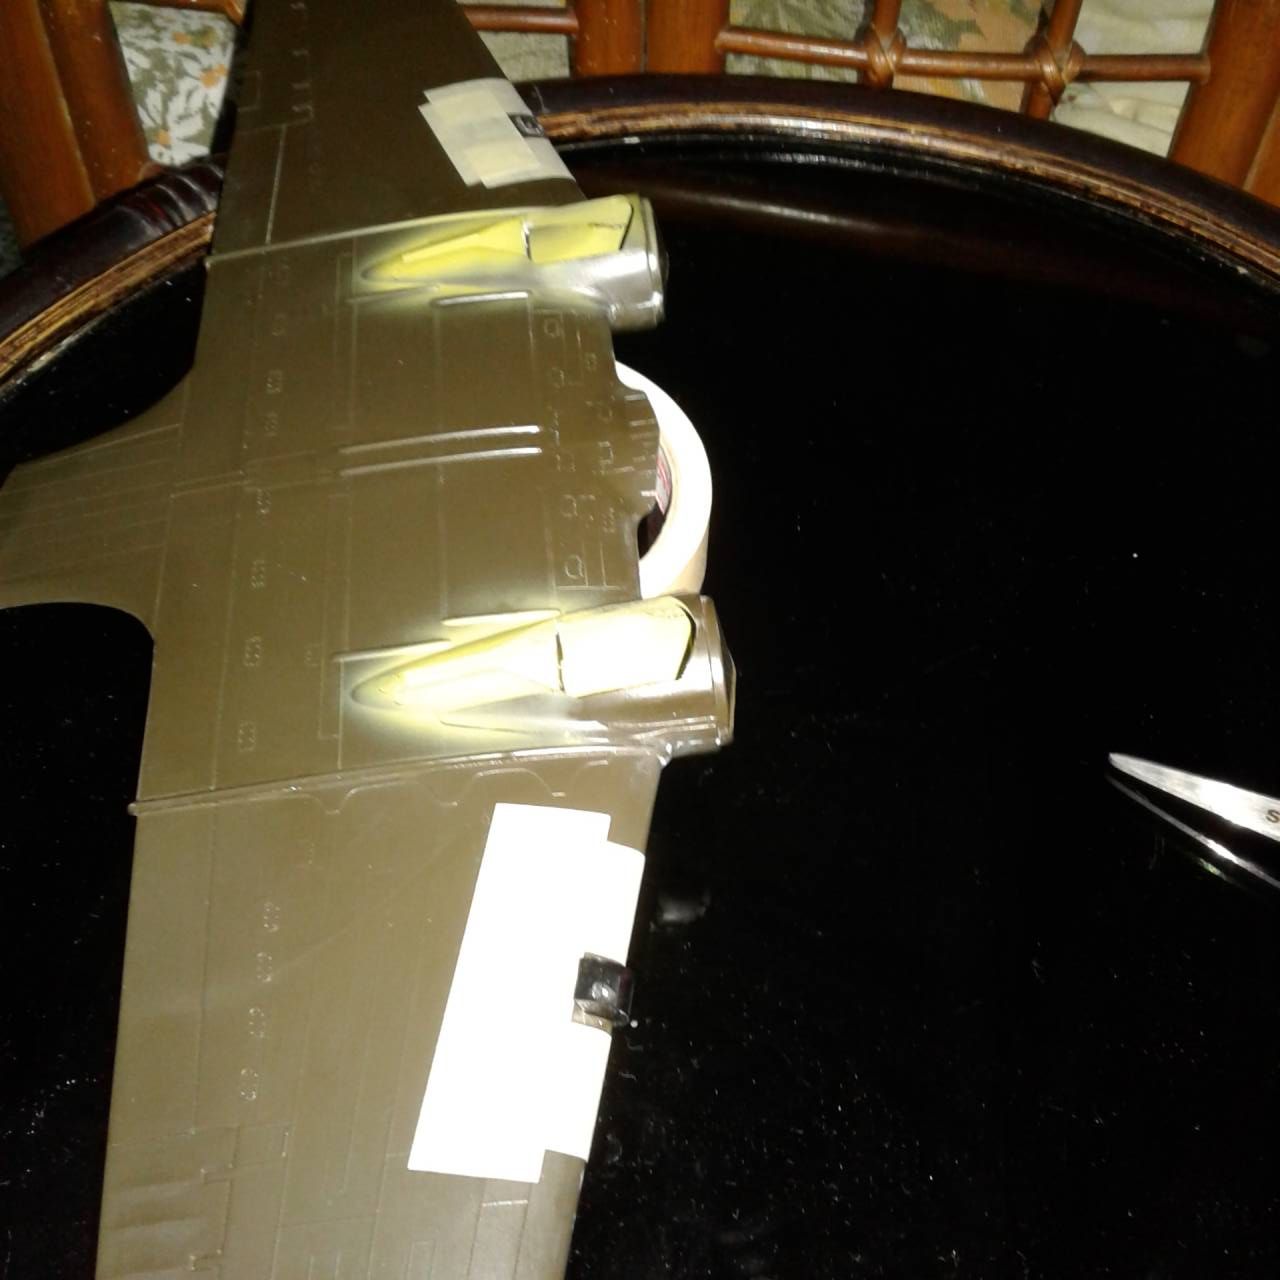
I think they turned out ok. One thing I will do in the future is use a smaller drill bit to mimic the light, as I didnt take into account the refraction of light, so at some angles the light looks a bit oval. For this project, I can live with it!
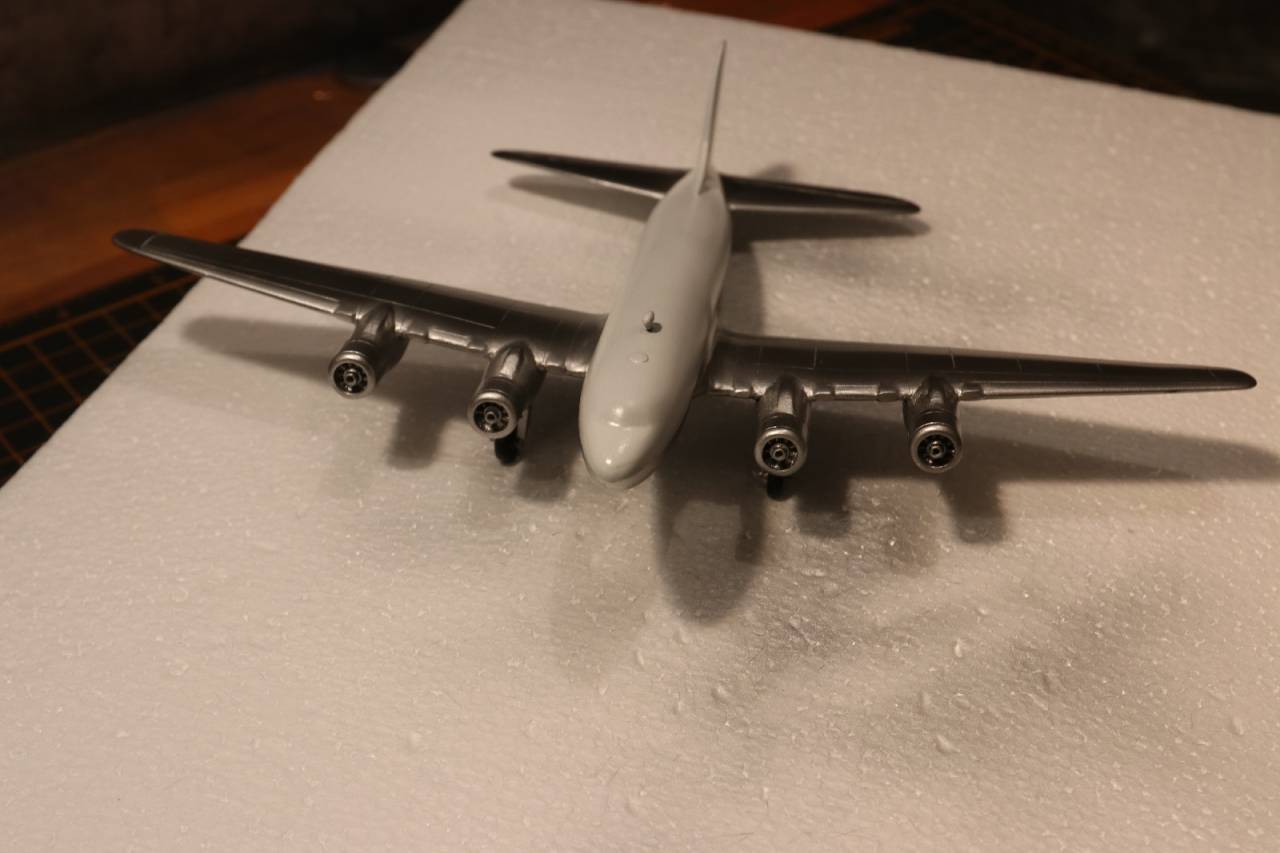
The rest of the airframe was assembled with little fanfare. There are two other areas that have sizable gaps, which are the wing/fuselage join, and the wing/fuselage at the aft base of the wing. These were also filled and took five filling, sanding, repeat sessions.
All of the sanding meant that the panel lines on top of the fuselage were lost, despite taping off the area to be worked on. Then there was an inadvertent landing of a lacquer-soaked rag hitting the top and really doing a number on the fine panel lines. Normally, Id rescribe the area with a number 11 blade, however, this area was large, and I didnt have the proper lighting to pull it off. After reading many a modelers solution to restoring raised panel lines I barrowed some ideas and gave it the ole Moran twist.
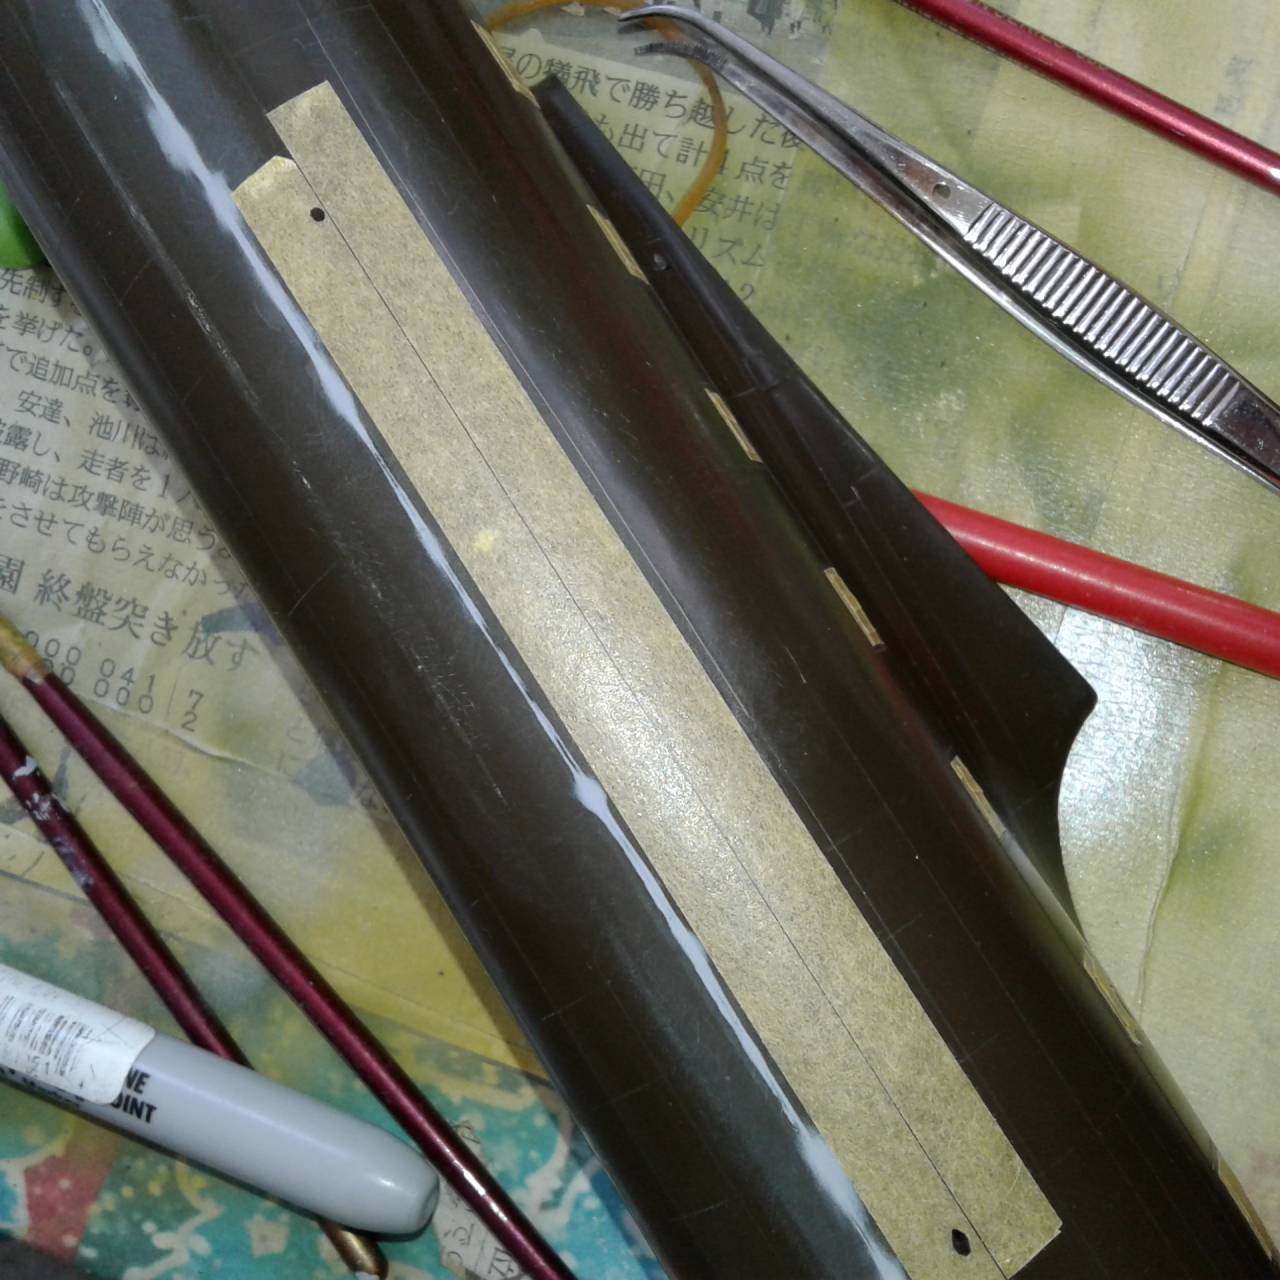
First, I laid a strip of Tamiya tape along the line to be replaced, and then marked the tape with a start and finish point for the restoration.
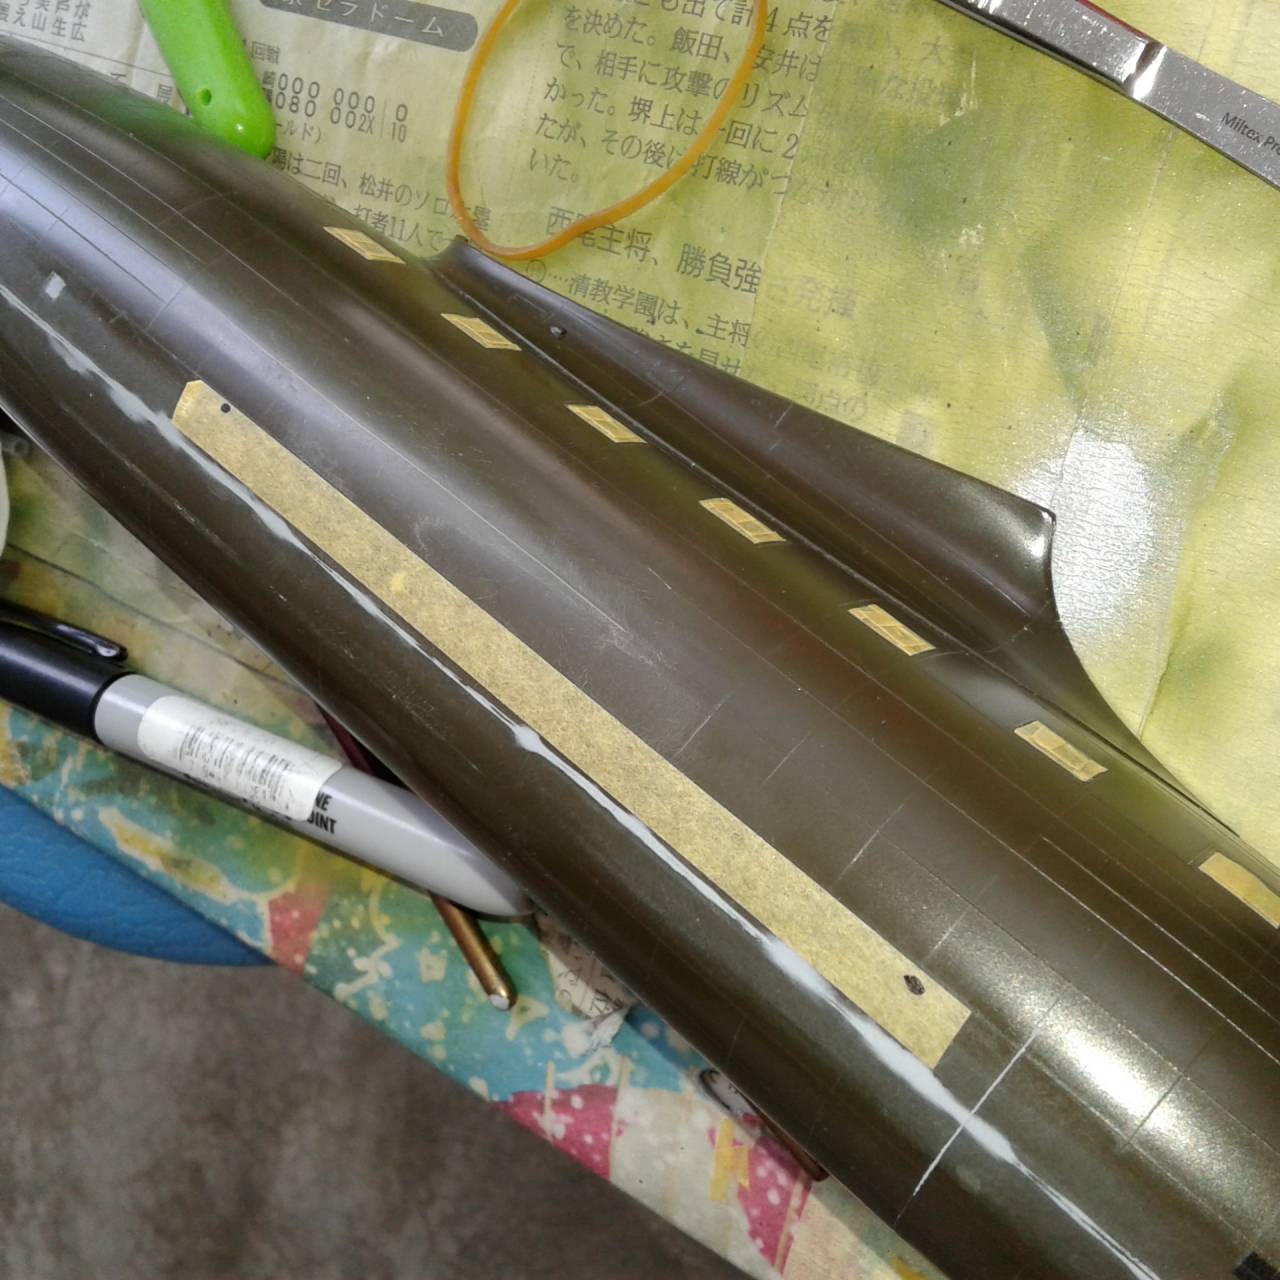
Next, I laid a second piece of Tamiya tape along the first strip. While it may not appear to a gap, one is present albeit very small, which is what I desired.
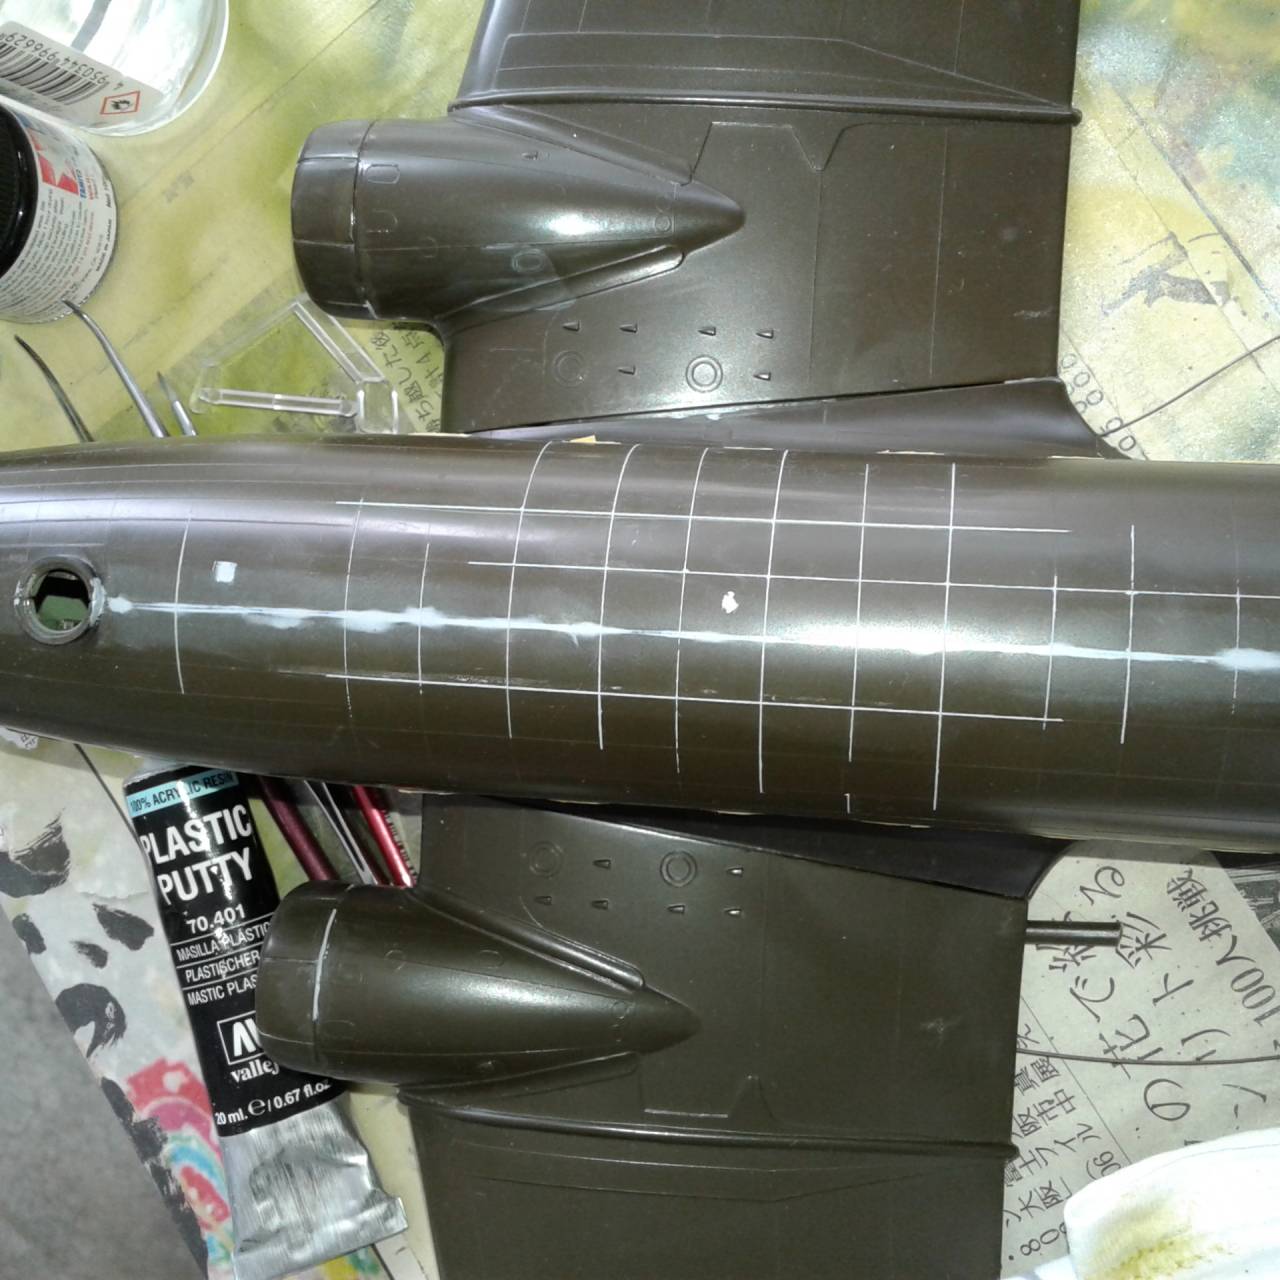
Lastly, I brushed Mr. Surfacer 1000 over the area between the marks, let it dry and then removed the tape. I was rewarded with a nice clean restored panel line.
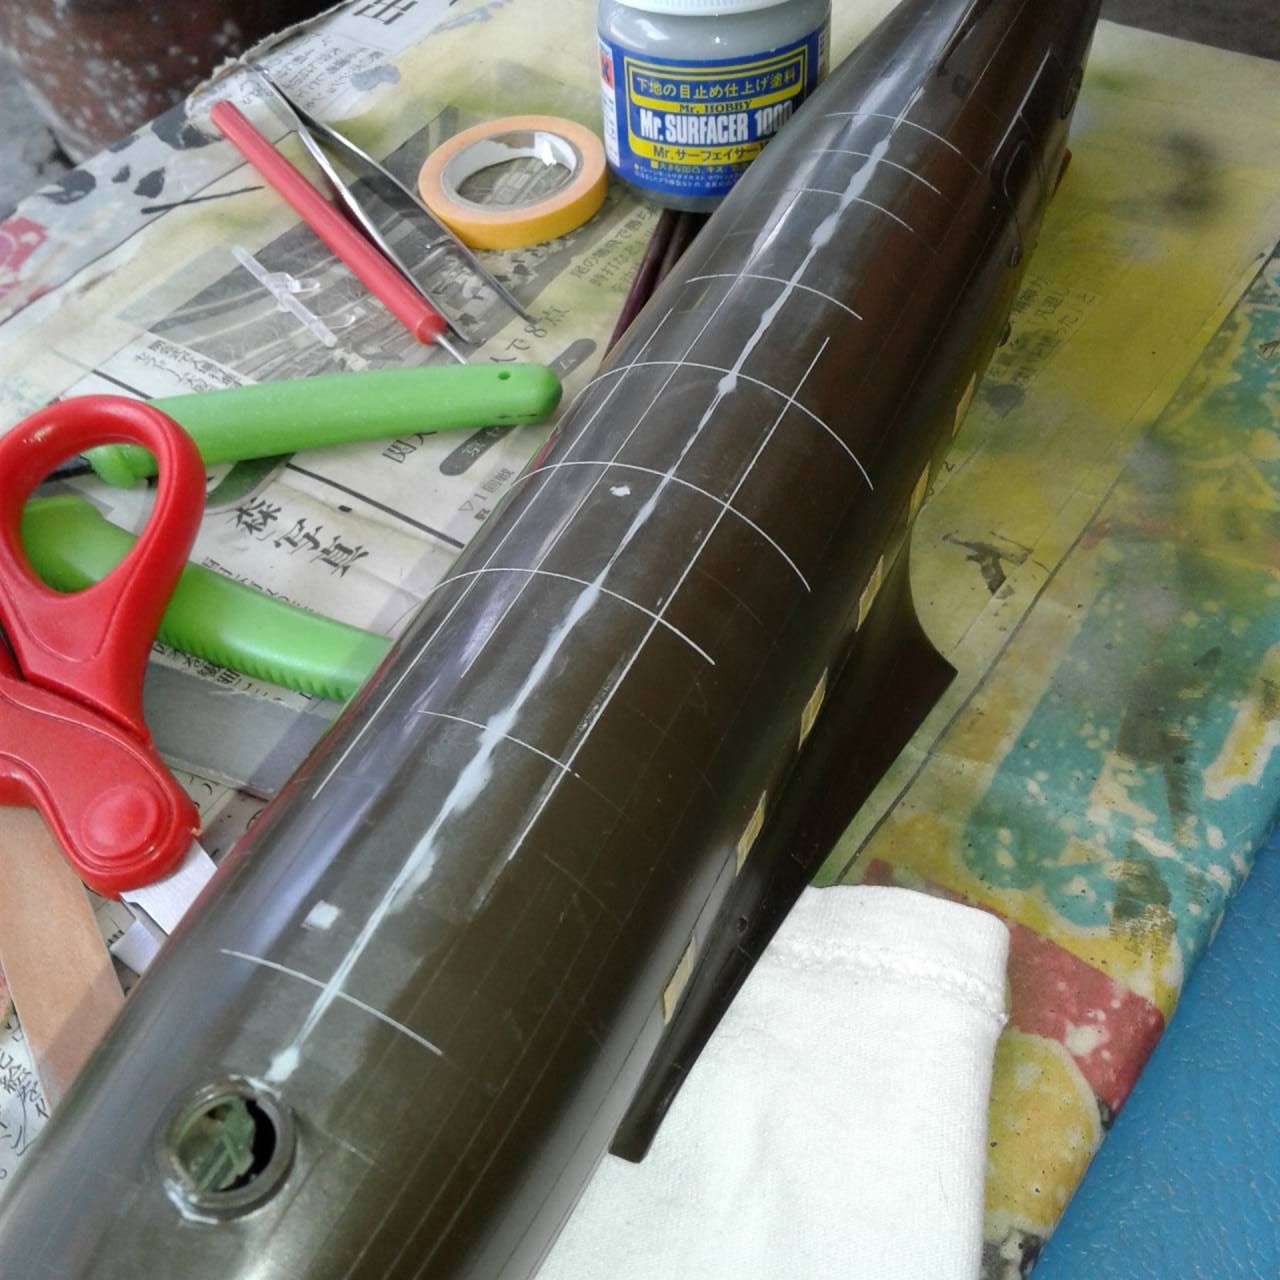
I proceeded to restore all of the lost panel lines. After looking at them I opted to lightly sand them down with 1500 grit paper to bring them in line with the surrounding panels. Of note, after painting the topside I found that Id not sanded the lines down enough, so I repeated the sanding until I was satisfied.
Placing the windscreen proved to be a challenge. Fearing that I would break it, I chose to remove the outer most portion of each side of the glass. I then glued the end pieces into the fuselage. Somewhere along the way of filling a seam, one disappeared. Searching high and low found nothing, and I came to the grim realization that my zealous sweeping sister-in-law had most likely claimed a prize from the tile monster!
This lead me to scratch two new windows using some scrap from a falcon canopy set. They turned out looking better than the originals, though the fit with the whole windscreen is fairly poor in my opinion.
Also, during all of this I managed to push one of the side windows free, where it dangled for much of the filling process. I broke the bond and let ride through the painting process.
Finally, I replaced the kits propeller mounts using brass tubing, and attaching brass to the back of the props, so it would slide into place. Ive found on many a Monogram kit that the props suffer droop, and didnt want to see that.
Painting and decaling was up next. After careful consideration I determined that the decals would not be useable, so I purchased a Montex C-47 set, which contained the markings for Q9 Sport and Surf special. Id always wanted to try these, and this looked like a great opportunity.
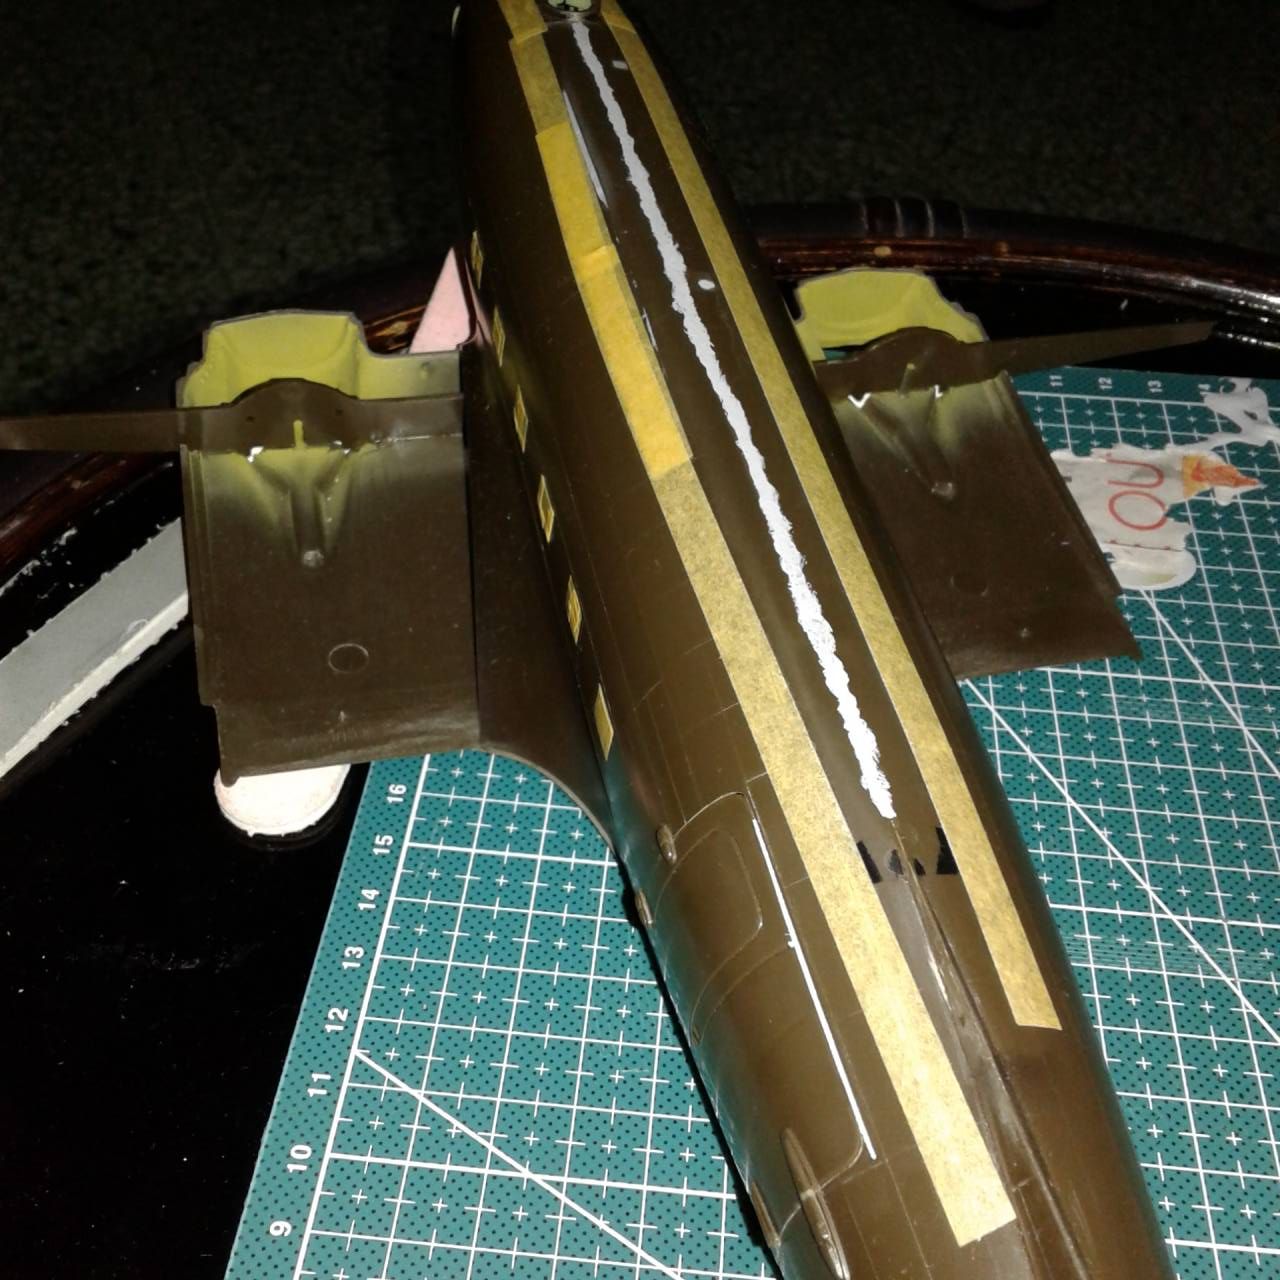
I painted all the marking areas white, with Tamiya X-2 gloss white. I then masked the markings.
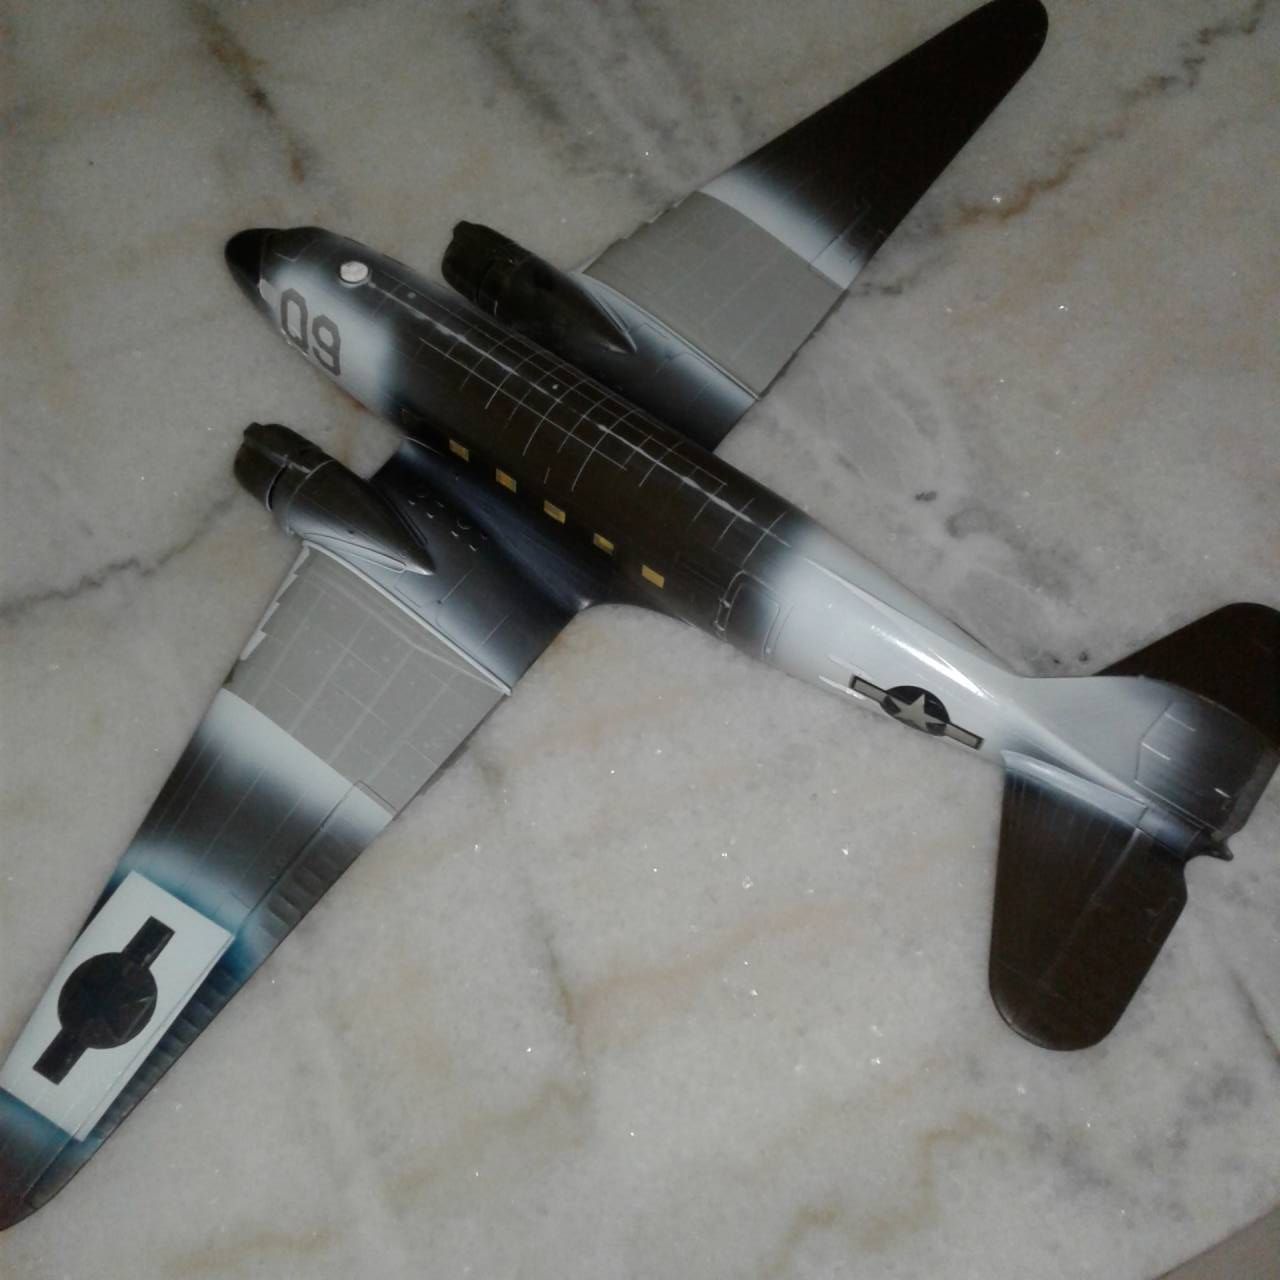
The Montex set of masks really didnt have any instructions, a theme with this build. I was able to find the directions online at the Montex site, which helped quite a lot. I did the wing stripes with no problem, the fuselage ones however would not work, so I relied on the old time method of marking the forward stripe, and moving aft. I decided to decal the fuselages and use the Montex masks to cover them (not a wise move), looking primarily at assuring the striped area would be correct, given I have a few of the 40 inch US insignias in my spare decal collection.
Masking the insignias was a real challenge as the mask set I received didnt perform as the instructions would indicate. Instead of the whole insignia mask coming off, it came off in parts. This lead me to lay the outer part down first, then use a home brew of insignia blue (Tamiya X-4 blue and XF-17 sea blue 1:1) which matched the blue on the decals. So I was happy. I was able to put the masks together and it was time to move onto painting the airframe.
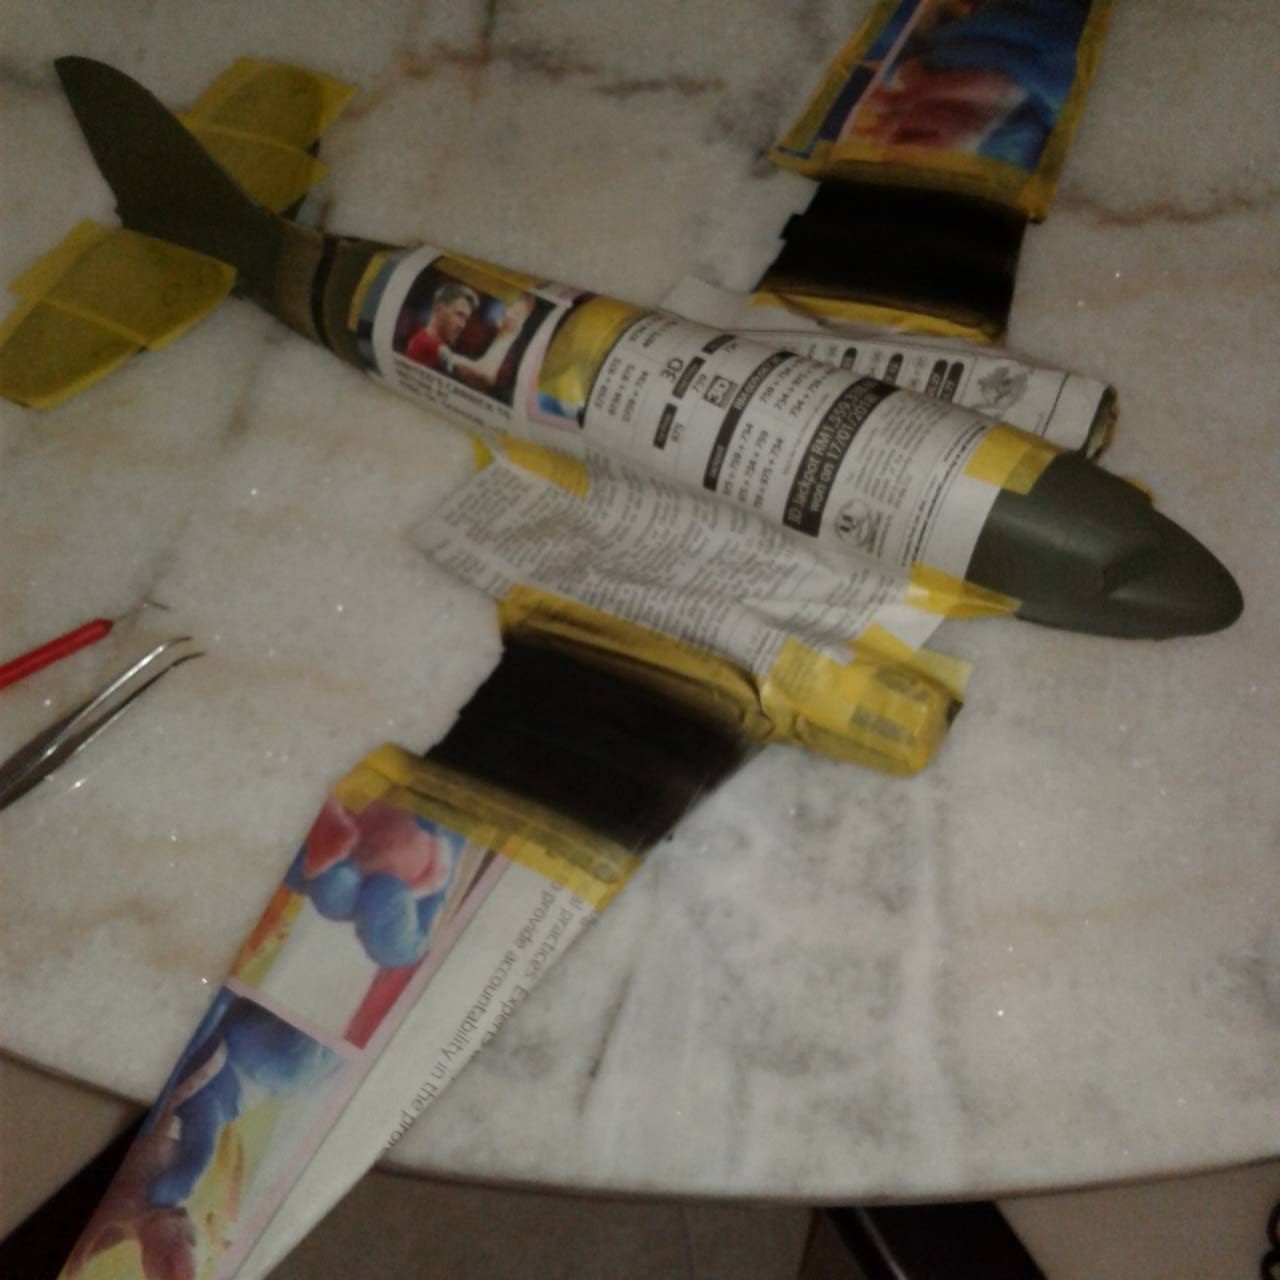
I began on the underside using Tamiya XF-53 Neutral grey, allowing it to dry overnight. I then masked the undersides in preparation for the olive drab uppers.
I painted the upper surfaces with Tamiya XF-62 Olive Drab cut with X-2 White 2:1. Having used Tamiyas olive drab before I find it a bit dark, so the white was added to take into account scale and fad it a little. The uppers were then painted.
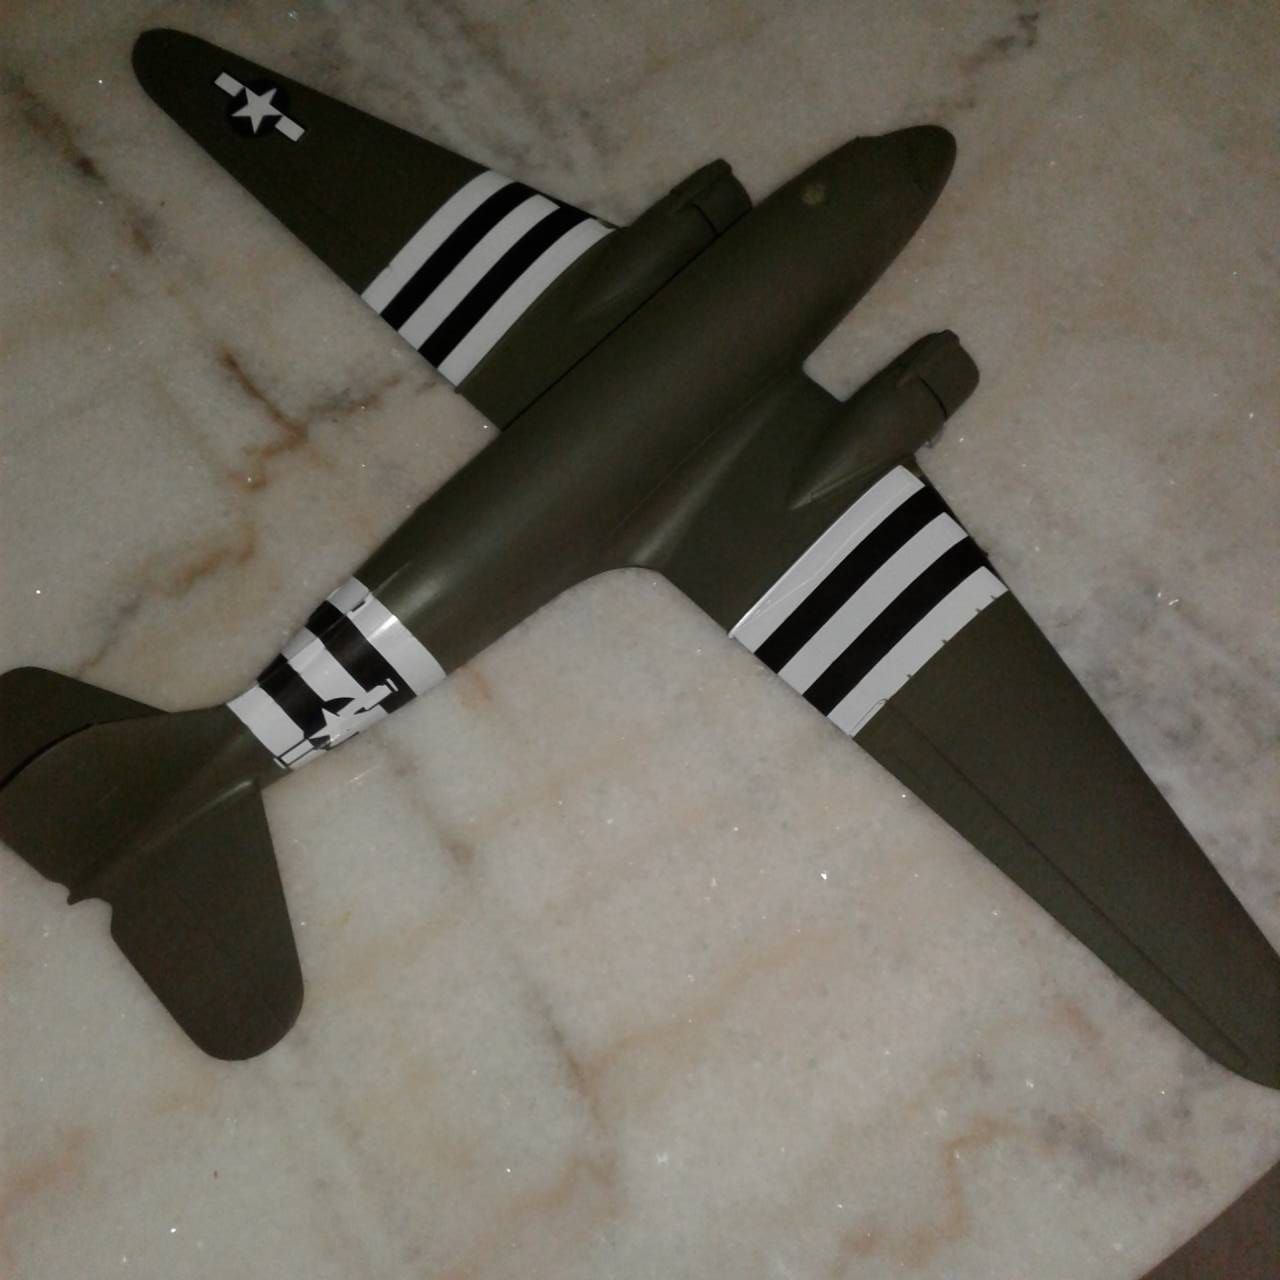
I removed all the masks and then painted the de-icing boots on the wings and tail using Tamiya NATO Black, a very dark grey actually.
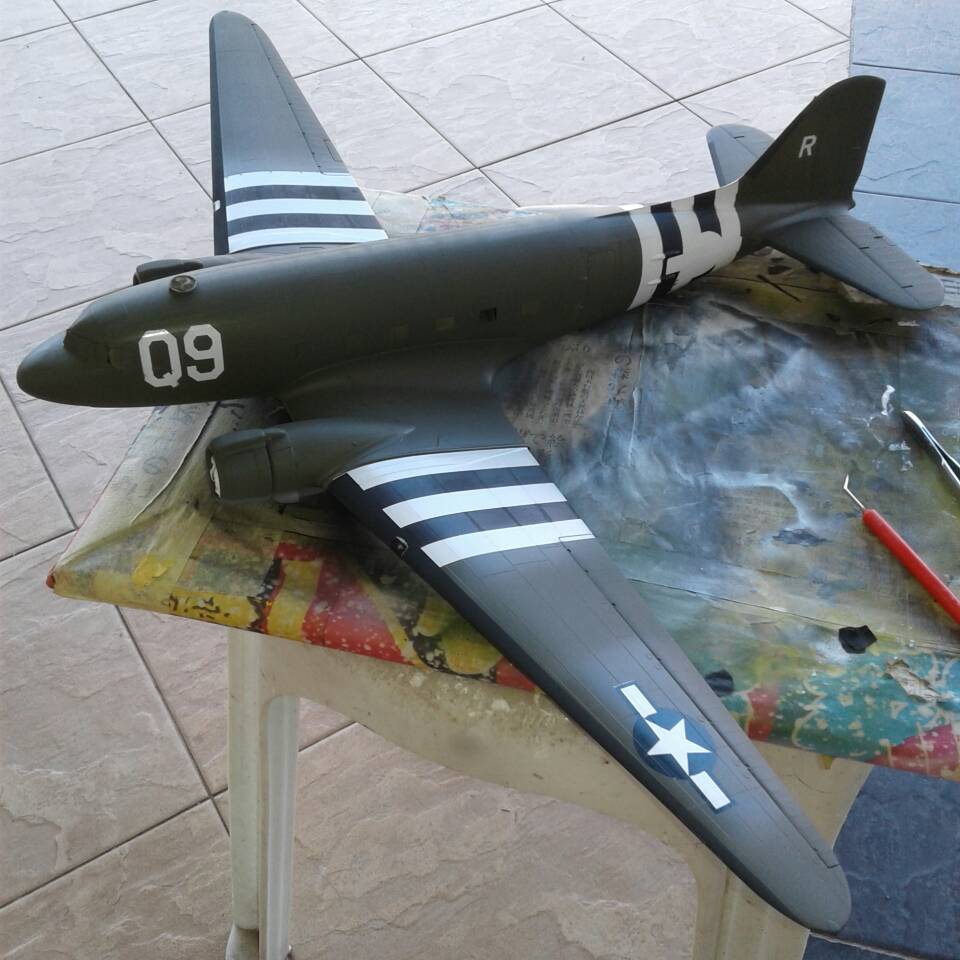
So, Im now left with a major touch up job, there are a few stripes that need the white retouched, along with some grey and olive drab. Then onto the little bits and landing gear. With less than a week to go on this campaign Im afraid I wont be able to finish unless theres an extension. I know that Im not alone here!
Have fun!
John


 Got all the main painting done, started to unmask and I've got all sorts of seepage under the tape. Acrylic on lacquer, I should be able to scrub it off with acryl thinner. No luck, it stripping through the coat and eating away at the lacquer. Another spray session in hopes of salvaging the finish...


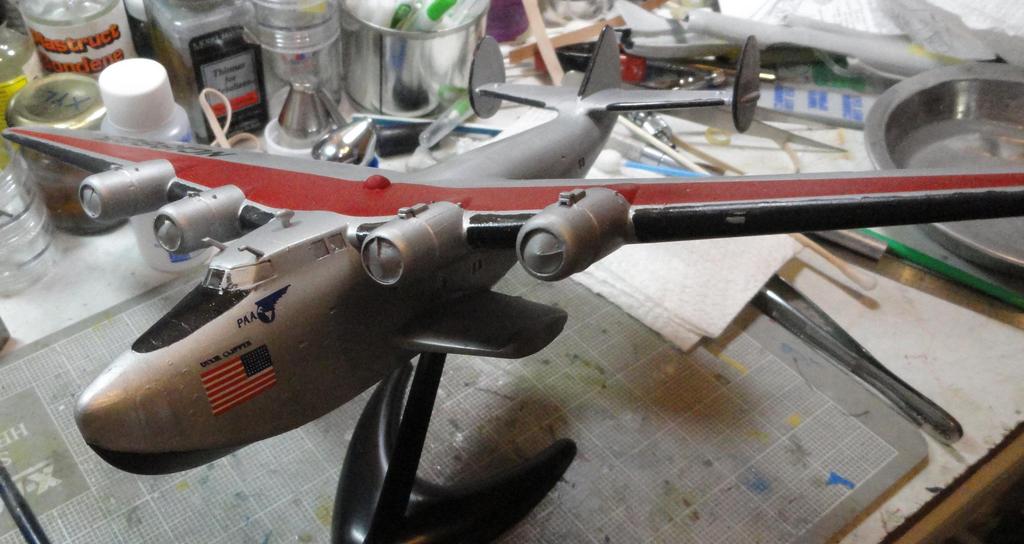
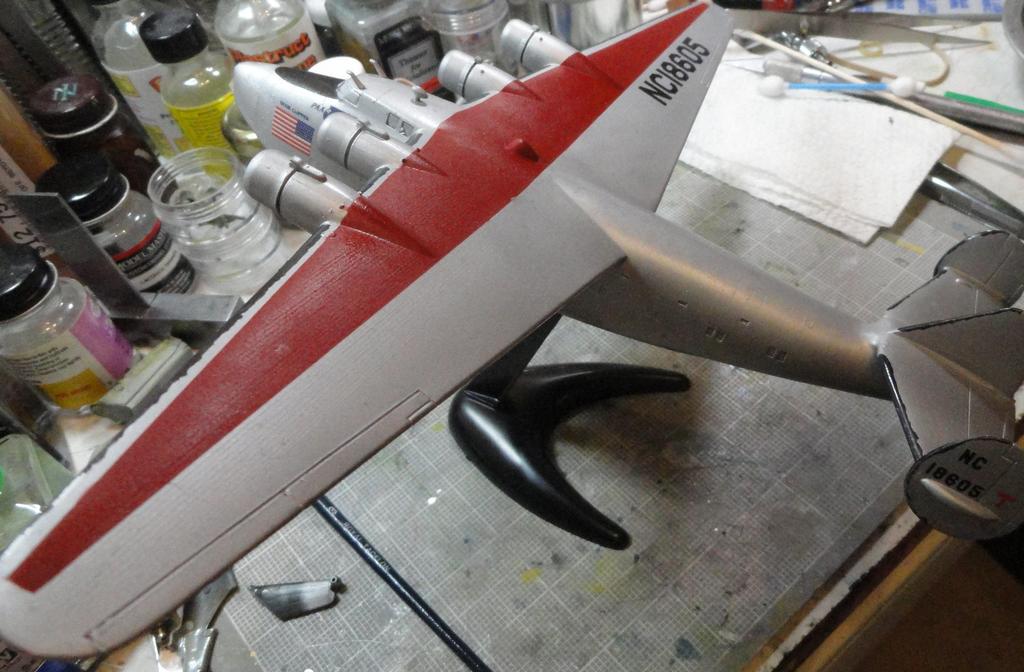
 I masked off the hull, the nose and a spot on the top wing to reshoot the silver lacquer. Got too enthusiastic on the wing and had over spray on the red, missed a spot on the nose, and then when I pulled the masking off of the hull hald the black paint came with it.


 It has been fun watching it get built.


