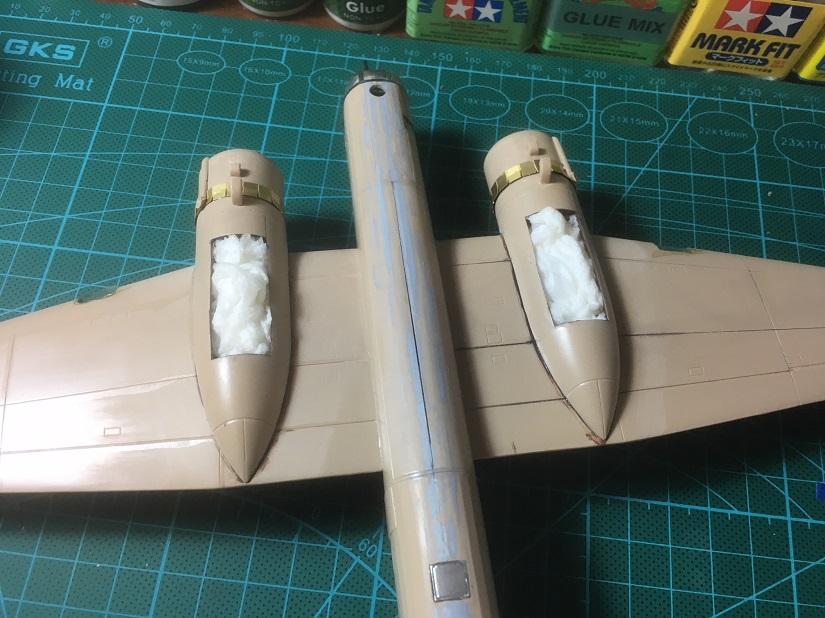
OFFICIAL: Bombers 2 Campaign
Texas, United States
Joined: February 22, 2008
KitMaker: 5,026 posts
AeroScale: 2,811 posts
Posted: Monday, April 30, 2018 - 06:15 AM UTC
If it aint broke dont fix it.
European Union
Joined: August 09, 2009
KitMaker: 1,732 posts
AeroScale: 1,336 posts
Posted: Monday, April 30, 2018 - 07:29 PM UTC
Nice progress everyone!
Last week I started my campaign build, the quarterscale PZL 37 A from Mirage Hobby. I guess it will take a while untill this bird crosses the finish line. There will be a lot of filling and sanding. The instructions are only in polish language and Mr. Google Translator is not really a big help, but I will make it. I'm still full of hope ....

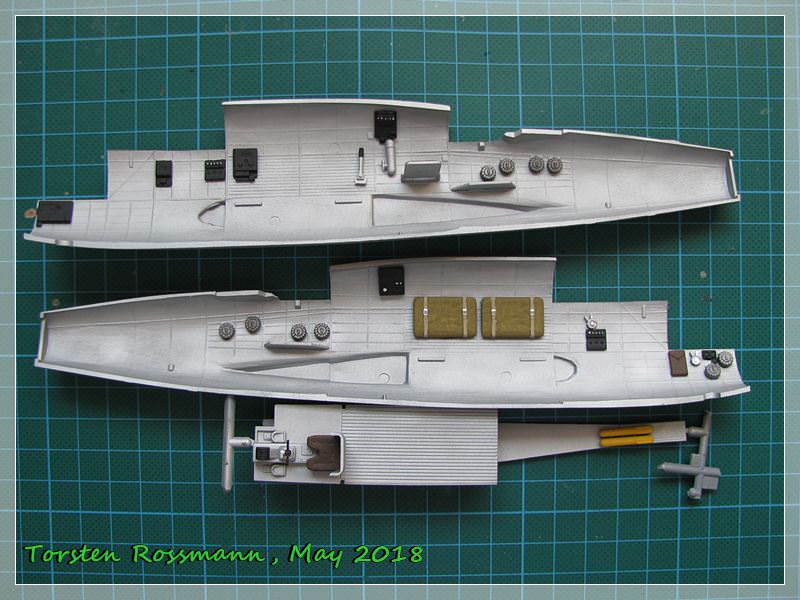
Here's the first update. I'm already a bit further and glued the fuselage halves together. Not much trouble here. Right now I'm working on the bombs. 16 bombs made of 64 pieces. It's interesting that the bomb bays were not in the fuselage but in the wings ....
Torsten
My campaigns for 2020:
MiGs - Done !
The Big Three - Done !
65 years Bundeswehr - Done !
40 years Leopard 2 - Done !
Land Lease - Done !
Texas, United States
Joined: February 22, 2008
KitMaker: 5,026 posts
AeroScale: 2,811 posts
Posted: Monday, April 30, 2018 - 07:45 PM UTC
Torsten, nice subject. I will watch to see your progress and the finished bird. I CANNOT WAIT.
Bob
If it aint broke dont fix it.
Dublin, Ireland
Joined: August 14, 2016
KitMaker: 148 posts
AeroScale: 123 posts
Posted: Monday, April 30, 2018 - 09:44 PM UTC
Torsten, I speak Polish. If you send the picture of the text I would be happy to translate that for you.
Currently in the workshop:
1:72 Spitfire Mark 1A by Airfix
Texas, United States
Joined: February 22, 2008
KitMaker: 5,026 posts
AeroScale: 2,811 posts
Posted: Tuesday, May 01, 2018 - 07:02 AM UTC
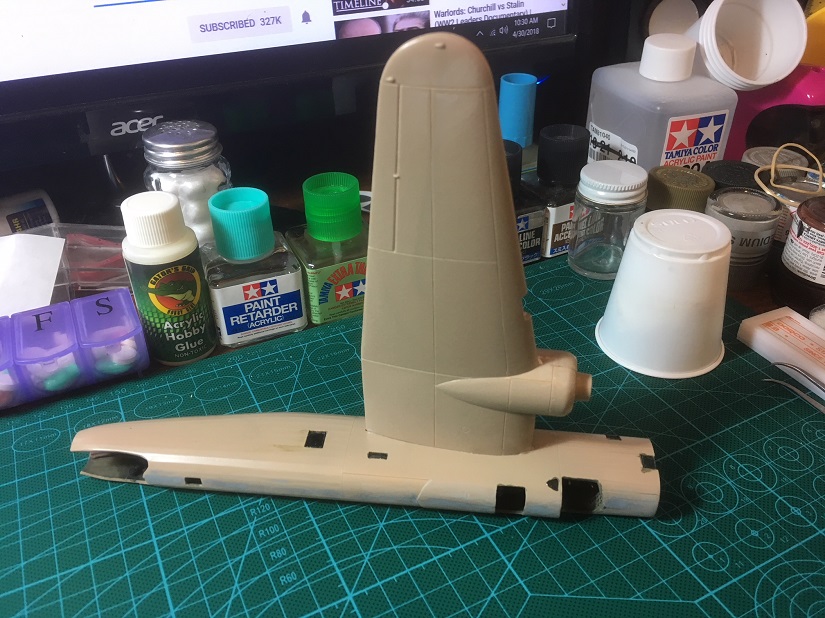
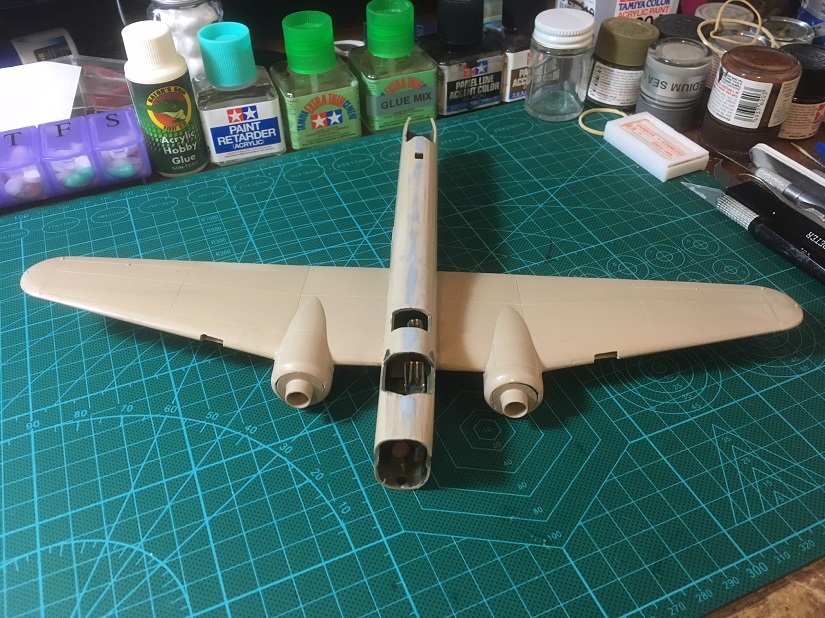
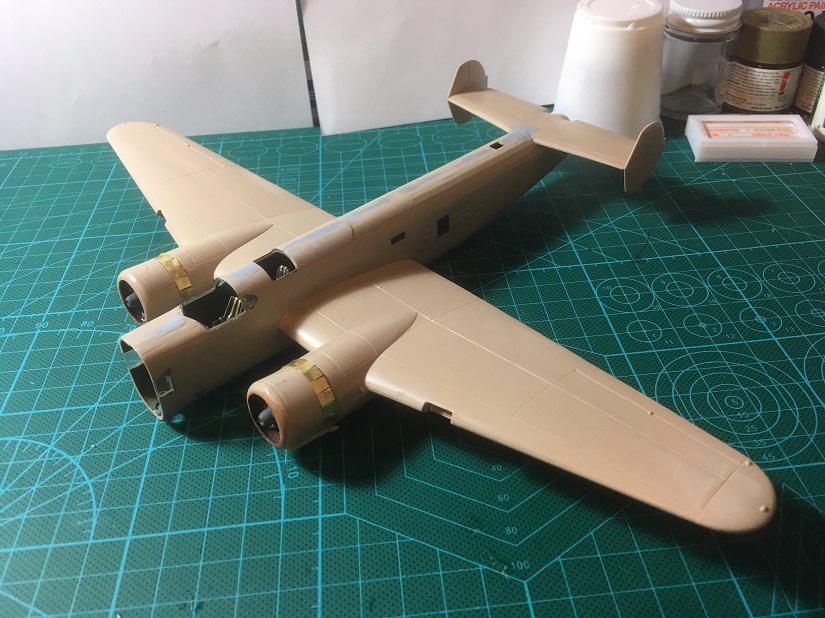
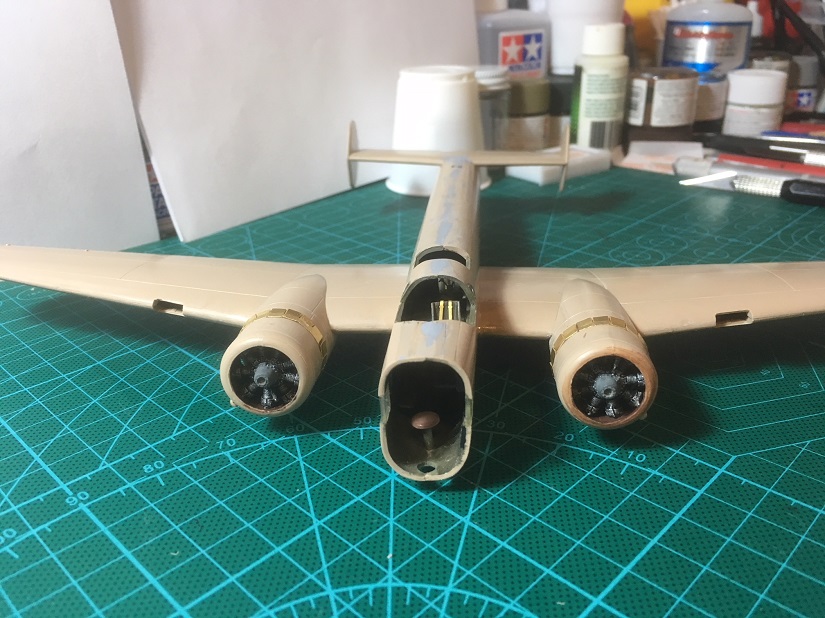
I plan on reviving the Bristol Bombay if I can find several parts. The stab and rudders were repaired and went onto the fuselage with out any trouble.
This is the Valom kit no. 72056 Bristol Bombay Mk. I.
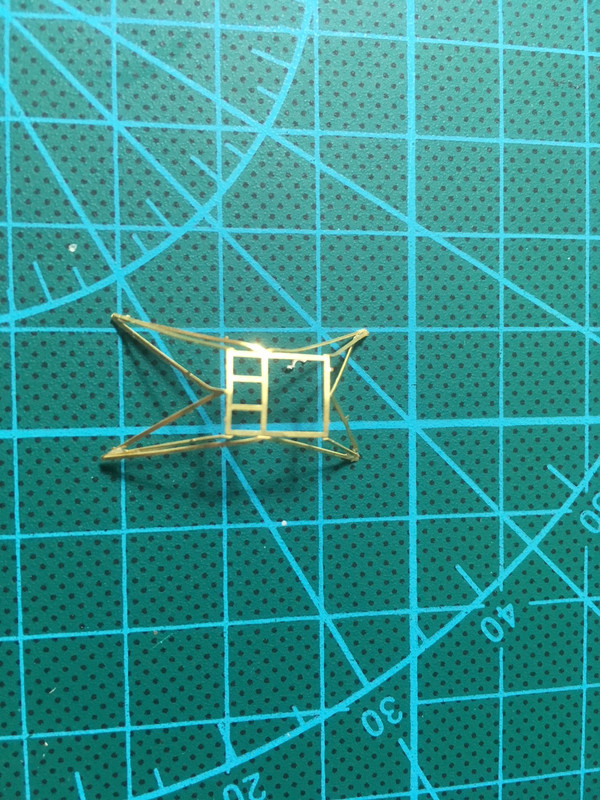
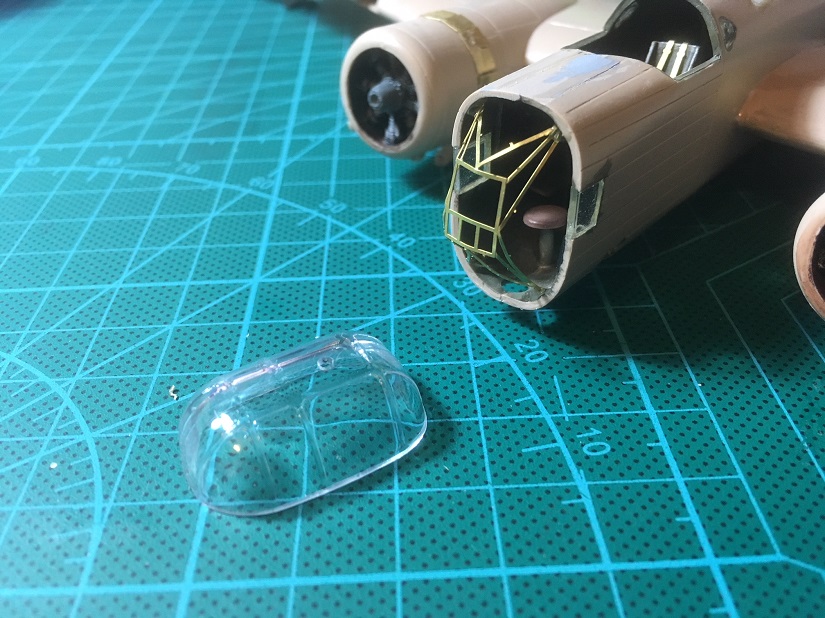
the part numbers I am looking for are the tail turret glass frame work. Parts no. C9 and C10. If any one has these in their parts box or know of any that can be obtained I would appreciate it very much. Pay for parts and postage.
Bob
If it aint broke dont fix it.
European Union
Joined: August 09, 2009
KitMaker: 1,732 posts
AeroScale: 1,336 posts
Posted: Tuesday, May 01, 2018 - 11:39 PM UTC
Shrimpman, thanks for the offer. That's very kind! But I have some polish speaking collegues at work, one of them is sitting in the same room. So if I have troubles understanding the instructions I would first asked them for help. But most things in the intructions are self-explanatory.
Torsten

My campaigns for 2020:
MiGs - Done !
The Big Three - Done !
65 years Bundeswehr - Done !
40 years Leopard 2 - Done !
Land Lease - Done !
Texas, United States
Joined: February 22, 2008
KitMaker: 5,026 posts
AeroScale: 2,811 posts
Posted: Wednesday, May 02, 2018 - 04:10 AM UTC
If it aint broke dont fix it.
Texas, United States
Joined: February 22, 2008
KitMaker: 5,026 posts
AeroScale: 2,811 posts
Posted: Thursday, May 03, 2018 - 03:16 AM UTC
If it aint broke dont fix it.
Buenos Aires, Argentina
Joined: May 21, 2012
KitMaker: 765 posts
AeroScale: 316 posts
Posted: Thursday, May 03, 2018 - 03:42 AM UTC
@Bob,
I thought about buying that kit, but after seeing how you wear it better I leave it for later
Those Radial Fighters Campaign: 1/72 FW 190 A5
Delta 2 Campaign: 1/48 Hobby Boss Mirage IIIC
Navy Boys on those Postage Stamps 1/72 Airfix Sea Harrier FA2
Working: Trumpeter A-5 Vigilante
Waiting: Phantom 60 Campaign
Texas, United States
Joined: February 22, 2008
KitMaker: 5,026 posts
AeroScale: 2,811 posts
Posted: Thursday, May 03, 2018 - 04:01 AM UTC
Hello Jose, The Bristol Bombay is a little more intensive than the Fokker which I like very much.
Bob
If it aint broke dont fix it.
European Union
Joined: August 09, 2009
KitMaker: 1,732 posts
AeroScale: 1,336 posts
Posted: Friday, May 04, 2018 - 01:41 AM UTC
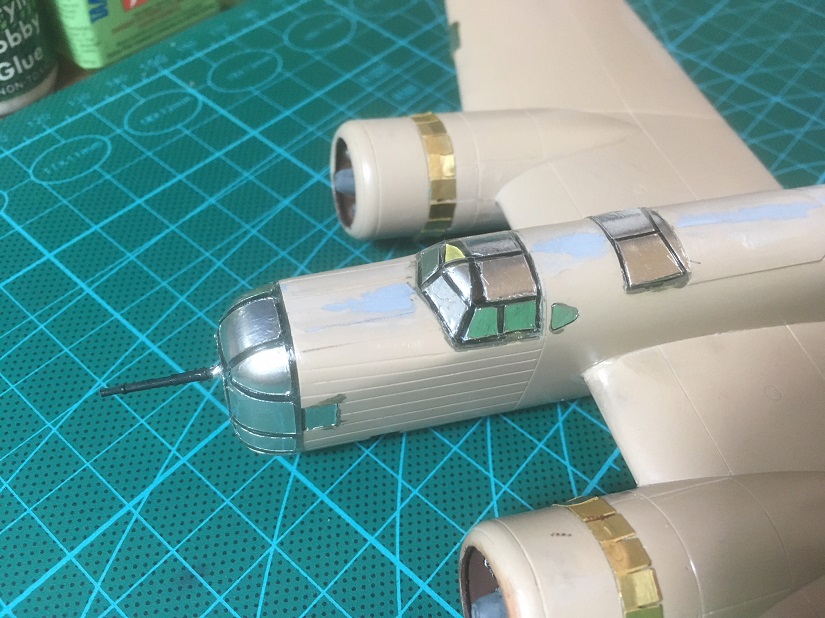
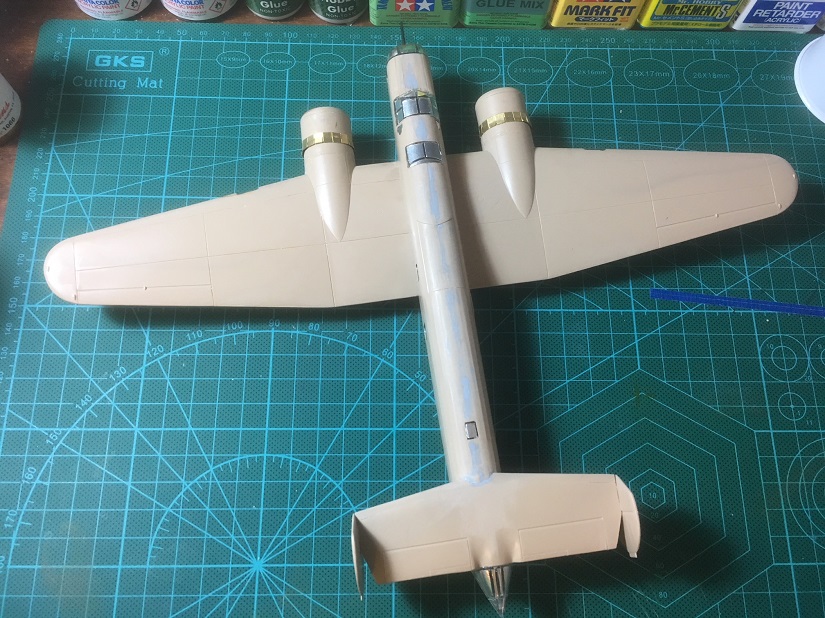
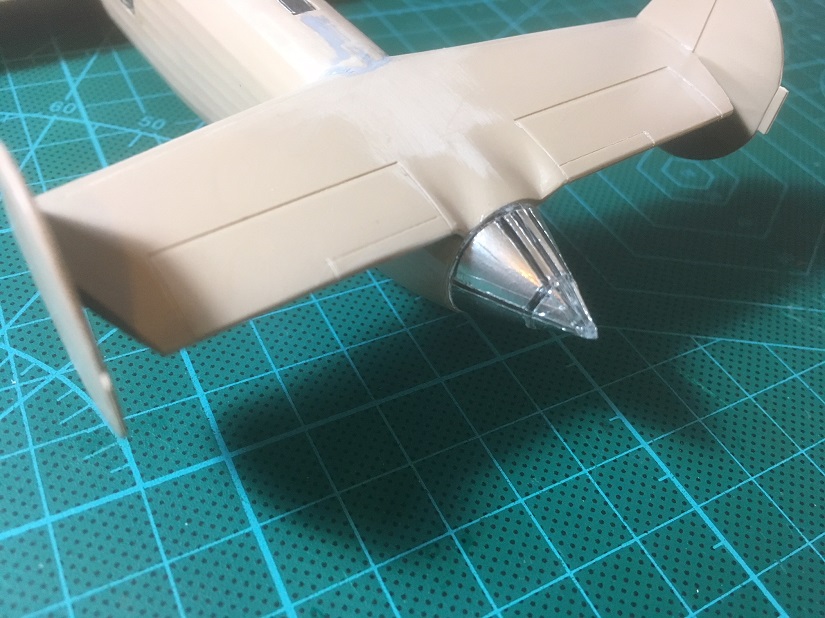
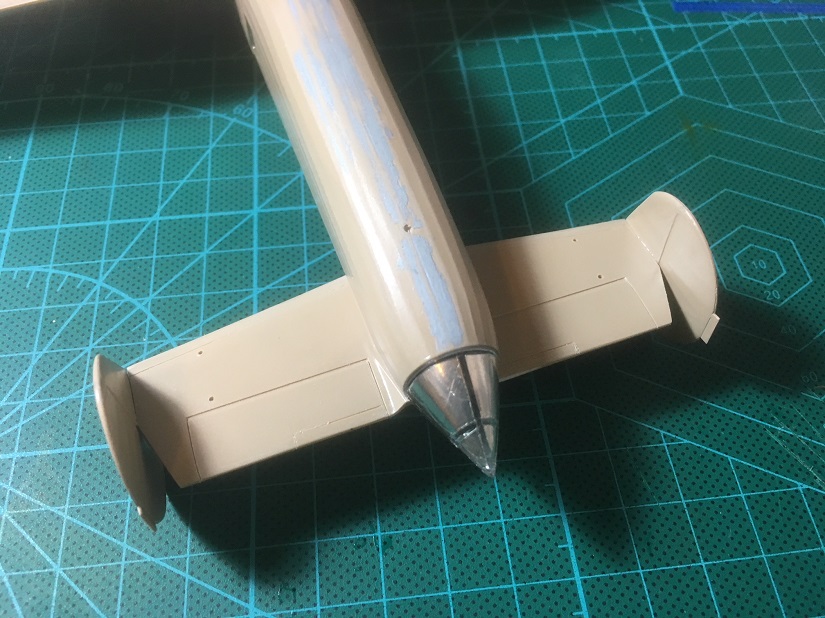
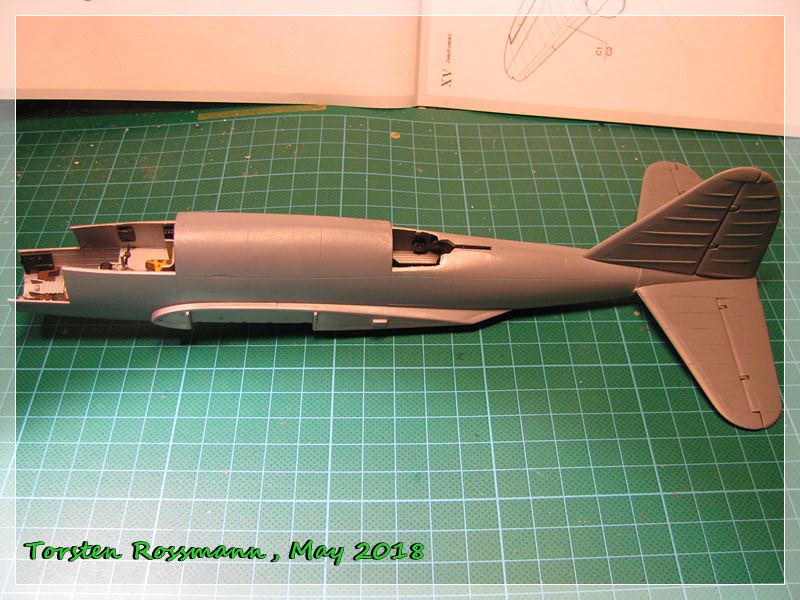
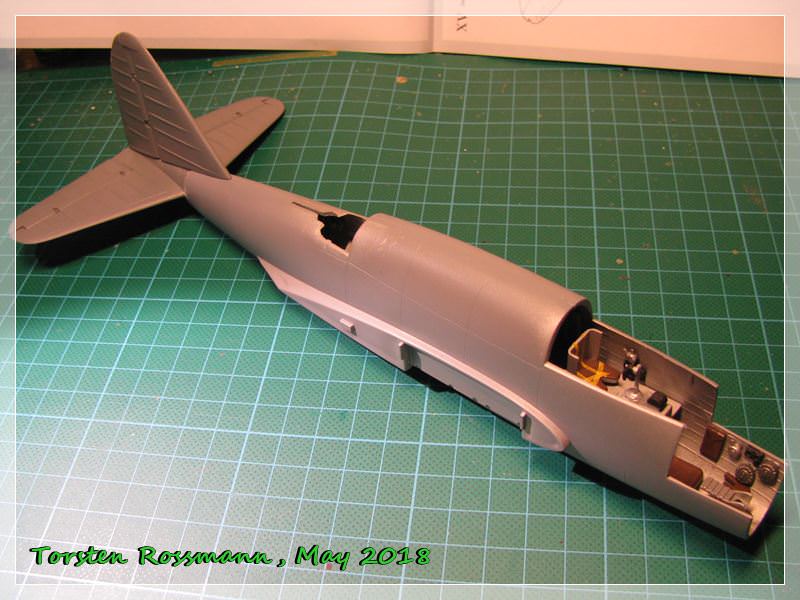
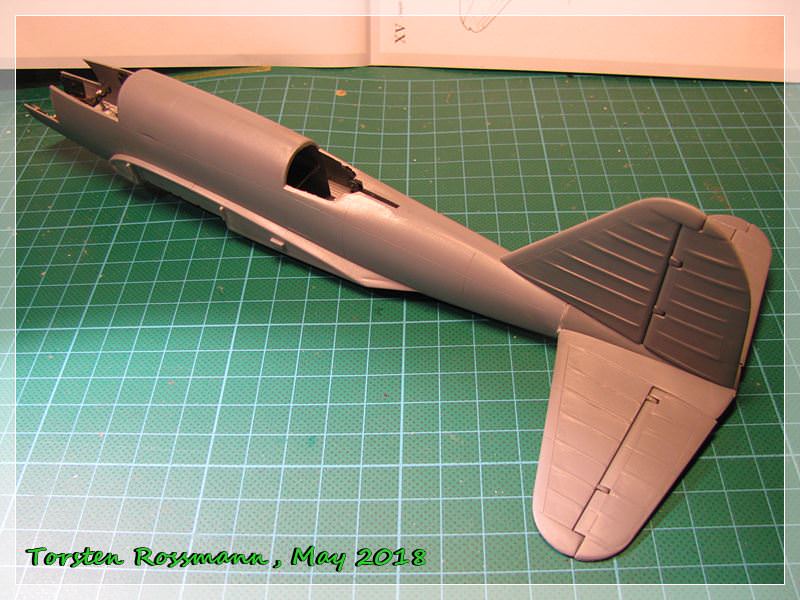
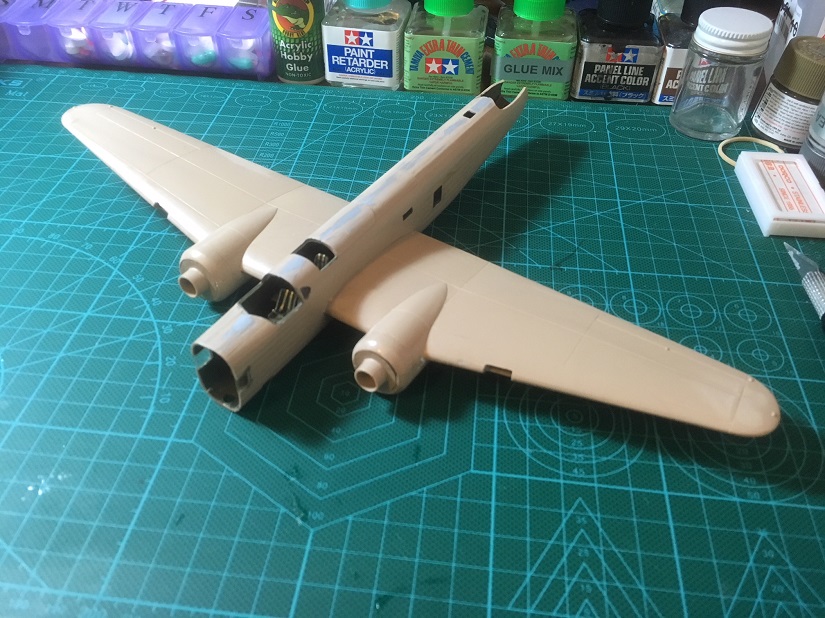
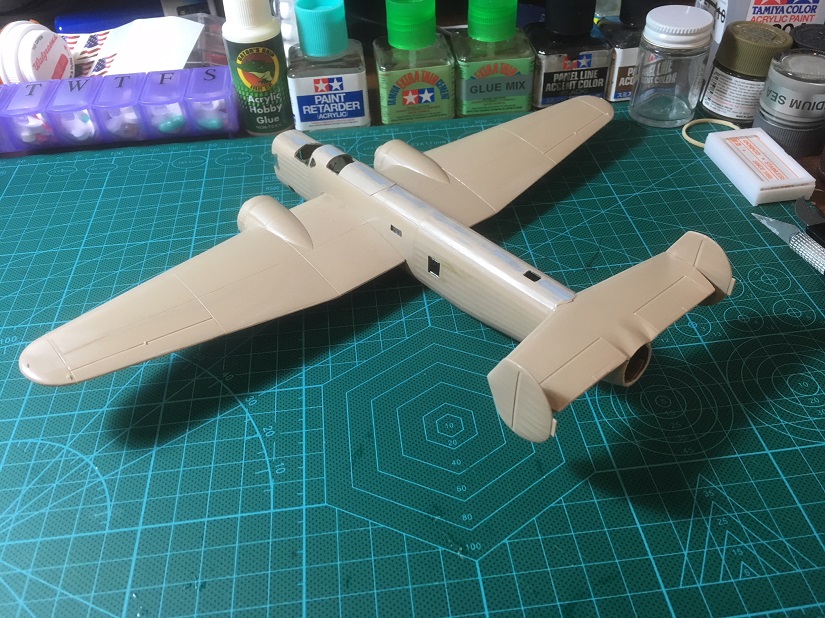
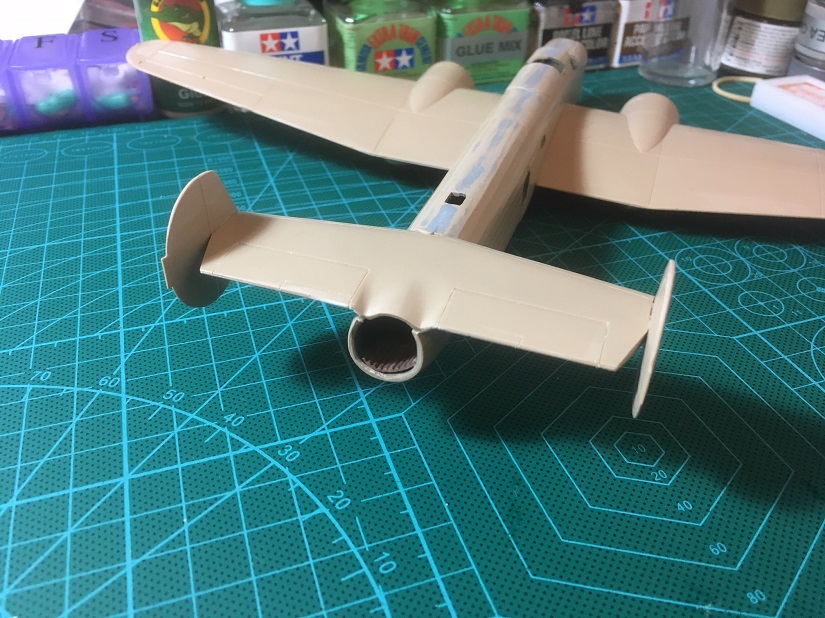
A little update from my side. Fuselage is closed, the rear part of it is also assembled and glued to it. The instructions says to first assemble all parts together and then glue them to the front fuselage. I didn't do that and guess I was right doing so because there was some filling and sanding to do. The side rudder would have been in the way while sanding. Anyway, I think I didn't do too bad so far.
.... and here you can see the bomb bays in the wings. Interesting construction ....
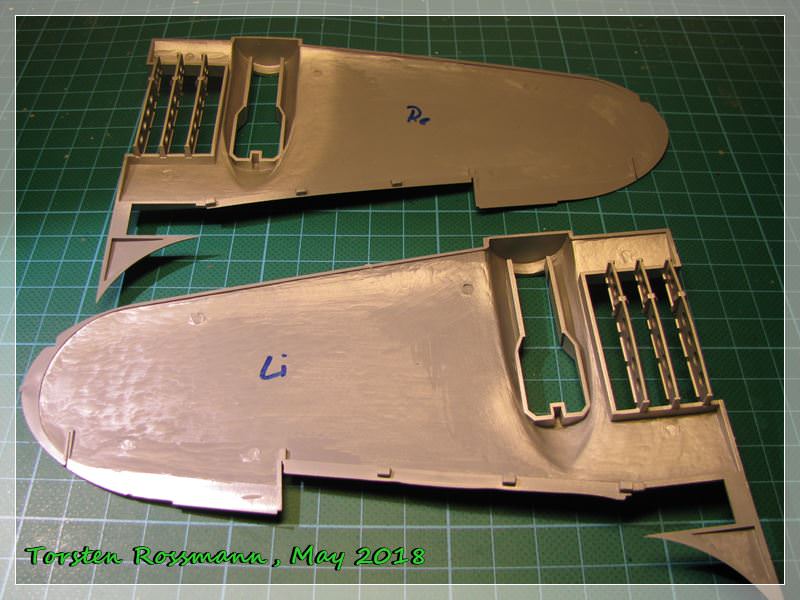
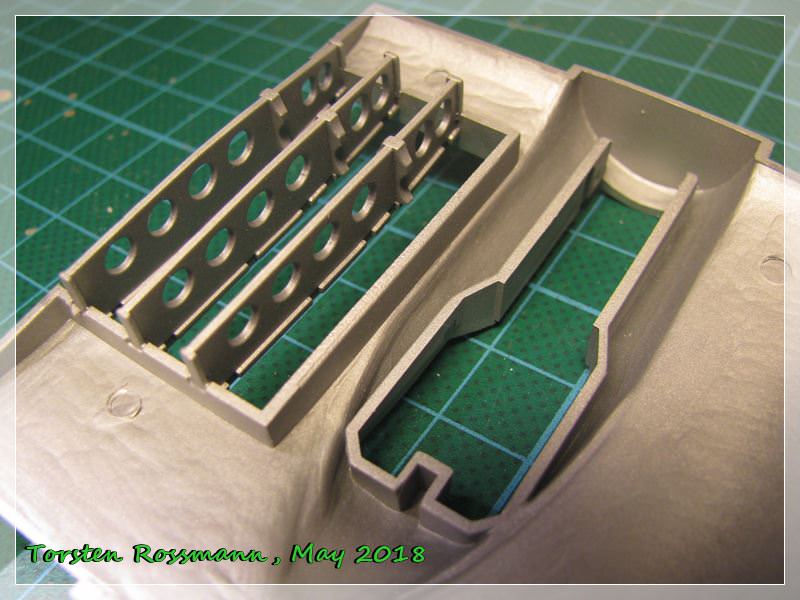
Next step will be finishing the wings, try to put the bombs in the bays and glue the wings to the fuselage. Sure some more filling and sanding ....
Torsten

My campaigns for 2020:
MiGs - Done !
The Big Three - Done !
65 years Bundeswehr - Done !
40 years Leopard 2 - Done !
Land Lease - Done !
Buenos Aires, Argentina
Joined: May 21, 2012
KitMaker: 765 posts
AeroScale: 316 posts
Posted: Saturday, May 05, 2018 - 07:50 AM UTC
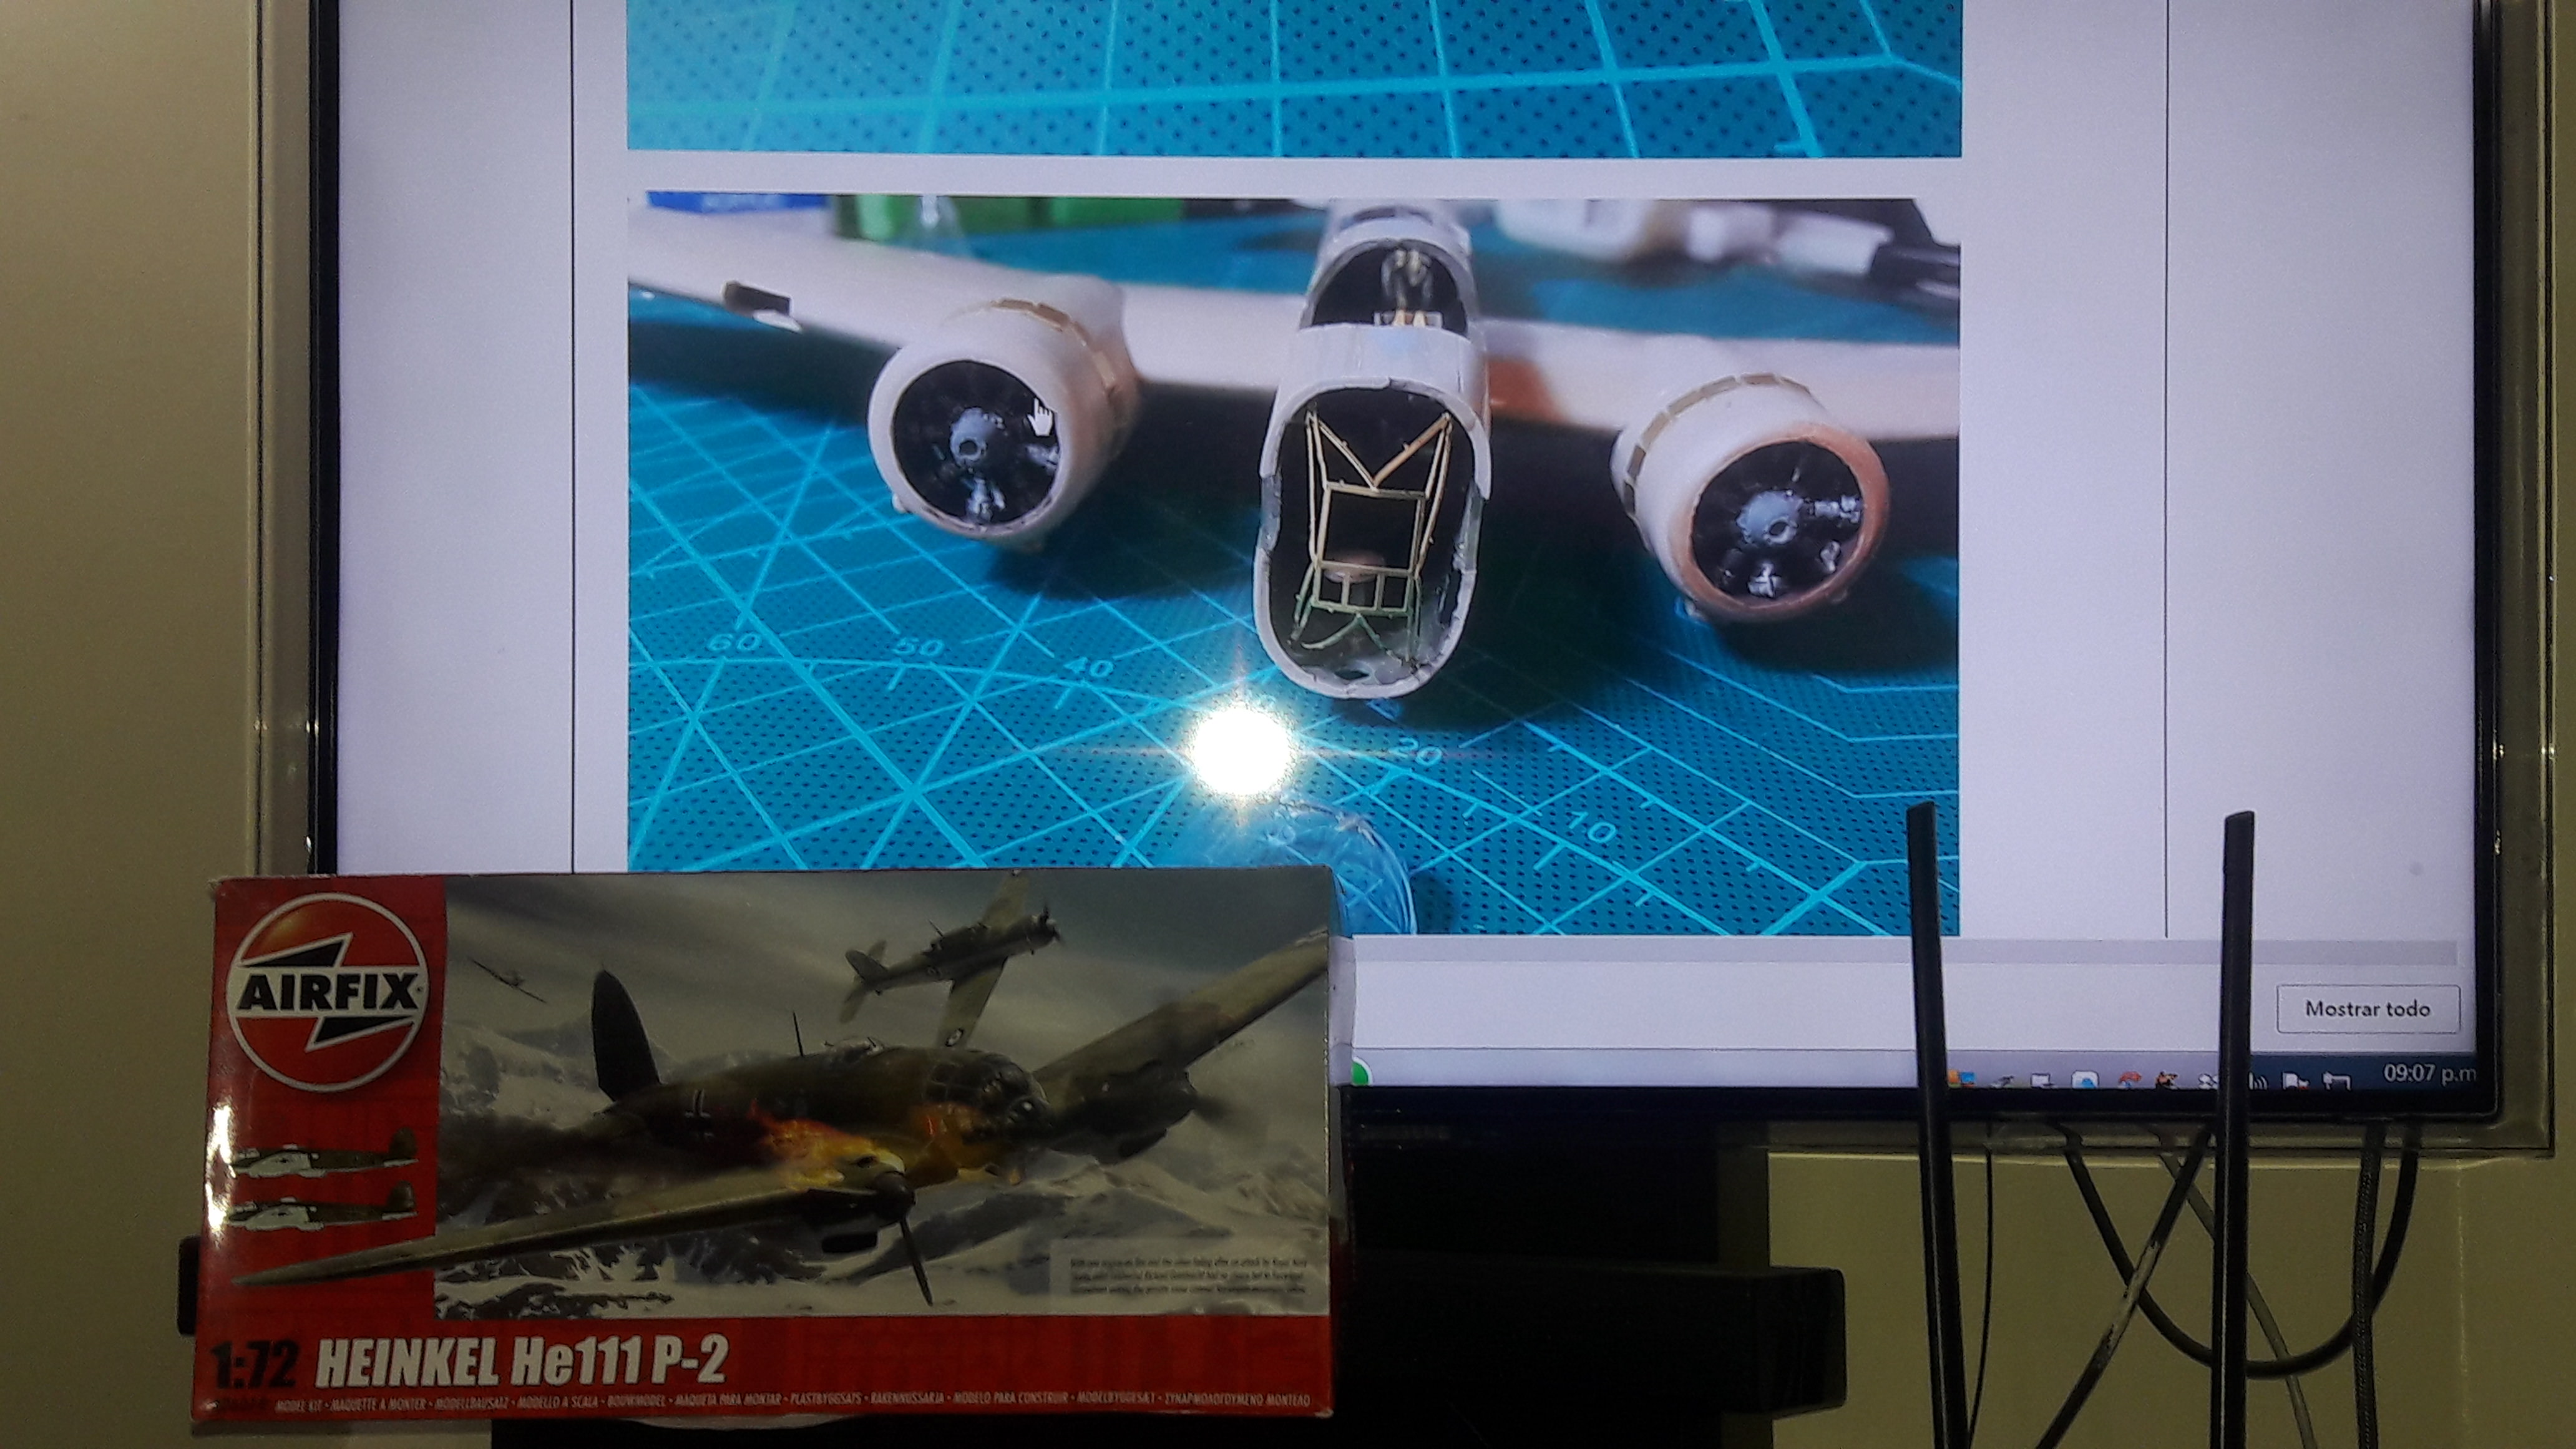
Well, my F-1 is ready for paint, I will start on monday my model for this campaign
Those Radial Fighters Campaign: 1/72 FW 190 A5
Delta 2 Campaign: 1/48 Hobby Boss Mirage IIIC
Navy Boys on those Postage Stamps 1/72 Airfix Sea Harrier FA2
Working: Trumpeter A-5 Vigilante
Waiting: Phantom 60 Campaign
Texas, United States
Joined: February 22, 2008
KitMaker: 5,026 posts
AeroScale: 2,811 posts
Posted: Saturday, May 05, 2018 - 08:16 AM UTC
Torsten, how does the green house look? Like a lot of work? I cannot wait to see her finished.
Jose, my eyes are not as good as they were. I could not see it your HE-111 is 1/72 or 1/48.
Bob
If it aint broke dont fix it.
Buenos Aires, Argentina
Joined: May 21, 2012
KitMaker: 765 posts
AeroScale: 316 posts
Posted: Saturday, May 05, 2018 - 08:50 AM UTC
@Bob,
My He-111P is 1/72, I hope without any problems of fit.....
Those Radial Fighters Campaign: 1/72 FW 190 A5
Delta 2 Campaign: 1/48 Hobby Boss Mirage IIIC
Navy Boys on those Postage Stamps 1/72 Airfix Sea Harrier FA2
Working: Trumpeter A-5 Vigilante
Waiting: Phantom 60 Campaign
Dublin, Ireland
Joined: August 14, 2016
KitMaker: 148 posts
AeroScale: 123 posts
Posted: Sunday, May 06, 2018 - 03:09 PM UTC
Jose, my Lancaster is also 1:72 Airfix new tool - there are no fitting problems at all. Actually I am quite amazed at the clever engineering, thinking twenty steps ahead. I have just finished the engines and the landing gear.
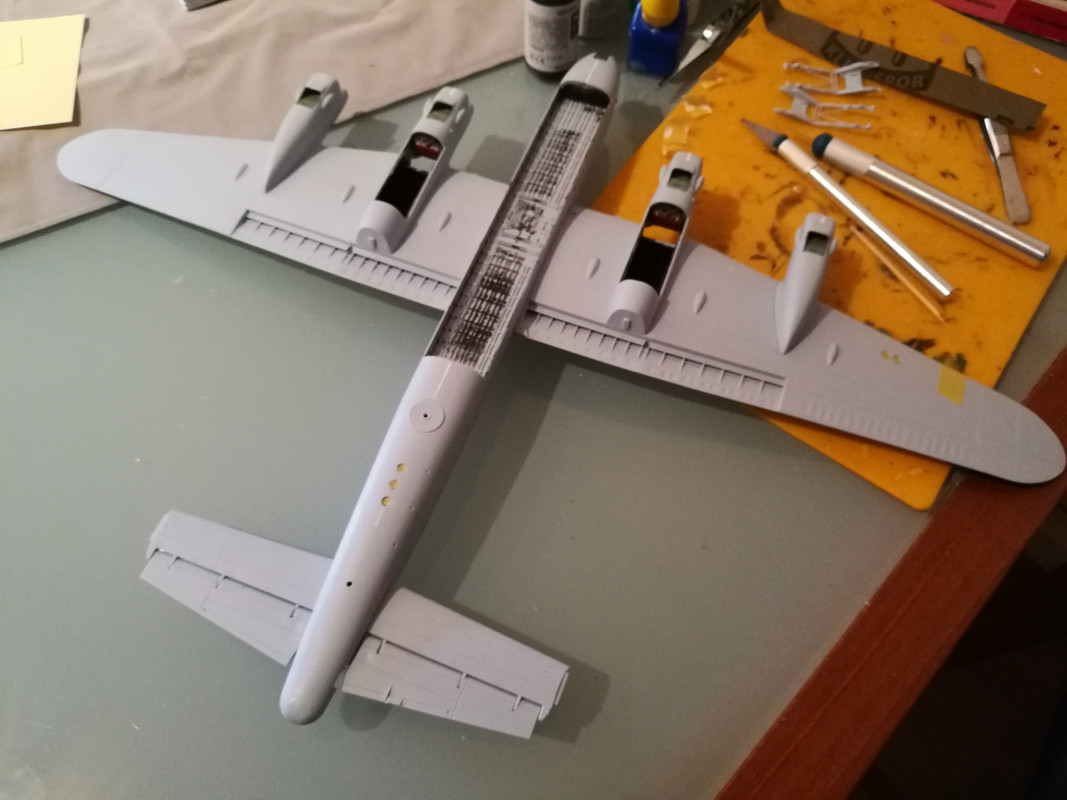
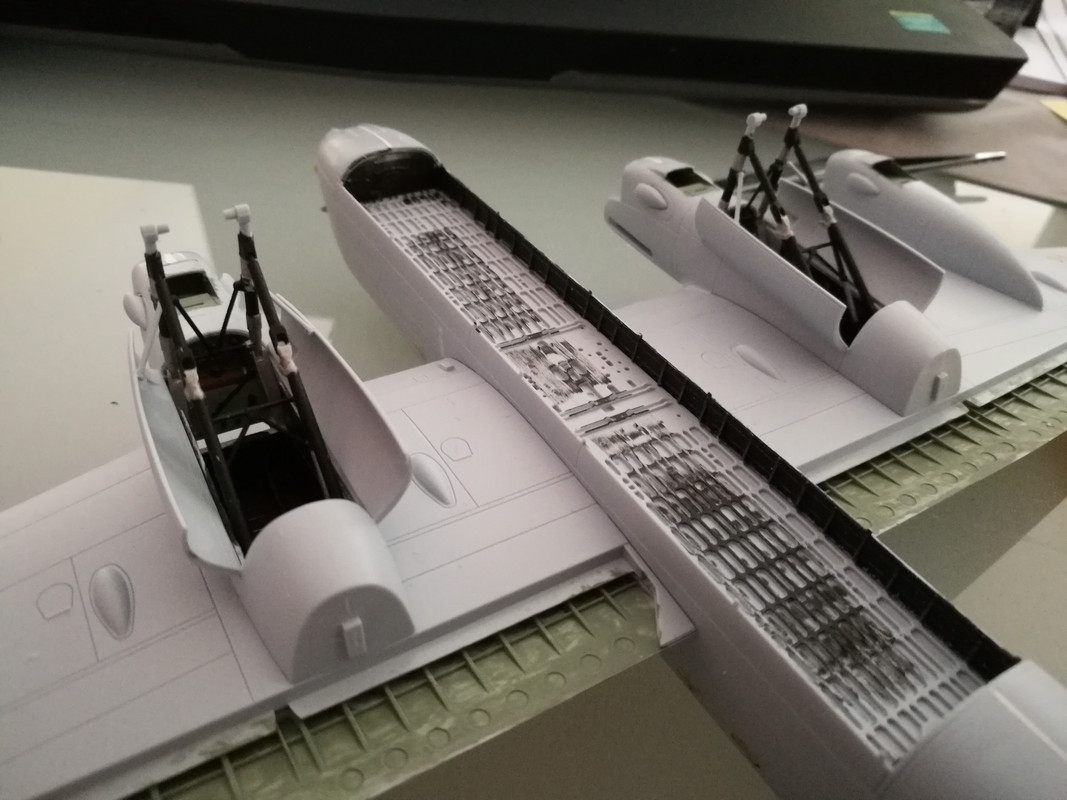
Currently in the workshop:
1:72 Spitfire Mark 1A by Airfix
Buenos Aires, Argentina
Joined: May 21, 2012
KitMaker: 765 posts
AeroScale: 316 posts
Posted: Tuesday, May 08, 2018 - 04:55 AM UTC
Thanks for the info Iwan. I have the kit of Revell..... ;-)
A few update in my He-111 with minor fit problems
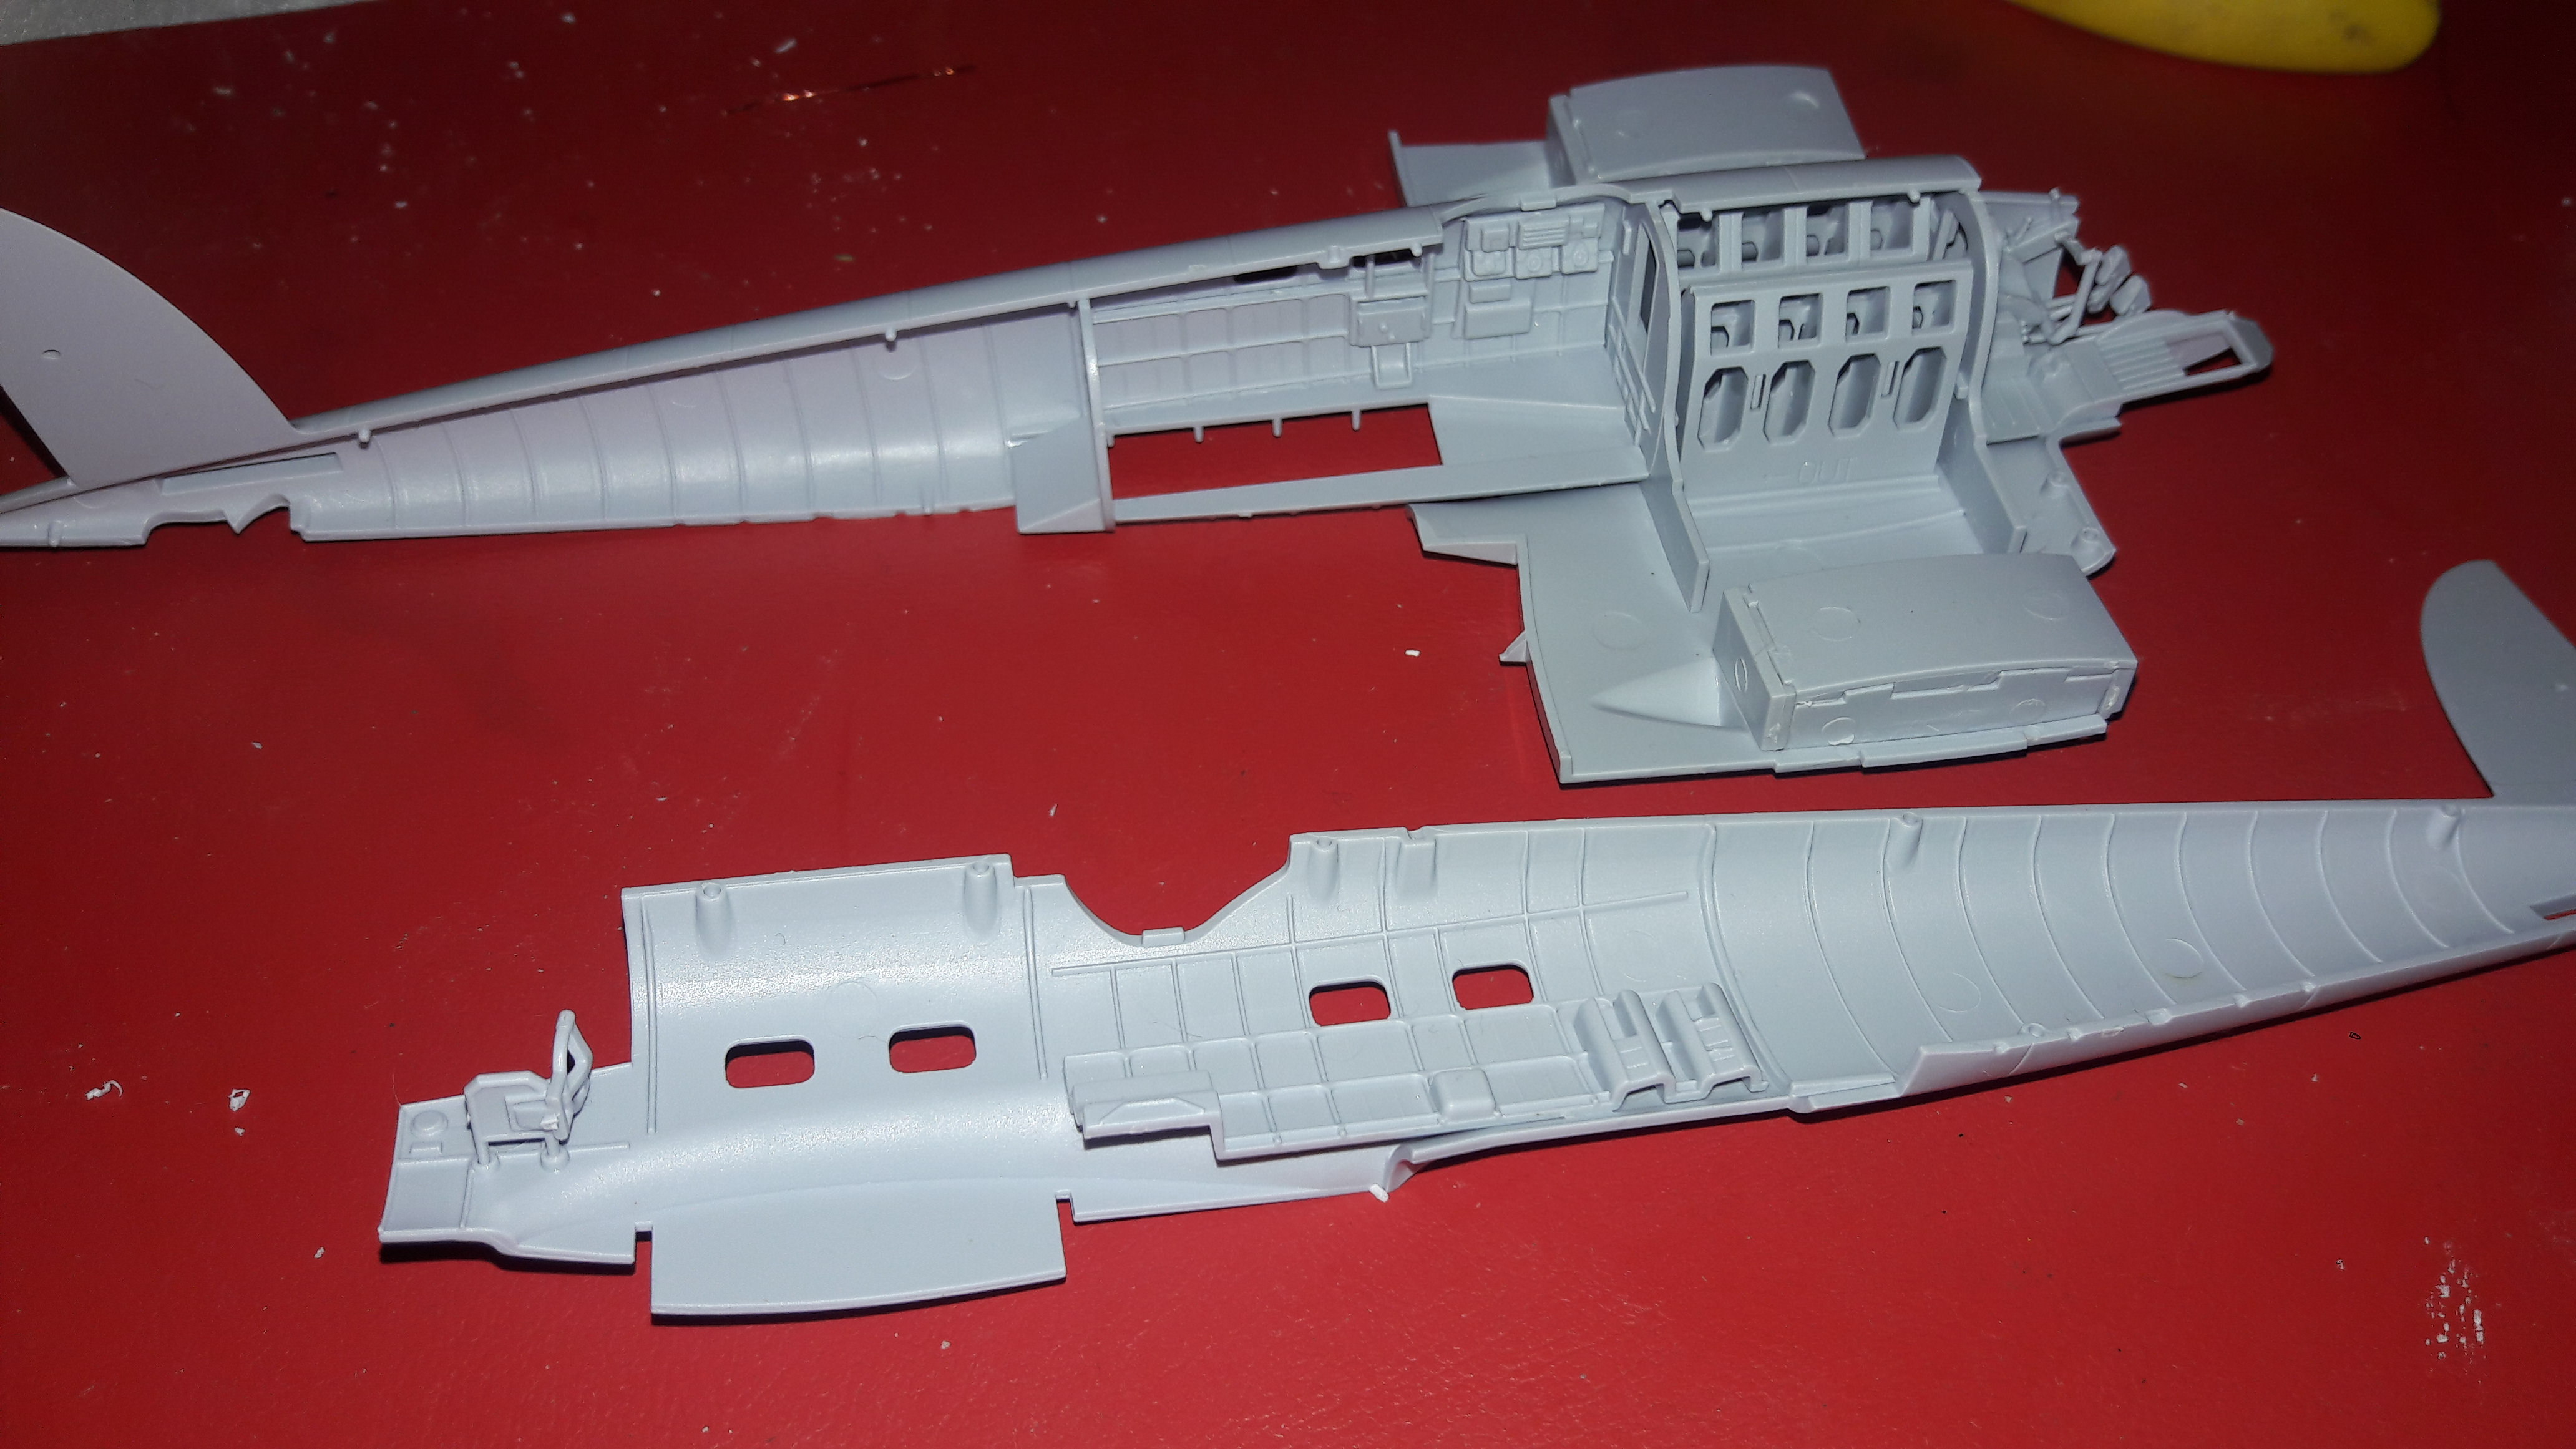

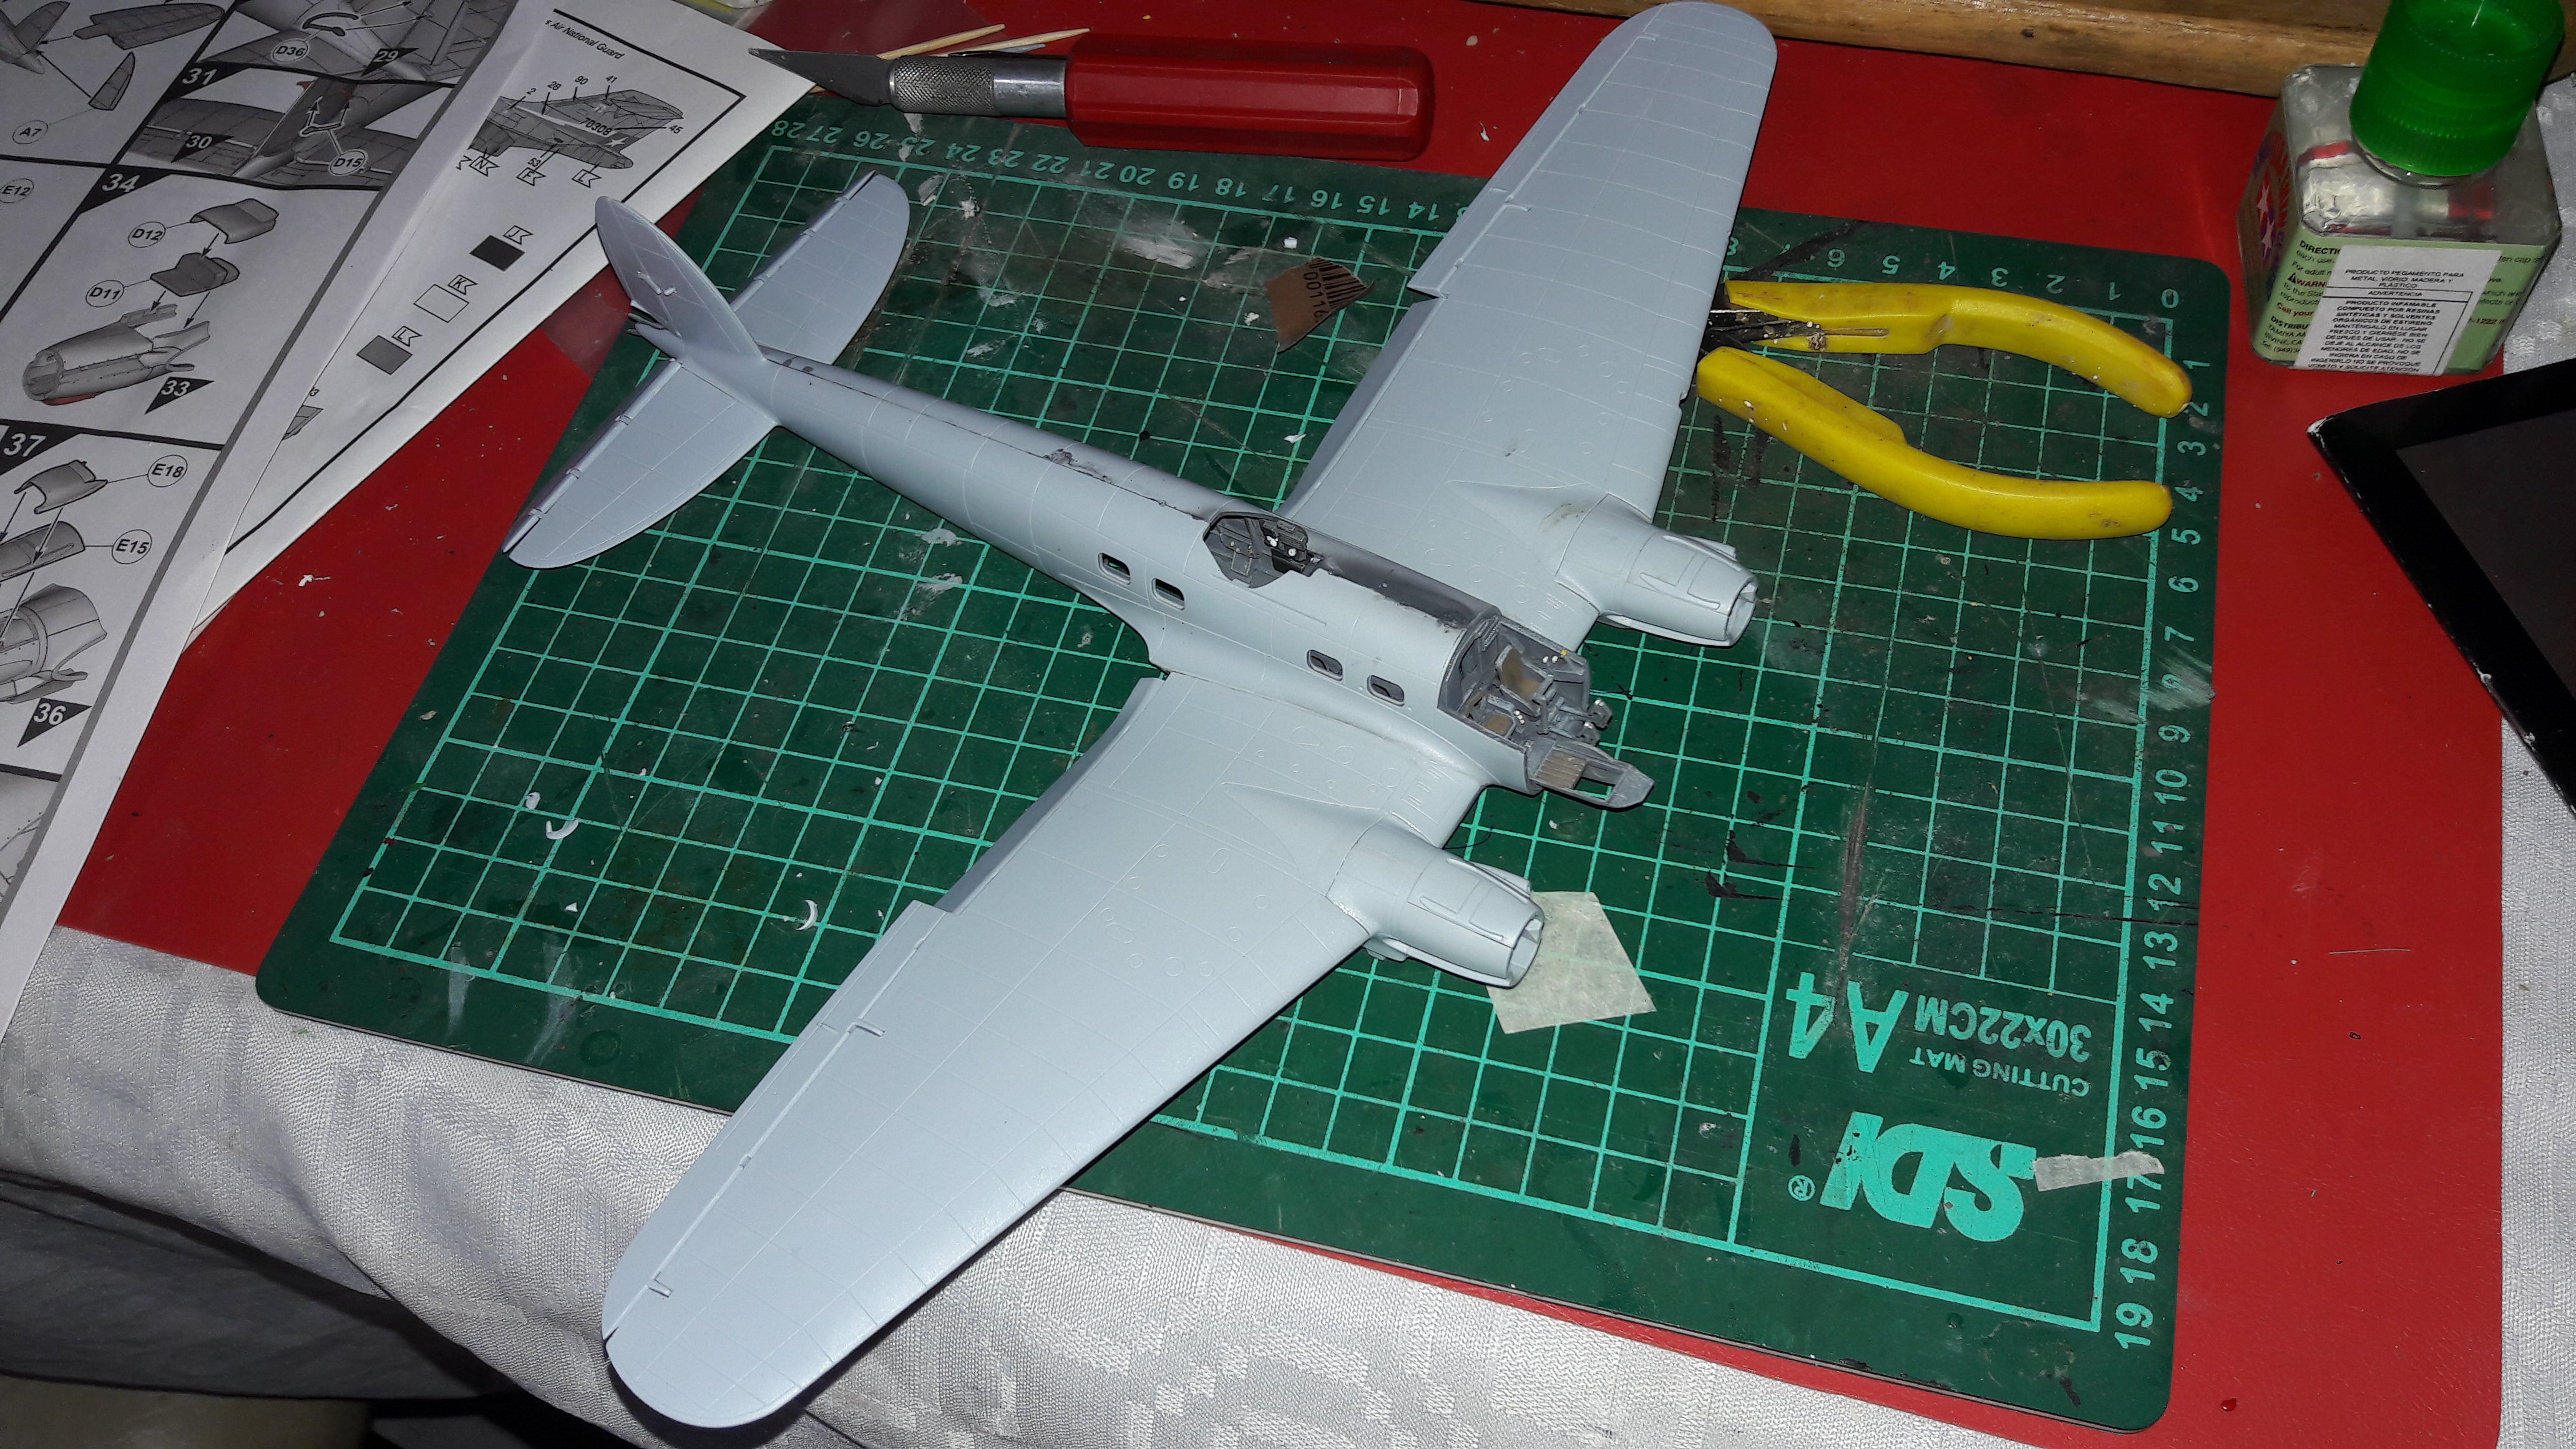
Those Radial Fighters Campaign: 1/72 FW 190 A5
Delta 2 Campaign: 1/48 Hobby Boss Mirage IIIC
Navy Boys on those Postage Stamps 1/72 Airfix Sea Harrier FA2
Working: Trumpeter A-5 Vigilante
Waiting: Phantom 60 Campaign
Texas, United States
Joined: February 22, 2008
KitMaker: 5,026 posts
AeroScale: 2,811 posts
Posted: Tuesday, May 08, 2018 - 05:52 AM UTC
@ Iwan, the Lancaster looks much better than the one I tried to build some 30-40 years ago.
@ Jose, I love the photos of the He111's interior.
Bob
If it aint broke dont fix it.
Noord-Holland, Netherlands
Joined: January 27, 2014
KitMaker: 200 posts
AeroScale: 85 posts
Posted: Thursday, May 10, 2018 - 02:58 PM UTC
Nice builts, my entre,

In my mind the strange looking Wellington,..
More to follow
Lego, building blocks for life
Nordrhein-Westfalen, Germany
Joined: March 22, 2015
KitMaker: 671 posts
AeroScale: 614 posts
Posted: Friday, May 11, 2018 - 02:47 PM UTC
Wow, there are really great builds going on here. Glad to be part of this campaign.
I startet this weekend with the Airfix
Do 17 Z-2 in 1/72 scale. The start photo is in the "unspoiled" condition of last weekend

!
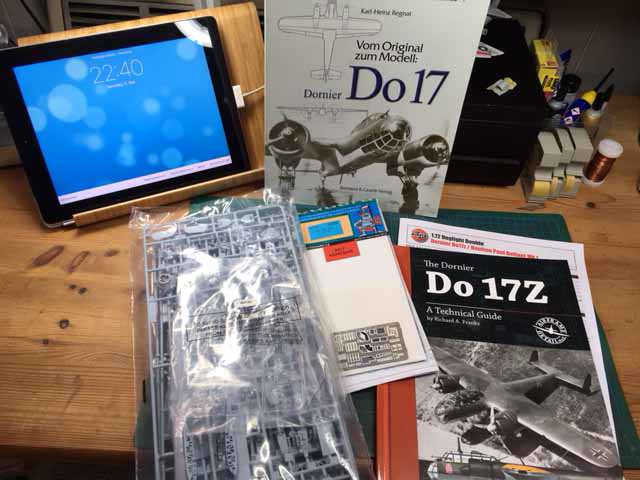
Oliver
On the desk: Probably a Panzer III.
European Union
Joined: August 09, 2009
KitMaker: 1,732 posts
AeroScale: 1,336 posts
Posted: Saturday, May 12, 2018 - 02:10 PM UTC
Quoted Text
Torsten, how does the green house look? Like a lot of work? I cannot wait to see her finished.
Bob
Bob, I'm not that far already, but it doesn't look too difficult. Will use the Montex mask No. 48348 for it. I'm more afraid of fitting problems. Don't want to fill and sand on clear parts ....

Anyway, have been away for a week so only a small update today. Bombs are in the bays, wing halves are glued together with only minor fitting problems and at the fuselage. Here appeared a gap all the way on both fuselage sides and on the upper- and underside. I've used clear tape and my self made putty (glue and flour) ....
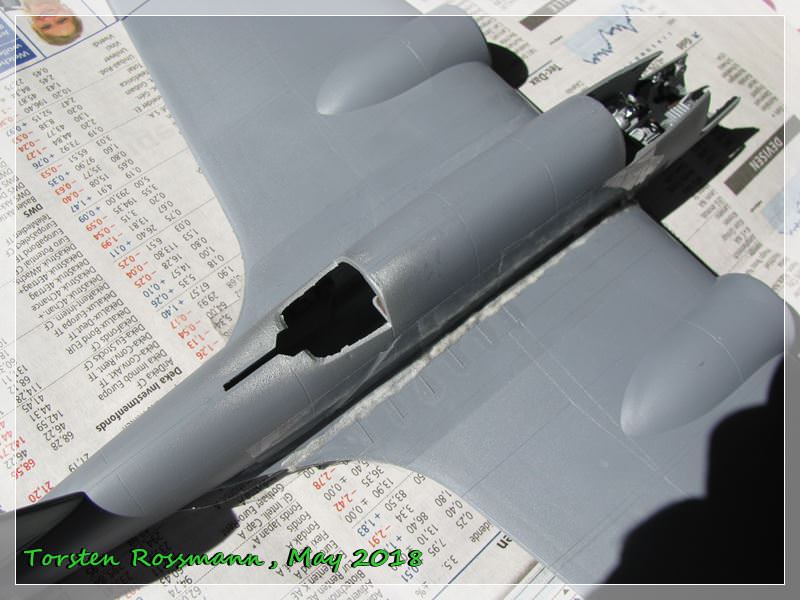
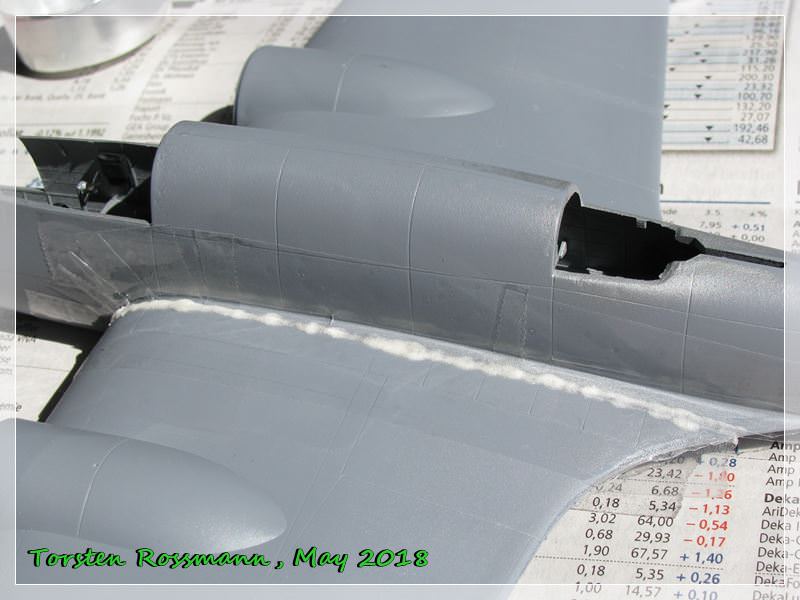
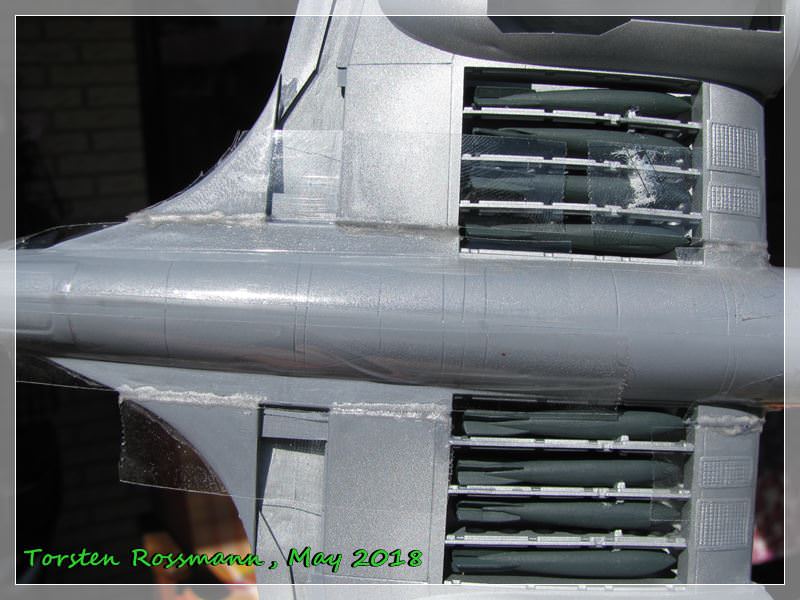
.... had a rough sanding session yesterday, the clear tape really had to suffer .... But I'm satisfied with the result ....
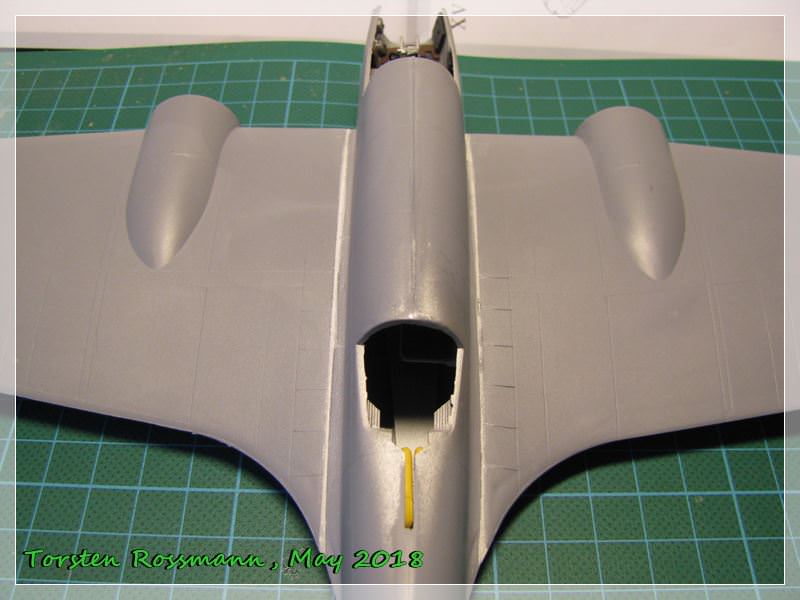
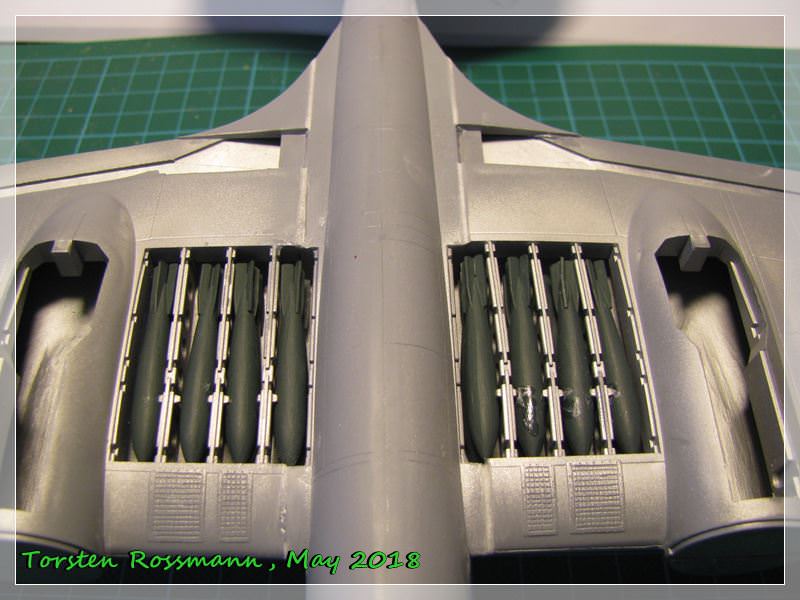
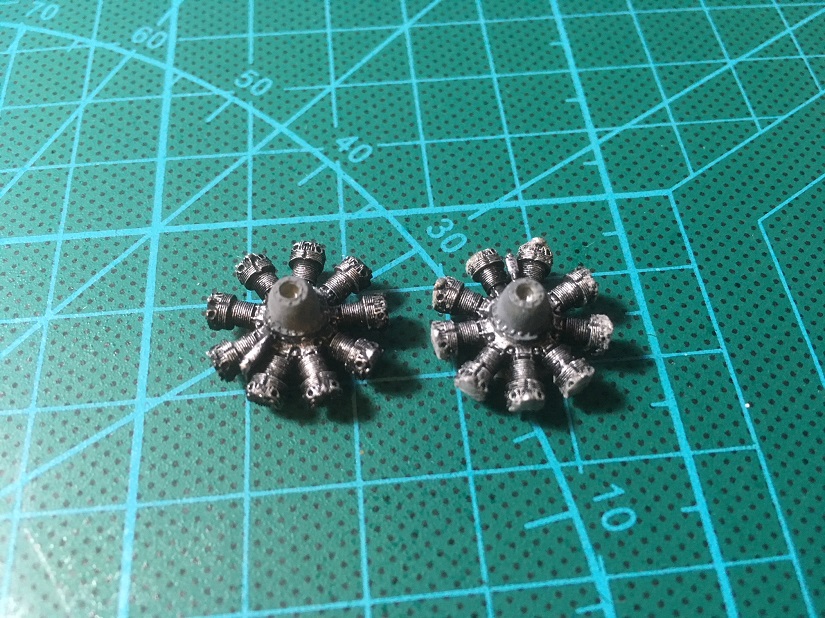
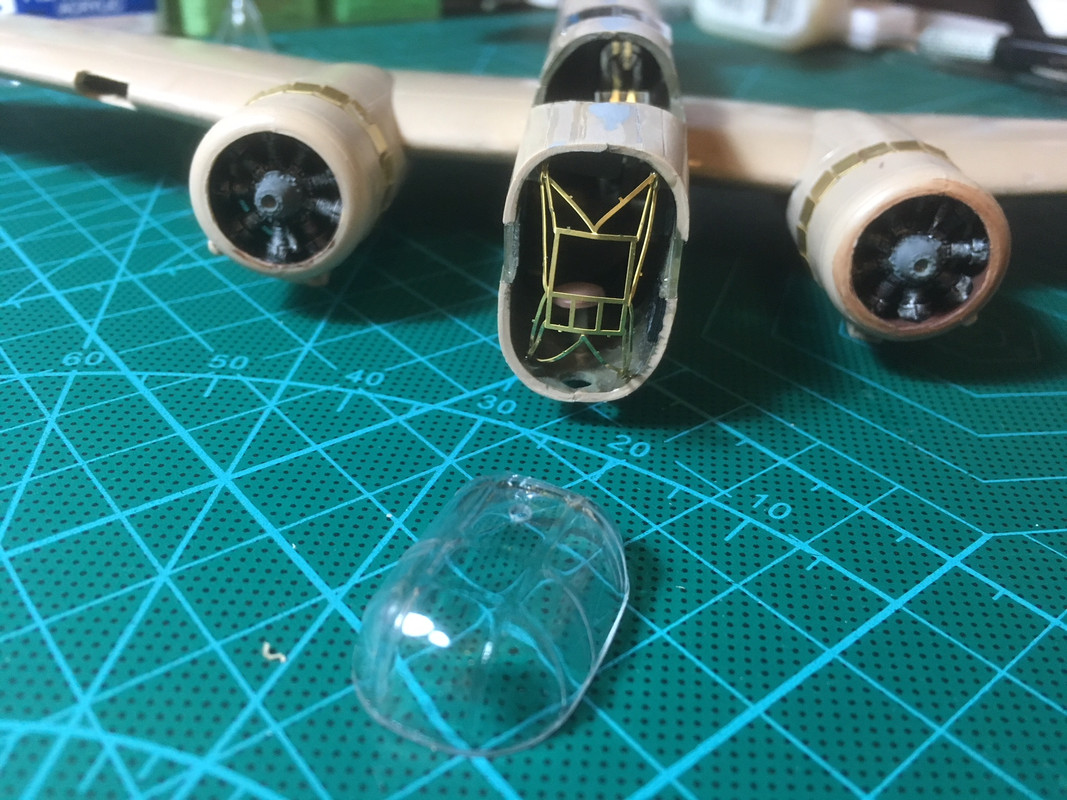
Next step will be painting and installing the engines and the canopy. Then I can think about primer and paint for the first time ....
Have a nice Sunday!
Torsten

My campaigns for 2020:
MiGs - Done !
The Big Three - Done !
65 years Bundeswehr - Done !
40 years Leopard 2 - Done !
Land Lease - Done !
Texas, United States
Joined: February 22, 2008
KitMaker: 5,026 posts
AeroScale: 2,811 posts
Posted: Saturday, May 19, 2018 - 08:47 PM UTC
If it aint broke dont fix it.
MichaelSatin
 Campaigns Administrator
Colorado, United States
Joined: January 19, 2008
KitMaker: 3,909 posts
AeroScale: 2,904 posts
Posted: Saturday, May 19, 2018 - 09:19 PM UTC
On the bench:
Sorta depends on your definition of "on the bench"...
Dublin, Ireland
Joined: August 14, 2016
KitMaker: 148 posts
AeroScale: 123 posts
Posted: Monday, May 21, 2018 - 05:51 PM UTC
Hi,
Can I ask you for advice? I have started to paint my Lancaster in places that will difficult to reach after final assembly. However the underside is black and seems kind of featureless. Is there any way to somehow apply shading or accentuate panel lines on a black surface?
Currently in the workshop:
1:72 Spitfire Mark 1A by Airfix
England - North West, United Kingdom
Joined: January 02, 2007
KitMaker: 781 posts
AeroScale: 65 posts
Posted: Monday, May 21, 2018 - 08:14 PM UTC
just wanted to check before I sign up.
im unsure whether a tornado would fit into the campaign rules? can anyone clarify before I sign up? I have quite a few 1/144 tornado kits I could do with getting built.
im more of an treadhead armor. but have a weakspot for tornados

MichaelSatin
 Campaigns Administrator
Colorado, United States
Joined: January 19, 2008
KitMaker: 3,909 posts
AeroScale: 2,904 posts
Posted: Monday, May 21, 2018 - 10:55 PM UTC
Quoted Text
just wanted to check before I sign up.
im unsure whether a tornado would fit into the campaign rules? can anyone clarify before I sign up? I have quite a few 1/144 tornado kits I could do with getting built.
im more of an treadhead armor. but have a weakspot for tornados 
Anthony,
I'm not sure about that. I kind of consider the Tornado a fighter-bomber rather than an actual bomber. Sorry.
Michael

On the bench:
Sorta depends on your definition of "on the bench"...








 !
!


