Thanks,
Oliver! The Steyr is one of my all-times favorites! Oddly enough, I never get around in building one, just because I couldn't decide
what kit. Watching with interest!
UPDATEPerhaps this update should be a stand-alone feature under the title of:
Beware of "fake silvering"! - I couldn't find a better term for it!
Here's the story:
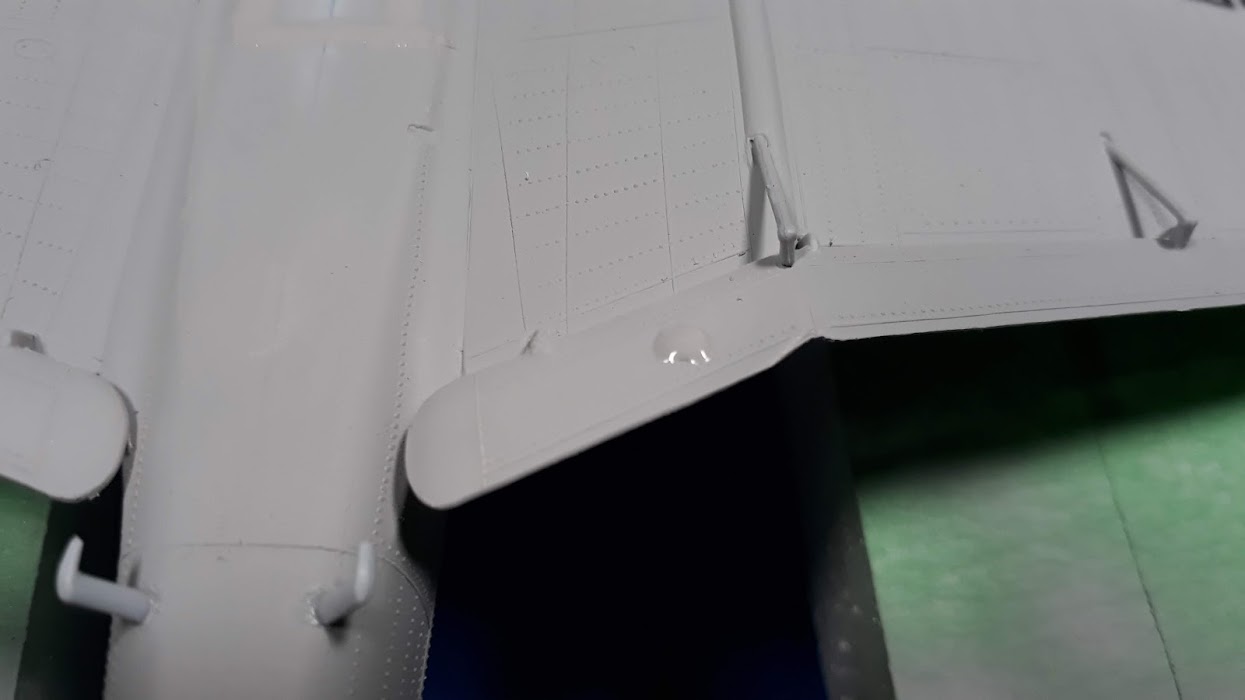
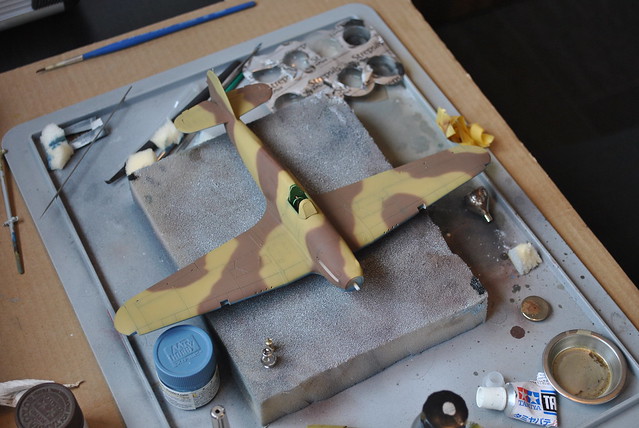
I have applied as per my habit some "test decals" on the "peripherals": fuel tanks, bombs etc. - all good. I then started decaling the air frame, again, starting with the under-surfaces, just to make sure all goes smooth. And
it was going smooth until I reach to the
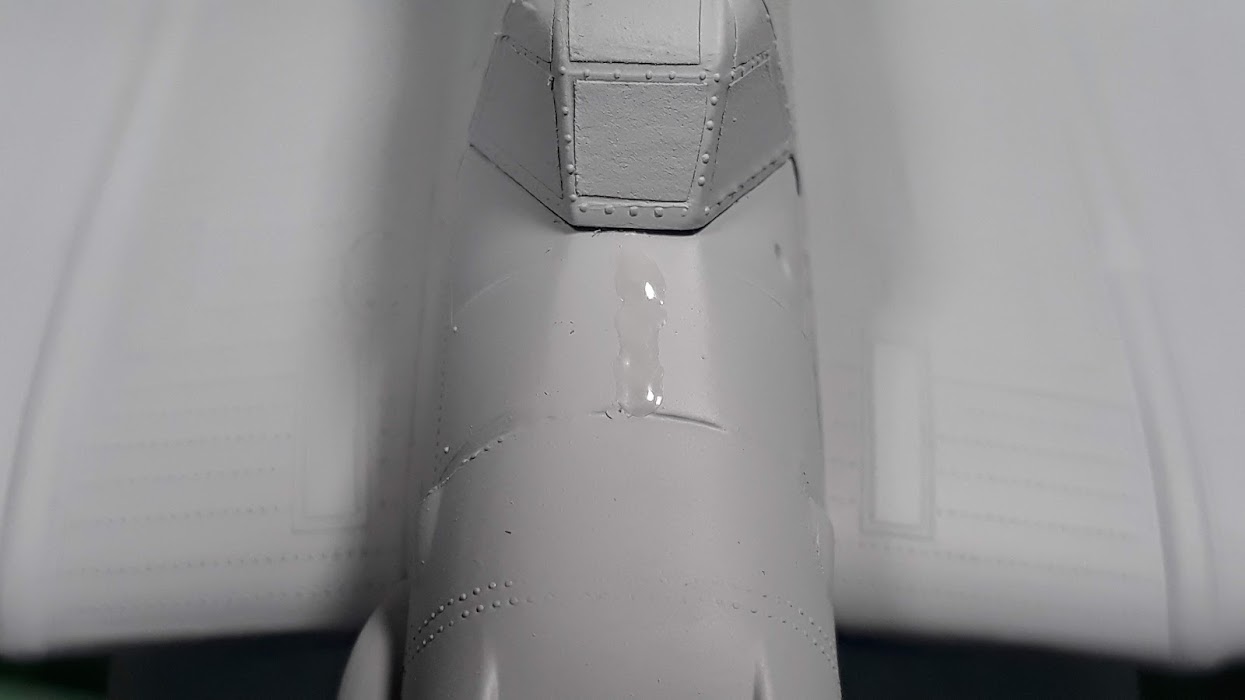
fascias on the upper wings. To my complete dismay, bewilderment and disappointment, as the
Micro Sol was drying slowly, that was the image it appeared:

It was perhaps the most spectacular case of silvering from my entire modelling career. I start fumbling for contingency "plan B" - robbing another kit of decals - and the victim would have been the
Fiat CR-42 from
Italeri or contingency "plan C" - switch to German markings, which meant the applying of a third camouflage coat - sand. But the voices in my head kept repeating: "silvering not possible... silvering not possible..." because the surfaces were properly prepared, the decals were darn good and the
Micro Gloss / Micro Set / Micro Sol triangle
always worked for me. With the panic slowly wearing off, I re-evaluate the problem, and I figured out that "the silvering" is not coming from the contact zone between the decals and the model, but from the matte surface of the decal! Following the updated diagnostic, I prescribed the recipe:
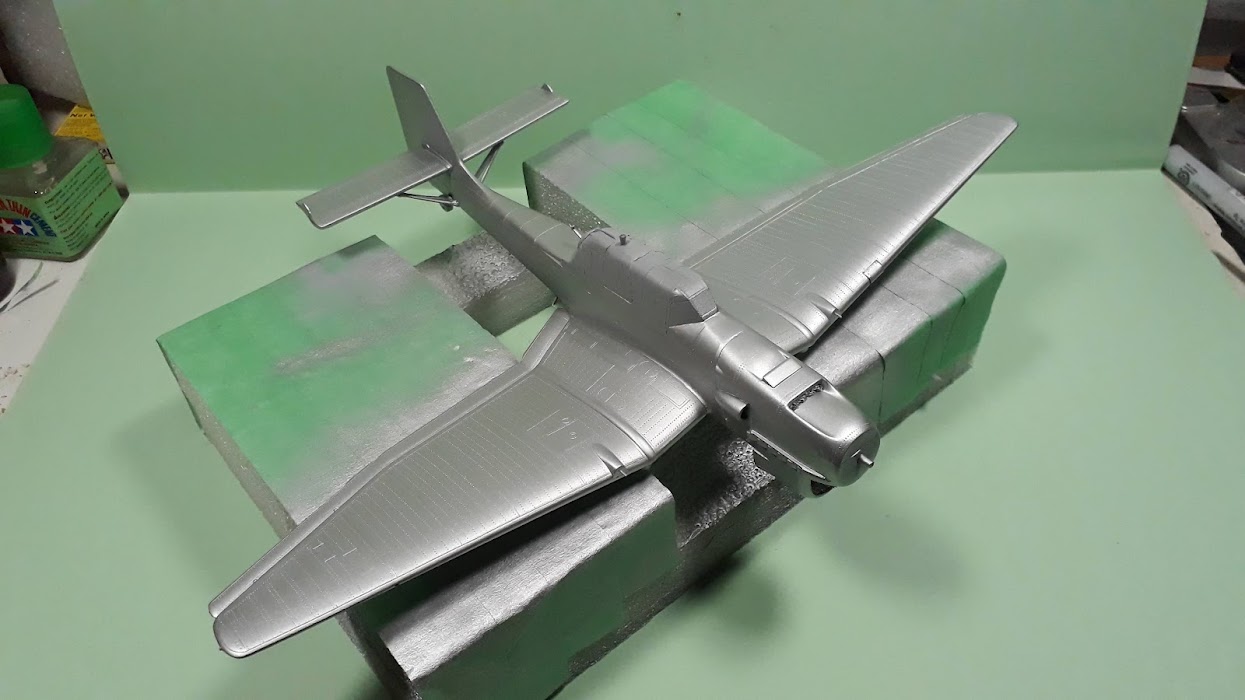
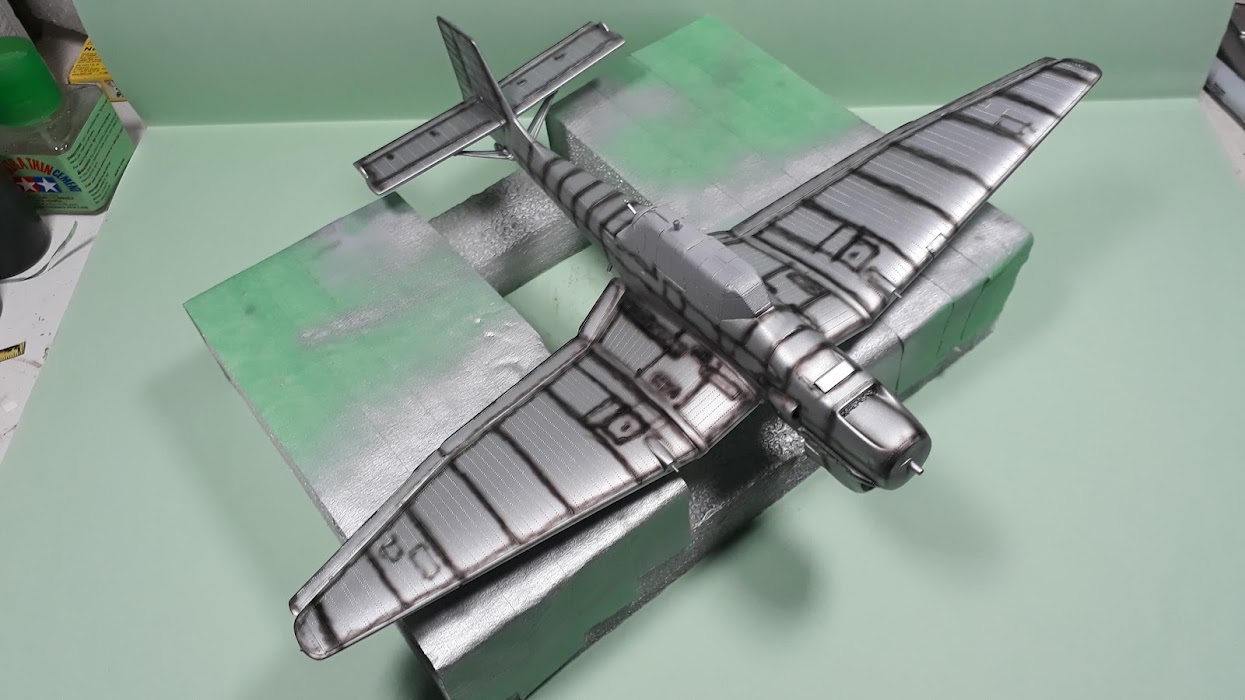
Pledge. I administered some
Pledge externally to the infected patient, and it started curing:

After a second application of "snake oil", there we go!

Wonders still happen! Guys, I realized only then how many times I missed the opportunity to achieve better decaling, especially with older
Tamiya kits! I still have my old
BMW R-75 which I am ashamed to show it to anybody just because of that

From there on, everything else went "by the book":


After all decaling, I went on with a solid coat of
Micro Gloss again to seal the decals. The ones that appear too white now will receive a wash to blend them into the color scheme.
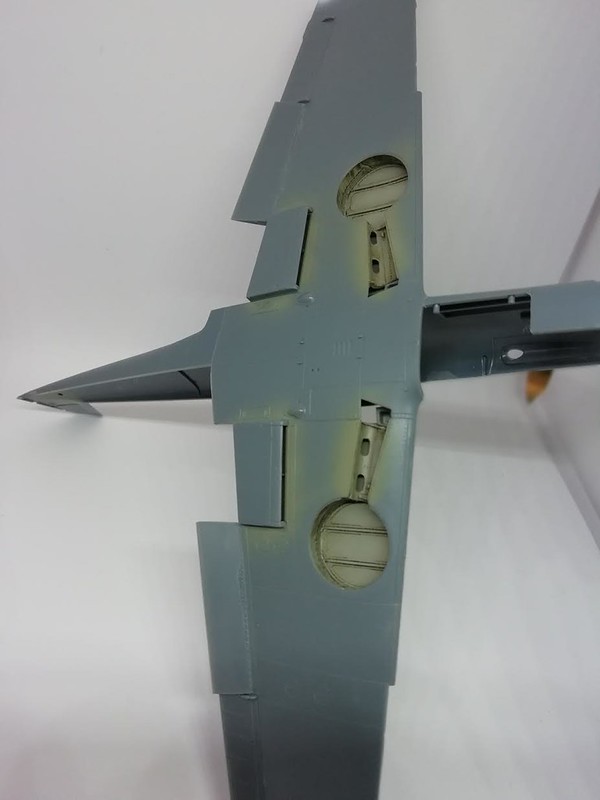
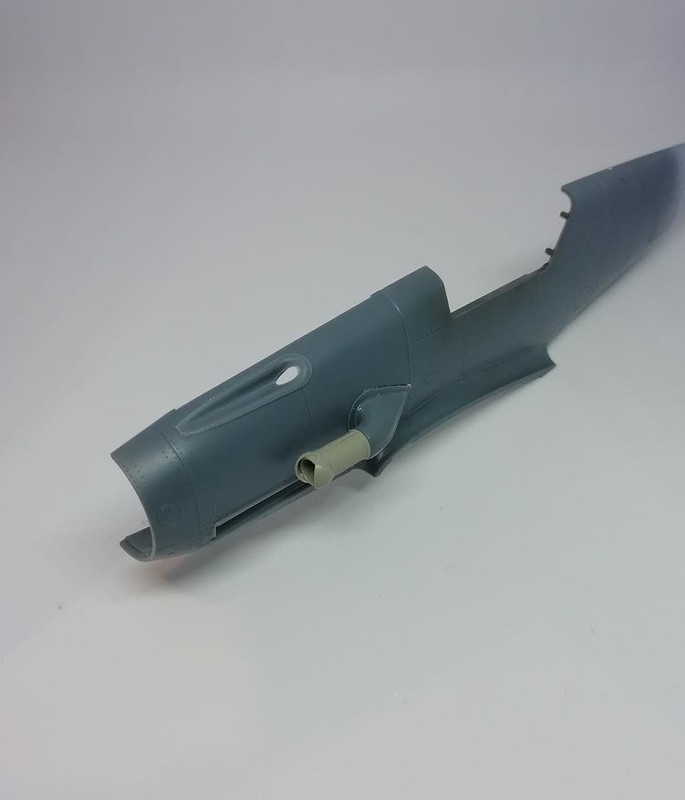
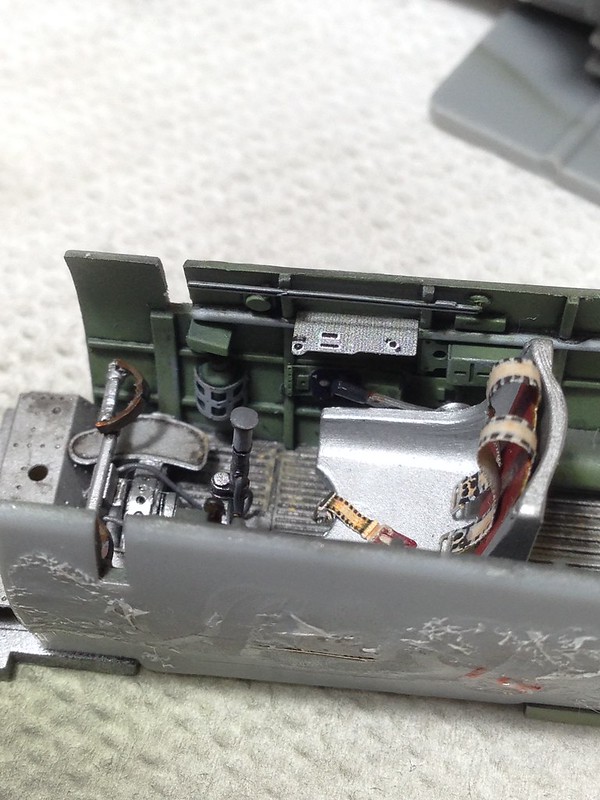
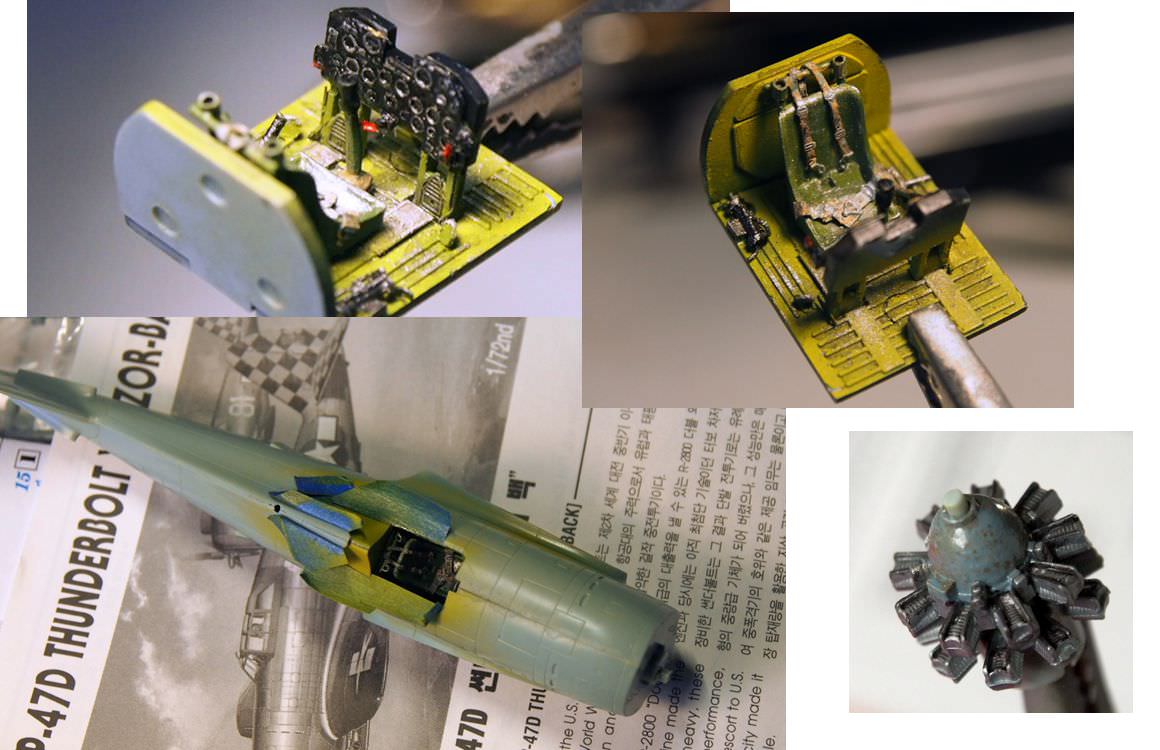
I still have to paint the exhaust stubs and to fiddle a bit with the landing gear "pants" and then I'm moving further to the satin coat and weathering.
P.S. I'm not sure I am fully recovered after the "scare"

Let's see how the "post traumatic shock" will affect me!

Cheers!
Gabriel


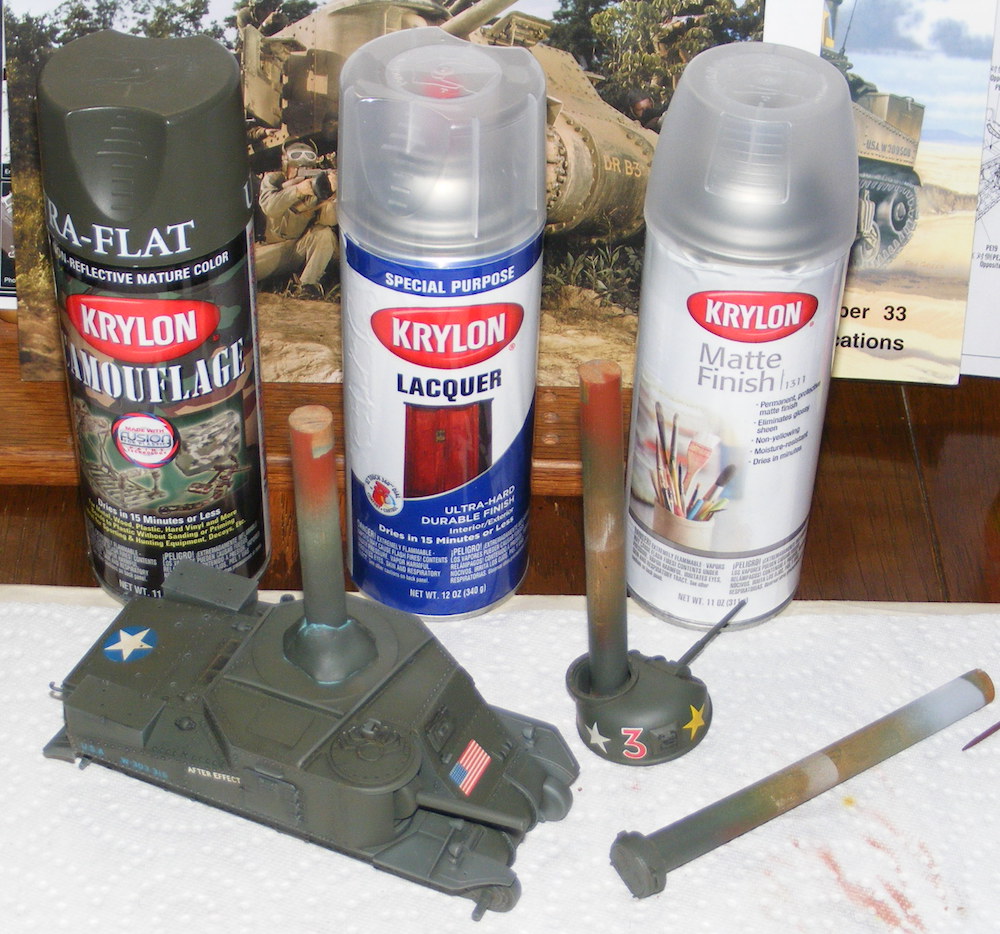
 ! I am a big fan Krylon but I never used the cans for modeling - I use their Short Cuts series - very nice, fine pigmented high gloss paints. The black makes the best under-coat for Alclad I ever found...


 .
.