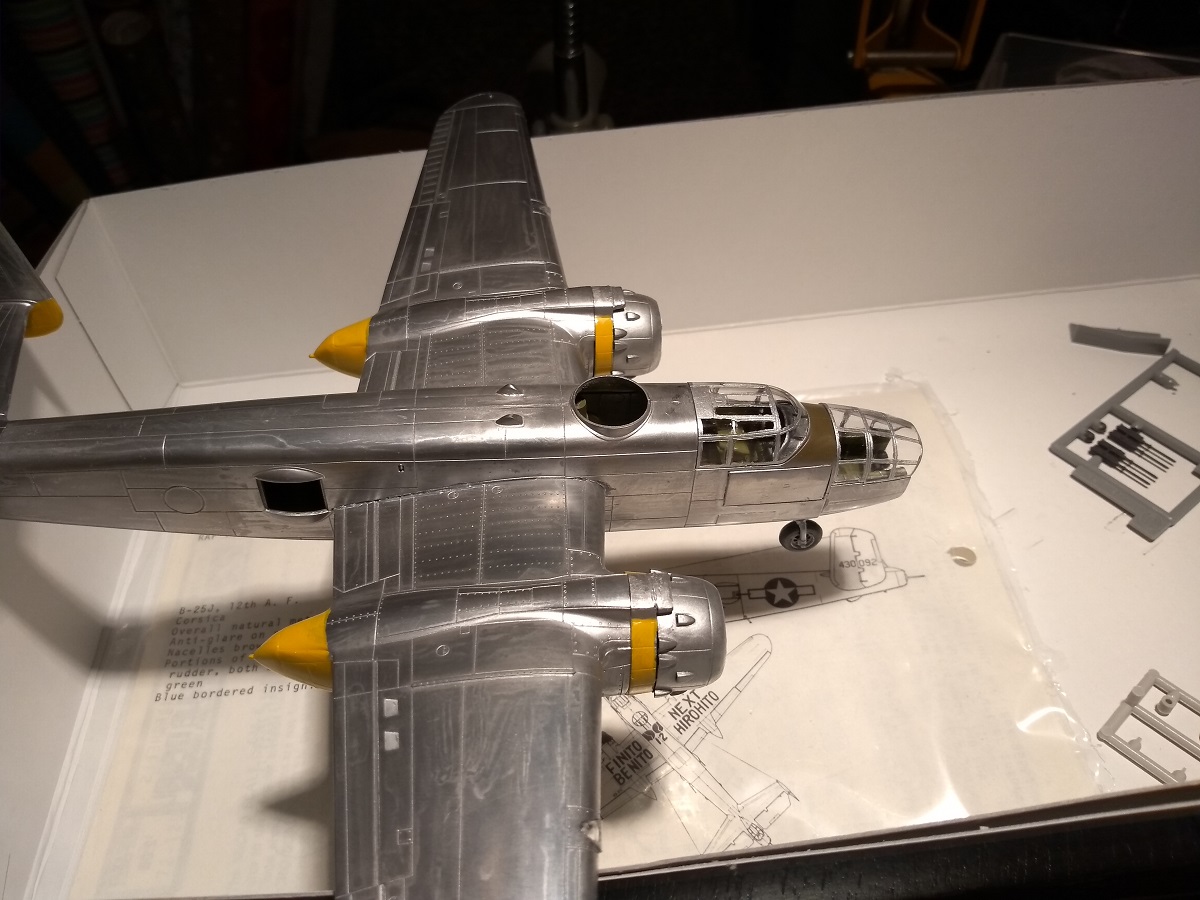
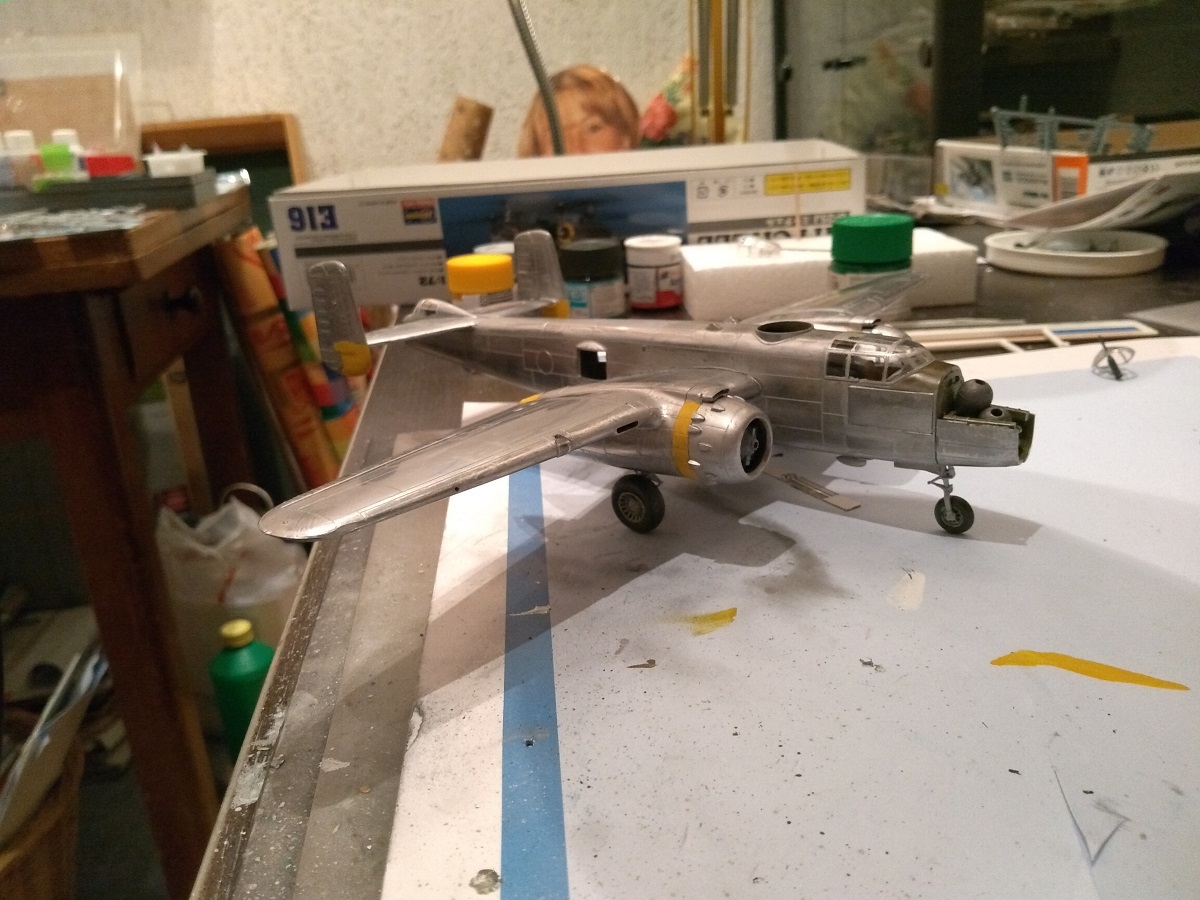
Hi All!
It's been a while and I regret not commenting sooner. So many a nice builds going on here! To comment on them all would take most of the page, though Gabriel your Stuka is wonderful, and in 1/72. The amour models are impressive, Kalin the interior is something to be proud of, not to mention the exterior! So many great things going on here. I knew that that the MTO group build would fabulous, but I had no idea that it would be so diverse, even a ship build!!
I've not been idle over the past 2 months, though my computer has indicated that perhaps I made a poor choice in service providers. But, here there's only one, so I get what I get.
Last I chimed in I'd painted the base interior colors, and thought I'd move onto the cockpit area. However, I have been working on a Monogram B-24, and both builds have a lot of overlap, so I shifted to wings and tails
For those unfamiliar with the Revell B-25J, let me give a quick background. In the US, the Monogram and Revell companies were constantly duking it out. Over the years Revell proved to have the better business model, as opposed to the better model. Monogram has graced the modeling world with something that few manufactures would of, or have done. Provide us with BIG models!
While the B-25J isn't all that big, it does have a size, and to date nobody else has made the later variants. So if you wish to do a J in 1/48, this is the game. And it's a good game. This is a good kit despite the 41 years of production.
A bit of a background. Monogram released the B-25H in 1977. This is the basis for the J model. In 1981 they released the J with options for the strafing version or straight bomber, and parts for other options. Decal options always included the "Air Apaches" and another from the Corsican 340th. In the late 90"s (me thinks 1996) they released the Pro-Modeler version that had PE and flattened tires. Subsequent releases by Revell are of the Pro-Modeler version without the PE, and are molded in grey. Yes, the kit molds are showing their age, yet it builds into a nice representation of the B-25J.
I shifted from the cockpit interior to the wings mostly due to holding on a set of seats. Initially, I was going to go straight out of the box, but after paying the most for a set of decals to date (21.00 USD), frugality was out the window! I wanted this one to look sharp and used. So, off to the wings I went.
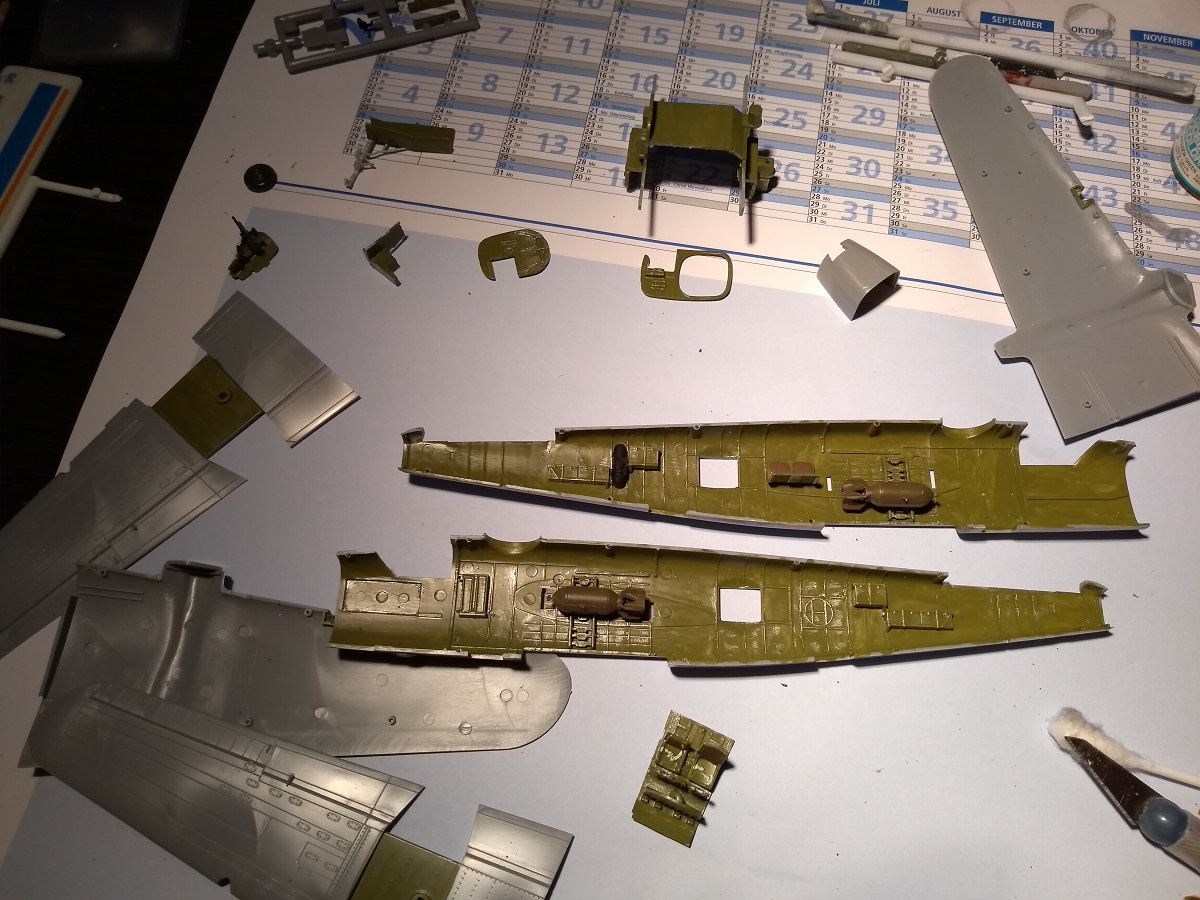
This kit goes together quite well, though there are a few places that need a bit of help. The nacelles don't come together, which causes a few other fit problems. Having built on this kit twice, I was determined to make the third time a charm and finish it!
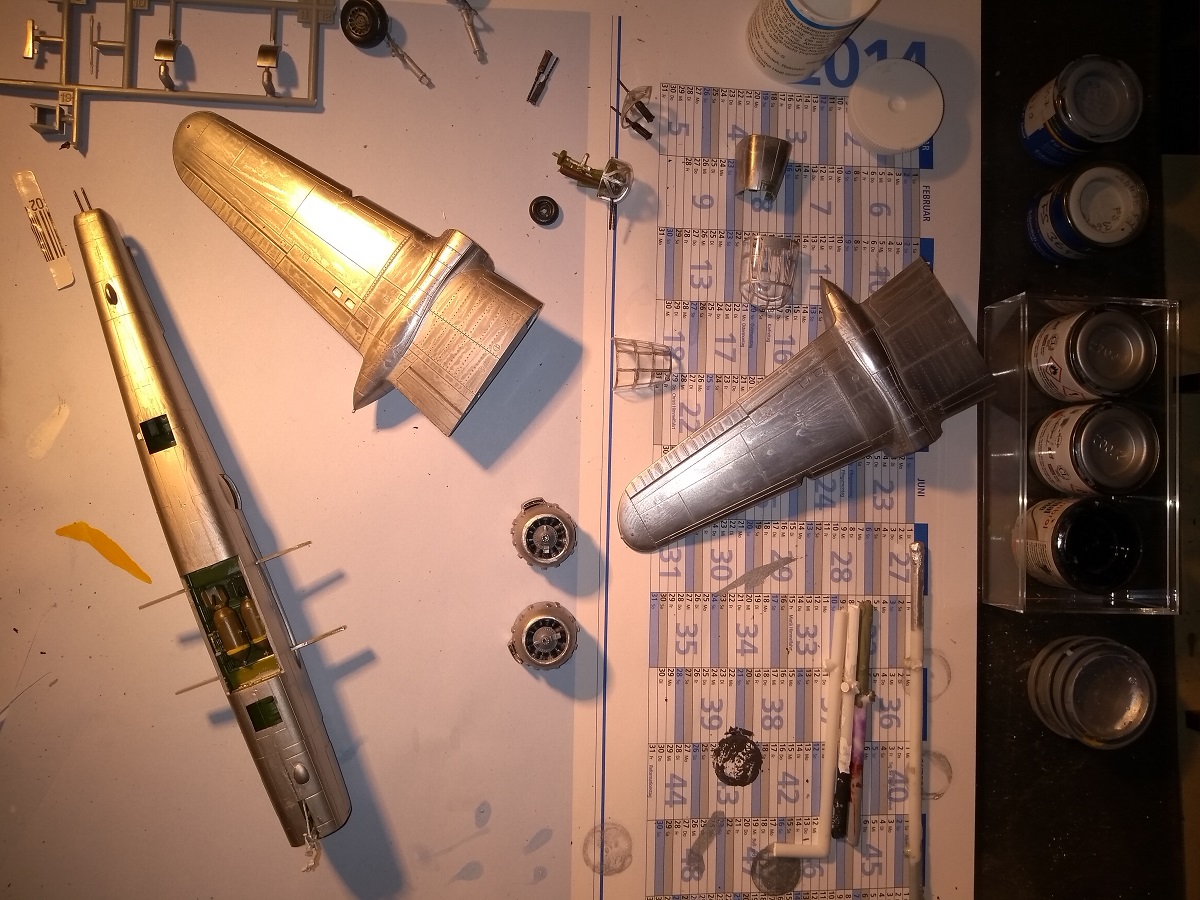
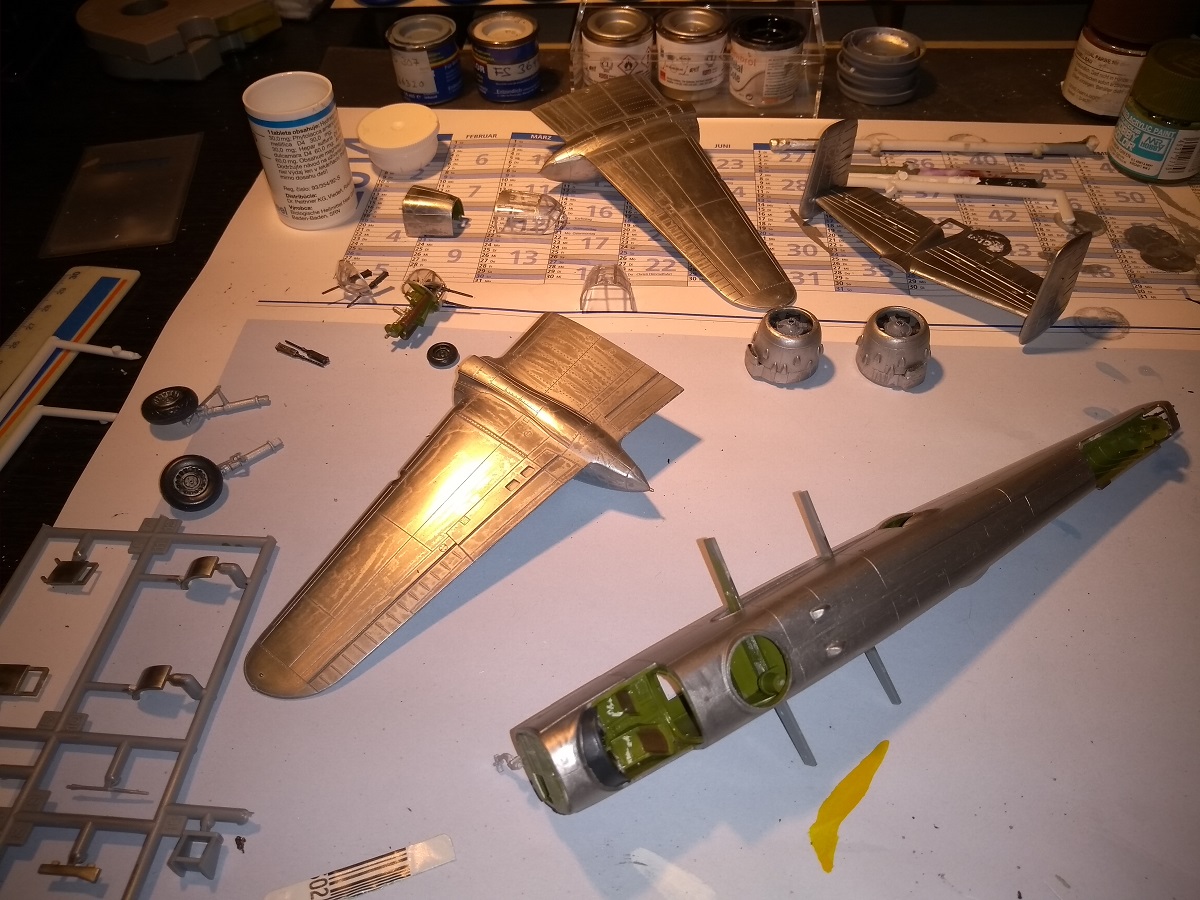
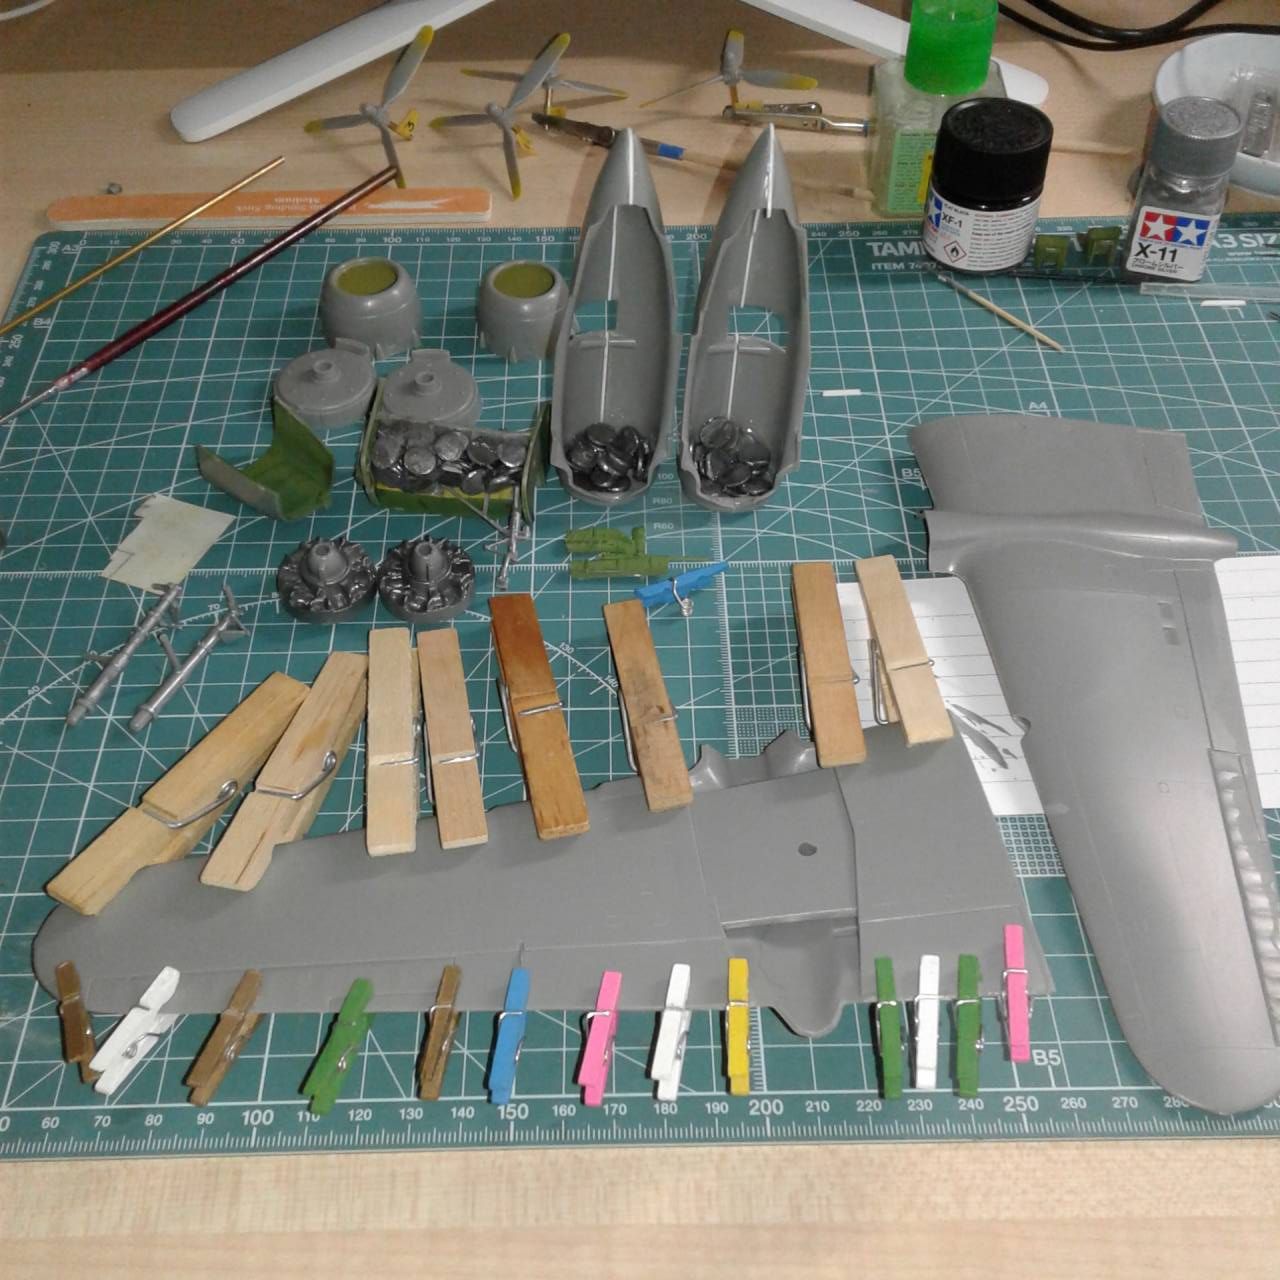
I've found that the wings when glued together, leave a sizable gap/depression along the fuselage. So, upon gluing the wings together I put in a shim of 0.2 inch sheet. In hindsight, I should have glued the wings, and shoved 0.3 inch sheet in between the wing roots. Next time...
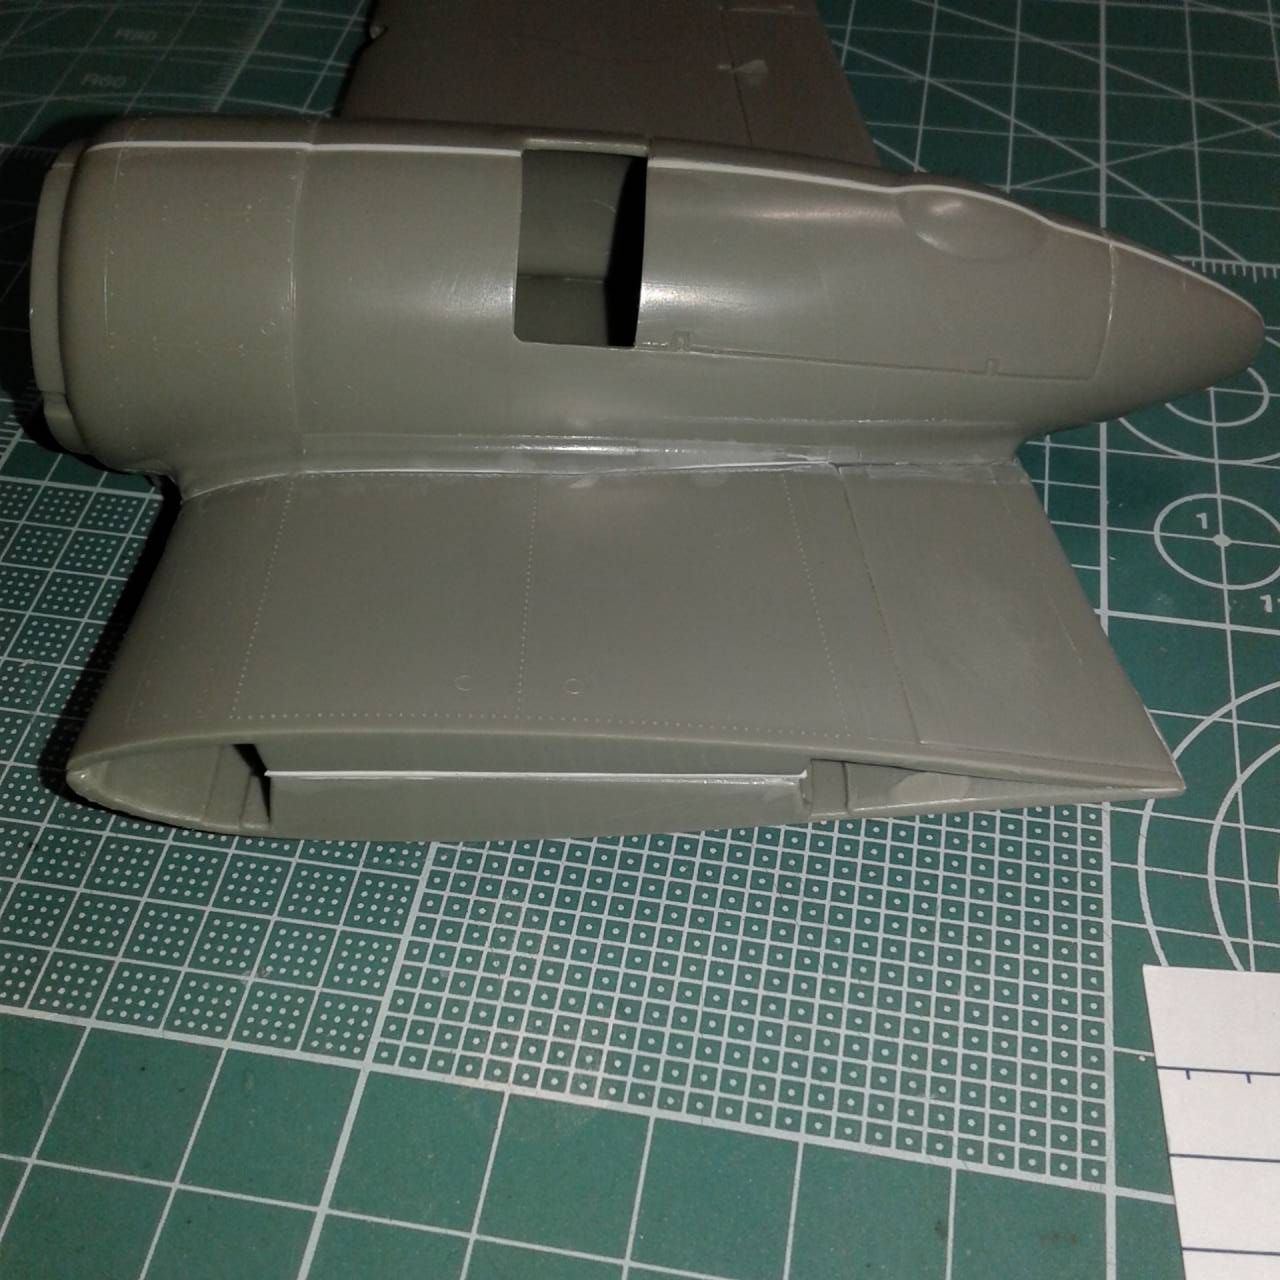
At this time I also added 0.2 inch sheet between the nacelles themselves to give a wider fit. This alleviated the gap that would have resulted on the wing undersides. Know that I do tend to go out of my way to avoid filling, so spacers, and inserts, if allowable will happen!
The fairing at the end of the nacelle is less than banner. I added sheet to fill the gaps and then used Mr. Surfacer 500 to resolve the rest. I liked how it came out.
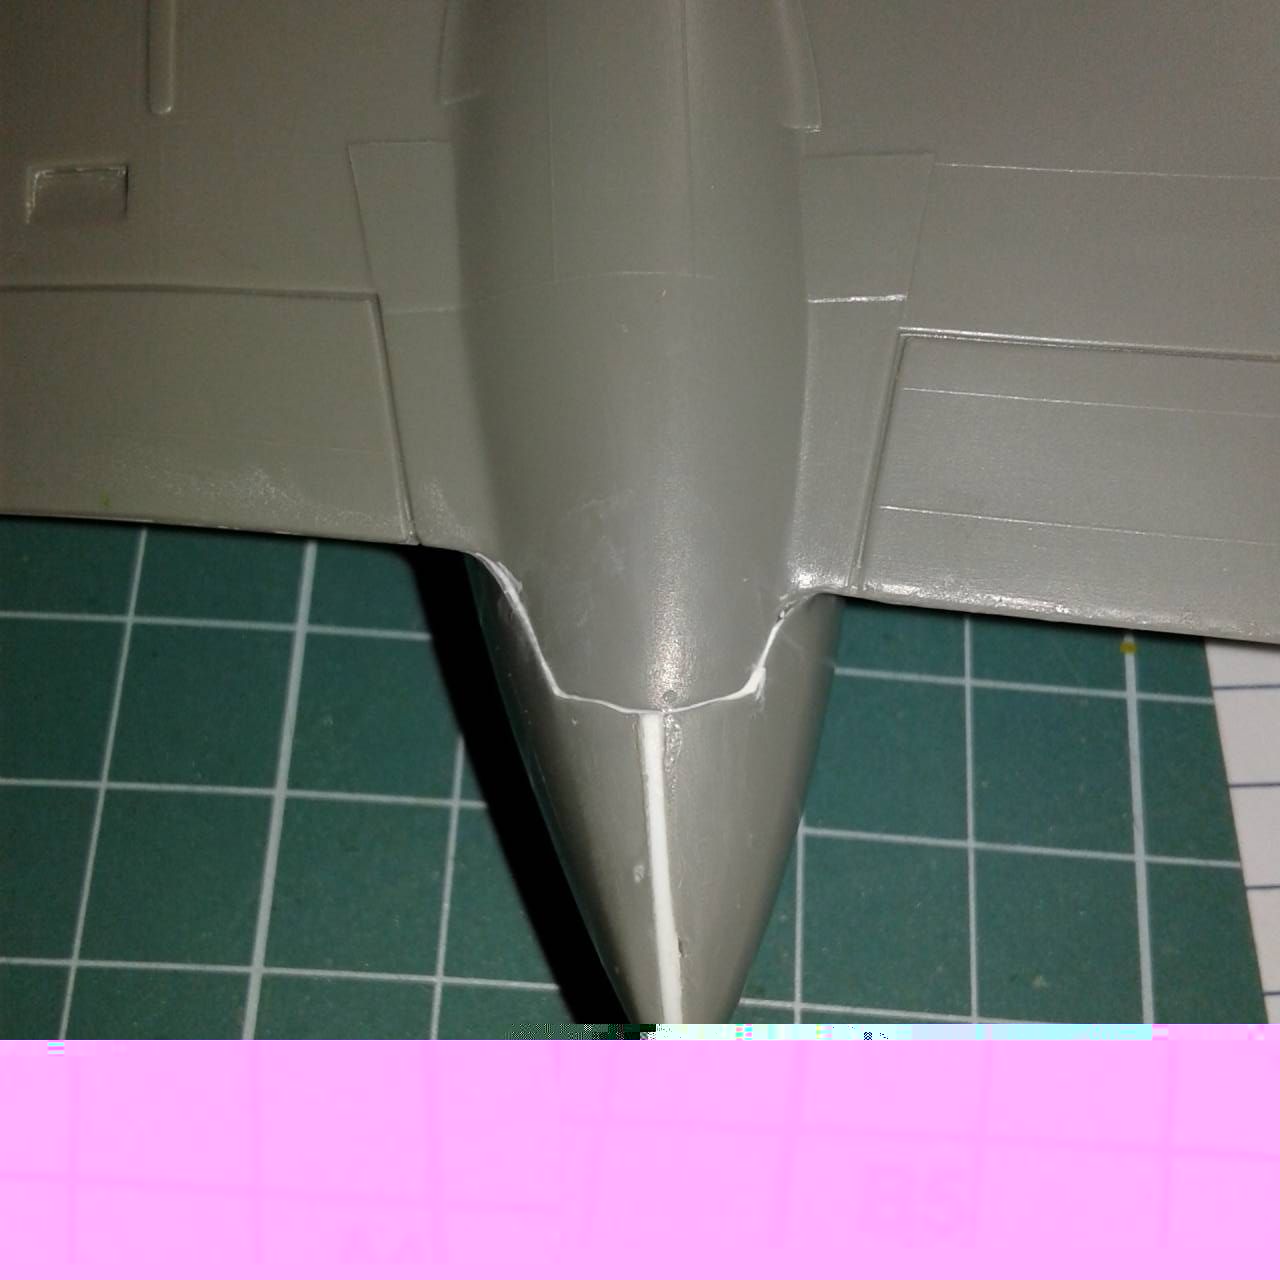
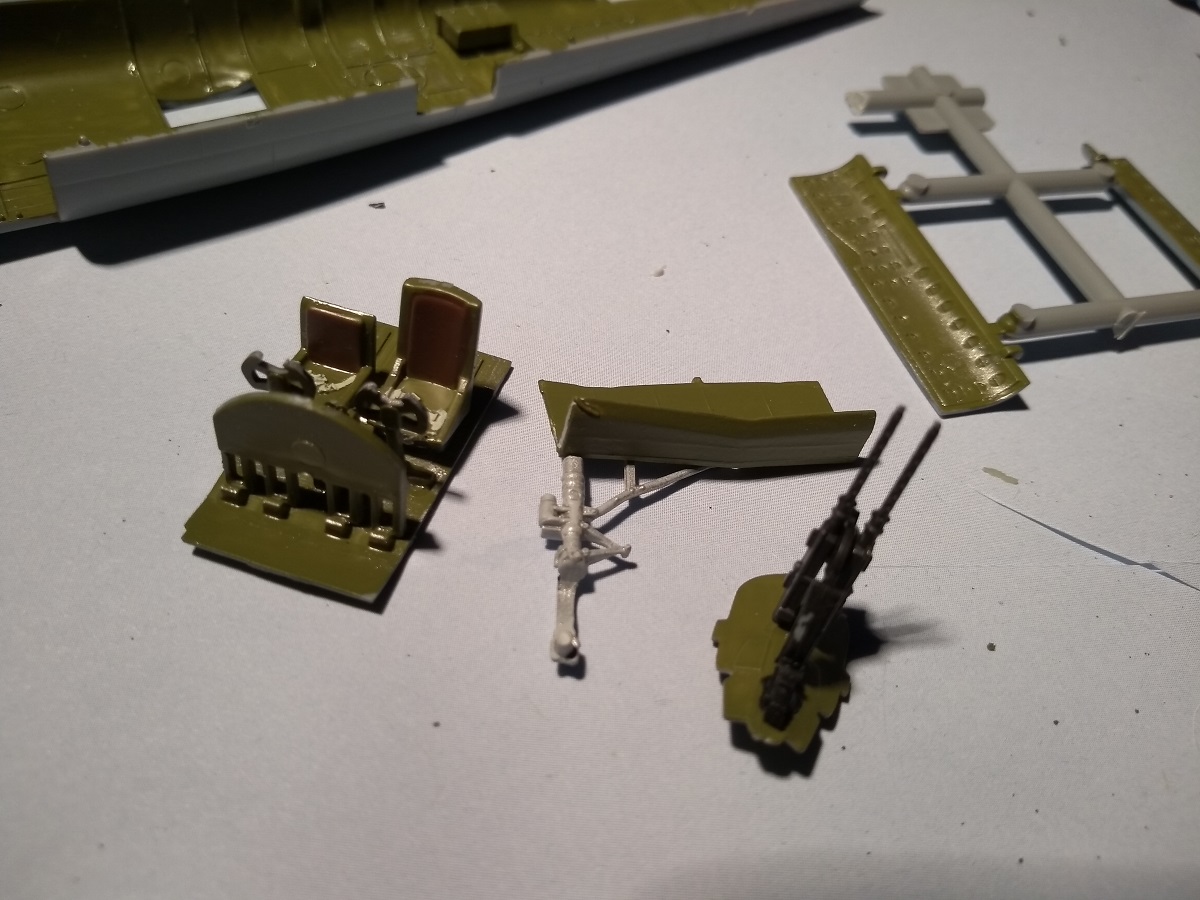
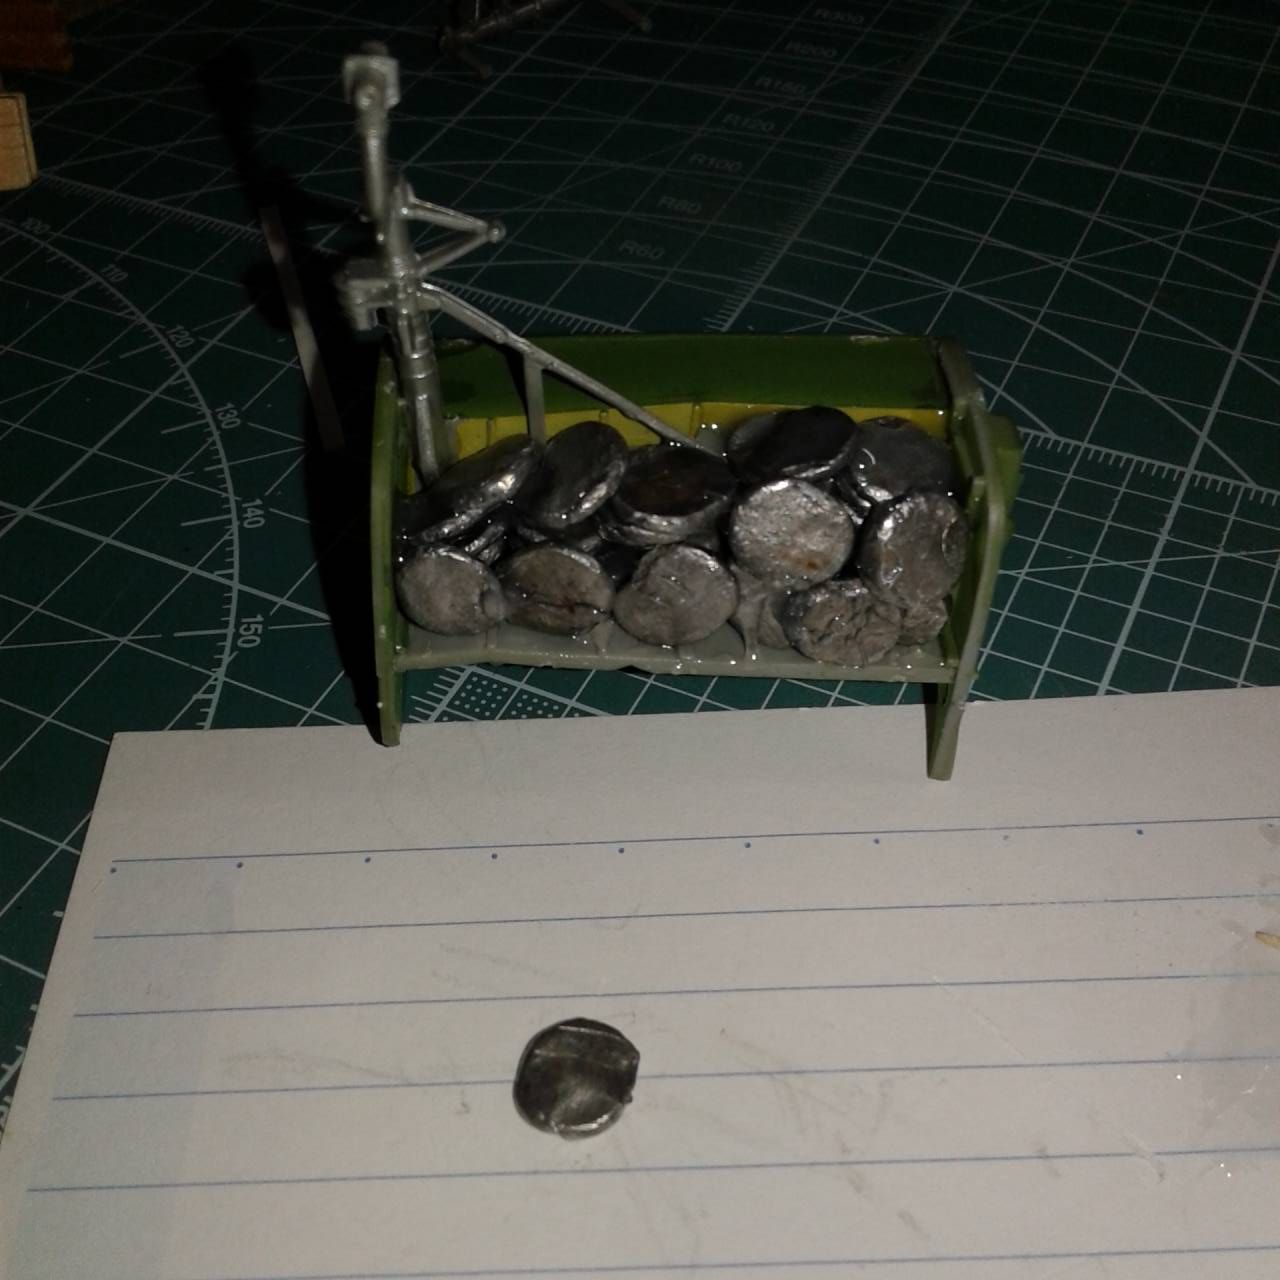
Of course I didn't forget about the weight to prevent a tail dragger. Though, the kit does come with a step ladder, and a boarding hatch that when assembled does omit the need for nose weight, if you don't mind step ladders. I also found myself having to add the left over weight into the nacelles.
The only other area that was of a concern was the matching of panel lines. While many like to sand and scribe new lines, it should be known that B-25's had lapped panels, so the kit is accurate on this, also, the dorsal turret was not painted, despite the instructions. When in production the dorsal turrets were laminated plexiglass in the shape molded. No painting is needed. What is needed, is some white glue in the slots for the 50 cal. gun barrels! Assemble the turret as per the instructions, hit it with white glue and when dry, paint the white glue olive drab. If you haven't seen it, do. The olive drab cloth has zippers that allow the barrels to raise and lower without being disconnected. I imagine the crew chief liked it as there was less dirt and dust to deal with!
To close the fuselage, one can remove the alignment pins and match stuff up, or do what I did. I removed a pin from the front top, and one from the bottom rear. This allowed me to align the kits panel lines. I then used Tamiya extra thin cement to tack the halves together. Satisfied, I then used super glue to bond the halves.
A little note here. I use the cheap super glue (0.25 USD/20 g). I have found that upon opening it, it will thicken over the course of a month and yields what one would pay a small fortune for at the local hobby shop. Thank you Paul Hawkie for that tip. It really works, unfortunately for me, I had to open another bottle for the B-24! Oh well!
I was about to put the glass on, when I noticed that the seats were going to be noticeable. This was just after dry brushing the instrument panel with some silver, due to it not being readily visible. I was fortunate enough to find a set of seats for 6 USD online, and when they arrived, I proceeded to paint the bases. While I languished about yellows, and or what the cushions should look like, the overspray from the base coat solved my problem. I really liked how they turned out.
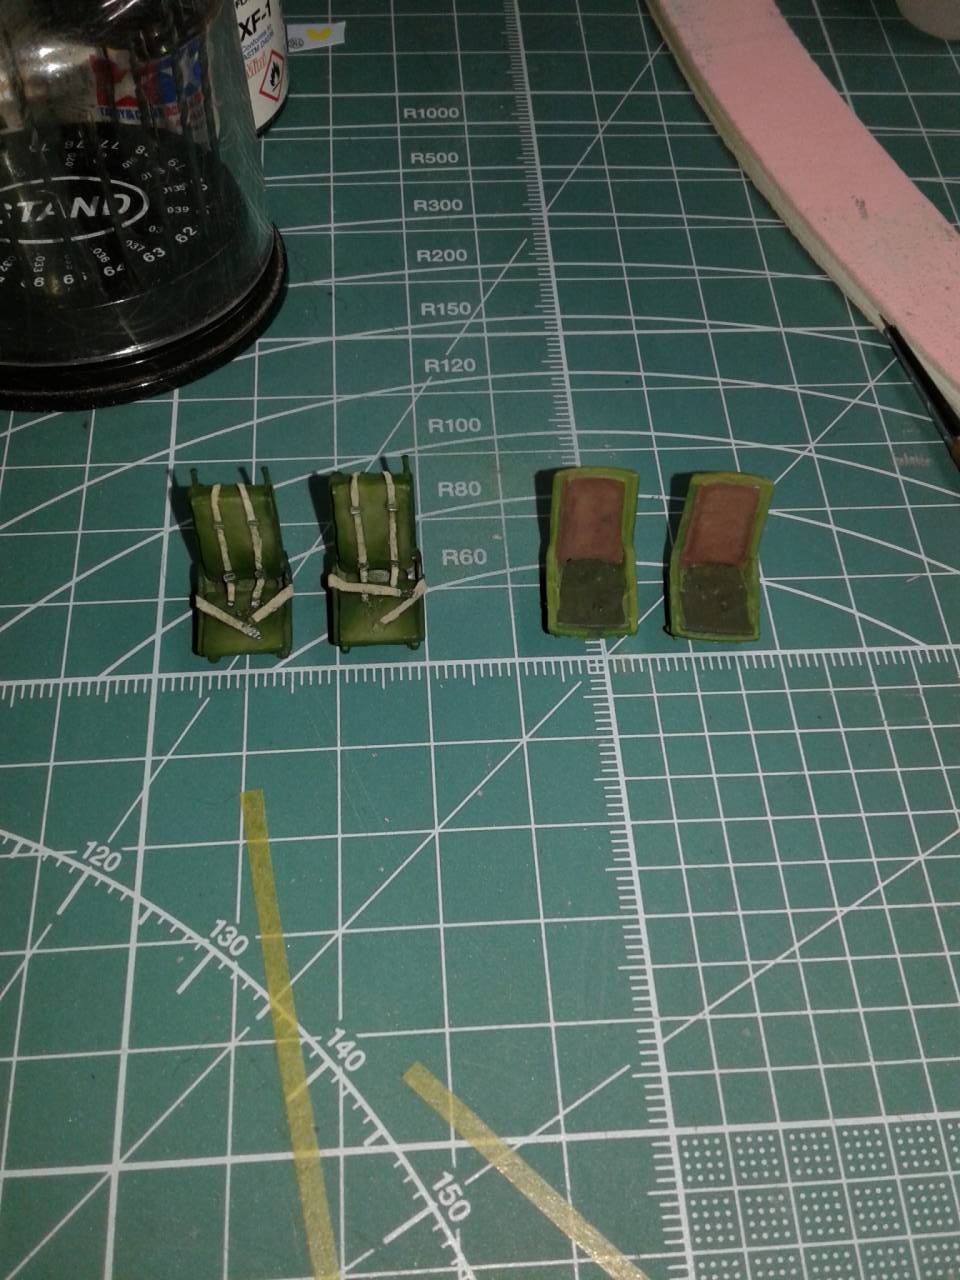
Sometimes when you're not trying it does work out!
At the end of the day I had a very nice B-25J ready to be painted. I did do a bit of pre-gloss using Tamiya black to make sure that the seams were taken care of. Additionally, I took my time to allow for a natural metal finish topside, as I planned to chip the RAF dark green up.
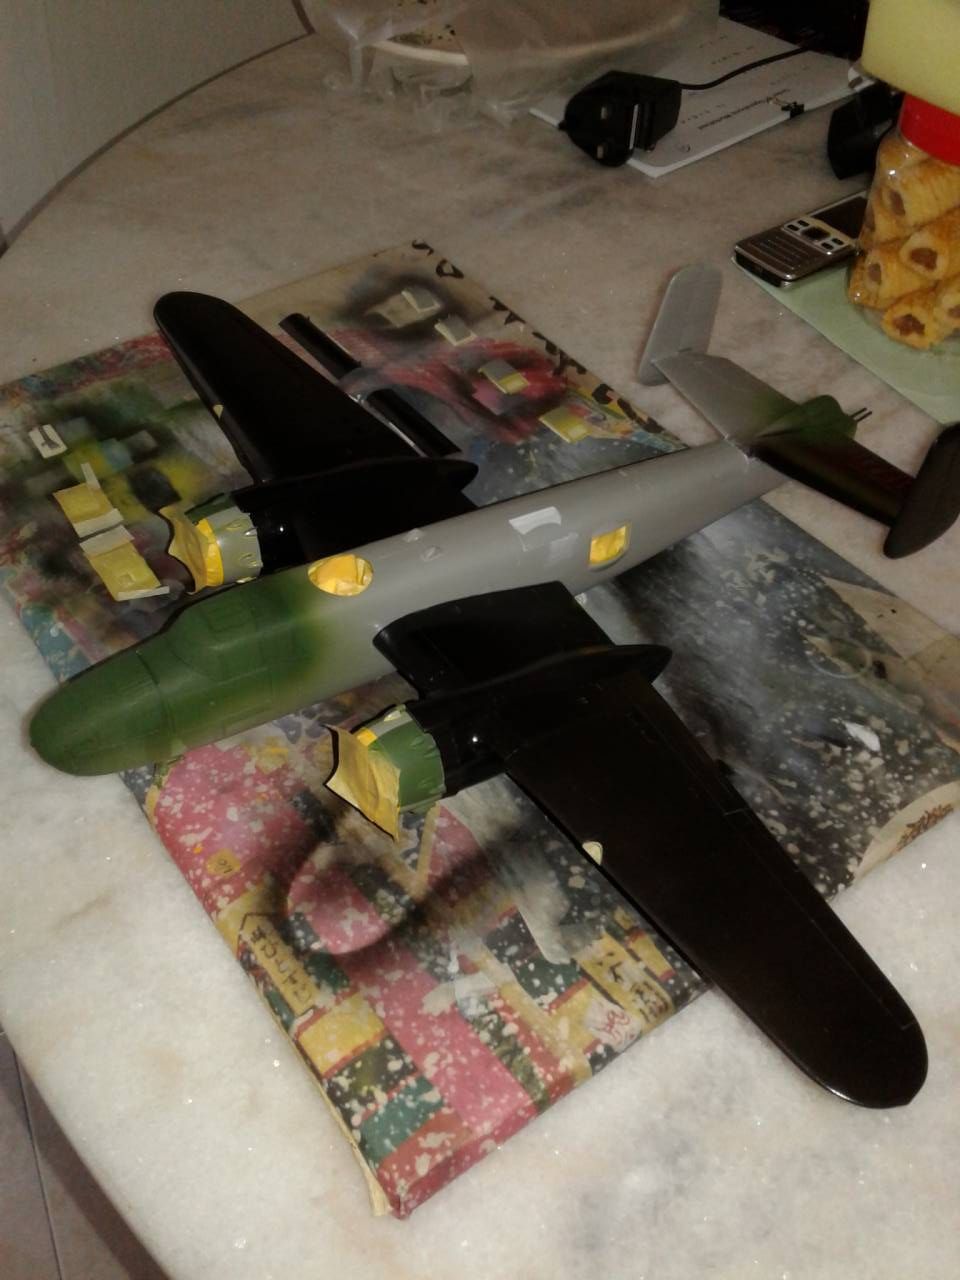
Up next, Painting and a bit of weathering! Till then, have fun. This has been a fun kit for me!!!


