Quoted Text
Hi all!
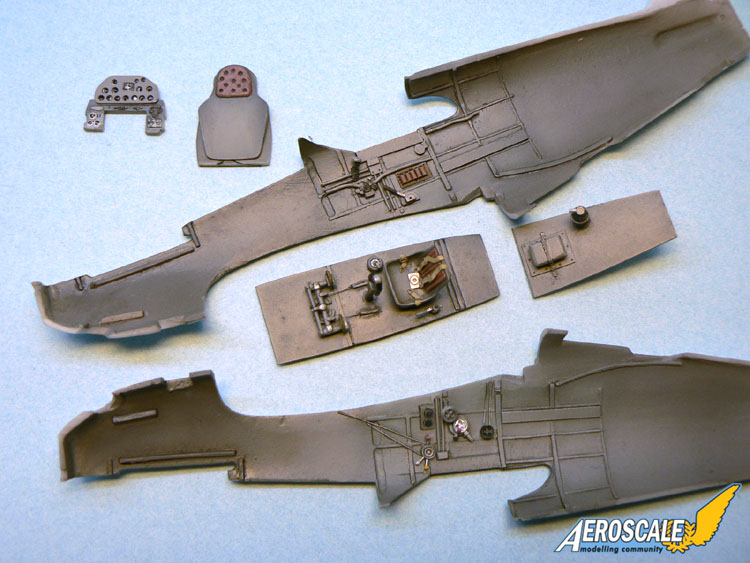
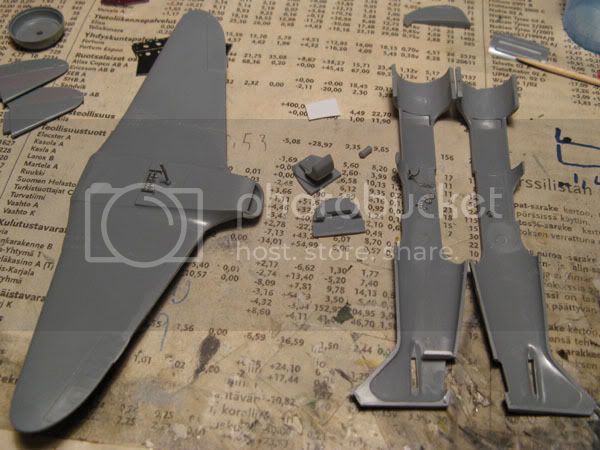
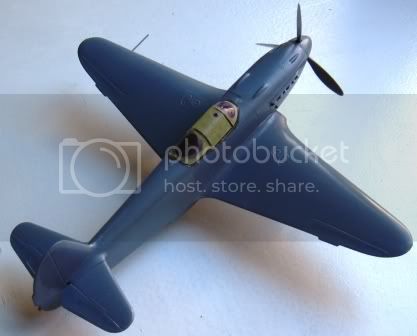
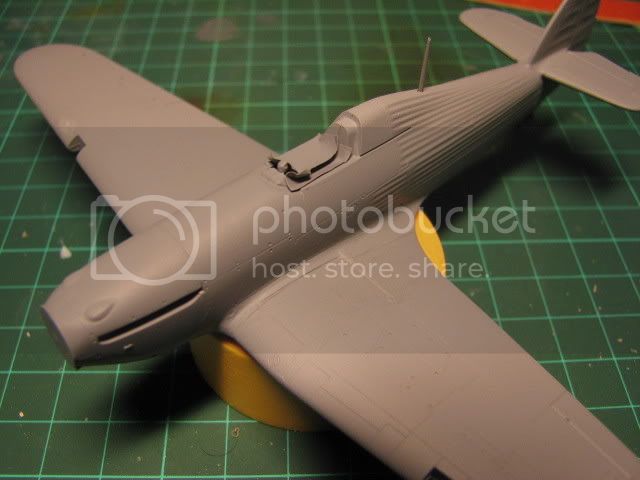
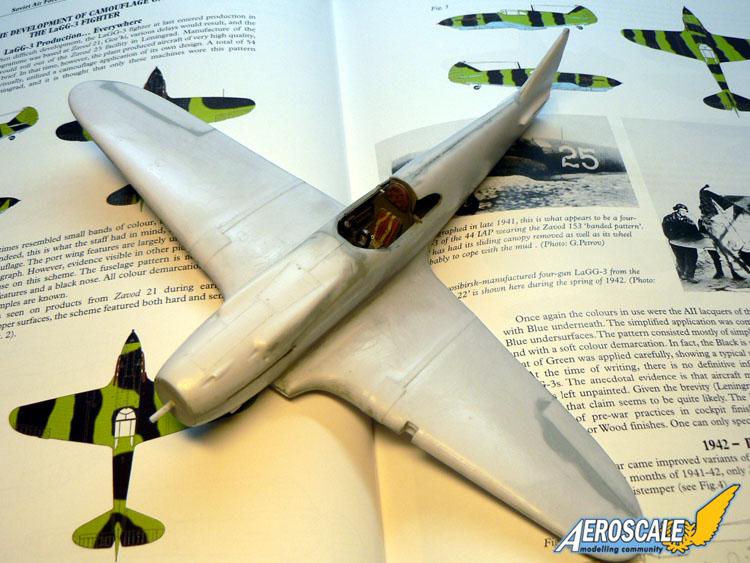
I made a start on my LaGG-3!
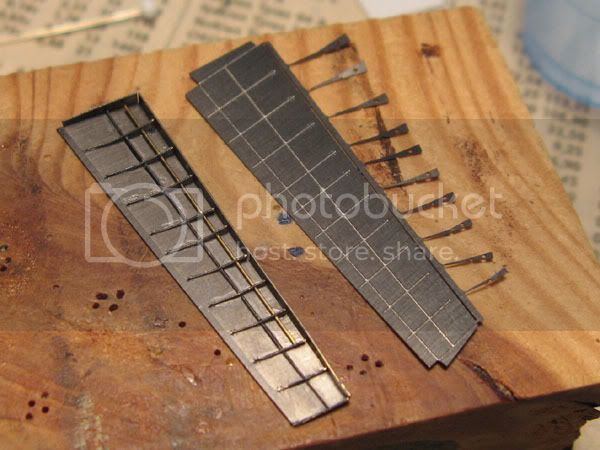
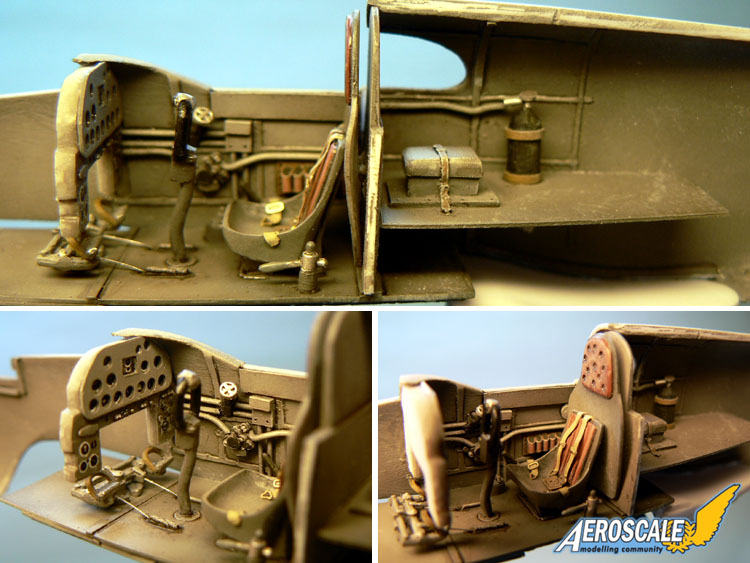
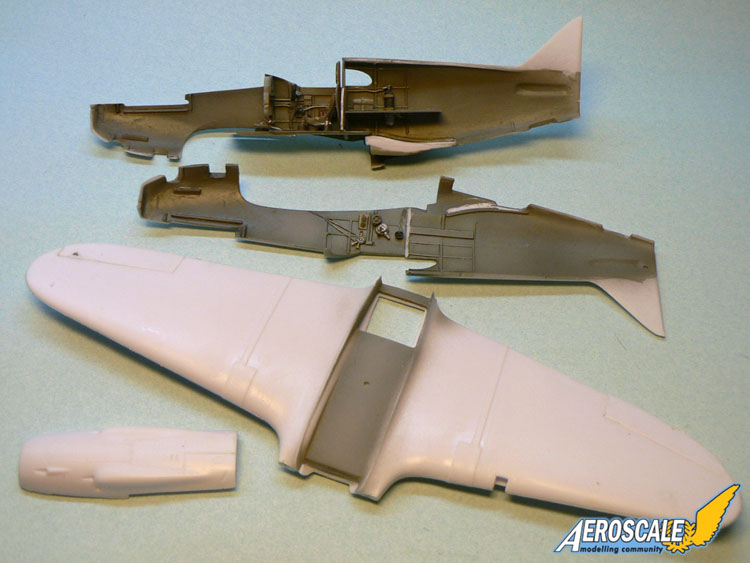
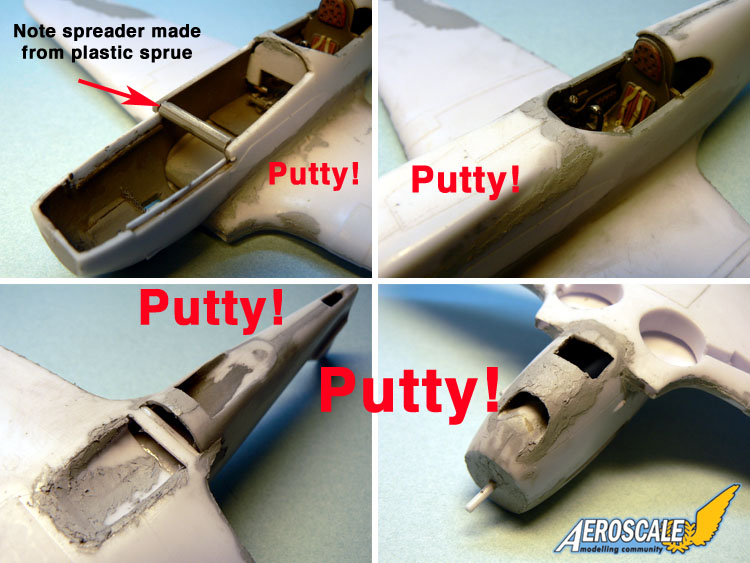
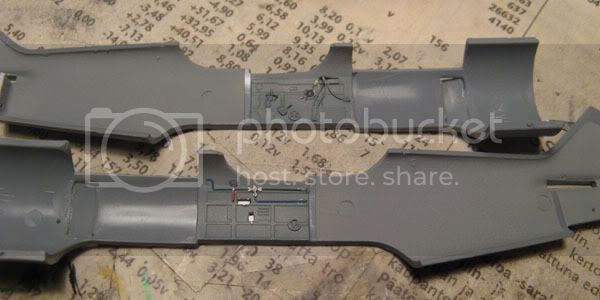
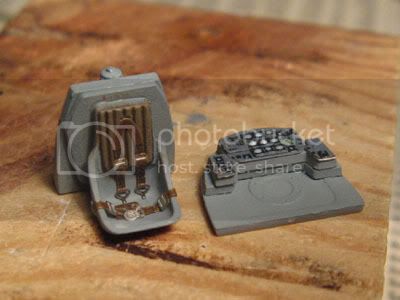
So far I only dressed up the cockpit interior a bit. I'm usually happy with what is provided in the box of a kit but not this time. The South Front kit only provides basic detail so I used various parts from the spare box as well as scratchbuild parts to make the cockpit look more busy...
I used some references but the result can't be considered as accurate so don't use this build as a guide for your own LaGG-3 model.
I think I will paint the interior in grey color tomorrow.
Jean-Luc
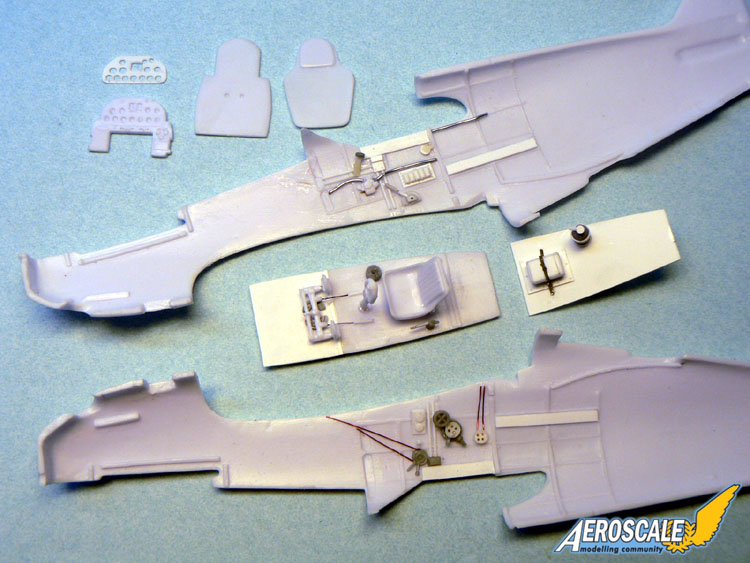
Looking good! I hope you haven't forgotten seatbelts?
And about the interior grey, what paint are going to use?
One more thing. I presume this later La-5 also comes with the rubber tires and separate plastic wheels? The earlier kit has the wheels molded in a different-looking plastic. I assume it's to prevent the wheels from reacting with styrene? And because of this, I presume normal styrene cement won't work?
"Some references"? Let me guess, it's IL2 Sturmovik?
I know, good pics of Russian planes are quite hard to find. I just bought MPM's 1:48 Pe-2 (not for this campaig though, it'll become, surprise surprise, a Finnish-operated plane. After a few searches, I found one reasonable site with pics of a plane being restored.
But talking about LaGG-3 (and La-5, too), here's a good site with photos and drawings: http://mig3.sovietwarplanes.com/lagg3/lagg3.html#29-lg1
Btw, how were the clear parts in your copy?
I got the earlier LaGG-3 (4th batch) kit in my stash waiting to be built as the Finnish LG-1. The sliding part of the canopy has a nasty crack in the middle. No worries, I found falcon's clear-vac canopy set with a suitable canopy (or at least I hope so, it says it's designed for LTD's kit...).
But as usual, one thing leads to another. With the kit-supplied clear parts, I could have well built the "office" out of the box, but with the vac-canopy, I'll have to start thinking about gathering aftermarket stuff and planning scratch-built additions.

I made a start with my entry too. As mentioned earlier, it's eduard's 1:72 3-gun La-7. Nothing too grand, I started with the interior, assembled the propeller (I hope I got the blades on straight, these things with individual blades always give me trouble). I also removed the landing flaps from the lower wing to make way for the PE parts. There's still some grinding to do with the upper wing to make them fit, though. According to the instructions, the upper wing part has to be thinned to 0,3mm in the area where the flaps go.