The S6B is now sitting on its own legs ,,err,,,floats,,for the first time


Nige


that's cool Nigel. That little plane has always interested me and you are doing an excellent job with it.
I am envious of your ability to get a project rolling and steadily progressing. I get distracted by other projects too easily.

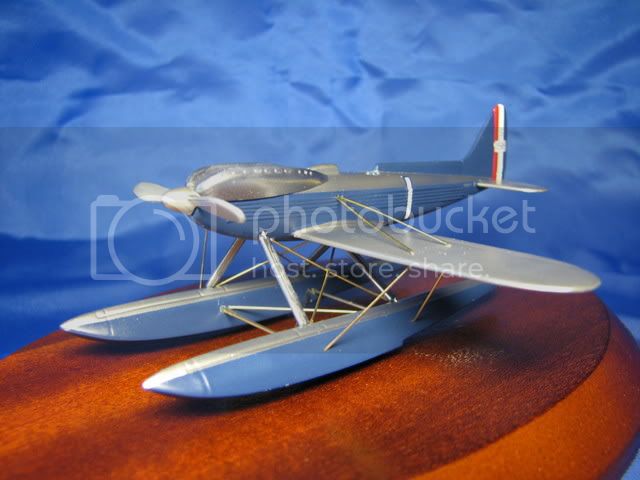


Everything fitted and painted silver. I'm going to use fishing line for rigging. I used stretched sprue for the bracing on the floats but I've not done it for years and ended up gagging on plastic fumes. I think I'll follow Nigel's lead and use brass rod in future. I'm not happy with the join at the wing root so I'll sand and fill and sand it a bit.
Any recommendations for masking the silver and painting it blue? I'm going to be brush painting it.
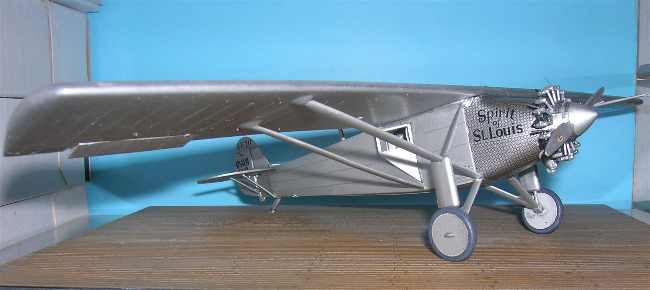
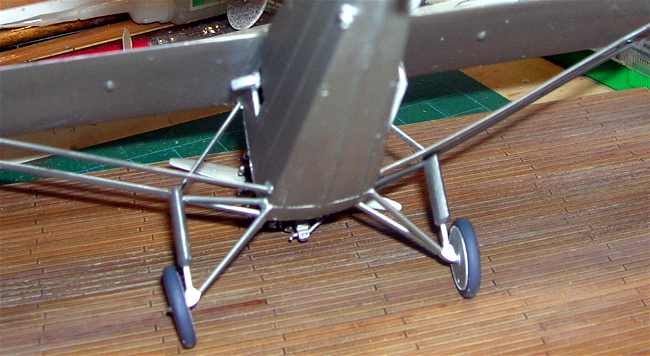
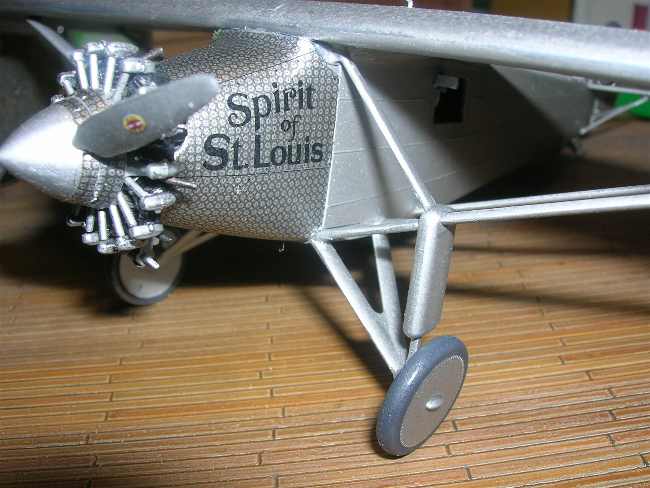
Here it is so far anyway.


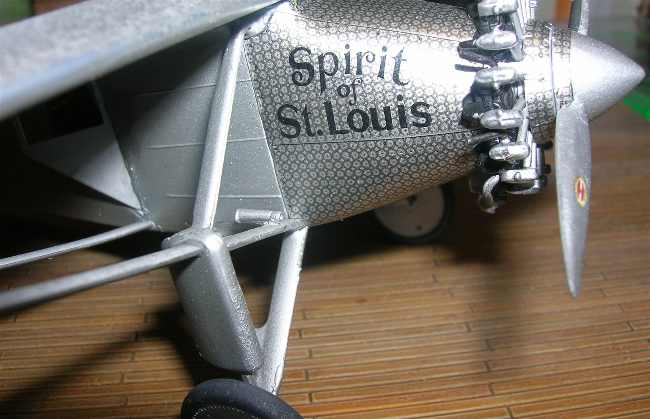
I really enjoyed that. It's been an education reading up on the wealth of material and advice on modelling on the web. Quite pleased with the result, it could be better and if I was to do it again it would be. Think I've got the bug back.
Dont try and fight it,,you wont win 
The campaign building is a good way of keeping my interest up. You get a wee banner too and face it, everyone loves stickers.

 Yeah I know it sounds bizzarre. But the little pigs with fur eat hearing aids and other sundry items too. So I cracked open the second kit I had bought ( they were a great price of 12.95 each) and am roughly where I had been before the laso & the silky decided on polystyrene for a midnight snack. I swear its true they ate or rather gnawed heavily on it. No really it did happen.. .really. No really!


 |