Really nice progress and finished entries everyone!

Somewhat surpringly, I've been making some progress lately.

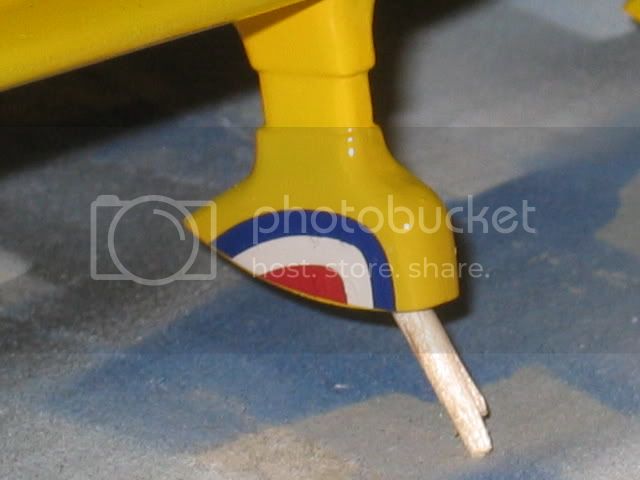
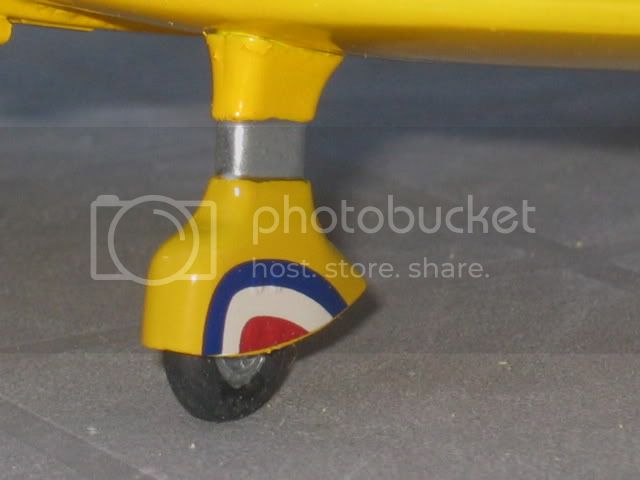
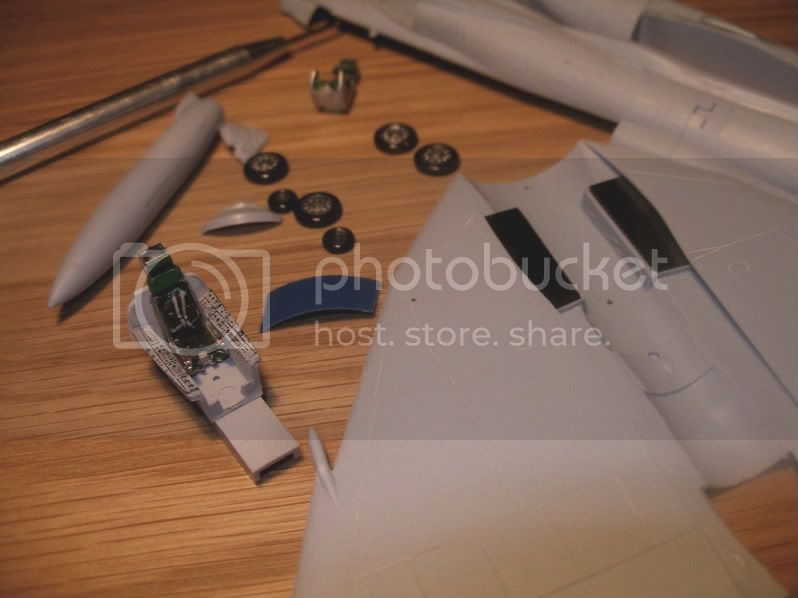
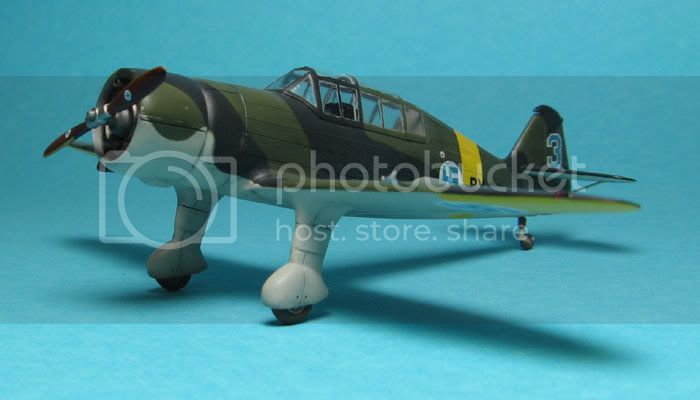
Fitting the wheel spats was quite a chore: I had to sand the mating surface of the resin spats to a slight angle while trying to both keep the sanding straight, avoid sanding too much, sanding approximately the same amount from both pieces AND trying to work as fast as possible (as this is a thing I think should have been done to the masters by the manufacturer and not the modeler...). After getting the sanding done, I glued the spats in with superglue and blended them in to the wing with milliput and mr. surfacer, and some more sanding.
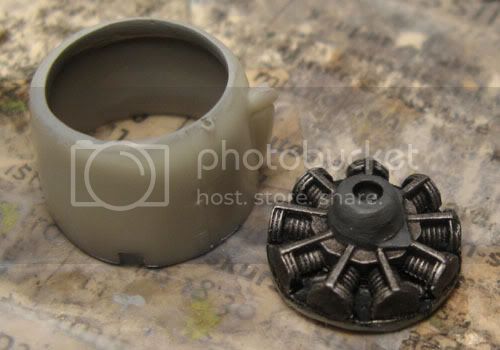
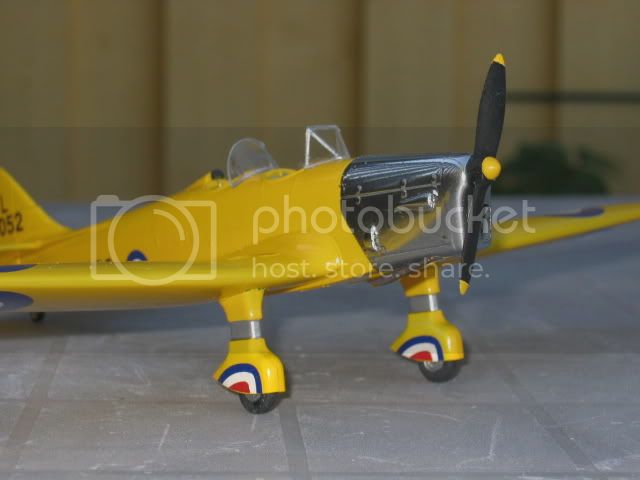
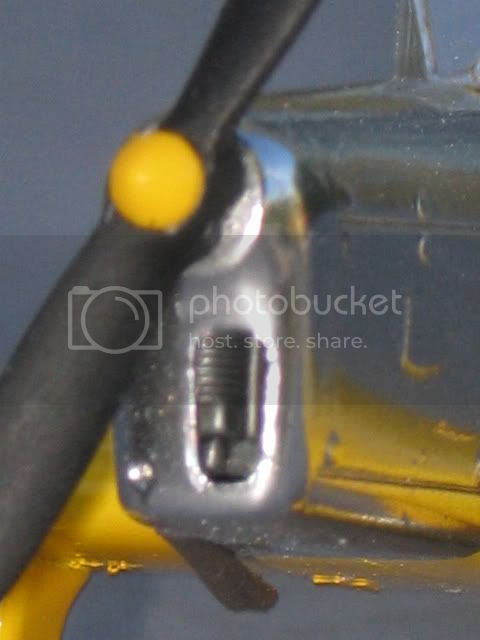
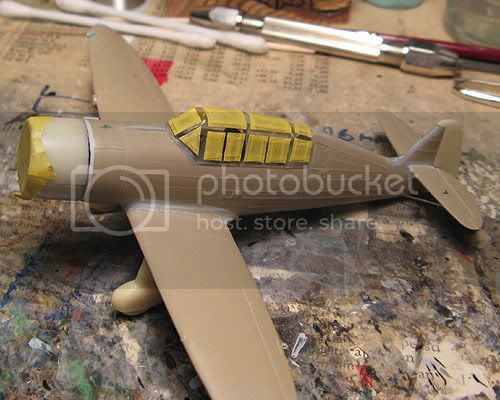
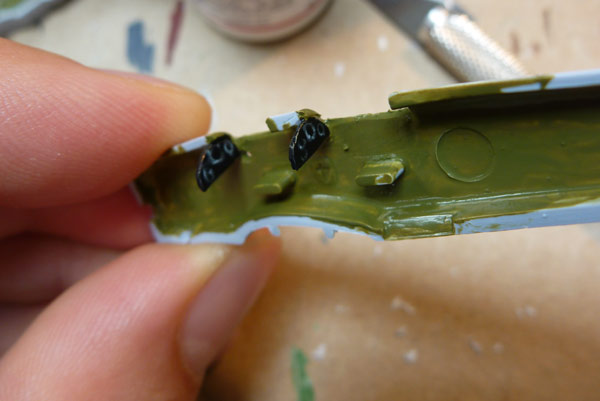
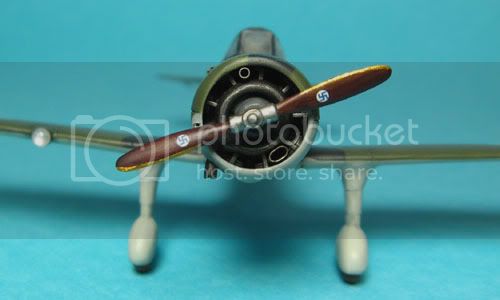
Although I first had in mind to detail the engine a litte by adding ignition wires, I abandoned that idea due to the strange inclusion push rods which shouldn't be in the front on the Wright R-975. So, I just painted it up along with the inside of the cowling (medium sea grey, IIRC).
As the engine was a bit loose fit to the cowling after my trimming and sanding, I had planned to put the cowling on a flat surface, drop in the cowling so it sat perpenicular on it's reduction gear housing, then attach it from behind with drops of glue.
But the several layers of paint in the cowling resulted in a nice and tight friction fit, so gluing the engine in place was even easier. I first ran a bead of superglue around the engine, and after that was set with acceletator, I mixed up some milliput and secured the engine in place for good.
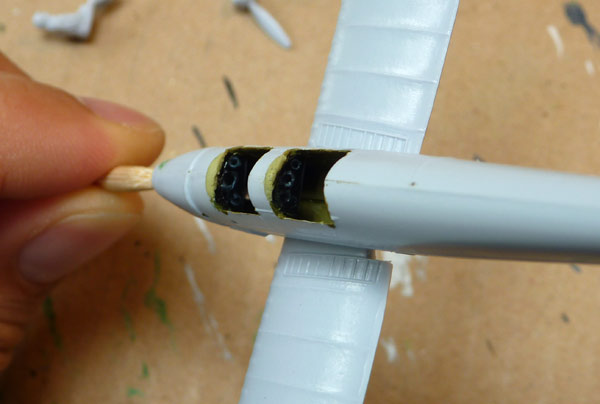
Next was attaching the engine cowling to the rest of the plane. The instructions inaccurately called for the rather thick-walled cowling to be blued directly to the fuselage. No way.
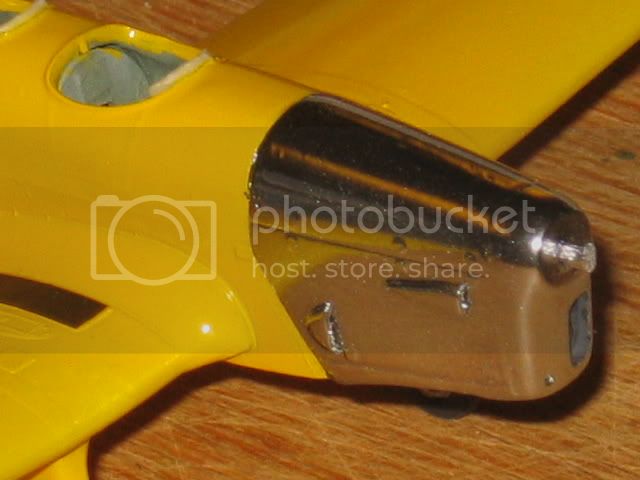
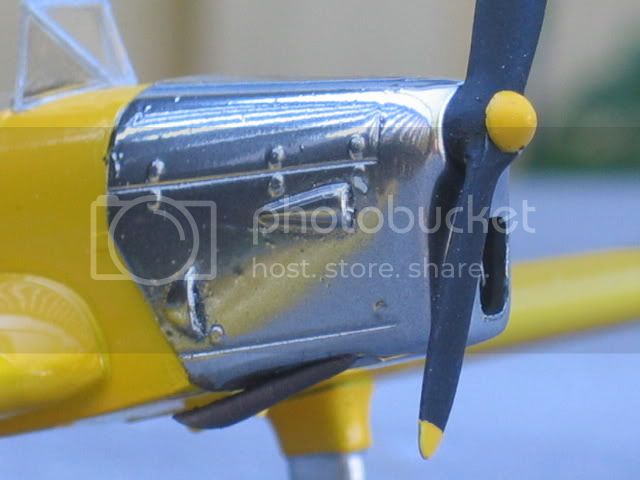
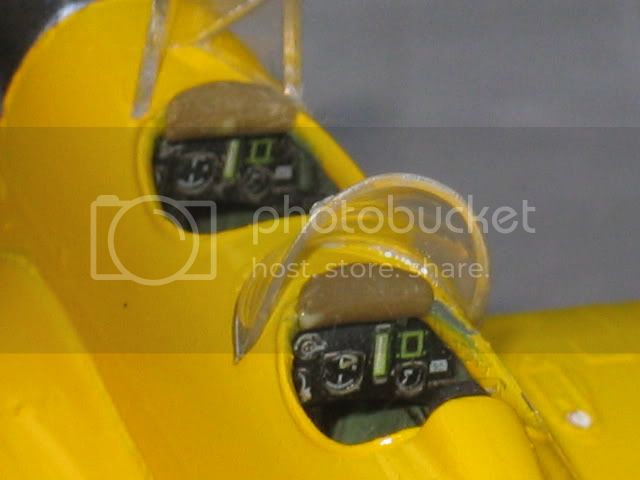
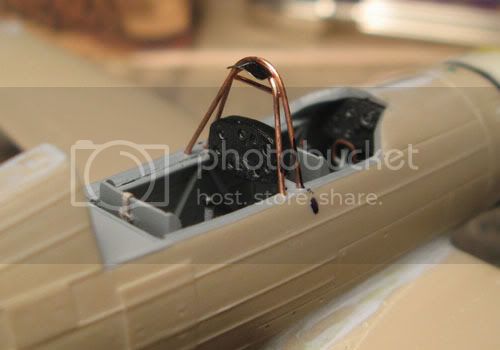
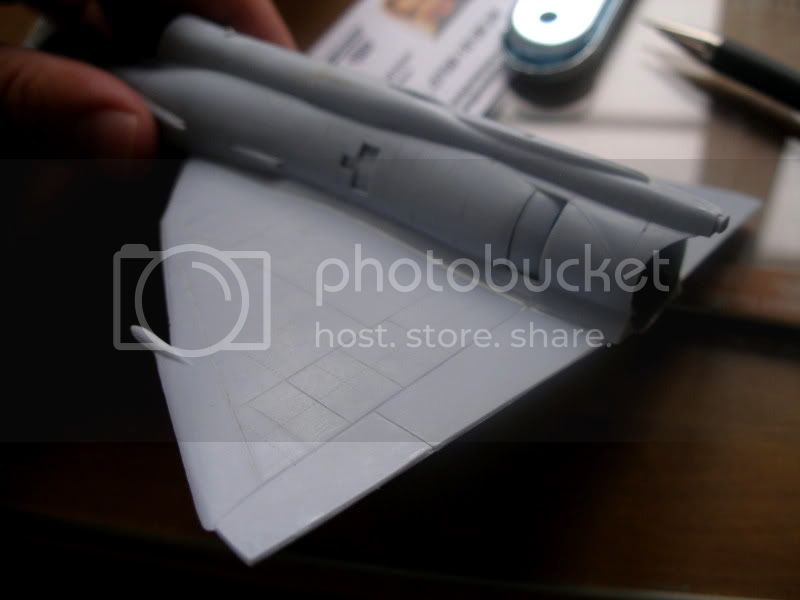
As I had modified both the front of the fuselage and the cowling for a more realistic appareance, I had to think of another way to mount the cowling. The first thing that popped in my mind was metal wire, copper would be both robust and still allow some tweaking after gluing. To make a more robust join in the fuselage, I glued a piece of styrene there. That got me thinking: why not go all the way and build an engine mount from pieces of styrene sheet, with the copper wire inside. It worked nicely! Before attaching the cowling I painted the inside black to disguise the empty space.

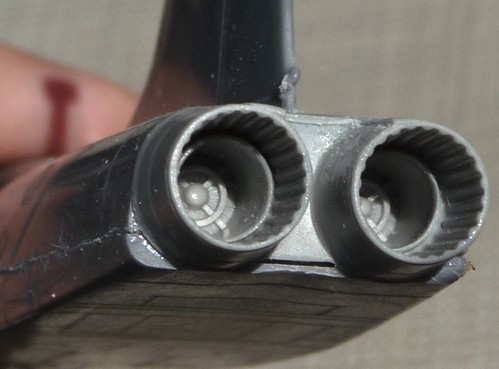
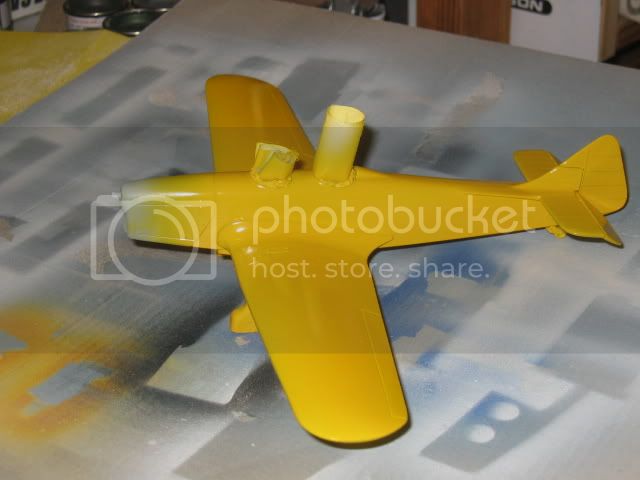
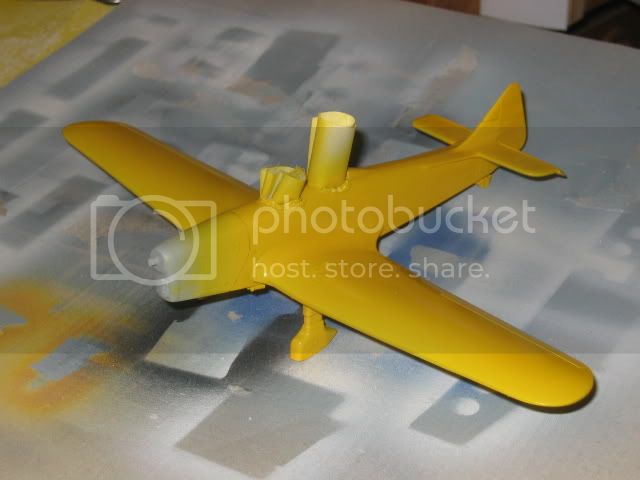
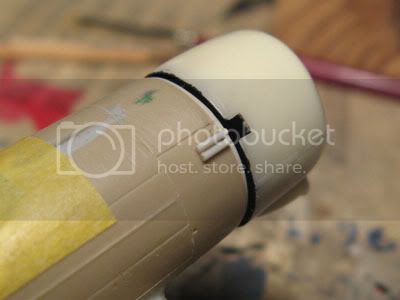
With the cowling in place, I glued in the two tubes (venturi pipes?) that go behind the notch in the cowling. Missing from the kit nor mentioned in the instructions, I made them from stretched sprue. Not 100% accurate, as the real things are flared, but close enough for me in this scale.
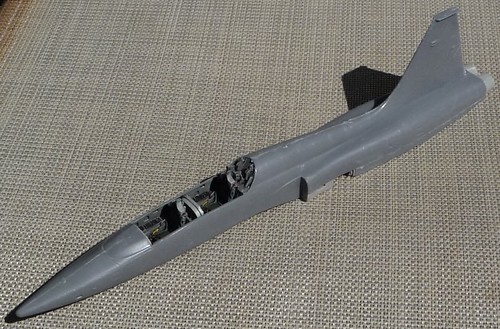
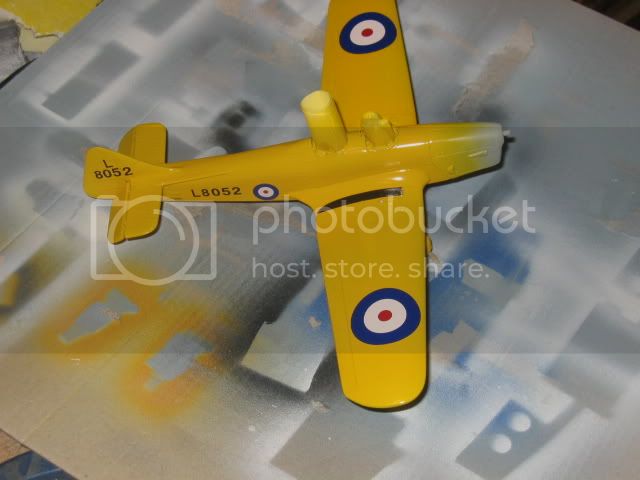
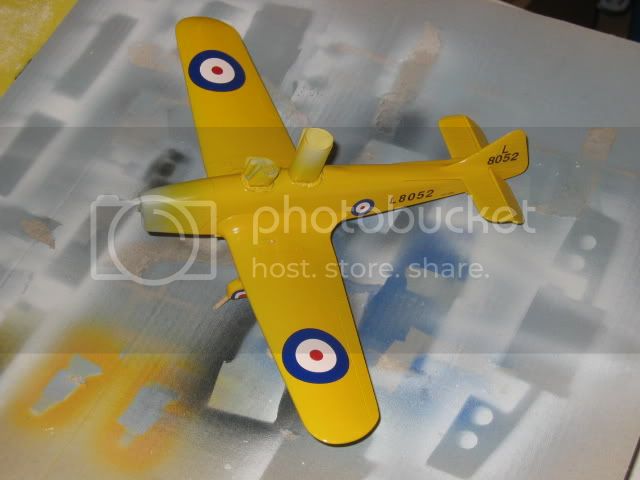
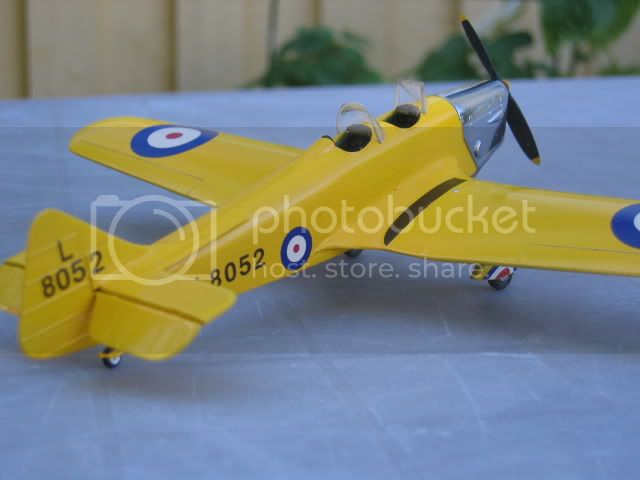
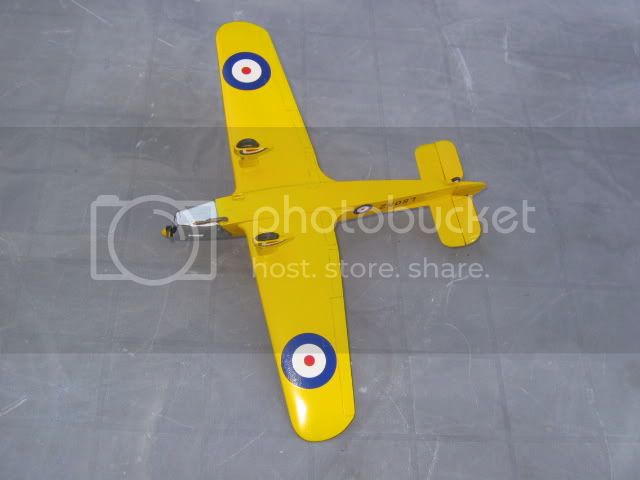
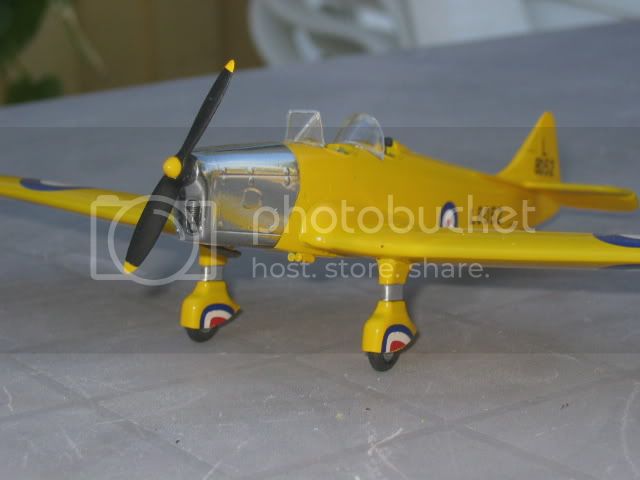
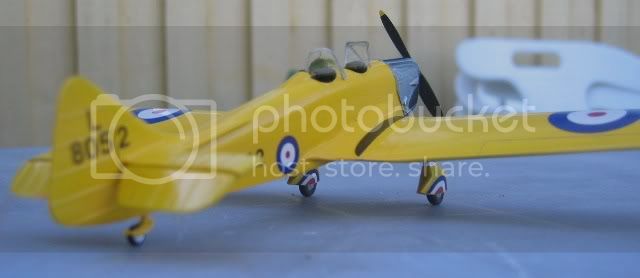
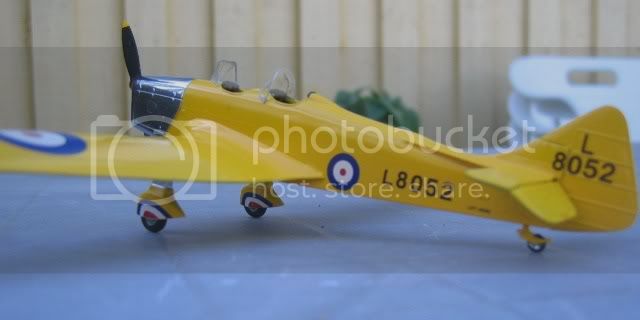
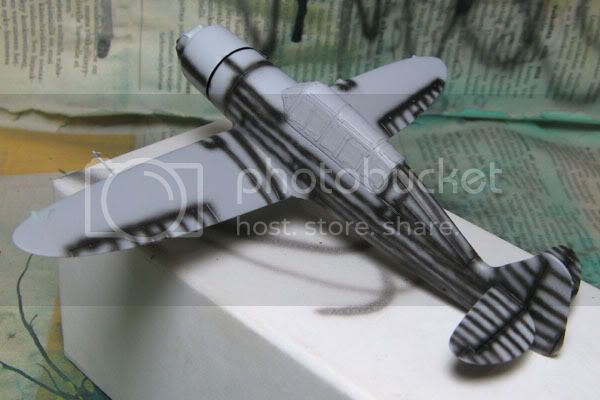
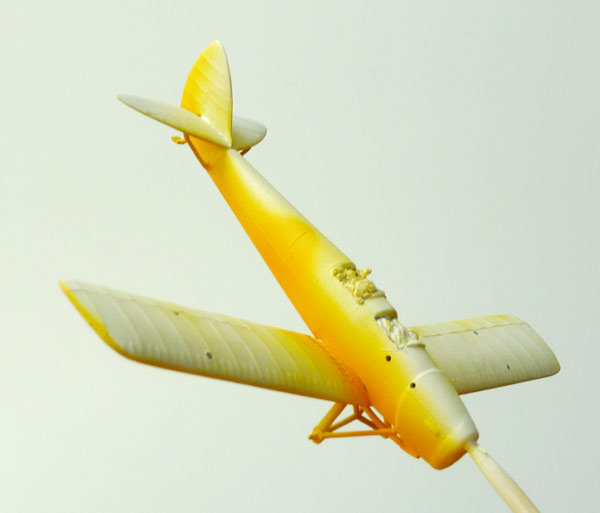
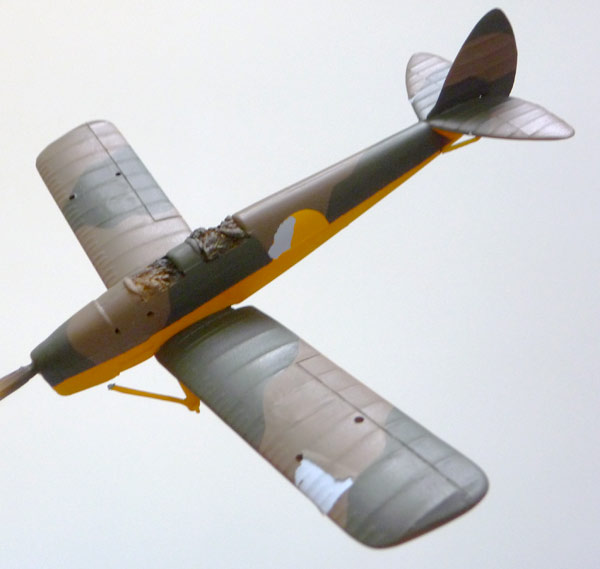
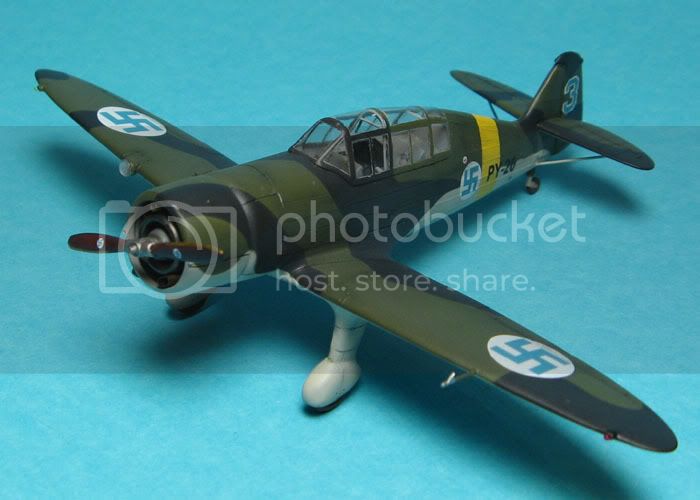
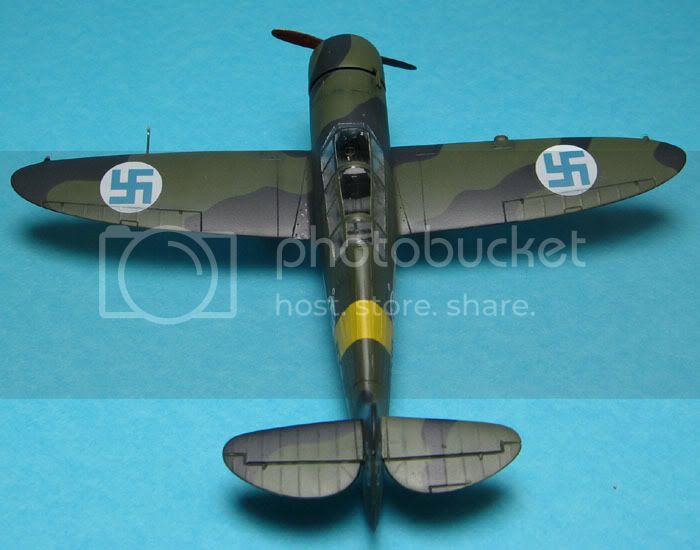
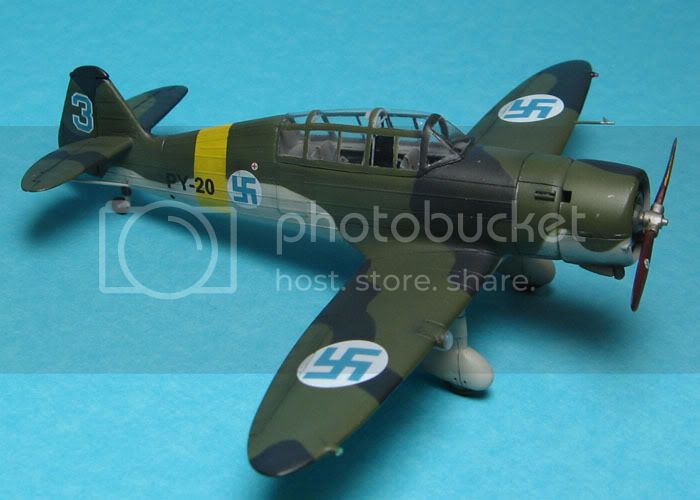
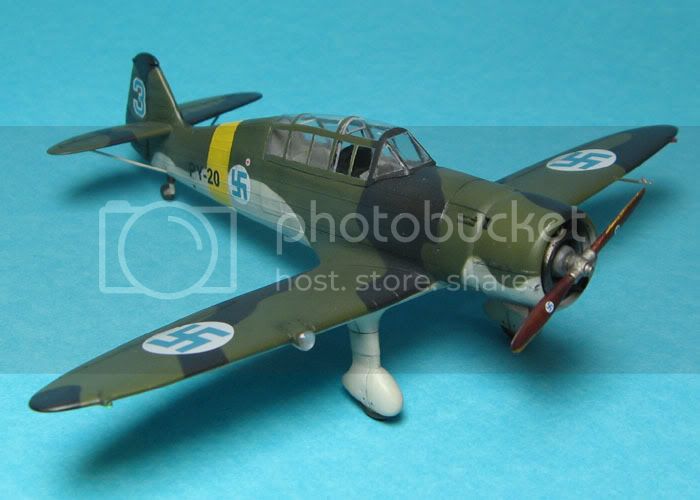
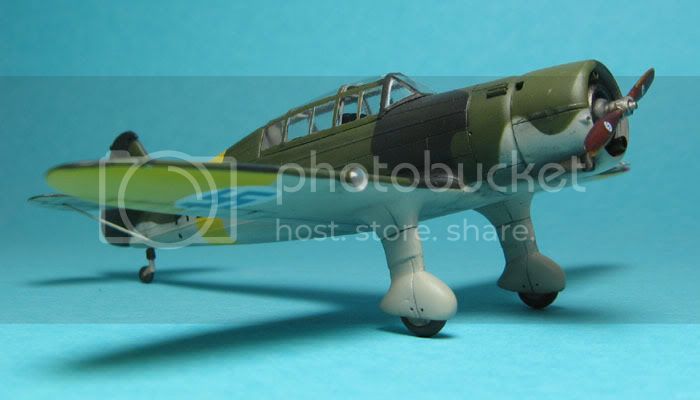
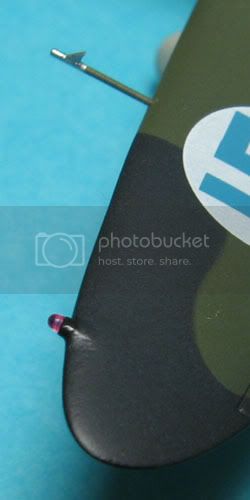
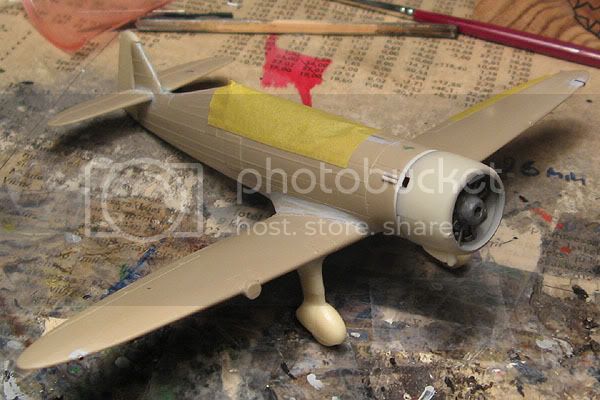
Here's an overall shot of the kit at this point. The kit lacked the navigation lights near the front edge of the wing tips, so I drilled holes there and glued in pieces of brass tube, then blended them in with mr. surfacer and putty. The hole for the left one (upper right corner in photo) didn't go exactly center, the tube ending up a bit high, but I chose to live with it. Some sanding and putty should blend it in just fine.
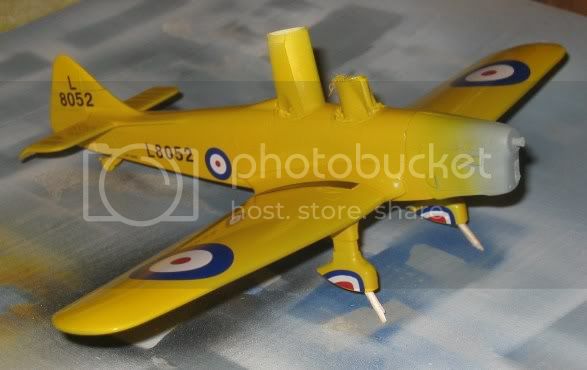
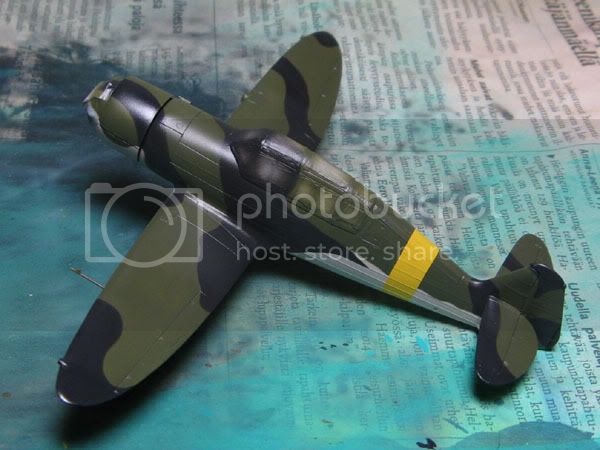
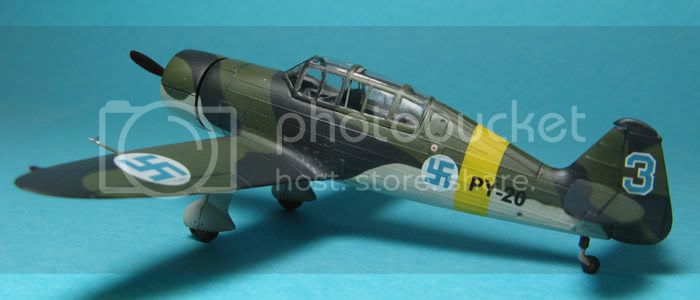
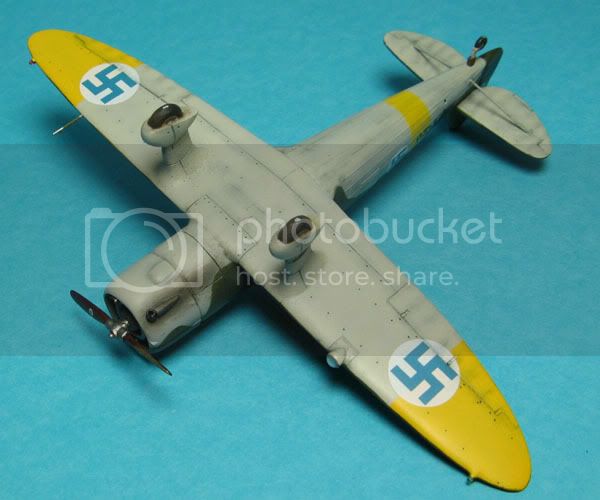
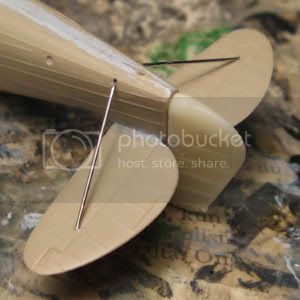
Next I made and glued in the stabiliser support struts. Although the kit lacks these, the instructions point the modeler to make them from scratch, along with measurements. What they missed though, is that originally the planes had a single strut. In May 1942 the V-shaped struts were ordered to be fitted to all Pyrys.
Even though my choice of markings could be built with either strut configuration, I went for the earlier type as the kit's marking guide stated it's a Pyry stationed in Kauhava 1941. (and they were less of a hazzle to make!
)
To make the strut, I cut to length some hypodermic needles and flattened them a bit with a hammer and pliers, then glued in place with superglue.
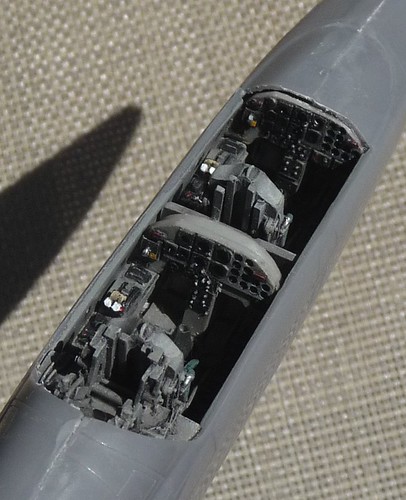
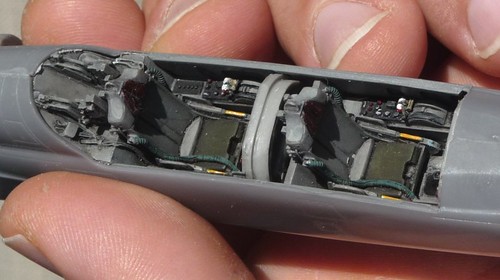
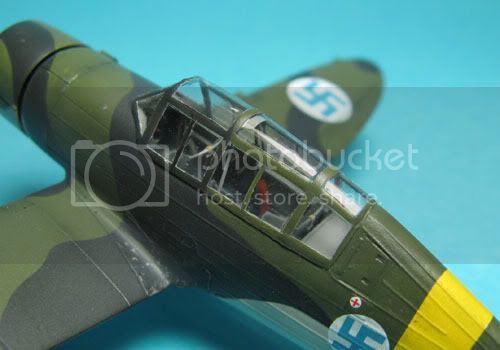
Next: some more scratchbuilding, in the form of the roll cage that goes between the cockpits.
That's it for this time.
:-H