Hi all!
First, thanks for the extension of this campaign, now I have a fighting chance of getting my little fledgling done!
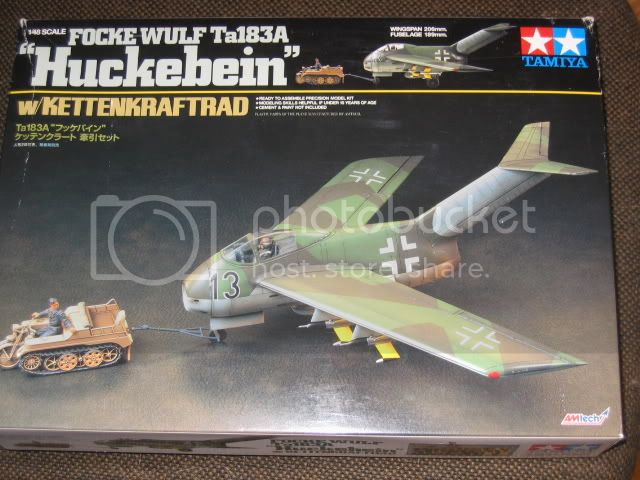
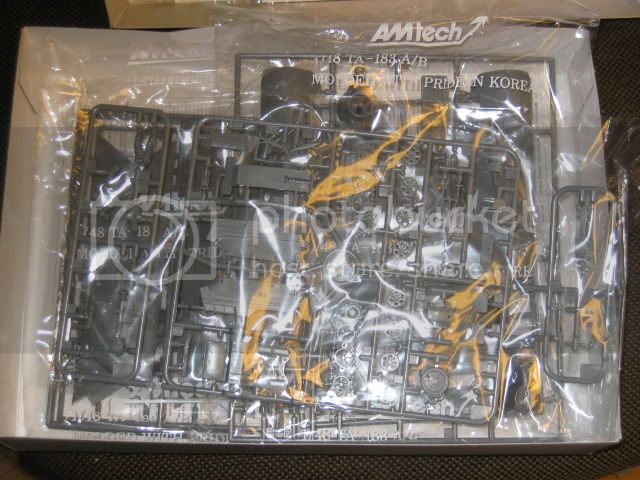
I´m building the Tamiya Ta-183A in 1/48, this is a reboxing of the AmTech kit, together with Tamiya´s little kettenkrad.

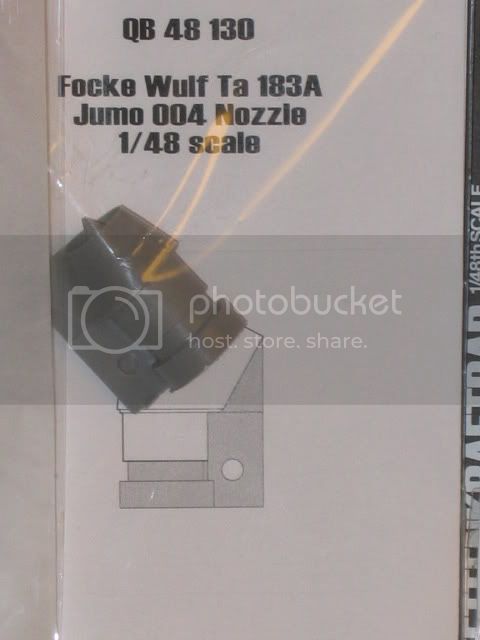
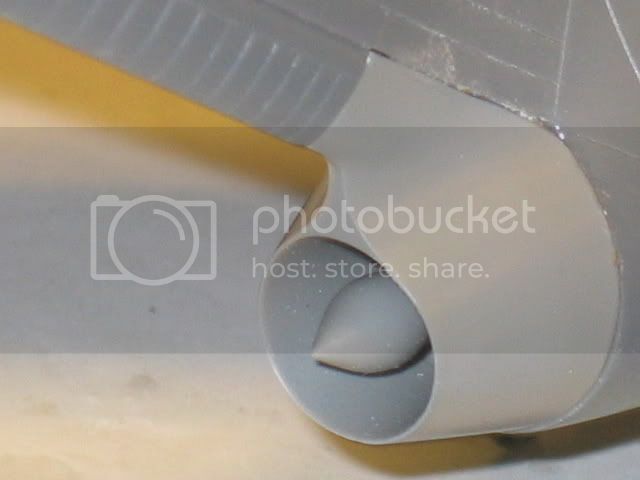
Some additins will be new intake/front gear well and jet exhaust as the ones in the kit is very shallow and simplified!

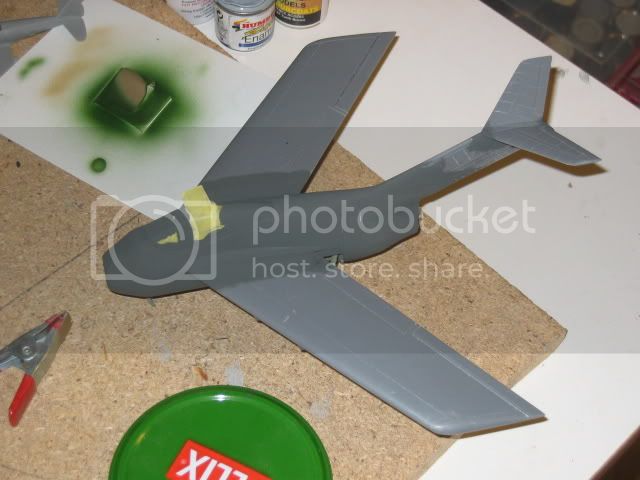
I started the build by cutting loose the resin parts and glueing together as much as I could before painting.
The build was totally trouble free!
Until I test fitted the resin intake and exhaust, that is!
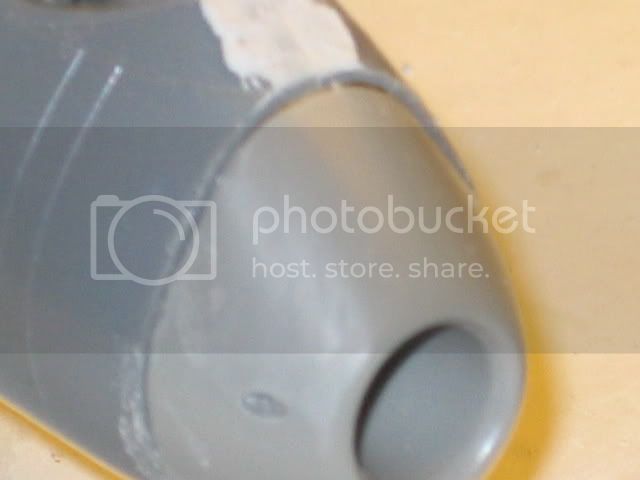

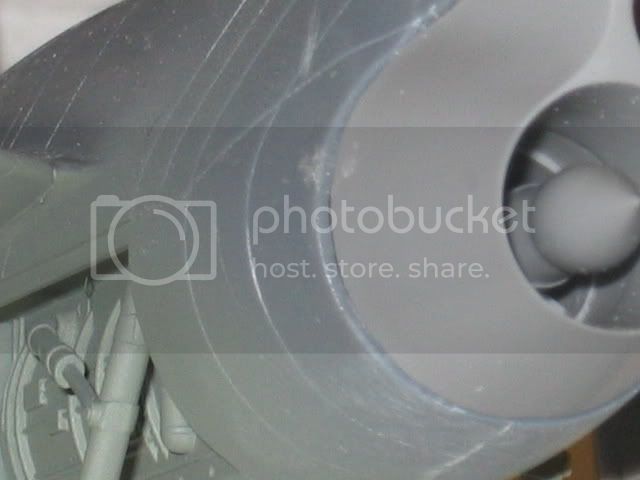
My best friend in cases like this is the 80-grit sandingpaper!
May sound a bit harsh, but It´s very effective!

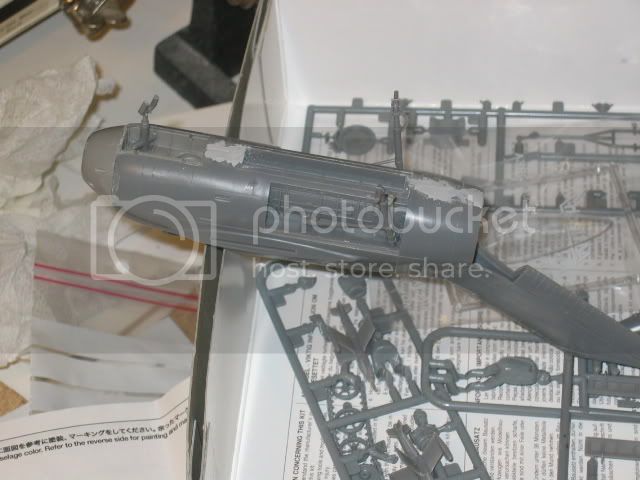
Some filler on the fuselage seams

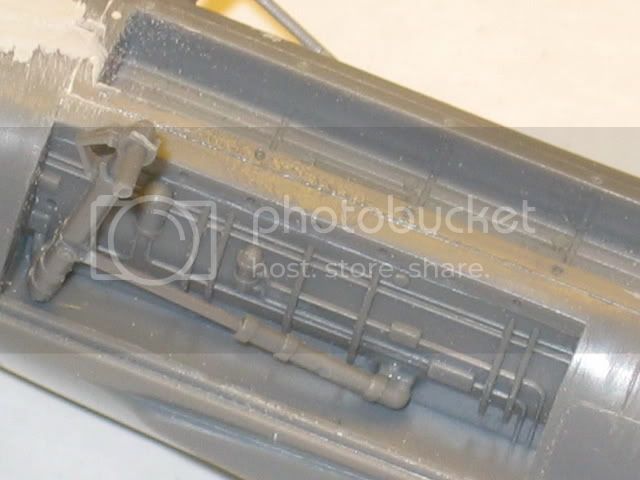
The weapons/tank bay was a near-perfect fit, tough!
The wings were a very good fit!

Then I glued the under carriage in place, filled and sanded the exhaust.
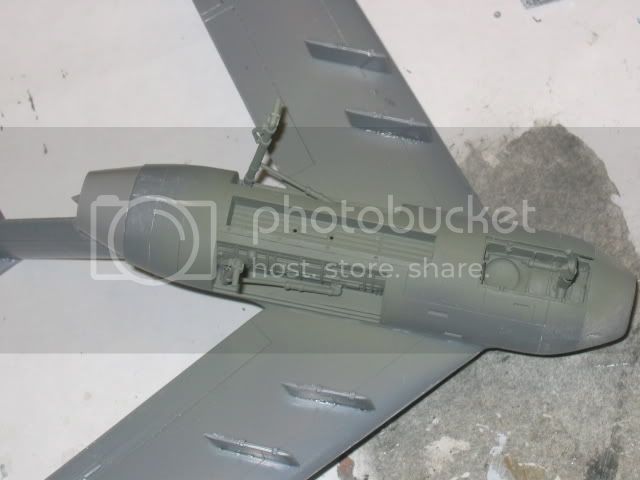
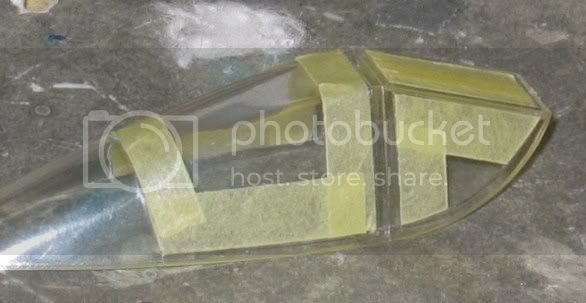
I masked the single-piece canopy with yellow Tamiya-type tape, glued it in place with some white glue before I painted the frames RLM66.
More to come
Cheers!
Stefan E


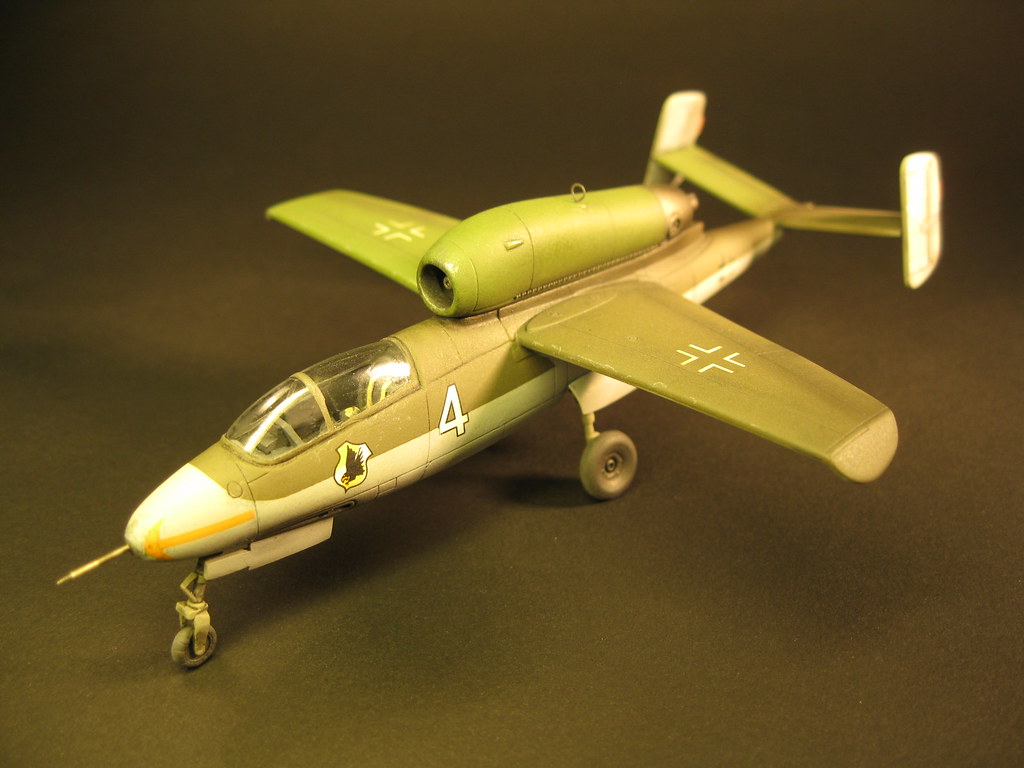
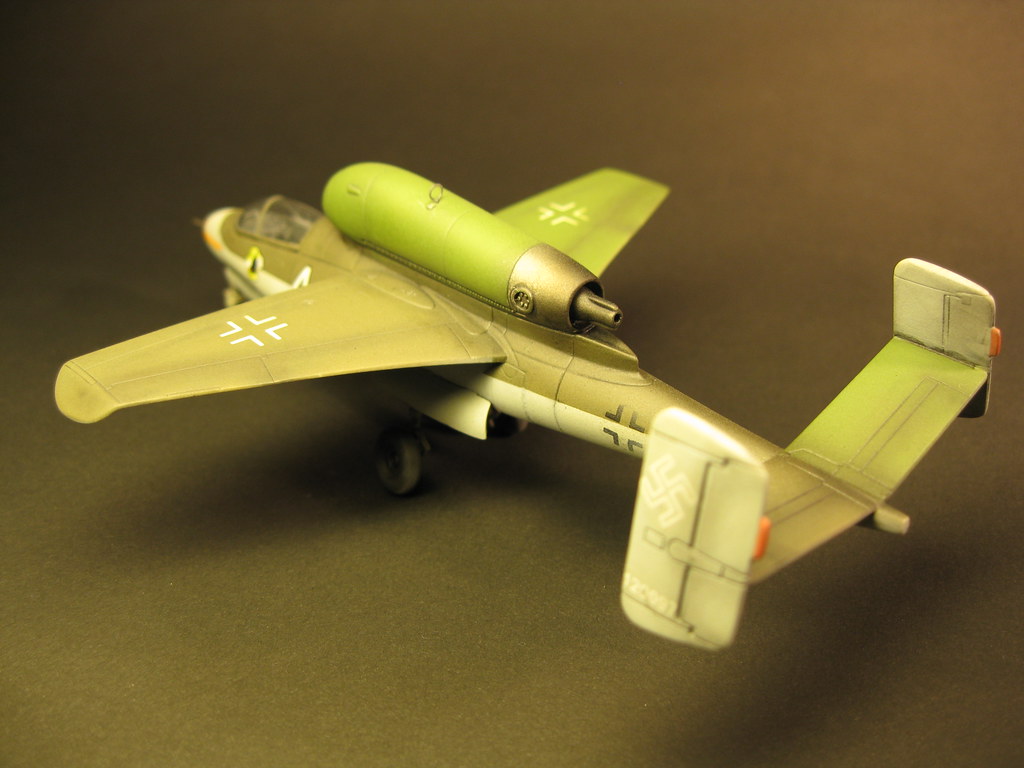
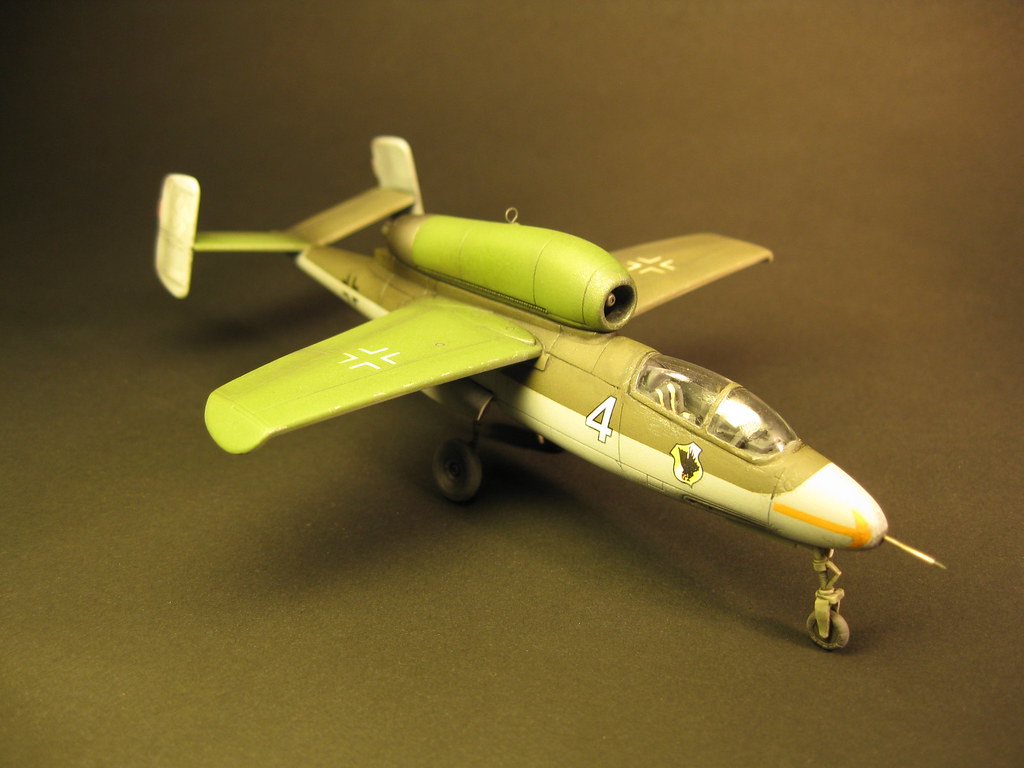
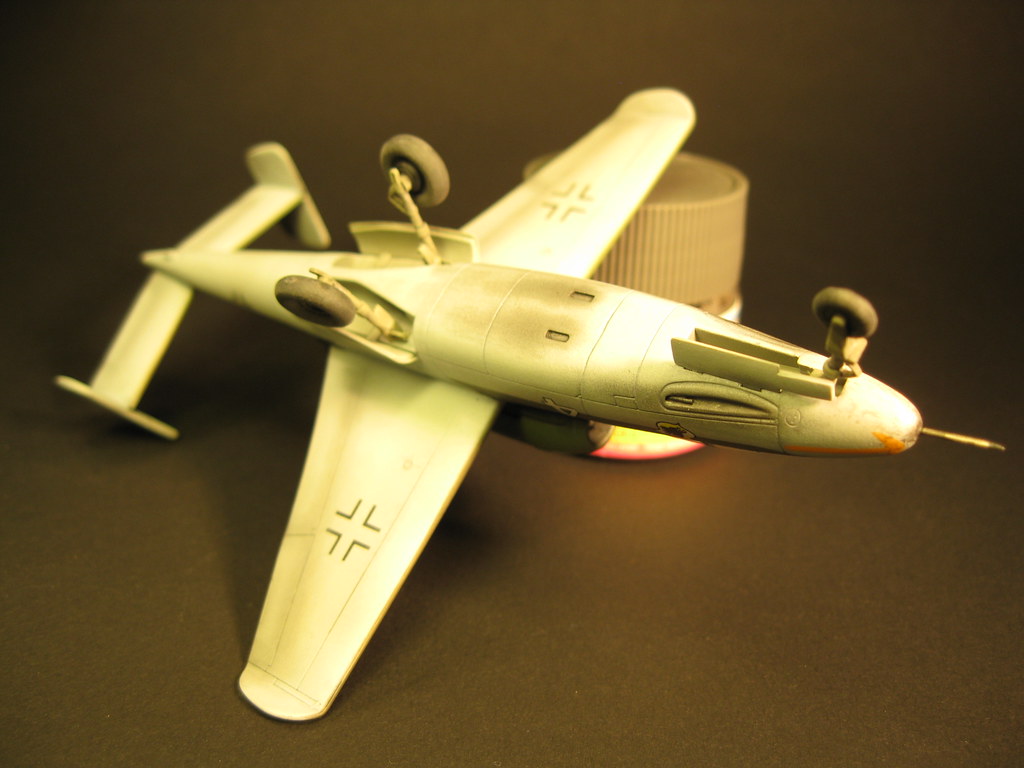
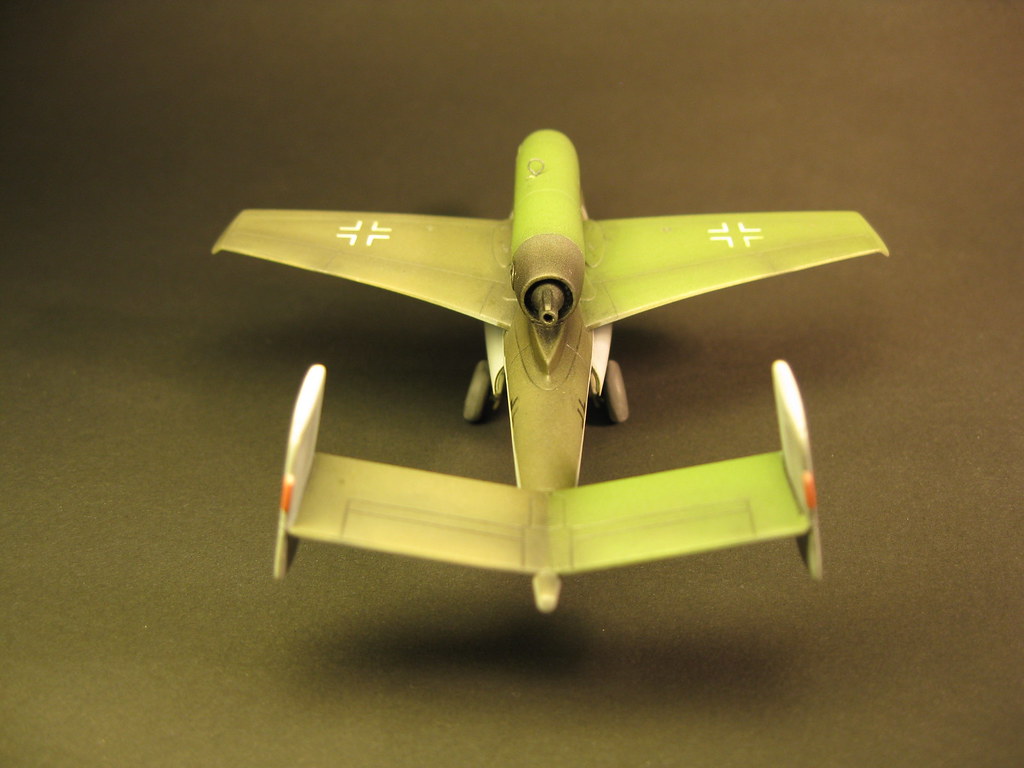
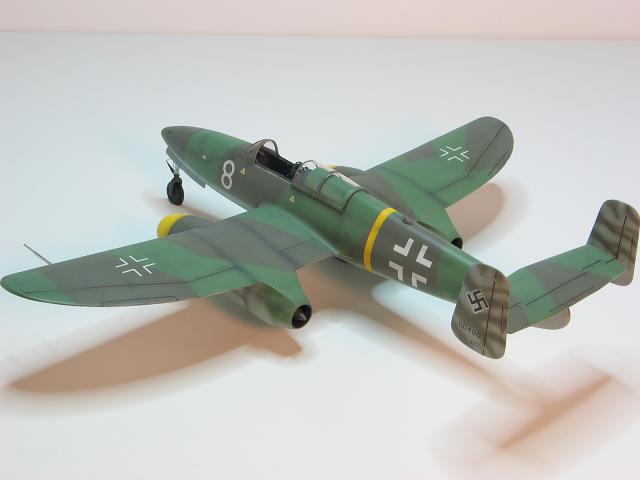
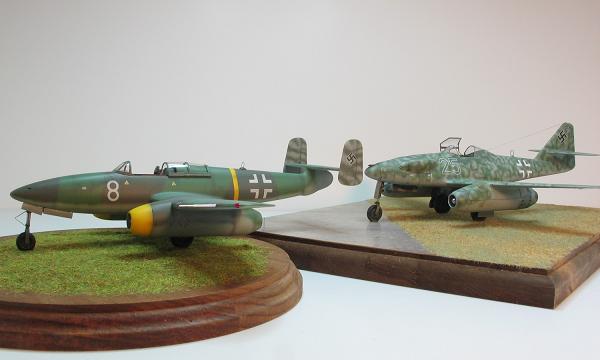
 Dragon 1/72 Me1101 nightfighter, hope you like it.


 I'll try to get started again as soon as we get New Year out of the way and we're back on an even keel at home.