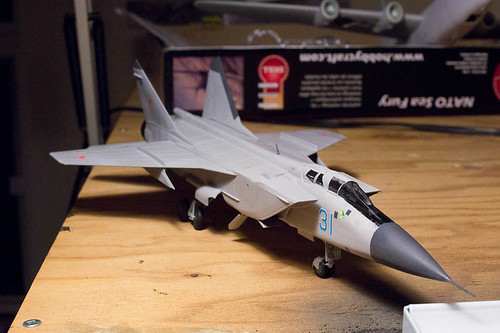
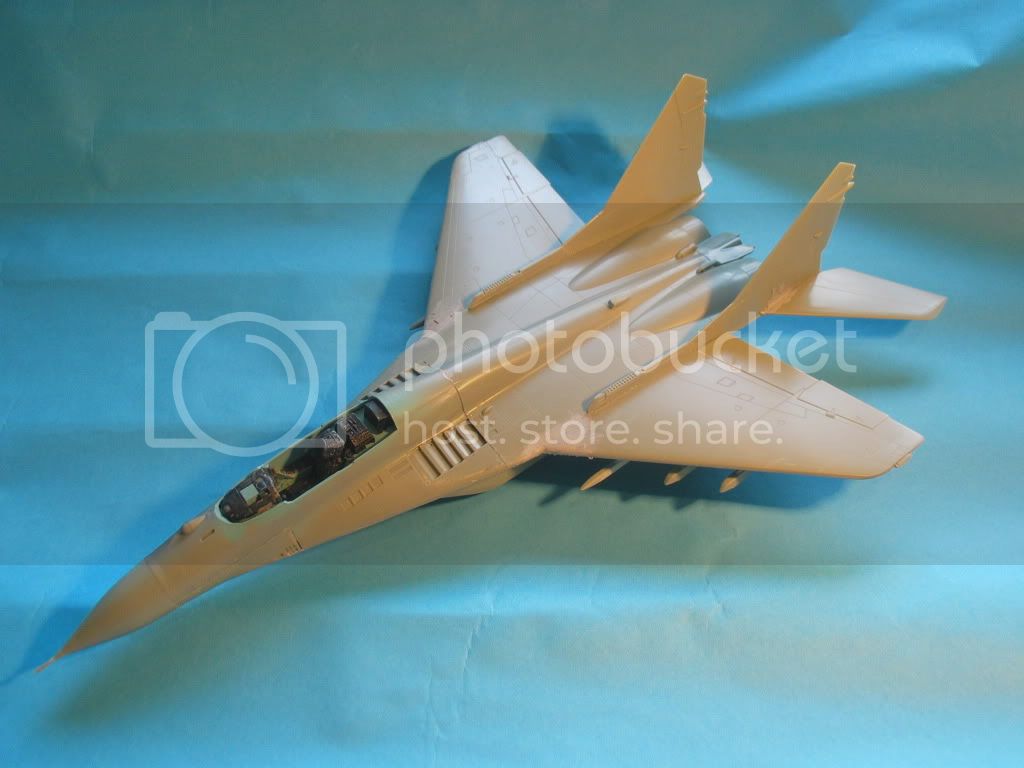
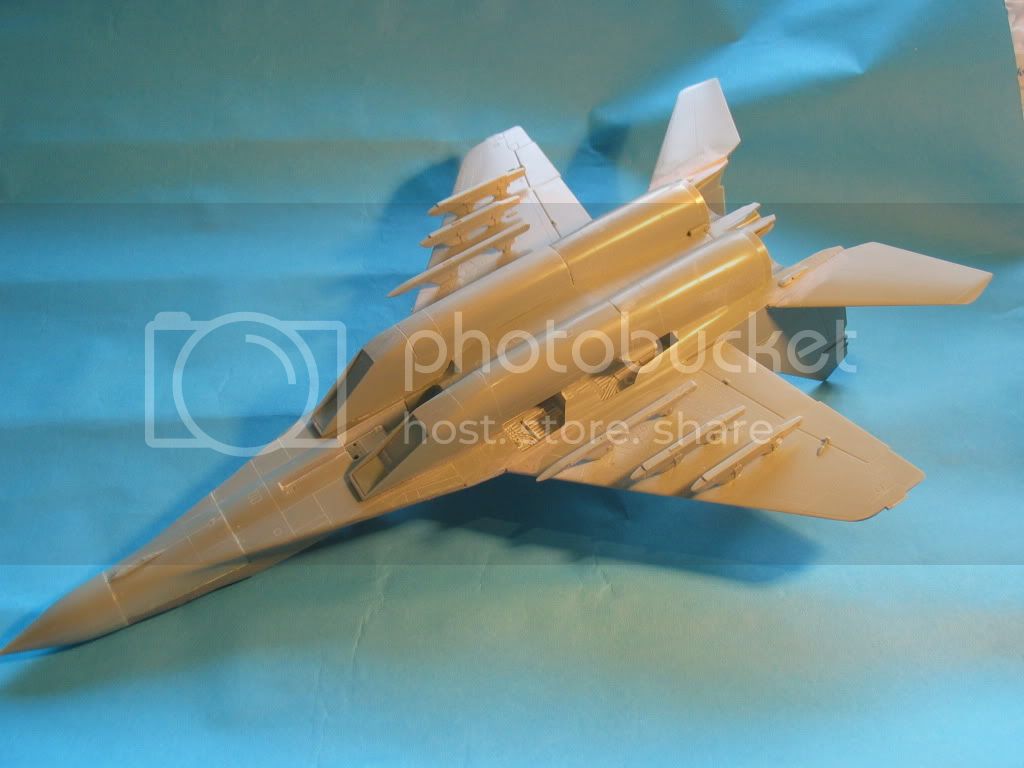
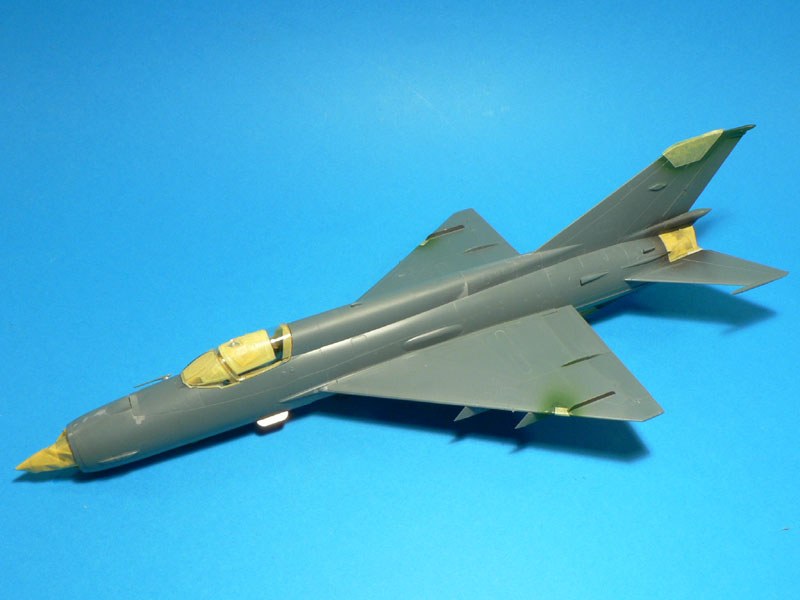
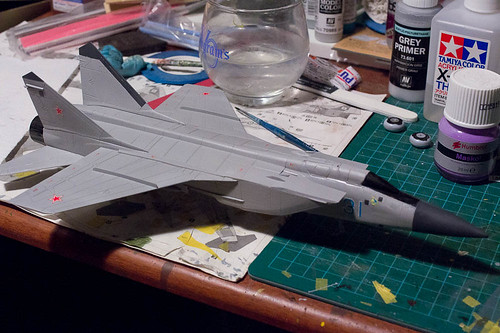
I think its about time for me to post some WIP pics. Sorry, I've had a bit of a slow start with my entry.
So far I've clipped most of the main components off the sprues, done some test fittings, started on the cockpit, etc. Nothing that major.
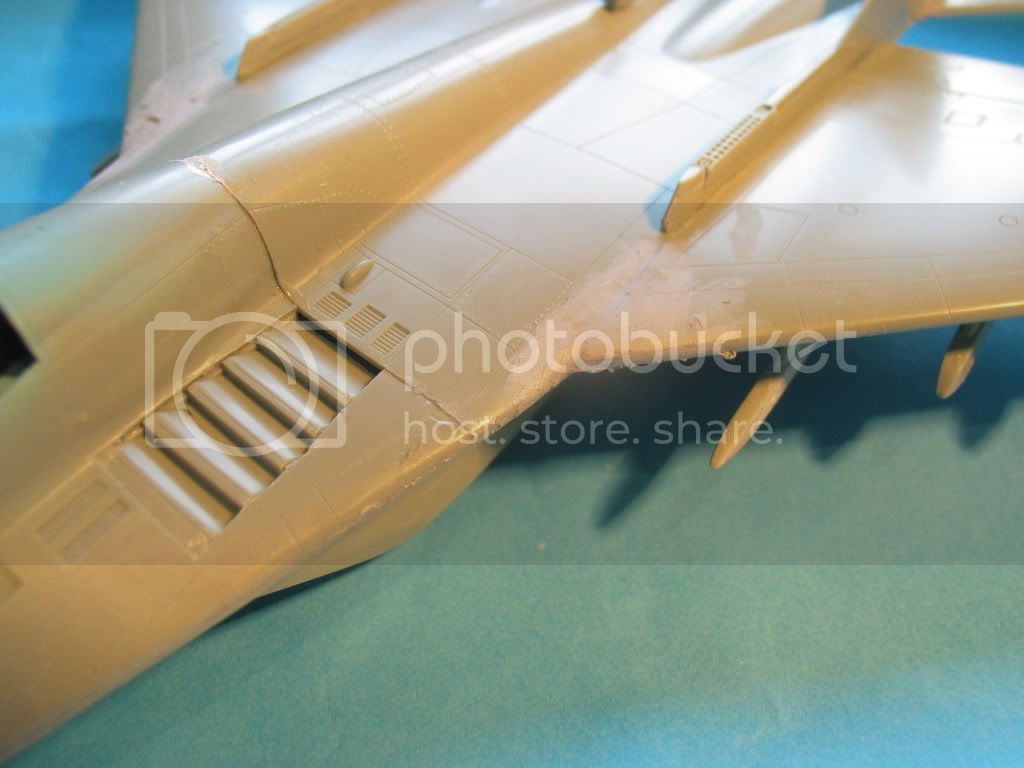
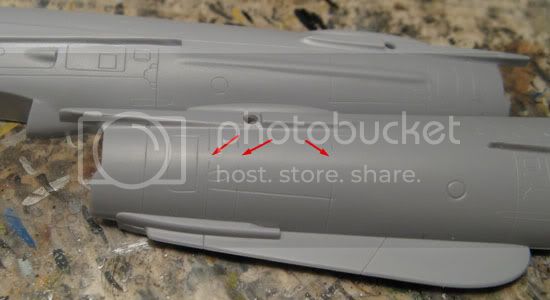
I wonder what's the story of these interrupted panel lines?
My guess would be that a similar raised stiffener was made to the right fuselage half as on the left (see pic), the error got noticed and the detail removed without restoring the panel lines. Not a big issue, just three easily scribed straight lines.
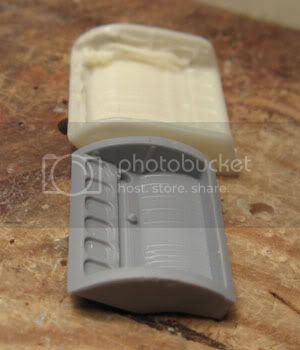
Going through that pile of aftermarket stuff and contemplating which parts to use where and what not, I decided to use Pavla's better detailed resin fuselage wheel wells instead of the kit parts. Probably designed with some other kit in mind, the sidewall shape on the Pavla parts was different, requiring some shaping to fit into Zvezda's fuselage.
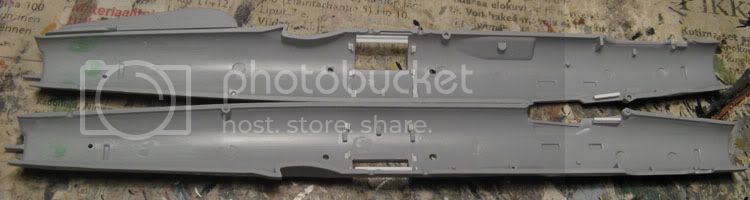
After getting the wheel wells to fit, I glued pieces of L-shaped styrene strip inside the fuselage to act as locators for the resin parts.
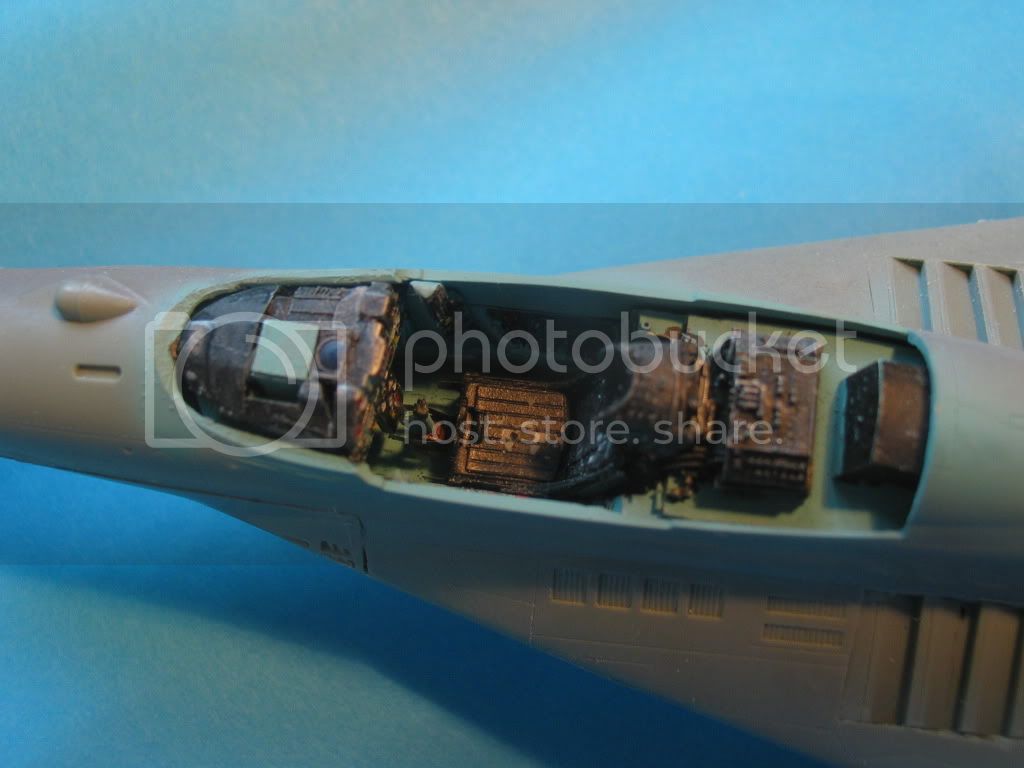
There were a couple of ejector marks in the rear fuselage that were puttied and sanded away. The "shelves" that the insrument panel coaming will sit on were quite short so I extended them with styrene strip.
Instead of a separate fuselage nose part and intake cone used in the PFM kit (right), the BIS has full fuselage halves and a nose cone that's trapped inside them (left).
Not only does that make the fuselage seam tricky to clean up around the nose cone already in place, the fit of the cone was slightly wobbly.
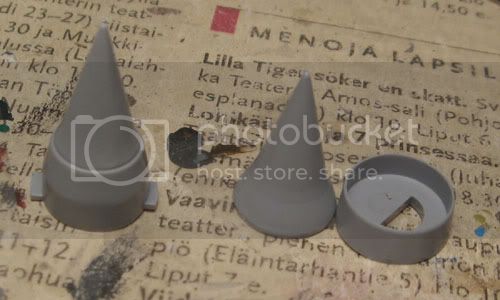
After some pondering, I figured out the exhaust pipe's back plate was an almost perfect fit to the front as well!

Using them engine part as a template, I cut and shaped a piece of styrene sheet to work as a firm mount for the intake cone.
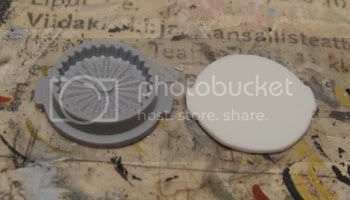
Bingo! Now the intake cone can be painted separately and installed later in the build. The nose seam will be much easier to reach as well.
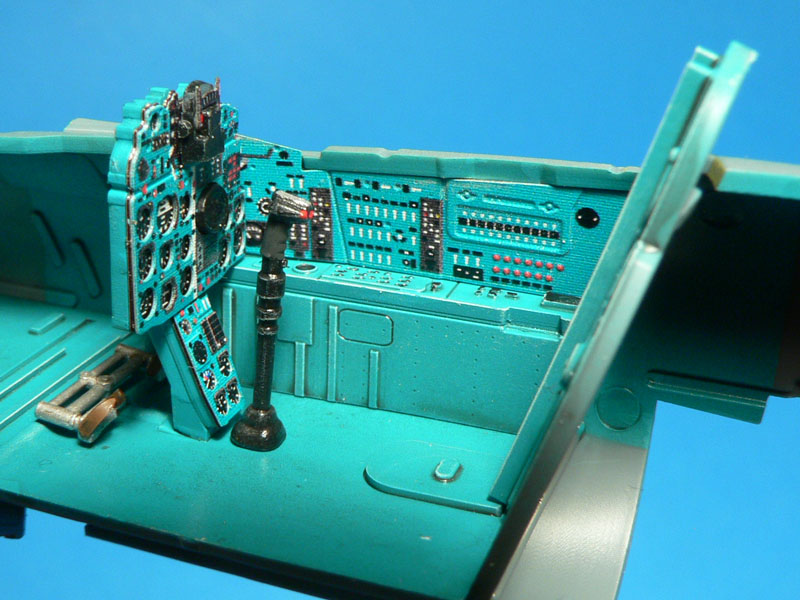
In search of an interior colour to match the pre-painted PE, I bought two bottles of Lifecolor acrylics, LC08 (pale blue) and UA055 (RLM25), that looked like they might mix to make a close-enough shade.
After some mixing and testing, a mixing ratio of 2 parts pale blue to 1 part RLM25 seems to be pretty close.
What do you think? I is just me or the PE a tad bluer?
For the next update I hope to have some cockpit and engine work to show.


 .
.