


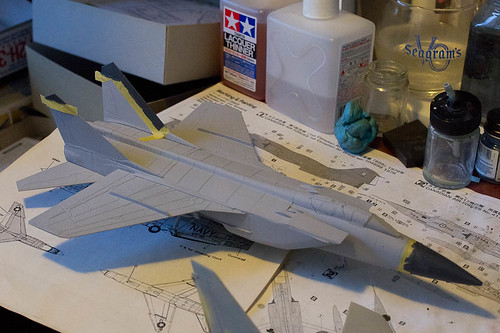
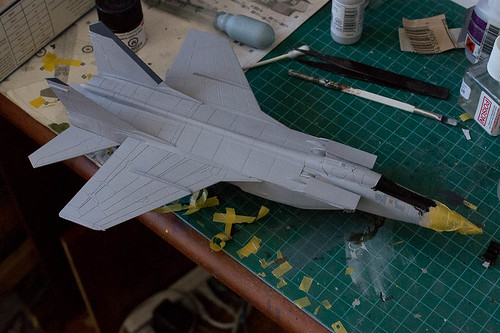
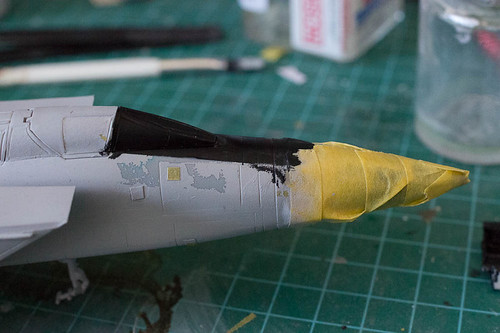
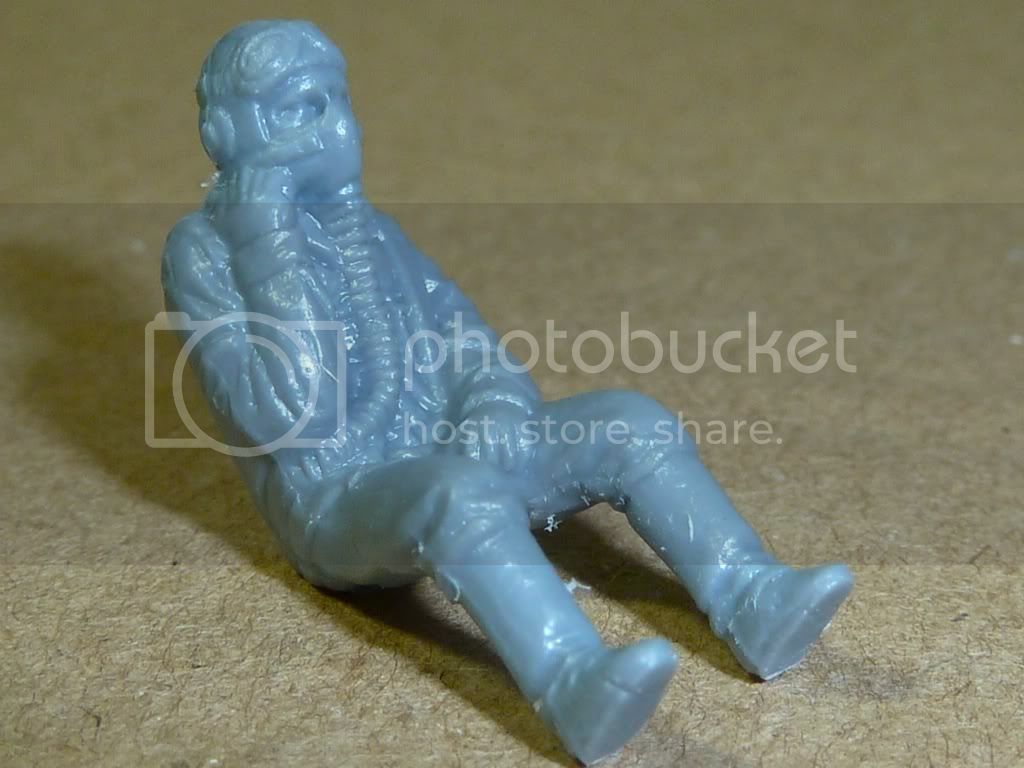
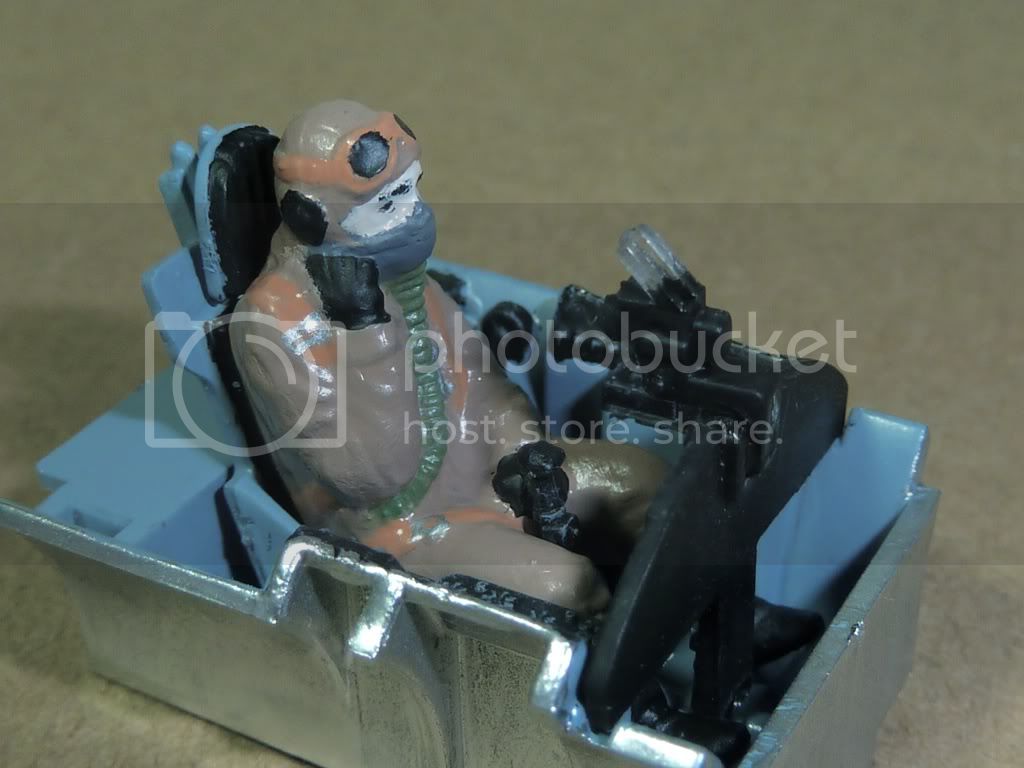
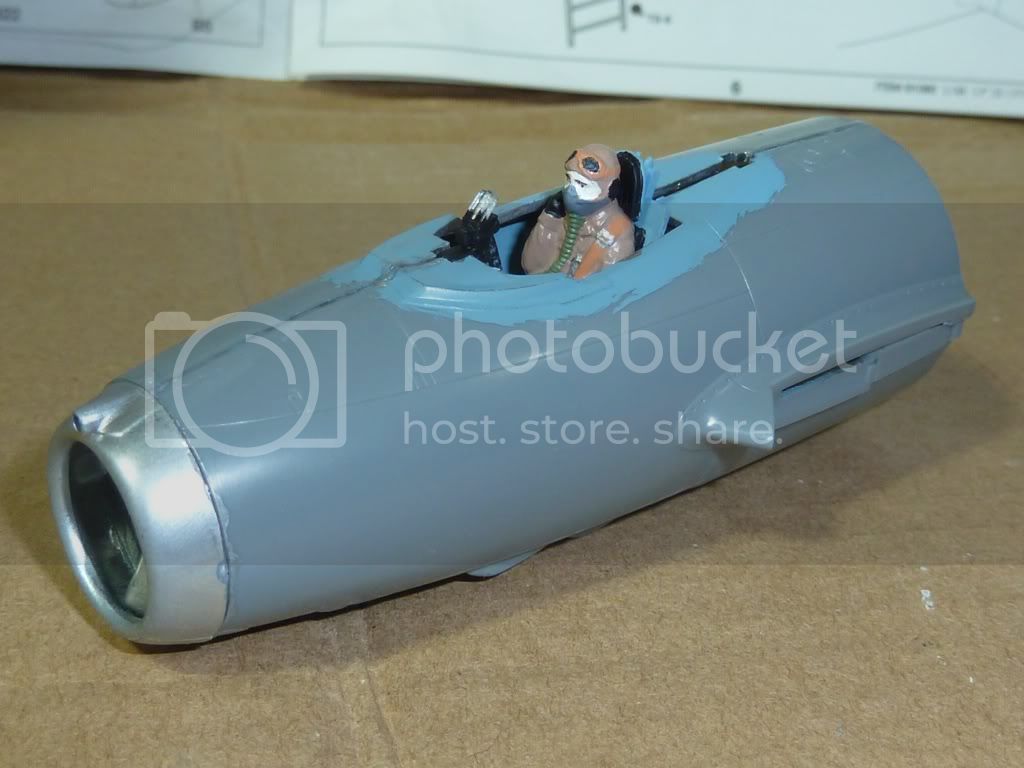
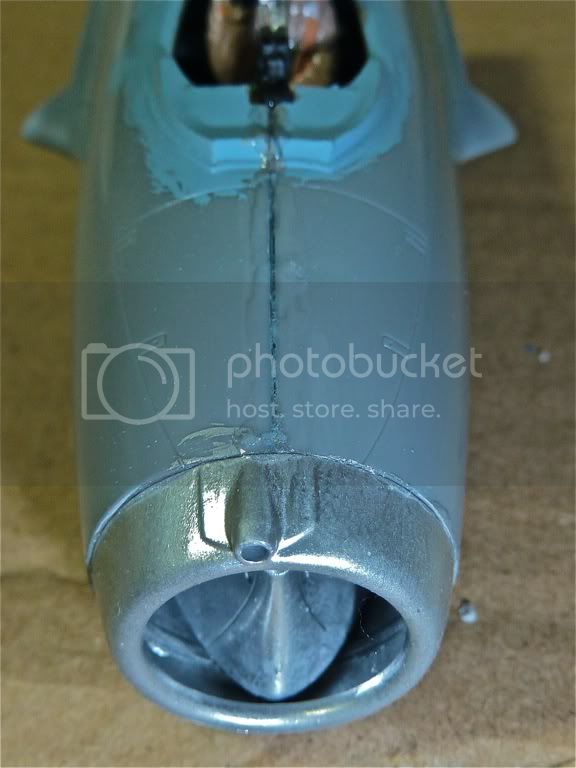
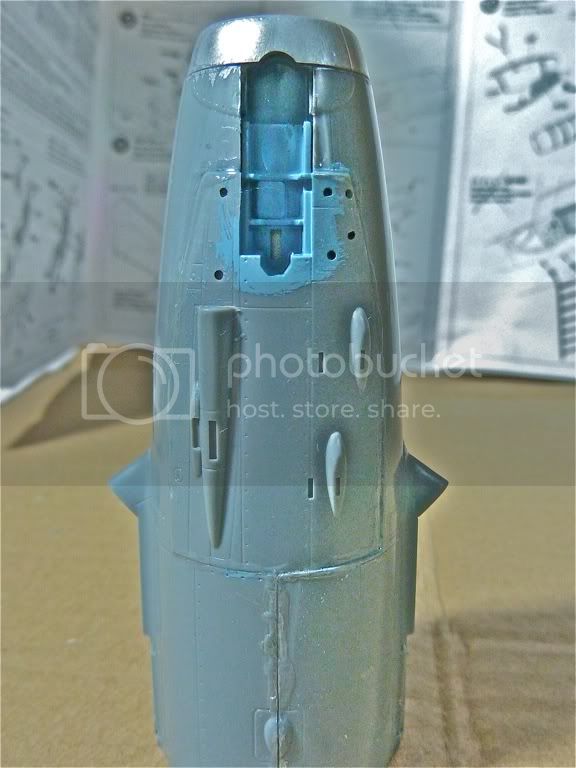
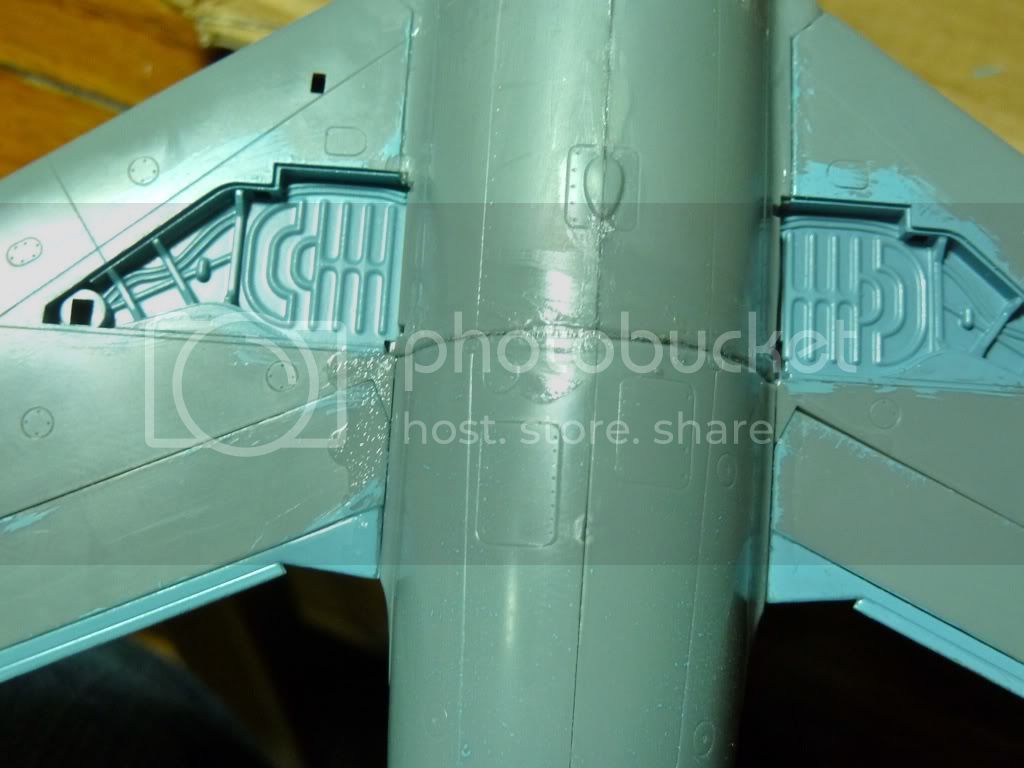
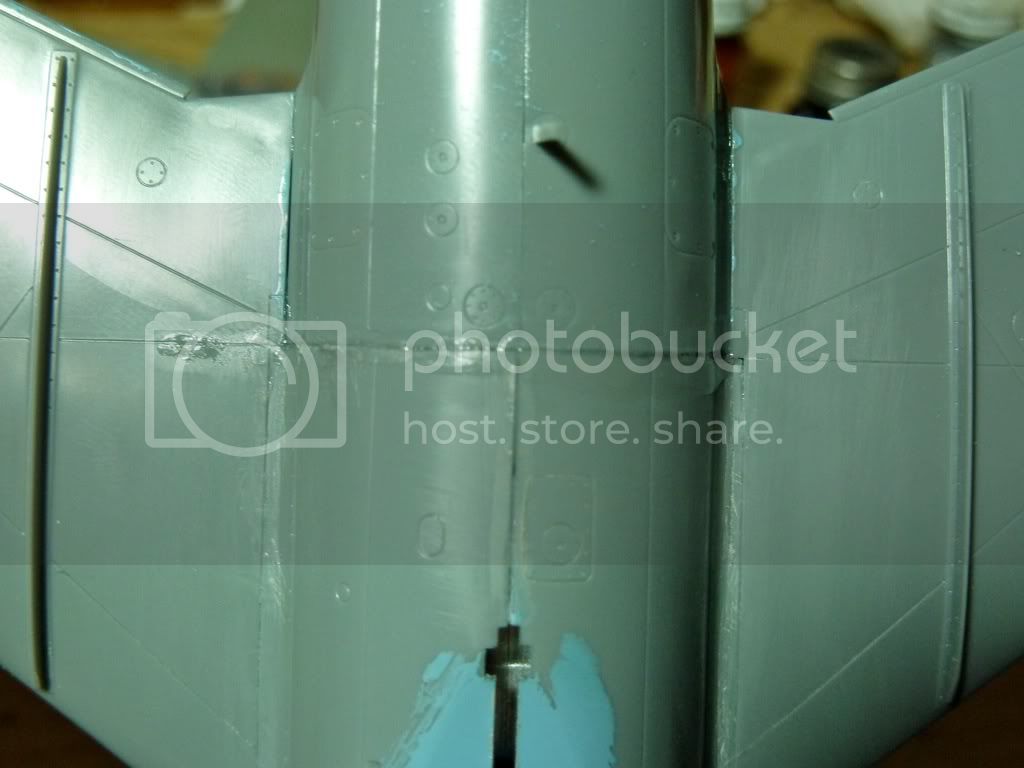
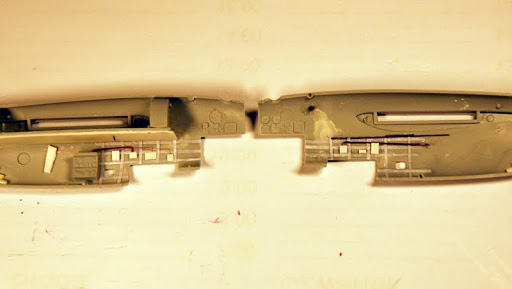
I was able to do some building on the Mig 17, here is a WIP post. finally installed the cockpit and glued the fuselage together. It was not a pretty process there are still some gaps at the vertical fin trailing edge.

Bob


How about an update folks... It's been rather quiet here lately. "Q"


Quoted TextHow about an update folks... It's been rather quiet here lately. "Q"
Hey Matt. The galleries are down so I don't think anyone can post any pictures right now. Just FYI.
Mike


 I've nipped parts from the sprues, did some test fitting, leafing through reference material, what-have-you. There's really not much work left to do on the Mustang, I'll have to just sit down and finish it and get going on my MiG-21.
 And also to you for your update Eetu. Not a problem if people build at a glacial pace, just want to keep tabs on my campaign.
  I've lost track of some in the past and hate when that happens. Thanks again guys, "Q"


Sorry to interrupt with a lame question, but does what-ifs qualify for this contest?
The official rules and regs says nothing about it, so I assume it's OK?
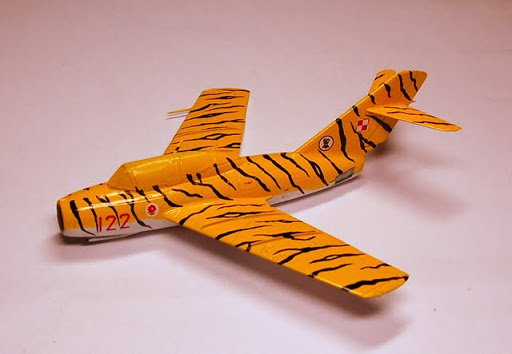
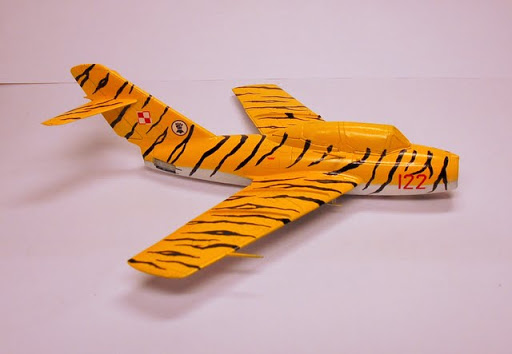
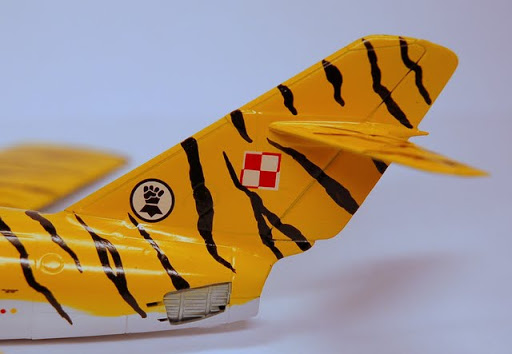
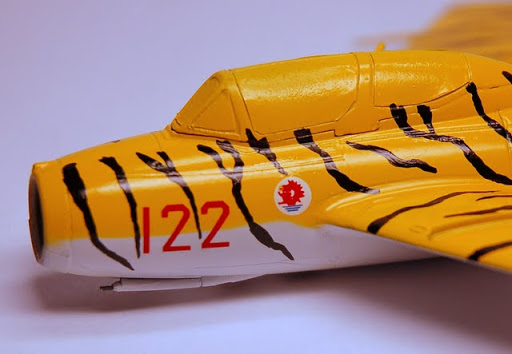
I wanted to build Polish Air Force Mig-15UTI (Hobby Boss, 1/72 kit) in fictional markings but not sure if I can spam here with my posts.


As per the rules....
The Rules and Regs
1)You are tasked with building your favorite JET POWERED MiG. Any nation and any markings are ok as long as it is a jet powered MiG.
Have at it. "Q"
 "Q"
"Q" 


 "Q"
"Q" Ya'll play nice while I'm gone.
 |


