Two days ago I began my P-40E, from Hasegawa. Since there are a lot Hasegawa P-40s to be built, I should first warn you people:
ATTENTION: DO NOT FOLLOW HASEGAWA'S INSTRUCTIONS TO ASSEMBLE THE FUSELAGE!!!
As you might know, Hasegawa intented to make the most of a single P-40 kit and tried to use it as a basis to build all variants. This means the fuselage, the tail and the part of the perplex glasses are all separate. The instructions tell you to assemble fuselage halves first, then assemble the tail and attach it. Then assemble the perplex glasses and put it on. DON'T! If you do, you'll see the panel lines will not match each other, the tail won't fit properly and you'll lose a lot of time sanding and puttying your crooked model.
Here's how to do it in a better way, courtesy of many articles I read over the web on assembling a Hasegawa P-40.
First, we'll need to completely build the fuselage parts in two halves. We'll attach the tail halves to the body half and put the perplex canopy thingie over it as well, like this:
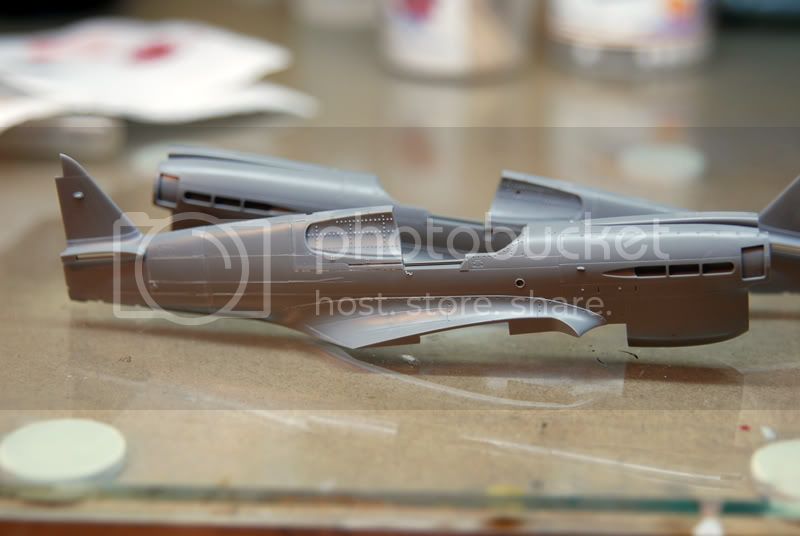
Now, you realize the fit is not perfect. I preferred to match the panel lines of the parts, so I wouldn't have to rescribe. This means I'll have to sand the parts smooth and to their true shape. You can easily see the problematic fit.

I first apply putty to fill the gaps in the connection areas.
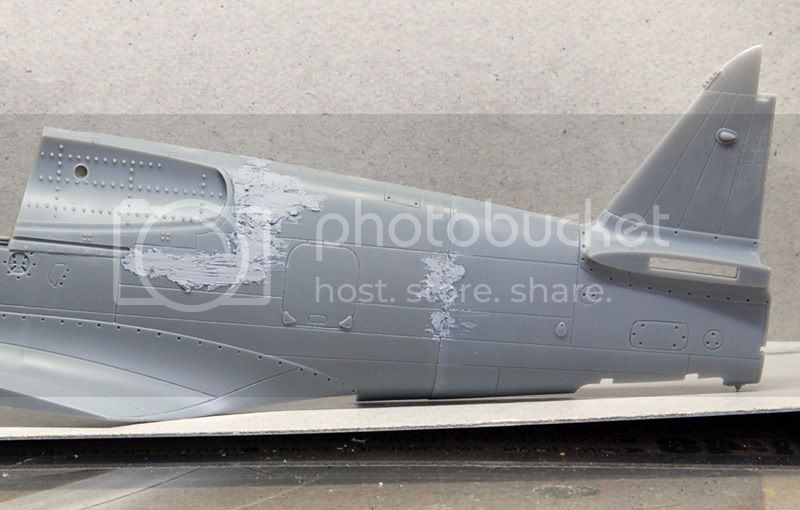
Then sand everything smooth,careful not to lose the line details. I went over the panel lines with a knife to make them a bit deeper.

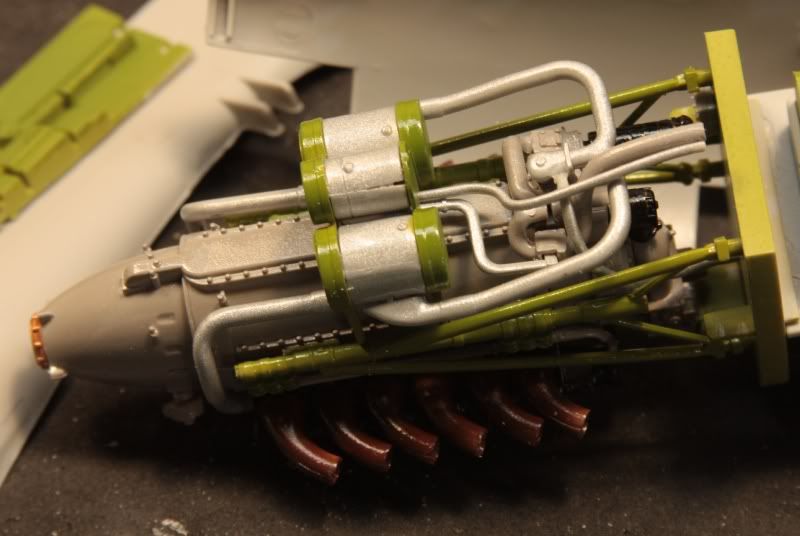
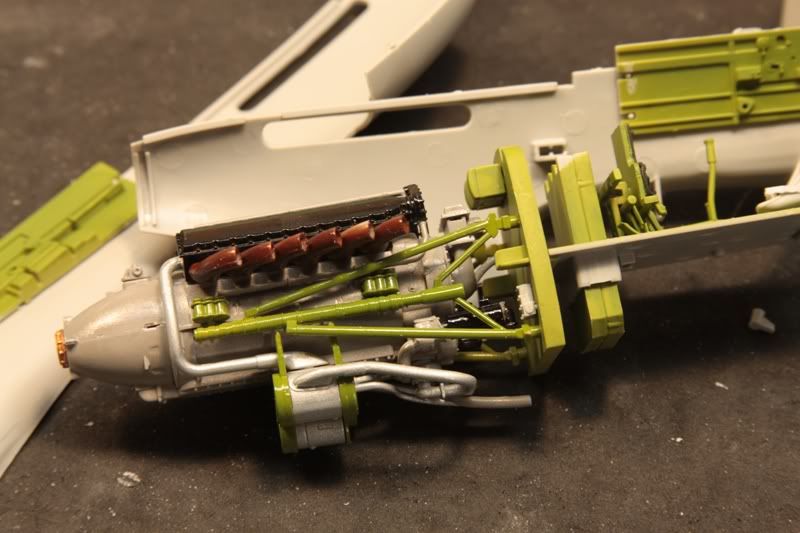
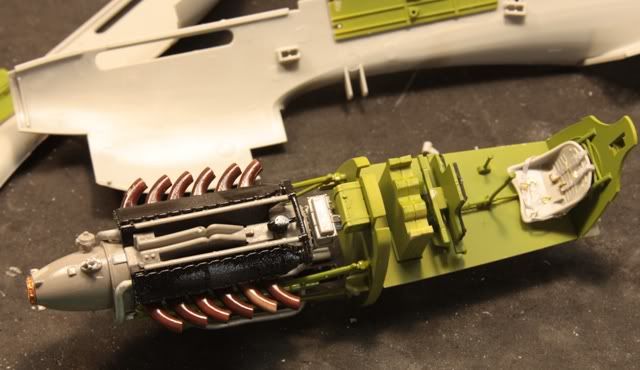
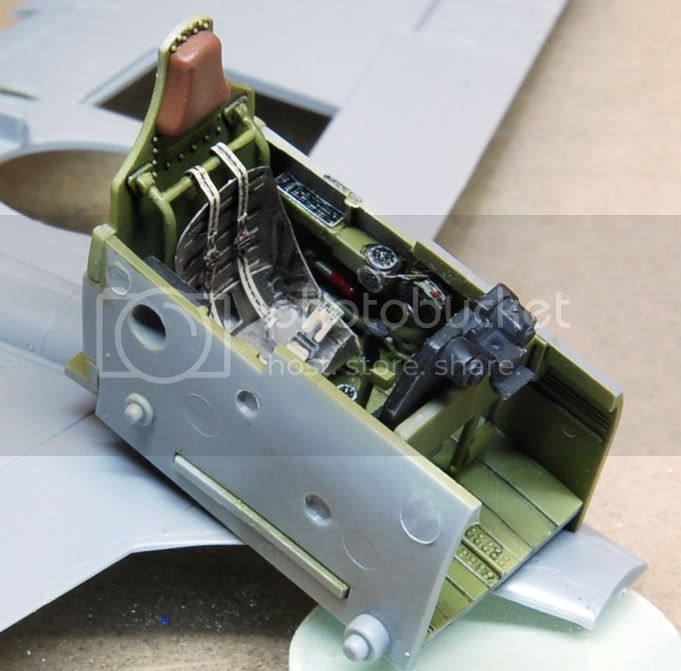
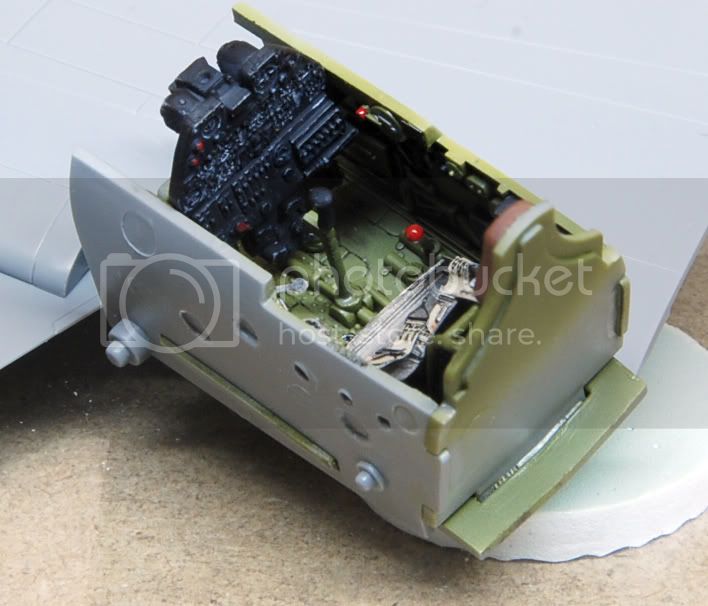
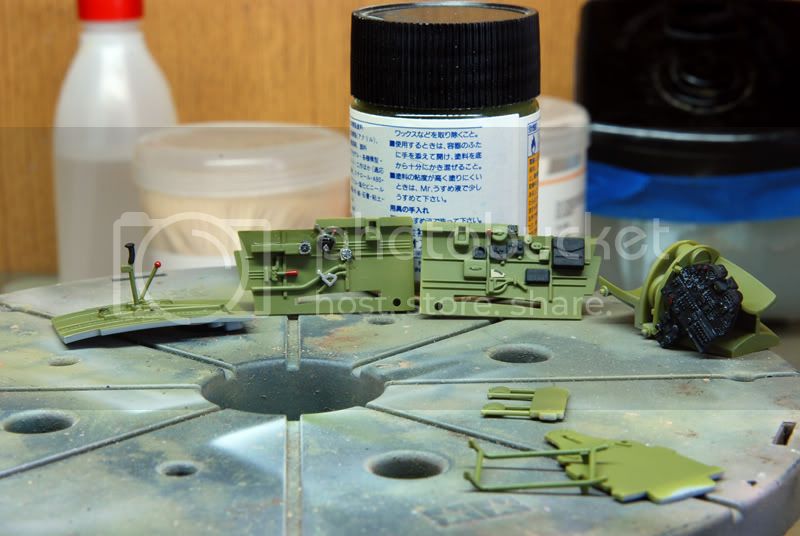
While the putty was drying, I also assembled cockpit elements and added some parts from Eduard's Zoom set. I decided to use Hasegawa's own instrument panel rather than Eduard's.
More to follow. Tonight I plan to mate the fuselage halves and see what happens. I might even attach the wings.