Thanks for the info on the chin Bob I'll watchout for any problems.
Martin
Air Campaigns
Want to start or join a group build? This is where to start.
Want to start or join a group build? This is where to start.
Hosted by Frederick Boucher, Michael Satin
OFFICIAL: P-40, Work Horse of WWII Campaign
SUNDON

Joined: January 19, 2009
KitMaker: 158 posts
AeroScale: 155 posts

Posted: Friday, April 08, 2011 - 12:57 AM UTC
chris1

Joined: October 25, 2005
KitMaker: 949 posts
AeroScale: 493 posts

Posted: Friday, April 08, 2011 - 03:22 PM UTC
Hi All,
Just a quick update.
Currently boxing in the flaps hope to have photos tomorrow.
Chris
Just a quick update.
Currently boxing in the flaps hope to have photos tomorrow.
Chris
Red4

Joined: April 01, 2002
KitMaker: 4,287 posts
AeroScale: 1,164 posts

Posted: Saturday, April 09, 2011 - 02:43 PM UTC
Nice progress everybody. I just got in from Cancun last night and am still recovering a bit.  Hoping to get back to the bench here shortly and get my entry moving again. Warren, the exhaust stacks are a lot of work. Be prepared for some lengthy clean up on them. Looking forward to seeing how you tackle them. "Q"
 Hoping to get back to the bench here shortly and get my entry moving again. Warren, the exhaust stacks are a lot of work. Be prepared for some lengthy clean up on them. Looking forward to seeing how you tackle them. "Q"
wilbhi2

Joined: May 22, 2005
KitMaker: 41 posts
AeroScale: 13 posts

Posted: Monday, April 11, 2011 - 02:12 AM UTC
Well...I finally got some postable work done. This is the Eduard boxing of the P-40N. This kit has all sorts of resin and PE goodies for us masochists. I will be using a montex mask set for the final markings - That wonderful looking parrots head.
Here is the cockpit painted prior to closing up. I added a couple lengths of wire for the throttle and fuel selector (?).

Here are a couple of shots all closed up. I did loose 2 teenie tiny PE levers during the process. You can also note that the gun sight is a tad low. The PE IP panel does not nessecarily fit as advertised, but that could be because of the side wall detail I added.


Note: test fitting showed that the floor piece will have to be ground down a bit for the wheel well replacements to fit and get the proper wing dihedral.
I also used the Montex set to mask the interior of the canopy for painting. I think it was designed around the HAsegawa kit....so a little creative manipulating was required to get it to work.

and that is where I am
Here is the cockpit painted prior to closing up. I added a couple lengths of wire for the throttle and fuel selector (?).
Here are a couple of shots all closed up. I did loose 2 teenie tiny PE levers during the process. You can also note that the gun sight is a tad low. The PE IP panel does not nessecarily fit as advertised, but that could be because of the side wall detail I added.
Note: test fitting showed that the floor piece will have to be ground down a bit for the wheel well replacements to fit and get the proper wing dihedral.
I also used the Montex set to mask the interior of the canopy for painting. I think it was designed around the HAsegawa kit....so a little creative manipulating was required to get it to work.
and that is where I am

Bigrip74

Joined: February 22, 2008
KitMaker: 5,026 posts
AeroScale: 2,811 posts

Posted: Monday, April 11, 2011 - 06:49 AM UTC
Bud, is the instrument PE or decal? I t looks good.
Bob
Bob
wilbhi2

Joined: May 22, 2005
KitMaker: 41 posts
AeroScale: 13 posts

Posted: Monday, April 11, 2011 - 09:07 AM UTC
Quoted Text
Bud, is the instrument PE or decal? I t looks good.
Bob
Hey Bob,
It's a PE panel. Thanks
mpatman

Joined: March 09, 2006
KitMaker: 248 posts
AeroScale: 160 posts

Posted: Monday, April 11, 2011 - 09:23 AM UTC
Great start Bud, I would be interested to see how the Parrothead masks go, take lots of pics!
Mark
Mark
emroglan

Joined: December 16, 2004
KitMaker: 1,163 posts
AeroScale: 255 posts

Posted: Monday, April 11, 2011 - 10:18 AM UTC
Progress is soo slowed down it's like I'm not going anywhere... I was planning to complete the kit last weekend, but I haven't done much. I had a lot of problems with my Humbrol Matt Coats. I recently purchased three bottles, for some strange reason they simply don't work. The part that makes it matt has sunk to the bottom of the bottles and simply won't mix with thinner. When I manage to take off chunks of it, it won't be thinned with any thinner, it stays as a white, sticky blob. Forcing the issue, I only managed to whiten the model.
Currently the landing gear is drying. Tomorrow, I'll add the remaining parts of the landing gear... but at this pace it will take the entire week for me to complete this.
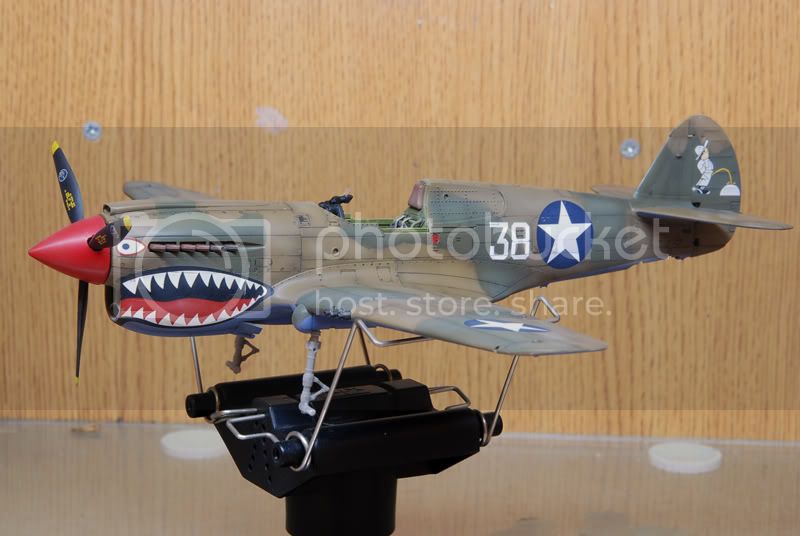
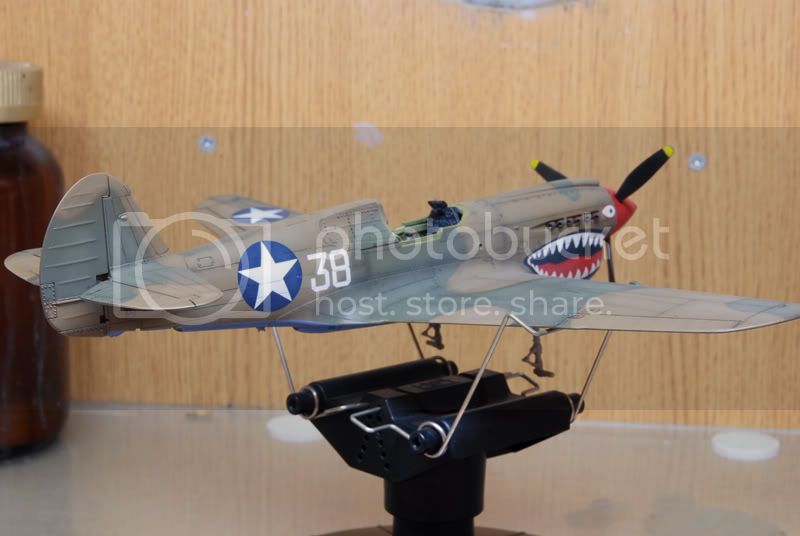
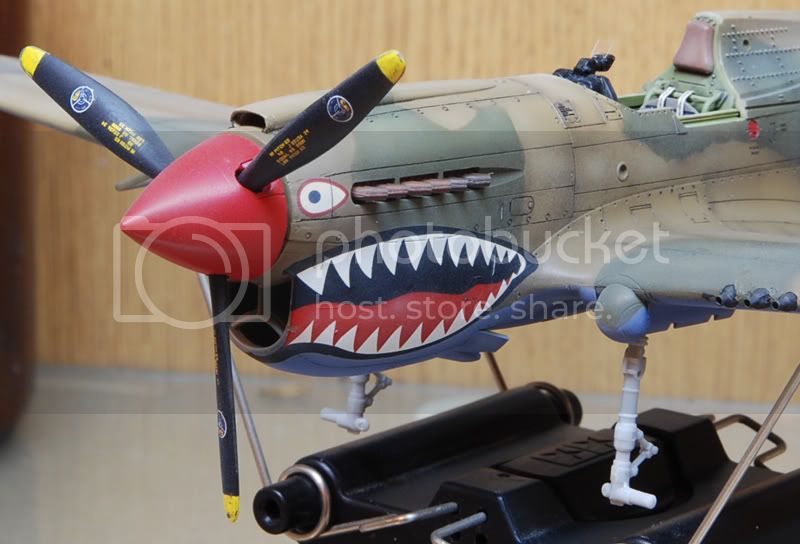
Currently the landing gear is drying. Tomorrow, I'll add the remaining parts of the landing gear... but at this pace it will take the entire week for me to complete this.


chris1

Joined: October 25, 2005
KitMaker: 949 posts
AeroScale: 493 posts

Posted: Monday, April 11, 2011 - 12:34 PM UTC
Hi all
updated build photos

side on view gun sight to be added then cockpit complete

Rear view I've removed flaps,rebuilt with plastic sheet and these will be dropped slightly later in the build.
(I also wanted to do the tail planes but didn't have the intestinal fortitude to attempt cutting around the dog legged hinge area.

View inside the flap area on the wing

The Flap itself.
SO whats next.
I'm currently masking up all the clear bits they should be sprayed later today.
Also I'm working on scratch building the brake lines (just got to find the right width of wire)
And continually sanding I keep finding bits I miss or needs more work.
As usual comments most welcome.
As a McDonalds TV add (playing here) says'I'm lovin' it.
Chris
updated build photos
side on view gun sight to be added then cockpit complete
Rear view I've removed flaps,rebuilt with plastic sheet and these will be dropped slightly later in the build.
(I also wanted to do the tail planes but didn't have the intestinal fortitude to attempt cutting around the dog legged hinge area.
View inside the flap area on the wing
The Flap itself.
SO whats next.
I'm currently masking up all the clear bits they should be sprayed later today.
Also I'm working on scratch building the brake lines (just got to find the right width of wire)
And continually sanding I keep finding bits I miss or needs more work.
As usual comments most welcome.
As a McDonalds TV add (playing here) says'I'm lovin' it.
Chris

Bigrip74

Joined: February 22, 2008
KitMaker: 5,026 posts
AeroScale: 2,811 posts

Posted: Monday, April 11, 2011 - 01:47 PM UTC
@ Emre: not withstanding your matt problem, I have been viewing your photos to figure out how to accomplish some thing akin to the finish you have done 
 Nice job.
@ Chris: I thought that you had an accident until I did a doulble take of the photos
Bob

 Nice job.
@ Chris: I thought that you had an accident until I did a doulble take of the photos

Bob
emroglan

Joined: December 16, 2004
KitMaker: 1,163 posts
AeroScale: 255 posts

Posted: Monday, April 11, 2011 - 08:39 PM UTC
Thanks Bob!
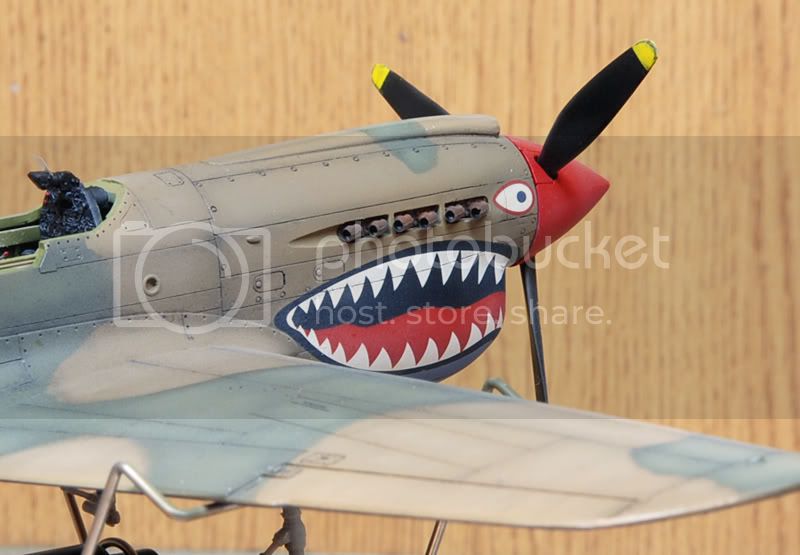
The close-up photos reveal another issue. The shark-mouth decal was actually designed for AMT kits, so it doesn't fit perfectly to the Hasegawa one. You can see it doesn't fit the curvature of the fuselage and some of camouflage is visible at the front end. I wonder if I should try painting those areas by hand? The black wouldn't be a problem, but matching the red of the mouth could be...
The close-up photos reveal another issue. The shark-mouth decal was actually designed for AMT kits, so it doesn't fit perfectly to the Hasegawa one. You can see it doesn't fit the curvature of the fuselage and some of camouflage is visible at the front end. I wonder if I should try painting those areas by hand? The black wouldn't be a problem, but matching the red of the mouth could be...
wilbhi2

Joined: May 22, 2005
KitMaker: 41 posts
AeroScale: 13 posts

Posted: Tuesday, April 12, 2011 - 01:31 AM UTC
Chris - Good show so far. Dunno know if you want to try this for the tail planes. But, you could cut out the the tail planes with minimal damage using either a scribe - like the one from RB productions ( no affiliation) or a set of scribing saws - I think either hasegawa or techmod have a set. They are very useful.
Ermie - Looks great. Didn't even notice the decal issue. Did you try lacquer thinner with the dull coat? I've had similar issues using a lacquer based clear coat and dull coat where it would gum up instantly if I used anything other than lacquer thinner for thinning.
Ermie - Looks great. Didn't even notice the decal issue. Did you try lacquer thinner with the dull coat? I've had similar issues using a lacquer based clear coat and dull coat where it would gum up instantly if I used anything other than lacquer thinner for thinning.
emroglan

Joined: December 16, 2004
KitMaker: 1,163 posts
AeroScale: 255 posts

Posted: Tuesday, April 12, 2011 - 03:17 AM UTC
Hello Bud!
I tried everything from lacquer thinner, enamel thinner to white spirit and turpentine. No luck. Funny thing is that I used a Humbrol Matt Cote for three years, over thirty models, till the last drop. There were no problems with that (and it was a very old bottle). Then, satisfied with the product, I ordered three new bottles from the LHS and the new Humbrols arrived in larger glass bottles... and all three have the same problem... I don't know if they are somewhat spoiled or it's me, but we can't agree with them.
I tried everything from lacquer thinner, enamel thinner to white spirit and turpentine. No luck. Funny thing is that I used a Humbrol Matt Cote for three years, over thirty models, till the last drop. There were no problems with that (and it was a very old bottle). Then, satisfied with the product, I ordered three new bottles from the LHS and the new Humbrols arrived in larger glass bottles... and all three have the same problem... I don't know if they are somewhat spoiled or it's me, but we can't agree with them.
Red4

Joined: April 01, 2002
KitMaker: 4,287 posts
AeroScale: 1,164 posts

Posted: Tuesday, April 12, 2011 - 03:34 AM UTC
Quoted Text
Rear view I've removed flaps,rebuilt with plastic sheet and these will be dropped slightly later in the build.
(I also wanted to do the tail planes but didn't have the intestinal fortitude to attempt cutting around the dog legged hinge area.
Nice work so far Chris. Those aren't the flaps, but the ailerons. One should be up, the other down if you pose them moved. The flaps were located inboard next the to the fuselage. Again, nice progress thus far. If you want to drop the elevators, but don't relish the thought of working around that dogleg, try using sewing thread to cut with. Makes things like this a breeze. Simply use it in a see-saw motion (like flossing your teeth) and it will easily cut through the plastic and you can follow the hinge line very easily. It also has the advantage of only removing plastic as wide as the thread is which is minimal. Give it a try on a scrap kit. I think you'll like it.
 Thanks for sharing your work. "Q"

SUNDON

Joined: January 19, 2009
KitMaker: 158 posts
AeroScale: 155 posts

Posted: Tuesday, April 12, 2011 - 11:32 PM UTC
Made a start over the last couple of days with my Academy P-40c. The details could be a little better so I,ve added a few bits out of the spares box.
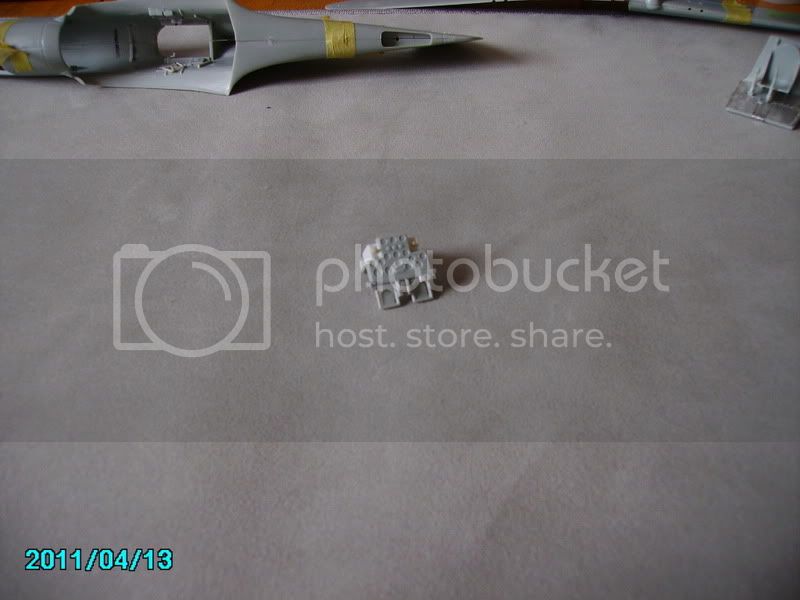
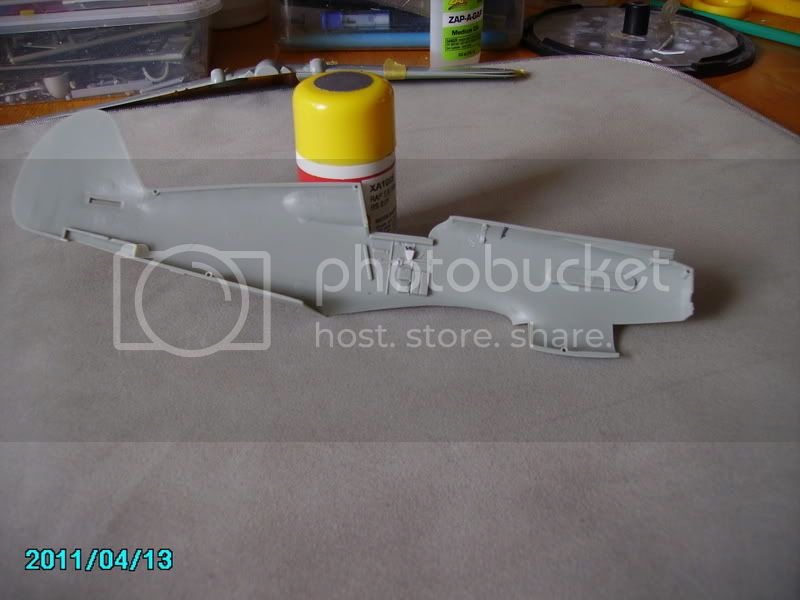
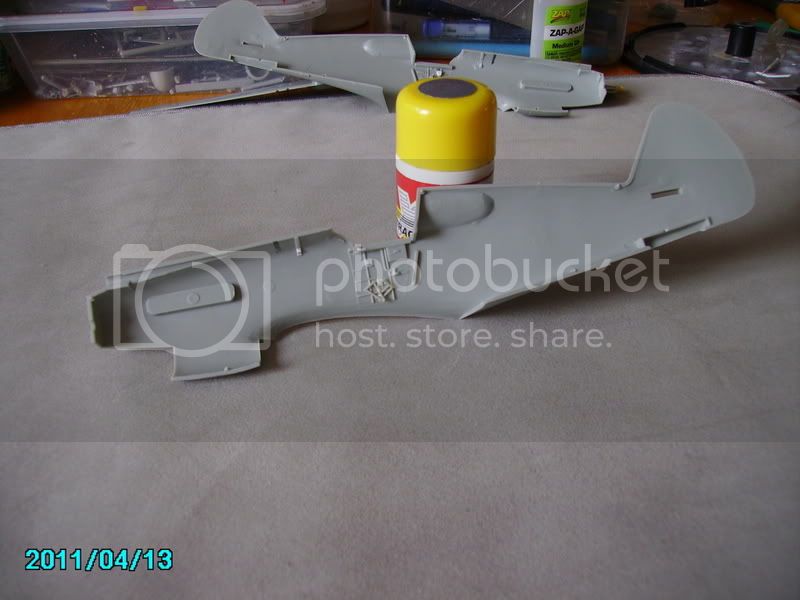
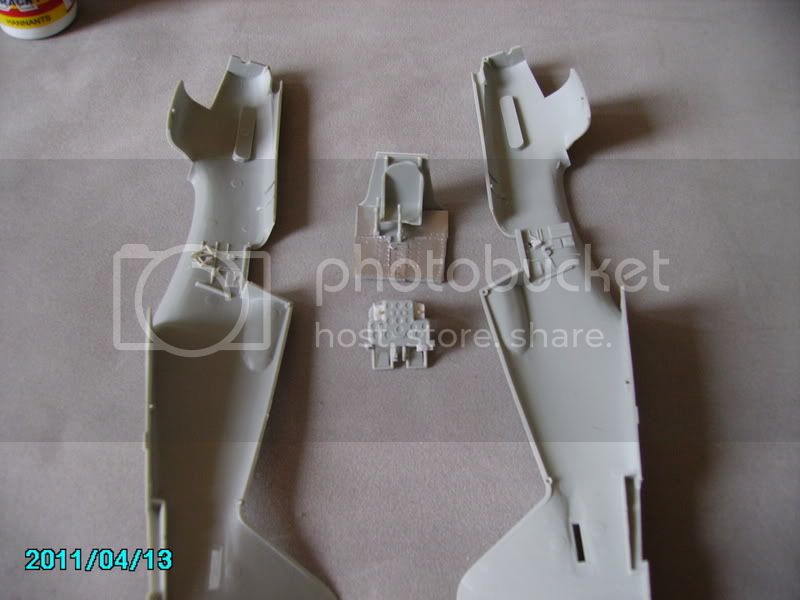
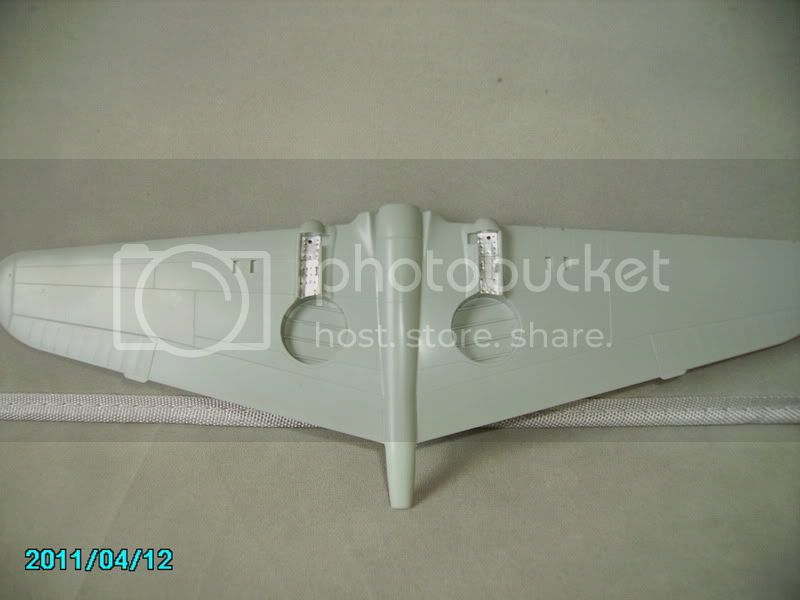
Going well sofar and getting ready for some paint.
Thanks for looking
Martin


Going well sofar and getting ready for some paint.
Thanks for looking
Martin

warreni

Joined: August 14, 2007
KitMaker: 5,926 posts
AeroScale: 2,201 posts

Posted: Wednesday, April 13, 2011 - 02:08 PM UTC
As Montgomery Burns would say "Excellent.." My resin exhaust stubs for my P-40B turned up today so it is back on the bench.. with the Panzer III and Tiger II.. 


Bigrip74

Joined: February 22, 2008
KitMaker: 5,026 posts
AeroScale: 2,811 posts

Posted: Wednesday, April 13, 2011 - 02:31 PM UTC
@ Martin: what do you think of the kit so far? I am still battling the putty mess/sanding around the chin to get it to look flush with the rest of the noes.
@ Warren: What only (3) builds on your bench and I thought that you were the MASTER
Bob
@ Warren: What only (3) builds on your bench and I thought that you were the MASTER

Bob

SUNDON

Joined: January 19, 2009
KitMaker: 158 posts
AeroScale: 155 posts

Posted: Wednesday, April 13, 2011 - 07:11 PM UTC
Quoted Text
@ Martin: what do you think of the kit so far? I am still battling the putty mess/sanding around the chin to get it to look flush with the rest of the noes.
Bob
Not to bad of a fit with mine but I've only dry fitted at the moment going to paint the interia today (hopefully) so will see what its like when I close up the fuselage properly.
Martin

warreni

Joined: August 14, 2007
KitMaker: 5,926 posts
AeroScale: 2,201 posts

Posted: Wednesday, April 13, 2011 - 08:40 PM UTC
Quoted Text
@ Warren: What only (3) builds on your bench and I thought that you were the MASTER
Bob

 I just finished two kits Bob so I have dropped from my usual five to just three for a few days..
wilbhi2

Joined: May 22, 2005
KitMaker: 41 posts
AeroScale: 13 posts

Posted: Thursday, April 14, 2011 - 12:23 AM UTC
Quoted Text
Quoted Text@ Warren: What only (3) builds on your bench and I thought that you were the MASTER
Bob

I just finished two kits Bob so I have dropped from my usual five to just three for a few days..
Now I don't feel so bad


Bigrip74

Joined: February 22, 2008
KitMaker: 5,026 posts
AeroScale: 2,811 posts

Posted: Thursday, April 14, 2011 - 05:45 AM UTC
@ Warren: I know that the lot of us have a weekness for joining too many campaigns.
@ Bud: I am in (24) at the moment and now know that my eyes (want to) is bigger than my brain.
@ Warren and Bud: there are (20) build projects in various stages on and above my work bench that I constantly move around to work on and or move to accomplish my homework for school (payroll/accounting). Now that I have a week and a half for sping break I will knock off several, then probably look at some other campaigns to join I just attached the canopy to my P40E after dipping it in future.
Bob
@ Bud: I am in (24) at the moment and now know that my eyes (want to) is bigger than my brain.
@ Warren and Bud: there are (20) build projects in various stages on and above my work bench that I constantly move around to work on and or move to accomplish my homework for school (payroll/accounting). Now that I have a week and a half for sping break I will knock off several, then probably look at some other campaigns to join
 I just attached the canopy to my P40E after dipping it in future.
Bob
Posted: Thursday, April 14, 2011 - 08:20 AM UTC
OK, Bob, you're transmitting some sort of P-40 virus... In the last month alone, my stash of P-40s has grown by at least 2. I now have:
Pavla Model 81 Hawk
Academy P-40B
Heller P-40E (at least it's built)
Hasegawa P-40E (I'm supposed to be building it for this campaign)
MPM P-40F-5
Academy P-40M/N
Is there a cure for this?????
Pavla Model 81 Hawk
Academy P-40B
Heller P-40E (at least it's built)
Hasegawa P-40E (I'm supposed to be building it for this campaign)
MPM P-40F-5
Academy P-40M/N
Is there a cure for this?????


Bigrip74

Joined: February 22, 2008
KitMaker: 5,026 posts
AeroScale: 2,811 posts

Posted: Thursday, April 14, 2011 - 08:46 AM UTC
Mark, don't blame me  it is in the water
  and it makes you want to purchase more
  so don't fight it just give in.
Bob
 it is in the water
  and it makes you want to purchase more
  so don't fight it just give in.
Bob

SUNDON

Joined: January 19, 2009
KitMaker: 158 posts
AeroScale: 155 posts

Posted: Thursday, April 14, 2011 - 08:58 AM UTC
Managed to throw some paint on today and gave the insides a light oil wash aswell.
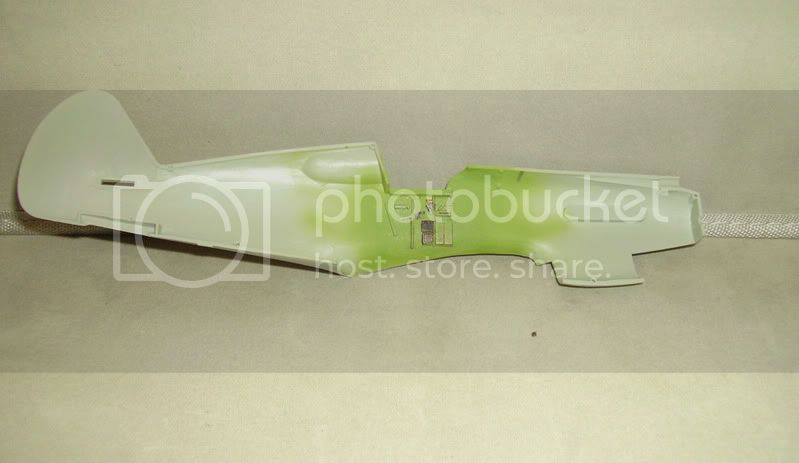
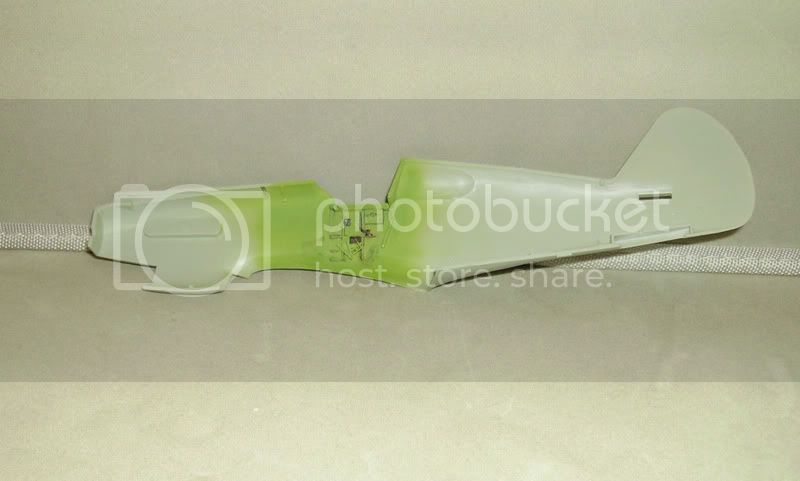
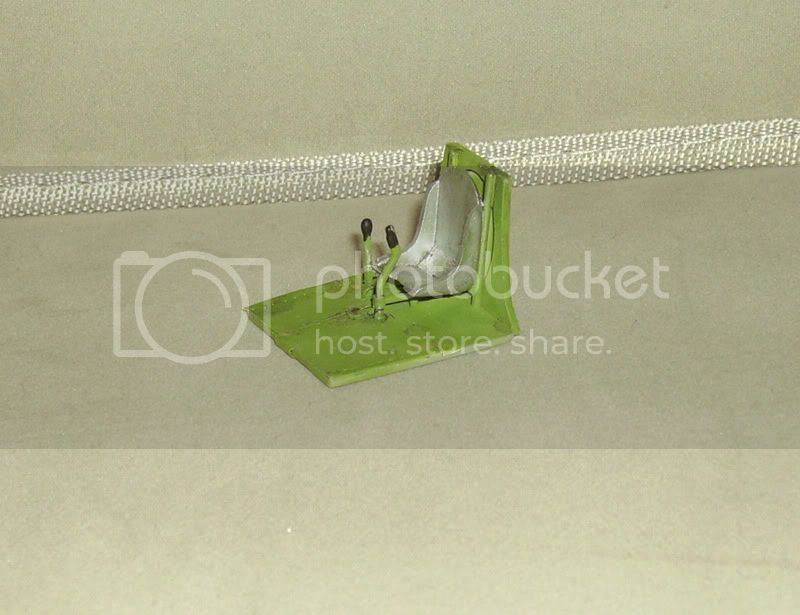
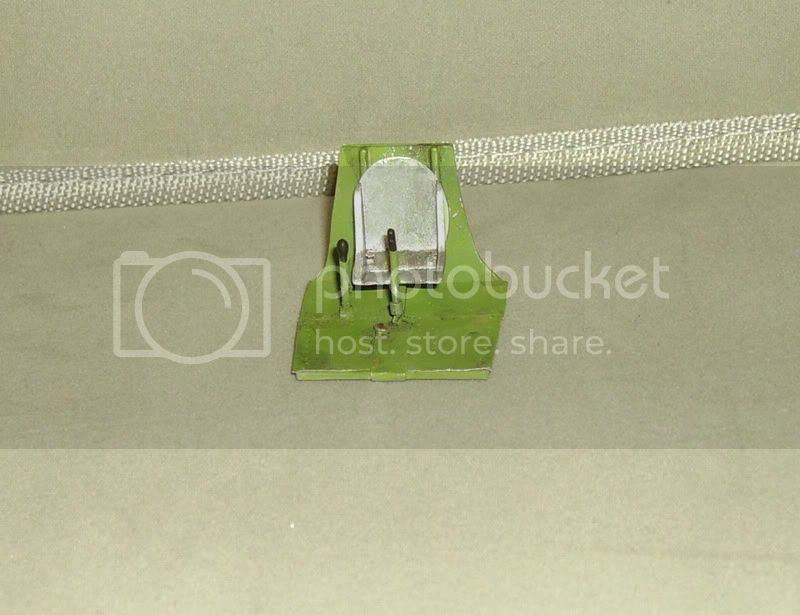
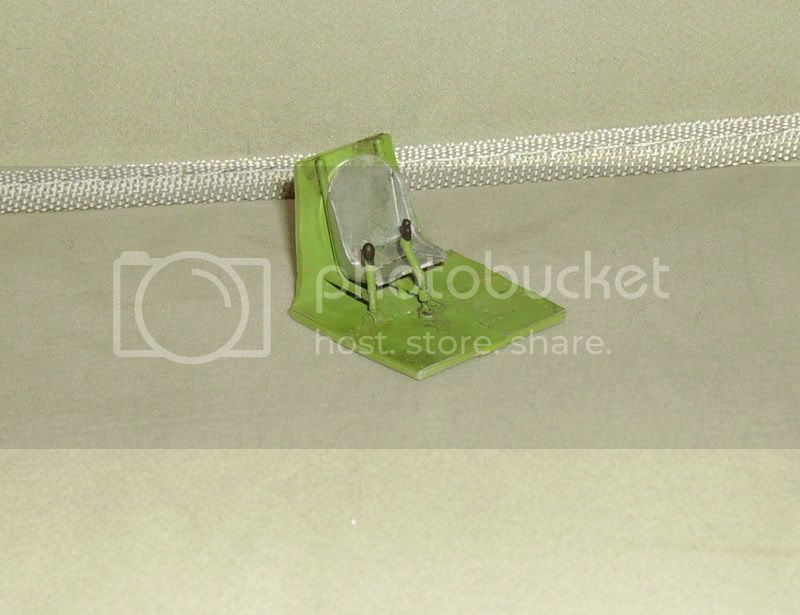

Happy with the result just got to add some belts before I go any further.
Thanks for looking
Martin


Happy with the result just got to add some belts before I go any further.
Thanks for looking
Martin
Posted: Thursday, April 14, 2011 - 09:11 AM UTC
I guess the good news is that between a going out of business sale and a model show I'm only out U$13 for the two new ones...
 |


