
Air Campaigns
Want to start or join a group build? This is where to start.
Want to start or join a group build? This is where to start.
Hosted by Frederick Boucher, Michael Satin
OFFICIAL: P-40, Work Horse of WWII Campaign
Red4

Joined: April 01, 2002
KitMaker: 4,287 posts
AeroScale: 1,164 posts

Posted: Monday, March 21, 2011 - 12:34 AM UTC
Now that my Future gloss coat has had a full 4 days to cure, I started with the decals last night. Will get some pics taken and posted shortly. Gotta get my Monday chores done first. Back soon. "Q" 

Red4

Joined: April 01, 2002
KitMaker: 4,287 posts
AeroScale: 1,164 posts

Posted: Monday, March 21, 2011 - 05:08 AM UTC
As promised...one picture of what I got done yesterday evening. Exactly one decal..  There are less than 20 decals total on this thing so I should be able to wrap that up today... Lord willin' and the river don't rise More to follow soon. "Q"
;)

 There are less than 20 decals total on this thing so I should be able to wrap that up today... Lord willin' and the river don't rise More to follow soon. "Q"
;)

Red4

Joined: April 01, 2002
KitMaker: 4,287 posts
AeroScale: 1,164 posts

Posted: Monday, March 21, 2011 - 07:25 AM UTC
Alrighty then.  All decals are on and she's drying as I type. I'll shoot an additional gloss coat to seal the decals, then flat coat her with some Tamiya TS-80. Need to add the decals to the prop, but otherwise things are about ready to go into final assembly, weathering and then onto the customer.... More to follow soon. Thanks, "Q"
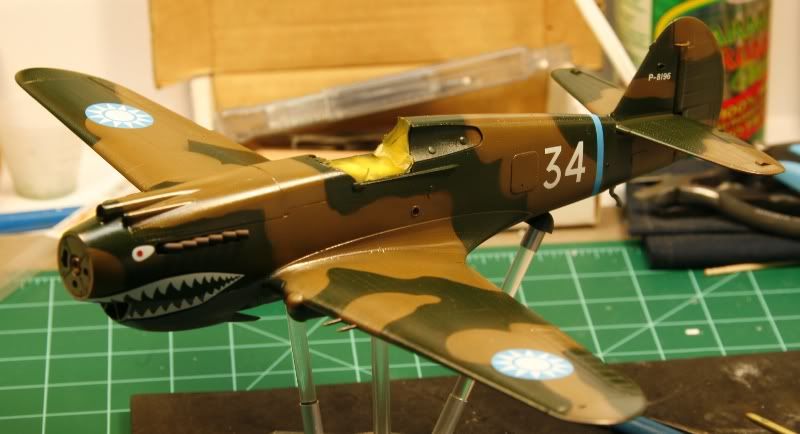
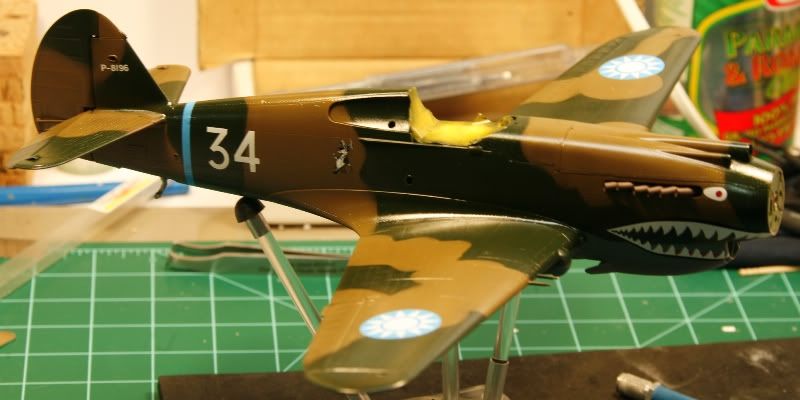
 All decals are on and she's drying as I type. I'll shoot an additional gloss coat to seal the decals, then flat coat her with some Tamiya TS-80. Need to add the decals to the prop, but otherwise things are about ready to go into final assembly, weathering and then onto the customer.... More to follow soon. Thanks, "Q"


NickZour

Joined: May 01, 2008
KitMaker: 1,437 posts
AeroScale: 1,241 posts

Posted: Monday, March 21, 2011 - 07:34 AM UTC
It's very nice Mr. Matthew, I'll also paint and mark mine, like yours 
Which kit do you have
Cheers Nick


Which kit do you have

Cheers Nick


Red4

Joined: April 01, 2002
KitMaker: 4,287 posts
AeroScale: 1,164 posts

Posted: Monday, March 21, 2011 - 08:41 AM UTC
Thanks Nick. Trumpeter 1/32. "Q" 


Bigrip74

Joined: February 22, 2008
KitMaker: 5,026 posts
AeroScale: 2,811 posts

Posted: Monday, March 21, 2011 - 11:30 AM UTC
@ Matt: I still want one of those stands ( if you live in Evergreen I'll be by to pick it up  ) Any way you build wayyyyyy!!!! too fast for me
  I am slow and love it. Were the decals ok (thick, thin, delicate).
@ Nick: waiting to see what you come up with on your build.
Bob
 ) Any way you build wayyyyyy!!!! too fast for me
  I am slow and love it. Were the decals ok (thick, thin, delicate).
@ Nick: waiting to see what you come up with on your build.
Bob
Red4

Joined: April 01, 2002
KitMaker: 4,287 posts
AeroScale: 1,164 posts

Posted: Monday, March 21, 2011 - 12:28 PM UTC
Thanks for the kudos Bob. Decals were Cutting Edge and went down excellent. Only glitch I had was part of the sharks teeth broke off on the right side as I was sliding the decal into place. Easy fix though. I did a review of the stands. Check under my profile for the review and the manufacturer. I think they are still available. More to follow soon. "Q" 
ps. If you get down Colorado Springs way let me know..

ps. If you get down Colorado Springs way let me know..

Bigrip74

Joined: February 22, 2008
KitMaker: 5,026 posts
AeroScale: 2,811 posts

Posted: Monday, March 21, 2011 - 01:28 PM UTC
@ Matt: my grand kids live in Palmer Lake and when I get out of school I think that it will be time to visit.
Bob
Bob
Red4

Joined: April 01, 2002
KitMaker: 4,287 posts
AeroScale: 1,164 posts

Posted: Monday, March 21, 2011 - 02:11 PM UTC
That's along one of the the routes I take on my Harley. When you're going to be in the area, give me a heads up.  "Q"
"Q"
 "Q"
"Q" 
Bigrip74

Joined: February 22, 2008
KitMaker: 5,026 posts
AeroScale: 2,811 posts

Posted: Monday, March 21, 2011 - 07:56 PM UTC
Well no painting for me this week, it has been raining cats and dogs since sunday and will continue per the weather girl on tv.
Bob
Bob

Bigrip74

Joined: February 22, 2008
KitMaker: 5,026 posts
AeroScale: 2,811 posts

Posted: Tuesday, March 22, 2011 - 09:41 AM UTC
I was just sitting here looking at the various a/c that I am building and hating the wing roots and how I have butchered most of the a/c in the past. Before I asked you for your tips I came across this link on Aeroscale on making filling gaps easy and was amazed at how simple it really is. I will try it out on my P-40E to see how I do with it. Here is the link.
https://aeroscale.kitmaker.net/forums/98974&page=1
Bob
https://aeroscale.kitmaker.net/forums/98974&page=1
Bob
Posted: Tuesday, March 22, 2011 - 10:19 AM UTC
Hey Bob,
I stole some stuff out of this thread when I built the P-40 last year:
http://aeroscale.kitmaker.net/forums/111677&page=1
IIRC I used stretched sprue (my first) to fill the gastly wing joint on the Airfix P-40E.
I stole some stuff out of this thread when I built the P-40 last year:
http://aeroscale.kitmaker.net/forums/111677&page=1
IIRC I used stretched sprue (my first) to fill the gastly wing joint on the Airfix P-40E.

29Foxtrot

Joined: September 19, 2003
KitMaker: 708 posts
AeroScale: 674 posts

Posted: Tuesday, March 22, 2011 - 12:30 PM UTC
Hi all,
I had built several of the AMT {now Italeri} P 40's in the past and always used Evergreen strips as a filler of the wing /fuselage joint.
Two pix of the AMT P40m I built many years ago.
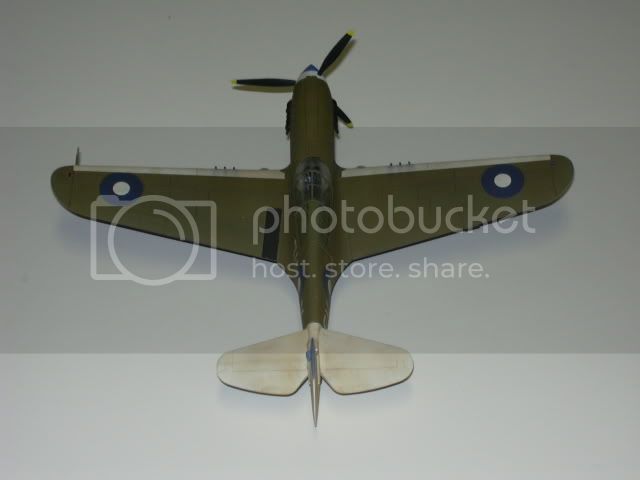
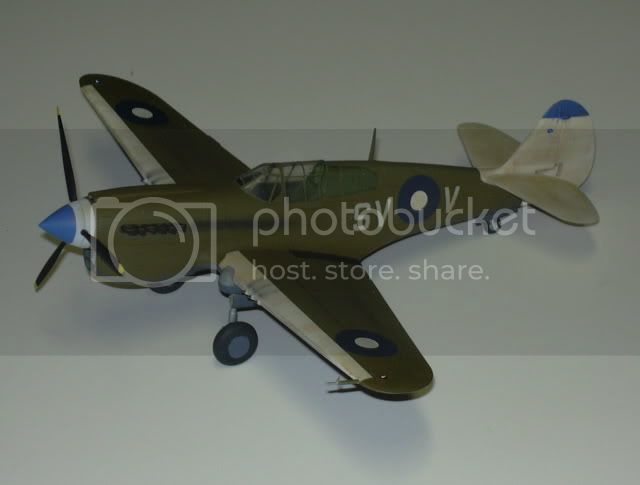
I had built several of the AMT {now Italeri} P 40's in the past and always used Evergreen strips as a filler of the wing /fuselage joint.
Two pix of the AMT P40m I built many years ago.


emroglan

Joined: December 16, 2004
KitMaker: 1,163 posts
AeroScale: 255 posts

Posted: Wednesday, March 23, 2011 - 08:35 PM UTC
Okay, here's more progress.
I have to spend a lot of time with sanding and puttying due to the multiple part construction of the Hasegawa fuselage. The machine gun part and the covers in front of the exhausts were really problematic to install properly and required lots of sanding and putty effort.
Last night I finally got around to painting it. The color used is Gunze Sangyo's Azure Blue from its RAF colors set. After painting the whole undersurfaces, I made a lighter blue by adding white to the Azure and played around. Then I did the same by adding black to the base Azure color.
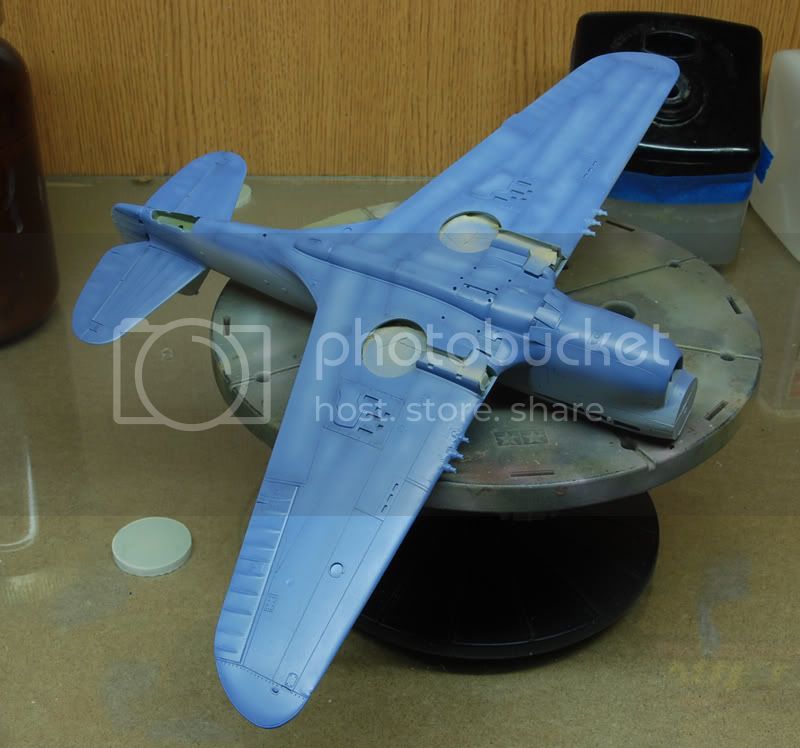
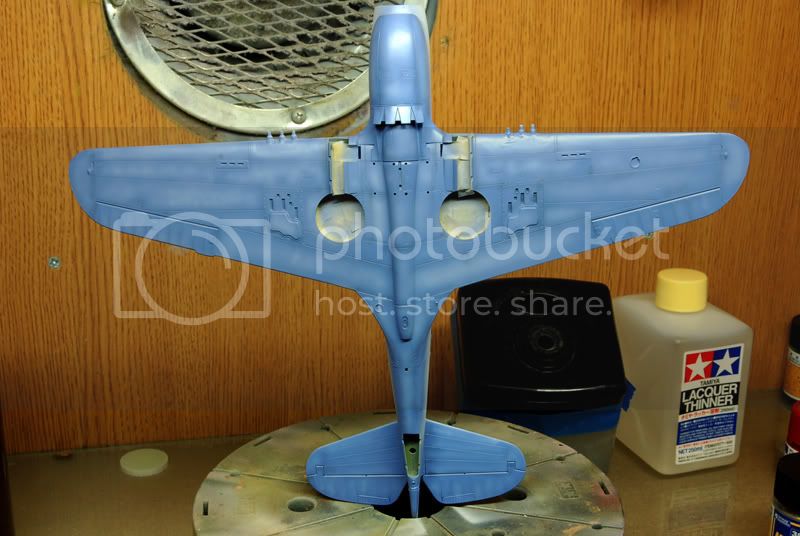
Some areas require touch-ups, but it was getting late and I closed up shop. Will continue working on it today. Hopefully I'll mask the canopy today and paint the Dark Earth color.
I have to spend a lot of time with sanding and puttying due to the multiple part construction of the Hasegawa fuselage. The machine gun part and the covers in front of the exhausts were really problematic to install properly and required lots of sanding and putty effort.
Last night I finally got around to painting it. The color used is Gunze Sangyo's Azure Blue from its RAF colors set. After painting the whole undersurfaces, I made a lighter blue by adding white to the Azure and played around. Then I did the same by adding black to the base Azure color.


Some areas require touch-ups, but it was getting late and I closed up shop. Will continue working on it today. Hopefully I'll mask the canopy today and paint the Dark Earth color.

Bigrip74

Joined: February 22, 2008
KitMaker: 5,026 posts
AeroScale: 2,811 posts

Posted: Thursday, March 24, 2011 - 05:33 AM UTC
@ Rob: I enjoyed your photos in the starter thread of this campaign, was this also one of them and how did you weather the white on the tail?
@ Emre: you beat me to the punch with the Azure Blue ( my favorite color ) undersurface. Looks good with your technique, I will need to play with a peice of plastic to see if I can do the same.
Bob
@ Emre: you beat me to the punch with the Azure Blue ( my favorite color ) undersurface. Looks good with your technique, I will need to play with a peice of plastic to see if I can do the same.
Bob
NickZour

Joined: May 01, 2008
KitMaker: 1,437 posts
AeroScale: 1,241 posts

Posted: Thursday, March 24, 2011 - 05:41 AM UTC
Looks pretty fine until now Mr. Emre 
My update: I have finished filling and closing the gaps. I also drilled out the exhaust stacks

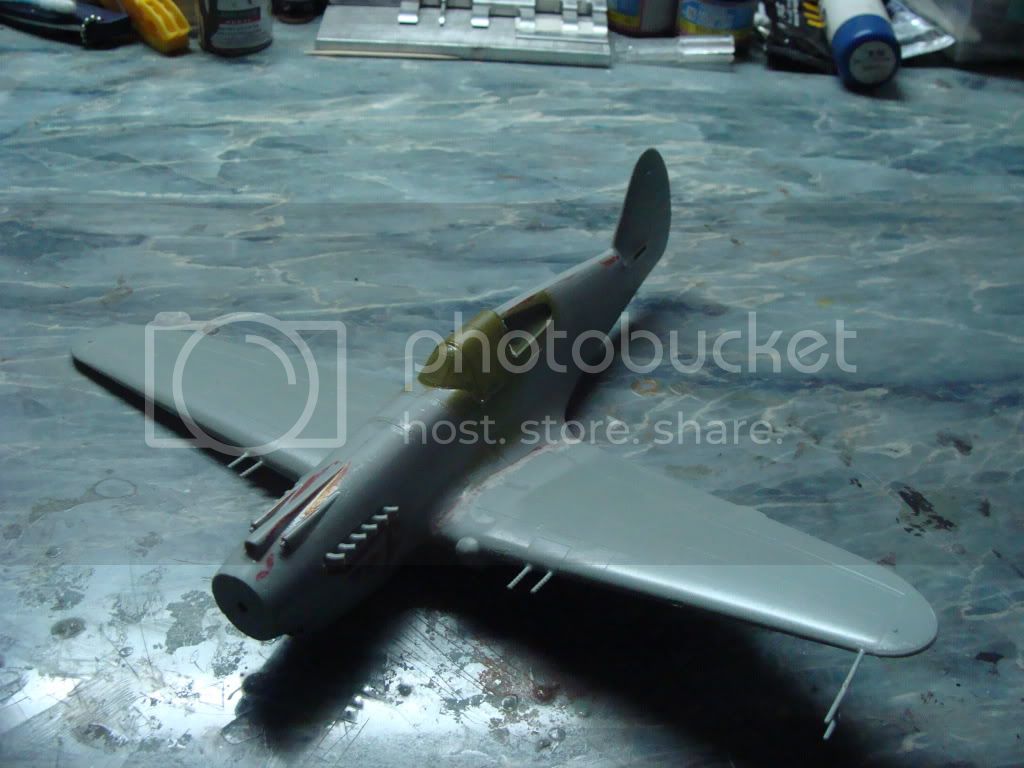
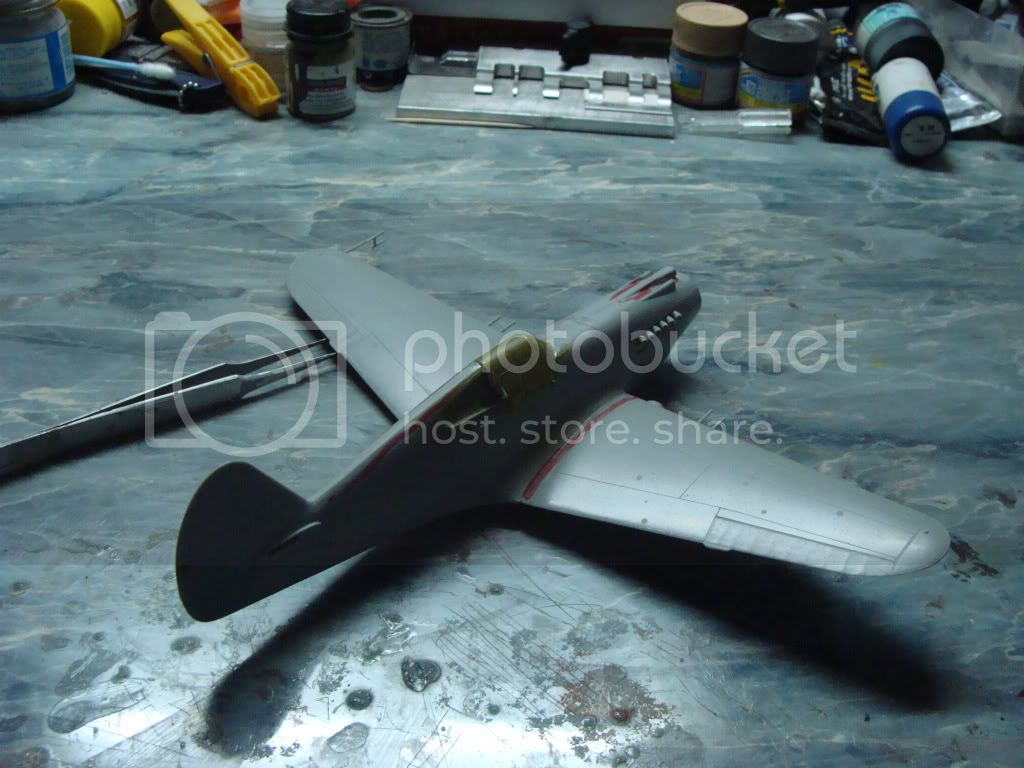
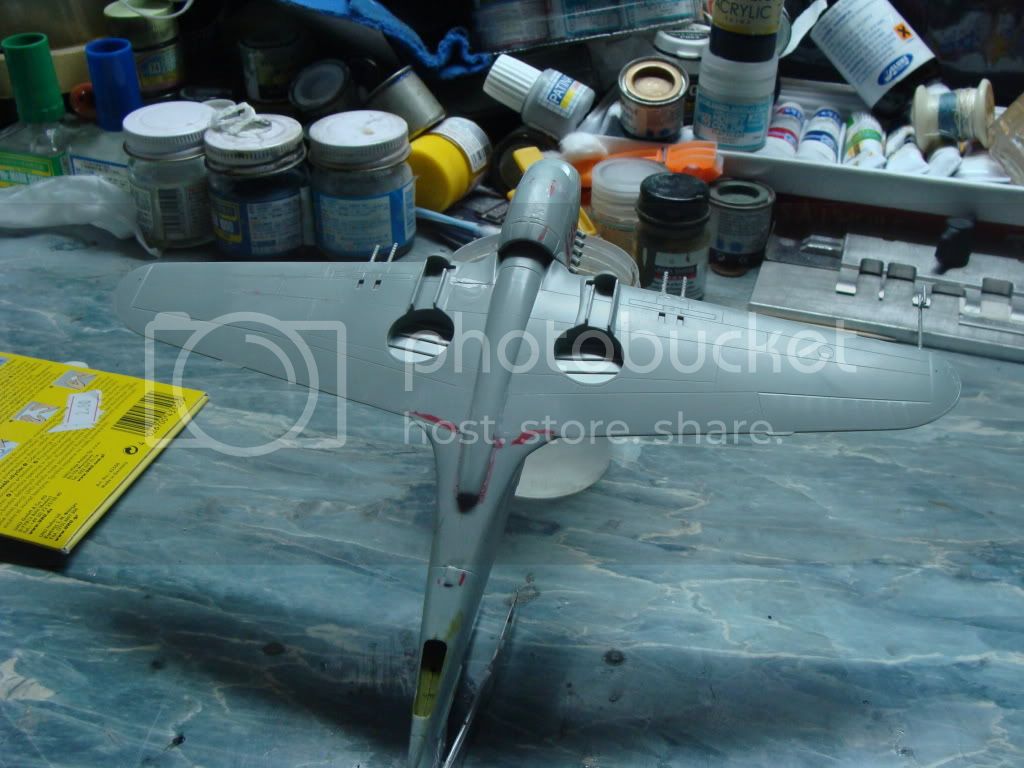
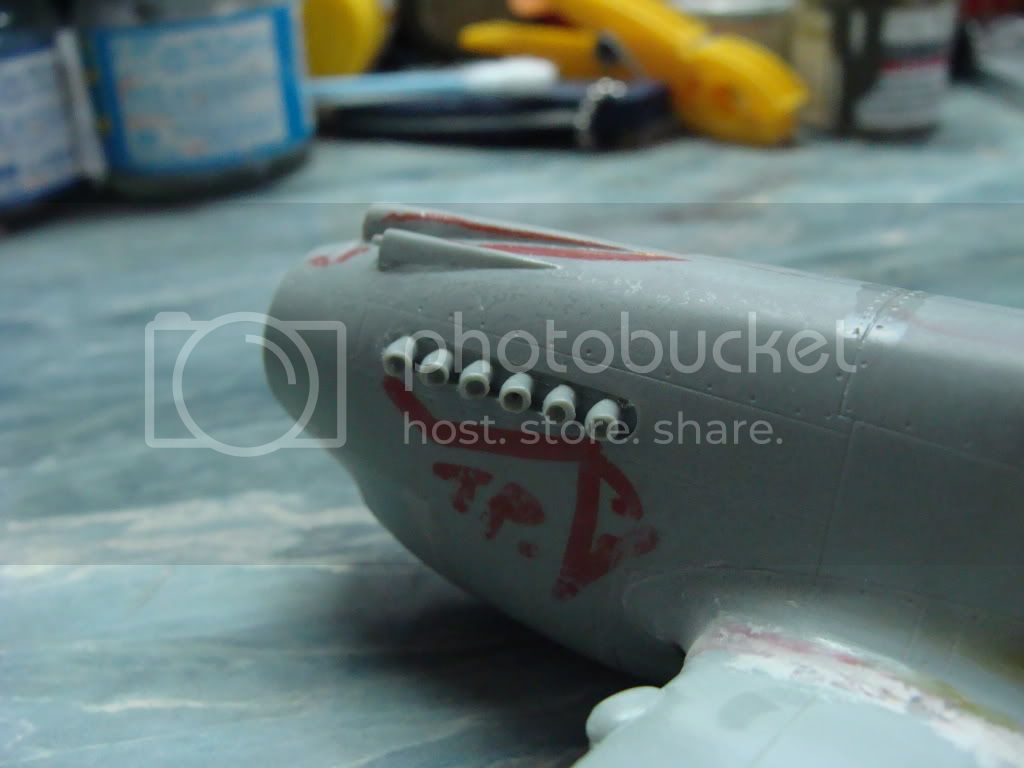
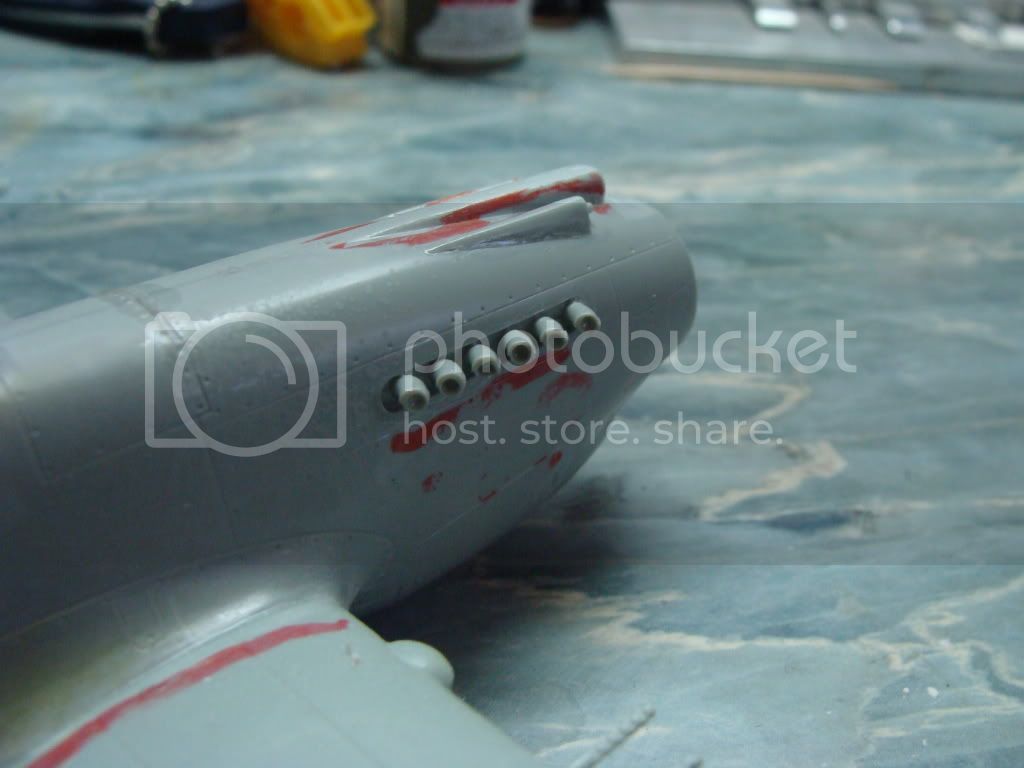
Cheers Nick


My update: I have finished filling and closing the gaps. I also drilled out the exhaust stacks


Cheers Nick


emroglan

Joined: December 16, 2004
KitMaker: 1,163 posts
AeroScale: 255 posts

Posted: Thursday, March 24, 2011 - 06:01 AM UTC
Thanks Nick! Your build is coming along nicely as well, but why did you leave out the perplex glasses? If you are going to paint over those areas, be sure the mask the rear of the canopy!
Bob, all it takes is some practice (took me about 3 kits to get used to this method). I'm sure you'll get the hang of it, just remember to keep your paint thin and work in layers, so that the colors fade or darken gradually.
Bob, all it takes is some practice (took me about 3 kits to get used to this method). I'm sure you'll get the hang of it, just remember to keep your paint thin and work in layers, so that the colors fade or darken gradually.
NickZour

Joined: May 01, 2008
KitMaker: 1,437 posts
AeroScale: 1,241 posts

Posted: Thursday, March 24, 2011 - 06:11 AM UTC
Quoted Text
Thanks Nick! Your build is coming along nicely as well, but why did you leave out the perplex glasses? If you are going to paint over those areas, be sure the mask the rear of the canopy!
Thank you very much too Mr. Emre

Yes, it's going to be painted with the camo colors and don't worry, I have closed the openings with blue tack


Cheers Nick


29Foxtrot

Joined: September 19, 2003
KitMaker: 708 posts
AeroScale: 674 posts

Posted: Thursday, March 24, 2011 - 10:14 AM UTC
Bob,
No this particular P-40m was not posted on your 'Starter Thread'.
The weathering on the subject is from pastels, the applied pastel colour shows on the wing leading edge and tail better than on the airframe.
This is the old AMT kit, that was built some years ago, {when I first started on the RAAF contract}, the model subject is a P40m -5 Kittyhawk III A29-356.
A little bit of history on A29-356.
The pilot of this subject {SV-V} was W.Cdr Wilfred Arthur, who was C.O. of 76 Sqn RAAF and O.C. of 71 Wing at the time but on 5 November '43 this aircraft collided with Spitfire A58-177, while landing at Kiriwina Strip {Batchellor N.T.} killing the pilot of the Spitfire, Wilfred Arthur was badly burnt as a result of this accident and died in 2003.
mpatman

Joined: March 09, 2006
KitMaker: 248 posts
AeroScale: 160 posts

Posted: Thursday, March 24, 2011 - 05:37 PM UTC
Hi all,
Just a quick update.
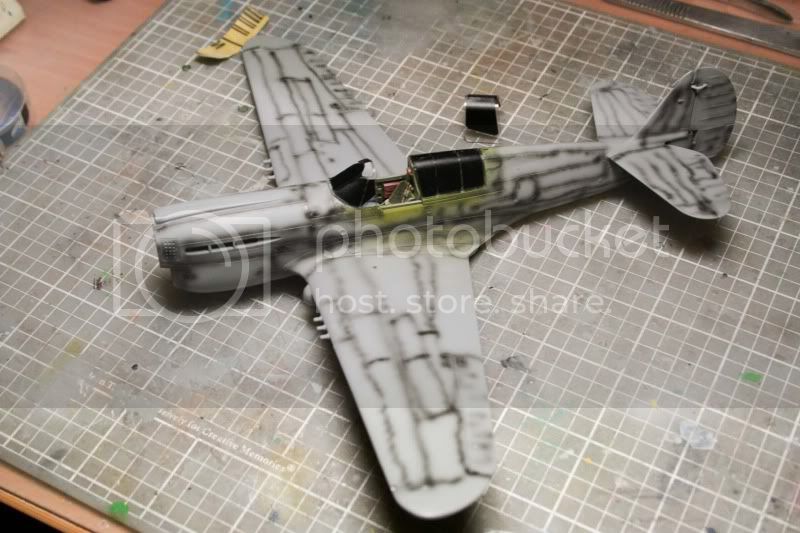
From my last post i had concerns over a gap in the top of the wing as i glued the bottom wing section to the fuselage first, but once i had everything lined up and glued it was fine and i was really happy with the fit.
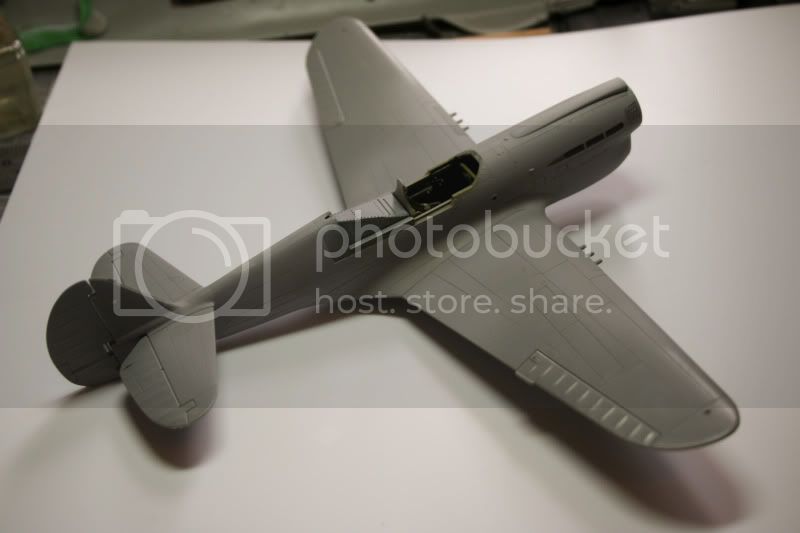
Here she is priimed and pre-shaded, and my first use of canopy masks (Montex)
Now onto some color....
Mark
Just a quick update.
From my last post i had concerns over a gap in the top of the wing as i glued the bottom wing section to the fuselage first, but once i had everything lined up and glued it was fine and i was really happy with the fit.

Here she is priimed and pre-shaded, and my first use of canopy masks (Montex)

Now onto some color....
Mark

Bigrip74

Joined: February 22, 2008
KitMaker: 5,026 posts
AeroScale: 2,811 posts

Posted: Thursday, March 24, 2011 - 06:09 PM UTC
Mark, what is you opinion of Montex?
Bob
Bob
mpatman

Joined: March 09, 2006
KitMaker: 248 posts
AeroScale: 160 posts

Posted: Thursday, March 24, 2011 - 06:20 PM UTC
Hi Bob,
As I stated it was my first use of masks so i have nothing to compare them to. I can say that it was obviously much much easier than sitting down and cutting up Tamiya tape. The fit was about 99% perfect, seemed to be slightly short in some places and a smidge too long in others but nothing to really worry about.
Cheers,
Mark
emroglan

Joined: December 16, 2004
KitMaker: 1,163 posts
AeroScale: 255 posts

Posted: Friday, March 25, 2011 - 03:19 AM UTC
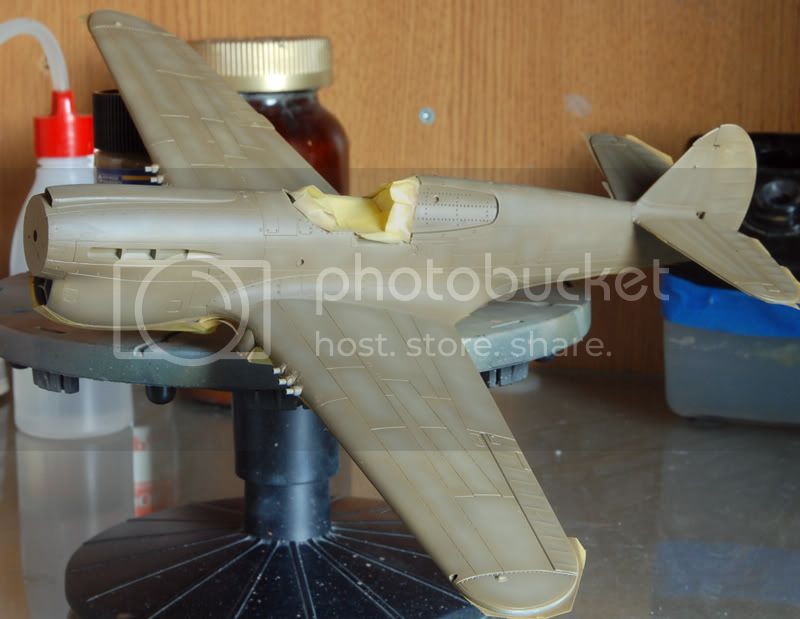
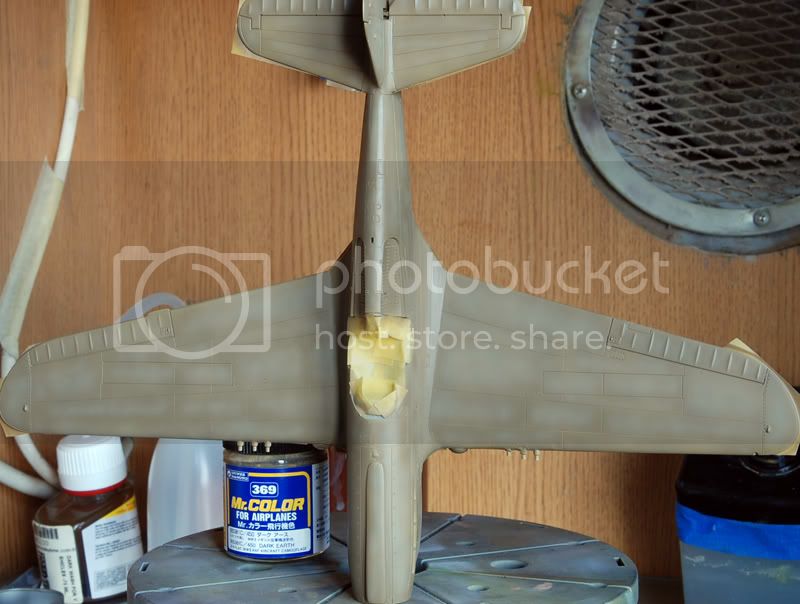
Here's my progress from last night. I used Gunze's Dark Earth color (as visible in the second photo), then I added some white and buff to this color, thinned it well and used it to fade and whiten the base Dark Earth color. Since it was past midnight, I couldn't work with the darker shade. Tonight I plan to add the darker tones for the Dark Earth color, then start the masking frenzy both for the camouflage and for the canopy.


Bigrip74

Joined: February 22, 2008
KitMaker: 5,026 posts
AeroScale: 2,811 posts

Posted: Friday, March 25, 2011 - 05:27 AM UTC
Emre, what will be your next step/coat on the a/c?
Bob
Bob
emroglan

Joined: December 16, 2004
KitMaker: 1,163 posts
AeroScale: 255 posts

Posted: Friday, March 25, 2011 - 05:37 AM UTC
After some coffee, I'll settle down to continue. First step is the darker areas for the brown. The third color will be Dark Green, but I'll have to mask the browns first.
 |


