Hopefully Warren has a down under source.
I found these on the interwebs: Berna
Air Campaigns
Want to start or join a group build? This is where to start.
Want to start or join a group build? This is where to start.
Hosted by Frederick Boucher, Michael Satin
OFFICIAL: De Havilland Campaign
Posted: Monday, December 30, 2013 - 08:14 AM UTC
Posted: Monday, December 30, 2013 - 08:47 AM UTC
Thanks Mark they certainly look interesting and not as expensive as I at first thought, at least not from the website you've provided, although that does exclude shipping!
Posted: Monday, December 30, 2013 - 09:04 AM UTC
Yeah, that's what I was afraid of, shipping half way around the world from North Carolina might be kinda spendy. They seem handy enough that local train or RC hobby shops might carry them.
Posted: Monday, December 30, 2013 - 09:13 AM UTC
Quoted Text
Hi Andrew nice to see another DH89! This would be when Heller and Airfix were part of the same company and sharing moulds I guess? I wonder if either is still producing them? I seem to remember John Stone from Tasman Models telling me he only had limited supply of Heller kits left. I've drilled holes all the way through the wing for the rigging so I'm hoping I can rig it before I paint it in overall silver dope. I'll guess we'll see if the idea works soon enough. Was your bottom wing warped too? Mine was but gluing in the struts helped align the upper and lower pretty much, although I did judiciously tweak the bottom one a little before gluing everything together.
@Warren: Damn Warren before I forget, again, the Nimrod looks absolutely fantastic nice job putting it together! Interesting looking clamps are they produced specifically for modelling? And if so who produces them and where can I get a set?
The bottom wing is very thin, I would normally rig this by drilling through the wing and secure the rigging using cyano applied with a cocktail stick. When you are positive it has stuck fill the hole, cut the thread and rub down. I will probably mask round the hole both sides to prevent the putty spreading. I will leave all the struts except the tip ones off until the fuselage is painted to make masking easier. As I have been building I have noticed what lovely propotions this machine has, de Havillands usually made good looking aircraft.
Posted: Monday, December 30, 2013 - 10:12 PM UTC
Bit more progress. The rigging has been fitted into the upper wing as suggested on the plans. Airfix suggest trapping the lower part of the rigging under the strut ends so I am going to try that. The inner struts are secured at the upper end only.
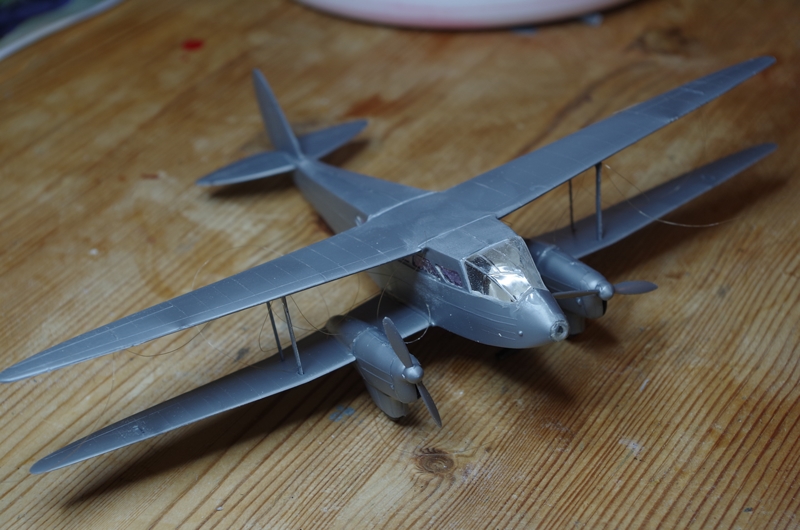
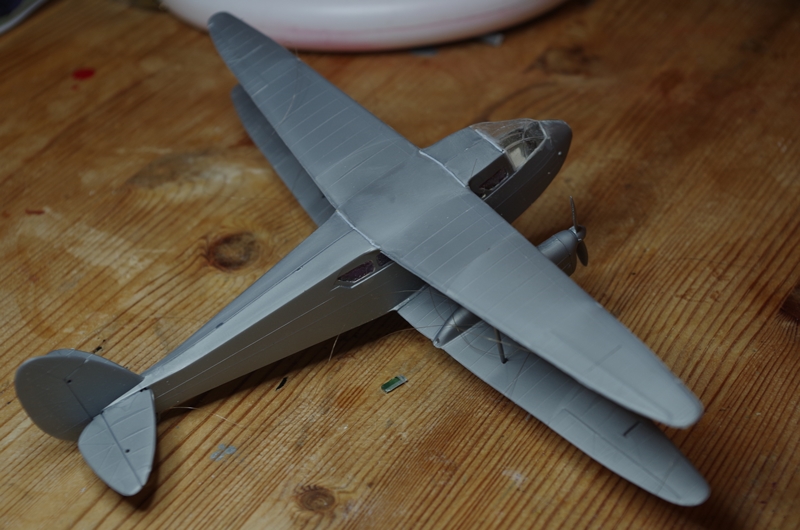
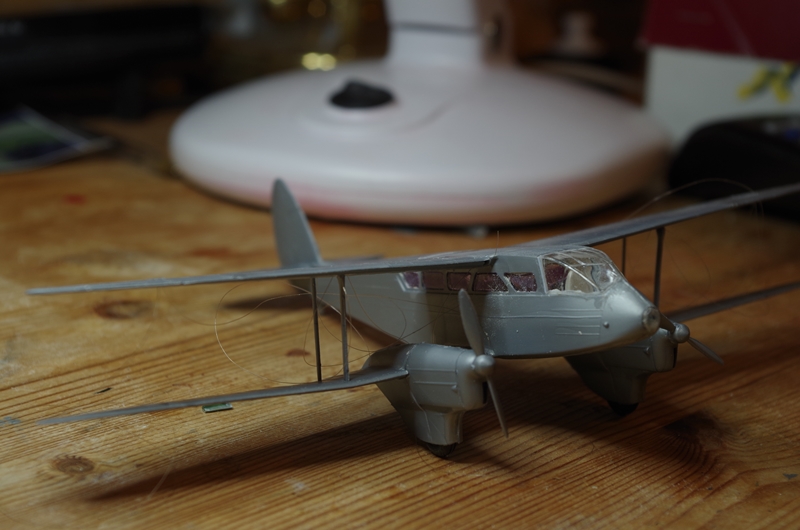


Posted: Tuesday, December 31, 2013 - 10:38 PM UTC
Great progress everyone! 
My New Year's resolution is to finally make a start on my Vampire!
All the best
Rowan

My New Year's resolution is to finally make a start on my Vampire!

All the best
Rowan


modelguy2

Joined: March 09, 2002
KitMaker: 818 posts
AeroScale: 137 posts

Posted: Wednesday, January 01, 2014 - 04:26 PM UTC
I'm beginning my Airfix Sea Vixen

every time I open the Aurora DH 10 I think to myself....not yet

every time I open the Aurora DH 10 I think to myself....not yet

ljames0874

Joined: August 15, 2012
KitMaker: 408 posts
AeroScale: 365 posts

Posted: Thursday, January 02, 2014 - 04:25 AM UTC
That 1/48 Sea Vixen will be enormous, I've just got the tail booms and the nose cone on my FAW.1, and even in 1/72 it's an impressive size, similar to an F-15 in my opinion.
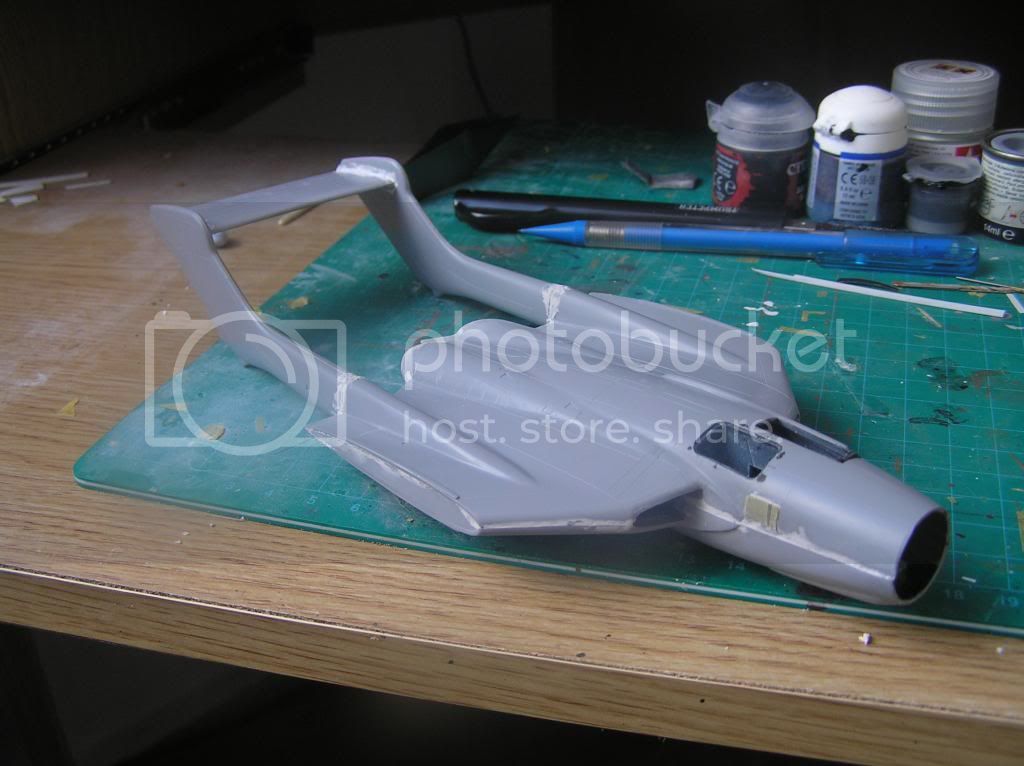
Anyway, onto some progress on the FAW.1. The tail booms were attached with some assistance from a pair of resin plugs. The join is good, a little putty to smooth over the join, and a lot of fettling is needed to ensure the booms don't have any bulges, especially around the join:

This last pic shows the colour and decal scheme I will be using.
Anyway, onto some progress on the FAW.1. The tail booms were attached with some assistance from a pair of resin plugs. The join is good, a little putty to smooth over the join, and a lot of fettling is needed to ensure the booms don't have any bulges, especially around the join:


This last pic shows the colour and decal scheme I will be using.

modelguy2

Joined: March 09, 2002
KitMaker: 818 posts
AeroScale: 137 posts

Posted: Thursday, January 02, 2014 - 04:54 PM UTC
Sea Vixen cockpit's finished. I'm leaning towards folded wings...


Posted: Friday, January 03, 2014 - 07:59 AM UTC
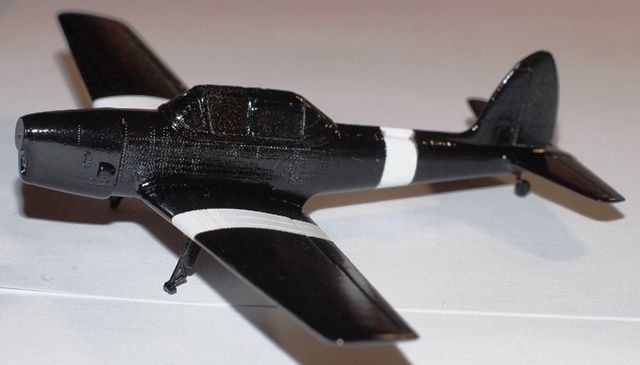
Well, with any luck, I'll get the black paint on my Chipmunk tonight.. 

ltb073

Joined: March 08, 2010
KitMaker: 3,662 posts
AeroScale: 174 posts

Posted: Friday, January 03, 2014 - 09:05 AM UTC
Hi folks 
I just saw this campaign and I started working on Christmas on a build blog of Cyber-Bobby's Sea Vampire F.20 in 1/72 scale so I will jump in here with it
I'll post my start up photos and my progress shots when my daughter evacuates my den where my computer is

I just saw this campaign and I started working on Christmas on a build blog of Cyber-Bobby's Sea Vampire F.20 in 1/72 scale so I will jump in here with it

I'll post my start up photos and my progress shots when my daughter evacuates my den where my computer is


Jessie_C


Joined: September 03, 2009
KitMaker: 6,965 posts
AeroScale: 6,247 posts

Posted: Friday, January 03, 2014 - 03:17 PM UTC
Welcome to the DeHavilland Campaign, Sal!
Now, not to appear as though I'm neglecting my own campaign, I'd better get started on my own build, hadn't I? Here's the fuselage, with a skim of putty to fill in the sunken areas over the internal structure.
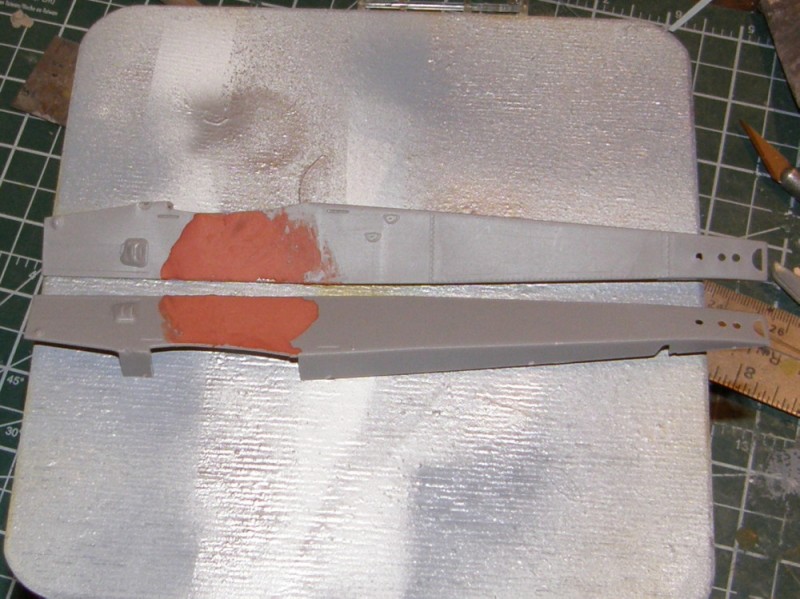
Now, not to appear as though I'm neglecting my own campaign, I'd better get started on my own build, hadn't I? Here's the fuselage, with a skim of putty to fill in the sunken areas over the internal structure.

Posted: Saturday, January 04, 2014 - 07:39 PM UTC
Posted: Sunday, January 05, 2014 - 03:08 PM UTC

modelguy2

Joined: March 09, 2002
KitMaker: 818 posts
AeroScale: 137 posts

Posted: Monday, January 06, 2014 - 07:52 AM UTC
Looking good Mark.
Here's the latest on the Vixen


A keen observer that's familiar with the kit will notice I've decided to have the wings extended.
Here's the latest on the Vixen


A keen observer that's familiar with the kit will notice I've decided to have the wings extended.
Posted: Monday, January 06, 2014 - 10:40 AM UTC
Mike and Lee, great looking Sea Vixens. Lee I may have missed it but which kit is yours? Mike, whose are those lovely ejector seats? They're definitely not the kit originals!
Andrew, the Dragon Rapide is coming along nicely.
Mark, that's a great looking Chipmunk. I take it you've gone for the current BBMF scheme?
Finally got round to doing a little more work on the cockpit of my DH.4. Not much more to do now and then I can start painting it before closing it up.
Keep up the good work everyone.
Posted: Monday, January 06, 2014 - 10:42 AM UTC
Quoted Text
current BBMF scheme
Sadly it was the ONLY marking option in the kit.

Posted: Monday, January 06, 2014 - 11:03 AM UTC
Its a good looking scheme but I think Airfix missed a trick in not giving at least one different option. The old red and white trainer scheme would have been nice.
Posted: Monday, January 06, 2014 - 11:41 AM UTC
They're not the only ones. Picked up a RoG Stearman the other day and it only had markings for one Navy bird. I didn't think decals were tat expensive.. Same with a couple of Academy and Hasegawa kits I've gotten lately.
Posted: Monday, January 06, 2014 - 12:03 PM UTC
That's why I thank the gods of styrene for the aftermarket decal guys!
Posted: Monday, January 06, 2014 - 12:08 PM UTC
Good work people, the Sea Vixen is one mean beast
Chippy is coming on but the black is modern RAF scheme, I prefer the red but it is your bird. First paint hit the Dragon
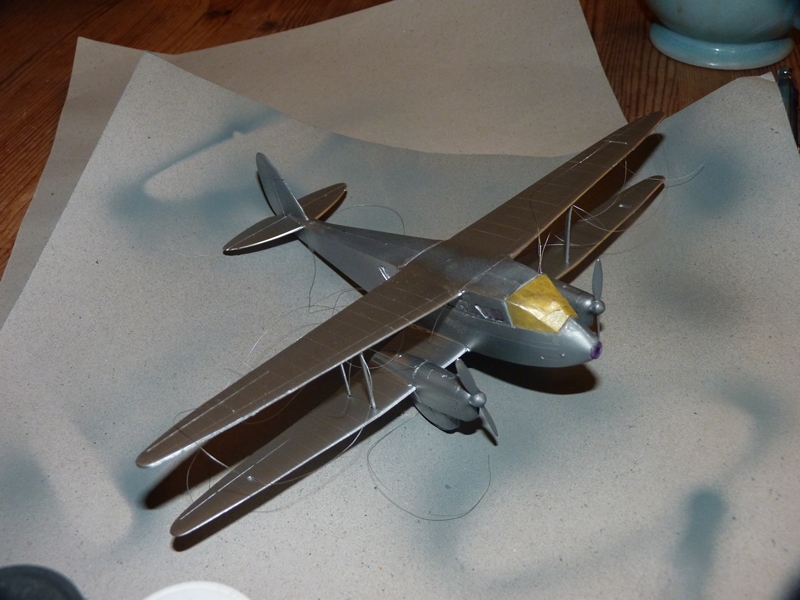
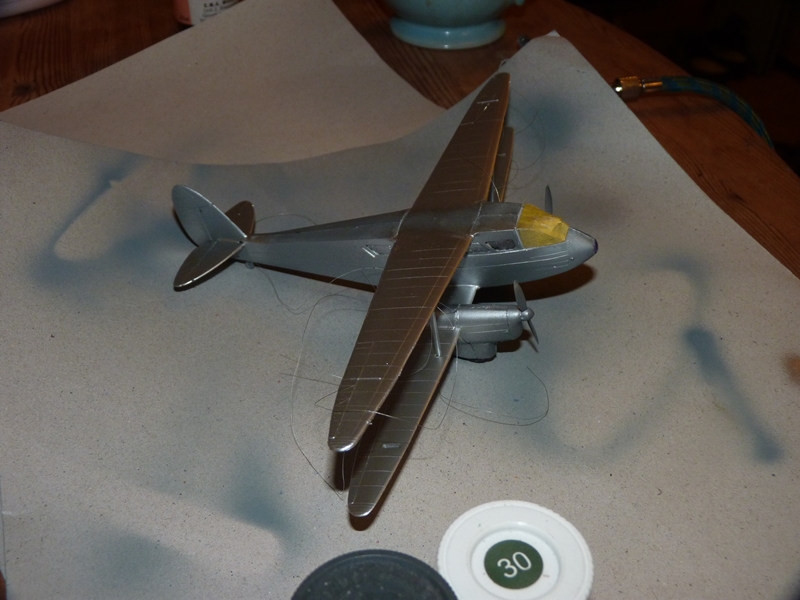
Silver first, lots of masking when it is dry then red.
Chippy is coming on but the black is modern RAF scheme, I prefer the red but it is your bird. First paint hit the Dragon


Silver first, lots of masking when it is dry then red.
Posted: Monday, January 06, 2014 - 12:09 PM UTC
Just that finding the one I want is never easy..... Just went looking for some RAAF decals for Ronnie RAAF, pickins are kinda slim. Did find a US Navy set for my T-28, $15 a set.....
Posted: Monday, January 06, 2014 - 12:09 PM UTC
Started to glue resin together today!


Posted: Monday, January 06, 2014 - 12:33 PM UTC
That is unmistakably a DH tail

modelguy2

Joined: March 09, 2002
KitMaker: 818 posts
AeroScale: 137 posts

Posted: Monday, January 06, 2014 - 02:57 PM UTC
True Detail's seats in the Airfix Vixen.
 |


