Air Campaigns
Want to start or join a group build? This is where to start.
Want to start or join a group build? This is where to start.
Hosted by Frederick Boucher, Michael Satin
OFFICIAL: Fleet Air Arm Campaign

Jessie_C


Joined: September 03, 2009
KitMaker: 6,965 posts
AeroScale: 6,247 posts

Posted: Tuesday, May 27, 2014 - 01:08 AM UTC
If we're dividing rabbits, from the time Canada's Armed Farces were formed, we didn't legally have a Navy. That lasted right up until 2011.

Mcleod

Joined: April 07, 2010
KitMaker: 1,028 posts
AeroScale: 939 posts

Posted: Tuesday, May 27, 2014 - 01:15 AM UTC
If the CP-140 is questionable, I suppose I'll just go back to the mojo board and choose something else. Its all good! 

RedDuster

Joined: March 01, 2010
KitMaker: 7,078 posts
AeroScale: 118 posts

Posted: Thursday, May 29, 2014 - 05:43 AM UTC

Mcleod

Joined: April 07, 2010
KitMaker: 1,028 posts
AeroScale: 939 posts

Posted: Thursday, May 29, 2014 - 06:06 AM UTC
I really do like your work, Simon. Very nice, indeed 

RedDuster

Joined: March 01, 2010
KitMaker: 7,078 posts
AeroScale: 118 posts

Posted: Thursday, May 29, 2014 - 07:39 PM UTC
Thanks Ben,
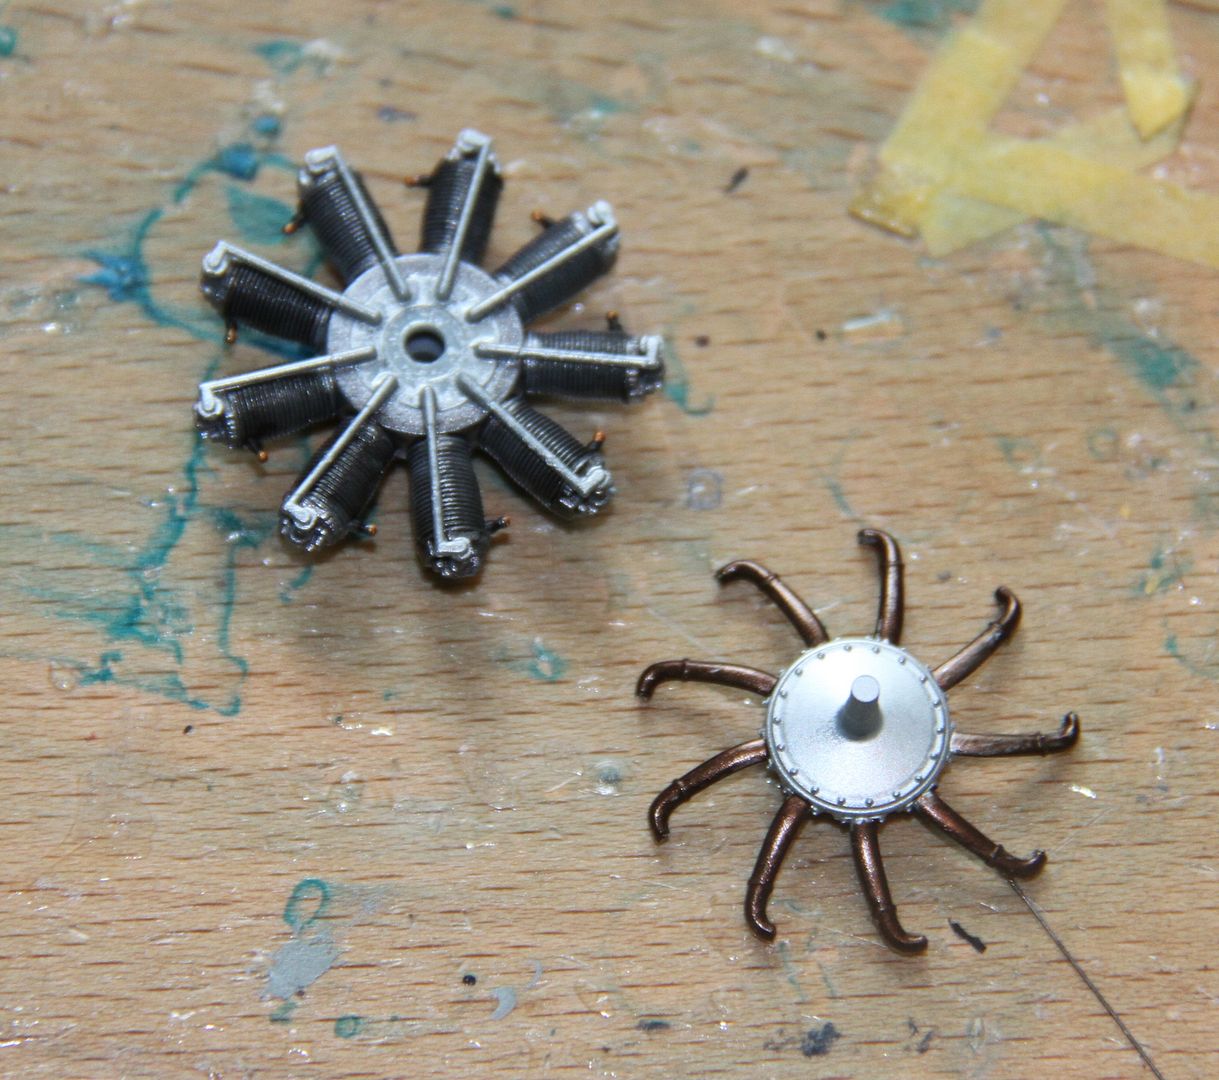
Forgot to mention above, the colour on the exhaust pipes is "Tin Bitz" from Citadel, I do like their metalics. The pipes need matting down prior to fitting.
Si
Forgot to mention above, the colour on the exhaust pipes is "Tin Bitz" from Citadel, I do like their metalics. The pipes need matting down prior to fitting.
Si
RedDuster

Joined: March 01, 2010
KitMaker: 7,078 posts
AeroScale: 118 posts

Posted: Saturday, May 31, 2014 - 11:55 AM UTC
Please ignore my last re "exhaust pipes, they are of course the induction pipes.
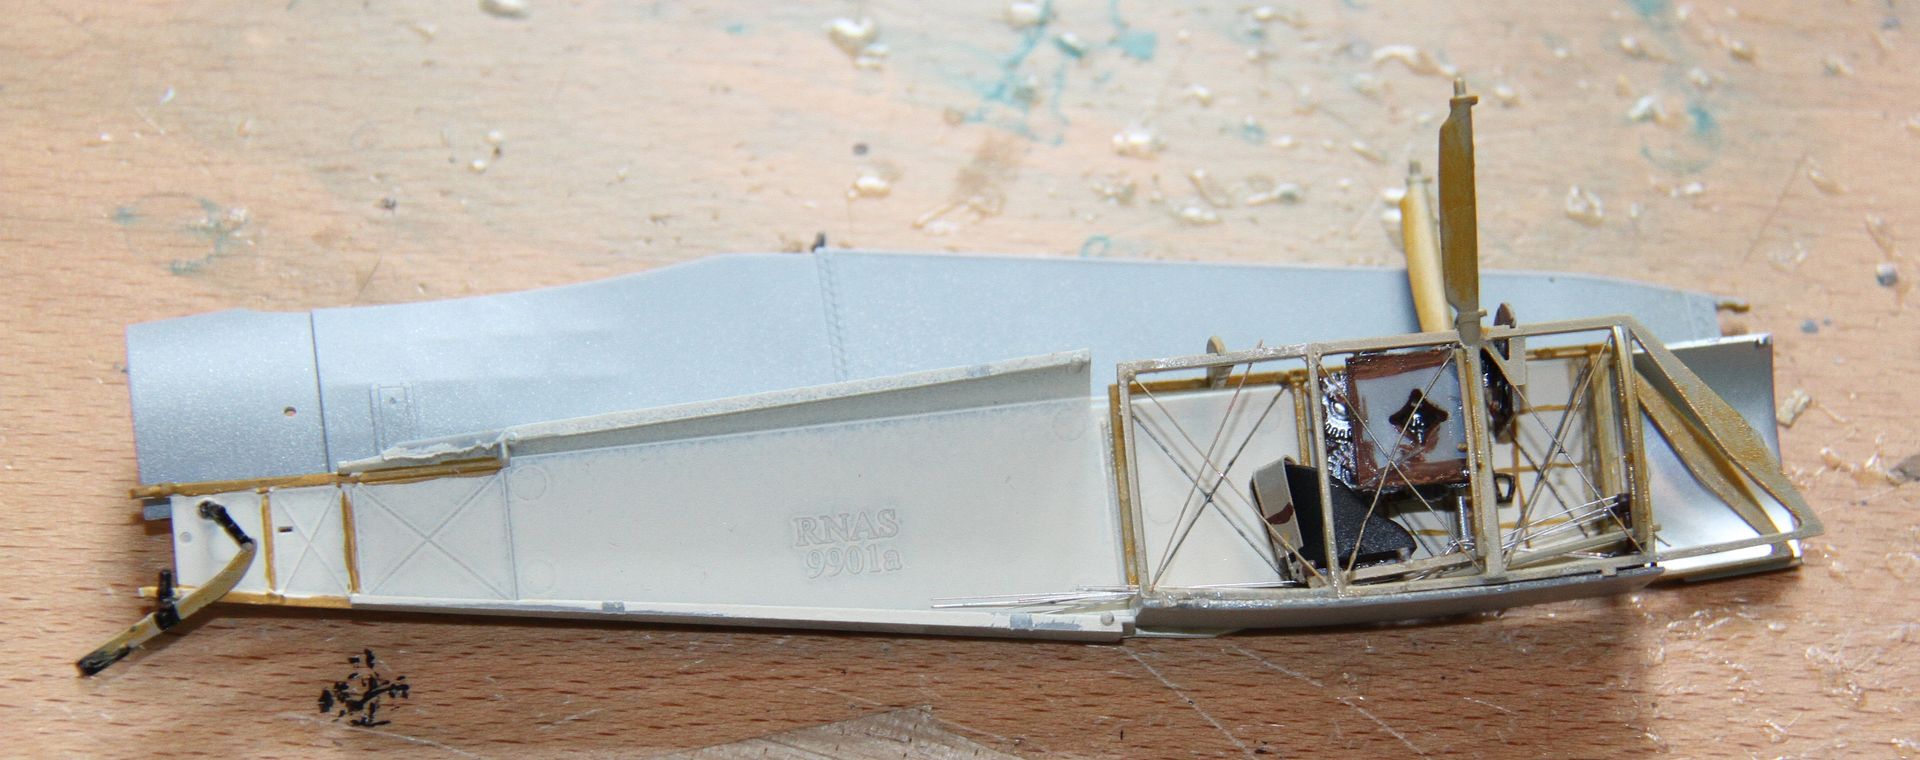
anyway, on with the airframe. The lower wing centre section and the inside of the upper decking masked ready for spraying.

The outside of the upper decking sprayed the base colour and the leather padding picked out.
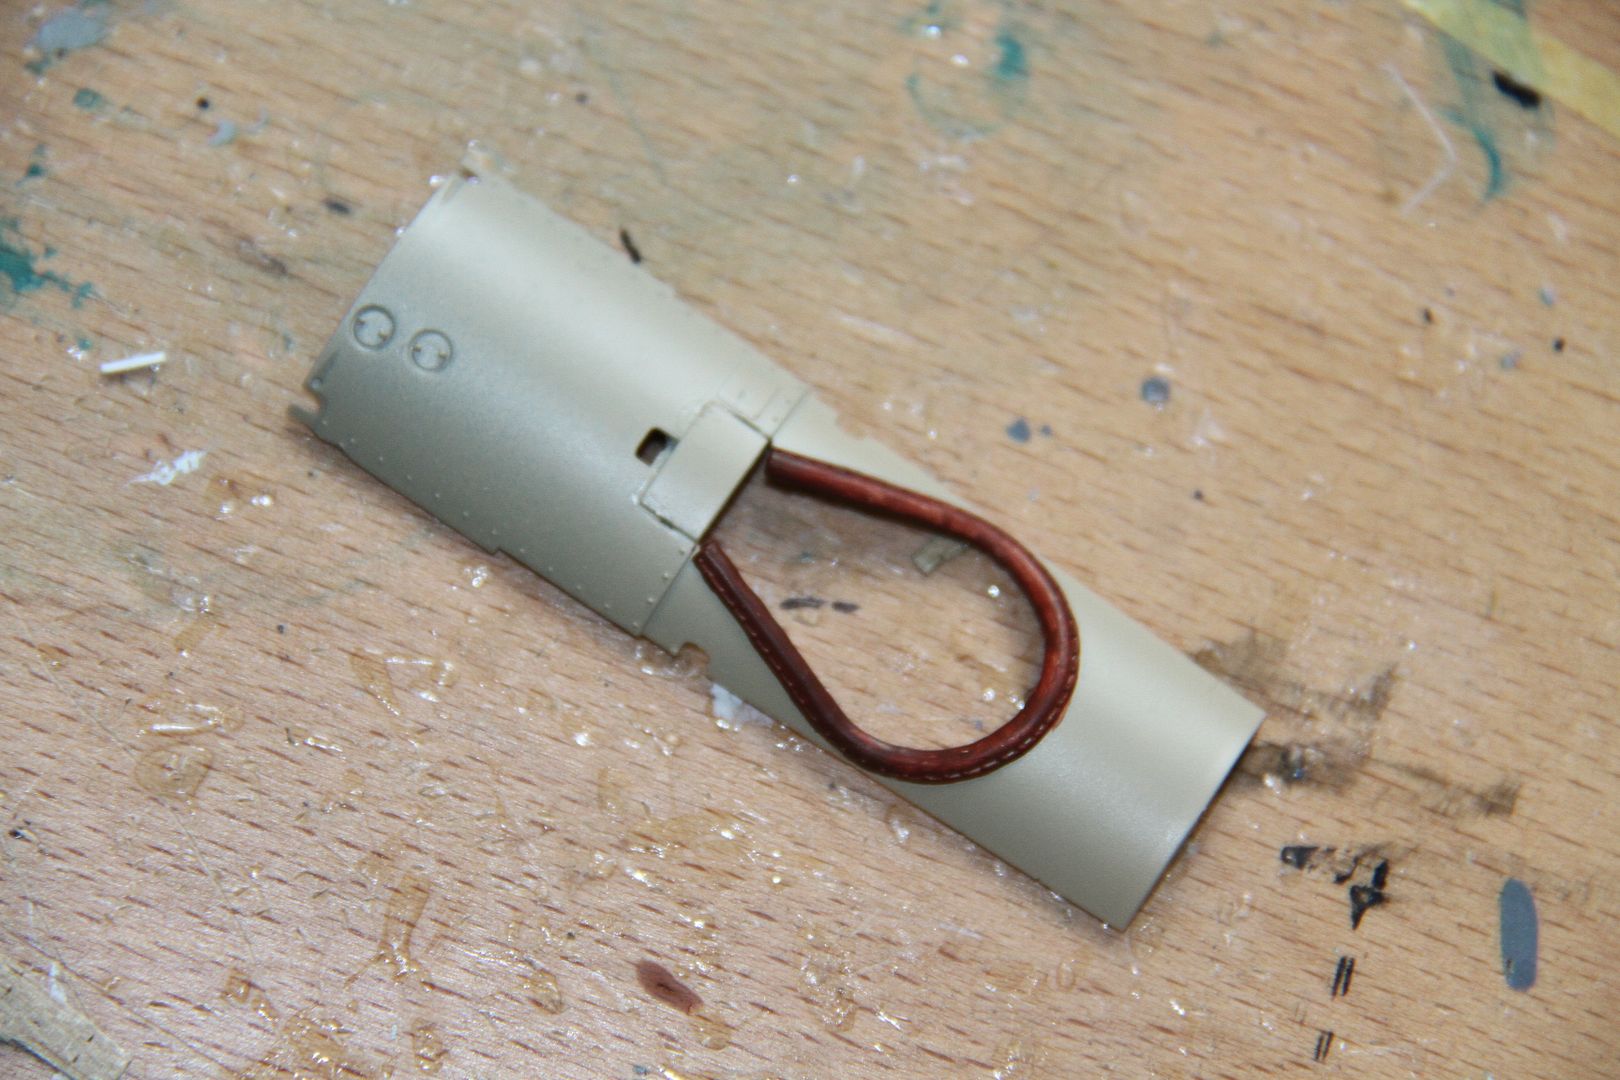
And the wood effect drybrushed in with raw and burnt sienna oils (Windsor and Newton Artisan water soluble oils).

Now a week for that to dry.
Si
anyway, on with the airframe. The lower wing centre section and the inside of the upper decking masked ready for spraying.

The outside of the upper decking sprayed the base colour and the leather padding picked out.

And the wood effect drybrushed in with raw and burnt sienna oils (Windsor and Newton Artisan water soluble oils).

Now a week for that to dry.
Si

SaxonTheShiba

Joined: February 01, 2009
KitMaker: 1,233 posts
AeroScale: 663 posts

Posted: Saturday, May 31, 2014 - 12:44 PM UTC
Simon----That is beautiful work so far.
Best wishes,
Ian
Best wishes,
Ian
RedDuster

Joined: March 01, 2010
KitMaker: 7,078 posts
AeroScale: 118 posts

Posted: Saturday, May 31, 2014 - 08:32 PM UTC
Thank you Ian,
I am quite pleased with the wood effect. The only thing with oils is the drying time, and will need to be sealed with acrylic varnish before I can mask it.
all the best
Si
I am quite pleased with the wood effect. The only thing with oils is the drying time, and will need to be sealed with acrylic varnish before I can mask it.
all the best
Si
JScicluna

Joined: March 11, 2013
KitMaker: 77 posts
AeroScale: 17 posts

Posted: Sunday, June 01, 2014 - 12:02 PM UTC
Hi all. I have come late to the party and have a question for the organisers. Would a Gloster Gladiator completed as one of 'faith, hope or charity' from Malta be an acceptable build for this campaign?
It would be painted in the 'sea' scheme but would it meet the 'spirit' for the FAA campaign?
Thanks in advance
It would be painted in the 'sea' scheme but would it meet the 'spirit' for the FAA campaign?
Thanks in advance
MichaelSatin


Joined: January 19, 2008
KitMaker: 3,909 posts
AeroScale: 2,904 posts

Posted: Sunday, June 01, 2014 - 12:16 PM UTC
Quoted Text
Hi all. I have come late to the party and have a question for the organisers. Would a Gloster Gladiator completed as one of 'faith, hope or charity' from Malta be an acceptable build for this campaign?
It would be painted in the 'sea' scheme but would it meet the 'spirit' for the FAA campaign?
Thanks in advance
Hmmm... tricky. RAF and FAA personnel. Still, FAA colours. Right, I'm making a decision!
Go for it!
I feel better now. Mostly.
Michael

JScicluna

Joined: March 11, 2013
KitMaker: 77 posts
AeroScale: 17 posts

Posted: Monday, June 02, 2014 - 03:35 AM UTC
Thanks Michael. I will get cracking on it. I'm intending on doing a double build - was going to do the trifecta but for reasons I'll explain in my first post that won't happen. The good news is that the set back has brought me back in the right timeframe for this campaign. So here goes my attempt for 2/3 defenders of malta. 

JScicluna

Joined: March 11, 2013
KitMaker: 77 posts
AeroScale: 17 posts

Posted: Tuesday, June 03, 2014 - 12:30 PM UTC
Officially enlisted and first pictures.
As mentioned I am planning on making the 1/72 Airfix Gloster Gladiator as either 'Hope', 'Faith', 'Charity' of Malta fame. I originally planned on making this aircraft about 2 years ago when I purchased the Pavla kit (at some cost on ebay ) but stopped my effort when I realised I would have to rescribe the kit.
Fast forward to the excellent re-tooled Airfix kit and I purchased three kits at the beginning of the year.
I first made one plane but realised that it wasn't going to be up to scratch so used it to experiment how to get the rigging fixed.
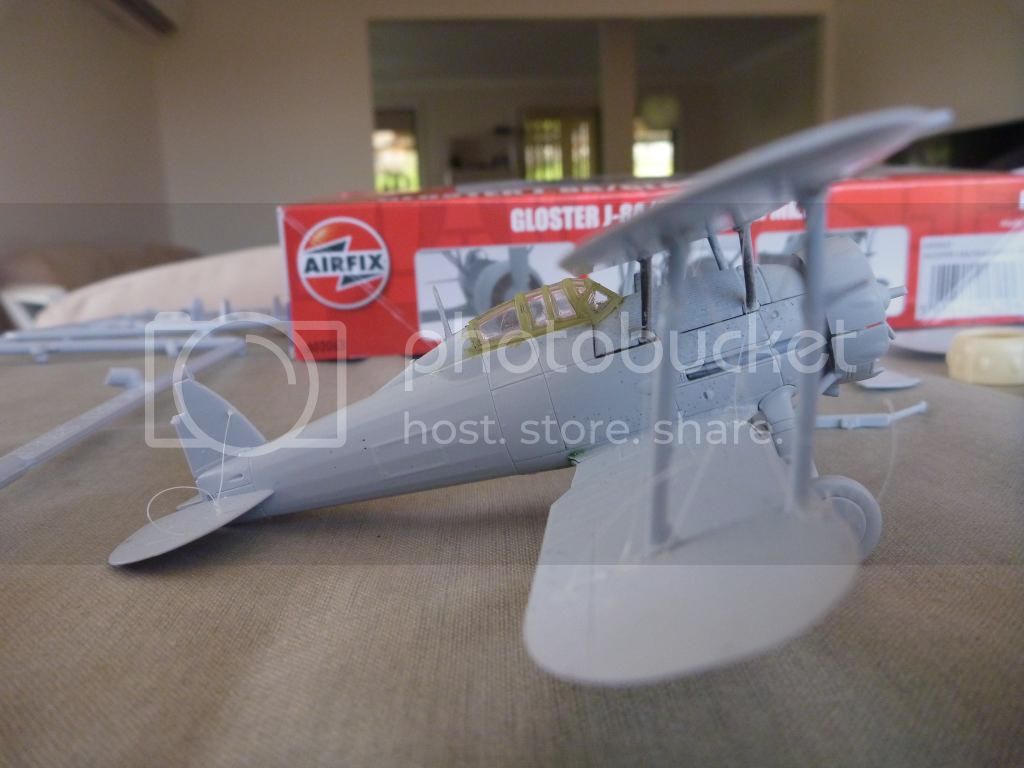
Originally I used stretched ear buds and attached it directly to the plane with superglue... Unfortunately they frequently broke and I ended up with superglue all over the wings. I also broke the wing spars when attaching the top wing section (First time with a biplane) and also realised that I needed to paint the top of the fuselage before attaching the top wing section.
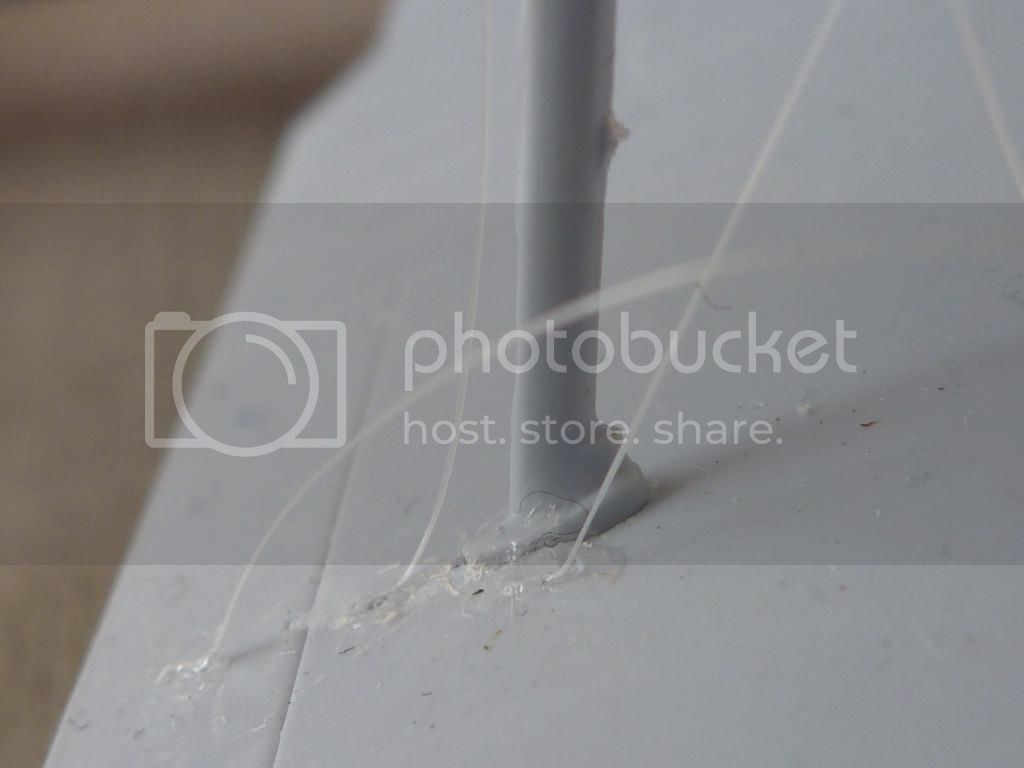
So I tried a new method. Minimally Stretched ear bud inserted into a hole followed by the actual rigging glued into this hole. It appears to be the way forward. I saw this method a long time ago on the internet but can not give the modeller credit as I can not find the actual article.

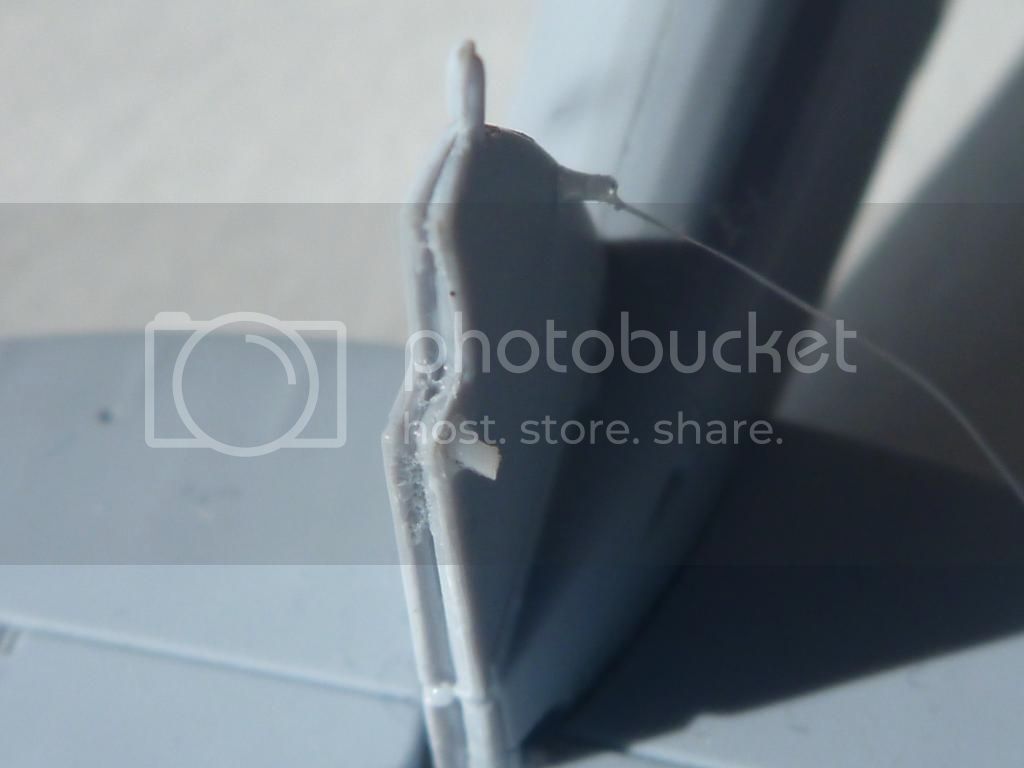
So armed with some prior knowledge - Onto the campaign kits
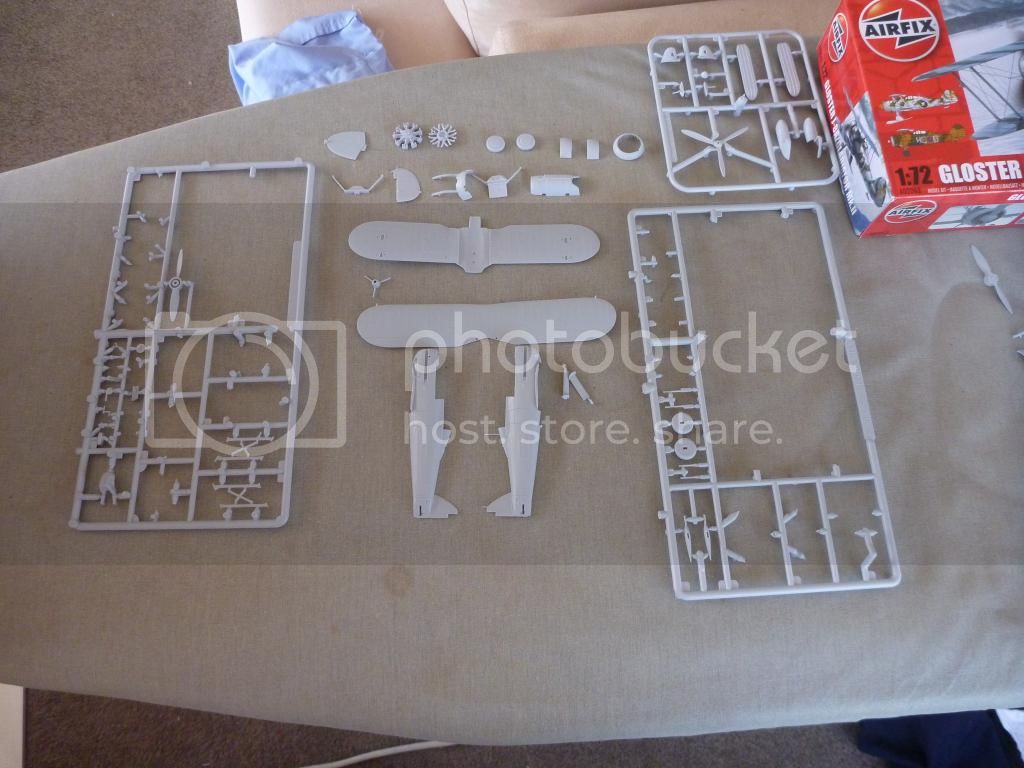
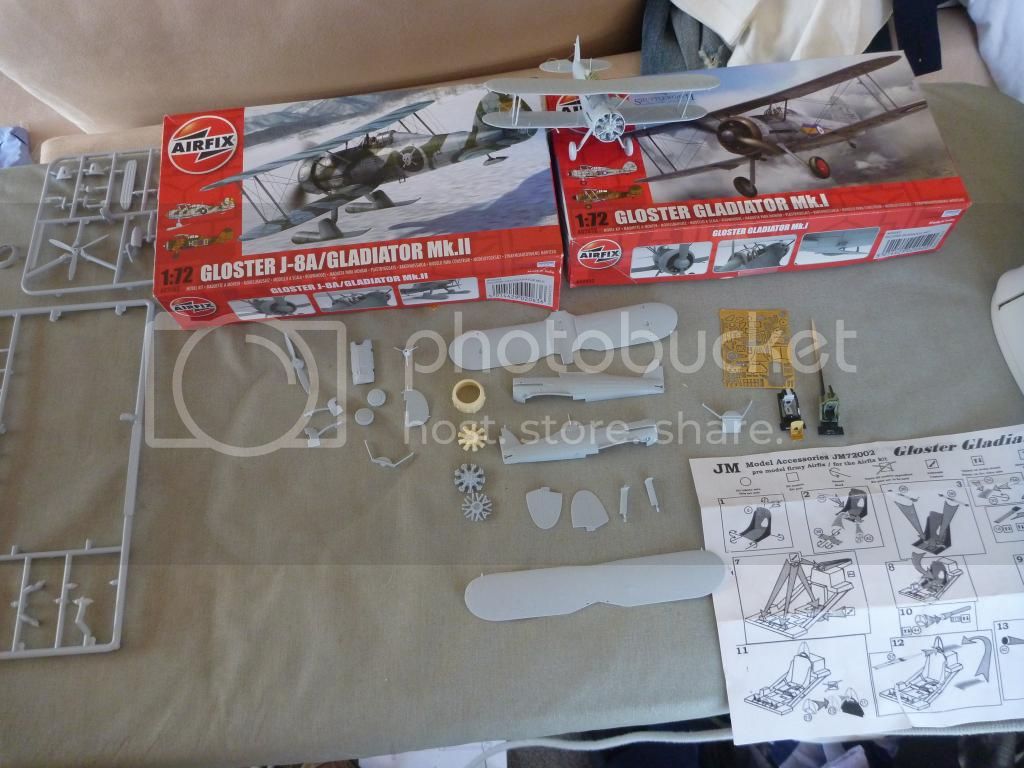
I am going to use some parts of the Pavla resin kit and a photo etch cockpit on one kit and the other will be built OOB. I will try and take side by side photos.
I have completed the two cockpits, primed and then placed a quick coat of green to see if it is the right colour (Citadel Nurgling Green) - Thoughts on the correct cockpit colour?
I also snipped the parts off the Detailed ockpit and have nearly finished making the seat. (I have never used 1/72 photoetch and it is very tiny)
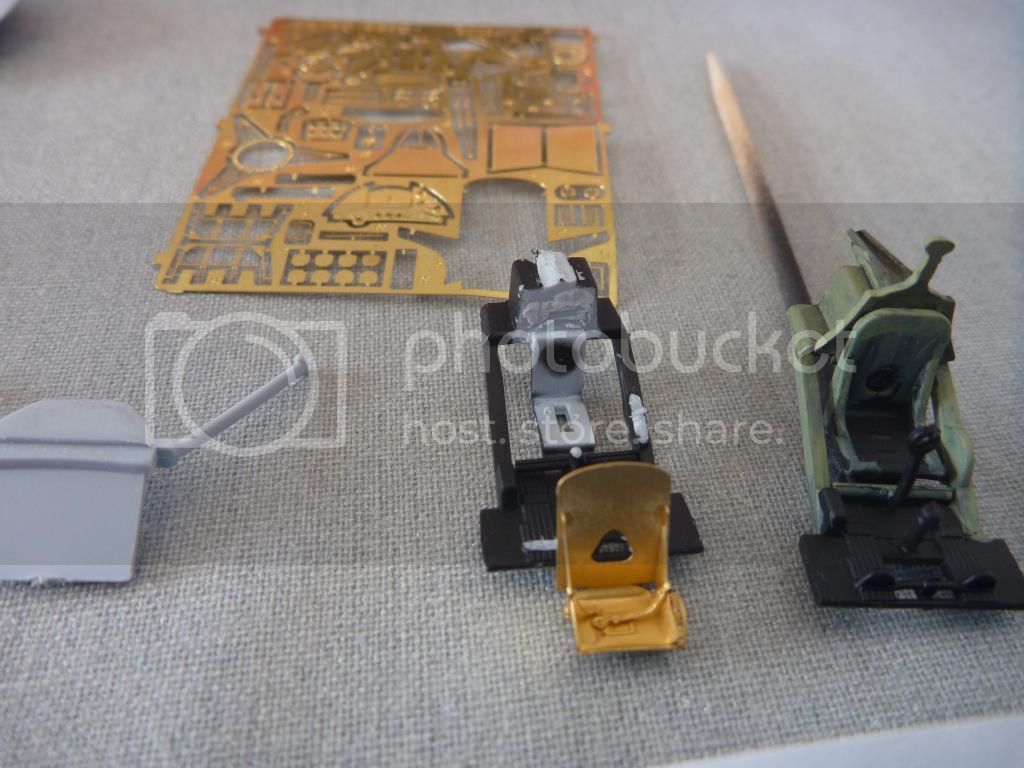
Both planes with eventually be painted in FAA scheme of sea grey undersides and slate grey/extra dark sea grey uppers.
That's my progress up to date
As mentioned I am planning on making the 1/72 Airfix Gloster Gladiator as either 'Hope', 'Faith', 'Charity' of Malta fame. I originally planned on making this aircraft about 2 years ago when I purchased the Pavla kit (at some cost on ebay
 ) but stopped my effort when I realised I would have to rescribe the kit.
Fast forward to the excellent re-tooled Airfix kit and I purchased three kits at the beginning of the year.
I first made one plane but realised that it wasn't going to be up to scratch so used it to experiment how to get the rigging fixed.

Originally I used stretched ear buds and attached it directly to the plane with superglue... Unfortunately they frequently broke and I ended up with superglue all over the wings. I also broke the wing spars when attaching the top wing section (First time with a biplane) and also realised that I needed to paint the top of the fuselage before attaching the top wing section.

So I tried a new method. Minimally Stretched ear bud inserted into a hole followed by the actual rigging glued into this hole. It appears to be the way forward. I saw this method a long time ago on the internet but can not give the modeller credit as I can not find the actual article.


So armed with some prior knowledge - Onto the campaign kits


I am going to use some parts of the Pavla resin kit and a photo etch cockpit on one kit and the other will be built OOB. I will try and take side by side photos.
I have completed the two cockpits, primed and then placed a quick coat of green to see if it is the right colour (Citadel Nurgling Green) - Thoughts on the correct cockpit colour?
I also snipped the parts off the Detailed ockpit and have nearly finished making the seat. (I have never used 1/72 photoetch and it is very tiny)

Both planes with eventually be painted in FAA scheme of sea grey undersides and slate grey/extra dark sea grey uppers.
That's my progress up to date

RedDuster

Joined: March 01, 2010
KitMaker: 7,078 posts
AeroScale: 118 posts

Posted: Wednesday, June 04, 2014 - 07:35 AM UTC
Great start James,
Love the Gladiator, I do hope airfix re-issue this kit with parts for a Sea gladiator before too long.
Si
Love the Gladiator, I do hope airfix re-issue this kit with parts for a Sea gladiator before too long.
Si

Berwickboy

Joined: April 27, 2013
KitMaker: 450 posts
AeroScale: 387 posts

Posted: Wednesday, June 04, 2014 - 10:19 AM UTC
Continuing with the Buccaneer I have moved to the rear and begun the surgery on the huge tail petals. I was planning to use part of the Matchbox Bucc rear as the connecting panel between the fuselage and brake, however, the joint is horizontal not vertical and was not stable enough to survive so I went back to the kit parts. It would be impossible to cut the T shape so I removed the protruding part to use and will attach a piece of Plastic card with reinforcement to make the whole.

You will note that the cutout in the kit is smaller than the cut-out in the etch but I don't see this as a problem.
I do like Airfix plastic, it is reasonably soft and therefore easy to work which made cutting the cut-out easy.
These are the books I am using for reference

The Bucc on the cover of the Modern Combat Aircraft is actually the one in the Airfix kit.
The Phoenix Squadron book is the one that gave me the idea for this build, I recommend it as an excellent read beginning with a problem with a Russian Cruiser and ending with preventing an invasion of Belize.
I do have a slight problem which I would appreciate help with. The Buccaneer originally used Martin Baker mk4 seats which were upgraded to mk6 in the late 60's. I have a resin pair of mk4's but cannot find any replacement mk6. I am prepared to use the seats I have but would like the correct ones. Does anyone have any idea where I can obtain a pair of mk6's? Thank you in advance

You will note that the cutout in the kit is smaller than the cut-out in the etch but I don't see this as a problem.
I do like Airfix plastic, it is reasonably soft and therefore easy to work which made cutting the cut-out easy.
These are the books I am using for reference

The Bucc on the cover of the Modern Combat Aircraft is actually the one in the Airfix kit.
The Phoenix Squadron book is the one that gave me the idea for this build, I recommend it as an excellent read beginning with a problem with a Russian Cruiser and ending with preventing an invasion of Belize.
I do have a slight problem which I would appreciate help with. The Buccaneer originally used Martin Baker mk4 seats which were upgraded to mk6 in the late 60's. I have a resin pair of mk4's but cannot find any replacement mk6. I am prepared to use the seats I have but would like the correct ones. Does anyone have any idea where I can obtain a pair of mk6's? Thank you in advance


Mcleod

Joined: April 07, 2010
KitMaker: 1,028 posts
AeroScale: 939 posts

Posted: Wednesday, June 04, 2014 - 10:35 AM UTC
Don't have any seats for you, Mike; must say, though, your parts/etch photo makes it look like you're working on an Aztec war bonnet from the ShinDig era. Good luck with the build. 


Jessie_C


Joined: September 03, 2009
KitMaker: 6,965 posts
AeroScale: 6,247 posts

Posted: Wednesday, June 04, 2014 - 01:08 PM UTC
Quoted Text
Does anyone have any idea where I can obtain a pair of mk6's? Thank you in advance
Pop over to Britmodeller and look for John Aero. He's Mr. Aeroclub, and he's still producing his products. His e-mail address is info(at)aeroclub-models.com but you can always contact him through the Britmodeller private message system.
Posted: Wednesday, June 04, 2014 - 03:42 PM UTC
Well I've looked through my stash and come up with a plan, as I'm also in the Grumman campaign which starts 1st July I'm going to build the Eduard dual boxed FAA Hellcat's at the same time, one for each campaign. Which is for which I haven't decided yet, still almost a month to go 


Berwickboy

Joined: April 27, 2013
KitMaker: 450 posts
AeroScale: 387 posts

Posted: Friday, June 06, 2014 - 09:48 AM UTC
I have solved the problem with the airbrakes, an old friend to the rescue, Plastic Card! DOH! now why didn't I think of that before?
Looking at pictures of the open petals there is some more scratchbuilding to do. The Airwaves etch set only includes part of the airbrake mechanism so I have added a false bulkhead in the tail and inserted a short rod in the centre on which to build up the mechanism.
At the front I have made a small box to go in the front of the cockpit otherwise there is nowhere to put the rudder pedals and the pilot is liable to slip into the nose.
I am going to live with the Mk4 seats but just add the extra pack located just under the headbox on the front. We shall see. I'm going to have to trim the seat sides anyway as the rear seat was offset 2" to Starboard which even in 1/72 is nearly 1mm so is noticeable
Onwards and upwards .

MichaelSatin


Joined: January 19, 2008
KitMaker: 3,909 posts
AeroScale: 2,904 posts

Posted: Friday, June 06, 2014 - 12:14 PM UTC
Great work so far everyone!
I am having to devote most of my modeling time to the 1/16 Hasegawa Camel that I promised to do a build review of, and thus haven't been able to get much of anything done on the Sea Fury. I'm thinking of switching my entry (yet again!) to the 1/32 Wingnut Sopwith Triplane in the markings of Raymond Collishaw, the highest scoring Royal Navy ace of all time. Since the paint colors will be pretty much the same as the Camel, I can build them in parallel. What do you all think?
Michael

RedDuster

Joined: March 01, 2010
KitMaker: 7,078 posts
AeroScale: 118 posts

Posted: Saturday, June 07, 2014 - 03:36 AM UTC
RedDuster

Joined: March 01, 2010
KitMaker: 7,078 posts
AeroScale: 118 posts

Posted: Sunday, June 08, 2014 - 06:53 AM UTC
As I have a lot of family stuff on next weekend, so won't get near my workshop, thought I would get the struts out of the way, as they need a dry brush with oils to get the wood grain effect.
sprayed with Tamiya Deck Tan.
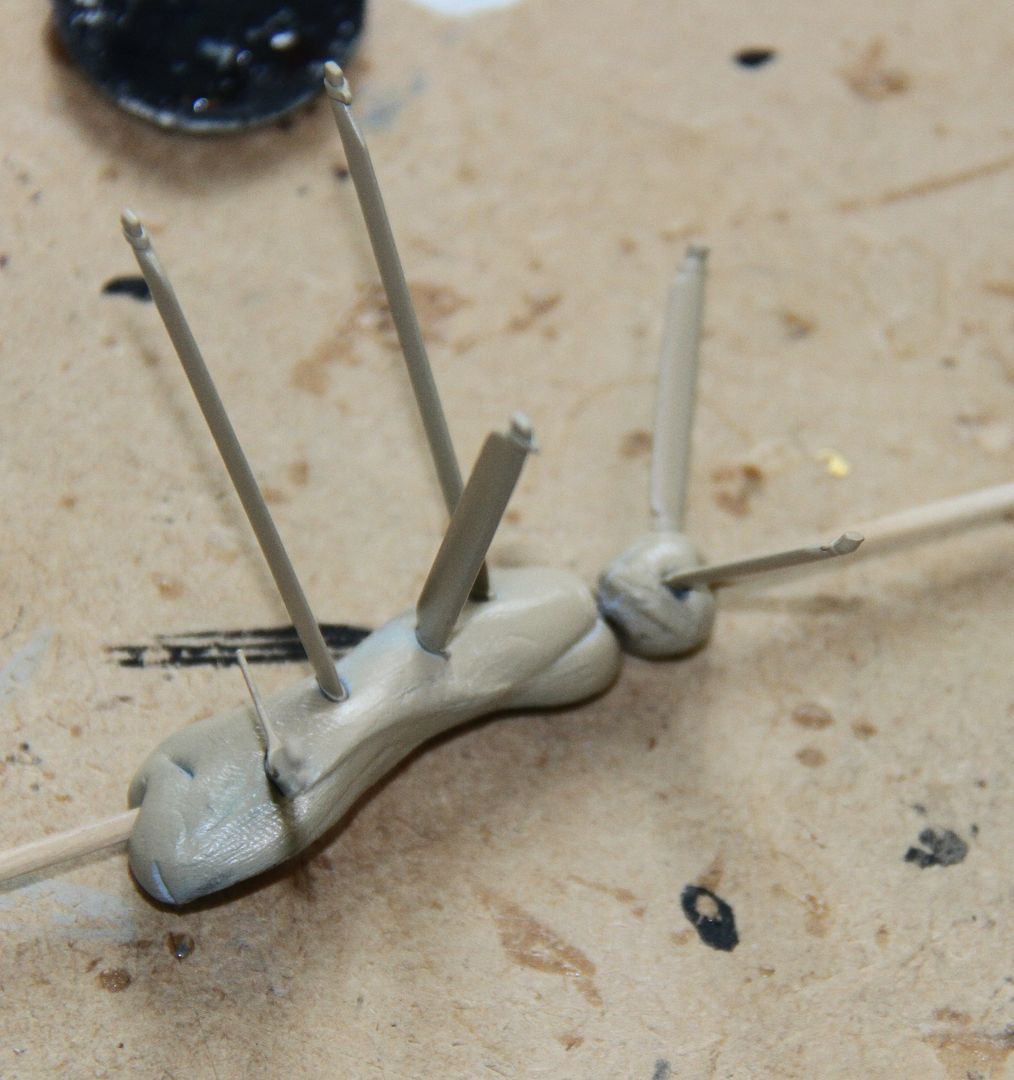
Test fitted their locations, the fit is very positive so should be no issues fitting the upper wing.
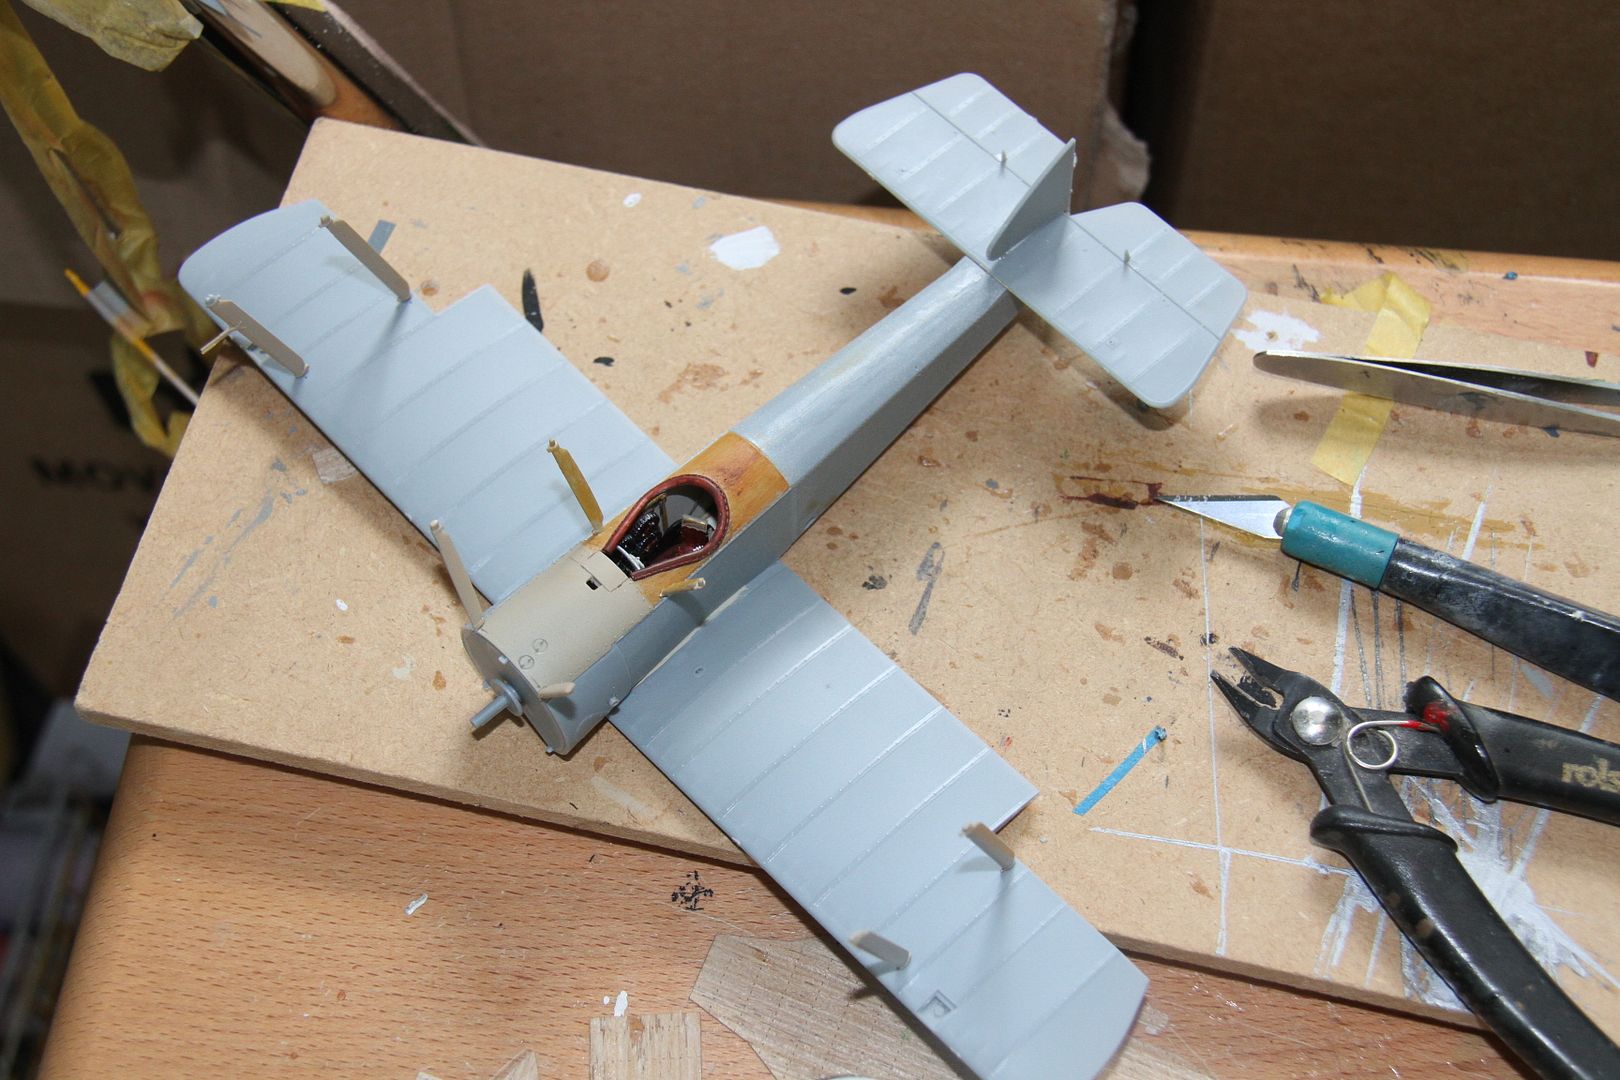
Dry brushed with a mix of burnt sienna & yellow ochre.
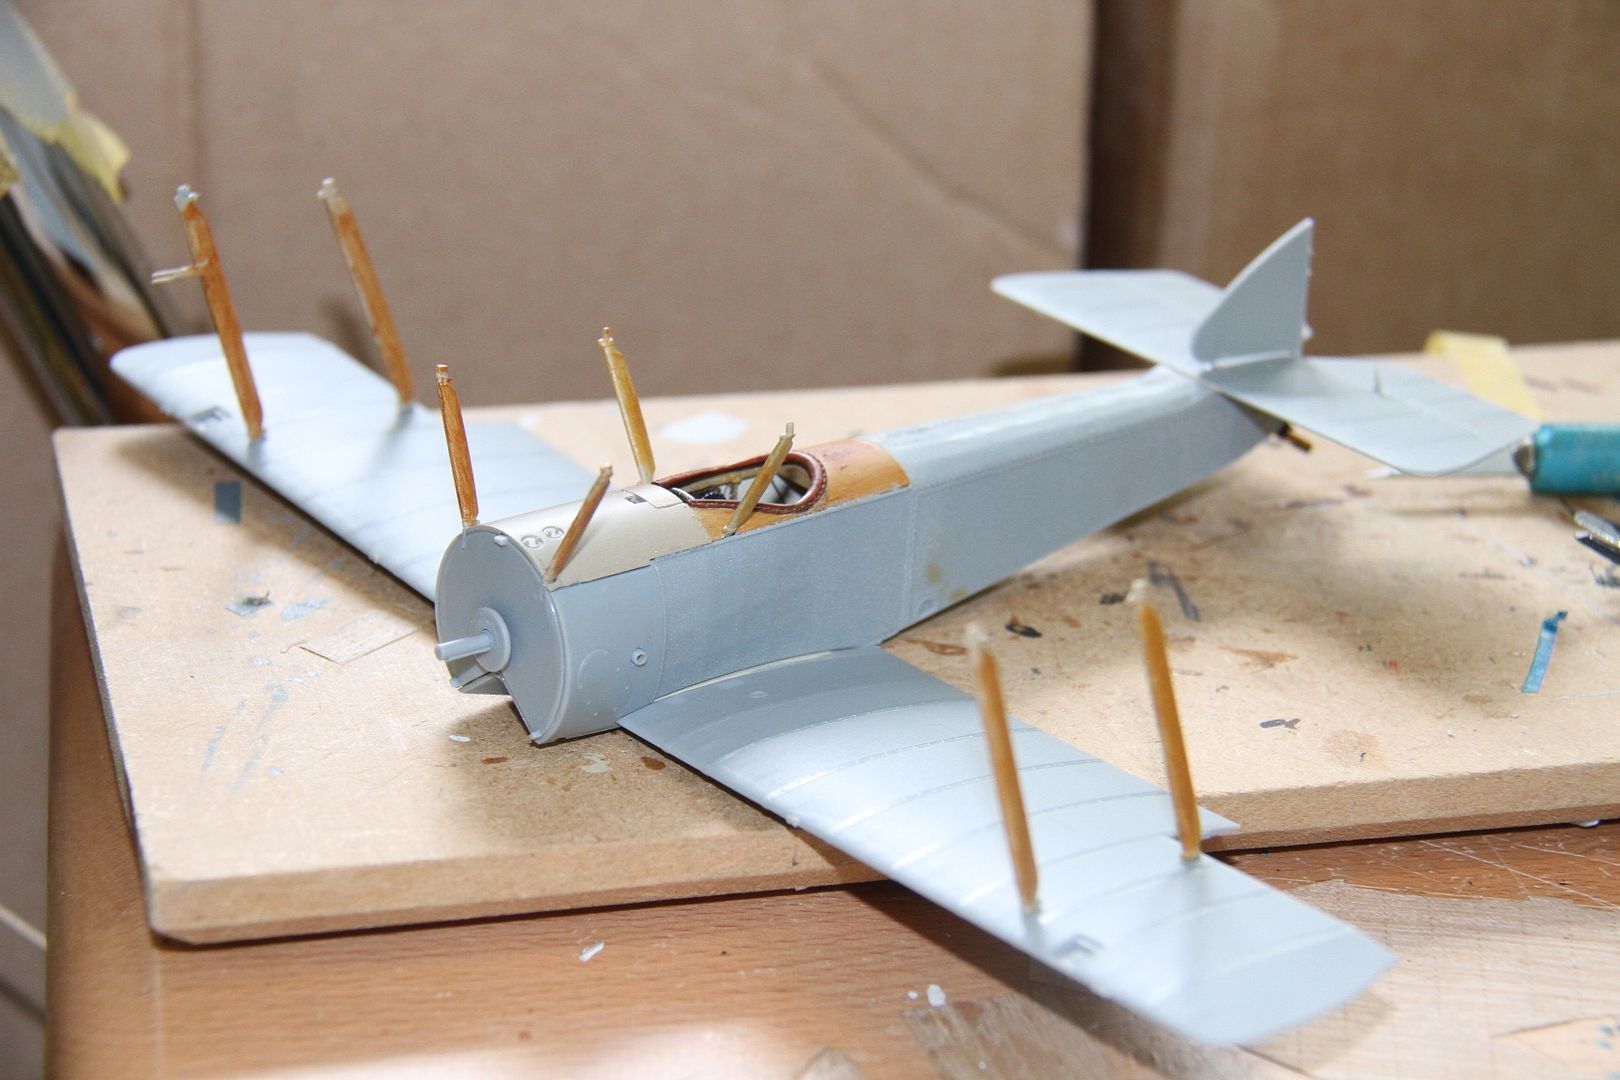
Hopefully by the time I get back to this the upper deck should be dry & I can seal and mask it ready to spray the rest of the fuselage.

Si
sprayed with Tamiya Deck Tan.

Test fitted their locations, the fit is very positive so should be no issues fitting the upper wing.

Dry brushed with a mix of burnt sienna & yellow ochre.

Hopefully by the time I get back to this the upper deck should be dry & I can seal and mask it ready to spray the rest of the fuselage.

Si

SaxonTheShiba

Joined: February 01, 2009
KitMaker: 1,233 posts
AeroScale: 663 posts

Posted: Sunday, June 08, 2014 - 08:20 AM UTC
James-----The Gladiator is shaping up nicely.
Simon---The Pup looks really good thus far.
I have begun work on my Hobby Boss 1/48th scale FAA Hellcat. There were some fairly large punch marks in between the ribbing of the cockpit sidewalls so I took pieces of Scotch 3M 2090 tape and covered those sections and then painted them. Also added some post shading to the cockpit areas as well.
Best wishes,
Ian


Berwickboy

Joined: April 27, 2013
KitMaker: 450 posts
AeroScale: 387 posts

Posted: Sunday, June 08, 2014 - 12:23 PM UTC
Quoted Text
Quoted TextDoes anyone have any idea where I can obtain a pair of mk6's? Thank you in advance
Pop over to Britmodeller and look for John Aero. He's Mr. Aeroclub, and he's still producing his products. His e-mail address is info(at)aeroclub-models.com but you can always contact him through the Britmodeller private message system.
Thanks Jessica, i have sent John a message.
I have actually known John since the mid 70's when I worked in Ernest Berwicks, a model shop in my home town of Kettering. John was still serving in the RAF at the time and was in the process of setting up Aeroclub. Berwicks were, I believe, the first stockists of Aeroclub products. I am glad John is still producing after the tragedy of losing his close friend. The last time I met him was at Telford in 2010.
Thank you once again
RedDuster

Joined: March 01, 2010
KitMaker: 7,078 posts
AeroScale: 118 posts

Posted: Tuesday, June 10, 2014 - 06:52 AM UTC
Thanks Ian,
Nice stat on the Hellcat, are you building it wings folded?
Si
Nice stat on the Hellcat, are you building it wings folded?
Si

SaxonTheShiba

Joined: February 01, 2009
KitMaker: 1,233 posts
AeroScale: 663 posts

Posted: Tuesday, June 10, 2014 - 09:31 AM UTC
Thanks Simon! Yes.....wings will be folded. I find that I am building more and more carrier based subjects with wings folded just to save space!
Best wishes,
Ian
Best wishes,
Ian
 |


