OFFICIAL: Fleet Air Arm Campaign
MichaelSatin
 Campaigns Administrator
Colorado, United States
Joined: January 19, 2008
KitMaker: 3,909 posts
AeroScale: 2,904 posts
Posted: Wednesday, April 30, 2014 - 11:15 AM UTC
Welcome to the Fleet Air Arm Campaign!
The campaign will run from May 1, 2014 through October 31, 2014.
If you haven't signed up yet, or want to see the rules, go
here.
Please post your initial and in-progress photos as well as campaign discussion in this thread. Please post your finished build photos in the
campaign gallery.
Looking forward to some great Fleet Air Arm builds!
Michael

On the bench:
Sorta depends on your definition of "on the bench"...
Alberta, Canada
Joined: April 07, 2010
KitMaker: 1,028 posts
AeroScale: 939 posts
Posted: Thursday, May 01, 2014 - 01:06 AM UTC
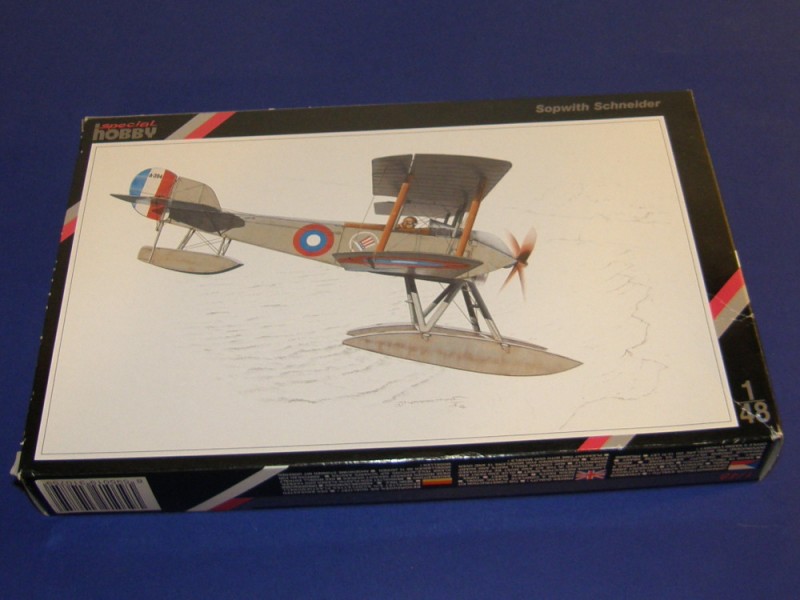
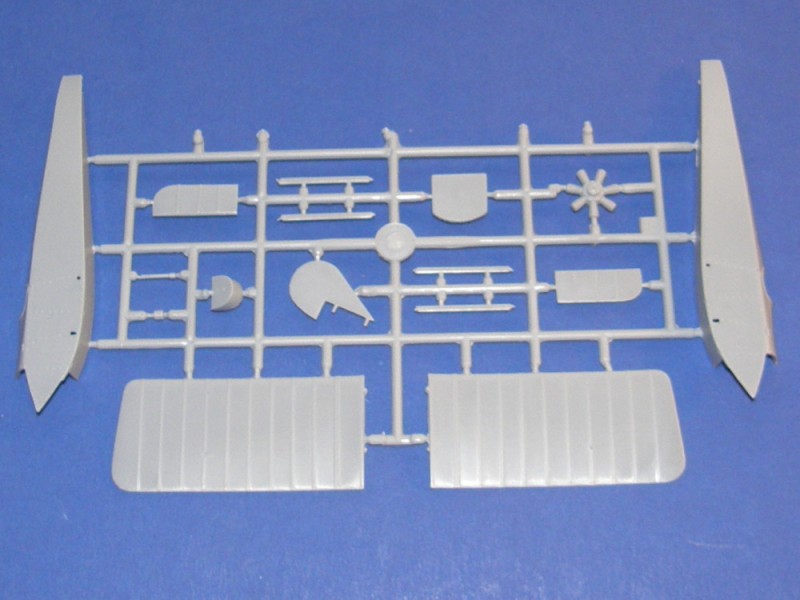
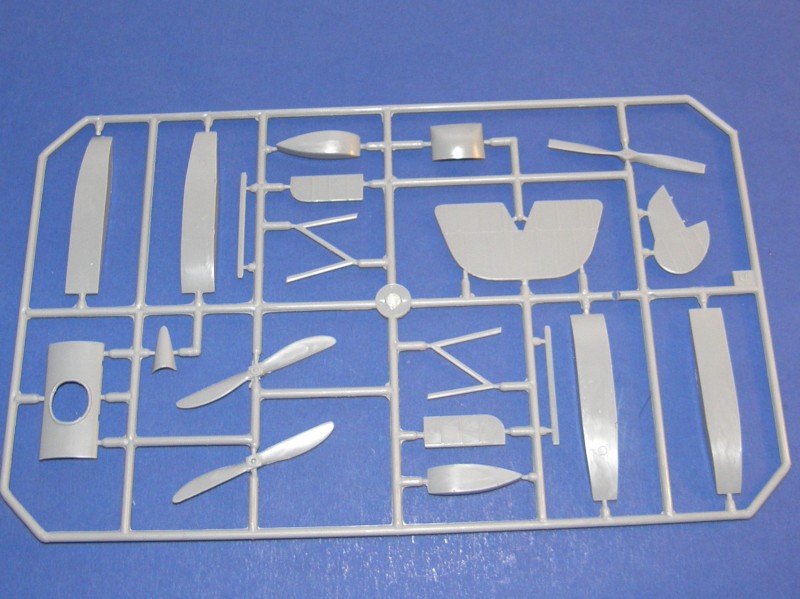
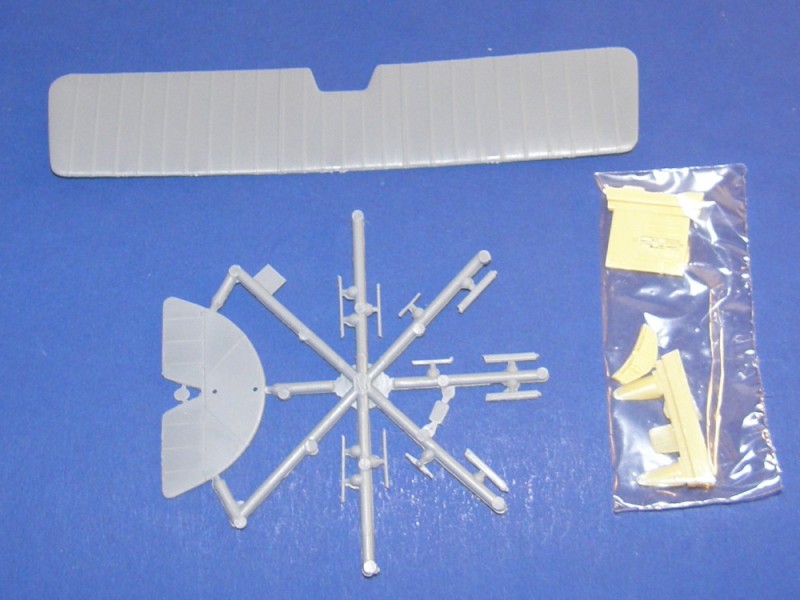
I've had this kit for a lot of years, and I've collected quite the assortment of AM for it. Ultracast and Eduard are all in the box with the kit:


I had thought about doing a coastal command Beaufighter. That would have been 404Sqn RCAF, though, and not FAA or navy. Best to keep to the flavor of the campaign.

Ben
To prevent being called an 'expert', screw something up good every now and again.

#323
Arizona, United States
Joined: February 13, 2013
KitMaker: 791 posts
AeroScale: 213 posts
Posted: Thursday, May 01, 2014 - 01:31 AM UTC
Here is my entry

and a quick tape up for fit

Hopefully this will not end up in the Hanger Queen xx Campaign
Cheers


Robbie: "Would 60 Gallons be sufficient ?"
Forbidden Planet - 1956
Ontario, Canada
Joined: March 29, 2010
KitMaker: 1,151 posts
AeroScale: 985 posts
Posted: Thursday, May 01, 2014 - 08:40 AM UTC
I will be doing this lovely looking kit. Does anyone know what colour the pale sky blue inside the wheel bays and payload area is?

England - East Midlands, United Kingdom
Joined: April 27, 2013
KitMaker: 450 posts
AeroScale: 387 posts
Posted: Thursday, May 01, 2014 - 08:55 AM UTC
Quoted Text
I will be doing this lovely looking kit. Does anyone know what colour the pale sky blue inside the wheel bays and payload area is?
looking at a couple of photos on the reference section of Cybermodeller it would appear to be Aluminium or Light Sea Grey
Ontario, Canada
Joined: February 04, 2008
KitMaker: 2,507 posts
AeroScale: 1,814 posts
Posted: Thursday, May 01, 2014 - 10:34 AM UTC
" The Die Hards"
43rd MIDDLESEX REGIMENT
MACHINE GUN CORPS
XXX CORP
The most effective way to do it, is to do it.
- Amelia Earhart
British Columbia, Canada
Joined: September 03, 2009
KitMaker: 6,965 posts
AeroScale: 6,247 posts
Posted: Thursday, May 01, 2014 - 02:21 PM UTC
When once you have tasted flight you will walk the Earth with your eyes turned skyward.
For there you have been, and there you will always long to return.
-Leonardo Da Vinci
Ontario, Canada
Joined: February 04, 2008
KitMaker: 2,507 posts
AeroScale: 1,814 posts
Posted: Thursday, May 01, 2014 - 10:32 PM UTC
Hi Jessica
Why 3 props? two pitched one way and one the other way.


" The Die Hards"
43rd MIDDLESEX REGIMENT
MACHINE GUN CORPS
XXX CORP
The most effective way to do it, is to do it.
- Amelia Earhart
British Columbia, Canada
Joined: September 03, 2009
KitMaker: 6,965 posts
AeroScale: 6,247 posts
Posted: Friday, May 02, 2014 - 12:57 AM UTC
The US Navy variant uses a 4 blade prop which the model produces by interlocking the two at the bottom left of the sprue. The pitch seems opposite because it's moulded "upside down" in comparison to its mate.
When once you have tasted flight you will walk the Earth with your eyes turned skyward.
For there you have been, and there you will always long to return.
-Leonardo Da Vinci
Ontario, Canada
Joined: February 04, 2008
KitMaker: 2,507 posts
AeroScale: 1,814 posts
Posted: Friday, May 02, 2014 - 04:01 AM UTC
Quoted Text
The US Navy variant uses a 4 blade prop which the model produces by interlocking the two at the bottom left of the sprue. The pitch seems opposite because it's moulded "upside down" in comparison to its mate.
Thank you for the info!

" The Die Hards"
43rd MIDDLESEX REGIMENT
MACHINE GUN CORPS
XXX CORP
The most effective way to do it, is to do it.
- Amelia Earhart
United States
Joined: February 01, 2009
KitMaker: 1,233 posts
AeroScale: 663 posts
Posted: Friday, May 02, 2014 - 07:07 AM UTC
Thought I would hop on this campaign with a 1/48th scale Hobby Boss Hellcat. I will use the Xtradecal sheet "Yanks with Roundels Pt.3" to depict an FAA Hellcat from the Pacific Theater.
Best wishes,
Ian


It is a fact that under equal conditions, large-scale battles and whole wars are won by troops which have a strong will for victory, clear goals before them, high moral standards, and devotion to the banner under which they go into battle.
-Georgy Zhukov
England - South East, United Kingdom
Joined: March 01, 2010
KitMaker: 7,078 posts
AeroScale: 118 posts
Posted: Friday, May 02, 2014 - 08:18 AM UTC
Ready to go with the Pup


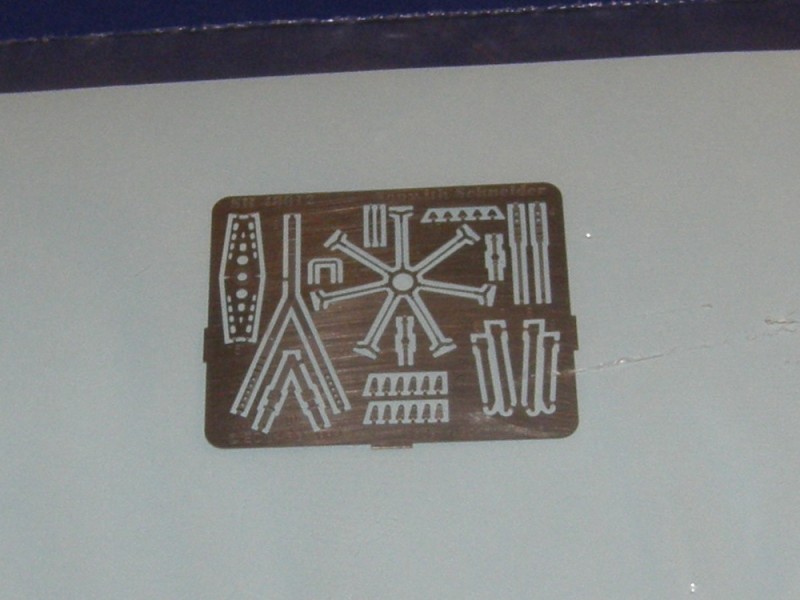
Whats in the box.

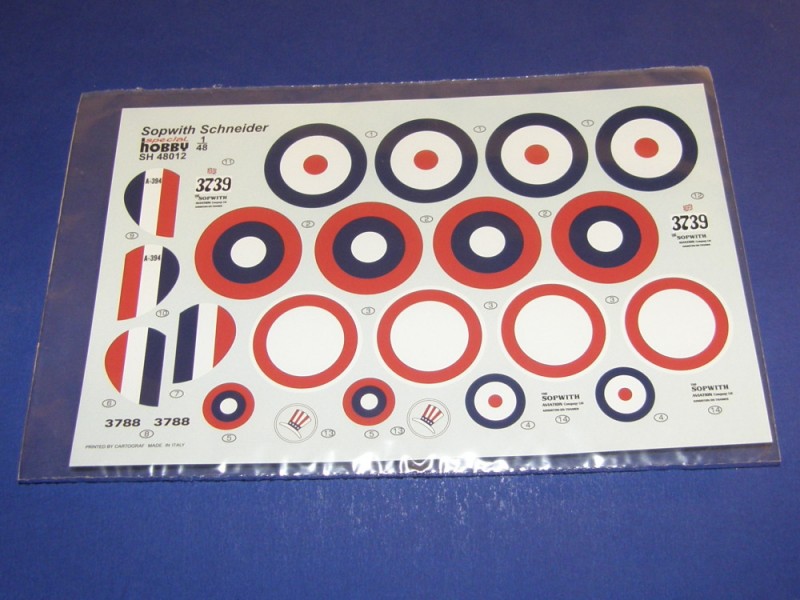
Decal sheet.

This is the colour scheme,

and of course time & date.

Hope to get cracking over the weekend.
Si
Scotland, United Kingdom
Joined: May 25, 2005
KitMaker: 2,218 posts
AeroScale: 211 posts
Posted: Friday, May 02, 2014 - 09:27 AM UTC
Quoted Text
I will be doing this lovely looking kit. Does anyone know what colour the pale sky blue inside the wheel bays and payload area is? 
I built this kit last Christmas and it really is a cracking kit and a very impressive model!
I painted the wheel wells Tamiya XF-56 Metallic Grey. I decided to close the bomb bay as the kit doesn't come with any weapons.
Enjoy the build.

England - South East, United Kingdom
Joined: March 01, 2010
KitMaker: 7,078 posts
AeroScale: 118 posts
Posted: Friday, May 02, 2014 - 09:03 PM UTC
Hi Richard,
I would reckon your "pale sky blue" would be Sky type S, which was used on the underside of frontline RN aircraft of the period. Seem to remember the wheel wells of Yeovilton's being that colour. will look back through my pics to see if I confirm that.
Si
Removed by original poster on 05/03/14 - 13:53:08 (GMT).
MichaelSatin
 Campaigns Administrator
Colorado, United States
Joined: January 19, 2008
KitMaker: 3,909 posts
AeroScale: 2,904 posts
Posted: Saturday, May 03, 2014 - 01:56 AM UTC
Off to a great start everyone! Hope to have pics of at least the start of my Sea Fury up today (if chores don't take over completely. Si: That's a great kit, I built one as Fall's Pup
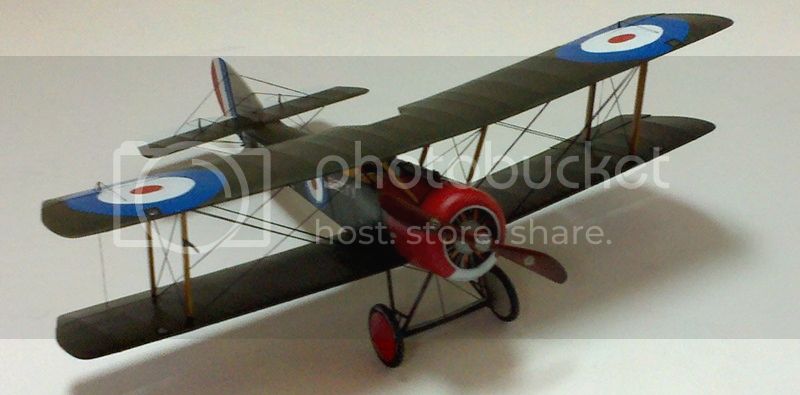
and have another to do as Dunning's (some day). Have fun!
Michael
On the bench:
Sorta depends on your definition of "on the bench"...
European Union
Joined: August 09, 2009
KitMaker: 1,732 posts
AeroScale: 1,336 posts
Posted: Saturday, May 03, 2014 - 06:21 AM UTC
Finished the "Rising Sun Campaign" right in time to start this campaign

This Fulmar kit found its way into my stash about 2 years ago and I thought this campaign is a good reason to build it. So I think I'll start tomorrow ....

.... so far I'm not sure for which version I should go. Maybe D but "Yankees in the Royal Navy" (don't let the queen hear that

) is also a good choice. What do you think?

Have a great campaign and success for all your builds!
Torsten

My campaigns for 2020:
MiGs - Done !
The Big Three - Done !
65 years Bundeswehr - Done !
40 years Leopard 2 - Done !
Land Lease - Done !
British Columbia, Canada
Joined: September 03, 2009
KitMaker: 6,965 posts
AeroScale: 6,247 posts
Posted: Saturday, May 03, 2014 - 06:26 AM UTC
I thought that option C was the Operation Torch "US Style" markings.
When once you have tasted flight you will walk the Earth with your eyes turned skyward.
For there you have been, and there you will always long to return.
-Leonardo Da Vinci

#392
Hessen, Germany
Joined: January 09, 2013
KitMaker: 696 posts
AeroScale: 608 posts
Posted: Saturday, May 03, 2014 - 06:53 AM UTC
Hi everybody,
after missing the De Havilland Campaign, I'm now willing to finish this one with my Sea Vixen which I got from my lovely wife at Christmas 2012.
Not yet on my working bench, but here are my starting pictures.
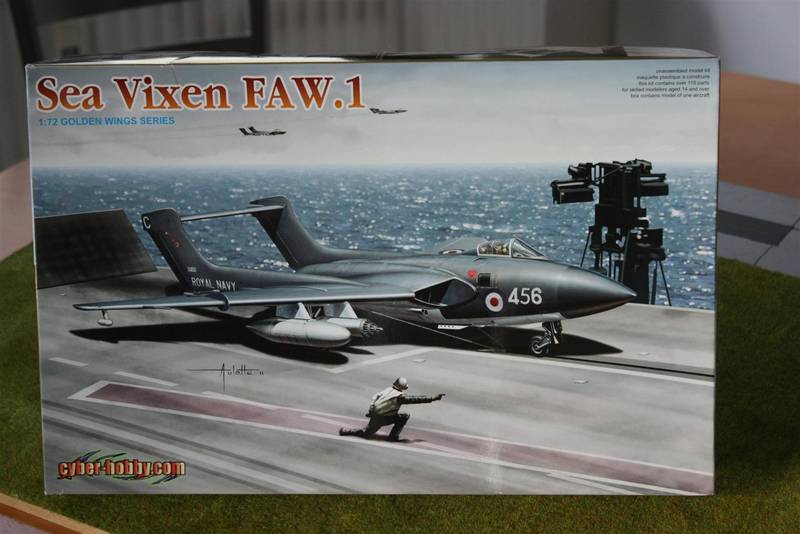
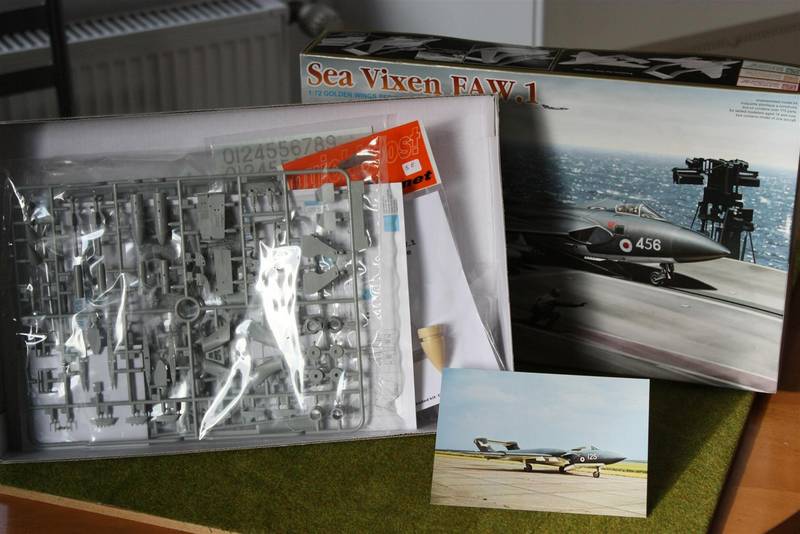
I intend to do it OOB, only got me a more pointed nose cone by Quickboost.

I wish you all a nice weekend and fun at modeling.
Cheers Pete
On the bench:
EE(BAC) Lightning F.2A (Airfix 1:72)

#323
Arizona, United States
Joined: February 13, 2013
KitMaker: 791 posts
AeroScale: 213 posts
Posted: Sunday, May 04, 2014 - 03:31 AM UTC
Robbie: "Would 60 Gallons be sufficient ?"
Forbidden Planet - 1956
England - South East, United Kingdom
Joined: March 01, 2010
KitMaker: 7,078 posts
AeroScale: 118 posts
Posted: Sunday, May 04, 2014 - 07:41 AM UTC
Made a start on the Pup,
Inside of the fuselage sprayed with liquitex unbleached titanium (strange name for a colour , but it works)

Side frames assembled.

cross bracing fitted from copper wire.

sprayed Tamiya light sand. wires picked out in Citadel Boltgun metal.

I will drybush some yellow ochre oil over the "woodwork" to bring the grain and the colour out
More soon.
Si
MichaelSatin
 Campaigns Administrator
Colorado, United States
Joined: January 19, 2008
KitMaker: 3,909 posts
AeroScale: 2,904 posts
Posted: Sunday, May 04, 2014 - 08:06 AM UTC
Si,
Watch out with those cross wires! If they're attached to the outside of the cockpit frames they could interfere with the fit to the fuselage, the engineering is that tight on these kits. I seem to recall having to carve out a little on the inside of the bottom wing to clear that problem too on mine. And I use EZ Line, which is thinner than your wire!
Michael

On the bench:
Sorta depends on your definition of "on the bench"...
England - East Midlands, United Kingdom
Joined: April 27, 2013
KitMaker: 450 posts
AeroScale: 387 posts
Posted: Sunday, May 04, 2014 - 08:44 AM UTC
European Union
Joined: August 09, 2009
KitMaker: 1,732 posts
AeroScale: 1,336 posts
Posted: Monday, May 05, 2014 - 07:36 AM UTC
In Eduard's new Bf 109 thread Rowan recently showed some of the small PE parts of the kit. It's something that makes me smile when I think of these control knobs of my Fulmar. Okay, while the knobs are 1/48, the coin is 1/1 ....


.... and some first little progress in the cockpit area. First I had to sand away some really big ejector pin marks. Well, it is still the old MPM Short Run Kit

But I won't use all 100 PE parts ....


Torsten

My campaigns for 2020:
MiGs - Done !
The Big Three - Done !
65 years Bundeswehr - Done !
40 years Leopard 2 - Done !
Land Lease - Done !
England - South East, United Kingdom
Joined: March 01, 2010
KitMaker: 7,078 posts
AeroScale: 118 posts
Posted: Monday, May 05, 2014 - 10:37 AM UTC
Noted Michael,
I did fix the Cross bracing right into the corners (learned from later fit issues on the stalled Gaspatch Salmson A2 over on the Great War Campaign) so should be ok.
The only problem with using an oil drybrush is that it takes a few days to dry, so no progress today,
Si


