OFFICIAL: Fleet Air Arm Campaign

#323
Arizona, United States
Joined: February 13, 2013
KitMaker: 791 posts
AeroScale: 213 posts
Posted: Wednesday, October 08, 2014 - 08:59 AM UTC
Robbie: "Would 60 Gallons be sufficient ?"
Forbidden Planet - 1956
England - East Midlands, United Kingdom
Joined: April 27, 2013
KitMaker: 450 posts
AeroScale: 387 posts
Posted: Wednesday, October 08, 2014 - 10:59 AM UTC
My progress is slow, but moving on. A couple of Buccaneer pictures to show progress.
First we have the inner workings of the airbrake.

A lot of this will be hidden but I have made it movable so I can adapt it to fit when I add the petals.
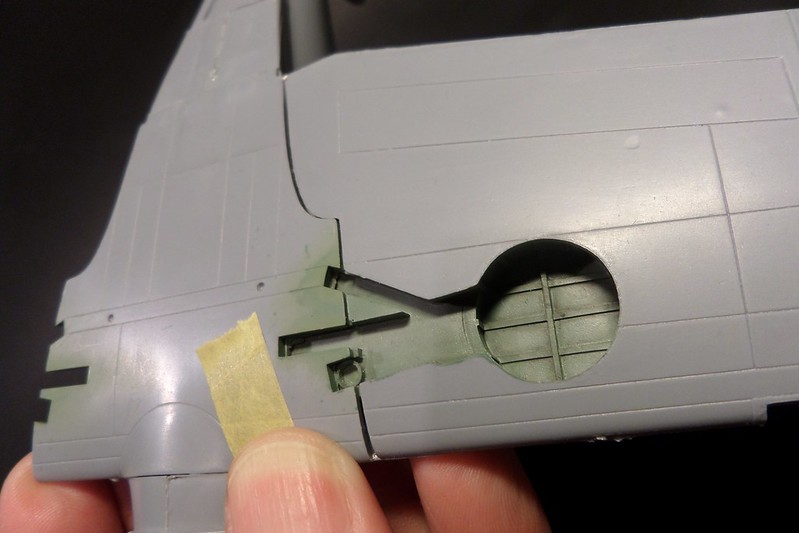
Next we have the wing cutouts to accommodate the wingfold mechanism. Airwaves tell you to remove a lot of the plastic at the join, I have done and think this will leave the photoetch liable to damage so I am going to add strengtheners in the wing which wont be visible when finished

You can see how different the required cutouts are compared to the Airfix kit.
Ejector seats have been painted just needing drybrushing and wash applied. The etched instrument panels also need a wash before applying, interestingly the pilots panel sits very nicely over the kit decal panel so this will liven up the cockpit, probably never to be seen again.
England - South East, United Kingdom
Joined: August 15, 2012
KitMaker: 408 posts
AeroScale: 365 posts
Posted: Thursday, October 16, 2014 - 03:07 AM UTC
On the workbench
National Pride - 1/72 BAe Nimrod MR2.P
Tiger Meet! - 1/72 Panavia Tornado ECR (Luftwaffe)
Airfix III - 1/72 Hawker Hunter FGA.9
Hairy Brush - 1/72 P-51D Mustang
Mustang 75 - 1/72 P-51D "Ferocious Frankie"
England - South East, United Kingdom
Joined: March 01, 2010
KitMaker: 7,078 posts
AeroScale: 118 posts
Posted: Thursday, October 16, 2014 - 07:25 AM UTC
Impressive masking job Lee,
looking forward to seeing what is underneath.
Si

#439
Washington, United States
Joined: November 05, 2005
KitMaker: 4,950 posts
AeroScale: 3,192 posts
Posted: Thursday, October 16, 2014 - 08:32 AM UTC
Love your 'handle', wish I'd thought of that a few projects ago.

Hanger Queens in Waiting:
Monogram 1/72 F8F-1
Corsair the Sky Pirate - 1/72 Ace A-7D
Century Series - Airfix 1/72 F-105G
Anti Shipping - Academy 1/72 PBJ-1D
Academy 1/72 F-84E
Georgia, United States
Joined: January 07, 2013
KitMaker: 572 posts
AeroScale: 130 posts
Posted: Tuesday, October 21, 2014 - 05:18 AM UTC
I have finished the main paint have some touch ups to do and decals and shes done shall post an update pic shortly

Sascha(Ironowl)

England - East Midlands, United Kingdom
Joined: April 27, 2013
KitMaker: 450 posts
AeroScale: 387 posts
Posted: Tuesday, October 21, 2014 - 09:41 AM UTC
809 squadron are gong to have to wait a bit longer than I would like for their next Buccaneer. I have begun to put the fuselage together after completing most of the cockpit including adding a front portion, The etched panel has been fitted over the kit decal panel, believe it or not the instrument decal lines up exactly with the etched holes.
I have removed the intakes back to the engine fronts, I have not used the resin replacement engine blades instead I have taken the kit part and added the resin bullet housing. The kit part has been used as it provides strength to the fuselage.
The resin tailplane had a very unusual step in the rear, I cannot find any reference to this anywhere so I have just shaved it off. The front of the fin has an intake, this now has a hole.
My biggest problem is , I might not be able to finish by the deadline, but I will try

Ontario, Canada
Joined: February 04, 2008
KitMaker: 2,507 posts
AeroScale: 1,814 posts
Posted: Tuesday, October 21, 2014 - 12:33 PM UTC
" The Die Hards"
43rd MIDDLESEX REGIMENT
MACHINE GUN CORPS
XXX CORP
The most effective way to do it, is to do it.
- Amelia Earhart

#392
Hessen, Germany
Joined: January 09, 2013
KitMaker: 696 posts
AeroScale: 608 posts
Posted: Wednesday, October 22, 2014 - 07:21 AM UTC
Hello folks,
I'm sorry to tell you that I bail out of this interesting campaign. My Sea Vixen is still lying in its box, there was to much to do after my holiday so I won't have a chance to finish it in time.
Anyway, I wish all participants much fun and fine results. See you in another campaign!
Cheers Peter

On the bench:
EE(BAC) Lightning F.2A (Airfix 1:72)
Georgia, United States
Joined: January 07, 2013
KitMaker: 572 posts
AeroScale: 130 posts
Posted: Wednesday, October 22, 2014 - 07:35 AM UTC
well I am stuck at this point have been called into work and will have to push hard to get the touchup painting and decals done by the deadline

sascha(Ironowl)

Georgia, United States
Joined: January 07, 2013
KitMaker: 572 posts
AeroScale: 130 posts
Posted: Wednesday, October 22, 2014 - 07:37 AM UTC
2nd shot of the RN Phantom

Sascha(Ironowl)


#298
Hong Kong S.A.R. / 繁體
Joined: August 08, 2002
KitMaker: 1,182 posts
AeroScale: 351 posts
Posted: Wednesday, October 22, 2014 - 02:15 PM UTC
England - South East, United Kingdom
Joined: August 15, 2012
KitMaker: 408 posts
AeroScale: 365 posts
Posted: Thursday, October 23, 2014 - 04:02 AM UTC
Unfortunately, I will have to withdraw from the campaign. After demasking the Suez Stripes on the Sea Venom, I found that the black has crept under the masking tape, ruining the neat edge of the yellow stripes. As there is no quick fix to this, I will have to strip it back and start again, mask it up again, do the stripes again THEN mask and spray the main colours Then do the decals. I will definitely finish it at some point (a Hangar Queen campaign probably), but right now I'm sick of the sight of it, and need to give it a good long break.
Good luck to everyone still trying to make the deadline - Cheers Everybody!


On the workbench
National Pride - 1/72 BAe Nimrod MR2.P
Tiger Meet! - 1/72 Panavia Tornado ECR (Luftwaffe)
Airfix III - 1/72 Hawker Hunter FGA.9
Hairy Brush - 1/72 P-51D Mustang
Mustang 75 - 1/72 P-51D "Ferocious Frankie"
England - East Midlands, United Kingdom
Joined: April 27, 2013
KitMaker: 450 posts
AeroScale: 387 posts
Posted: Thursday, October 23, 2014 - 07:12 AM UTC
The fuselage is in the process of being joined, it does help to read the instructions as I wondered why the bulkhead kept falling backwards, try fitting it RIGHT WAY UP

Being an 'Old' kit the fit is terrible, a judicious use of clamps, rubber bands and Plastic Weld (I had intended using Mek Pak but picked up the wrong bottle) it is beginning to take shape. 1st problem, the port wing lines up, the starboard has the top further in than the bottom, this means the gap will need filling and consequently the wing cut out is too deep, BLAST

Anyway, here is a picture of progress

I forgot to add nose weight but this will not be a problem as I have decided to cut into the fuselage to fit the intakes rather than trim the intake rear. No instructions were included with the resin parts but I presume this is what they intended. We shall see


#298
Hong Kong S.A.R. / 繁體
Joined: August 08, 2002
KitMaker: 1,182 posts
AeroScale: 351 posts
Posted: Thursday, October 23, 2014 - 07:57 PM UTC
England - South East, United Kingdom
Joined: August 15, 2012
KitMaker: 408 posts
AeroScale: 365 posts
Posted: Friday, October 24, 2014 - 06:31 PM UTC
D'oh!

I have just realised that I didn't need to withdraw from the campaign because I won't finish the Sea Venom in time - I have already finished a Sea Harrier!

On the workbench
National Pride - 1/72 BAe Nimrod MR2.P
Tiger Meet! - 1/72 Panavia Tornado ECR (Luftwaffe)
Airfix III - 1/72 Hawker Hunter FGA.9
Hairy Brush - 1/72 P-51D Mustang
Mustang 75 - 1/72 P-51D "Ferocious Frankie"
Georgia, United States
Joined: January 07, 2013
KitMaker: 572 posts
AeroScale: 130 posts
Posted: Saturday, October 25, 2014 - 06:57 PM UTC
Well I have finished pics in the gallery

this was tough on the decals. thanks for the cool build.
Sascha(Ironowl)

Lisboa, Portugal
Joined: August 27, 2010
KitMaker: 679 posts
AeroScale: 669 posts
Posted: Monday, October 27, 2014 - 10:53 AM UTC
Hi everyone,
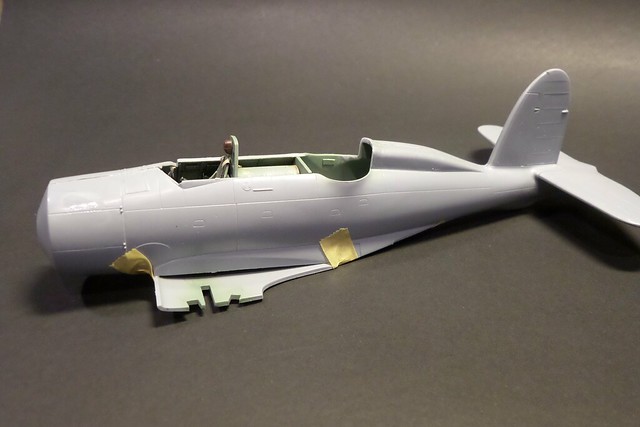
I'm embarrassed to say I won't finish my entry by the end date, not by a long shot.
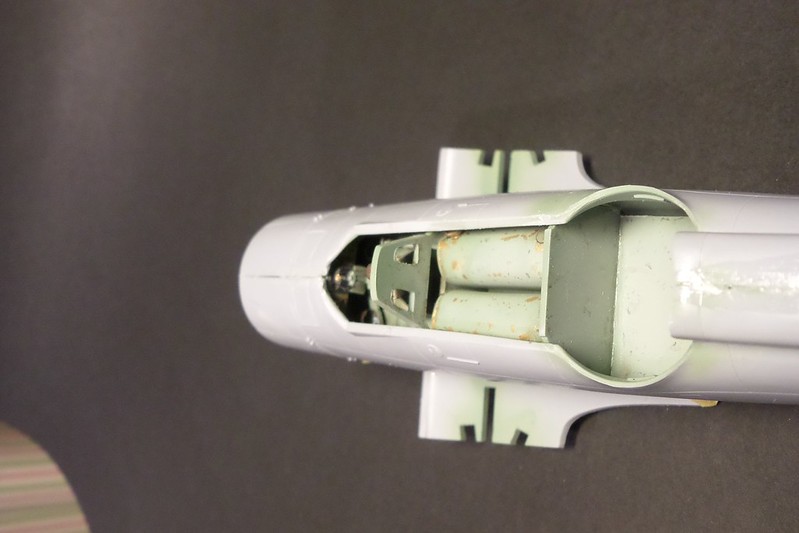
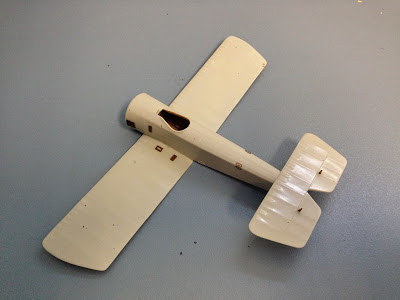
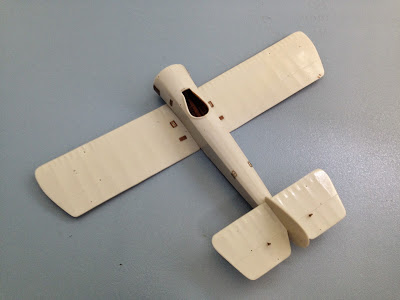
Here's just how far my Roc got on the workbench:
[
[
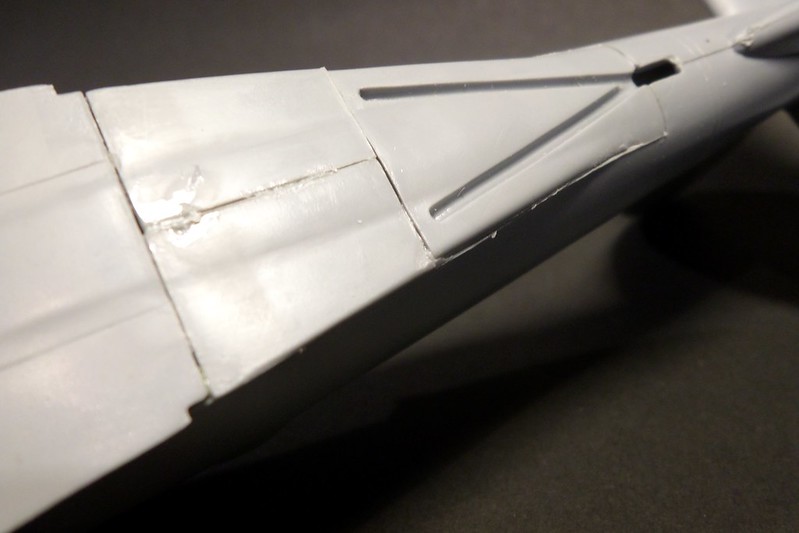
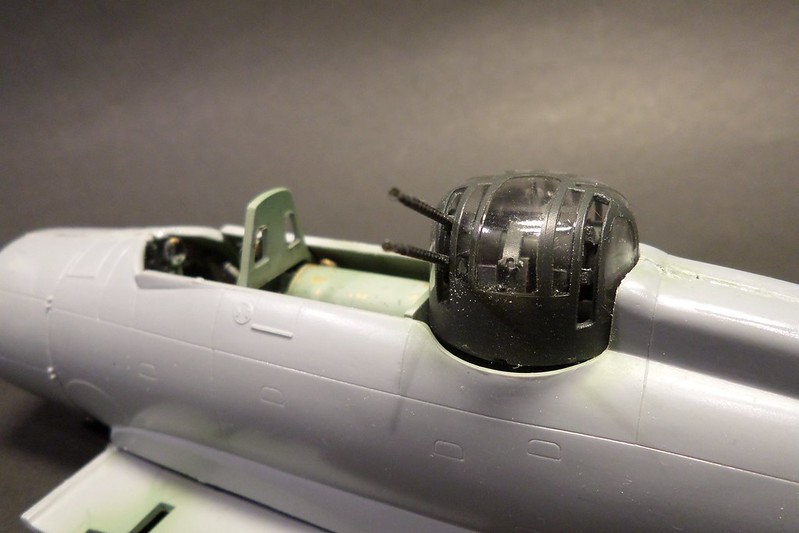
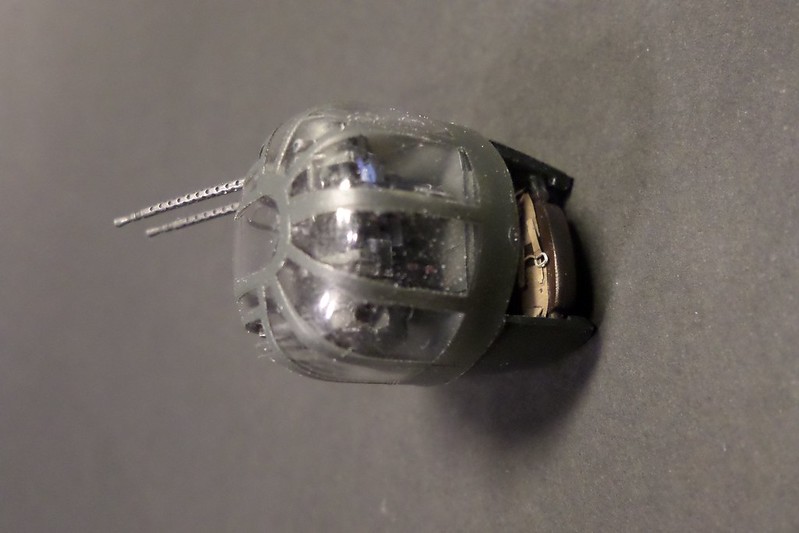
Some work to get those joint lines more smooth, but the real work lies ahead on my next step, glueing the wings !!
Michael, I feel that this HQ campaign edition is where this beauty will end up

Cheers and congratulations to all that presented such fine models on this thread
Pedro
England - East Midlands, United Kingdom
Joined: April 27, 2013
KitMaker: 450 posts
AeroScale: 387 posts
Posted: Monday, October 27, 2014 - 11:25 AM UTC
Progress is slow but I have made small steps tonight. The starboard intake is now in place along with the nose and horizontal tailplane


There is a LOT of filling, sanding and coffee drinking ahead and I feel that I have bitten off more than I could chew, but, it is getting closer than I was last week to completion.

#298
Hong Kong S.A.R. / 繁體
Joined: August 08, 2002
KitMaker: 1,182 posts
AeroScale: 351 posts
Posted: Tuesday, October 28, 2014 - 04:26 PM UTC
Tasmania, Australia
Joined: March 11, 2013
KitMaker: 77 posts
AeroScale: 17 posts
Posted: Tuesday, October 28, 2014 - 09:16 PM UTC
Tasmania, Australia
Joined: March 11, 2013
KitMaker: 77 posts
AeroScale: 17 posts
Posted: Thursday, October 30, 2014 - 04:25 PM UTC
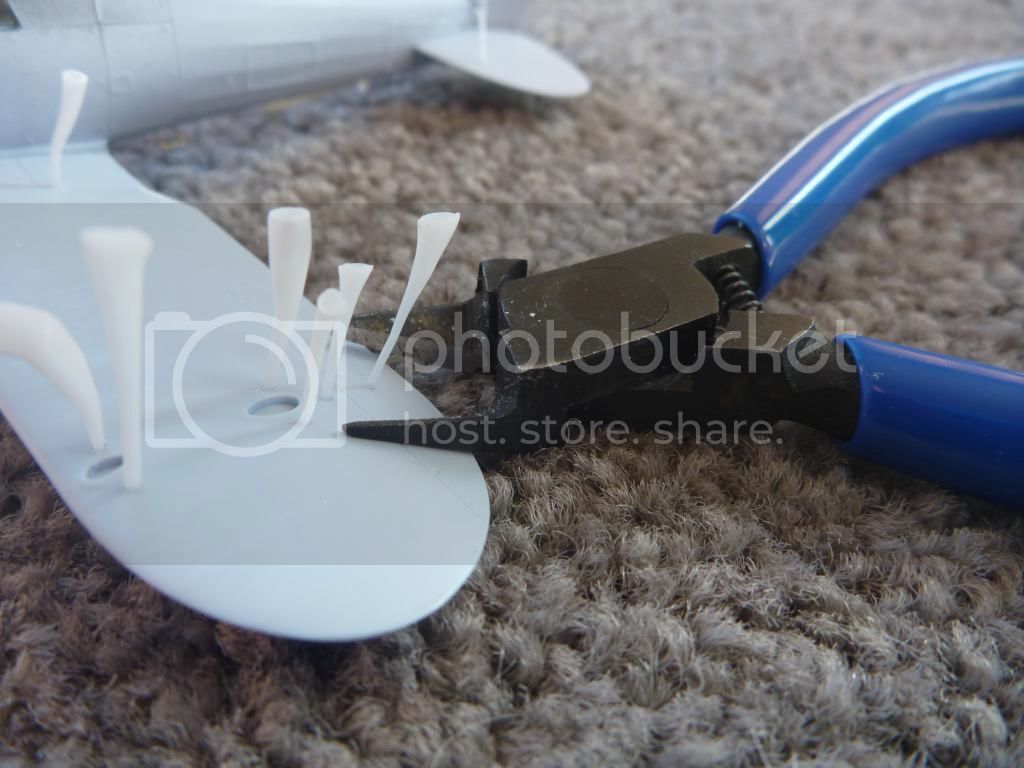
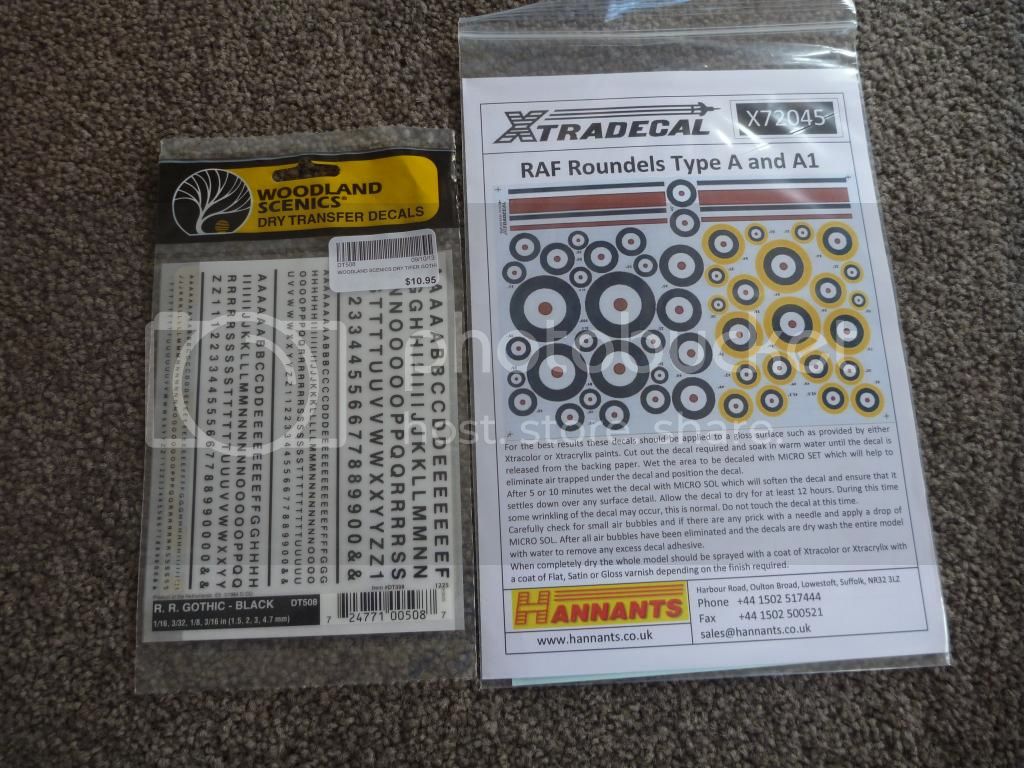
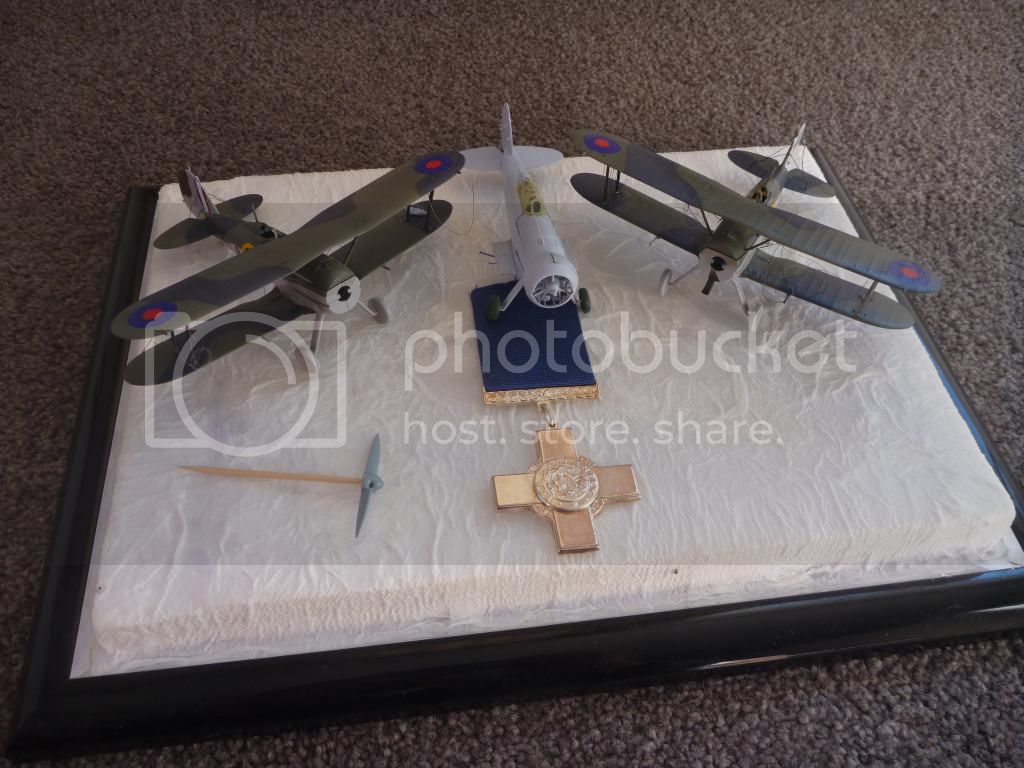
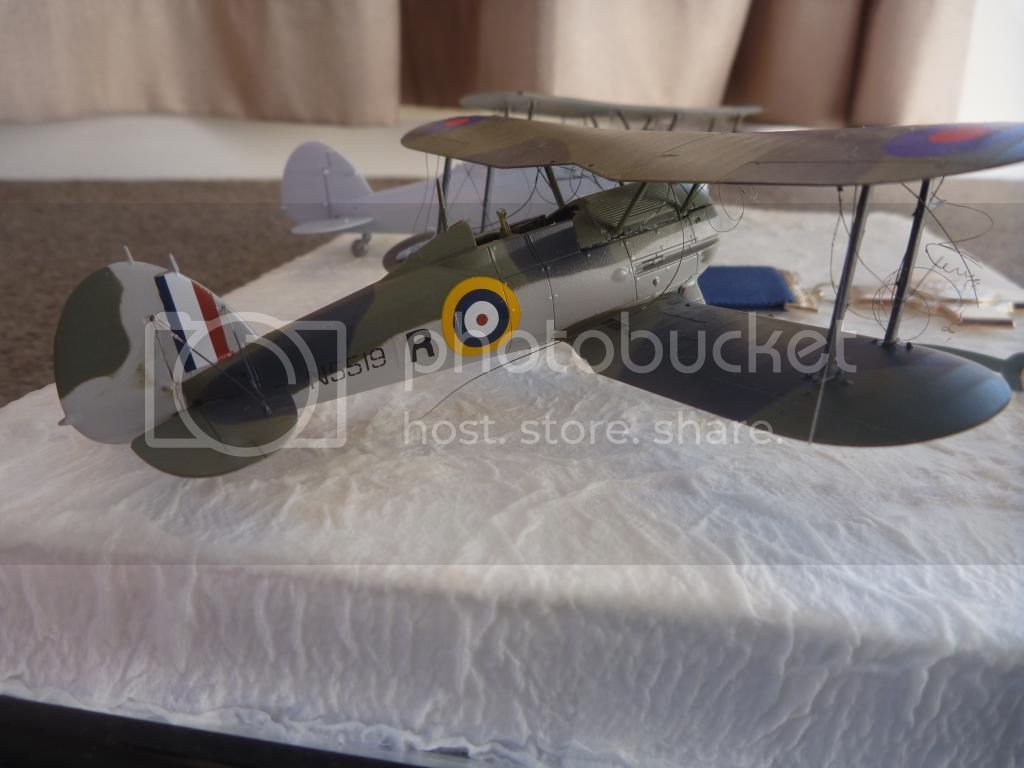
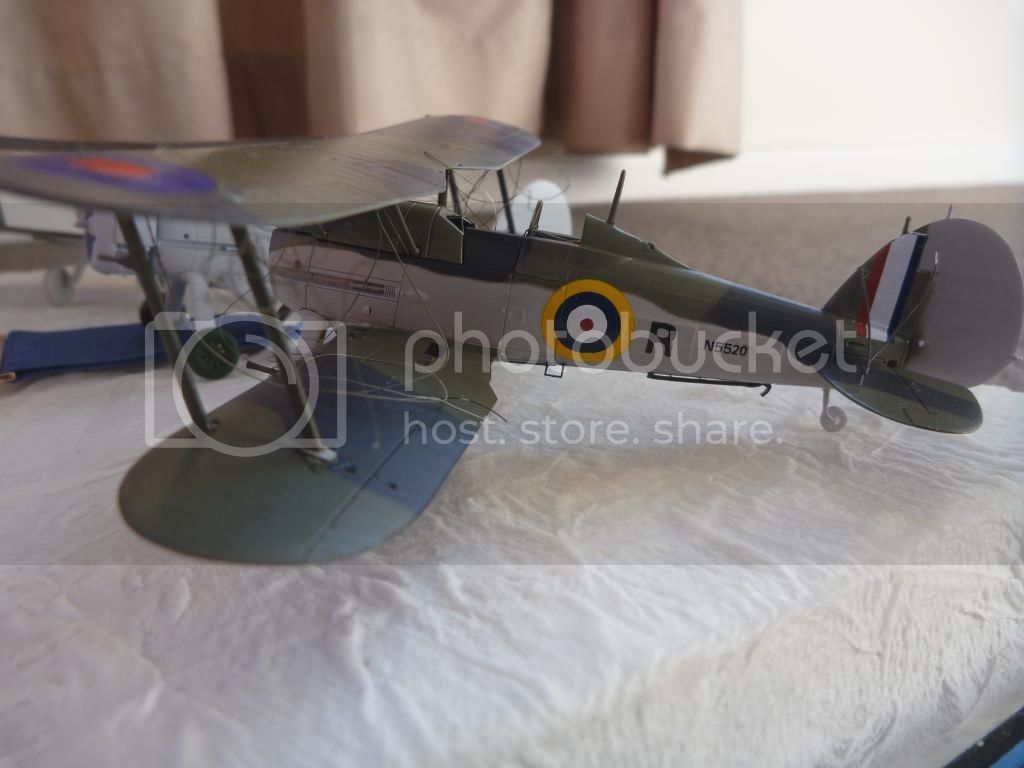
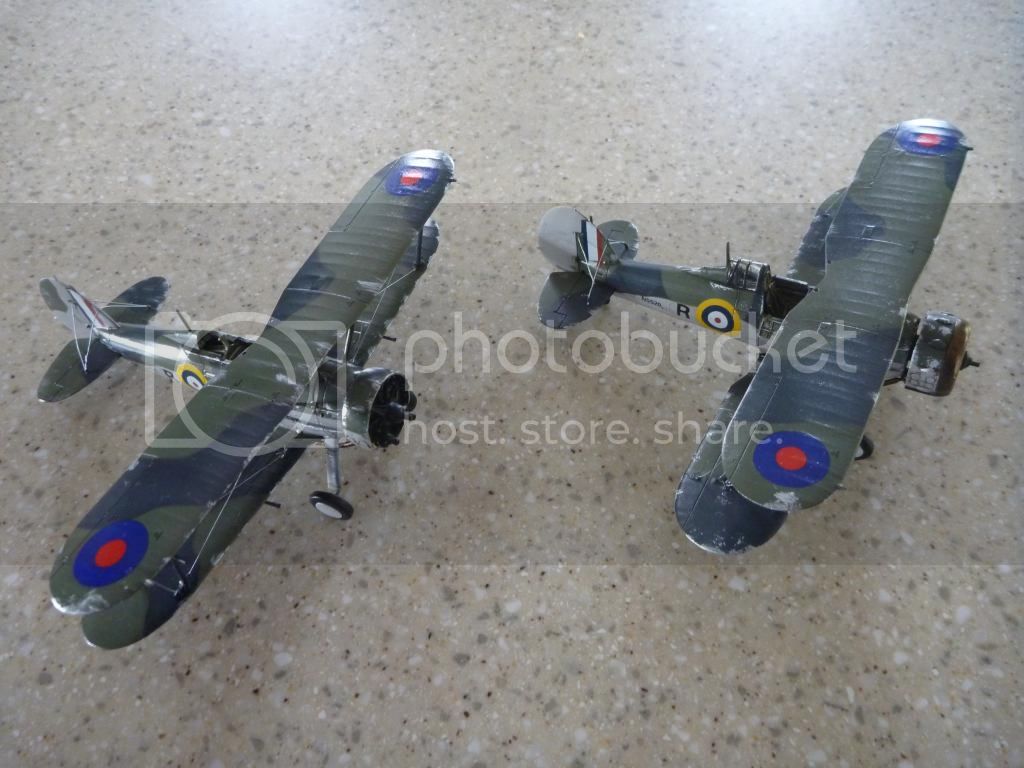
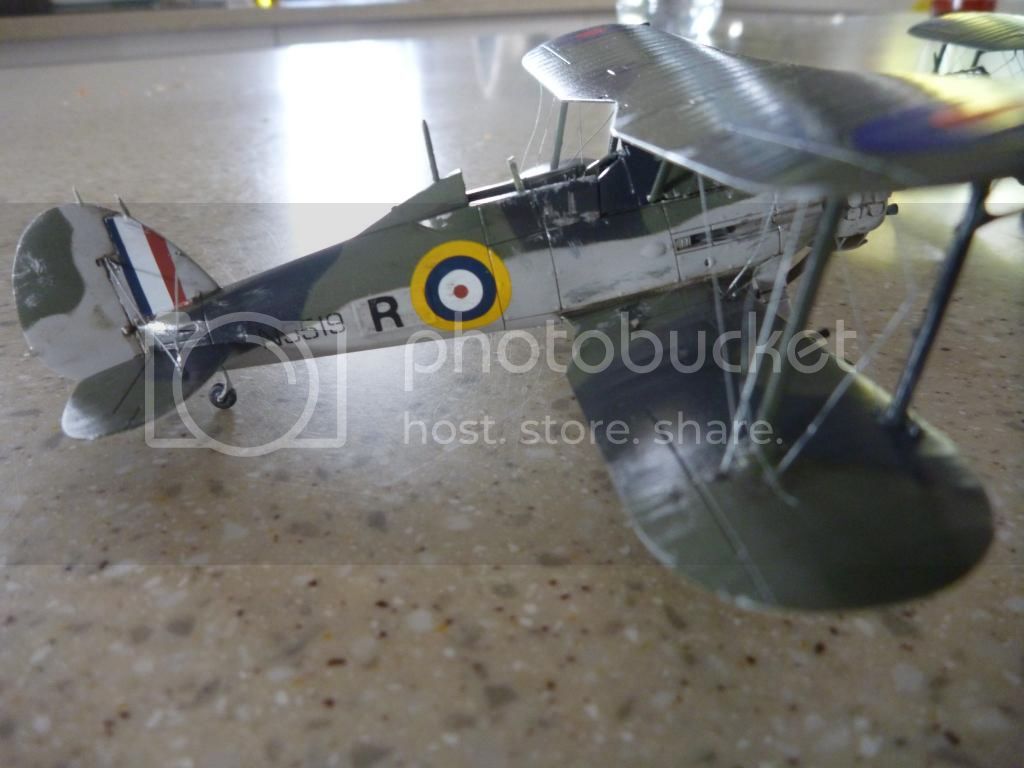
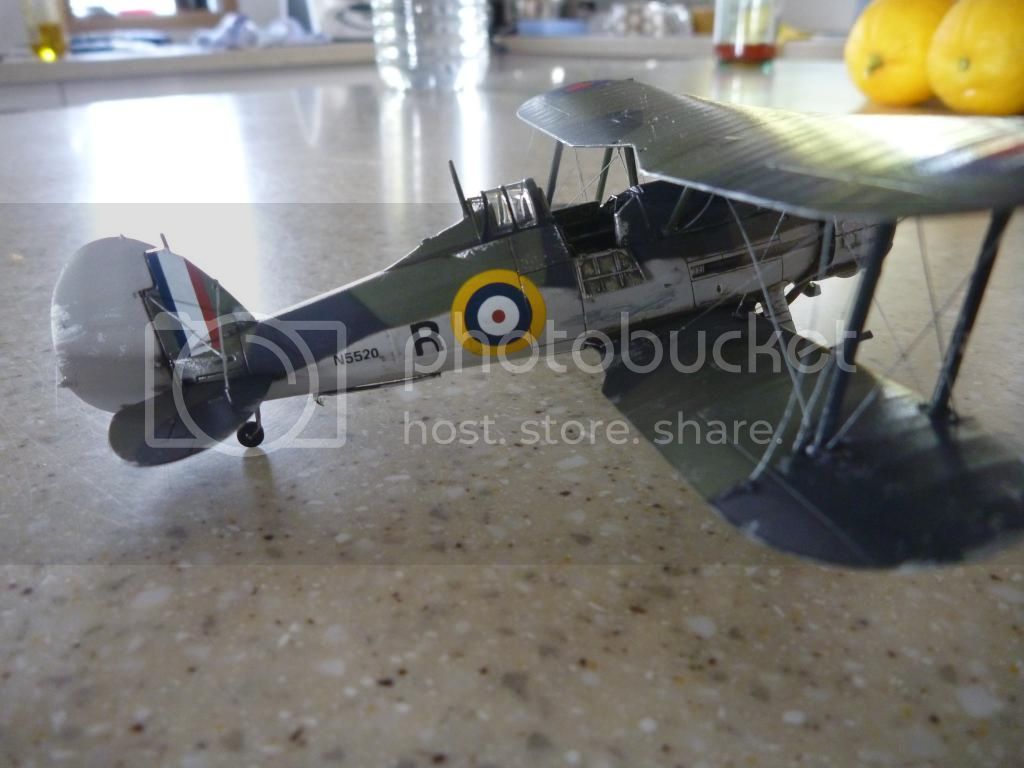
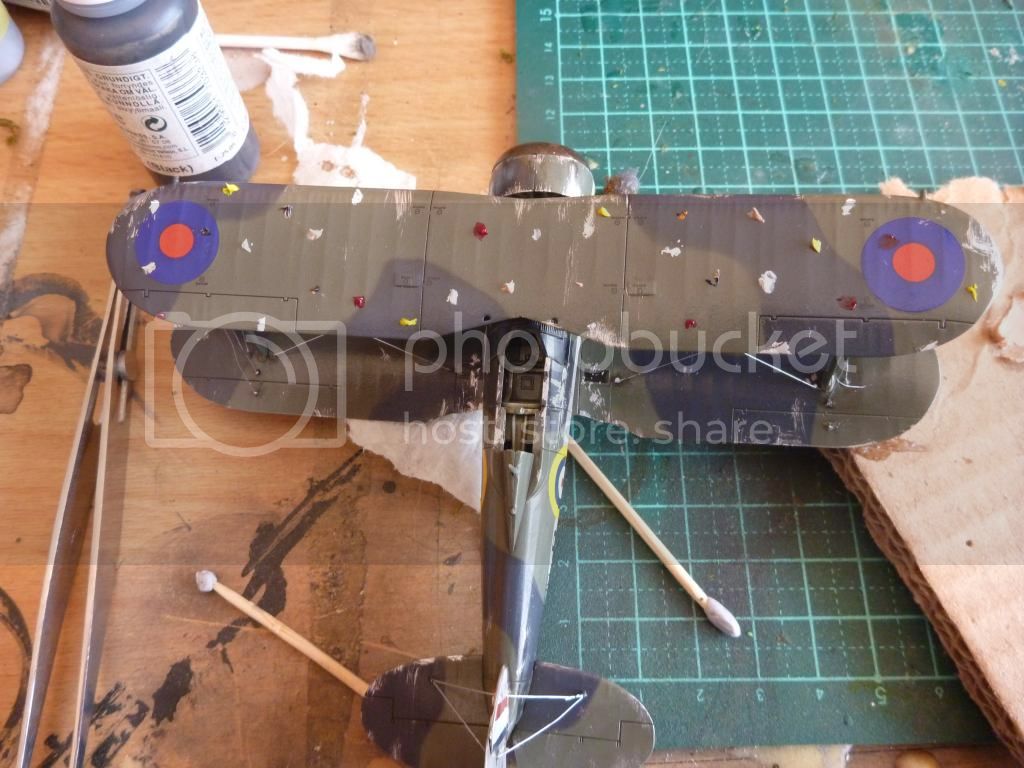
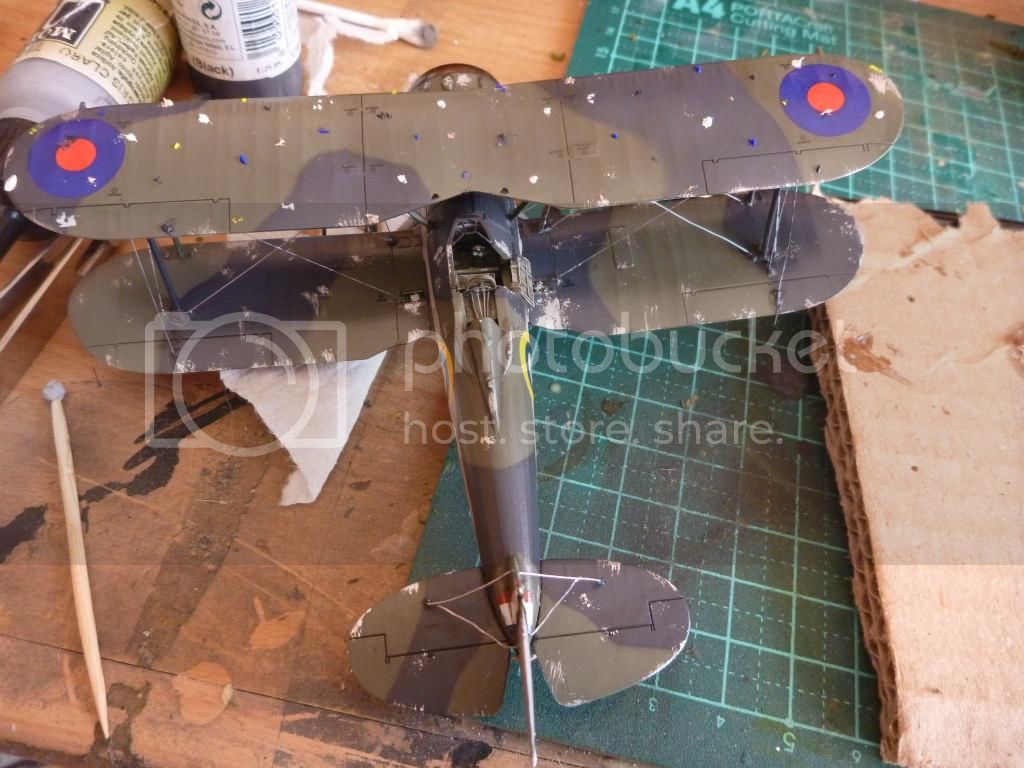
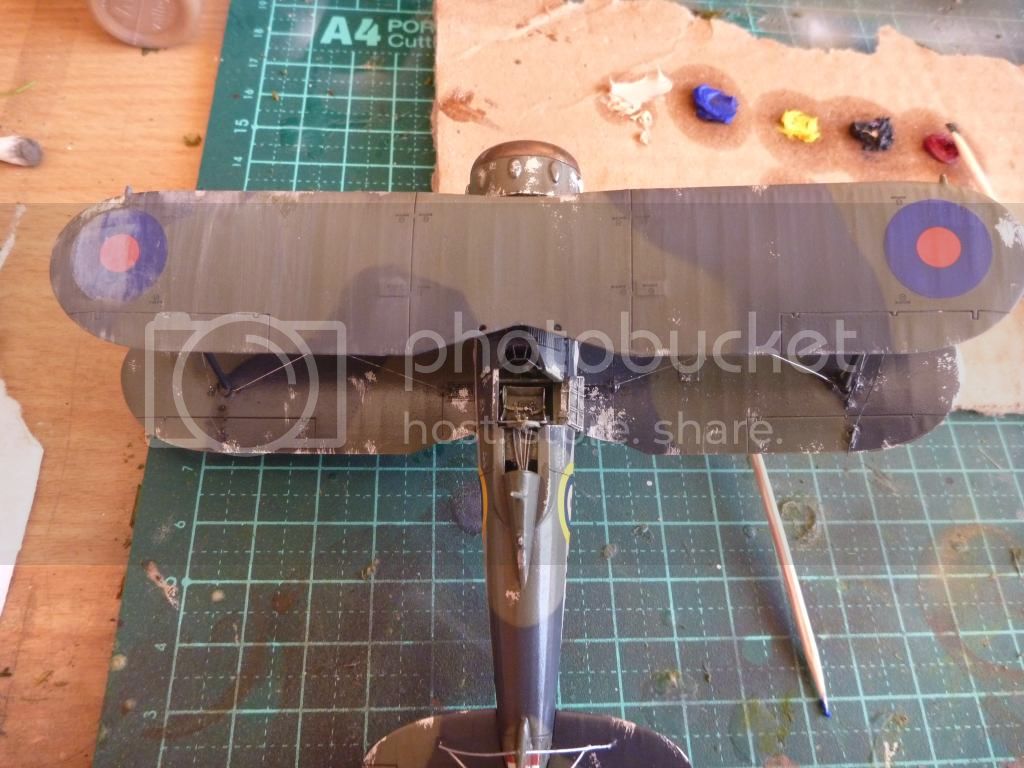
Well finally got one out of two builds complete. Hopefully I will be able to salvage the other plane and eventually complete the diorama involving the two complete gladiators with a third wingless one depicting the plane in the Valetta Museum, Malta.
Other then the rigging these are great kits and would highly recommend the new tooled airfix kits!
Some photos taken last night.
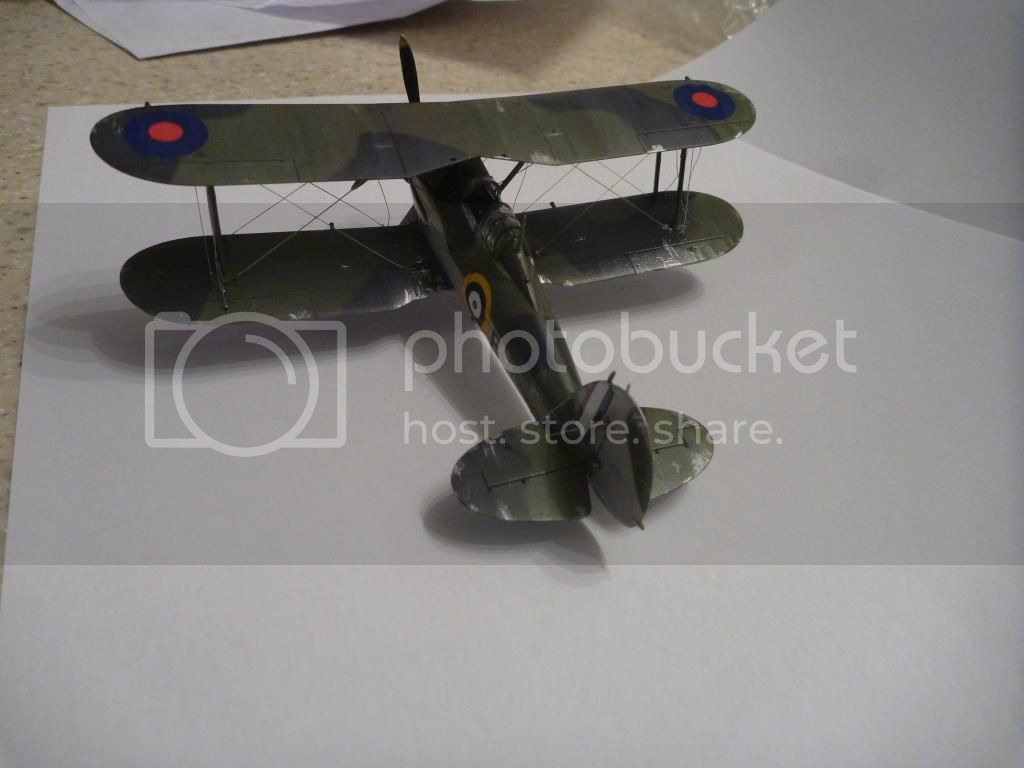
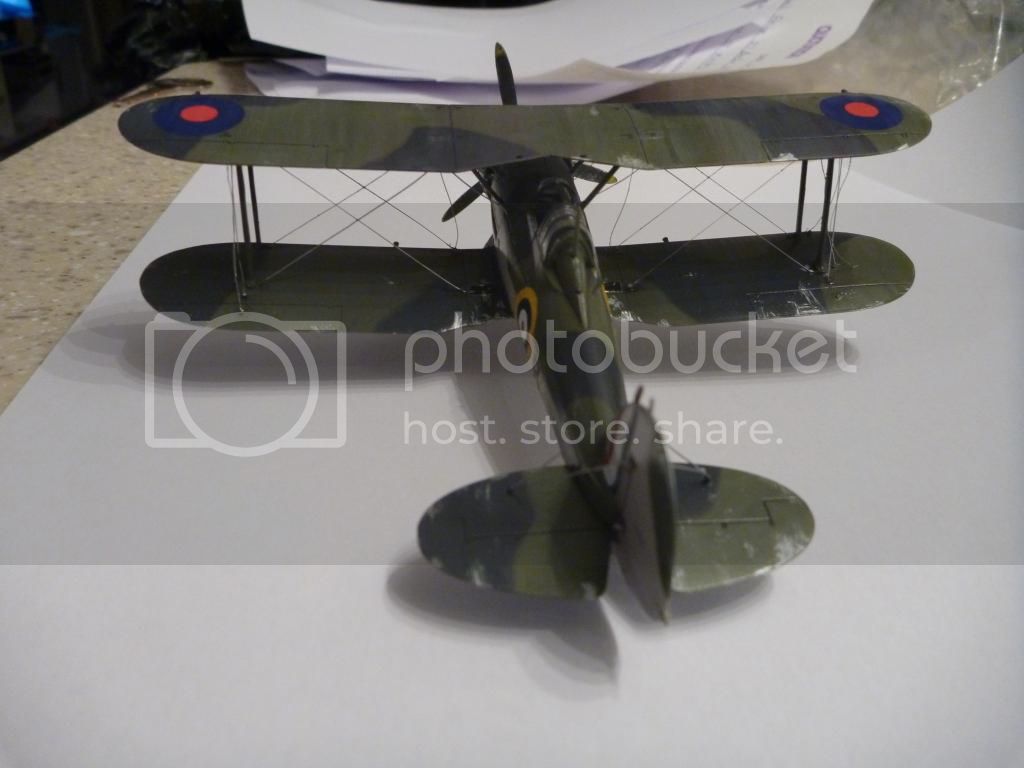
Better photos taken today on a half completed display base. Eventually I will tone the aircraft down with Matt spray and pigments but until then I am calling this complete!
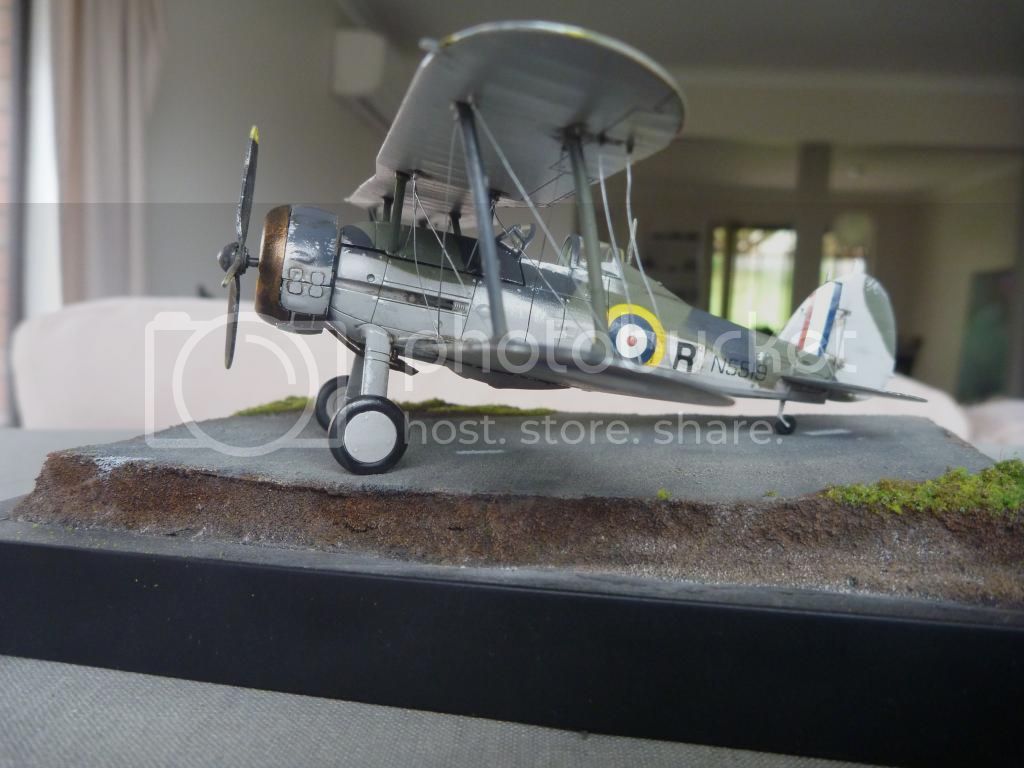
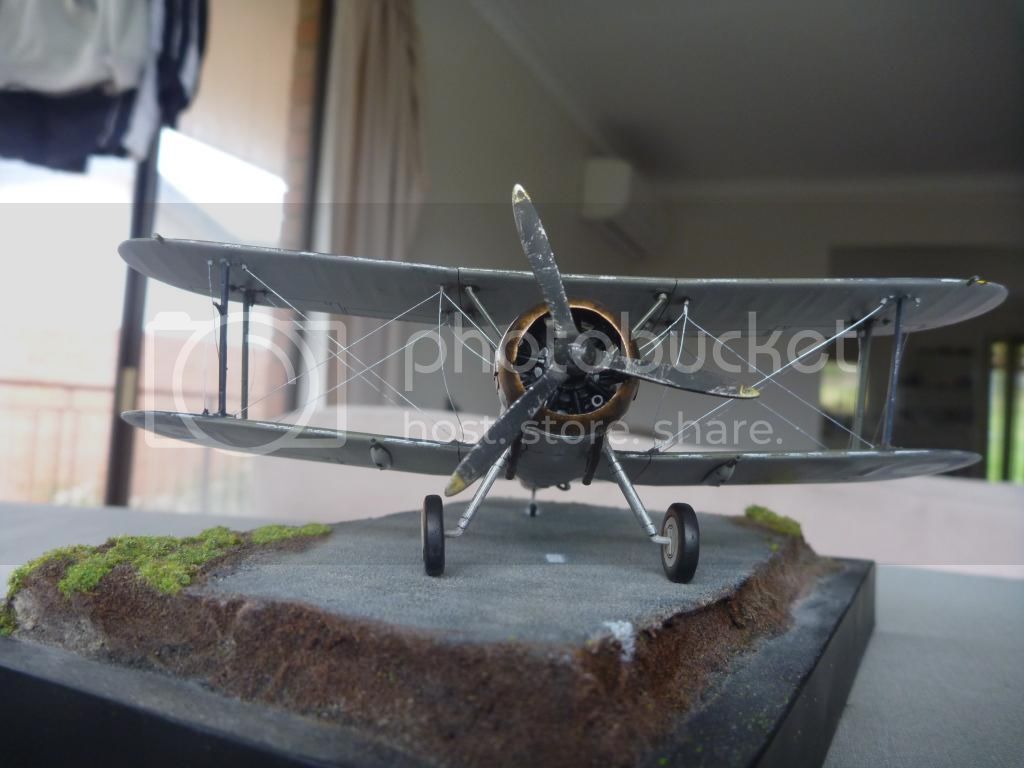

Thanks for the great build all.
MichaelSatin
 Campaigns Administrator
Colorado, United States
Joined: January 19, 2008
KitMaker: 3,909 posts
AeroScale: 2,904 posts
Posted: Friday, October 31, 2014 - 03:09 AM UTC
OK, I'm back! Looks like very nice work while I was gone, but a few need more time. Any interest in an extension?
Michael

On the bench:
Sorta depends on your definition of "on the bench"...
England - East Midlands, United Kingdom
Joined: April 27, 2013
KitMaker: 450 posts
AeroScale: 387 posts
Posted: Friday, October 31, 2014 - 08:27 AM UTC
Quoted Text
OK, I'm back! Looks like very nice work while I was gone, but a few need more time. Any interest in an extension?
Michael 
Yes please. I have had a few health problems to contend with [articularly with my right eye so an extension would be very useful PLEASE

England - South East, United Kingdom
Joined: March 01, 2010
KitMaker: 7,078 posts
AeroScale: 118 posts
Posted: Friday, October 31, 2014 - 09:43 AM UTC
I am done, but no issues from me.
Great Gladiators James, don't normally build 1/72nd, but fancy a go at one of those.
Si


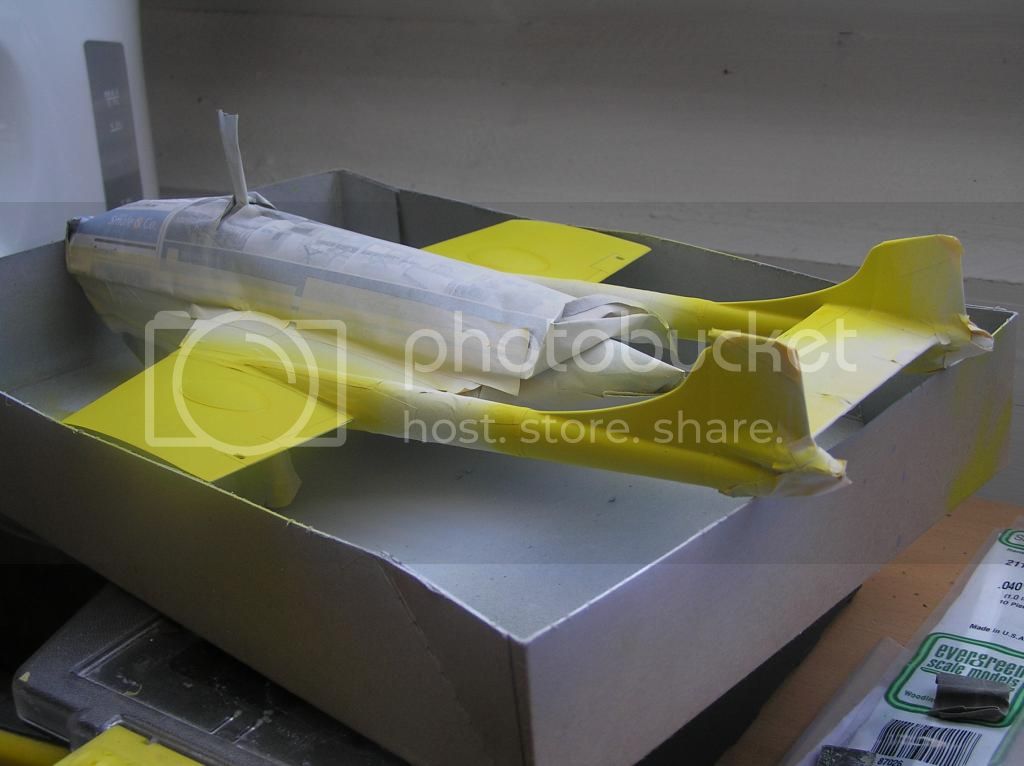
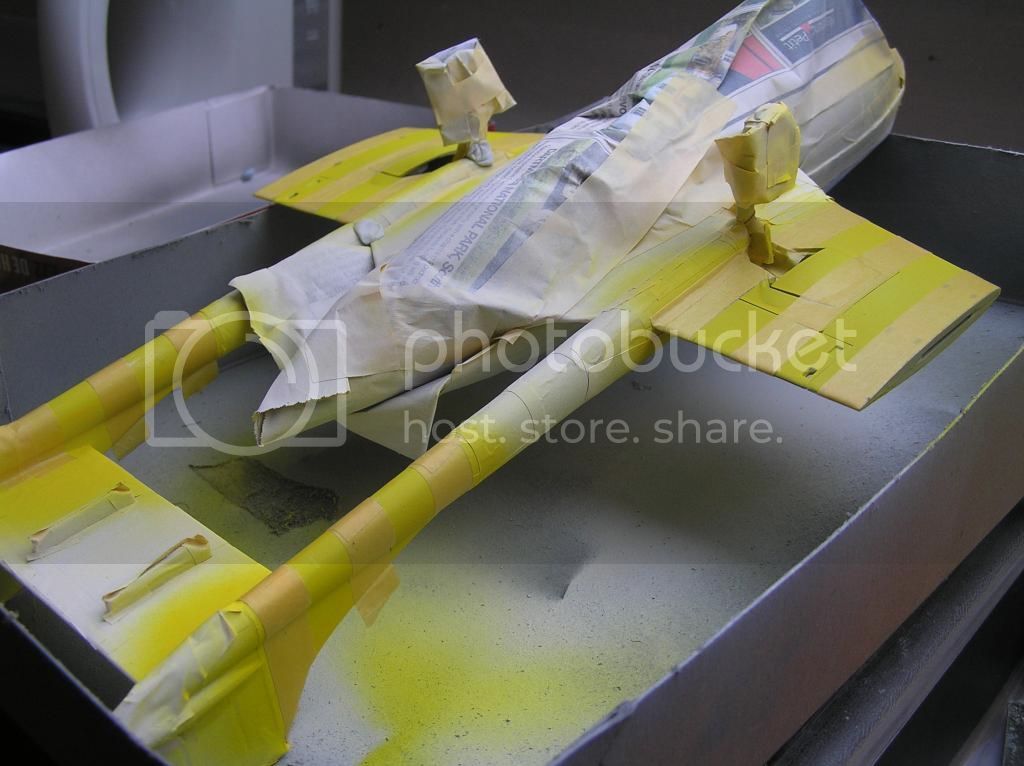
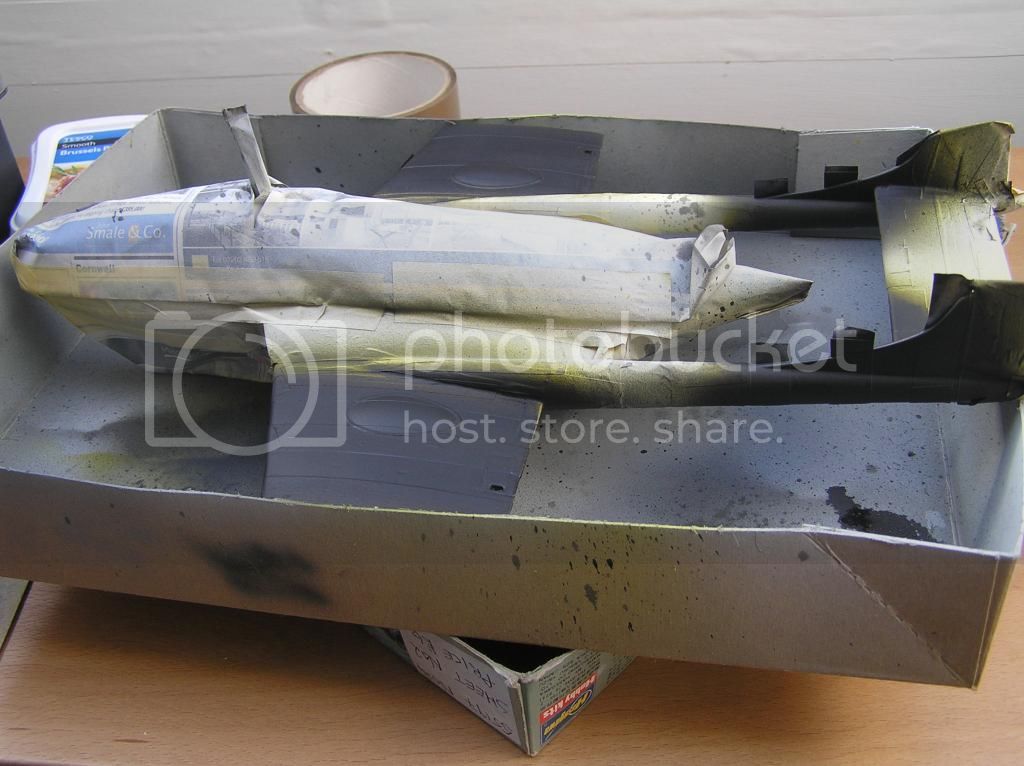






 Being an 'Old' kit the fit is terrible, a judicious use of clamps, rubber bands and Plastic Weld (I had intended using Mek Pak but picked up the wrong bottle) it is beginning to take shape. 1st problem, the port wing lines up, the starboard has the top further in than the bottom, this means the gap will need filling and consequently the wing cut out is too deep, BLAST




 I have just realised that I didn't need to withdraw from the campaign because I won't finish the Sea Venom in time - I have already finished a Sea Harrier!


 [
[


