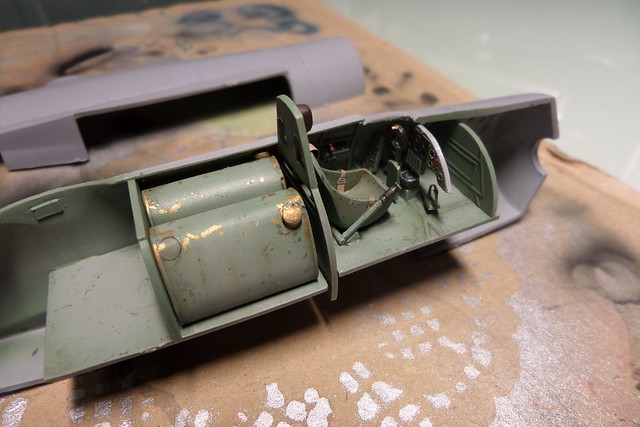
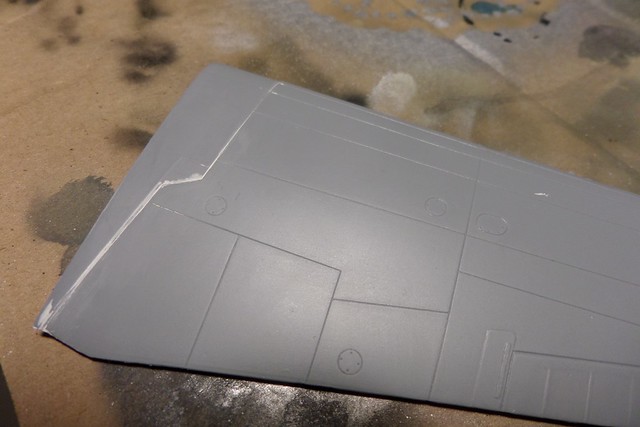
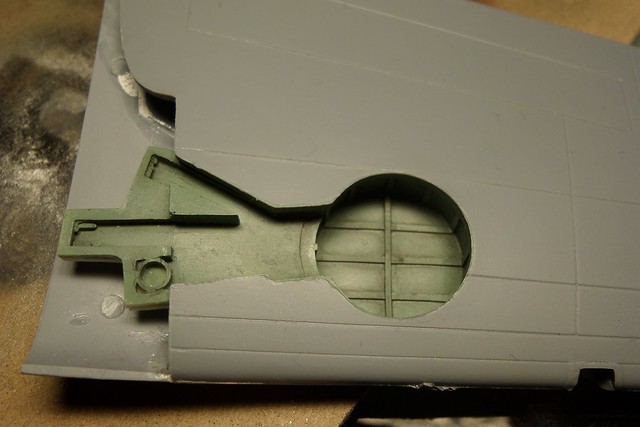
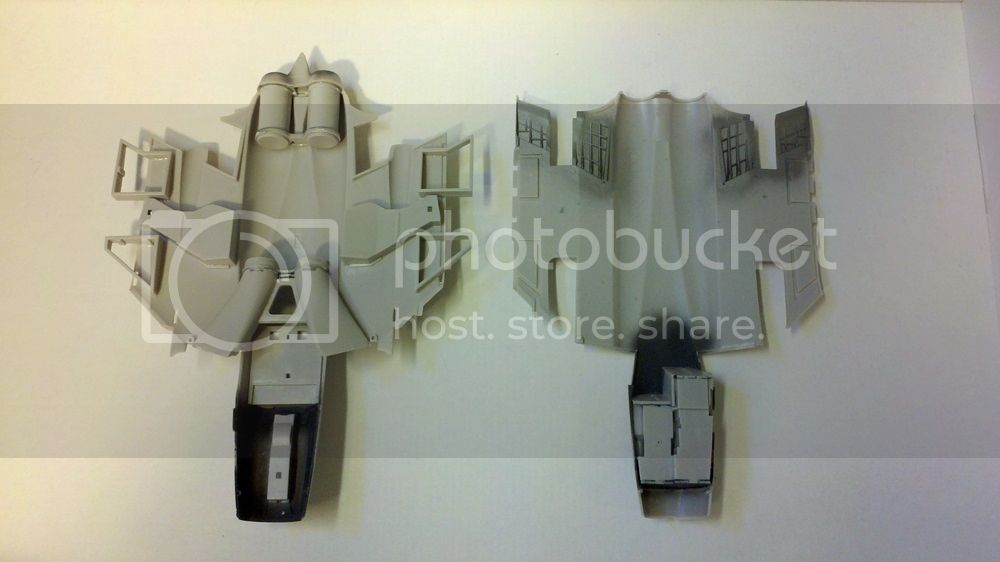
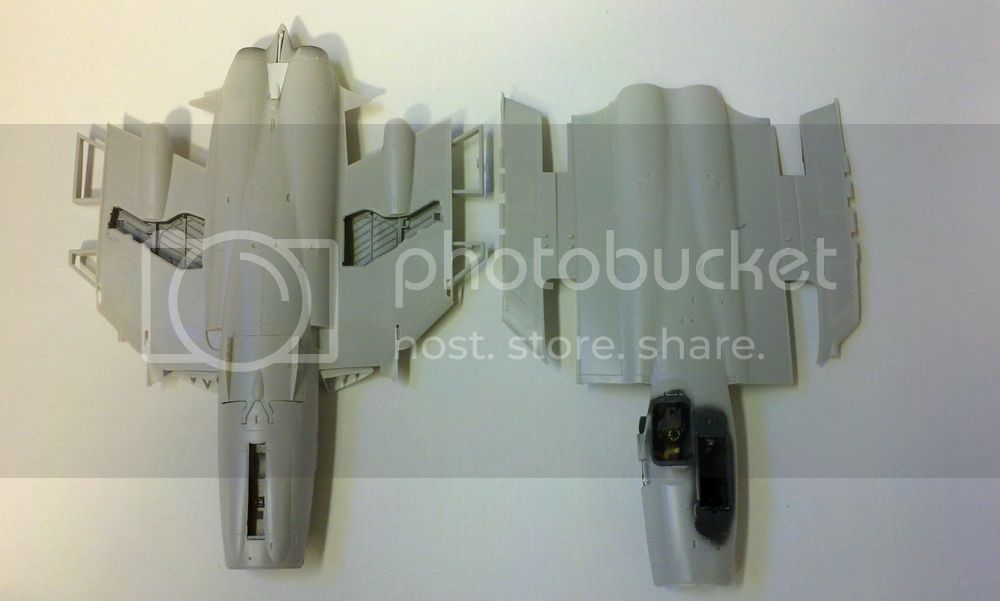
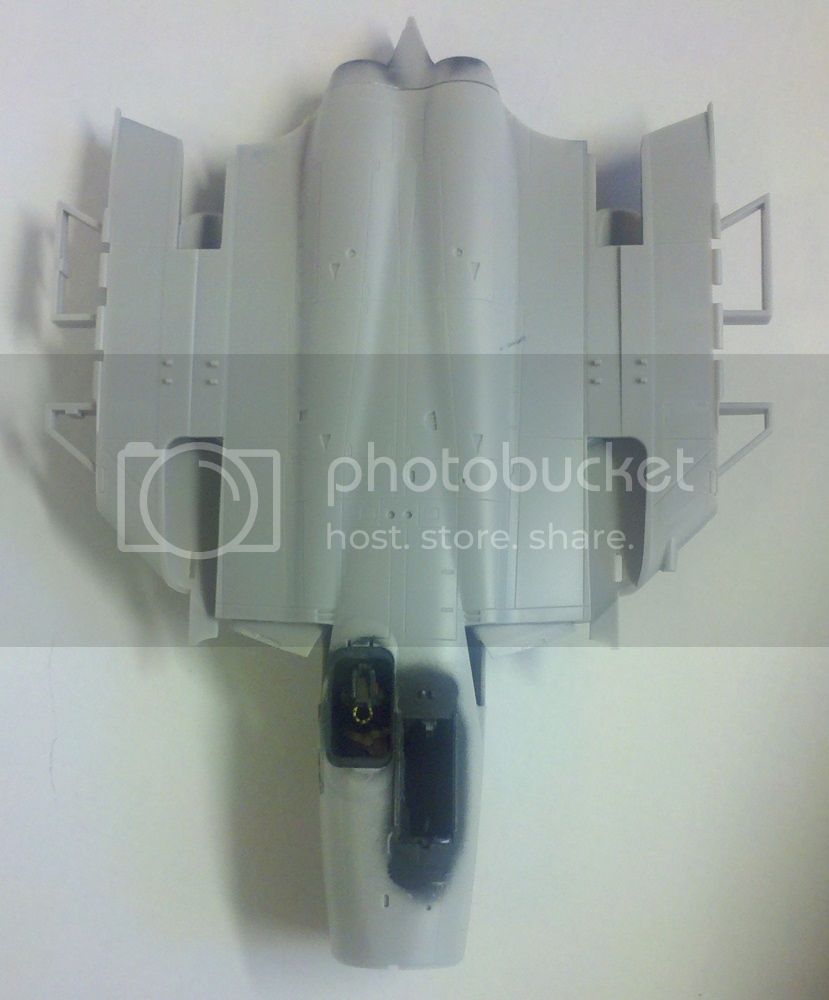
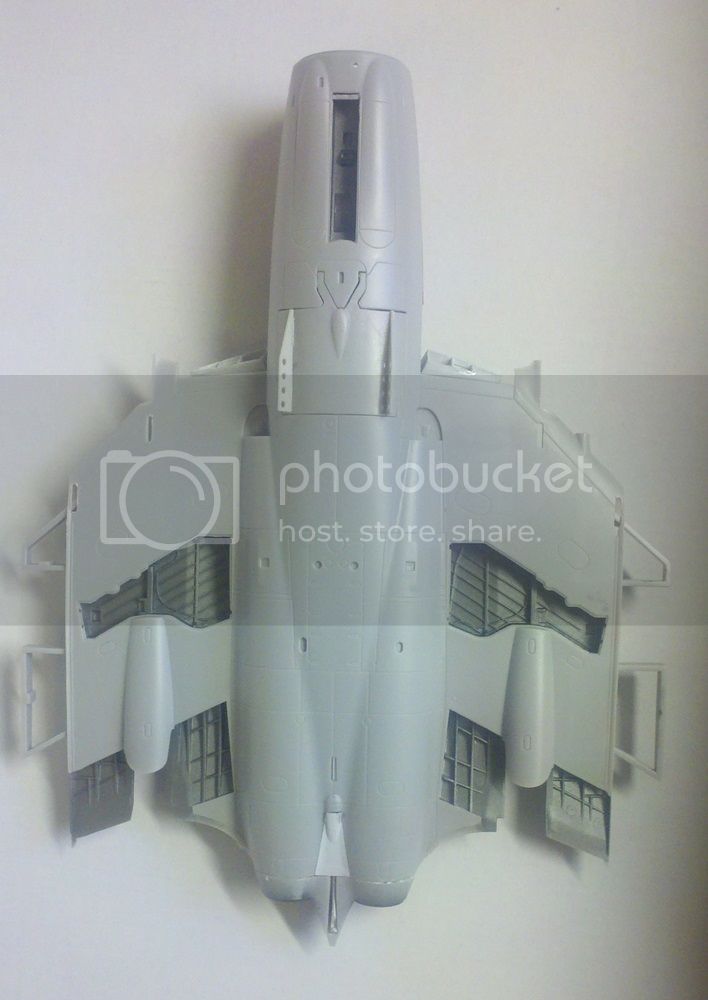
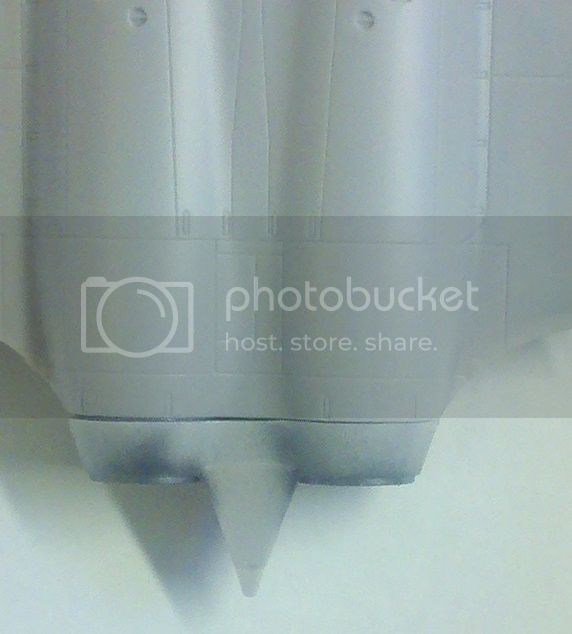
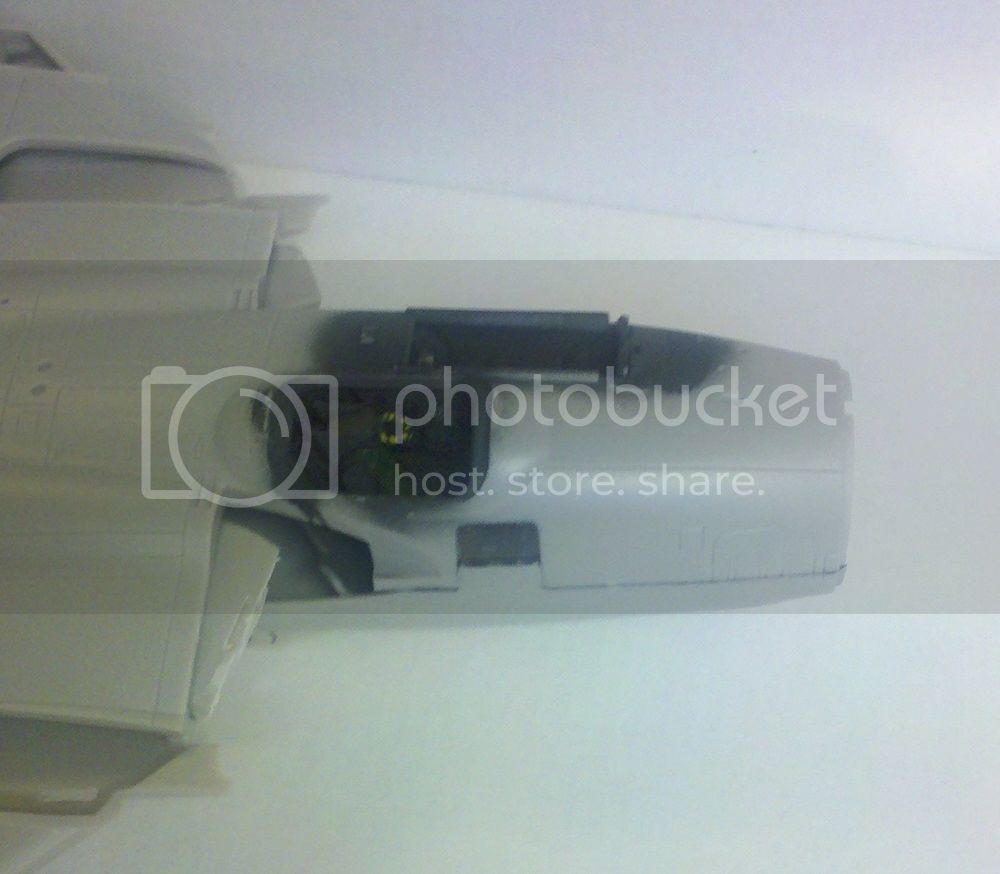
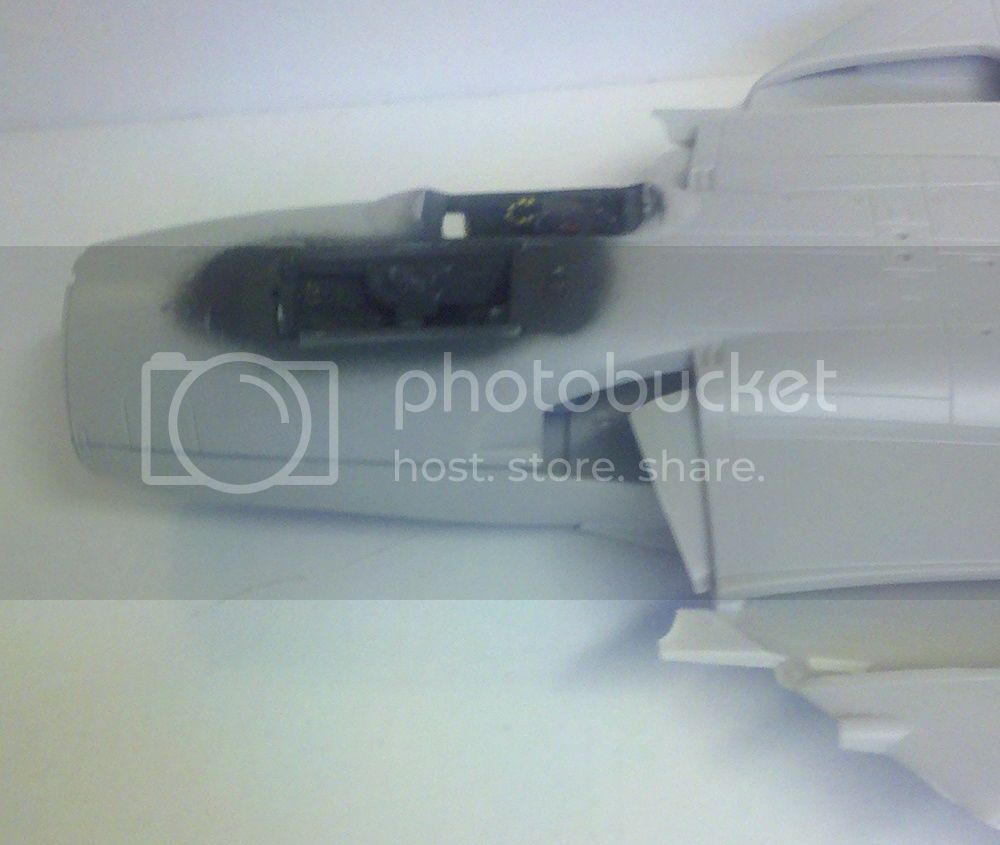
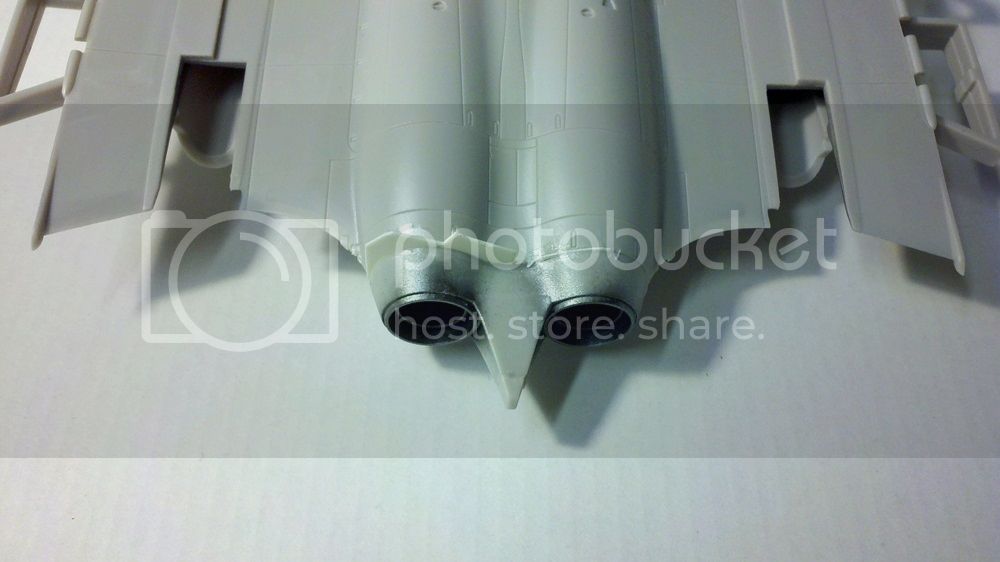
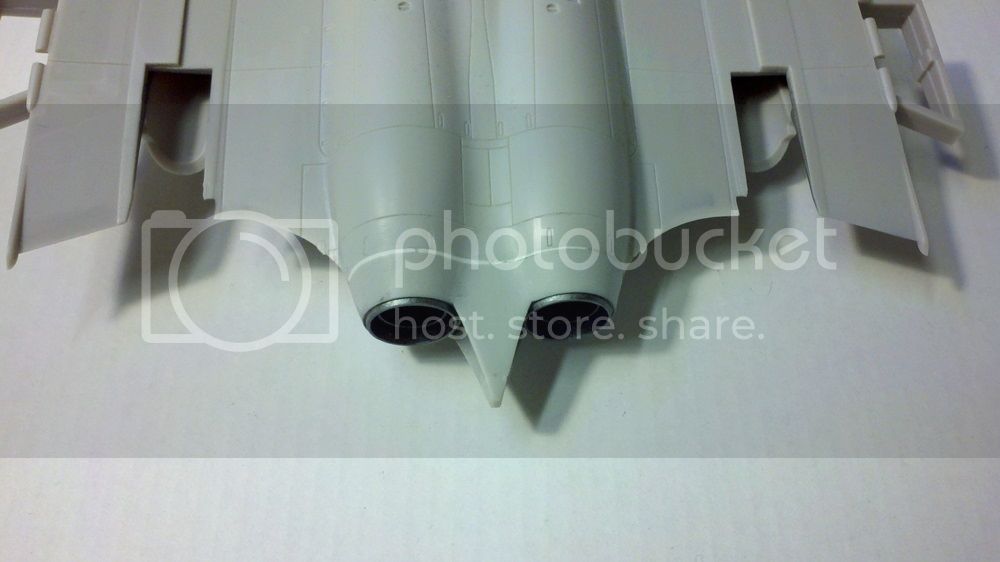
Here is the cockpit and engine for my Hobby Boss Avenger
Air Campaigns
Want to start or join a group build? This is where to start.
Hosted by Frederick Boucher, Michael Satin
OFFICIAL: Fleet Air Arm Campaign
PrickleHead
Western Australia, Australia
Joined: December 31, 2013
KitMaker: 338 posts
AeroScale: 190 posts
Joined: December 31, 2013
KitMaker: 338 posts
AeroScale: 190 posts
Posted: Saturday, September 20, 2014 - 12:20 AM UTC
MichaelSatin
Campaigns Administrator
Colorado, United States
Joined: January 19, 2008
KitMaker: 3,909 posts
AeroScale: 2,904 posts
Joined: January 19, 2008
KitMaker: 3,909 posts
AeroScale: 2,904 posts
Posted: Saturday, September 20, 2014 - 03:46 AM UTC
Nice work everyone!!
Here's some progress on the Airfix Sea Vixen.
Here are the fuselage halves ready to join, from the indside:
And the outside:
I trapped the air brake as shown in the instructions but left it movable so I can keep it closed when painting then do the partially opened option when I'm done.
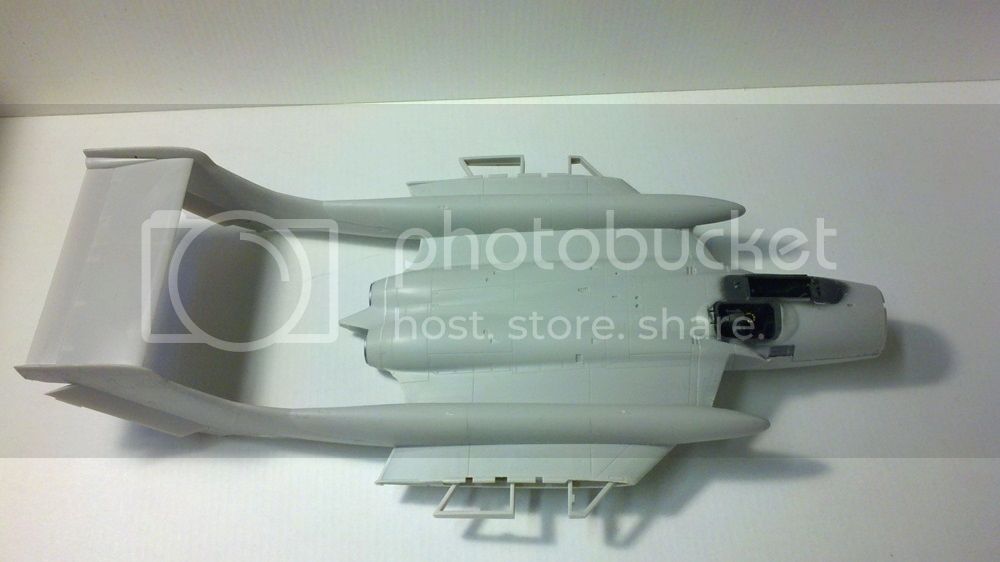
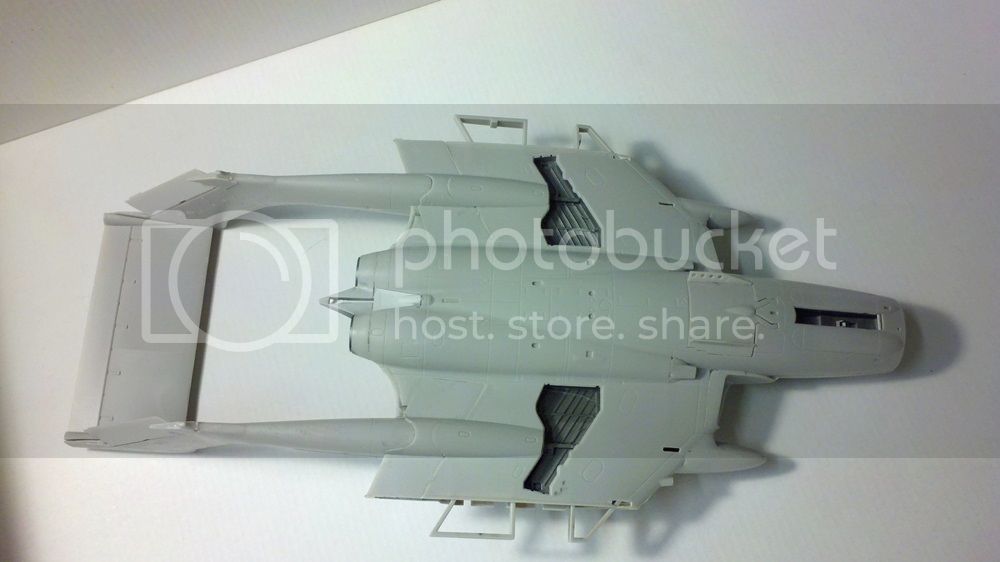
Here it is glued together from the top (yes, I removed the pilot's seat for now):
From the bottom:
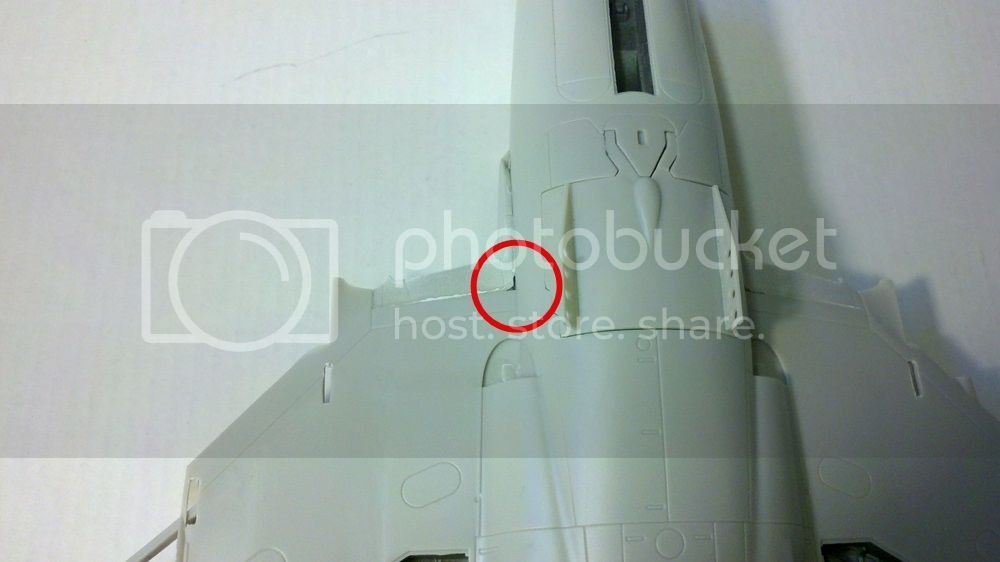
Here's a trouble area. Time to break out the sheet plastic for some shimming:
It fit well on the bottom, so not sure what I did wrong. The sides look pretty good too:
Though sanding around the window and restoring the lost panel lines could be fun.
Let's see how things go next!
Michael
RedDuster
England - South East, United Kingdom
Joined: March 01, 2010
KitMaker: 7,078 posts
AeroScale: 118 posts
Joined: March 01, 2010
KitMaker: 7,078 posts
AeroScale: 118 posts
Posted: Saturday, September 20, 2014 - 09:28 AM UTC
PrickleHead
Western Australia, Australia
Joined: December 31, 2013
KitMaker: 338 posts
AeroScale: 190 posts
Joined: December 31, 2013
KitMaker: 338 posts
AeroScale: 190 posts
Posted: Saturday, September 20, 2014 - 01:27 PM UTC
Nice looking Pup Simon. Havent been brave enough to try a biplane yet.
RedDuster
England - South East, United Kingdom
Joined: March 01, 2010
KitMaker: 7,078 posts
AeroScale: 118 posts
Joined: March 01, 2010
KitMaker: 7,078 posts
AeroScale: 118 posts
Posted: Saturday, September 20, 2014 - 08:07 PM UTC
Thanks
It is my first biplane in this scale, and for many a year, but the wingnut kit is superb.
Si
It is my first biplane in this scale, and for many a year, but the wingnut kit is superb.
Si
MichaelSatin
Campaigns Administrator
Colorado, United States
Joined: January 19, 2008
KitMaker: 3,909 posts
AeroScale: 2,904 posts
Joined: January 19, 2008
KitMaker: 3,909 posts
AeroScale: 2,904 posts
Posted: Sunday, September 21, 2014 - 03:06 AM UTC
Those Wingnut kits are the best, no doubt (and each one seems to get better somehow). But you still need to be able to build and rig it, so nice work Si!
Michael
Michael
RedDuster
England - South East, United Kingdom
Joined: March 01, 2010
KitMaker: 7,078 posts
AeroScale: 118 posts
Joined: March 01, 2010
KitMaker: 7,078 posts
AeroScale: 118 posts
Posted: Monday, September 22, 2014 - 07:42 AM UTC
Thanks Michael,
It is however for someone who is not a great biplane builder, I found having some struts built into bulkheads, and very positive locations for the others did take a lot of the voodoo out, as did the detailed rigging instructions.
Definitely up for another Wingnut job
Si
It is however for someone who is not a great biplane builder, I found having some struts built into bulkheads, and very positive locations for the others did take a lot of the voodoo out, as did the detailed rigging instructions.
Definitely up for another Wingnut job
Si
IronOwl
Georgia, United States
Joined: January 07, 2013
KitMaker: 572 posts
AeroScale: 130 posts
Joined: January 07, 2013
KitMaker: 572 posts
AeroScale: 130 posts
Posted: Wednesday, September 24, 2014 - 06:14 AM UTC
I have stopped due to work hope to get going again soon builds are looking good.
Sascha(Ironowl)
Sascha(Ironowl)
RedDuster
England - South East, United Kingdom
Joined: March 01, 2010
KitMaker: 7,078 posts
AeroScale: 118 posts
Joined: March 01, 2010
KitMaker: 7,078 posts
AeroScale: 118 posts
Posted: Thursday, September 25, 2014 - 07:51 AM UTC
Couple of pics uploaded to the gallery.
Si
Si
Berwickboy
England - East Midlands, United Kingdom
Joined: April 27, 2013
KitMaker: 450 posts
AeroScale: 387 posts
Joined: April 27, 2013
KitMaker: 450 posts
AeroScale: 387 posts
Posted: Saturday, September 27, 2014 - 11:19 AM UTC
Just to update you. I have gone back to the Buccaneer and made a little progress. The speed brakes have presented a problem inasmuch as the link pieces between the fuselage and petals has proved a bit of a struggle, I had to find some tubing roughly the same diameter as the fuselage and cut it to shape, this eventually happened and the mechanism is partly complete. It now needs the connection to be made between the mechanism and petals.
The cockpit is painted and awaiting the photoetch. I have made a small, open box to fit at the well front as this was left open by Airfix and I had nowhere to fit the rudder pedals.
The trailing edges have been thinned on the folding section of the wings, they are no longer 3 scale inches thick
I have decided to use the Matchbox undercarriage as it is a better representation of the real thing, not perfect but better.
SaxonTheShiba
United States
Joined: February 01, 2009
KitMaker: 1,233 posts
AeroScale: 663 posts
Joined: February 01, 2009
KitMaker: 1,233 posts
AeroScale: 663 posts
Posted: Saturday, September 27, 2014 - 12:18 PM UTC
Simon, the Sopwith Pup looks fantastic. A well executed build indeed.
Regards,
Ian
Regards,
Ian
MichaelSatin
Campaigns Administrator
Colorado, United States
Joined: January 19, 2008
KitMaker: 3,909 posts
AeroScale: 2,904 posts
Joined: January 19, 2008
KitMaker: 3,909 posts
AeroScale: 2,904 posts
Posted: Saturday, September 27, 2014 - 12:24 PM UTC
Still seeing great work here with about a month to go!
Some progress on the Airfix 1/48 Sea Vixen. As I mentioned, the fit of the exhaust area to the fuselage needed some help. Here are the shims:
And here they are after trimming and clean up:
Much better!
Next area needing some help, the intake lips:
I'm tempted to say this is user error, but it's like this on both sides. Sigh. I added these parts out of order, as the instructions call for them to be added after the tail boom/overwing tank parts and I thought they'd be in the way. Hopefully this wasn't a bad decision.
Michael
RedDuster
England - South East, United Kingdom
Joined: March 01, 2010
KitMaker: 7,078 posts
AeroScale: 118 posts
Joined: March 01, 2010
KitMaker: 7,078 posts
AeroScale: 118 posts
Posted: Saturday, September 27, 2014 - 08:49 PM UTC
Thanks Ian,
Cannot praise the wingnuts kit enough.
Vixen is coming on well Michael.
Si
Cannot praise the wingnuts kit enough.
Vixen is coming on well Michael.
Si
Posted: Tuesday, September 30, 2014 - 10:52 AM UTC
Paint done ,touch up and clear coat next:-
ltb073
New York, United States
Joined: March 08, 2010
KitMaker: 3,662 posts
AeroScale: 174 posts
Joined: March 08, 2010
KitMaker: 3,662 posts
AeroScale: 174 posts
Posted: Thursday, October 02, 2014 - 09:05 AM UTC
ljames0874
England - South East, United Kingdom
Joined: August 15, 2012
KitMaker: 408 posts
AeroScale: 365 posts
Joined: August 15, 2012
KitMaker: 408 posts
AeroScale: 365 posts
Posted: Thursday, October 02, 2014 - 05:52 PM UTC
Looking good there Sal - nice to see some more Suez stripes. I will be starting on mine today, though I will have to mask and spray them on. The Sea Venom is pretty much built now, the clear parts for the canopy have taken quite a bit of time. Due to the scale of the beast (1/32), I have masked and sprayed the parts inside and out, before I could attach to the fuselage with Kristal Kleer. Also, the housing for the canopy hinge was far too big (it would have been fine had I not added detail to the rear canopy deck), so I have cut it down considerably, to make it fit.
Cheers everyone - not long now!
ltb073
New York, United States
Joined: March 08, 2010
KitMaker: 3,662 posts
AeroScale: 174 posts
Joined: March 08, 2010
KitMaker: 3,662 posts
AeroScale: 174 posts
Posted: Saturday, October 04, 2014 - 09:33 AM UTC
Quoted Text
Looking good there Sal -
Thanks Lee, yeah she is a little 1 only 1/72 scale, I dis a 1/72 scale Sea Venom a few months ago 1/32 scale must be sweet looking
MichaelSatin
Campaigns Administrator
Colorado, United States
Joined: January 19, 2008
KitMaker: 3,909 posts
AeroScale: 2,904 posts
Joined: January 19, 2008
KitMaker: 3,909 posts
AeroScale: 2,904 posts
Posted: Saturday, October 04, 2014 - 11:00 AM UTC
Some really nice stuff here! Sal, those those Suez stripes look great!
Here's the progress on the Sea Vixen.
Those speed brakes do not want to fit well closed, but I jammed 'em in there.
We're leaving town in a couple of weeks for a couple of weeks, so I'm not sure I'll make it, but I'll try! I'm thinking of doing something new and trying the overall black base paint before laying down the gray and white. I understand that can lead to a nice look. Anyone here have experience with that?
Michael
IronOwl
Georgia, United States
Joined: January 07, 2013
KitMaker: 572 posts
AeroScale: 130 posts
Joined: January 07, 2013
KitMaker: 572 posts
AeroScale: 130 posts
Posted: Saturday, October 04, 2014 - 03:07 PM UTC
I have made some progress however am at the paint stage and did not have the right paint sooo its on hold now waiting for the paint.
Sascha(Ironowl)
Sascha(Ironowl)
IronOwl
Georgia, United States
Joined: January 07, 2013
KitMaker: 572 posts
AeroScale: 130 posts
Joined: January 07, 2013
KitMaker: 572 posts
AeroScale: 130 posts
Posted: Saturday, October 04, 2014 - 03:09 PM UTC
heres a second shot
Sascha(ironowl)
Sascha(ironowl)
Posted: Saturday, October 04, 2014 - 05:41 PM UTC
Some good work going on here. Glad I didn't drag it down with my efforts.
Michael, thanks to you for sharing "How I got out of this mess" stories.
rochaped
Lisboa, Portugal
Joined: August 27, 2010
KitMaker: 679 posts
AeroScale: 669 posts
Joined: August 27, 2010
KitMaker: 679 posts
AeroScale: 669 posts
Posted: Monday, October 06, 2014 - 09:30 AM UTC
Hi All,
It's been quite a while since I last posted, but despite having very little time on the bench during this summer, I have made some progresses on my Roc.
I am confident that I will have it completed by the end of the month.
There have been a few issues here and there, most derived from my own eagerness to move forward the build and skipping proper attention to details.
There are 2 "hard" points on the kit: - the Bolton-Paul tower and the wing joint.
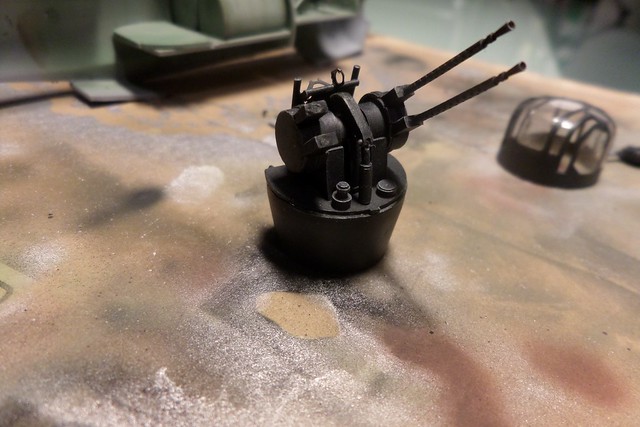
about the first, the issue is the oversized machine gun mounts that actually block the correct placement of the green house over the crew mount, because they don't fit the rails and in fact they must do so. The nagging part is that I have it all painted and now time for scalpel trimming
The wing joint I am still to reach, but just by doing a dry fit it is obvious that a lot of putty and sanding will be necessary to achieve a proper joint.
Here are some pics...
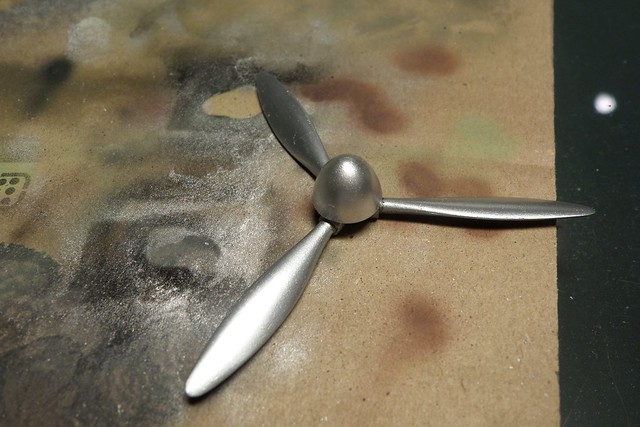
While spraying the varnish my homemade throttle few away, so must scratch a new one tomorrow in order to glue the fuselage halfs.
[url=https://flic.kr/p/pgRHzk]
All comments are welcome,
Cheers
Pedro
It's been quite a while since I last posted, but despite having very little time on the bench during this summer, I have made some progresses on my Roc.
I am confident that I will have it completed by the end of the month.
There have been a few issues here and there, most derived from my own eagerness to move forward the build and skipping proper attention to details.
There are 2 "hard" points on the kit: - the Bolton-Paul tower and the wing joint.
about the first, the issue is the oversized machine gun mounts that actually block the correct placement of the green house over the crew mount, because they don't fit the rails and in fact they must do so. The nagging part is that I have it all painted and now time for scalpel trimming
The wing joint I am still to reach, but just by doing a dry fit it is obvious that a lot of putty and sanding will be necessary to achieve a proper joint.
Here are some pics...
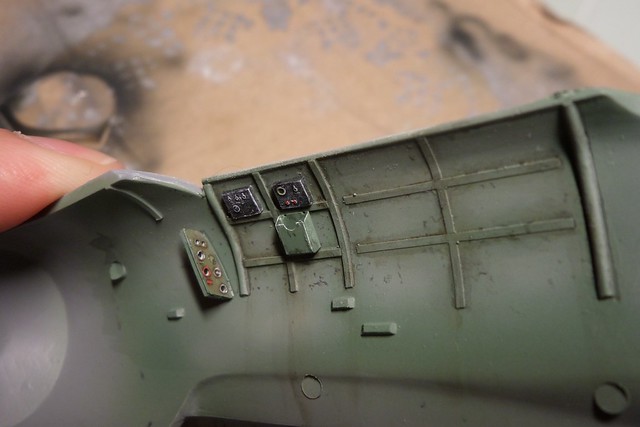
While spraying the varnish my homemade throttle few away, so must scratch a new one tomorrow in order to glue the fuselage halfs.
[url=https://flic.kr/p/pgRHzk]
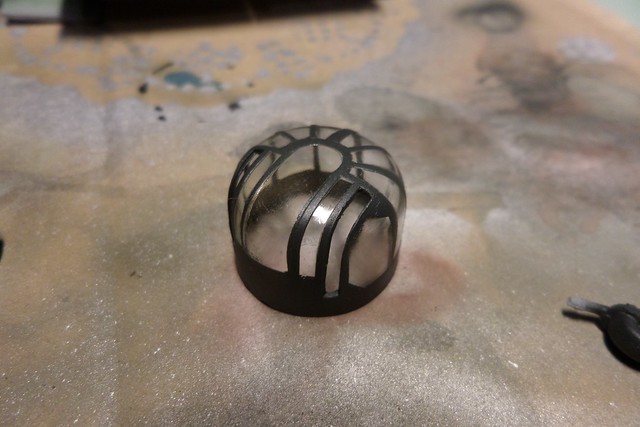
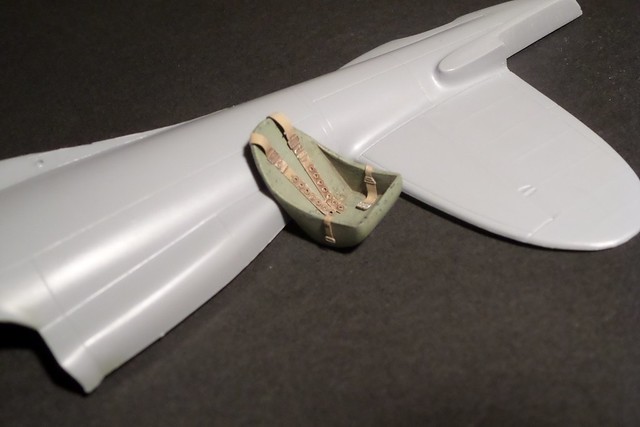
All comments are welcome,
Cheers
Pedro
RedDuster
England - South East, United Kingdom
Joined: March 01, 2010
KitMaker: 7,078 posts
AeroScale: 118 posts
Joined: March 01, 2010
KitMaker: 7,078 posts
AeroScale: 118 posts
Posted: Tuesday, October 07, 2014 - 07:59 AM UTC
Hi Pedro,
Looking really good. been there with the Roc, who's gun barrels did you use, on my sample they were very grim.
following with interest.
Si
Looking really good. been there with the Roc, who's gun barrels did you use, on my sample they were very grim.
following with interest.
Si
rochaped
Lisboa, Portugal
Joined: August 27, 2010
KitMaker: 679 posts
AeroScale: 669 posts
Joined: August 27, 2010
KitMaker: 679 posts
AeroScale: 669 posts
Posted: Tuesday, October 07, 2014 - 09:11 AM UTC
Hi Simon,
I am using the gun barrels from quickboost, which are meant for the lancaster, so I got an extra 4 as spares .
Cheers
Pedro
I am using the gun barrels from quickboost, which are meant for the lancaster, so I got an extra 4 as spares .
Cheers
Pedro
RedDuster
England - South East, United Kingdom
Joined: March 01, 2010
KitMaker: 7,078 posts
AeroScale: 118 posts
Joined: March 01, 2010
KitMaker: 7,078 posts
AeroScale: 118 posts
Posted: Wednesday, October 08, 2014 - 07:04 AM UTC
Thanks Pedro,
They look the part, I used the master turned brass barrels on my Roc, but they only came in pack of four.
Si
They look the part, I used the master turned brass barrels on my Roc, but they only came in pack of four.
Si