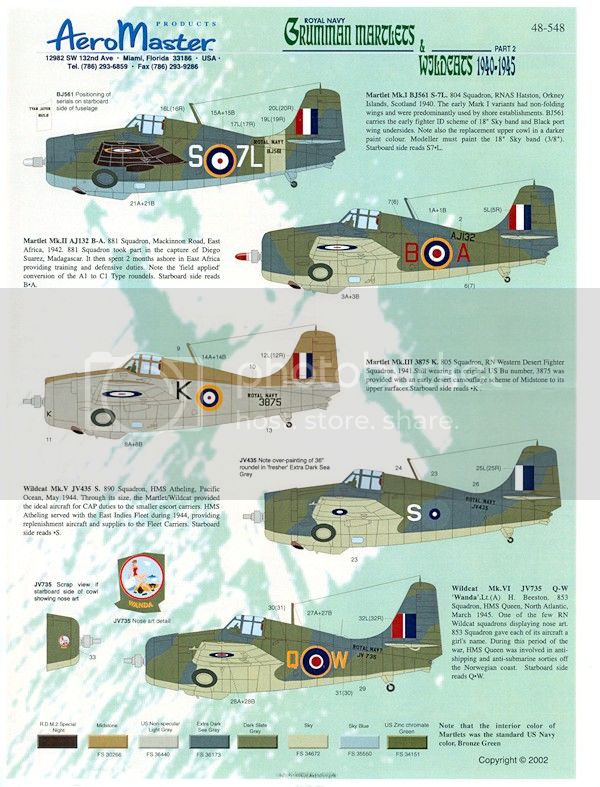
Great stuff Ian,
Will look forward to seeing that.
Si
Air Campaigns
Want to start or join a group build? This is where to start.
Want to start or join a group build? This is where to start.
Hosted by Frederick Boucher, Michael Satin
OFFICIAL: Fleet Air Arm Campaign
RedDuster

Joined: March 01, 2010
KitMaker: 7,078 posts
AeroScale: 118 posts

Posted: Friday, June 13, 2014 - 08:39 AM UTC
bf443
Vendor

Joined: May 16, 2003
KitMaker: 895 posts
AeroScale: 457 posts

Posted: Sunday, June 15, 2014 - 05:56 PM UTC

Jessie_C


Joined: September 03, 2009
KitMaker: 6,965 posts
AeroScale: 6,247 posts

Posted: Sunday, June 15, 2014 - 05:58 PM UTC
I think that the wrong page might have crept into your post, because I don't see any 800 Sqn aircraft on that one 

bf443
Vendor

Joined: May 16, 2003
KitMaker: 895 posts
AeroScale: 457 posts

Posted: Sunday, June 15, 2014 - 06:00 PM UTC
Quoted Text
I think that the wrong page might have crept into your post, because I don't see any 800 Sqn aircraft on that one
Lets try 890 Squadron, it's late and bed is waiting. zzzzzzzzzzzzz
Brian
JScicluna

Joined: March 11, 2013
KitMaker: 77 posts
AeroScale: 17 posts

Posted: Monday, June 16, 2014 - 07:26 PM UTC
Thanks all. The progress has been slow but steady. I did take some photos last week but failed to upload them before I finished the painting.
Last weeks progress
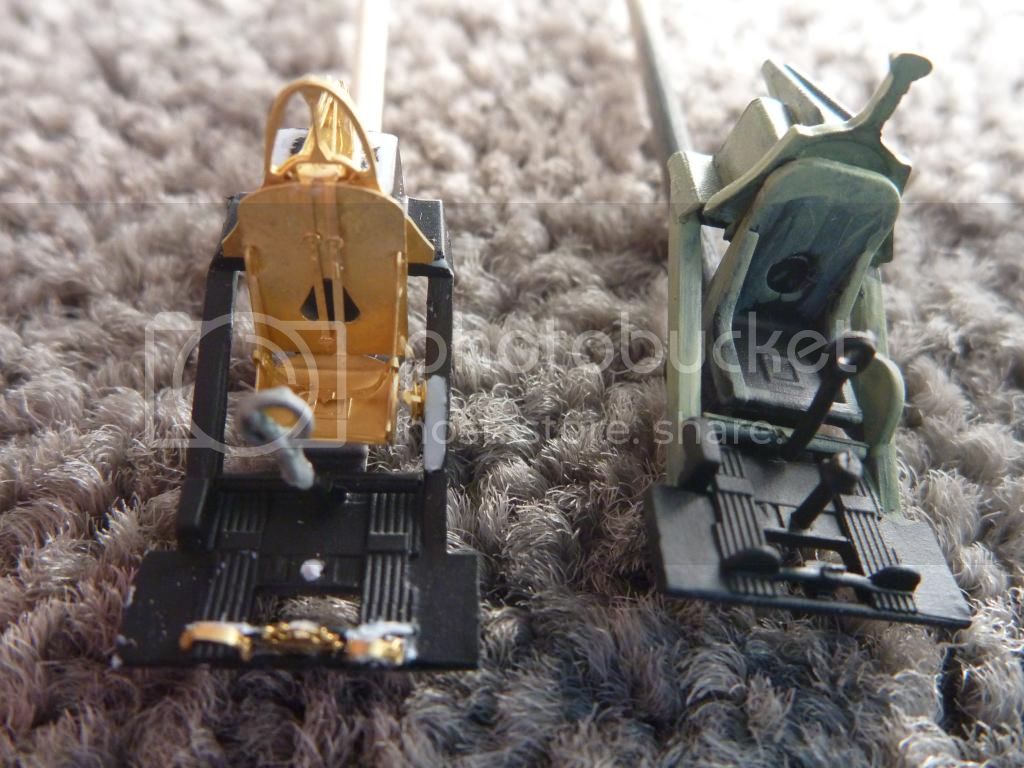
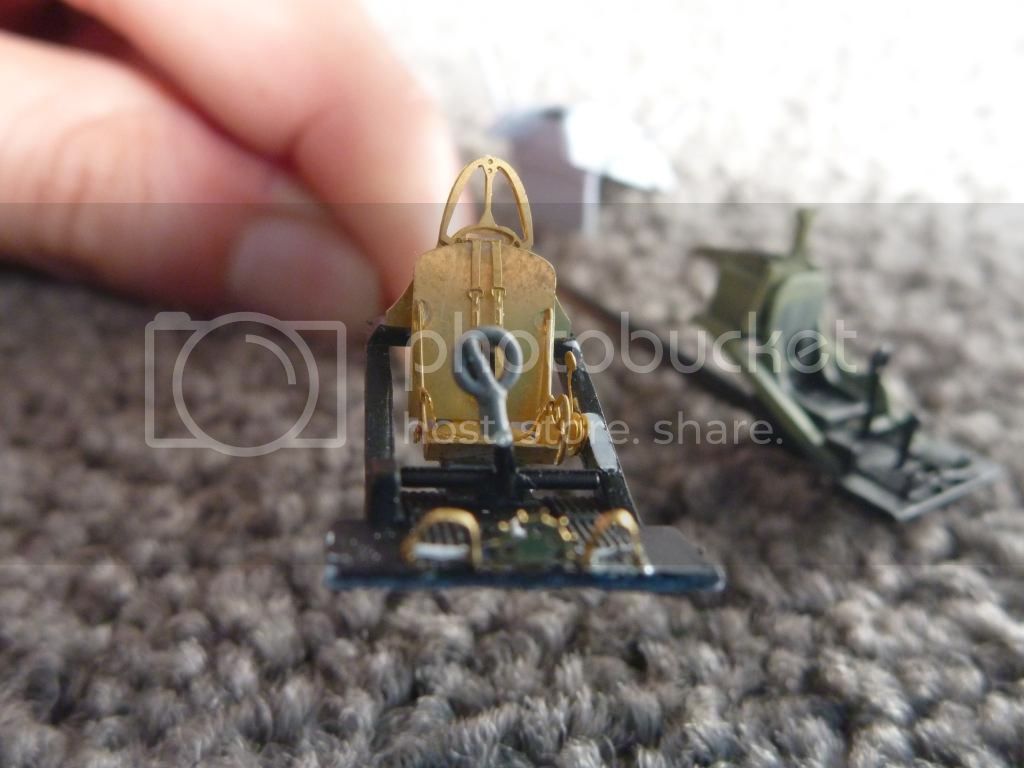
As you can see I broke the stick which then disappeared into the carpet. I used an old Revell Hurricane kit that I made several years ago. Wasn't perfect but did the job.
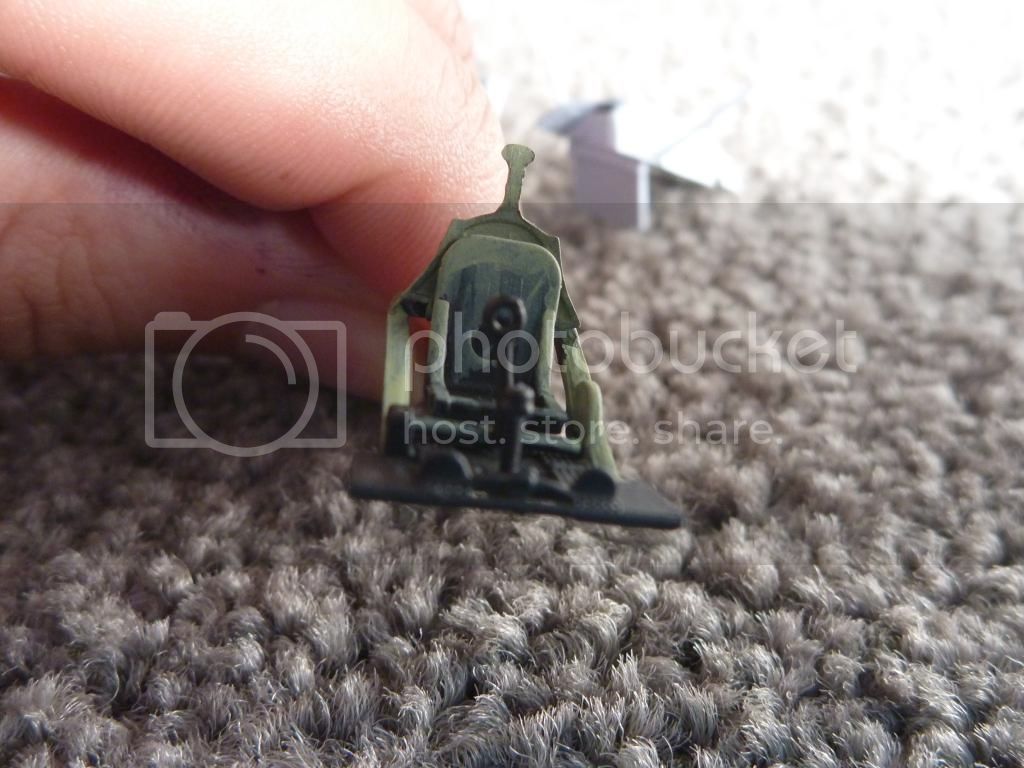
The OOB cockpit
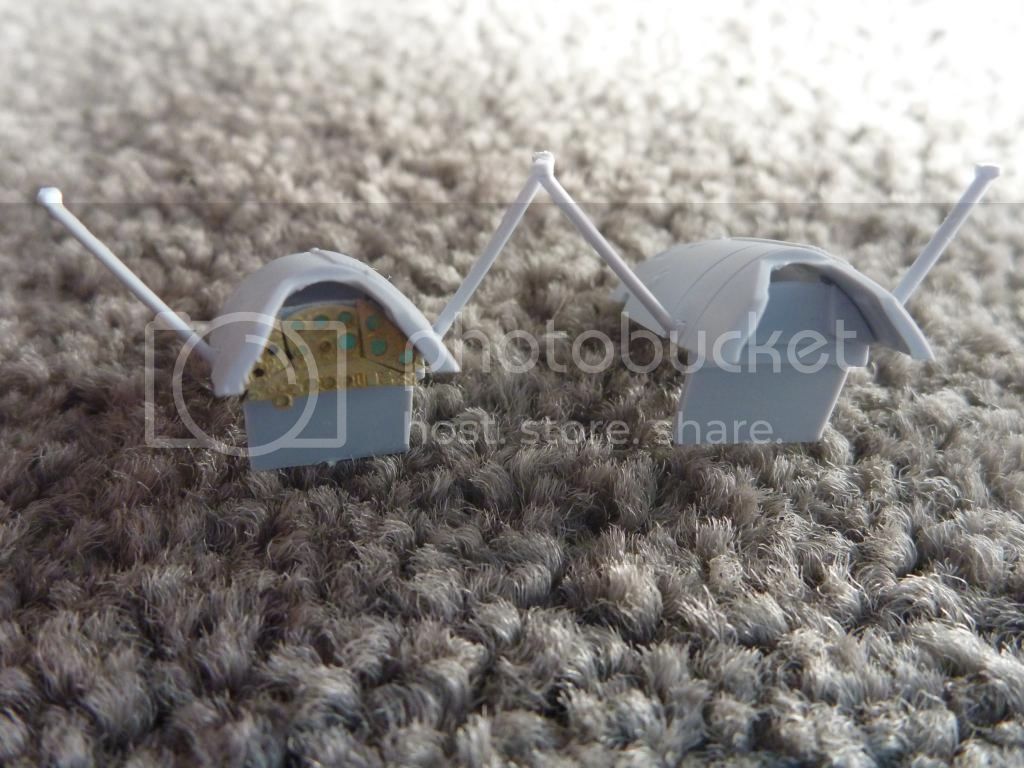
I made an error as the two side panels should have been raised. I tried removing these but slightly damaged the left panel so left it alone.
Progress this week - Painting, washes and drybrushing. I didn't bother too much with the detail on the side walls as they can barely be seen once the model is assembled.
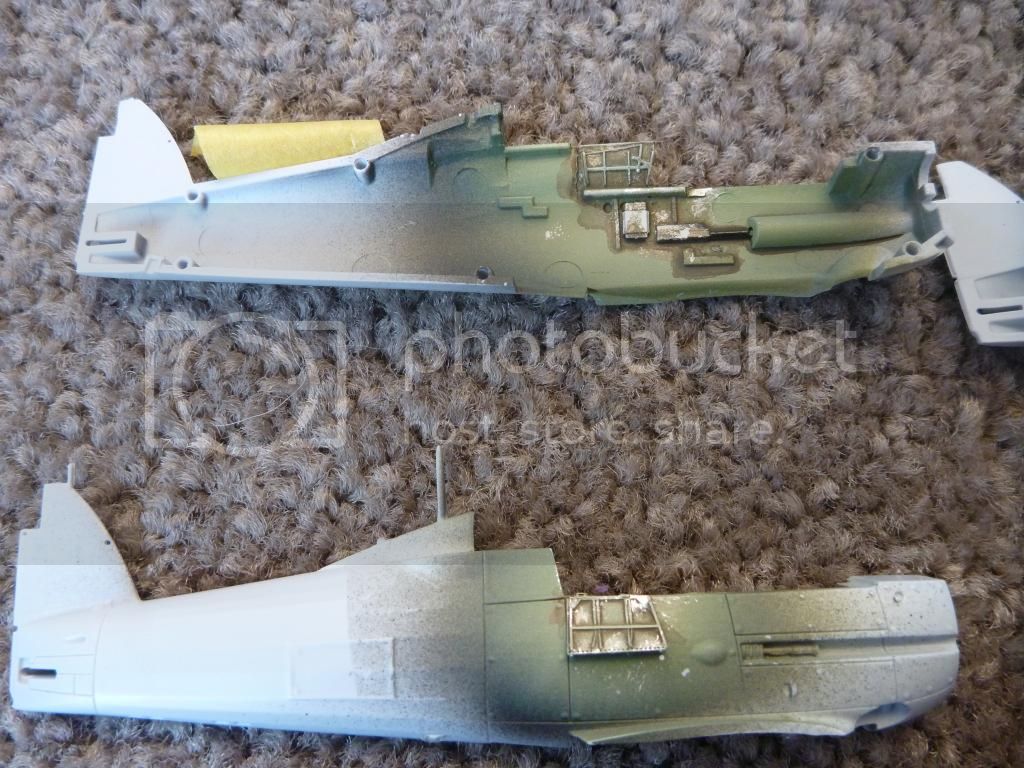
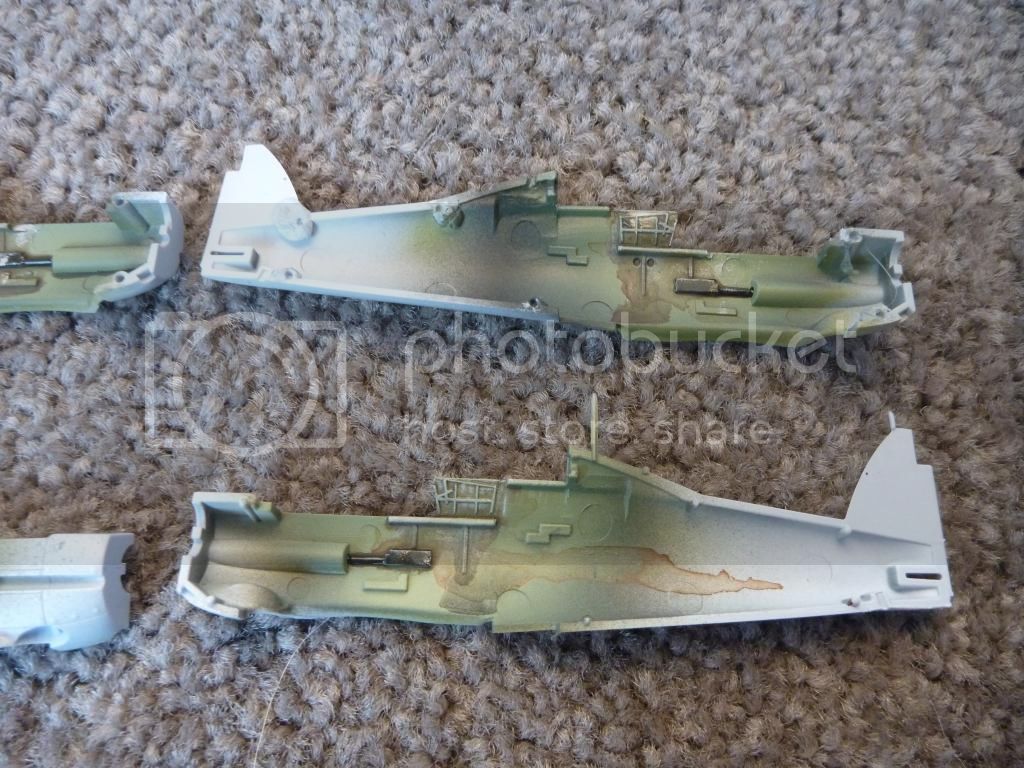
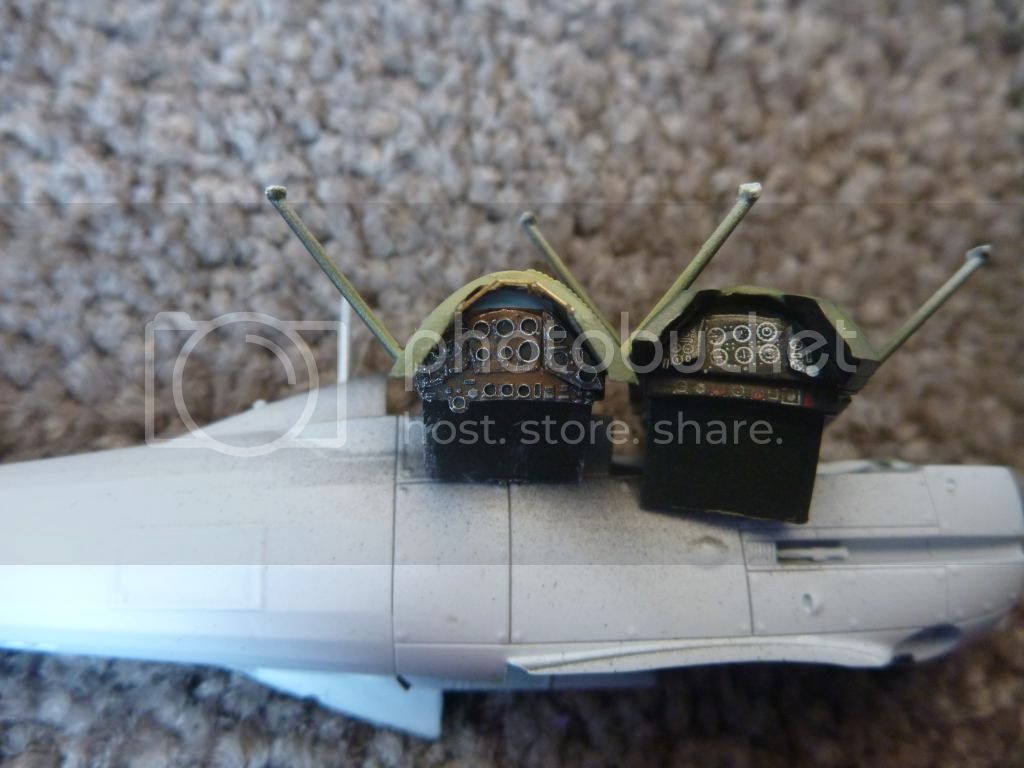
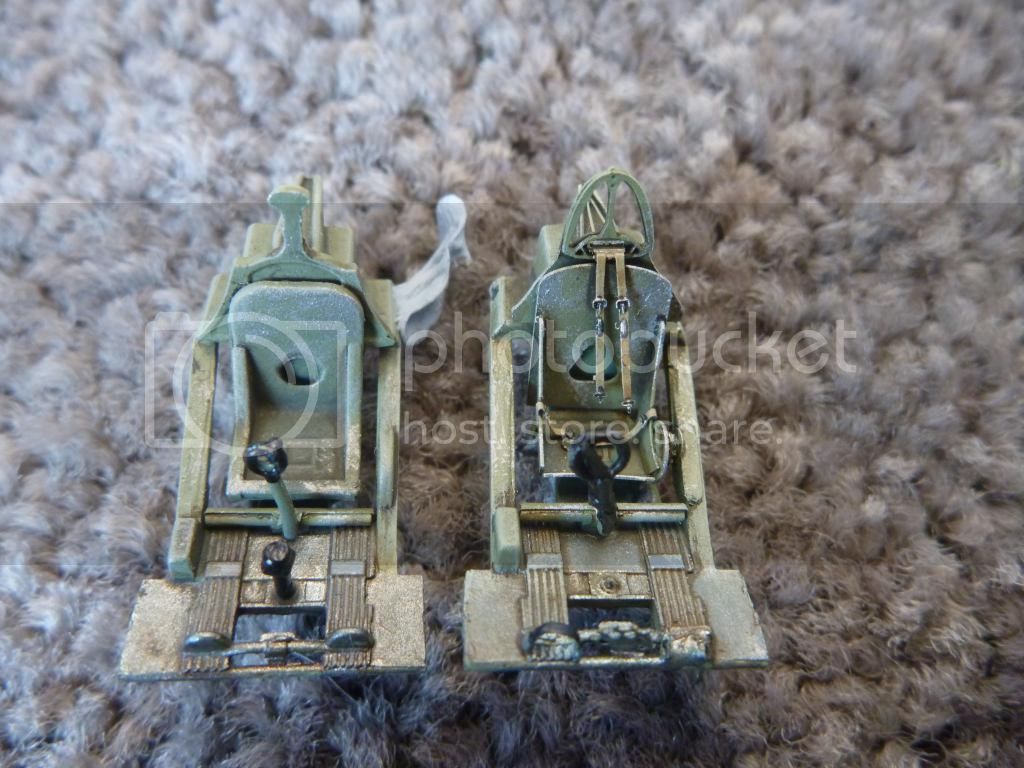
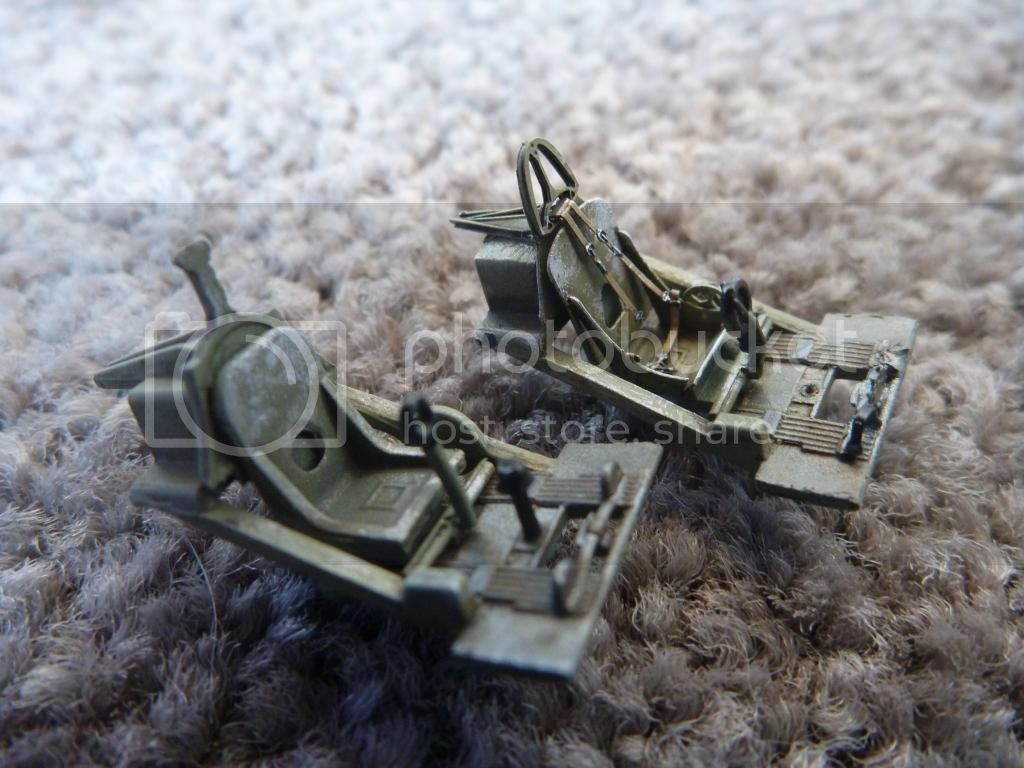
And realised that I also broke the compass and a foot pedal on the second set. The OOB doesn't look too bad when compared to the 'upgraded' one.
Next step is to glue the cockpit's in place and work on the fuselage.
Looking forward to seeing everyone else's!
Last weeks progress


As you can see I broke the stick which then disappeared into the carpet. I used an old Revell Hurricane kit that I made several years ago. Wasn't perfect but did the job.

The OOB cockpit

I made an error as the two side panels should have been raised. I tried removing these but slightly damaged the left panel so left it alone.
Progress this week - Painting, washes and drybrushing. I didn't bother too much with the detail on the side walls as they can barely be seen once the model is assembled.


And realised that I also broke the compass and a foot pedal on the second set. The OOB doesn't look too bad when compared to the 'upgraded' one.
Next step is to glue the cockpit's in place and work on the fuselage.
Looking forward to seeing everyone else's!
RedDuster

Joined: March 01, 2010
KitMaker: 7,078 posts
AeroScale: 118 posts

Posted: Saturday, June 21, 2014 - 06:09 AM UTC
Nice work on the Gladiator James, the kit cockpit is good, but the etchwork really brings it to life.
More progress on the pup.
The ailerons have been added to both wings, along with the control horns, and the rudder has also been fitted.
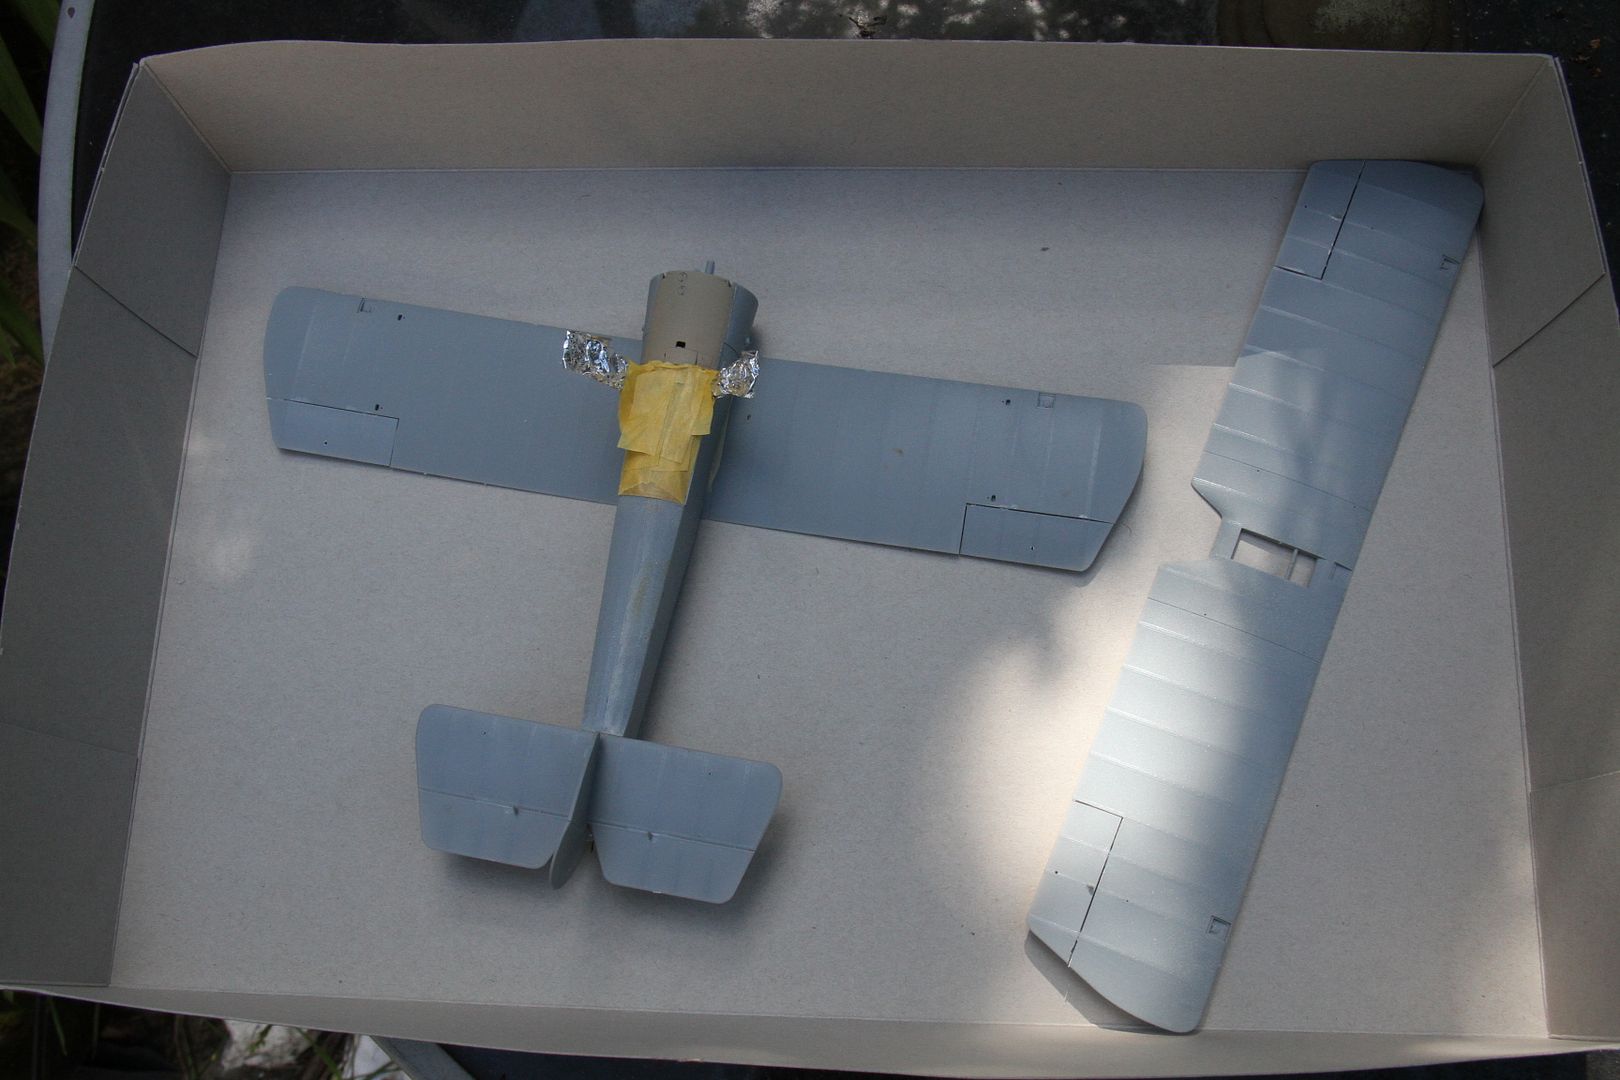
A base coat of Humbrol matt33, s=white has been sprayed on, rattlecan job,
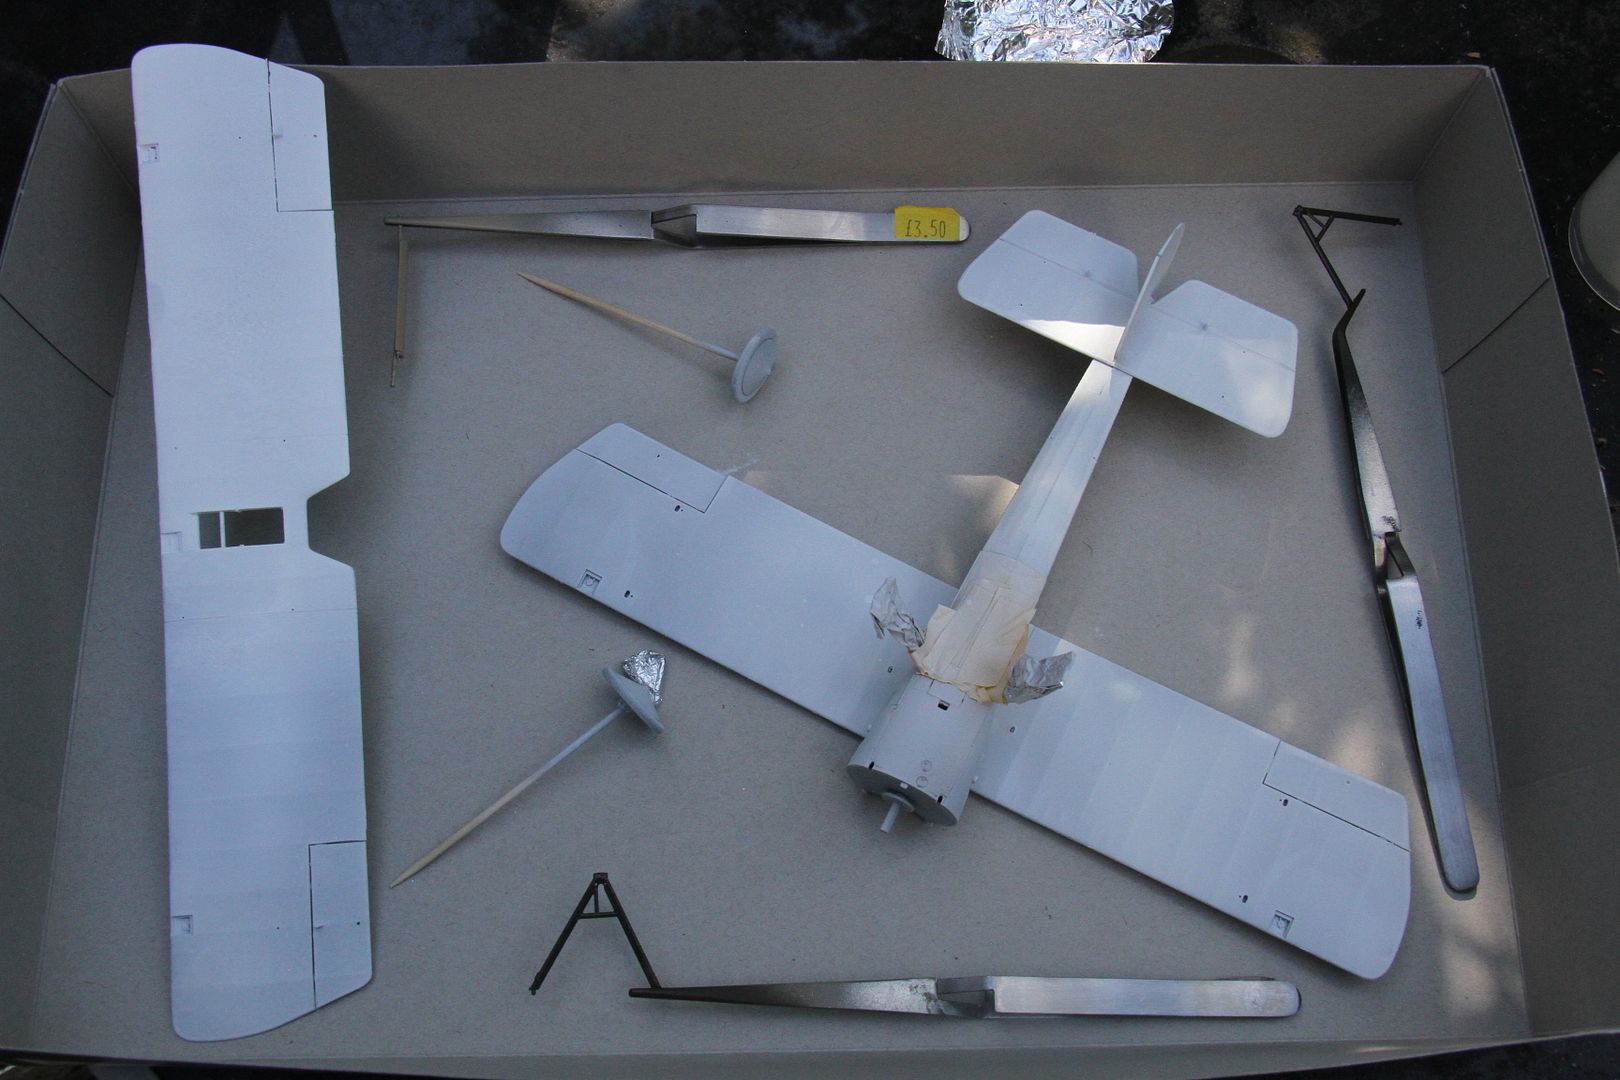
also work has stared spraying the undercarriage parts.
Airbrush time, still learning with this. I have tried to pre-shade the spars and structure to give a little depth, it is a bit messy, but this is a first attempt.
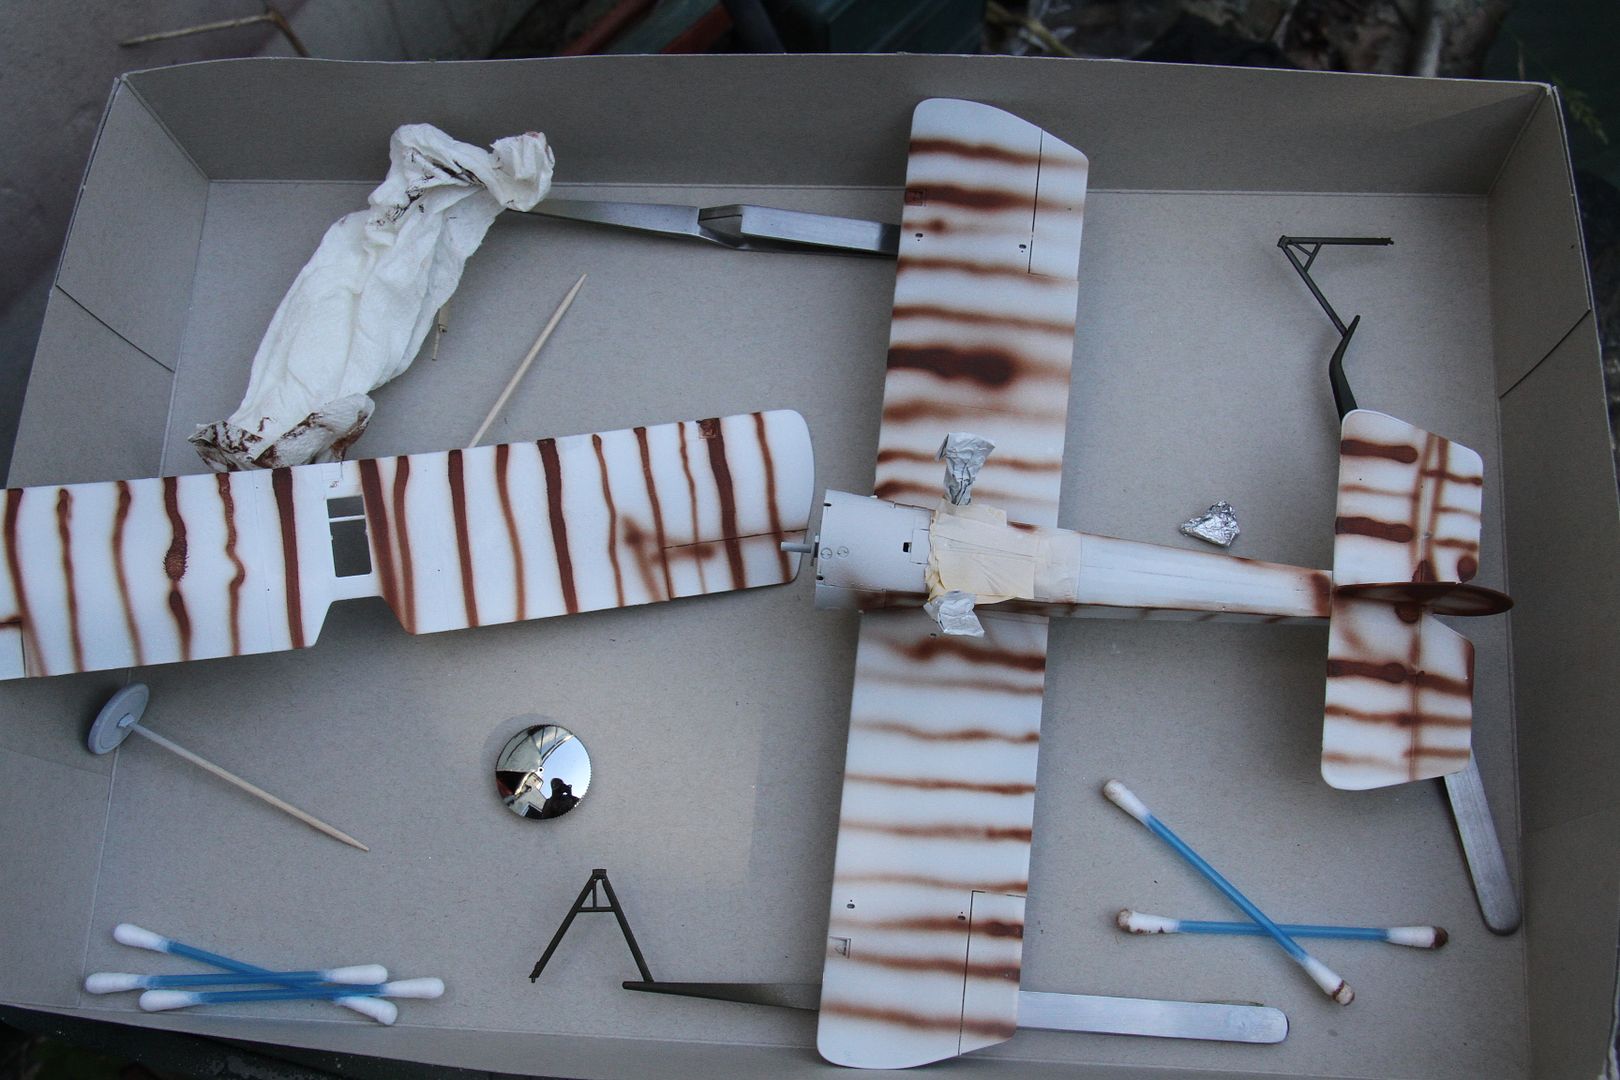
The lower fuselage has been sprayed with Citedal bleached bone, the pre-shading doesn't look so bad now.
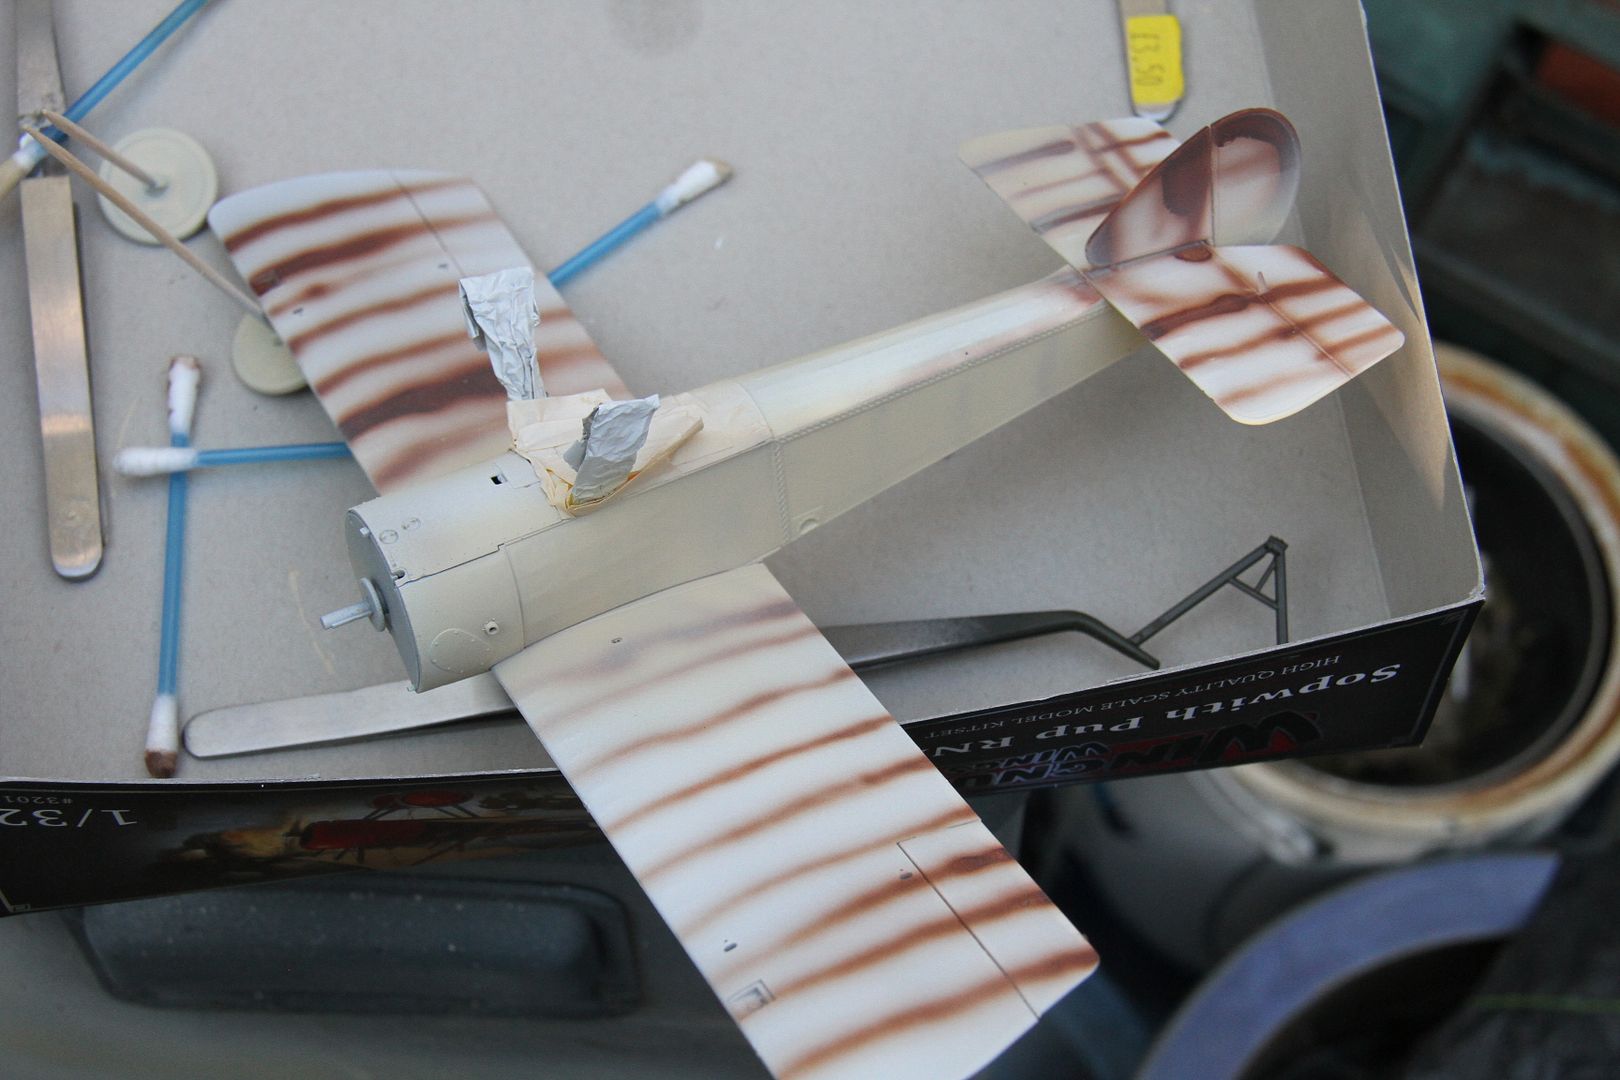
Still a bit crude in places on the underside of the upper wing, but not too bad.
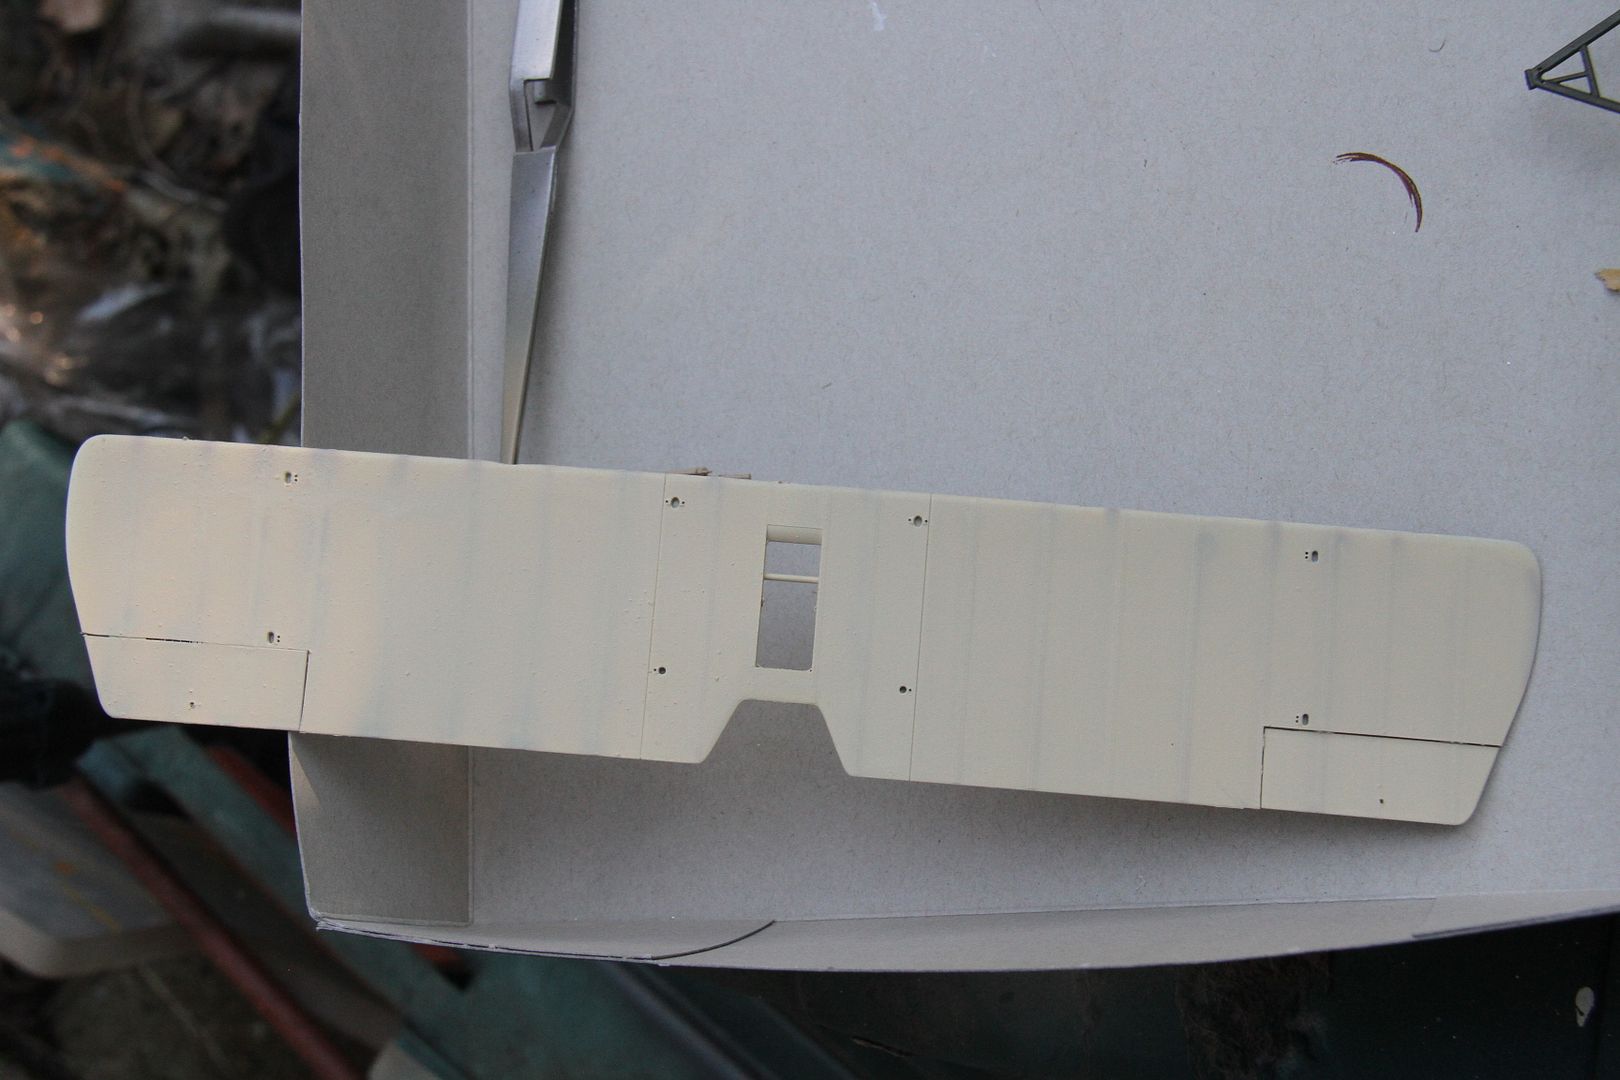
A few issues with the citadel paints and the airbrush, probably my lack of experience, but they tricky to mix down right, and a real swine to clean the beast after, as they dry so quickly. Don't get me wrong I love for application with old hairy stick, but had fun with this,
Si
More progress on the pup.
The ailerons have been added to both wings, along with the control horns, and the rudder has also been fitted.

A base coat of Humbrol matt33, s=white has been sprayed on, rattlecan job,

also work has stared spraying the undercarriage parts.
Airbrush time, still learning with this. I have tried to pre-shade the spars and structure to give a little depth, it is a bit messy, but this is a first attempt.

The lower fuselage has been sprayed with Citedal bleached bone, the pre-shading doesn't look so bad now.

Still a bit crude in places on the underside of the upper wing, but not too bad.

A few issues with the citadel paints and the airbrush, probably my lack of experience, but they tricky to mix down right, and a real swine to clean the beast after, as they dry so quickly. Don't get me wrong I love for application with old hairy stick, but had fun with this,
Si
ljames0874

Joined: August 15, 2012
KitMaker: 408 posts
AeroScale: 365 posts

Posted: Saturday, June 21, 2014 - 07:45 PM UTC
Quoted Text
A few issues with the citadel paints and the airbrush, probably my lack of experience, but they tricky to mix down right, and a real swine to clean the beast after, as they dry so quickly. Don't get me wrong I love for application with old hairy stick, but had fun with this,
Si
Hi Si, I airbrush with Citadel Acrylics all the time, and I don't get the issues that you are getting. I thin my acrylics with Humbrol Acrylic thinners to the consistency of skimmed milk, and I also clean the airbrush out with acrylic thinners. Usually, it takes two coats before I'm completely happy, but in this hot weather we are having right now, the paint is practically dry when you finish a coat. What sort of primer are you using? With my Citadel paints I always use Citadel's Skull White spray.
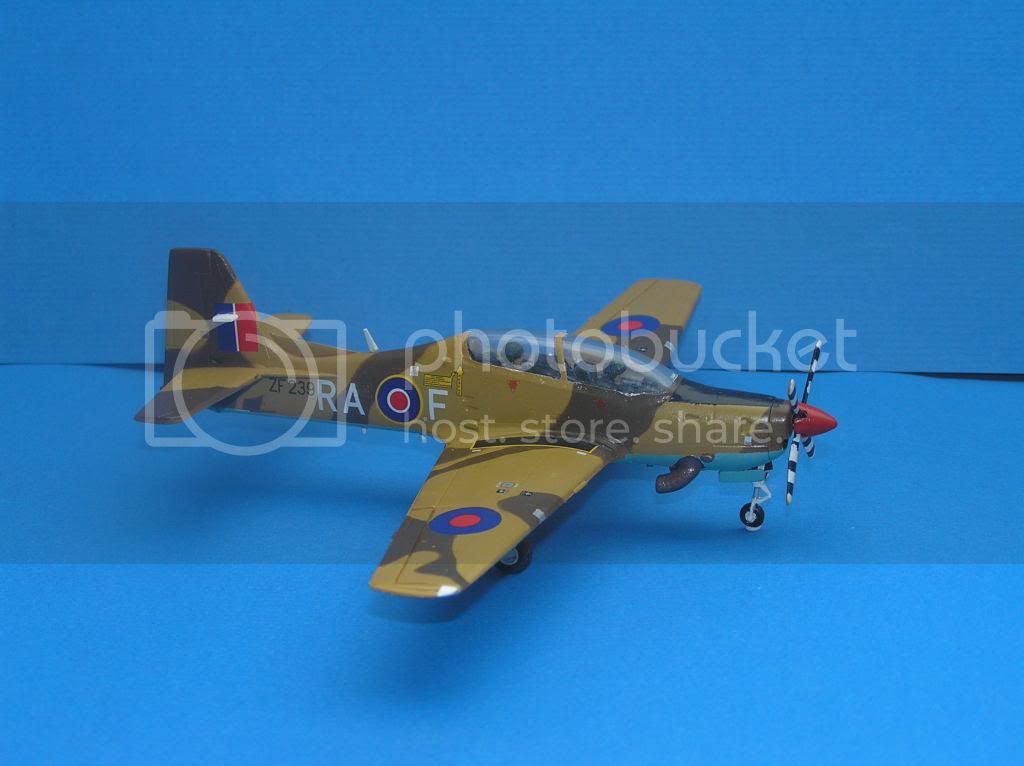
This Tucano ("Show Time" campaign") was painted exclusively with Citadel paints.
RedDuster

Joined: March 01, 2010
KitMaker: 7,078 posts
AeroScale: 118 posts

Posted: Sunday, June 22, 2014 - 10:09 AM UTC
Hi Lee,
I was using Tamiya acrylic thinner, I will try Humbrol & have another go, Just seem to take a lot of thinner to get it go the right consistency, but it didn't cover well, amd dried in the airbrush very quickly causing clogging & cleaning problems. looks like that was thinner that is the issue. Thanks for tip. Nice tucano too.
On with the Pup. Another round of Masking and the PC10 sprayed (Tamiya TS5 Olive drab, but it looks about right).
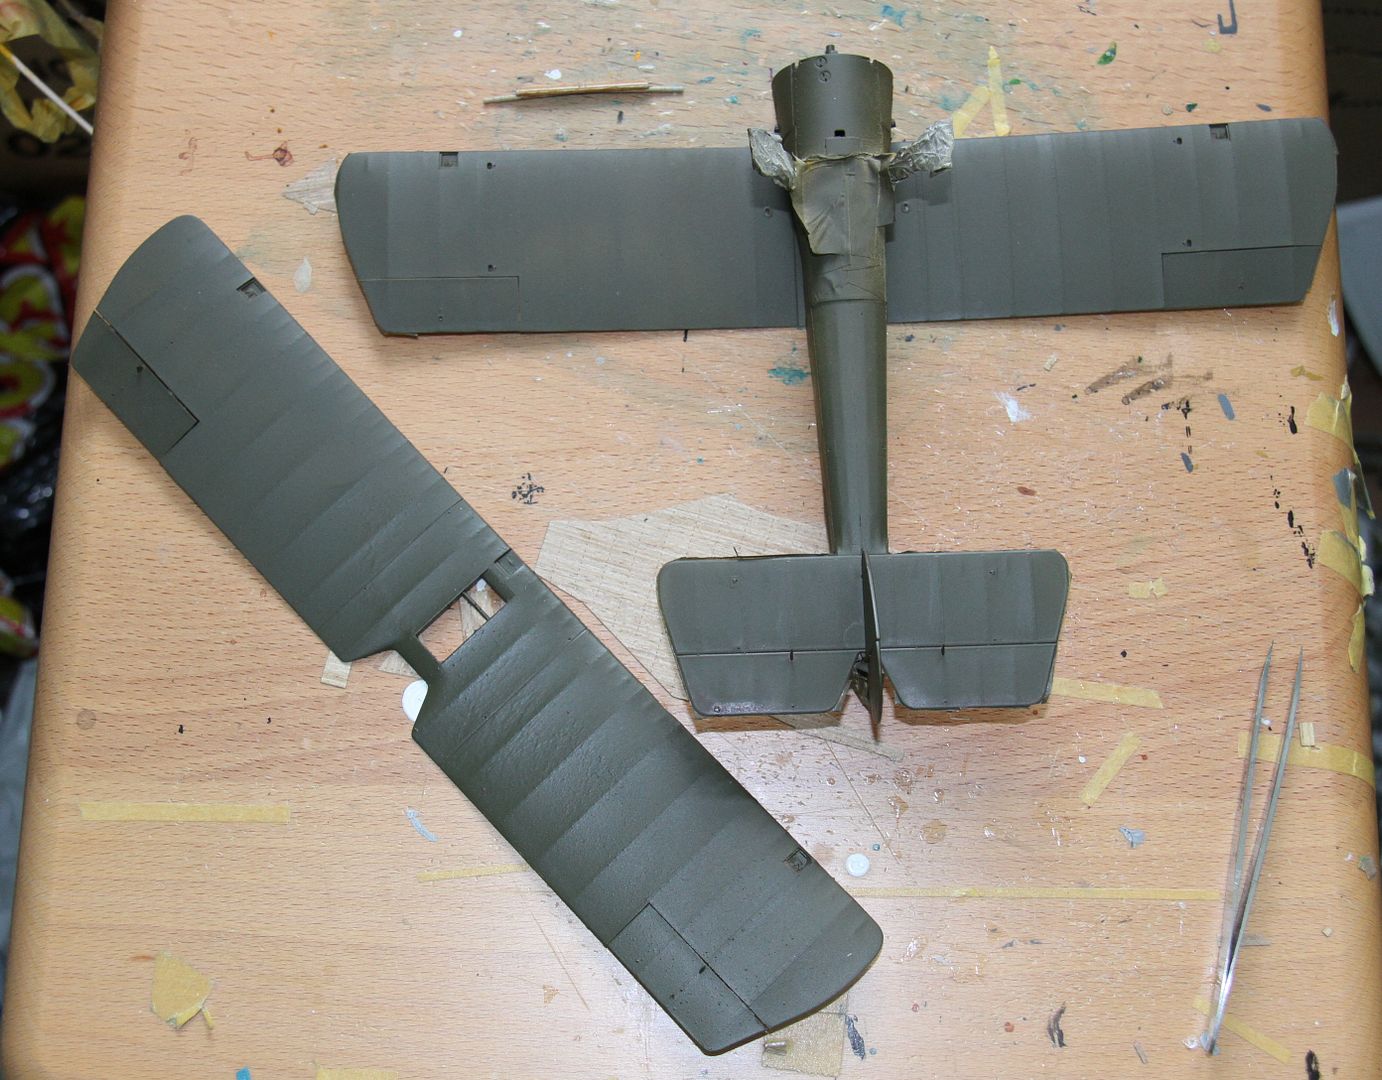
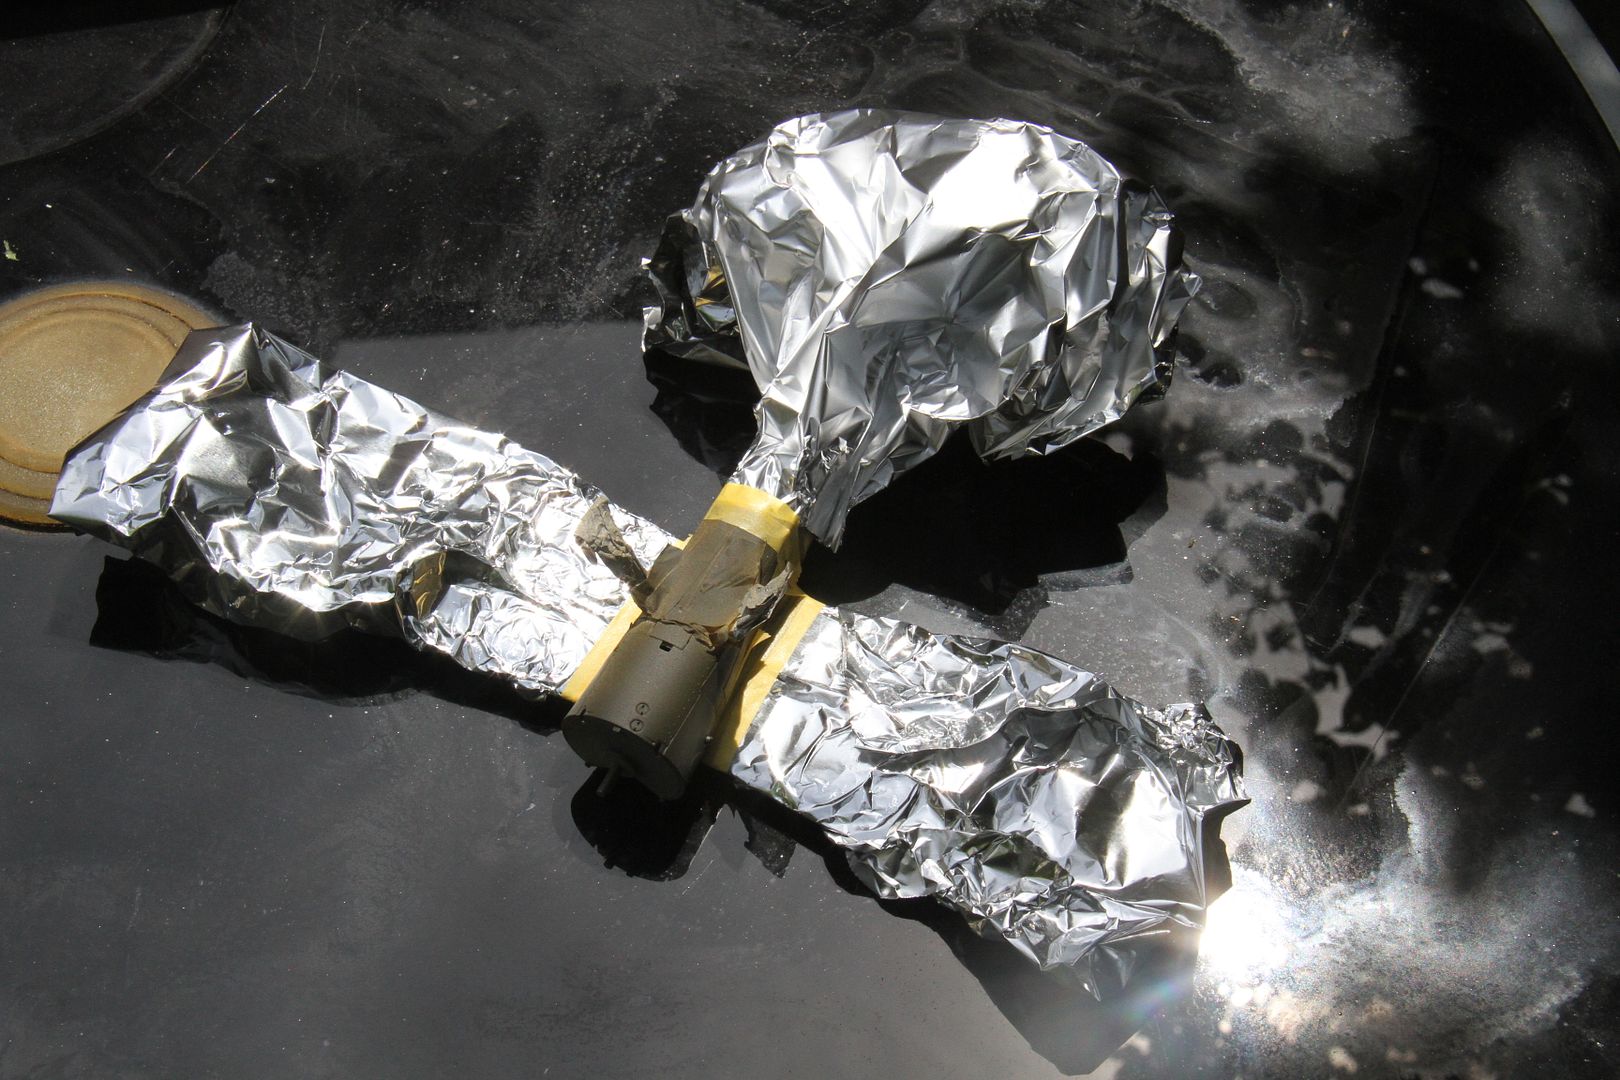
Yet more masking, using one of my favourite masking mediums, tinfoil, the edges are sealed with Tamiya tape, but vastly quicker & cheaper than covering the whole thing in tape, less chance of fragile items like control horns getting pulled off.
The Pup unmasked.
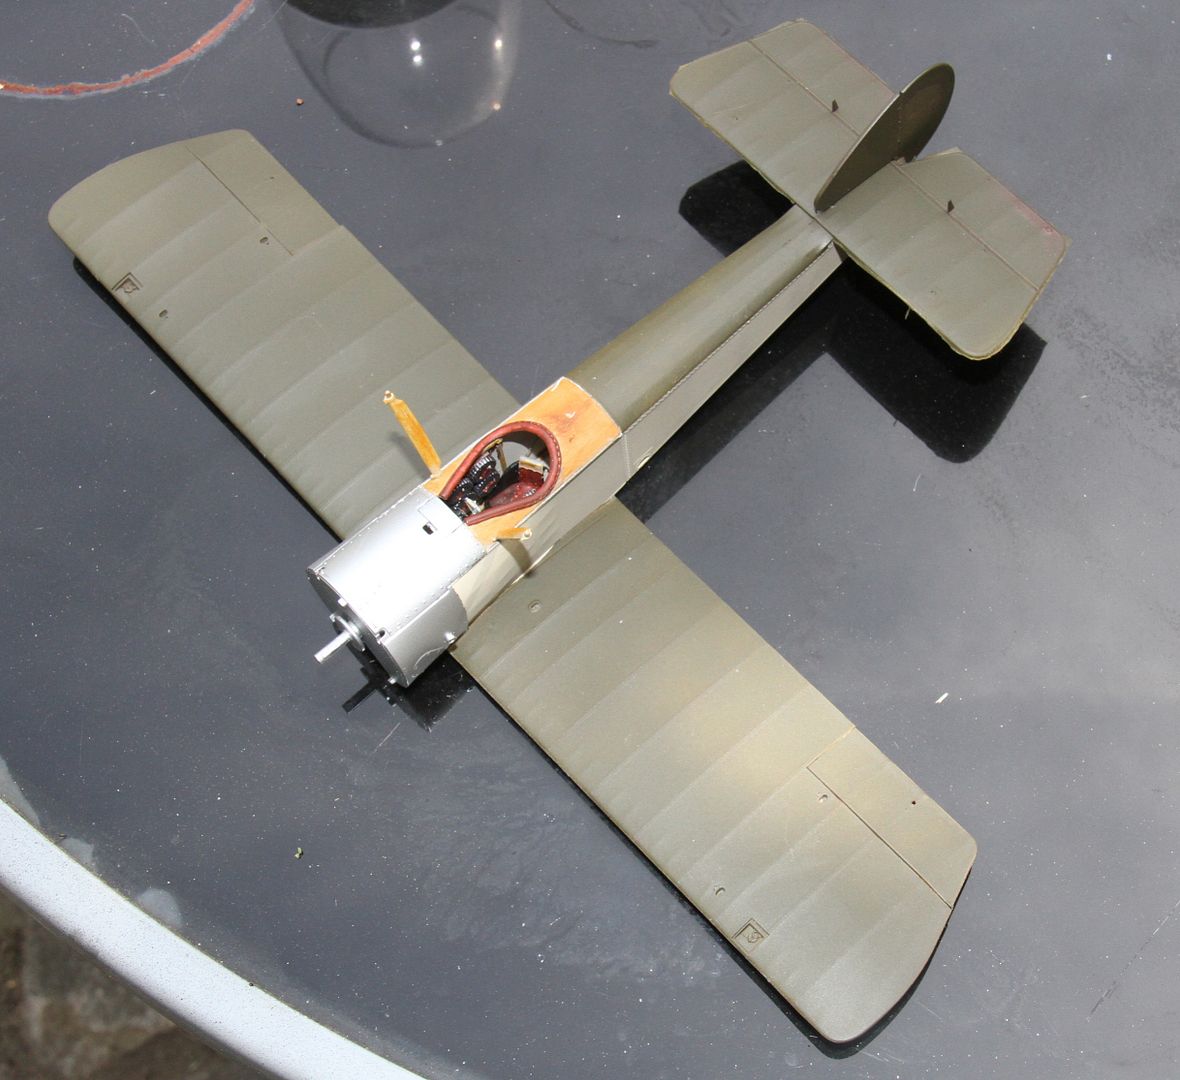
All good, a little damage to the oil finish on the cockpit coaming, but that is easily repaired.
The cowling sprayed TS30, "silver leaf", same as the metal panels forward of the cockpit
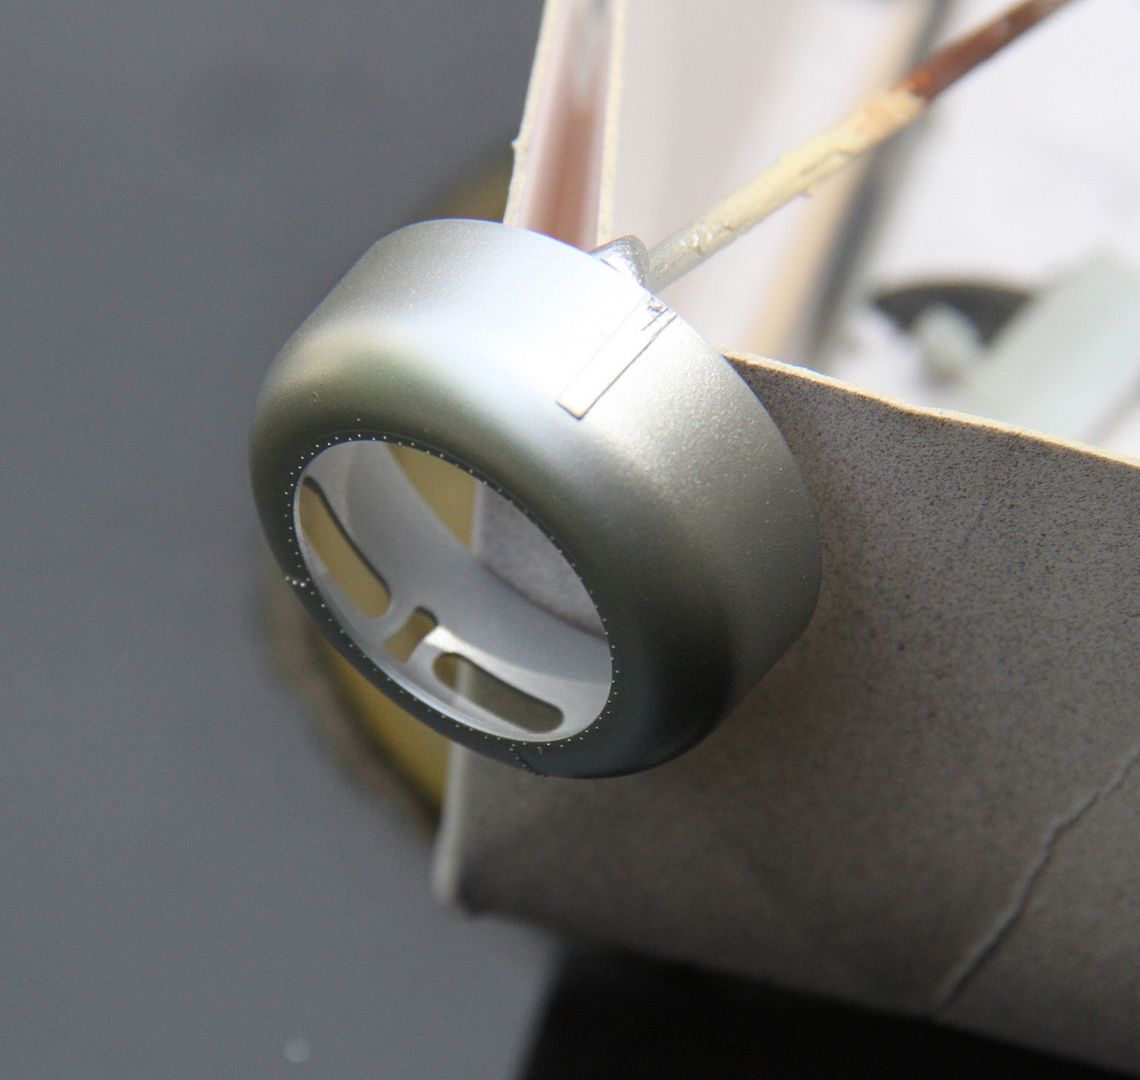
The engine fitted, the mounting shaft did need trimming back, my fault or the kit's.. Don't know, also the under cowling panel fitted.
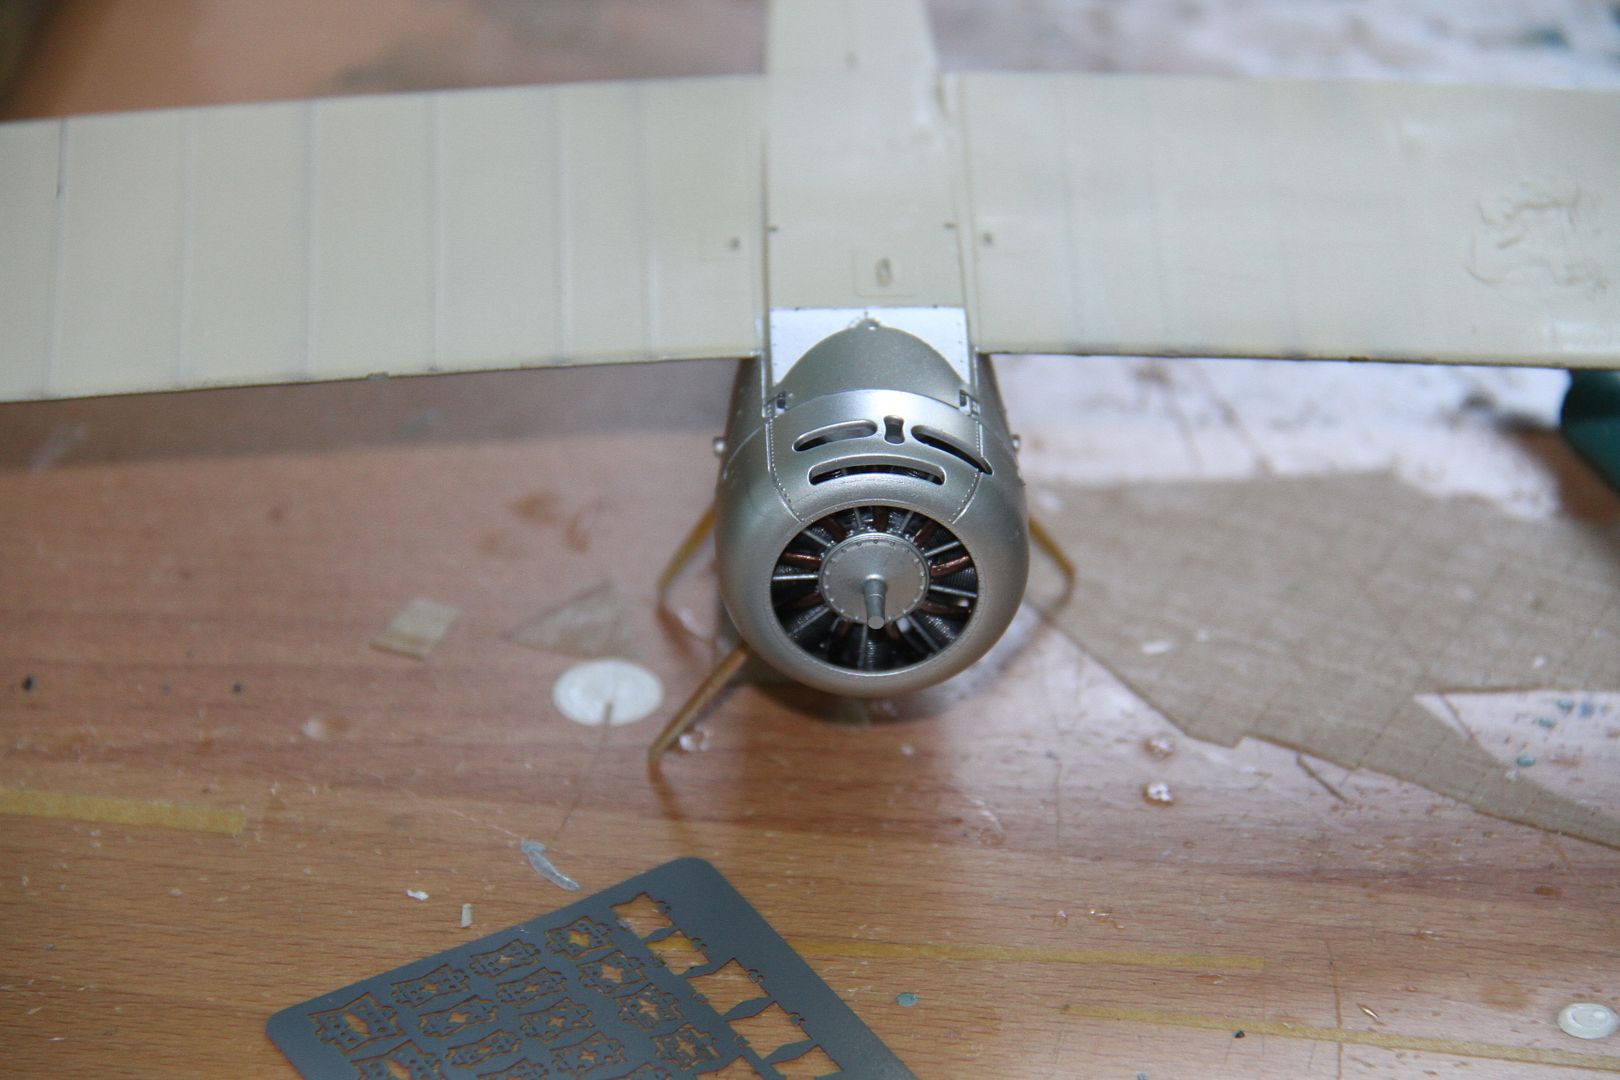
Finally, the right way up, with the upper test fitted on the cabane struts.
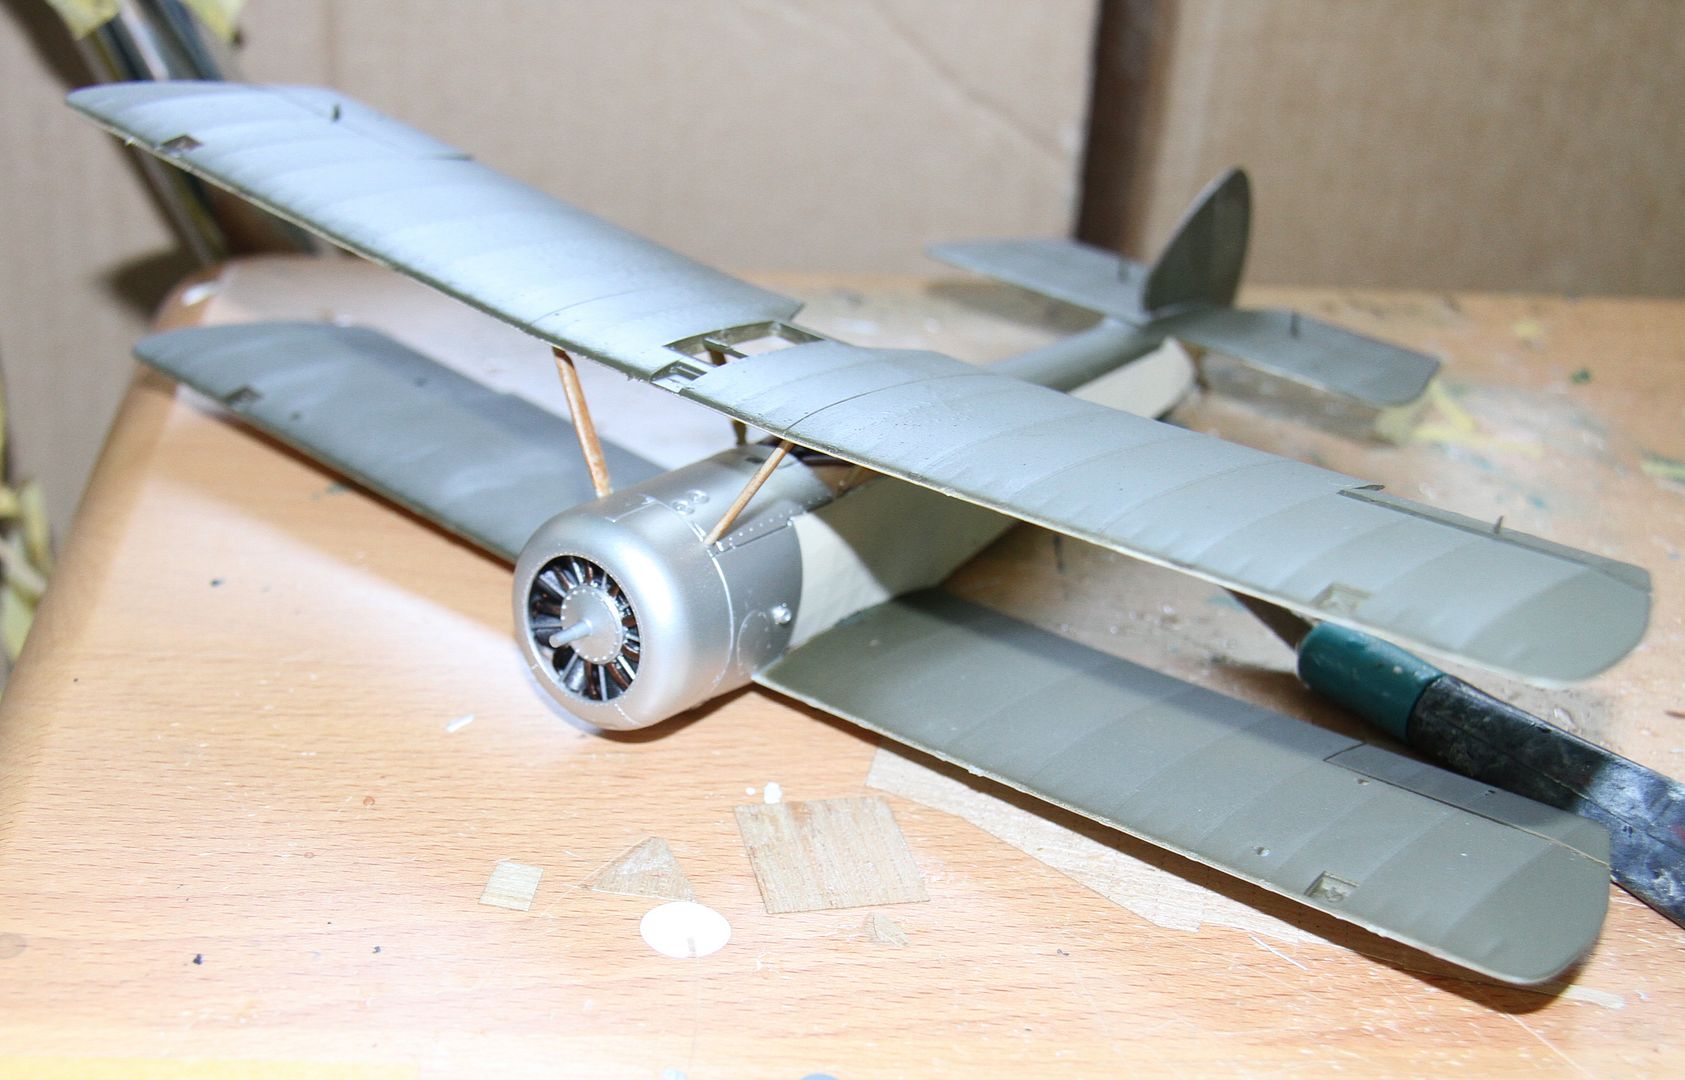
Next a gloss coat & decals.
Si
I was using Tamiya acrylic thinner, I will try Humbrol & have another go, Just seem to take a lot of thinner to get it go the right consistency, but it didn't cover well, amd dried in the airbrush very quickly causing clogging & cleaning problems. looks like that was thinner that is the issue. Thanks for tip. Nice tucano too.
On with the Pup. Another round of Masking and the PC10 sprayed (Tamiya TS5 Olive drab, but it looks about right).

Yet more masking, using one of my favourite masking mediums, tinfoil, the edges are sealed with Tamiya tape, but vastly quicker & cheaper than covering the whole thing in tape, less chance of fragile items like control horns getting pulled off.

The Pup unmasked.

All good, a little damage to the oil finish on the cockpit coaming, but that is easily repaired.
The cowling sprayed TS30, "silver leaf", same as the metal panels forward of the cockpit

The engine fitted, the mounting shaft did need trimming back, my fault or the kit's.. Don't know, also the under cowling panel fitted.

Finally, the right way up, with the upper test fitted on the cabane struts.

Next a gloss coat & decals.
Si
ljames0874

Joined: August 15, 2012
KitMaker: 408 posts
AeroScale: 365 posts

Posted: Sunday, June 22, 2014 - 06:43 PM UTC
Quoted Text
Hi Lee,
I was using Tamiya acrylic thinner, I will try Humbrol & have another go, Just seem to take a lot of thinner to get it go the right consistency, but it didn't cover well, amd dried in the airbrush very quickly causing clogging & cleaning problems. looks like that was thinner that is the issue. Thanks for tip. Nice tucano too.
Hi Si, from what you have said, I am sure it was the thinners that gave you the problems. Tamiya Acrylics and Citadel Acrylics are completely different. Citadel are water based (just like the Humbrol acrylics), and Tamiya paints have that chemical smell about them, and also Tamiya's thinners. Also, when I airbrush Citadel Acrylics (or Tamiya), I reduce my airbrush pressure by a third, compared with enamels. I hope this helps. The Pup is looking great BTW. Time for me to crack on with my campaign entry!
RedDuster

Joined: March 01, 2010
KitMaker: 7,078 posts
AeroScale: 118 posts

Posted: Monday, June 23, 2014 - 09:06 AM UTC
Hi Lee,
Thanks for the advise, I will acquire some Humbrol acrylic thinners and have another go.
Good luck with build.
Si
Thanks for the advise, I will acquire some Humbrol acrylic thinners and have another go.
Good luck with build.
Si
Posted: Monday, June 23, 2014 - 09:19 AM UTC
Quoted Text
Hi Lee,
Thanks for the advise, I will acquire some Humbrol acrylic thinners and have another go.
Good luck with build.
Si
Or just try clean water. I've used that fairly successfully with Citadel paints and I'm dreadfully impatient.
I just can't wait for paint to dry properly, I never mix it properly and I often just throw some in the cup and bang some water in. Thankfully Citadel (and Tamiya) paints have proven extremely forgiving so far.

JScicluna

Joined: March 11, 2013
KitMaker: 77 posts
AeroScale: 17 posts

Posted: Monday, June 23, 2014 - 10:32 AM UTC
I have to agree with murdo. I used citadel paint for my cockpit and just mixed it with demineralised water. Sprayed really well and was just as good as mig or vallejo air.
I did find that my airbrush clogged up on the next use but I thought it was because I didn't clean it properly.
I'll clean it better next time using thinners and see if I have the clogging issue again. One great thing about vallejo or citadel 'proper' acrylics is that they dry so quick!
I did find that my airbrush clogged up on the next use but I thought it was because I didn't clean it properly.
I'll clean it better next time using thinners and see if I have the clogging issue again. One great thing about vallejo or citadel 'proper' acrylics is that they dry so quick!

Berwickboy

Joined: April 27, 2013
KitMaker: 450 posts
AeroScale: 387 posts

Posted: Tuesday, June 24, 2014 - 06:01 AM UTC
A big THANK YOU to Jessie  I now have a nice Aeroclub set of White Metal mk6 Ejector seats. Onwards and upwards
 I now have a nice Aeroclub set of White Metal mk6 Ejector seats. Onwards and upwards
RedDuster

Joined: March 01, 2010
KitMaker: 7,078 posts
AeroScale: 118 posts

Posted: Tuesday, June 24, 2014 - 08:42 AM UTC
Murdo - James,
Guys thanks for the assists, will have another go. (Still have much to learn about airbrushing) As I said, I am a great fan of their paints, and I use their rattlecans for primers.
Thanks again.
Si
Guys thanks for the assists, will have another go. (Still have much to learn about airbrushing) As I said, I am a great fan of their paints, and I use their rattlecans for primers.
Thanks again.
Si

SaxonTheShiba

Joined: February 01, 2009
KitMaker: 1,233 posts
AeroScale: 663 posts

Posted: Tuesday, June 24, 2014 - 12:42 PM UTC
ljames0874

Joined: August 15, 2012
KitMaker: 408 posts
AeroScale: 365 posts

Posted: Wednesday, June 25, 2014 - 05:56 AM UTC
I finally got started on the Sea Venom yesterday. Here is the Rolls Royce Ghost engine, just as it comes out of the box, with a coat of primer. Now it is ready for some scratch built detailing. I am planning on leaving the engine cover loose, so I just need to work out how much added detail will be visible.
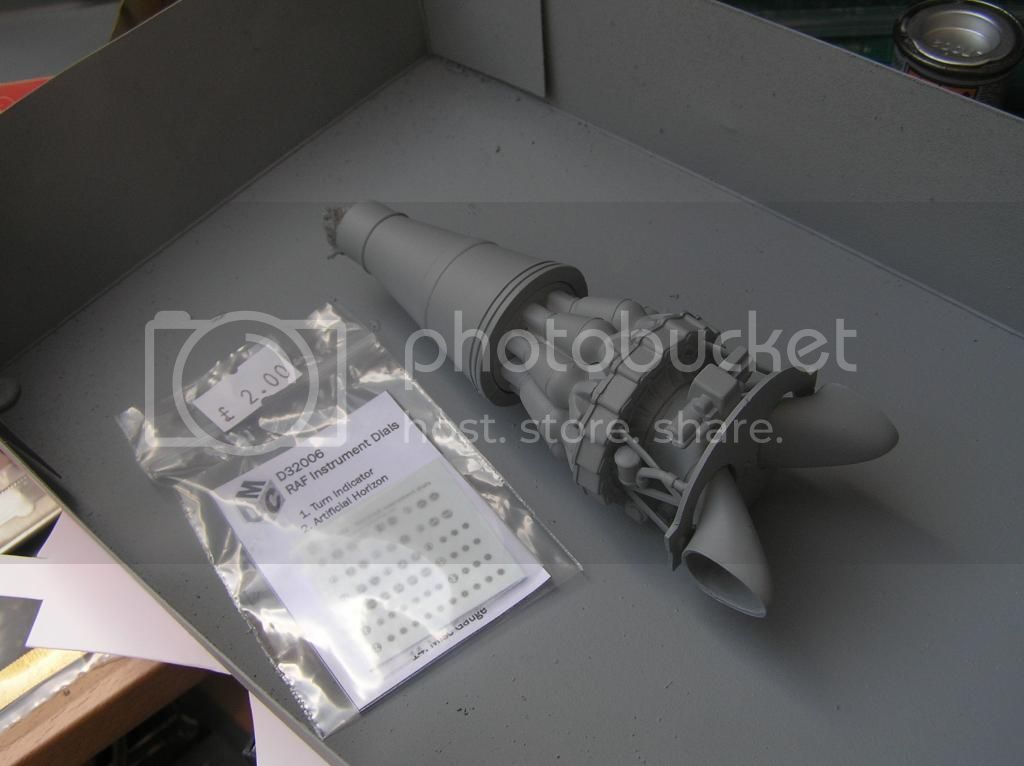
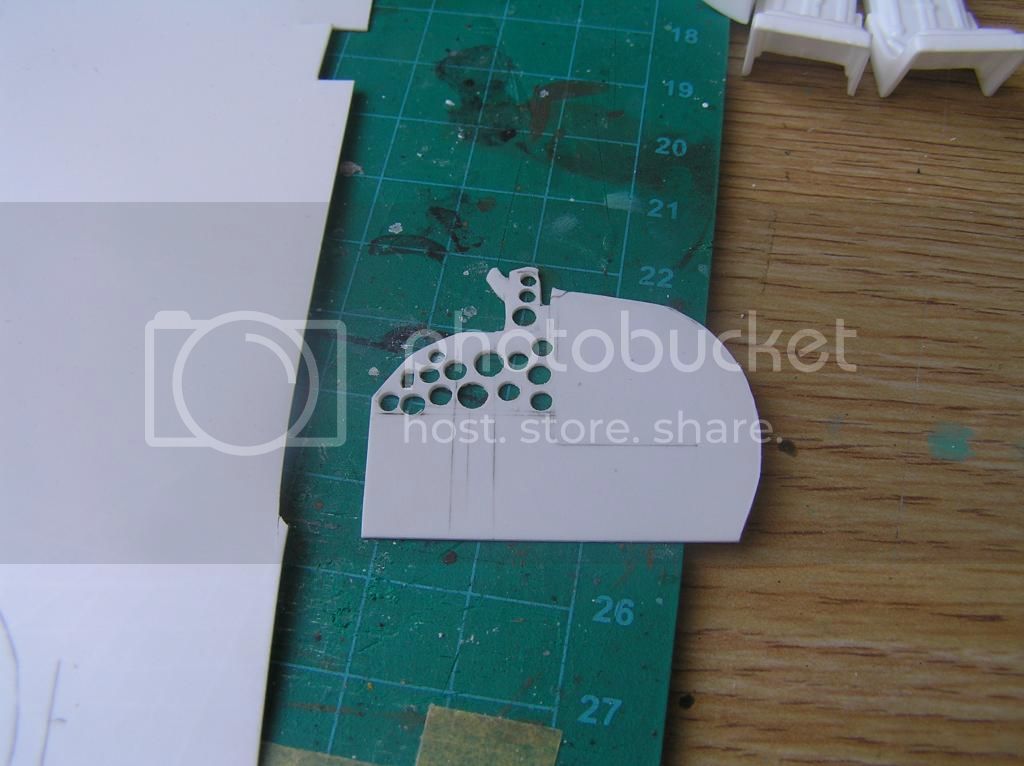
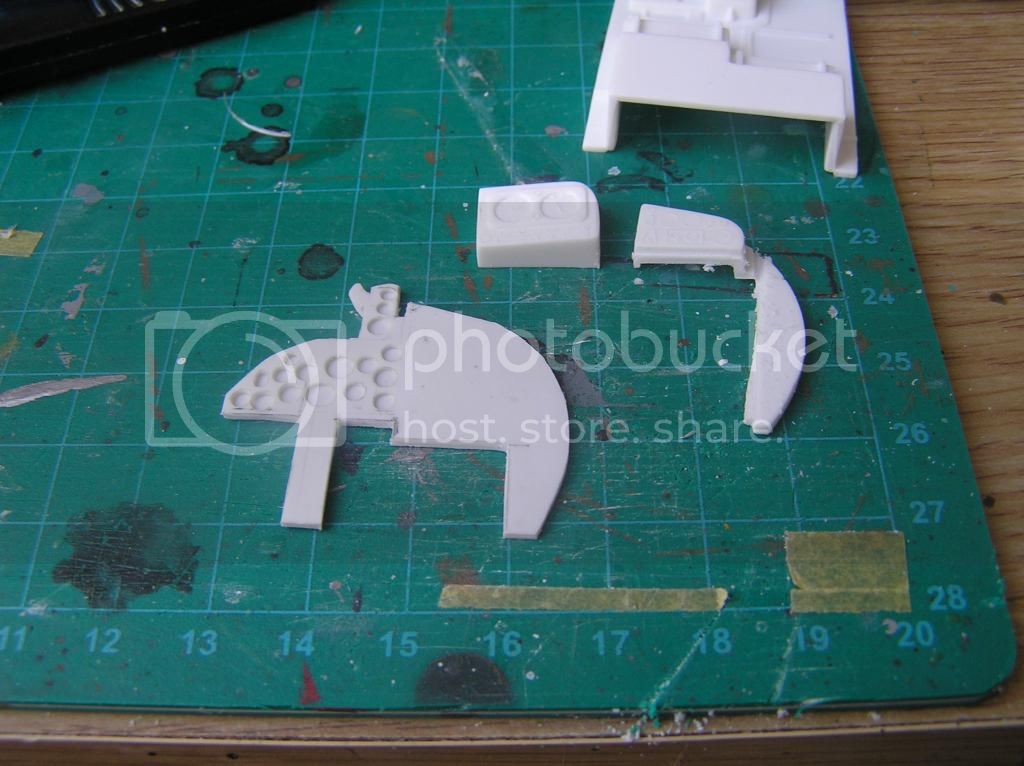
As you can see, I have acquired a set of MDC instrument dial decals. Today I made a start on scratch building a new instrument panel. Using scribing templates, I have cut out the dial faces with a needle tip. When the panel is painted and decalled, I will fill the dials with Kristal Kleer.
Cheers Everybody!

As you can see, I have acquired a set of MDC instrument dial decals. Today I made a start on scratch building a new instrument panel. Using scribing templates, I have cut out the dial faces with a needle tip. When the panel is painted and decalled, I will fill the dials with Kristal Kleer.


Cheers Everybody!

RedDuster

Joined: March 01, 2010
KitMaker: 7,078 posts
AeroScale: 118 posts

Posted: Thursday, June 26, 2014 - 07:46 AM UTC
Thanks Ian,
Nice work on the Hellcat, the washes bring up the cockpit really well.
Good start on the Venom Lee, the scratchbuilt panel is going to be impressive,
Si
Nice work on the Hellcat, the washes bring up the cockpit really well.
Good start on the Venom Lee, the scratchbuilt panel is going to be impressive,
Si
RedDuster

Joined: March 01, 2010
KitMaker: 7,078 posts
AeroScale: 118 posts

Posted: Saturday, June 28, 2014 - 08:30 AM UTC
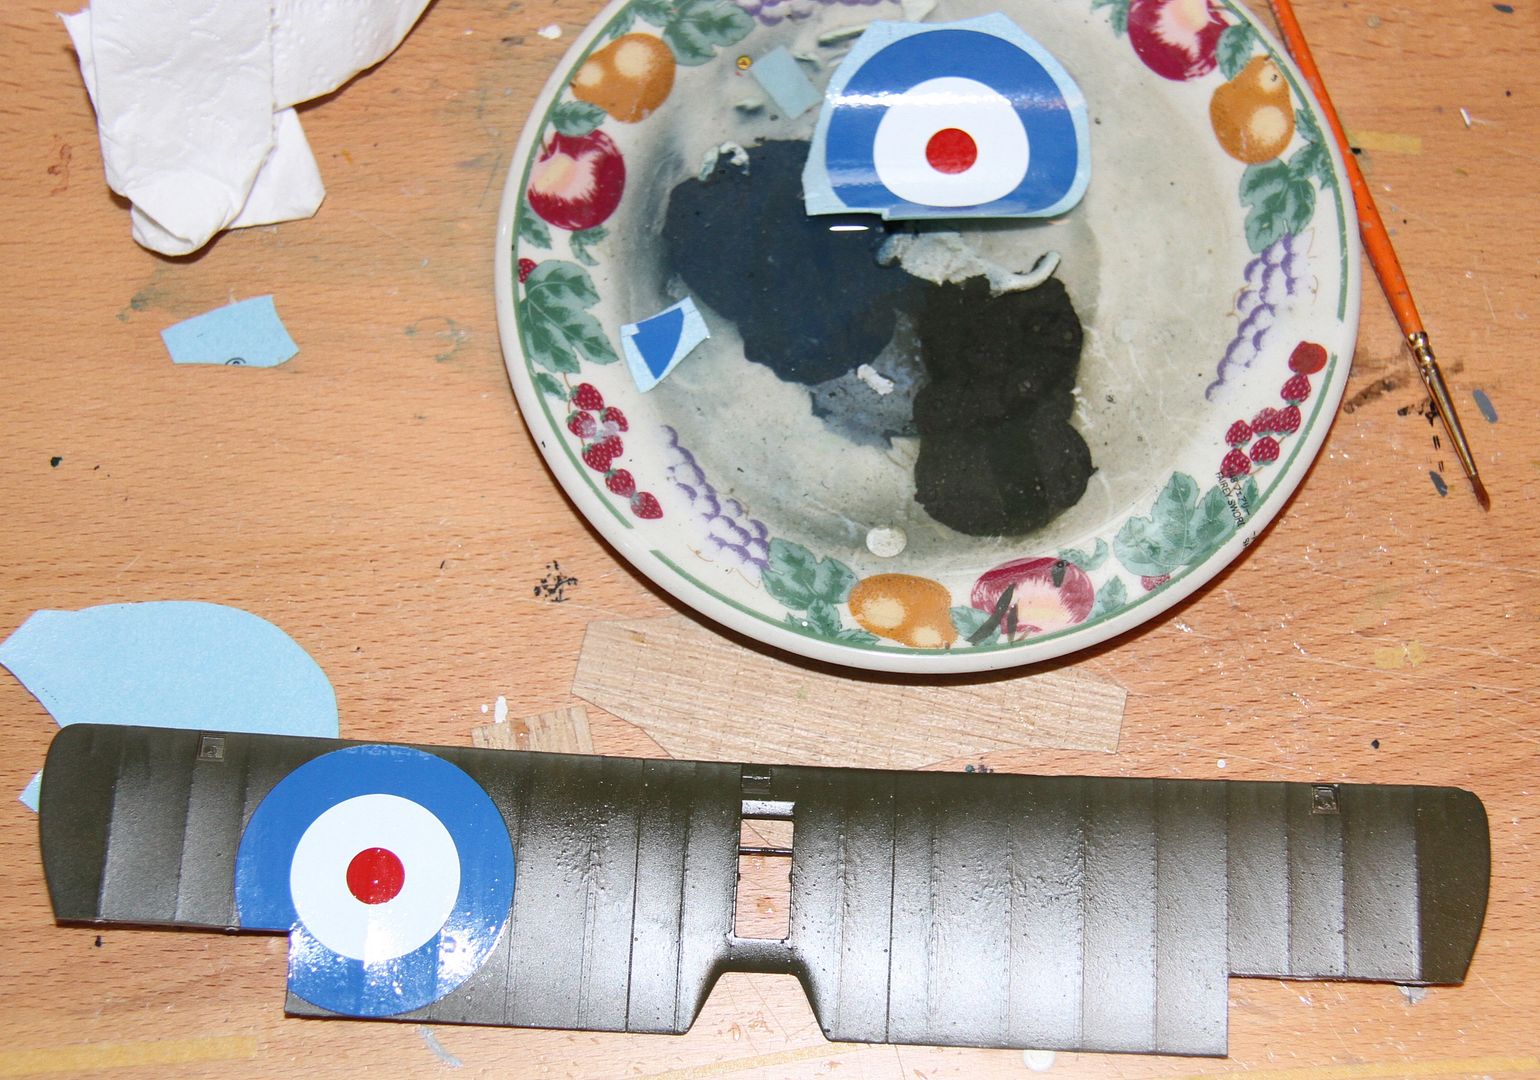
bit more progress, shot some Tamiya TS13 clear to bed down the decals. Started decaling on the upper wing, the roundels come in sections to fit the wing and the ailerons.
The upper wing completed ready for matting down.
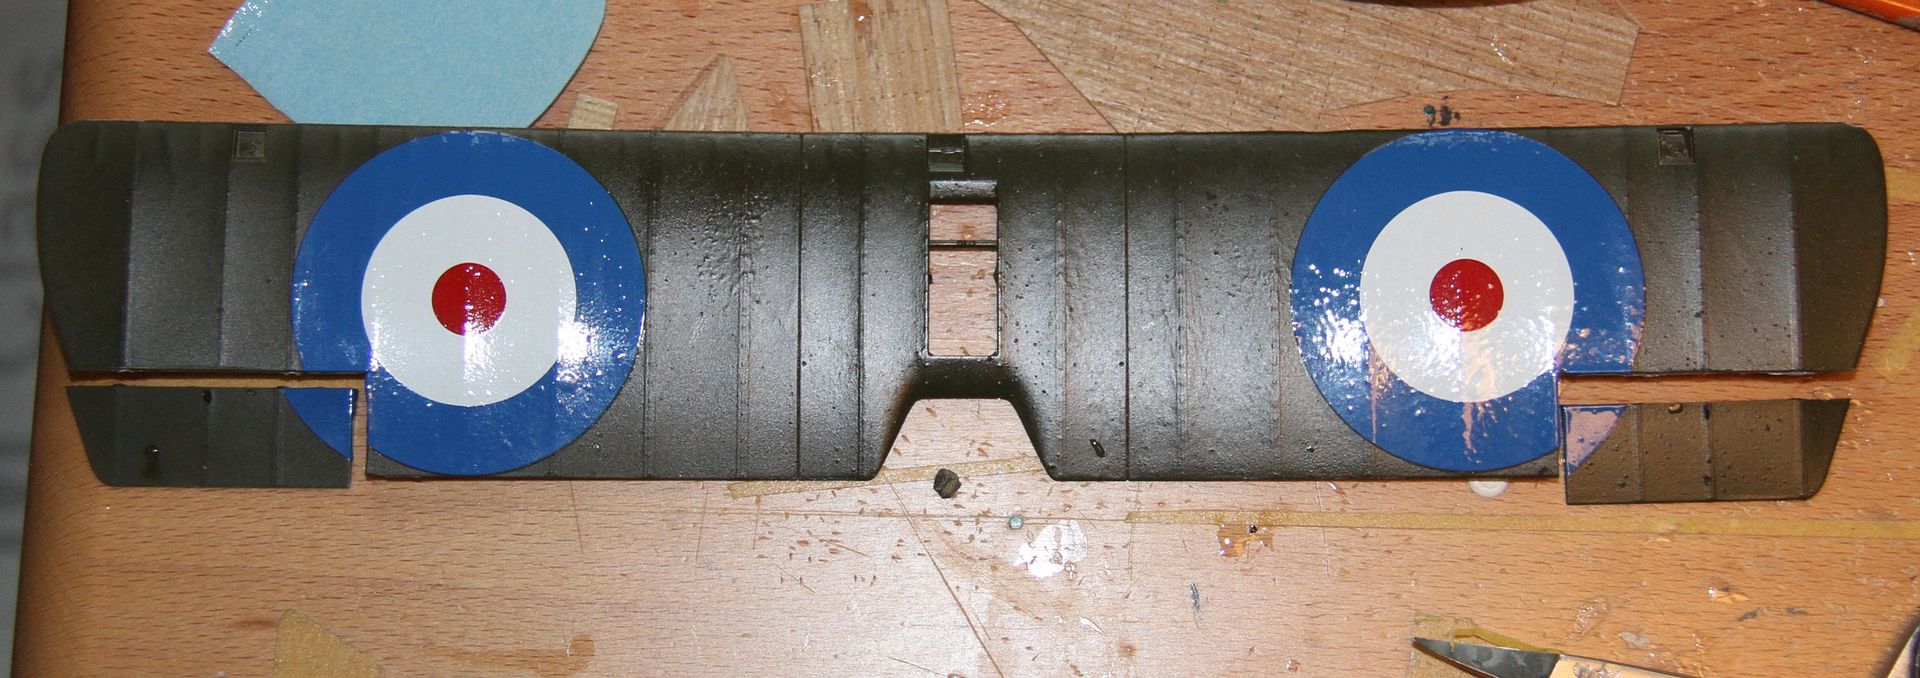
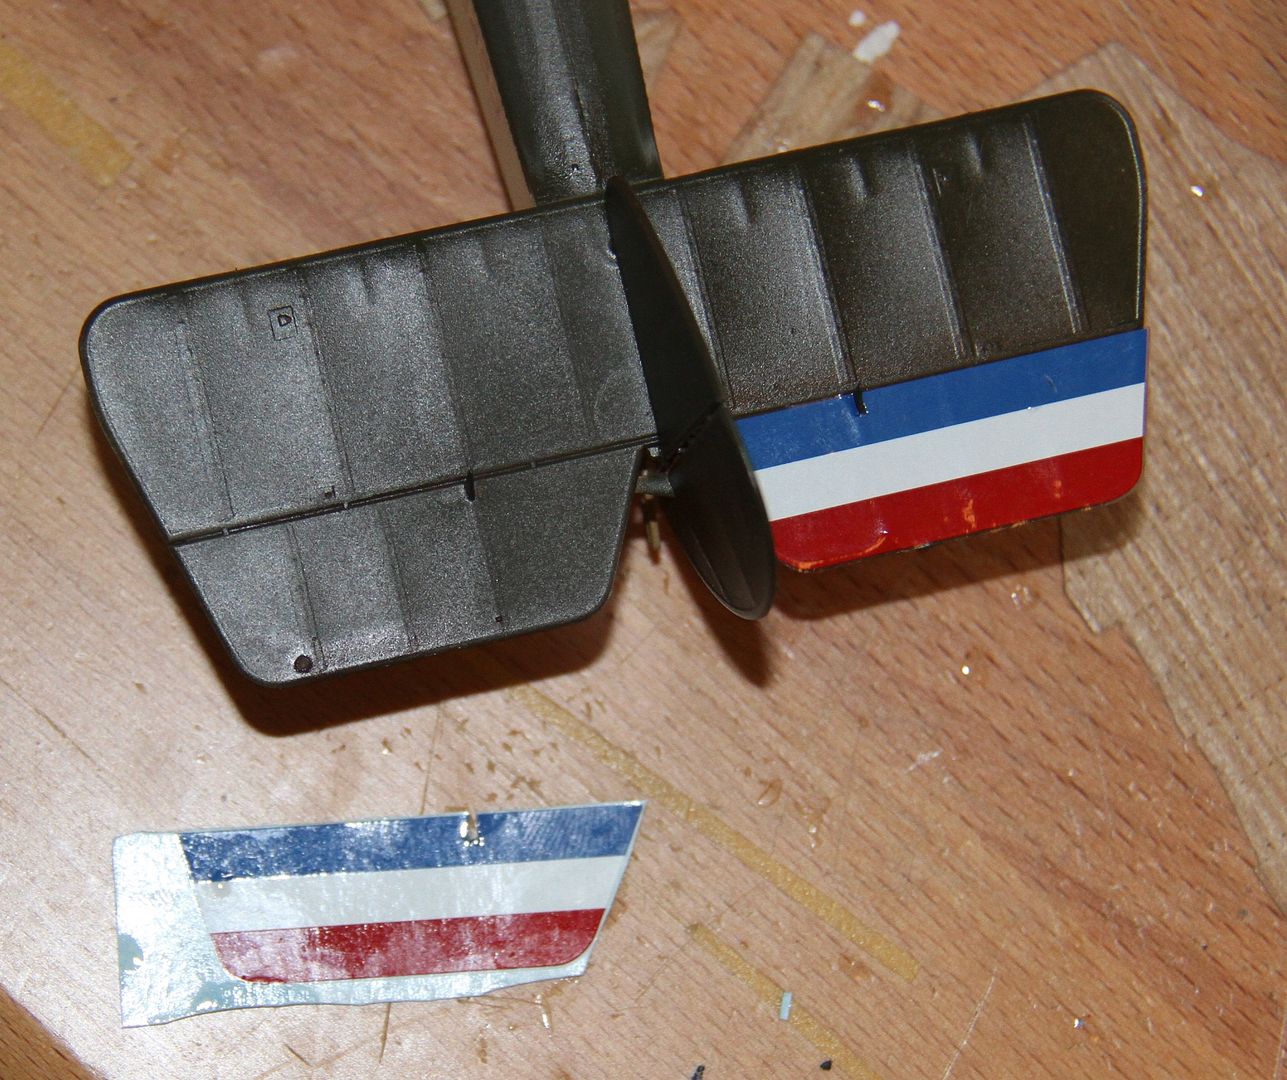
Red, white & bluestripes on the elevators, as I decided to add the control horns first, I had to cut the decals to make them fit.
Si

The upper wing completed ready for matting down.

Red, white & bluestripes on the elevators, as I decided to add the control horns first, I had to cut the decals to make them fit.

Si

SaxonTheShiba

Joined: February 01, 2009
KitMaker: 1,233 posts
AeroScale: 663 posts

Posted: Saturday, June 28, 2014 - 11:57 AM UTC
Simon-----Markings look good so far.
I finished the cockpit on the Hobbyboss Hellcat. I also began work on the engine. There was a serious issue with the alignment holes for the engine parts . If you follow the instructions, the crank case, cylinder rows and exhaust stacks will all be out of sync and in the wrong place. I ended up cutting off the locater pins so everything would align correctly. Almost ready to close up the fuselage.
Best wishes,
Ian


RedDuster

Joined: March 01, 2010
KitMaker: 7,078 posts
AeroScale: 118 posts

Posted: Saturday, June 28, 2014 - 07:59 PM UTC
Thanks Ian,
Hope to progress a bit further with them today.
Must admit not my favourite part of the build aren't decals.
Engine and Cockpit looking good on the Hellcat.
Si
Hope to progress a bit further with them today.
Must admit not my favourite part of the build aren't decals.
Engine and Cockpit looking good on the Hellcat.
Si
RedDuster

Joined: March 01, 2010
KitMaker: 7,078 posts
AeroScale: 118 posts

Posted: Sunday, June 29, 2014 - 06:29 AM UTC
Onward,
The decaling finished, the underside.
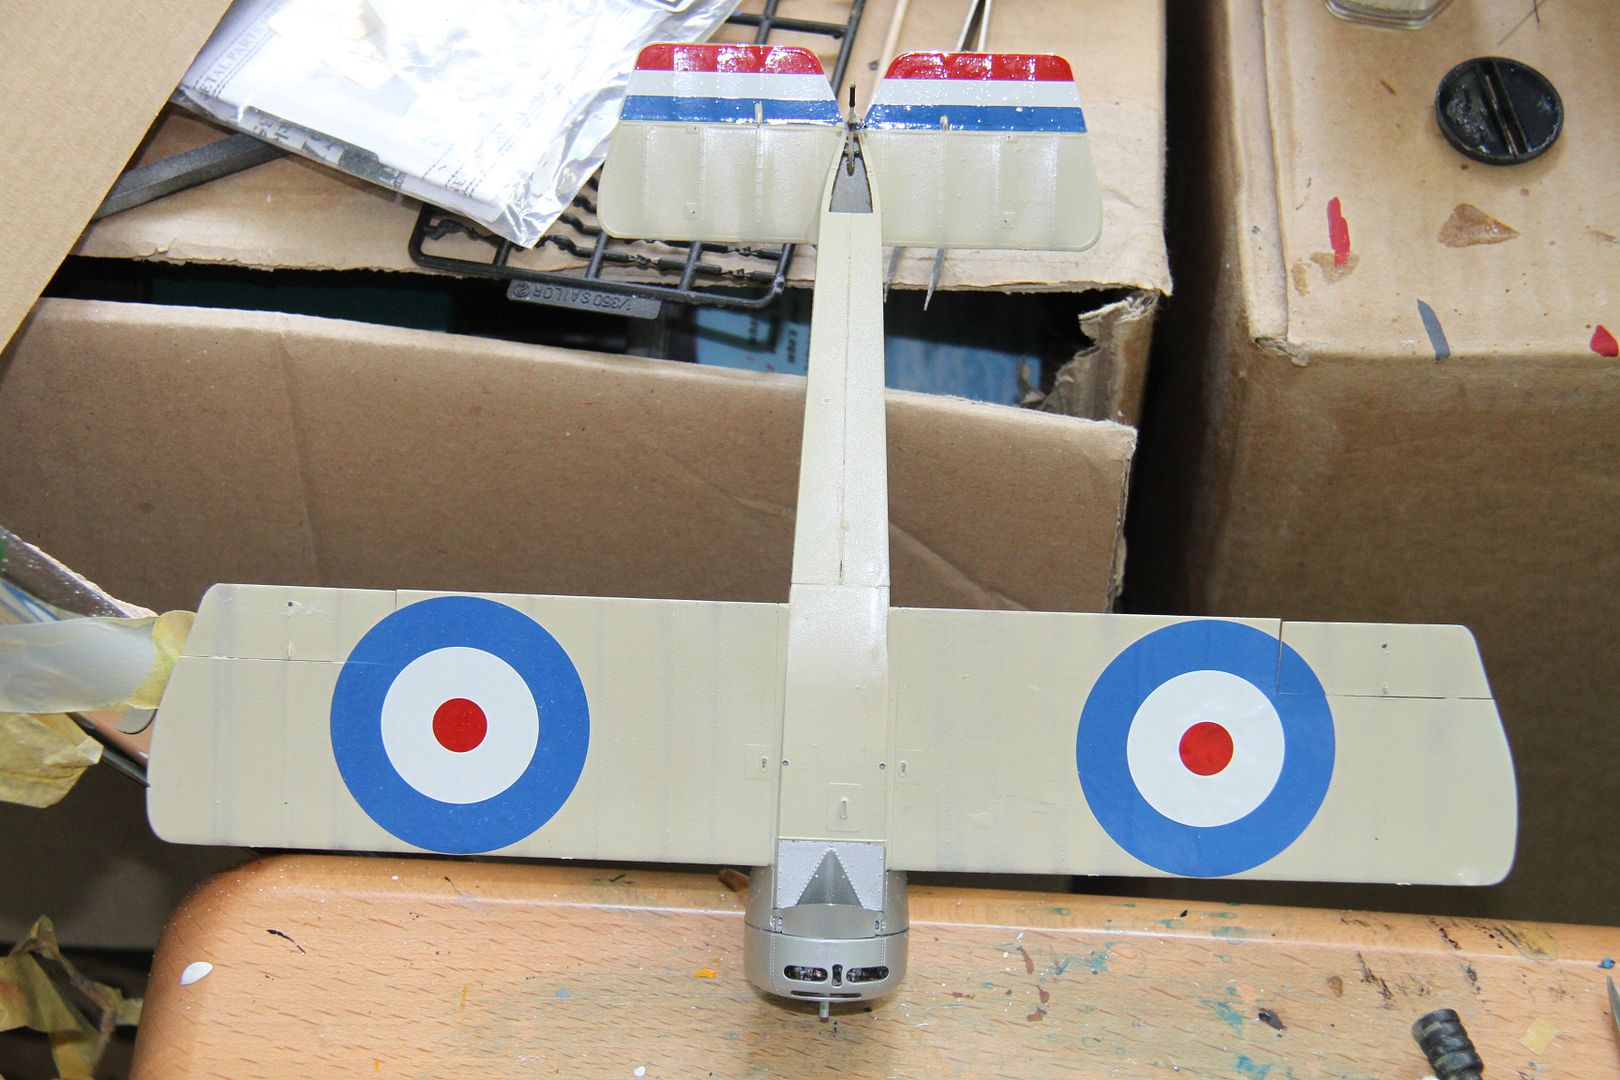
Matted down with Tamiya flat clear, can't remember the TS No. as it came off the lid, also detail picked out of the control lines & pulleys.
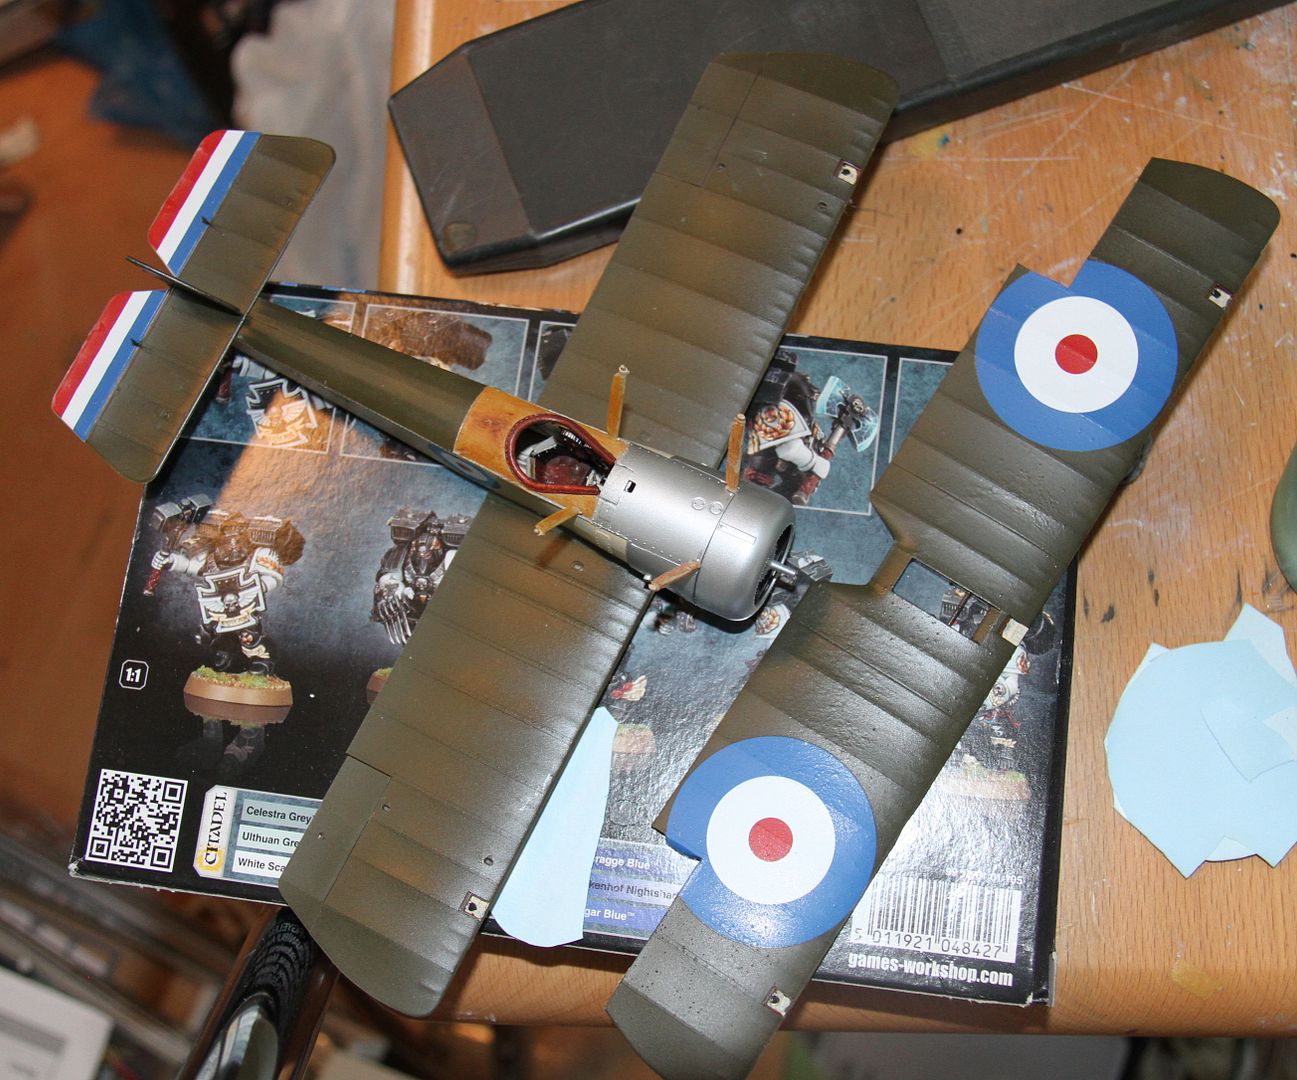
Tripod for the breech end of centre section mounted Lewis Gun built up and drying place.
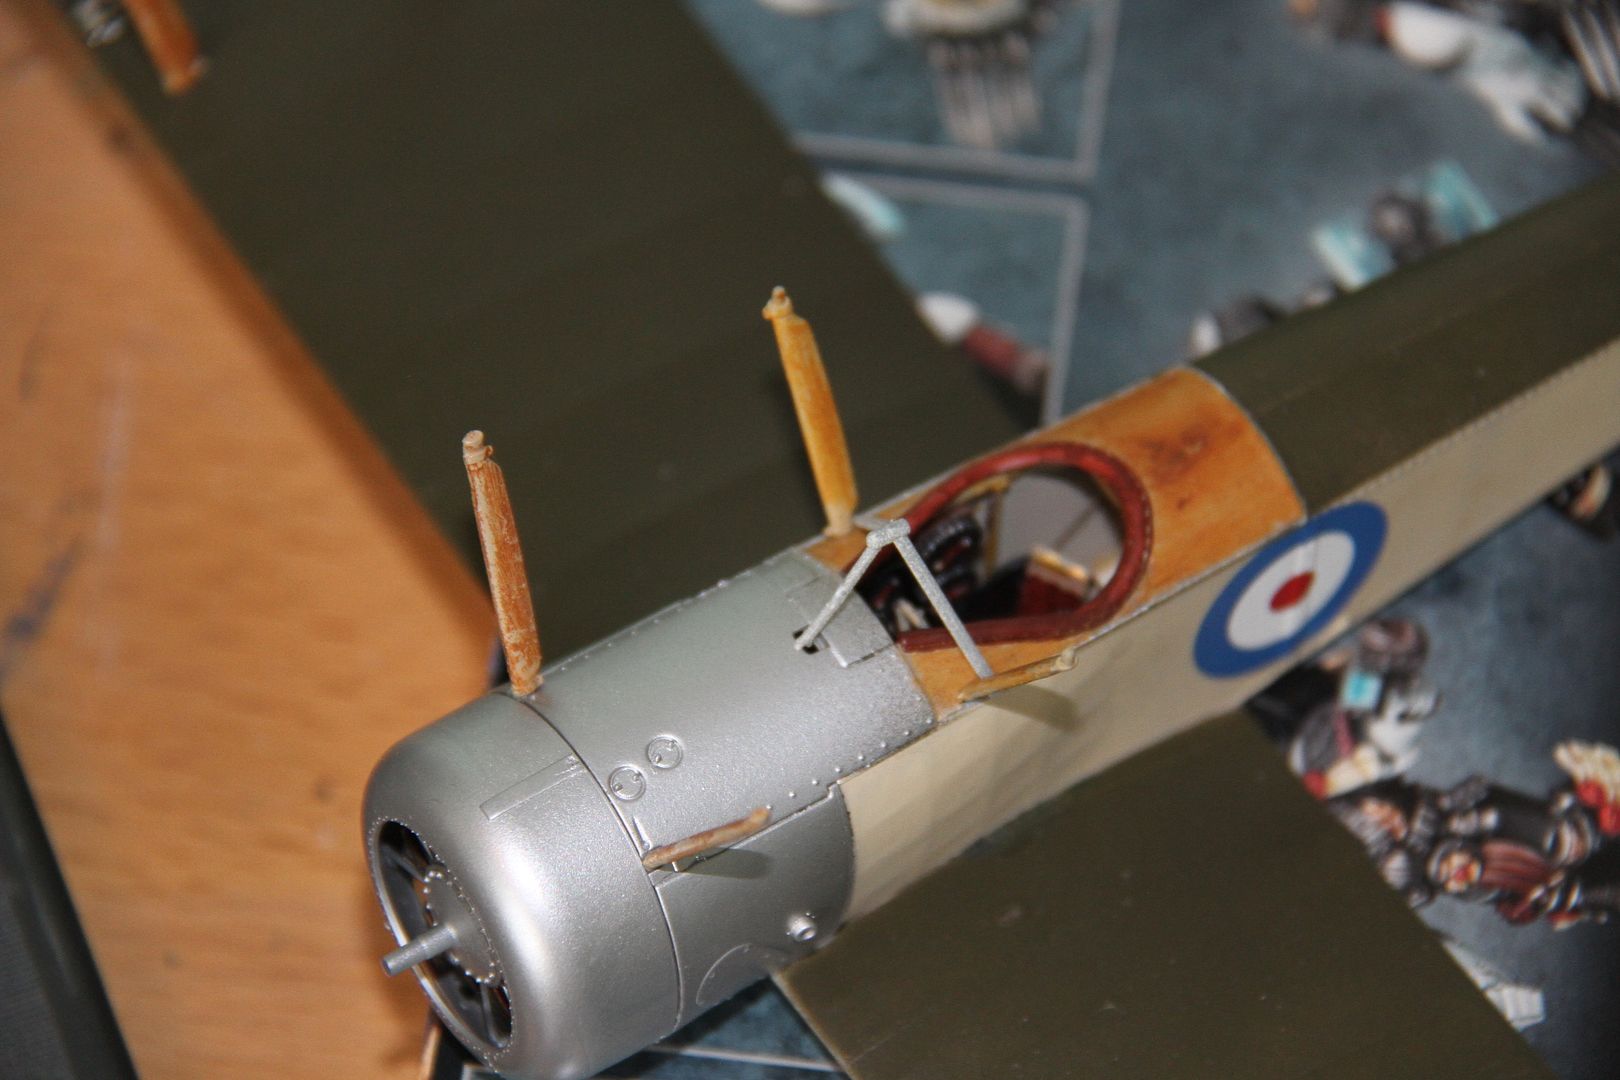
The gunmount and windshield fitted. The struts are a very positive fit, these were fitted to the upper wing, without glue, and the upper wing joggled into place, first on the starboard interplane struts, then the cabane struts finally the port interplane struts, once all in place a touch of Tamiya extra thin cement applied to each joint.
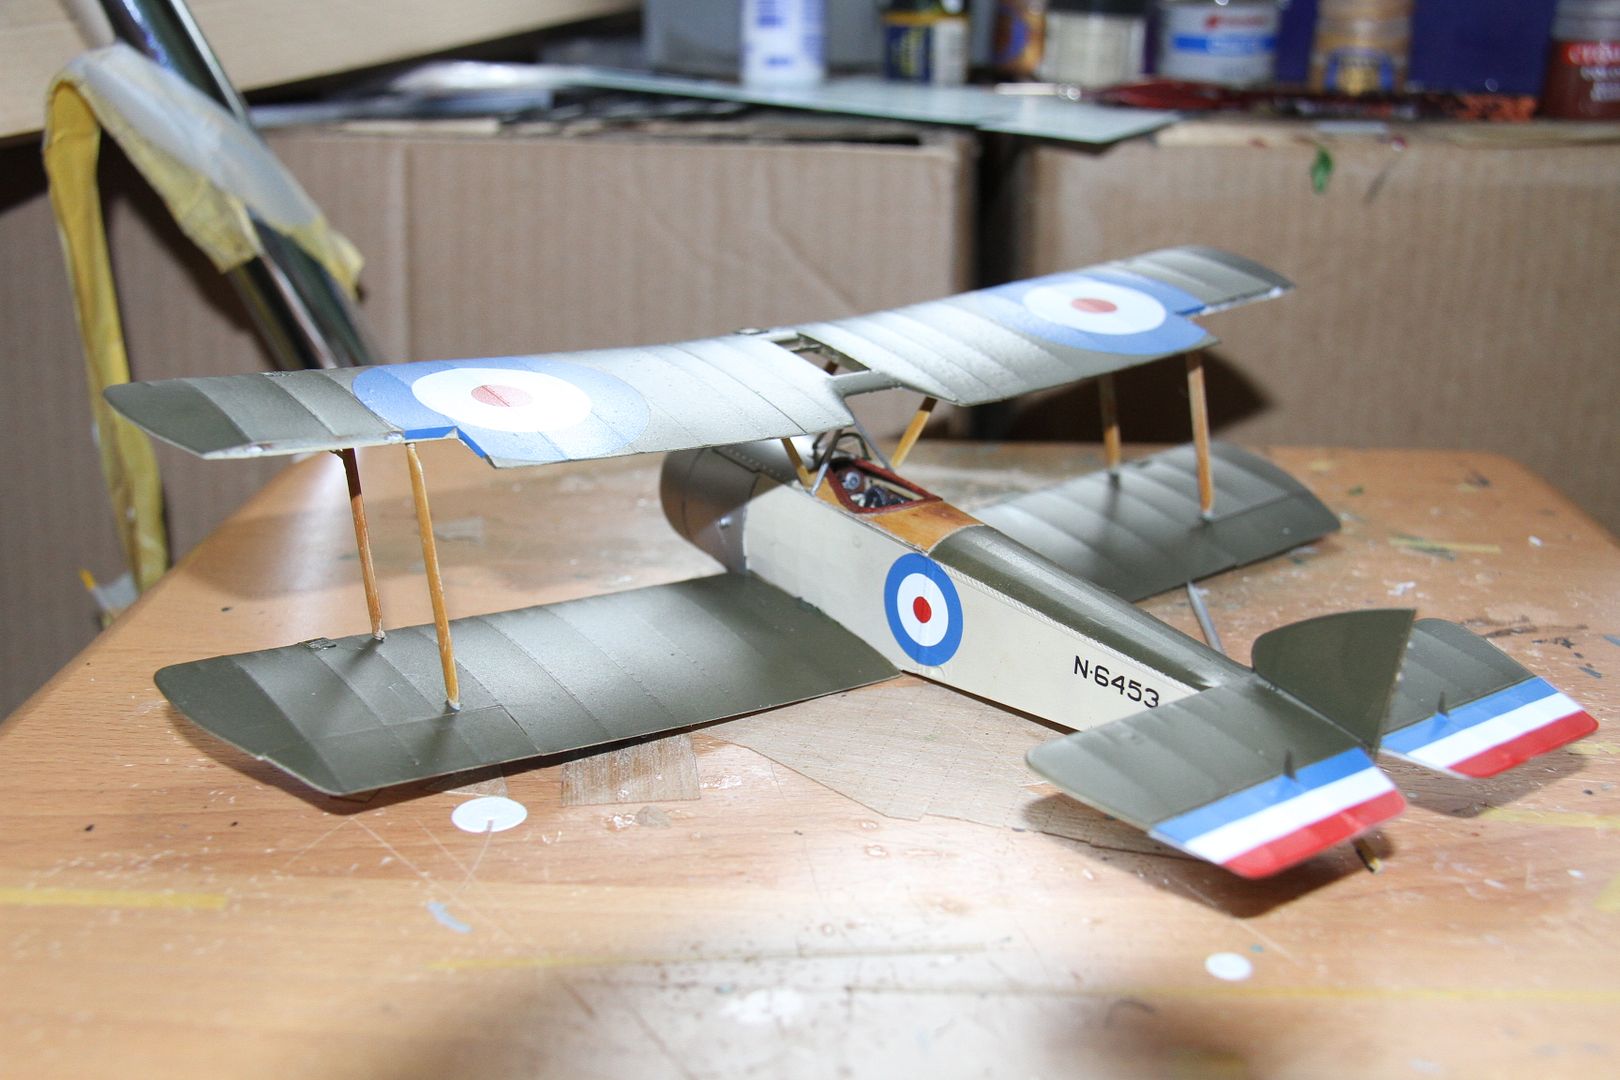
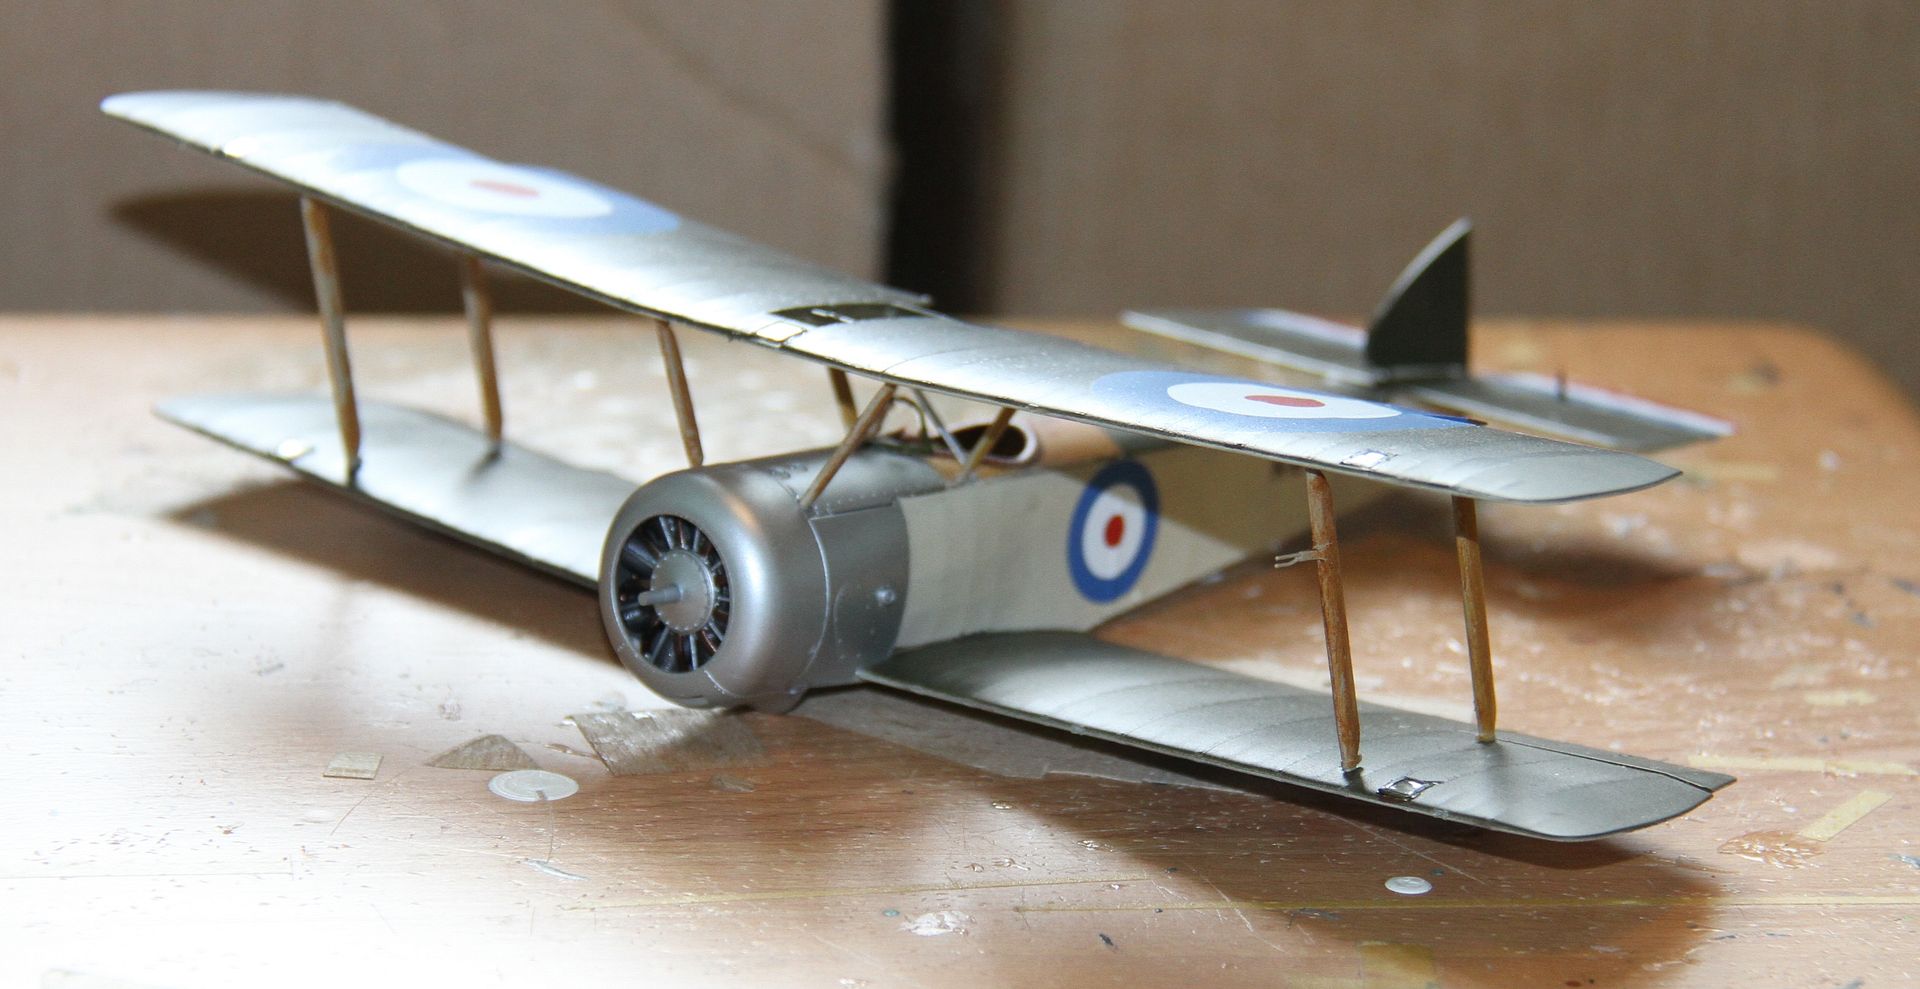
next, the rigging.
Si
The decaling finished, the underside.

Matted down with Tamiya flat clear, can't remember the TS No. as it came off the lid, also detail picked out of the control lines & pulleys.

Tripod for the breech end of centre section mounted Lewis Gun built up and drying place.

The gunmount and windshield fitted. The struts are a very positive fit, these were fitted to the upper wing, without glue, and the upper wing joggled into place, first on the starboard interplane struts, then the cabane struts finally the port interplane struts, once all in place a touch of Tamiya extra thin cement applied to each joint.


next, the rigging.
Si

SaxonTheShiba

Joined: February 01, 2009
KitMaker: 1,233 posts
AeroScale: 663 posts

Posted: Sunday, June 29, 2014 - 07:22 AM UTC
Simon------That really looks superb, sir!!!!! Can't wait to see that one finished.
I worked on the Hellcat last night and got the fuselage together along with the major sub-assemblies. Fit was trouble free which makes up for Hobbyboss' disaster with the radial engine assembly. With a huge cowling and plank wings big enough to build a house on, there is no doubt this is a Grumman product.
Best wishes,
Ian


RedDuster

Joined: March 01, 2010
KitMaker: 7,078 posts
AeroScale: 118 posts

Posted: Monday, June 30, 2014 - 07:47 AM UTC
Thanks Ian
A lot of credit goes to the kit, really well engineered, great instructions. I don't build a lot of biplanes, but I am going to be looking at Wingnut's range for those with Naval connections.
Si
A lot of credit goes to the kit, really well engineered, great instructions. I don't build a lot of biplanes, but I am going to be looking at Wingnut's range for those with Naval connections.
Si

SaxonTheShiba

Joined: February 01, 2009
KitMaker: 1,233 posts
AeroScale: 663 posts

Posted: Saturday, July 05, 2014 - 10:06 AM UTC
ljames0874

Joined: August 15, 2012
KitMaker: 408 posts
AeroScale: 365 posts

Posted: Saturday, July 05, 2014 - 10:44 PM UTC
Update on the Sea Venom cockpit:
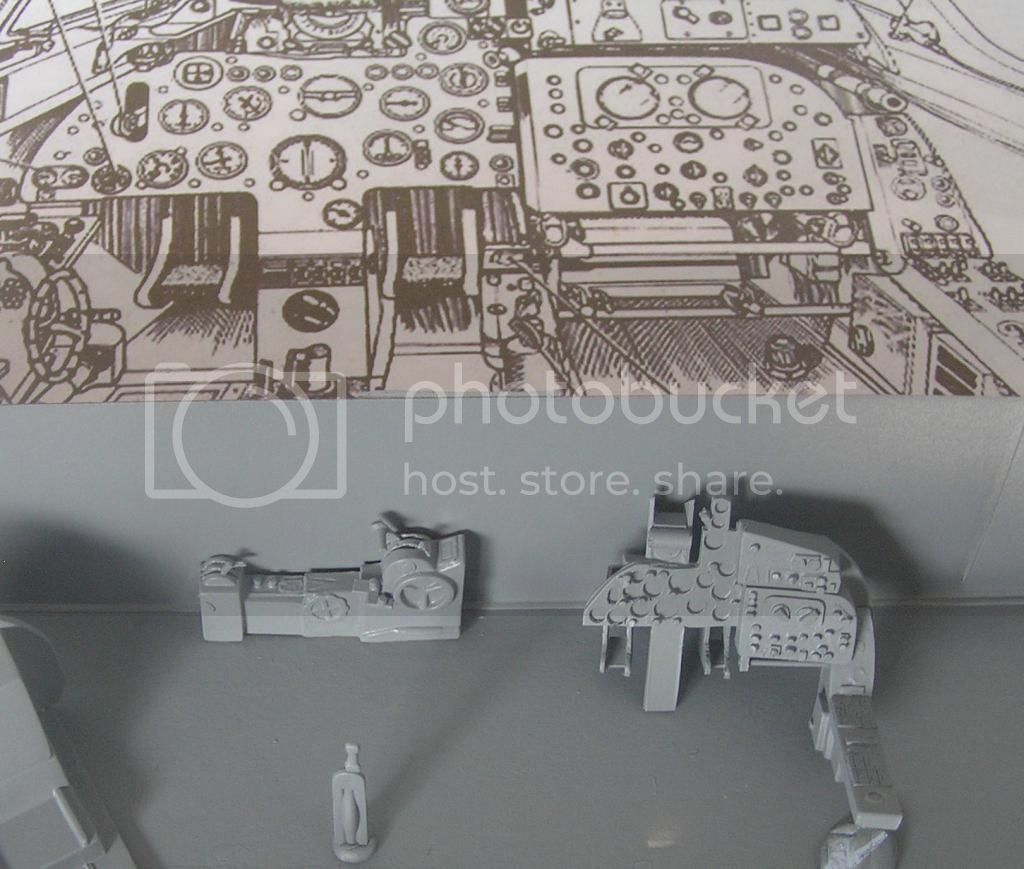
It is looking a lot closer to the schematics I was able to find, but there seems to be a lack of decent colour references for the various panels and switches. Next up, improving the appearance of the bang seats.
Cheers Everybody!

It is looking a lot closer to the schematics I was able to find, but there seems to be a lack of decent colour references for the various panels and switches. Next up, improving the appearance of the bang seats.
Cheers Everybody!

 |


