Hi all, I have managed to do a little bit more work on my Bv138 (despite being called upon to paint a full scale living room

)
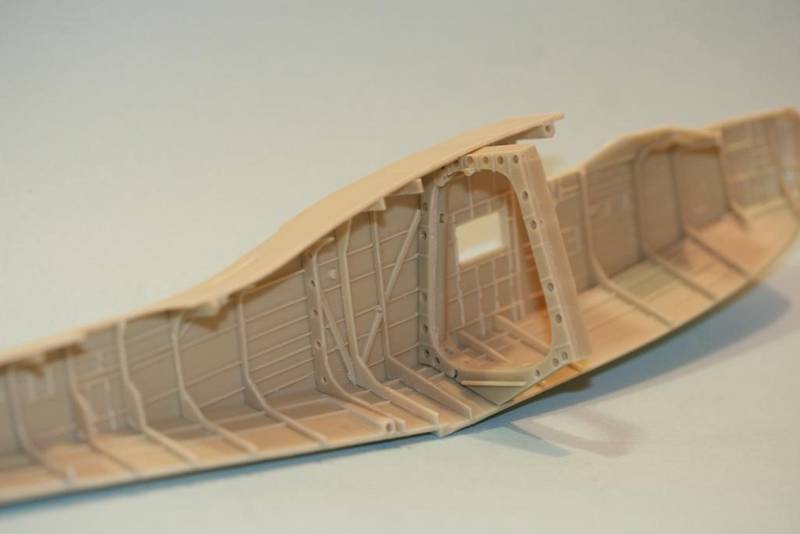
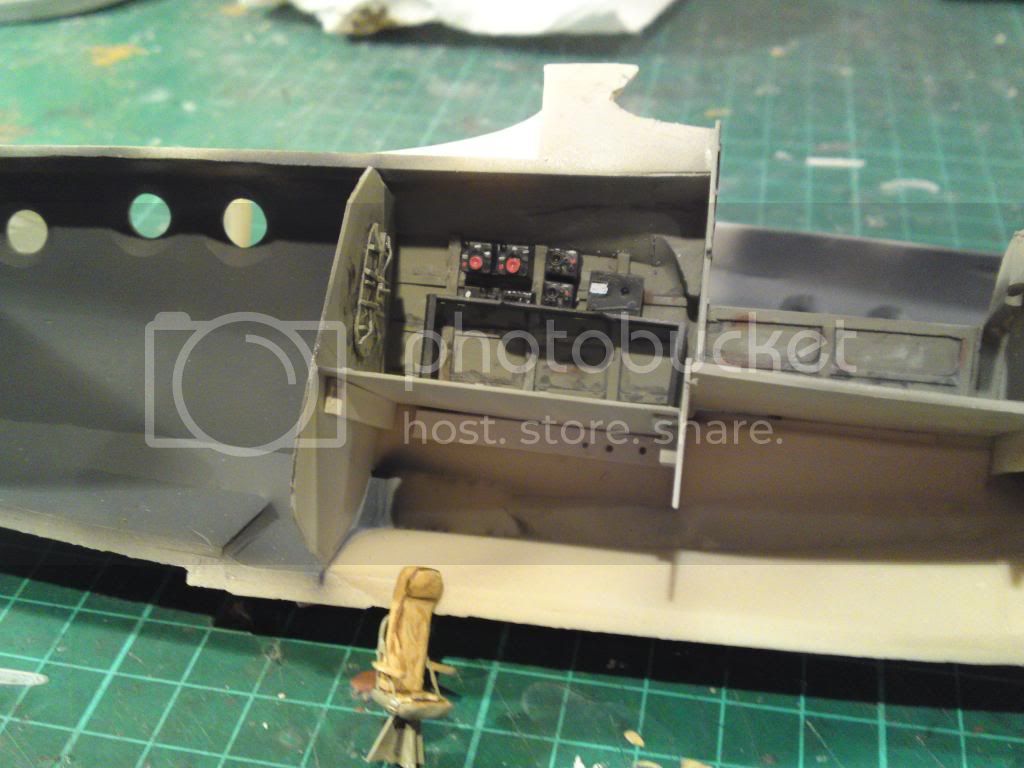
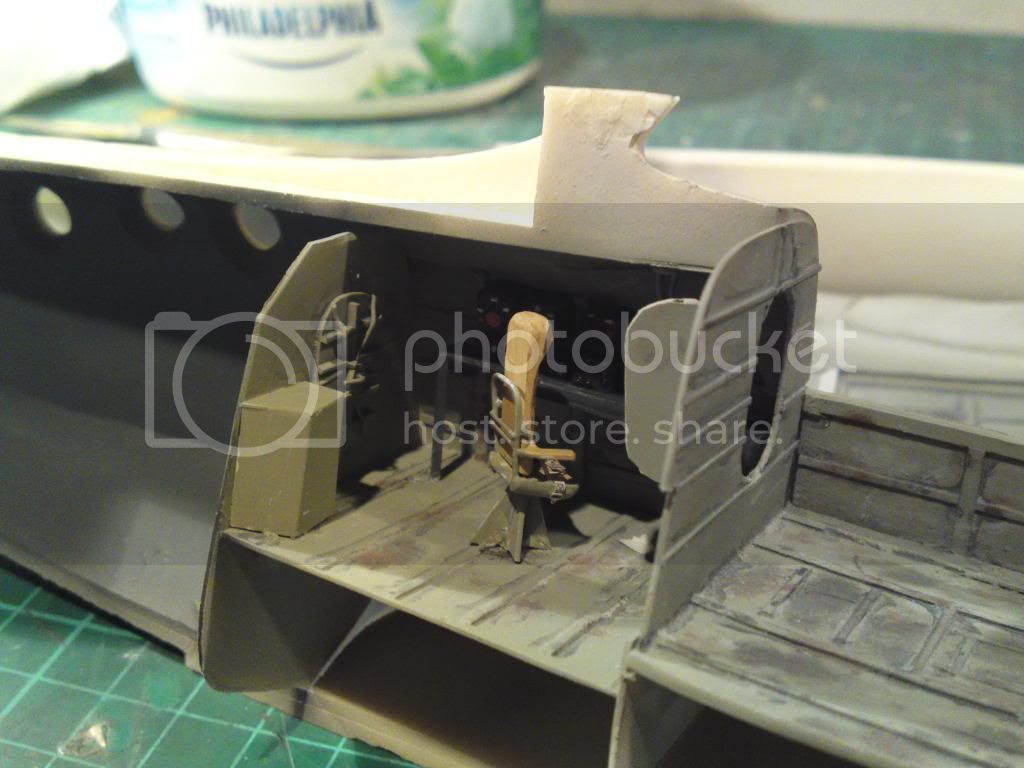
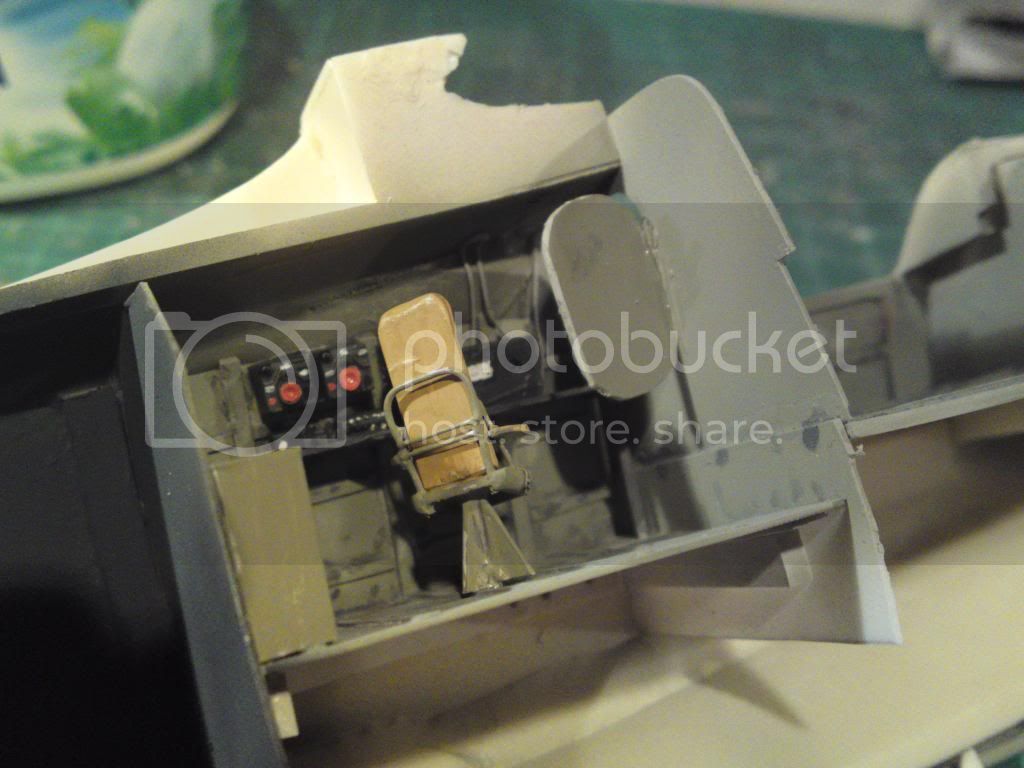
My last post showed the detail I added to the radio compartment, this post shows the fuselage halves after joining and the very little of the radio compartment that is visible!!!
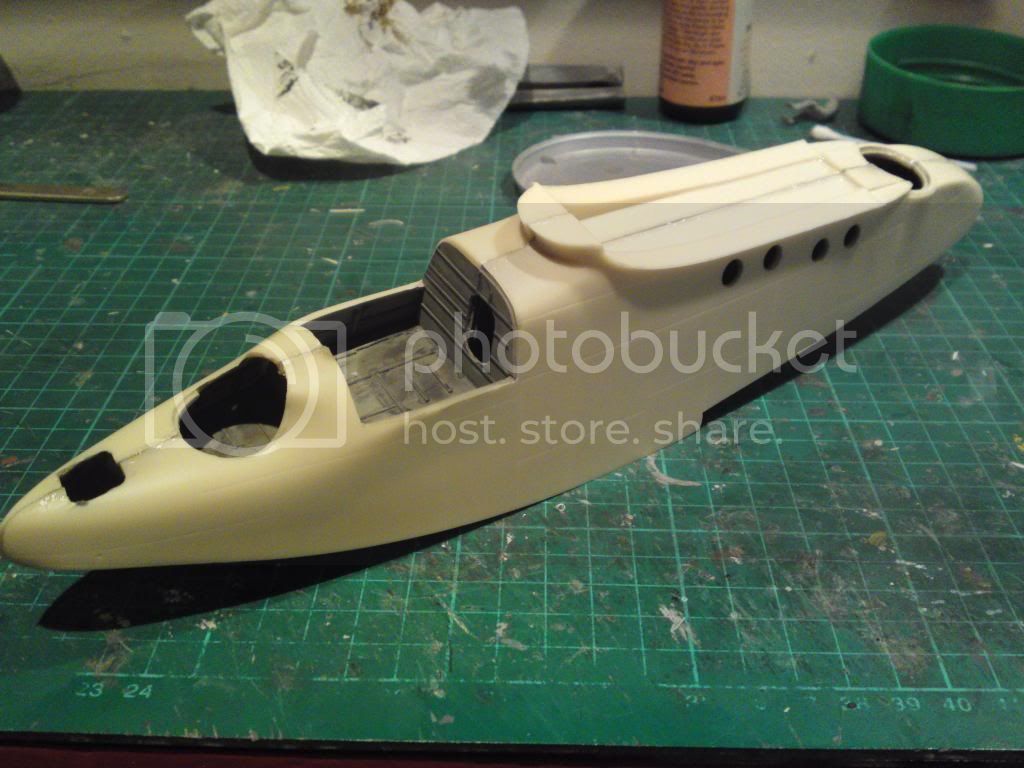

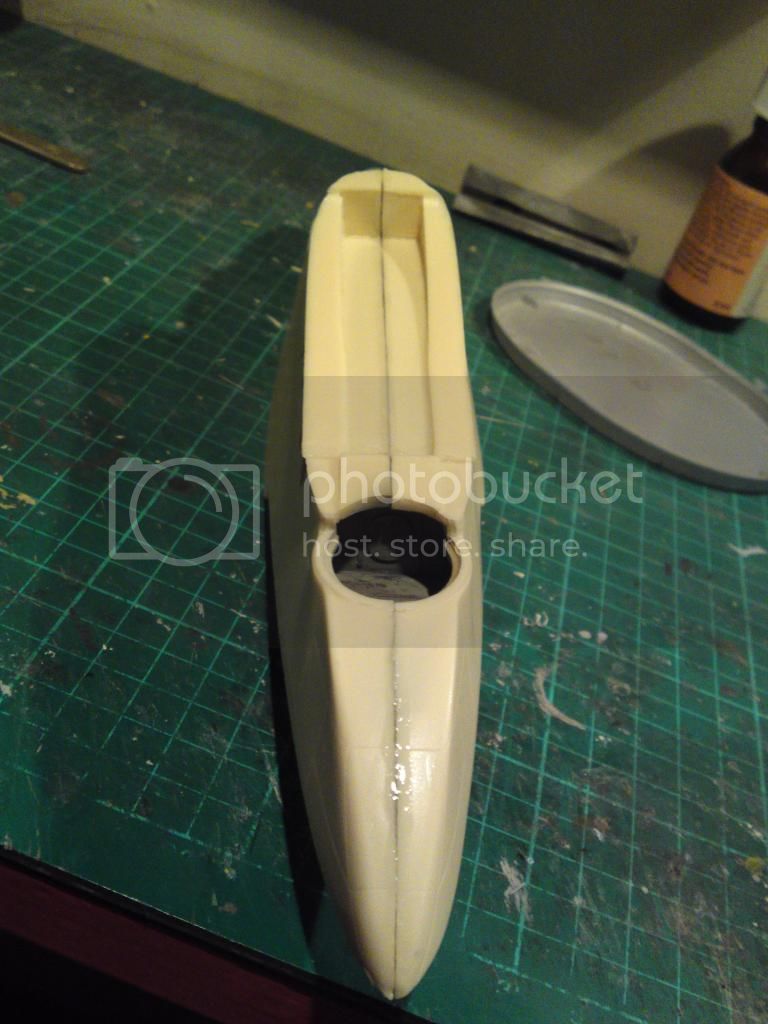
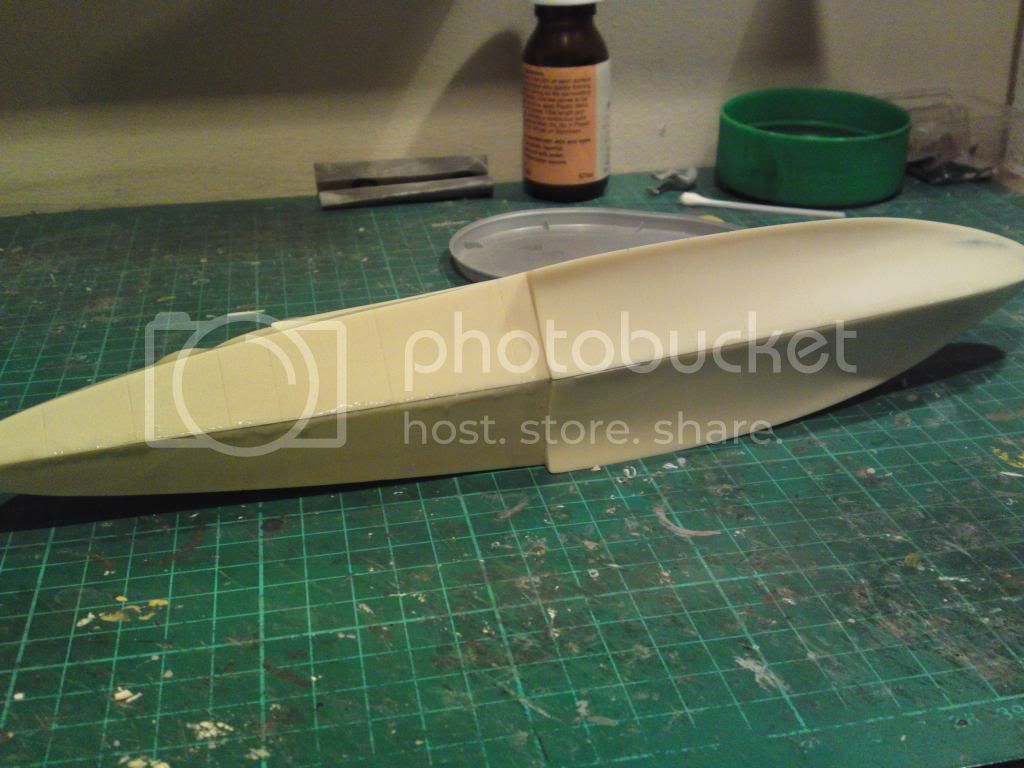
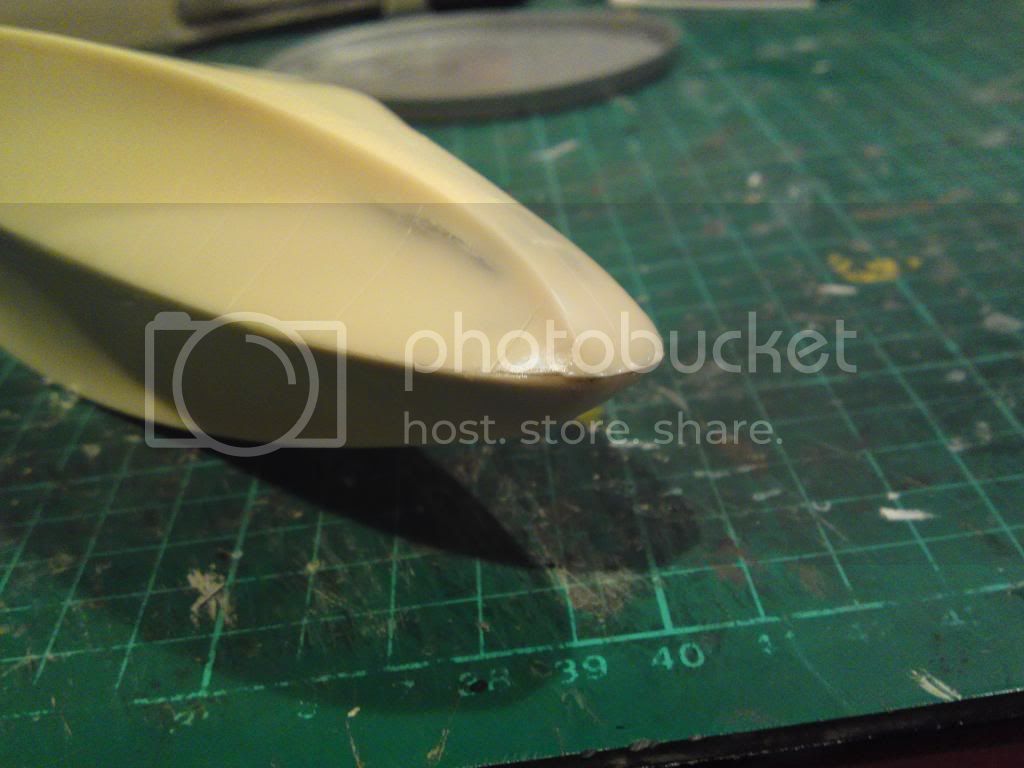
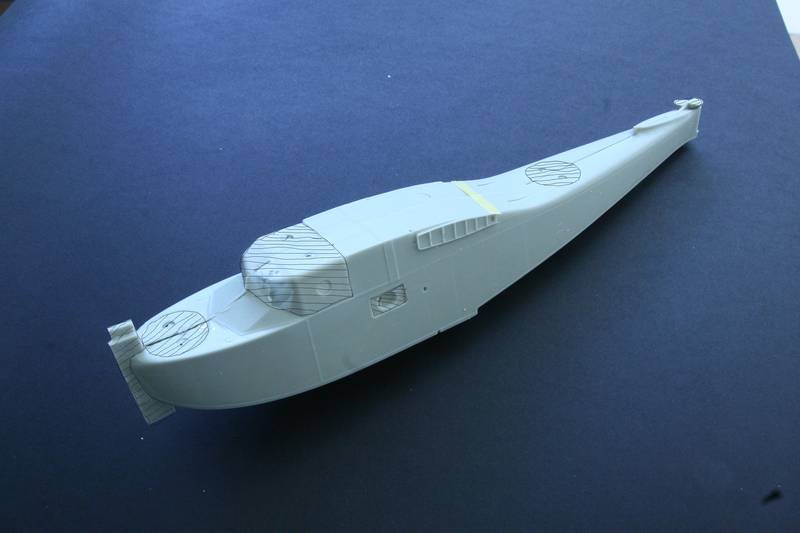
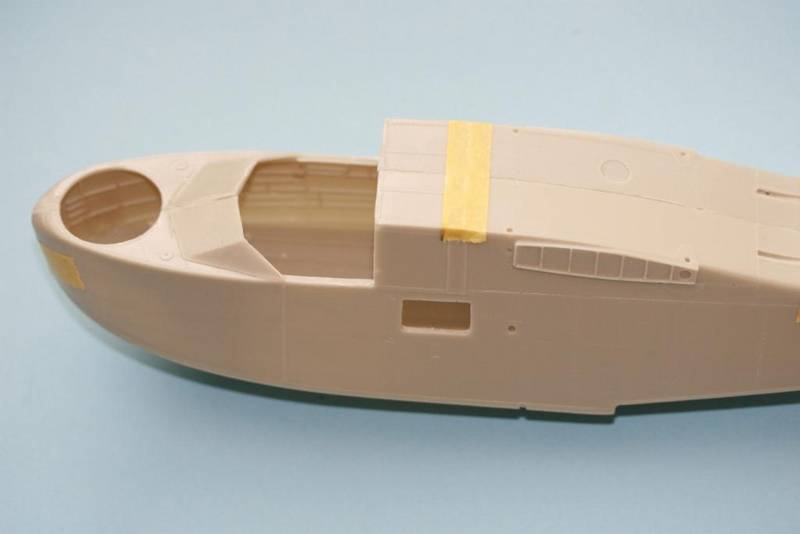
You will note the poor joint between fuselage halves and on the last photo the filler applied to where I cut too much away from the front of the fuselage. You may also notice where I thinned inside the fuselage. This was because I decided to remove the front hatch on top of the fuselage and thinned the fuselage sides in order to get a floor installed,but almost went a bit too far!
I decided to fit out the cockpit after joining the fuselage together, the cockpit opening being large enough to allow this. Turrets will also be detailed later and added as a final act after painting.
As I stated the join between fuselage halves is certainly not a Tamigawa affair and a lot of filler is going to be used to get a smooth join - more about that later.
As mentioned in my previous post I am adding porthole glazing now fuselage is joined. The glazing was made by using a punch which was close to the size required. The portholes in the fuselage were slightly bigger than needed and the edges were beveled to allow the glazing to lie flush with the exterior of the fuselage. They were glued with odourless superglue,then I added masks cut from Tamiya masking tape to the proper size of the portholes. I then used filler to ensure any gaps were filled then sanded them smooth. The tape ensuring the transparent parts remained so.
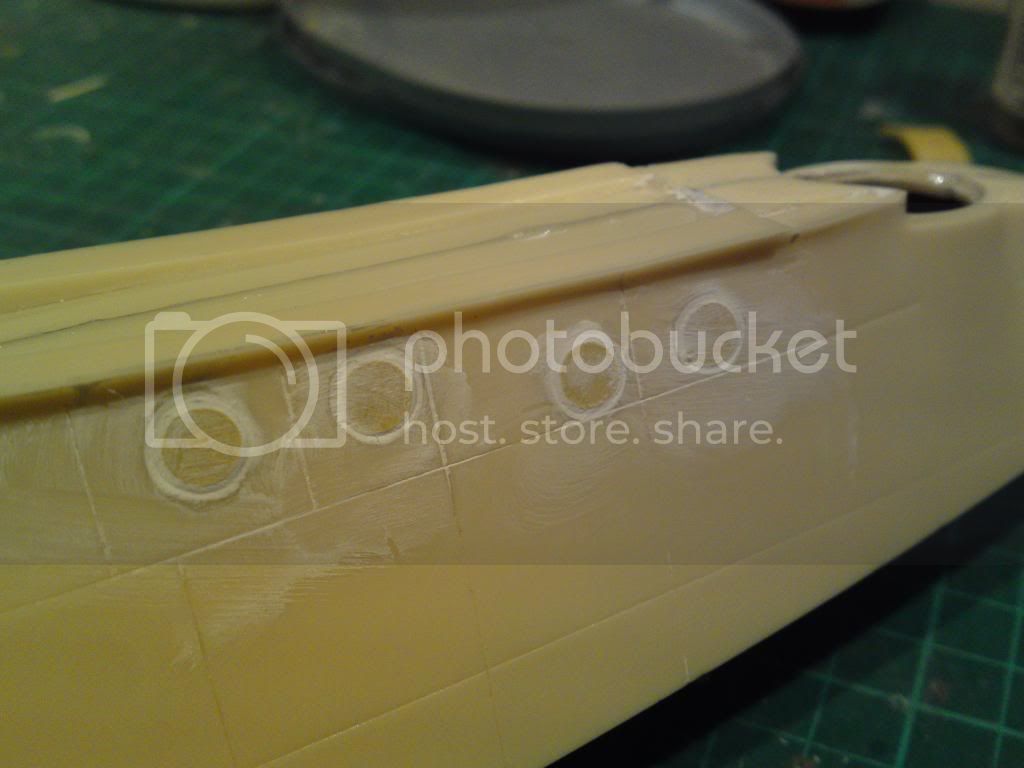

Hopefully when painted just the glazing will be visible!
That's it for now, provided no more decorating interrupts, another instalment will follow before too long.
Cheers Andy