Air Campaigns
Want to start or join a group build? This is where to start.
Want to start or join a group build? This is where to start.
Hosted by Frederick Boucher, Michael Satin
OFFICIAL: Sea Plane Campaign 2014
Removed by original poster on 10/29/14 - 15:02:19 (GMT).
bdanie6

Joined: November 09, 2008
KitMaker: 615 posts
AeroScale: 459 posts

Posted: Wednesday, October 29, 2014 - 03:06 AM UTC
I apologize for all the deletes everyone. I am trying to post photos from my Flickr account onto this site, but they seem to have changed their process for transferring files. 
Anyway, this is as far as I got posting here until I got to the first photo
Hi everyone
Sorry I'm a it late to the party, but I just got my kit in from Hobylinc. My fault, not theirs
First off, I've been watching everyones progress and the builds are just great.
@Andy, I've always wanted to build a Bv138, as a matter of fact I saw an ad for a 1/72 scale plastic one back in '82 and that inspired me to get back into modeling...never did get the kit tho sorry, anyway watching your build has convinced me NOT to get the resin kit.
@Bryon, I think plastic rod is the way to go for your struts.
@Lee, paint job and decals look great on the Ekranoplan.
@Mike and Jesper, your builds are looking real good...so far.
As for me, I finally settled on the Dornier 24T from Italeri
I'll keep at it until I get it figured out, or move to a new photo sharing site.
Thanks for your patients,
Later


SHAKY962

Joined: May 21, 2012
KitMaker: 765 posts
AeroScale: 316 posts

Posted: Wednesday, October 29, 2014 - 07:31 AM UTC

Blespooky

Joined: June 03, 2014
KitMaker: 277 posts
AeroScale: 36 posts

Posted: Friday, October 31, 2014 - 04:01 AM UTC
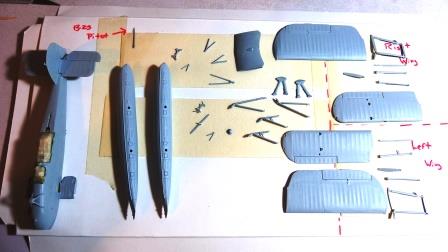
1:72 Airfix Fairey Swordfish
Ready for primer, minus the clothes pins ...
Bryan
Ready for primer, minus the clothes pins ...

Bryan

SHAKY962

Joined: May 21, 2012
KitMaker: 765 posts
AeroScale: 316 posts

Posted: Saturday, November 01, 2014 - 10:04 AM UTC

North4003

Joined: August 01, 2012
KitMaker: 960 posts
AeroScale: 391 posts

Posted: Tuesday, November 04, 2014 - 03:21 PM UTC
Richard and everyone, this is my progress so far on the Testors Classics Ryan PT-20 seaplane. I'm going to build it with the US markings rather than the Dutch version. I will be using the very nice water base included in the kit. There are not any real seams to fill, only careful filing. A few sink marks on the underside of the wing may need filling though. The fit of this 50 plus year old kit is very good. The detail includes recessed control surfaces with tasteful small rivets and fabric. The pilots detail is also nice.

Posted: Tuesday, November 04, 2014 - 05:00 PM UTC
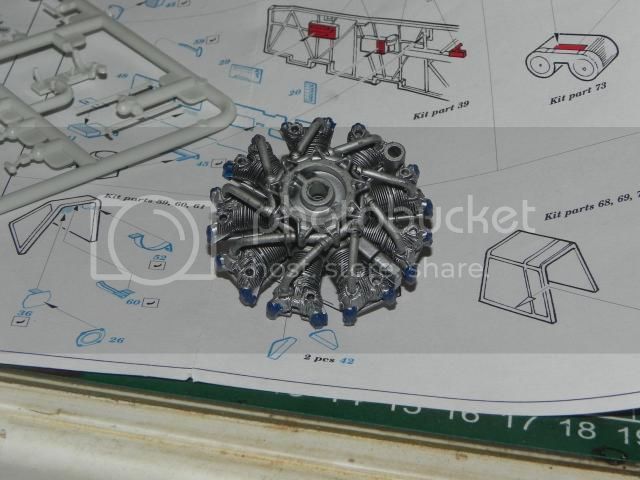
Jose, that engine looks great!
Maybe I'll get back to my Seahawk some time this week.
Maybe I'll get back to my Seahawk some time this week.

Posted: Tuesday, November 04, 2014 - 07:44 PM UTC
Bruce, nice choice of old school kit. It will be interesting to follow your build.
Brent, that base looks awesome. very cool to have it included in the kit.
Brent, that base looks awesome. very cool to have it included in the kit.
ljames0874

Joined: August 15, 2012
KitMaker: 408 posts
AeroScale: 365 posts

Posted: Wednesday, November 05, 2014 - 03:58 AM UTC
Lots of great work happening here people!
OK - I have finished the decals on the Ekranoplan, and sealed the whole model with a tinted pearlescent mica topcoat (Xtracolor). As the model is being depicted flying or skimming over an ocean base, I have removed the propeller blades from the spinners, and cut out some acetate propeller discs. After masking and spraying the edge of the discs yellow, I looked for more information on modelling realistic spinning propellers. I found a couple of really good ideas, one of them was to pin the centre of the disc to a piece of coarse sandpaper, and then spin the acetate around the pin, creating a convincing propeller blur. The second idea was to make a propeller blade mask from cardboard, and then lightly spray thinned black or grey paint onto the acetate disc, to create the shadow of the blades. I used this idea, with one innovation of my own, I used Tamiya Smoke (X-19), which works brilliantly.
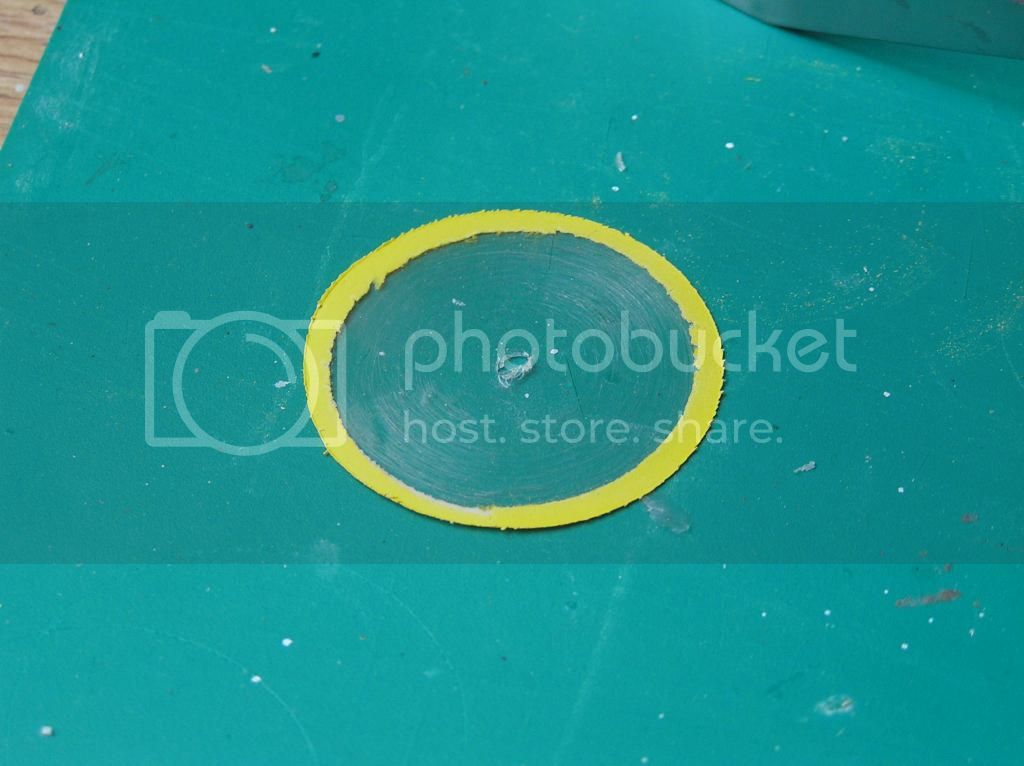
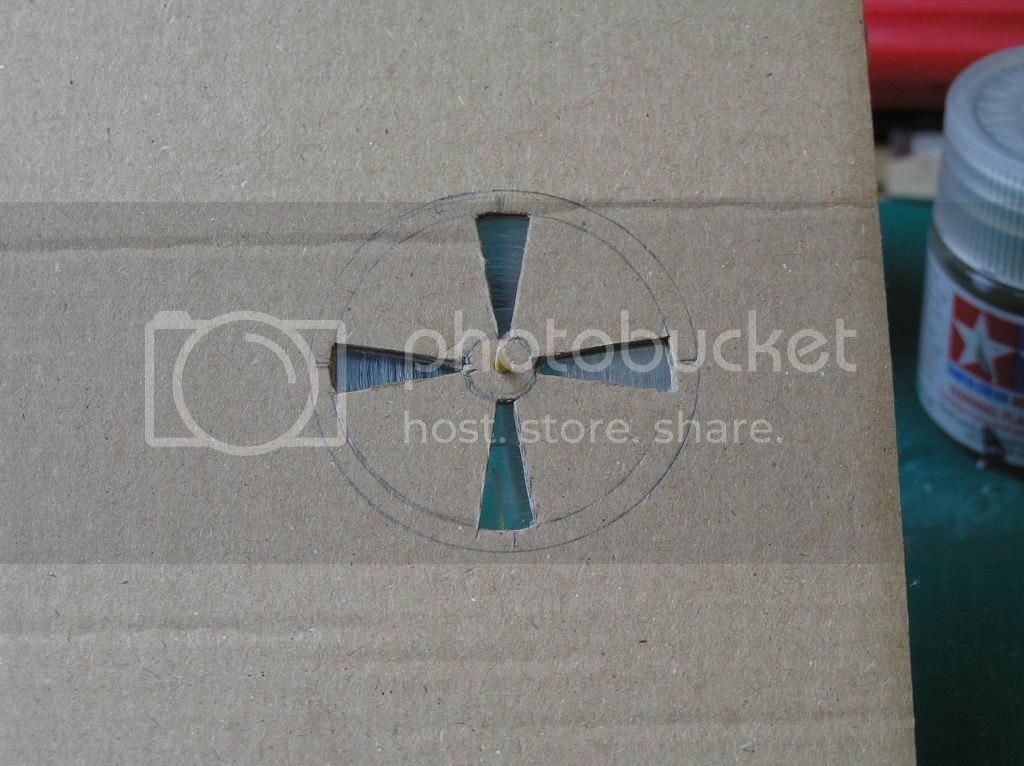
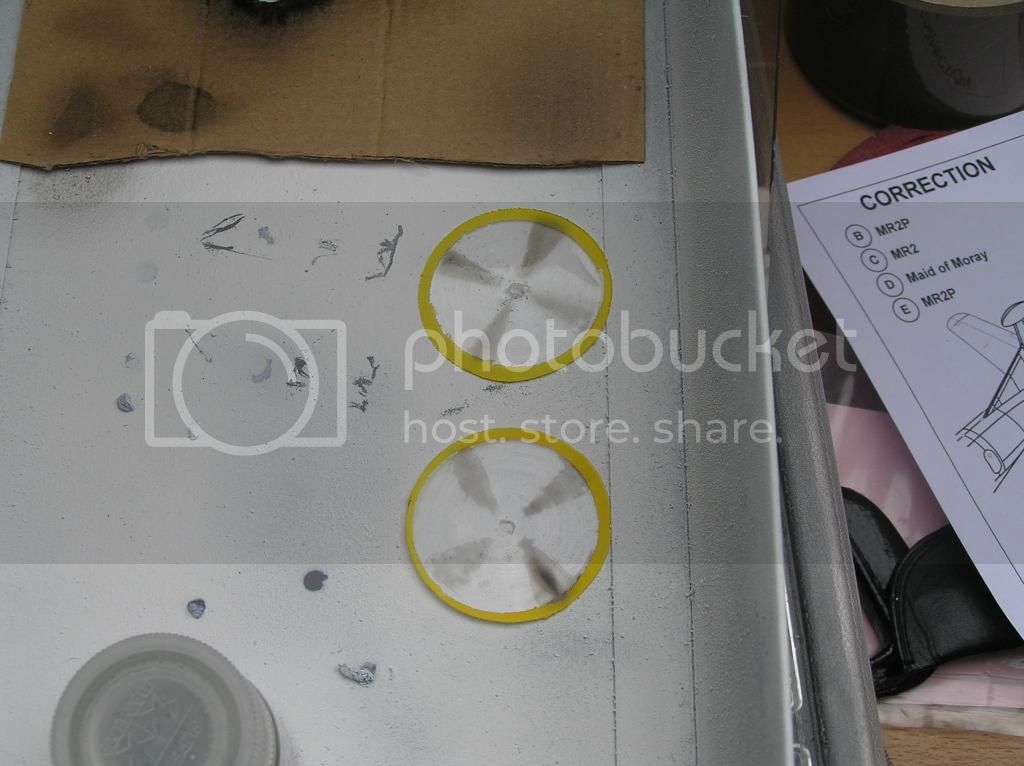
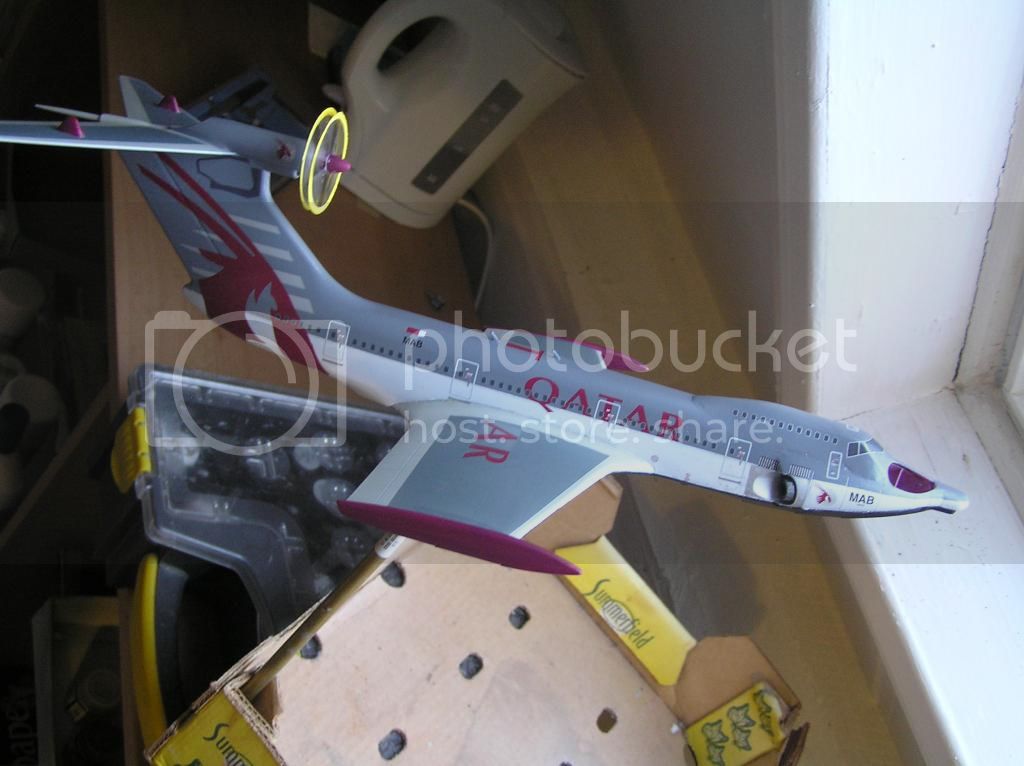
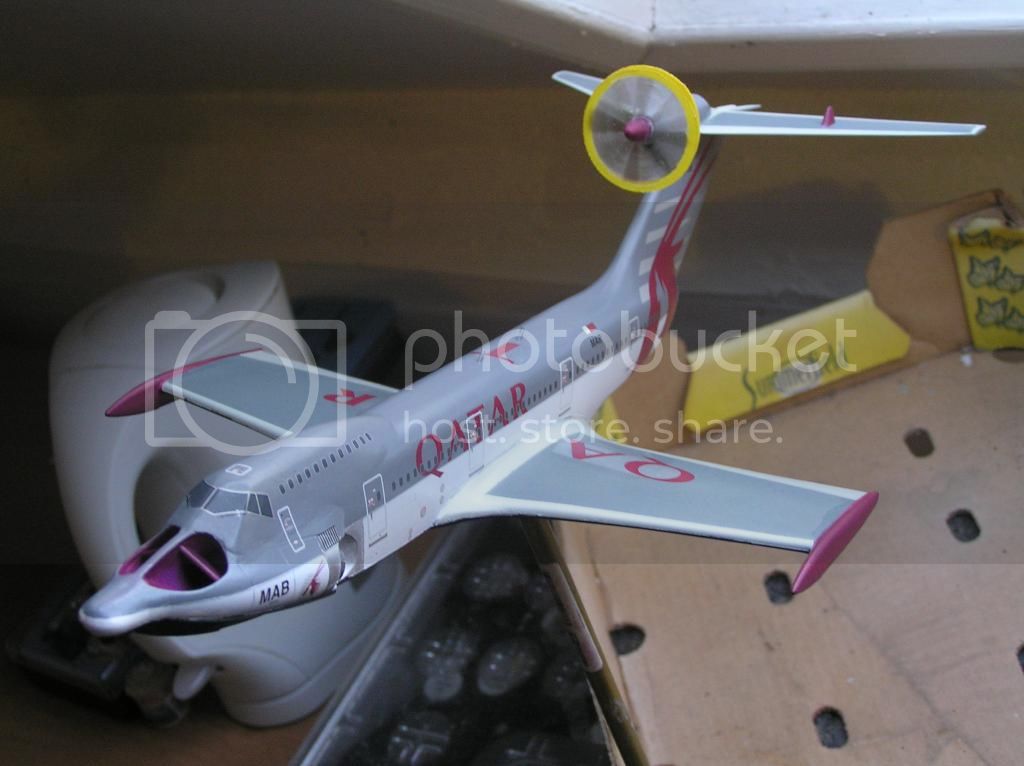
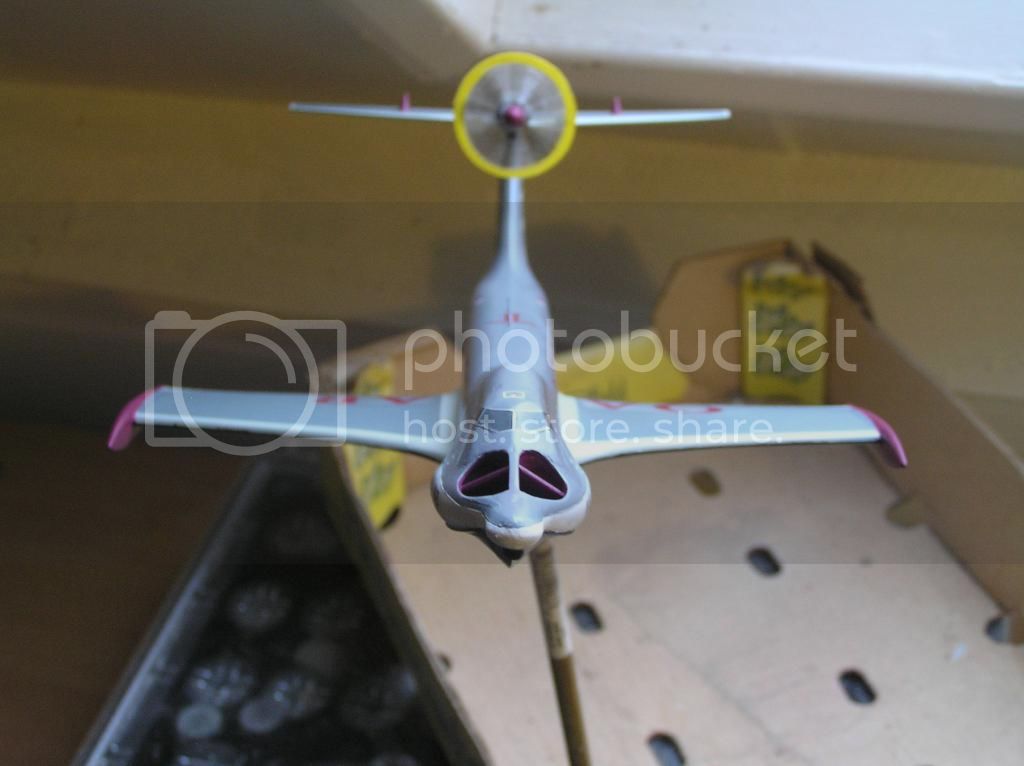
The next order of business is to make the ocean base - cheers everybody!

OK - I have finished the decals on the Ekranoplan, and sealed the whole model with a tinted pearlescent mica topcoat (Xtracolor). As the model is being depicted flying or skimming over an ocean base, I have removed the propeller blades from the spinners, and cut out some acetate propeller discs. After masking and spraying the edge of the discs yellow, I looked for more information on modelling realistic spinning propellers. I found a couple of really good ideas, one of them was to pin the centre of the disc to a piece of coarse sandpaper, and then spin the acetate around the pin, creating a convincing propeller blur. The second idea was to make a propeller blade mask from cardboard, and then lightly spray thinned black or grey paint onto the acetate disc, to create the shadow of the blades. I used this idea, with one innovation of my own, I used Tamiya Smoke (X-19), which works brilliantly.


The next order of business is to make the ocean base - cheers everybody!


North4003

Joined: August 01, 2012
KitMaker: 960 posts
AeroScale: 391 posts

Posted: Wednesday, November 05, 2014 - 12:03 PM UTC
Quoted Text
Lots of great work happening here people!
OK - I have finished the decals on the Ekranoplan, and sealed the whole model with a tinted pearlescent mica topcoat (Xtracolor). As the model is being depicted flying or skimming over an ocean base, I have removed the propeller blades from the spinners, and cut out some acetate propeller discs. After masking and spraying the edge of the discs yellow, I looked for more information on modelling realistic spinning propellers. I found a couple of really good ideas, one of them was to pin the centre of the disc to a piece of coarse sandpaper, and then spin the acetate around the pin, creating a convincing propeller blur. The second idea was to make a propeller blade mask from cardboard, and then lightly spray thinned black or grey paint onto the acetate disc, to create the shadow of the blades. I used this idea, with one innovation of my own, I used Tamiya Smoke (X-19), which works brilliantly.


The next order of business is to make the ocean base - cheers everybody!

Lee, very nice work. The paint scheme and blurred props are fantastic.
bdanie6

Joined: November 09, 2008
KitMaker: 615 posts
AeroScale: 459 posts

Posted: Wednesday, November 05, 2014 - 04:33 PM UTC

bdanie6

Joined: November 09, 2008
KitMaker: 615 posts
AeroScale: 459 posts

Posted: Wednesday, November 05, 2014 - 04:46 PM UTC
Hot Dang It Worked!! 


Okay, as I was saying...I purchased the Italeri release of the Do 24T.
according to the box, the molds have been upgraded, colour instructions and a super decal sheet. Well, the parts are clean and crisp, with only a few pieces showing some flash from mold slip.
In the box are a bag of plastic parts, a bagged card of photo etch, and a decal sheet that fills the whole bottom of the box.

Inside the big plastic bag is 3 sprues of plastic parts. Again, for the most part the molding is very crisp and the detail is excellent.

Also inside the big plastic bag is a smaller bag with the clear parts and a bagged card with the photo etch on it.

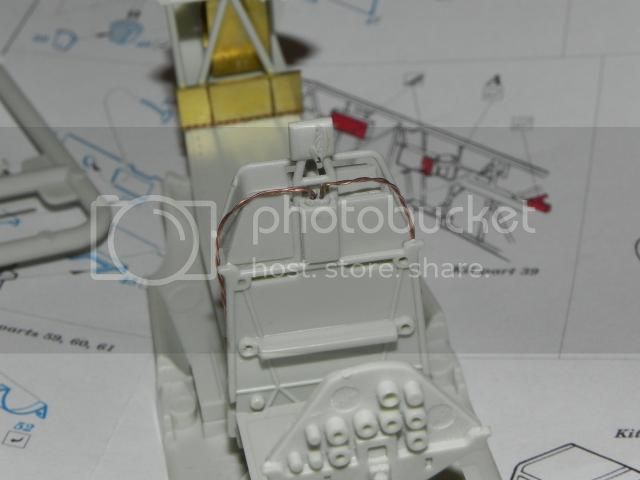
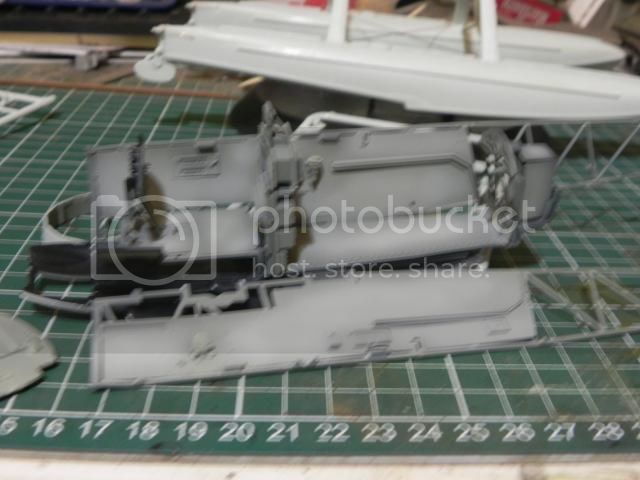
So far I have sprayed the interior spaces RLM 02 and started work constructing the cockpit.

I should have those pictures ready for tomorrow.
Later


Okay, as I was saying...I purchased the Italeri release of the Do 24T.
according to the box, the molds have been upgraded, colour instructions and a super decal sheet. Well, the parts are clean and crisp, with only a few pieces showing some flash from mold slip.
In the box are a bag of plastic parts, a bagged card of photo etch, and a decal sheet that fills the whole bottom of the box.

Inside the big plastic bag is 3 sprues of plastic parts. Again, for the most part the molding is very crisp and the detail is excellent.

Also inside the big plastic bag is a smaller bag with the clear parts and a bagged card with the photo etch on it.

So far I have sprayed the interior spaces RLM 02 and started work constructing the cockpit.

I should have those pictures ready for tomorrow.
Later


Mcleod

Joined: April 07, 2010
KitMaker: 1,028 posts
AeroScale: 939 posts

Posted: Wednesday, November 05, 2014 - 04:48 PM UTC
Whoa!! Bruce. That's pretty and a great choice. Good luck with it!! 

Posted: Wednesday, November 05, 2014 - 08:03 PM UTC
Nice effect on the propeller blades, Lee. Very cool result.
Bruce, that kit looks outstanding. I am tempted to pick it up myself. I wish somebody (Yes, I am looking at you, Revell) would give the same treatment to the old Matchbox kits.
Bruce, that kit looks outstanding. I am tempted to pick it up myself. I wish somebody (Yes, I am looking at you, Revell) would give the same treatment to the old Matchbox kits.
stukaace

Joined: January 03, 2006
KitMaker: 39 posts
AeroScale: 39 posts

Posted: Wednesday, November 05, 2014 - 10:09 PM UTC
Quoted Text
Hi Andy the Bv138 is looking great! I have the super model kit in 1/72nd to build and even in 1/72nd the kit is big! Yours must be positively gargantuan. What references are you using? The super model kit is fairly light on internal details and I need information on how too detail it.
Hi Chris, thanks for your comment on Bv138. Tracking down any reasonable references was not easy, not a lot has been published on this beast. One useful site is [url= www.deutscheluftwaffe.de[/url]there is an article on the Bv 138 with some useful photos. Other refs. were books by Schiffer,Wydawnictwo militaria & trawling Google for any info..Sorry for late reply,hope this is of some use to you.
Cheers Andy

stukaace

Joined: January 03, 2006
KitMaker: 39 posts
AeroScale: 39 posts

Posted: Thursday, November 06, 2014 - 12:44 AM UTC
Back with the 'beast' Bv138. My main subject at present is detailing the cockpit and turrets. First off is the instrument panel, initial part was to find a drawing of the panel. After a search on the internet I was lucky to be able to download an article on the Bv138 instrument panel (courtesy of Flugzeug Classic magazine) The drawing of the instrument panel wasn't to 1/48 scale so with the technical wizardry of computers I was able to print out a 48 scale copy of this drawing. So armed with template I began construction of my own instrument panel.
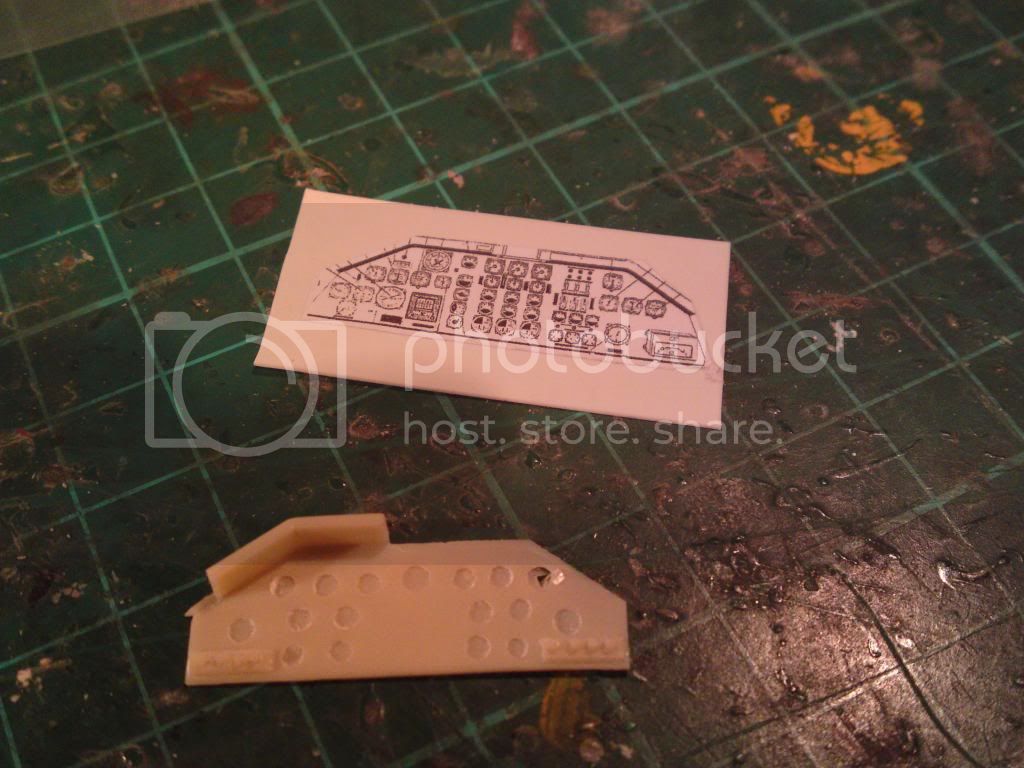
Paper template temporarily attached to plasticard, with rather poor resin item included in kit.
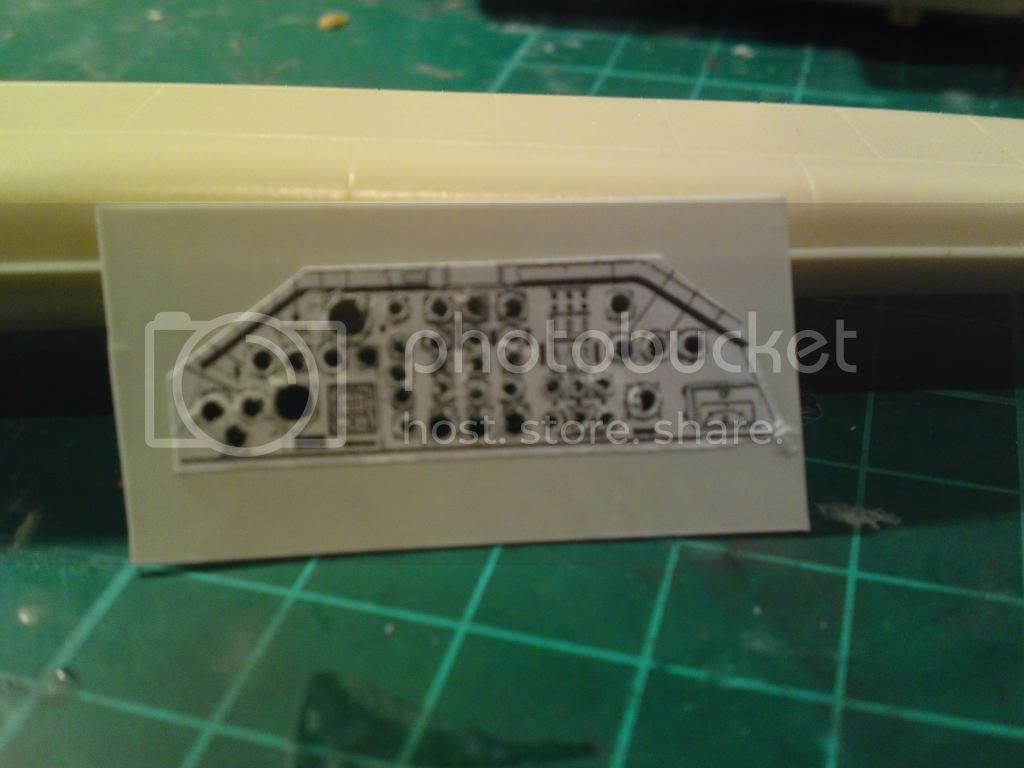
Holes drilled through instrument faces helps with location of instrument faces.
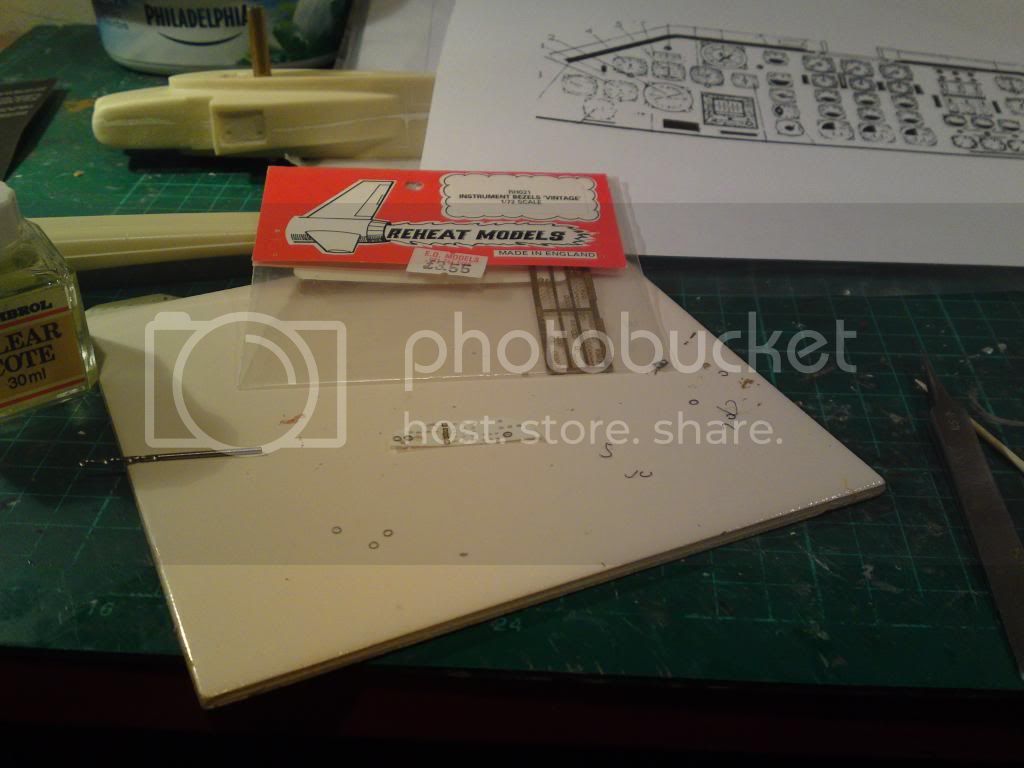
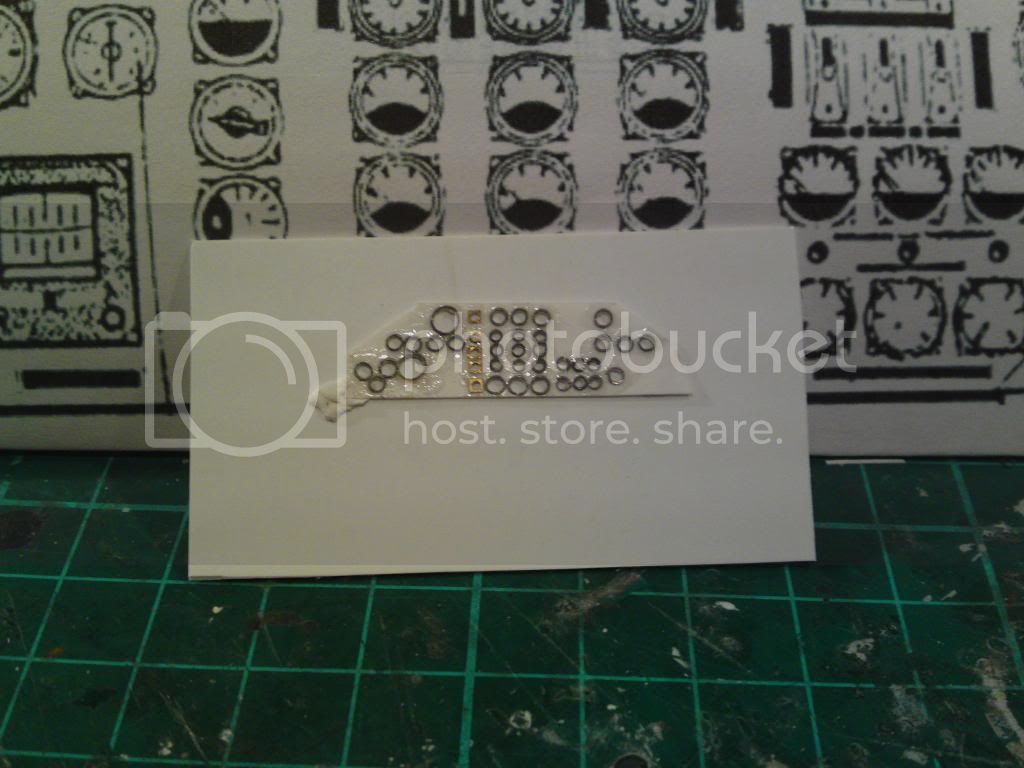
I then used Reheat instrument bezels and lead wire wrapped around various diameter objects, then gently flattened, to represent the bezels.
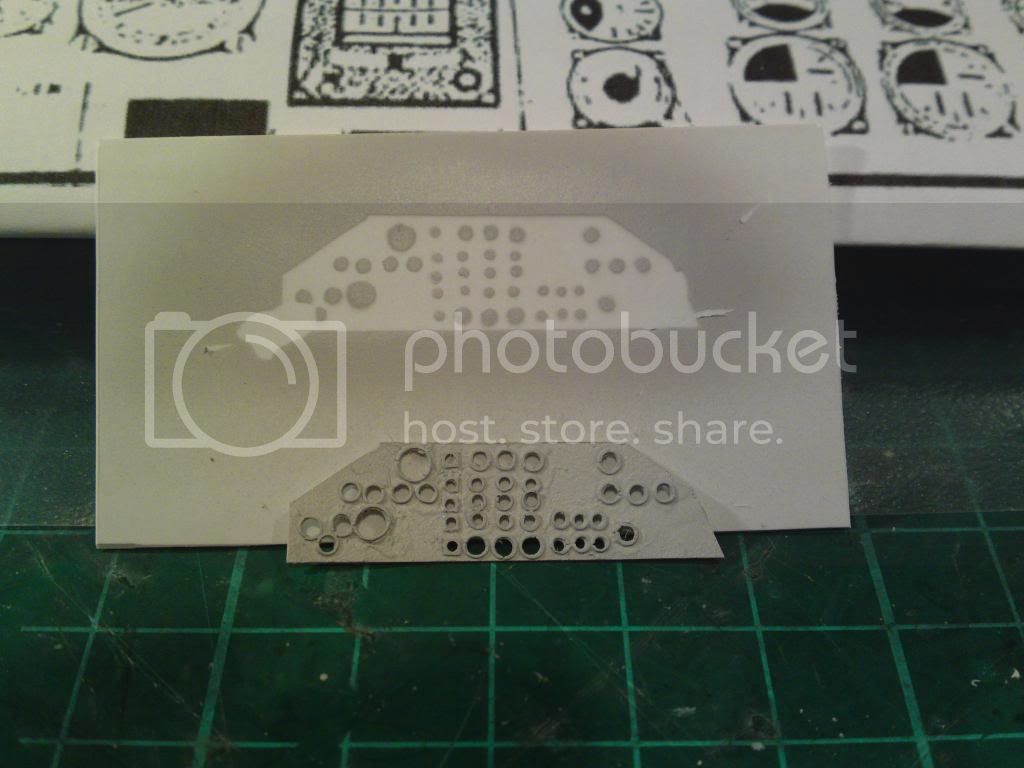
Then I sprayed primer onto the instrument panel while it was temporarily attached to a piece of plasticard. This then gave me the correct position for the Airscale instrument faces.
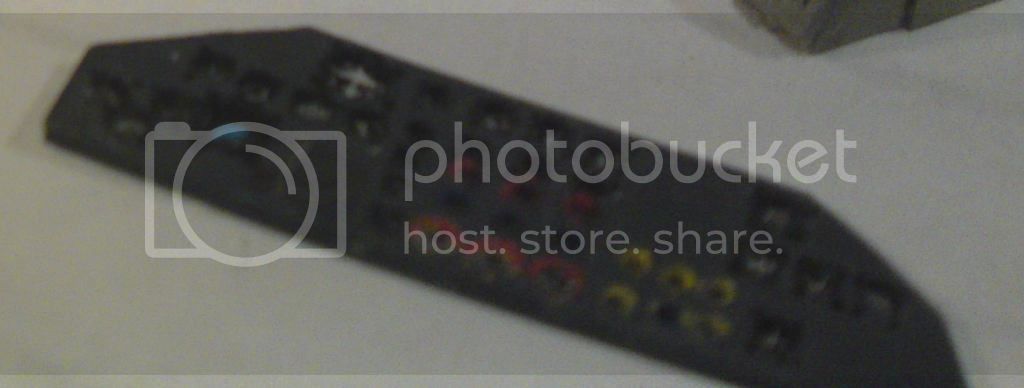

Two very poor shots of the completed and painted panel.
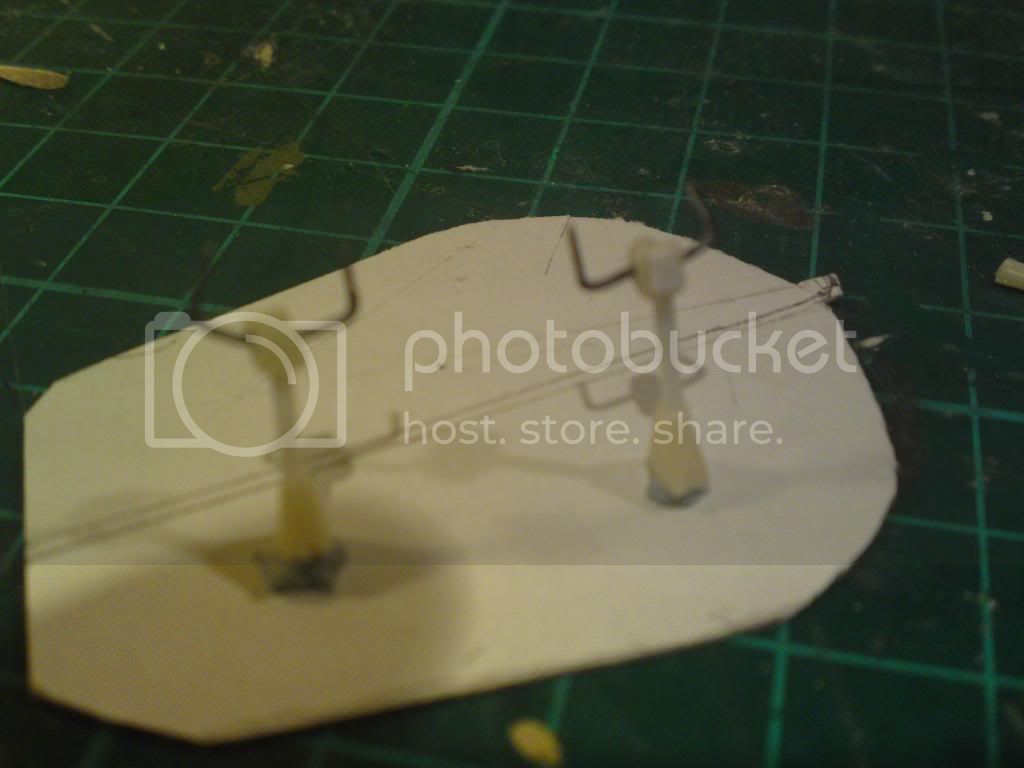
Modified control columns.
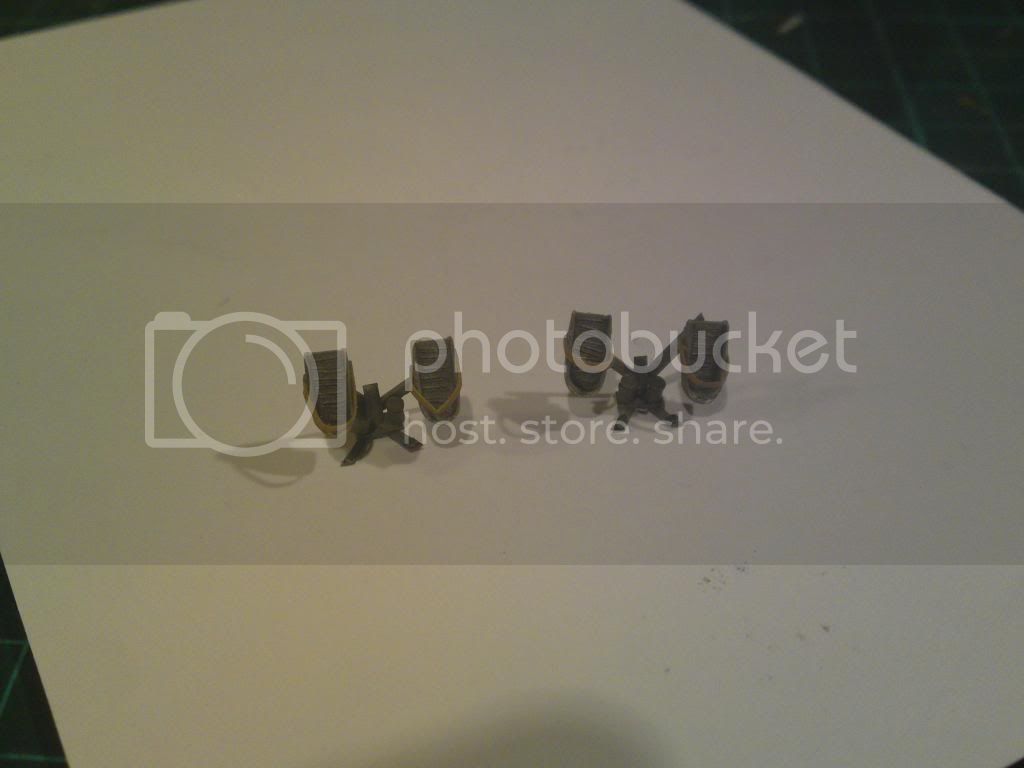
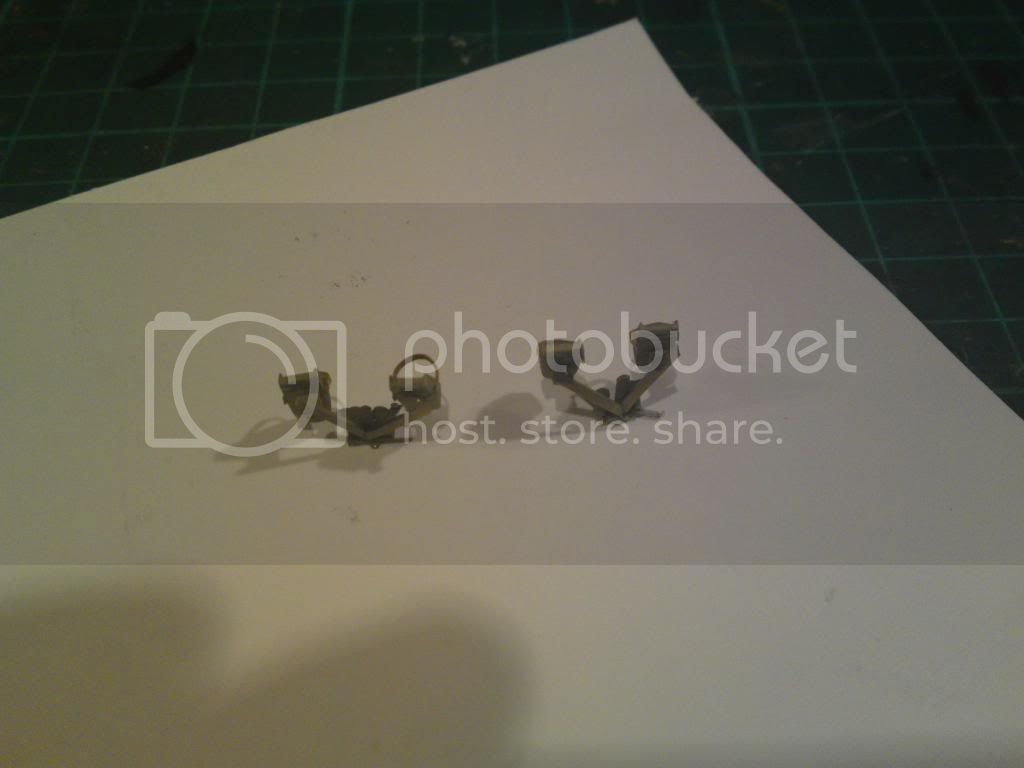
Scratch built rudder pedal supports with photo etch pedals.
That's my update for now, hopefully the next one will be sooner!!
It's great to see the variety of builds on this campaign and the high standard of workmanship.
Cheers for now Andy


Paper template temporarily attached to plasticard, with rather poor resin item included in kit.

Holes drilled through instrument faces helps with location of instrument faces.


I then used Reheat instrument bezels and lead wire wrapped around various diameter objects, then gently flattened, to represent the bezels.

Then I sprayed primer onto the instrument panel while it was temporarily attached to a piece of plasticard. This then gave me the correct position for the Airscale instrument faces.


Two very poor shots of the completed and painted panel.

Modified control columns.


Scratch built rudder pedal supports with photo etch pedals.
That's my update for now, hopefully the next one will be sooner!!
It's great to see the variety of builds on this campaign and the high standard of workmanship.
Cheers for now Andy


JollyRoger

Joined: December 22, 2004
KitMaker: 1,241 posts
AeroScale: 616 posts

Posted: Thursday, November 06, 2014 - 09:00 AM UTC
Hi guys and gals! Blimey there are some wild projects going on here. I, as always, have a weird question. I am planing to build a Stearman Kaydet on floats, but it will be a civilian airplane and will be a "why the heck not" aircraft if not a "what-if". Of course the sources will be from real aircraft but float versions are generally custom built so...who knows? Does it count? Shall I enlist? 

ljames0874

Joined: August 15, 2012
KitMaker: 408 posts
AeroScale: 365 posts

Posted: Thursday, November 06, 2014 - 07:32 PM UTC
@Andy - Really great detailing work there, especially the instrument panel. The resin kit item is pretty poor, considering how much you must have spent on the kit, I would certainly be more than disappointed. I can't wait to see the finished model! 

bdanie6

Joined: November 09, 2008
KitMaker: 615 posts
AeroScale: 459 posts

Posted: Wednesday, November 12, 2014 - 09:20 AM UTC
Hi everyone, sorry it has taken me so long to make another update.
So far I have sprayed RLM 02 over all the interior parts.

Painted and assembled the cockpit;


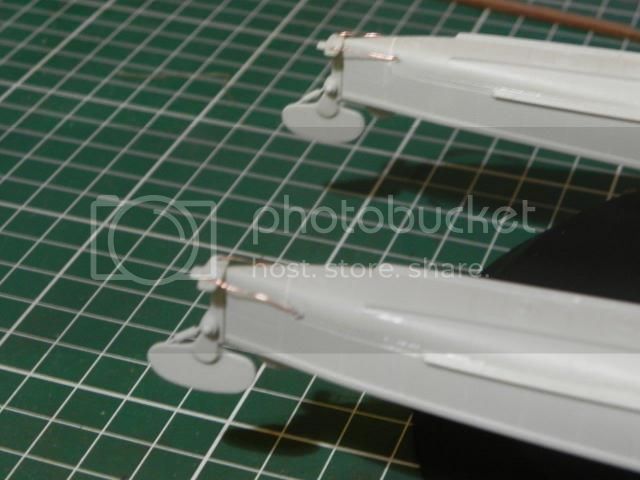
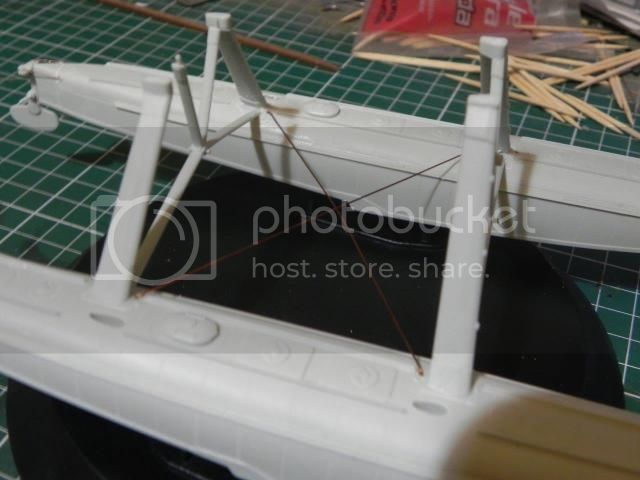
I then assembled the boat hull and the empennage;

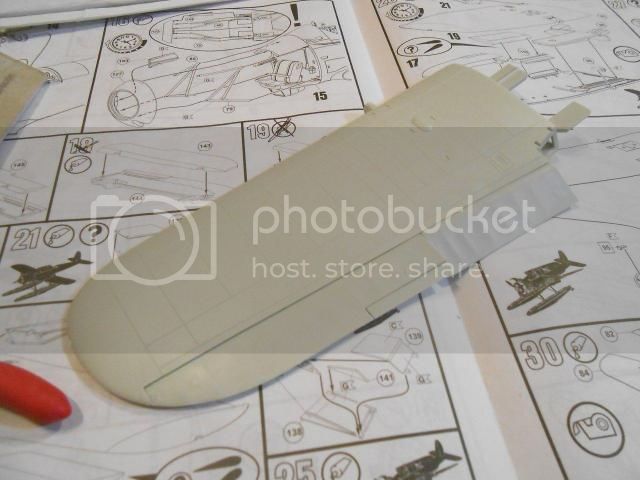
Next to put the sponsons on the hull, do the photo etch, and then start on the wing and engines.
Till then,
Later
So far I have sprayed RLM 02 over all the interior parts.

Painted and assembled the cockpit;


I then assembled the boat hull and the empennage;

Next to put the sponsons on the hull, do the photo etch, and then start on the wing and engines.

Till then,
Later

Posted: Wednesday, November 12, 2014 - 02:22 PM UTC
Well after much weathering, which practically disappeared on the topside after a couple of coats of matte varnish! I'm going to call this particular experiment done! And for you edification here are some pics. I'll take a couple of pics for the gallery and get them up.
I look forward to seeing more of our waterbirds take the the water!


What do you think will she fly?? LOL
I look forward to seeing more of our waterbirds take the the water!


What do you think will she fly?? LOL
Posted: Wednesday, November 12, 2014 - 02:57 PM UTC
Beautiful build, Chris! Looks outstanding!
bdanie6

Joined: November 09, 2008
KitMaker: 615 posts
AeroScale: 459 posts

Posted: Wednesday, November 12, 2014 - 06:57 PM UTC
Great job Chris, she looks really good 
Later

Later

Posted: Wednesday, November 12, 2014 - 08:00 PM UTC
Great work Chris!
Please post photos in Gallery.

Please post photos in Gallery.

Posted: Wednesday, November 12, 2014 - 11:44 PM UTC
@Jesper,Richard and Bruce: My heartfelt thanks gentlemen for your kind words. This kit was a dream to build with no fit issues and absolutely NO filling just a little sanding of the minimal seams and were good to go. Not being NMF it was a very easy build! The weathering took the longest with several new techniques being used all of which I'll need to refine but isn't it what this hobby is all about finding what works and using it to the best of your abilities?
My thanks to Richard for coming up with the idea and Michael & co for running the show and for getting such a diverse group of builders to show off what we can do.
My thanks to Richard for coming up with the idea and Michael & co for running the show and for getting such a diverse group of builders to show off what we can do.
mrockhill

Joined: June 17, 2009
KitMaker: 566 posts
AeroScale: 507 posts

Posted: Thursday, November 13, 2014 - 11:08 AM UTC
Chris, your Rex looks great! The last one in existence use to sit 20 minutes from here, since they moved it Ive wished id spent more time checking it out.
Ive got a bit more progress on my rufe but dont have my photos sorted out yet to post them.
Ive got a bit more progress on my rufe but dont have my photos sorted out yet to post them.
 |


