Hi here we have another update to my Bv138 build, not moving as quickly as Chris's Kawanishi N1K1 Kyofu (which looks really good). Also watching the other builds which are also looking good.
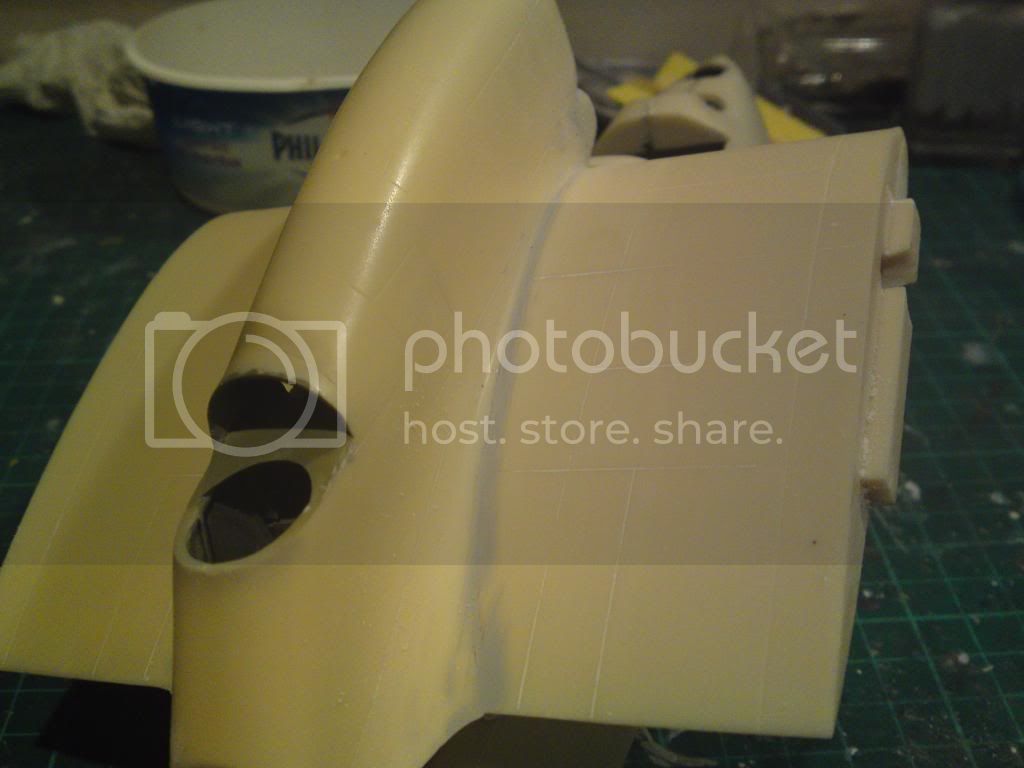
After my fitting of the porthole glazing I moved on to the central over-wing engine/gunners housing. I decided to open the port entry hatch shown in photo below. You will also notice that I have attached the radiator intake and fared it in with filler.
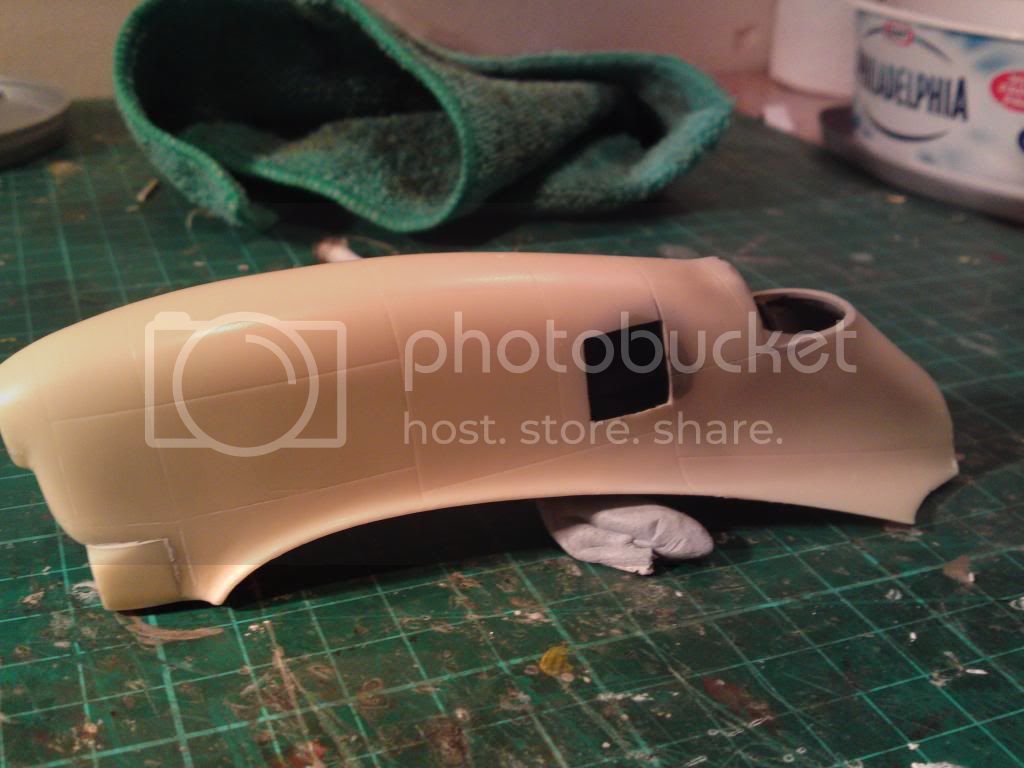
Before adding the intake I added a piece of brass mesh to simulate the radiator face, also added was the fairing in front of the radiator.

Sorry not the best of photos I'm afraid

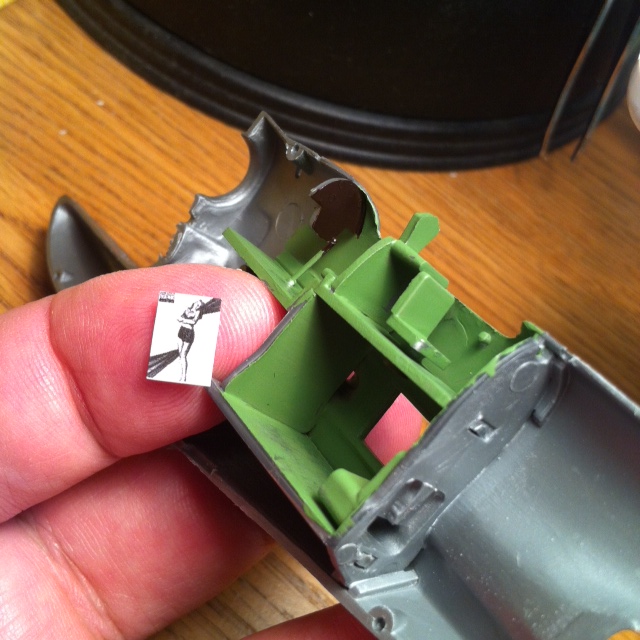
As the entry door to the central housing is open and with the gunners open turret it is possible to see into the
housing. I needed to add some interior detail to it, using photos I found on the GERMAN LUFTWAFFE site
www.deutscheluftwaffe.de " TARGET="_blank"> www.deutscheluftwaffe.de A very useful reference for details for modelling Luftwaffe machines.

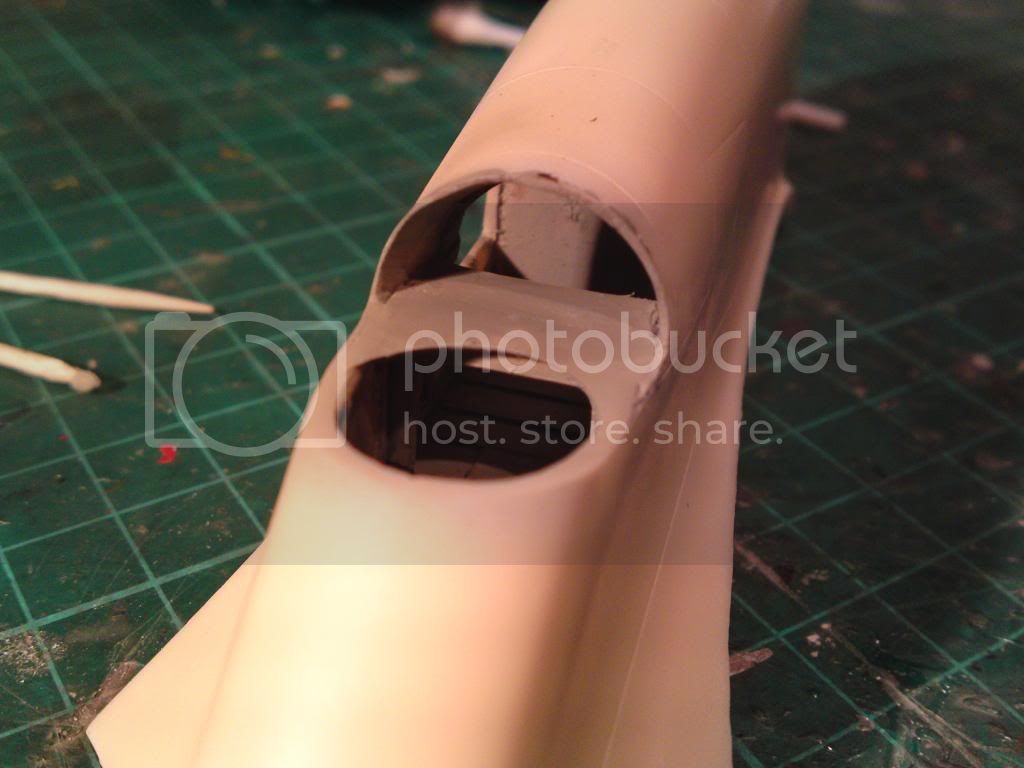
In this view you can see I have added some internal structure and a bulkhead in front of the gunners position ( I'm not entirely sure this is correct photos aren't clear enough). I have also beveled the edges around the entry hatch to disguise the thickness of the resin.

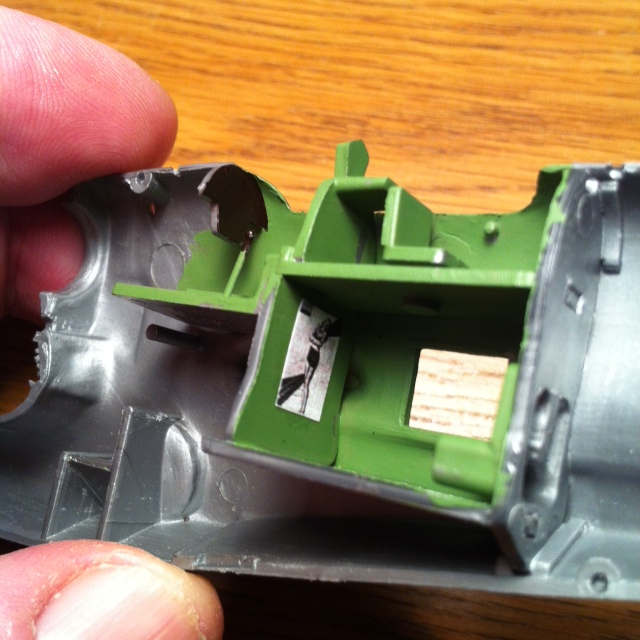
This image shows another view of the internal structure added.
I added a semi-circle of plasticard to the top of the gunners position to give the circular opening for the gun mounting ring to sit on. The resin was thinned to a more scale appearance at the same time.
From my references I gleaned that there was some type of equipment on the bulkhead by the entry door, I'm not sure what it was but attempted to reproduce something that approximated it. See view below.

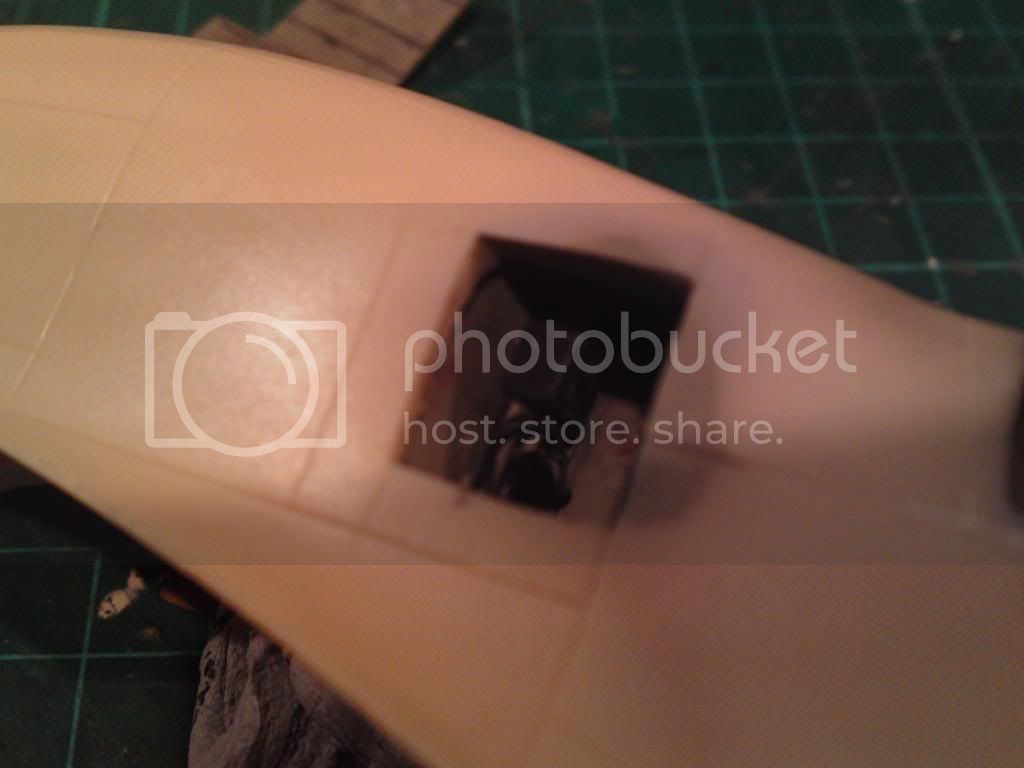
Again not brillant pic
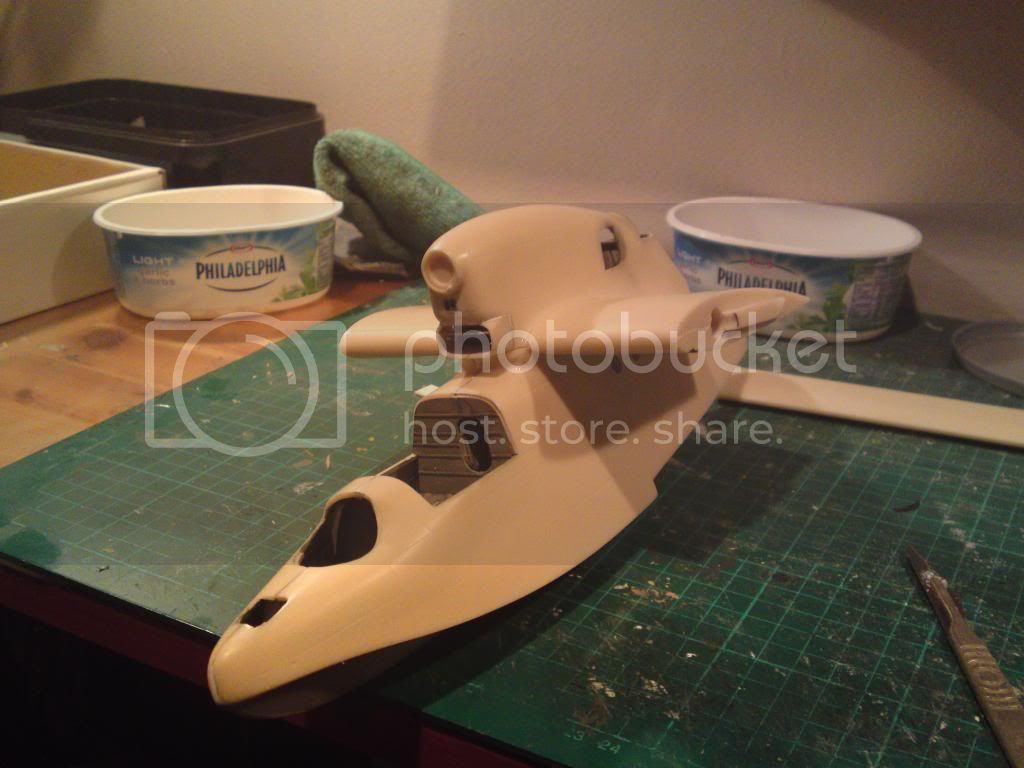
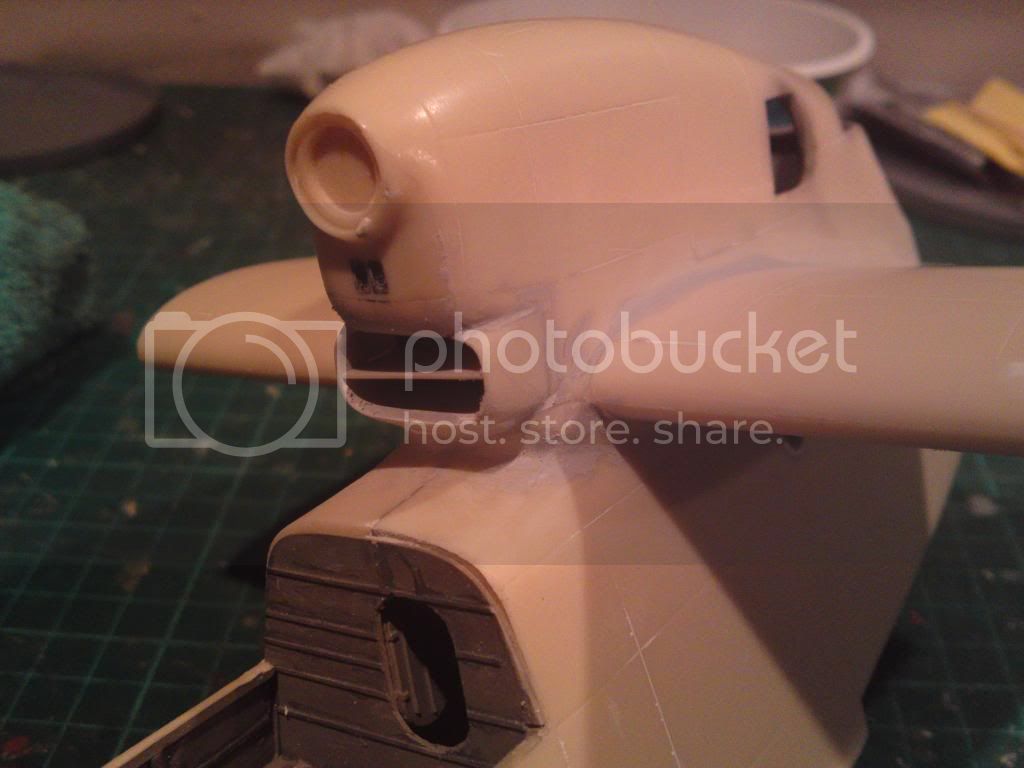
With all internals in, time to marry up the housing to the wing

After a fair bit of sanding and scraping they were attached to each other.


I decided to leave filling and sanding joints till wing was mounted on fuselage as next view shows.


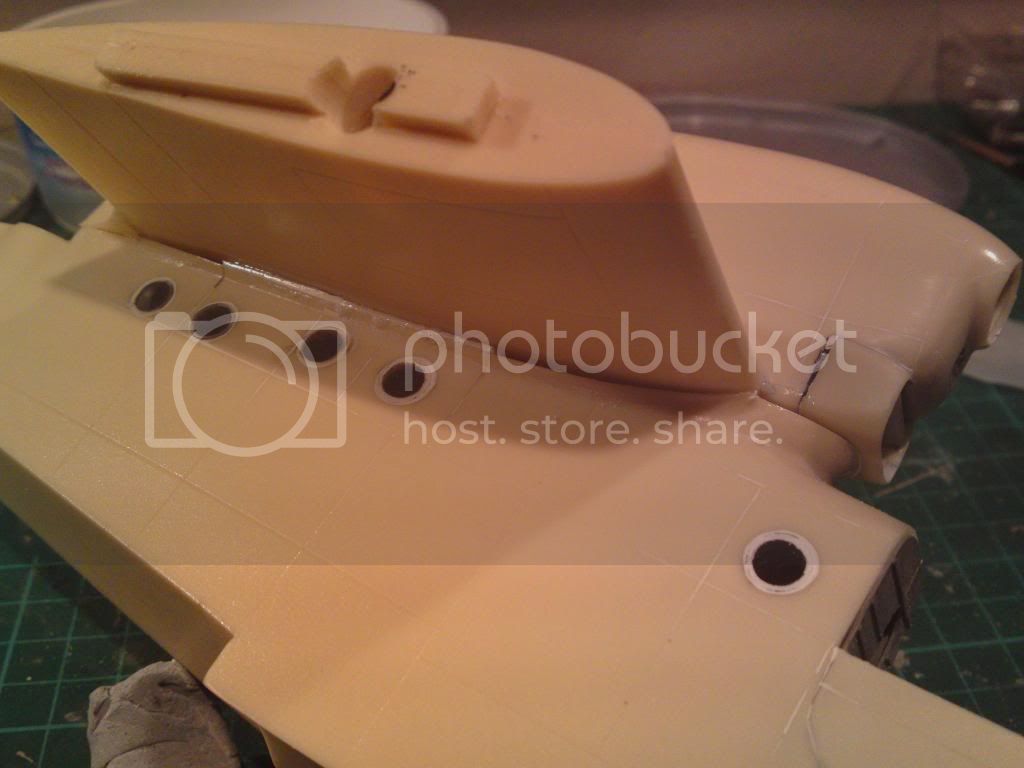
I had to use some plasticard shims to fill the gaps under the wings, which still require a fair bit of filler! The wing had to be at 90 degrees to the fuselage which I managed to achieve first time

Filler was applied to all the joints then wet sanded to an acceptable level.


I'm quiet sure that after primer is applied the joints will require further work. Although I found the fuselage joints, after sanding, came out quiet well.
Well that's it for another session, it's turning out to be a slow build but then again for the price it's certainly giving me a great challenge to complete.
Till the next time then, think I will watch some of the other great builds coming along.
Cheers Andy