Mark,
The weather/usage wear on the Flak is awesome!
Great job.
Air Campaigns
Want to start or join a group build? This is where to start.
Want to start or join a group build? This is where to start.
Hosted by Frederick Boucher, Michael Satin
OFFICIAL: The Sign of the Four Campaign
Posted: Tuesday, June 28, 2016 - 12:48 AM UTC
Posted: Tuesday, June 28, 2016 - 12:49 AM UTC
Thanks, Jeff!


Posted: Wednesday, June 29, 2016 - 04:11 AM UTC
Done with the dirt, hitched up and ready to go. Calling this one done.

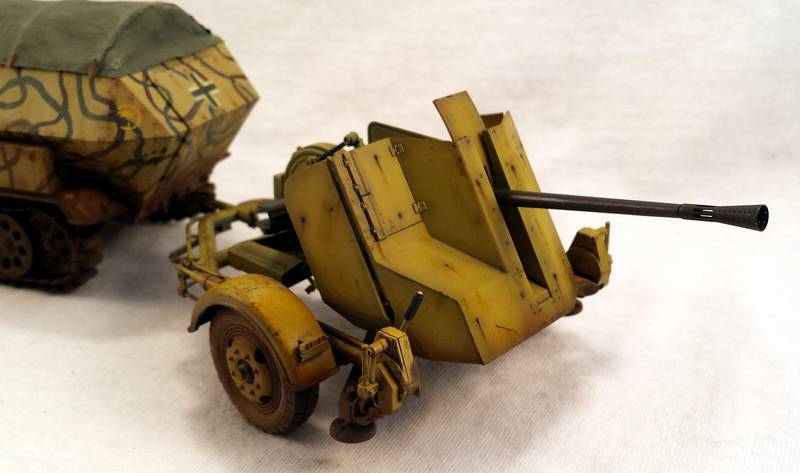
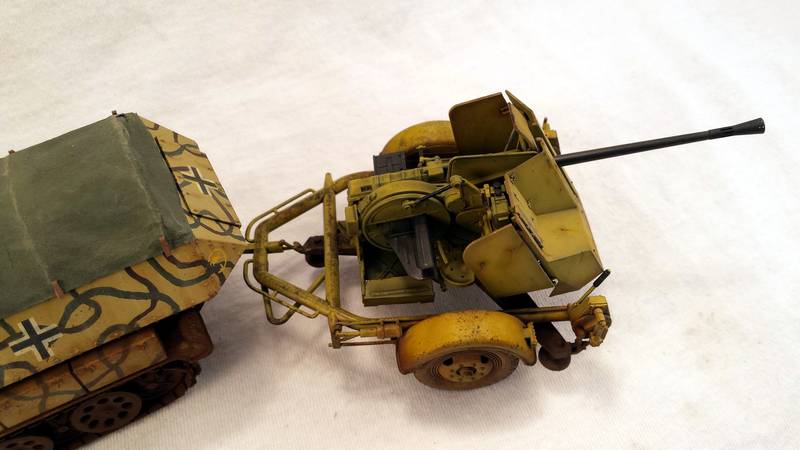
Can't find the campaign gallery, but I will drop my finished photos in there whenever it's up and running.
Good luck everyone with the rest of your builds!


Can't find the campaign gallery, but I will drop my finished photos in there whenever it's up and running.
Good luck everyone with the rest of your builds!

MichaelSatin


Joined: January 19, 2008
KitMaker: 3,909 posts
AeroScale: 2,904 posts

Posted: Wednesday, June 29, 2016 - 05:13 AM UTC
Quoted Text
Can't find the campaign gallery, but I will drop my finished photos in there whenever it's up and running.
Good luck everyone with the rest of your builds!

Very nice work Mark! The gallery is right here.
Michael

Posted: Wednesday, June 29, 2016 - 06:23 AM UTC
Mark,
I really like the camo on the halftrack. Like it was painted by an in scale person
Gaz
I really like the camo on the halftrack. Like it was painted by an in scale person
Gaz
Posted: Wednesday, June 29, 2016 - 04:30 PM UTC
Thanks, Mike and Gary.
It's really more my poor technique at hand-painting camo than any concerted effort to achieve an "in-scale" appearance on the half-track!

It's really more my poor technique at hand-painting camo than any concerted effort to achieve an "in-scale" appearance on the half-track!


Posted: Wednesday, June 29, 2016 - 07:15 PM UTC
Mark,
Really nice job. BZ!
Like Gary said, you did a real nice job on the halftracks camo.
I also really like the tarp covering, nicely shaped and highlighted for the ribs.
Really nice job. BZ!
Like Gary said, you did a real nice job on the halftracks camo.
I also really like the tarp covering, nicely shaped and highlighted for the ribs.
Posted: Wednesday, June 29, 2016 - 07:58 PM UTC
Thanks, Jeff!


Posted: Thursday, June 30, 2016 - 05:22 AM UTC
Mark,
Nice job on your build. Love that camouflage scheme!
Take care,
Don "Lakota"
Nice job on your build. Love that camouflage scheme!
Take care,
Don "Lakota"


Bigrip74

Joined: February 22, 2008
KitMaker: 5,026 posts
AeroScale: 2,811 posts

Posted: Thursday, June 30, 2016 - 06:11 PM UTC
I agree with Don, nice job Mark.
Bob
Bob
Posted: Thursday, June 30, 2016 - 06:28 PM UTC
Thanks, Guys!


Posted: Saturday, July 02, 2016 - 08:26 PM UTC
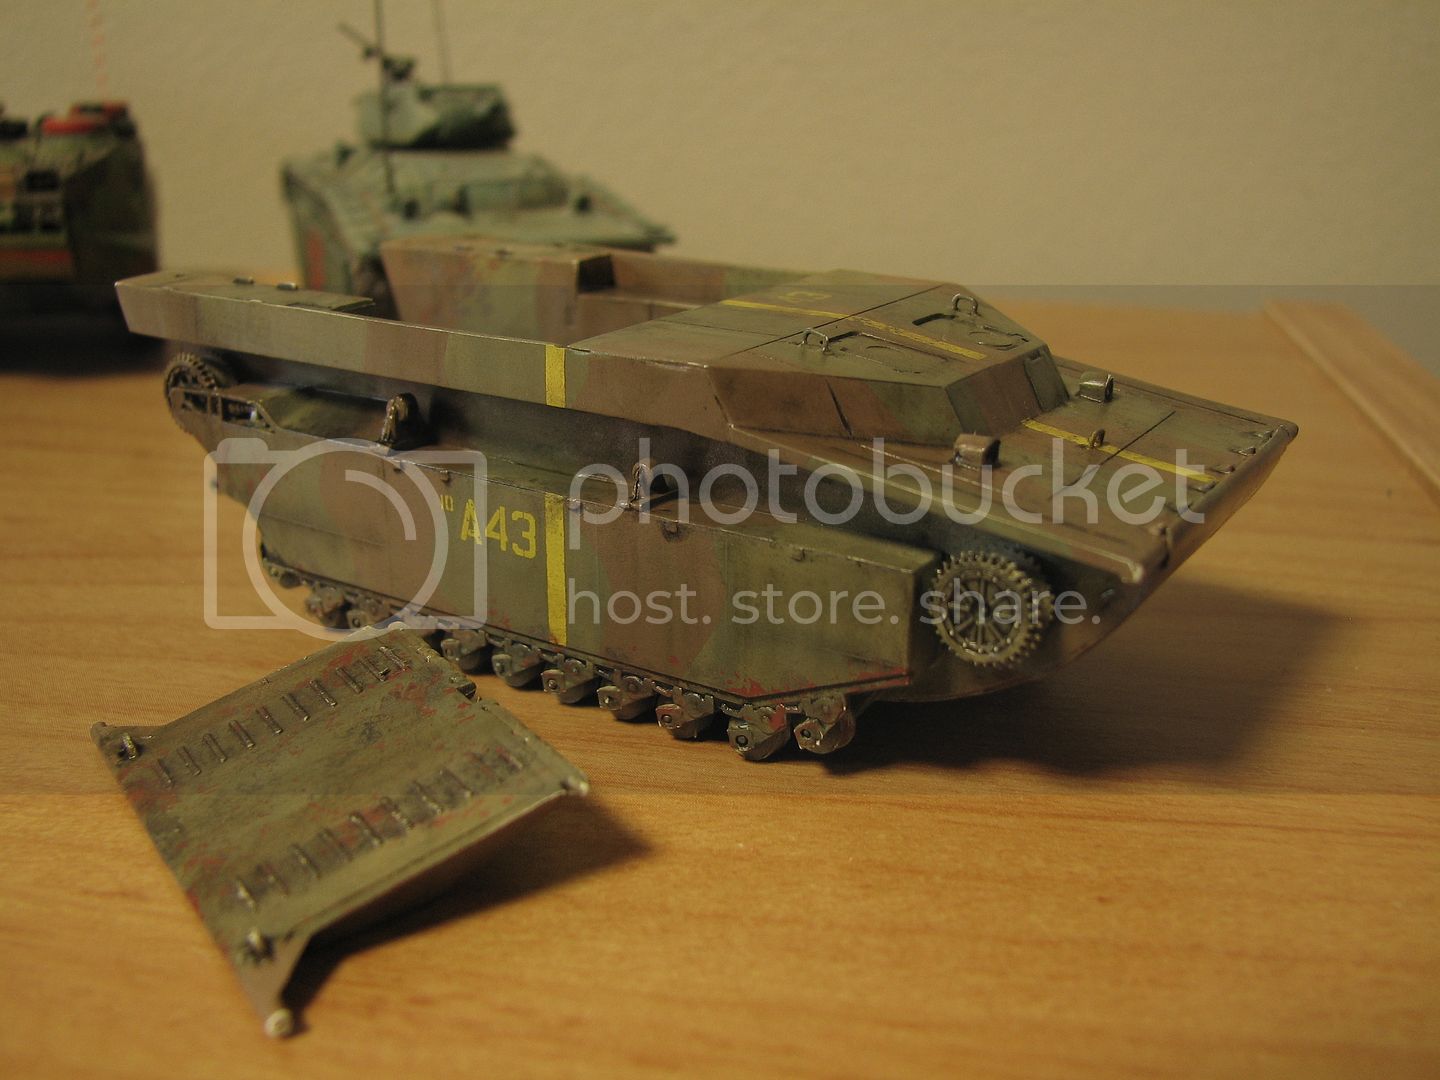
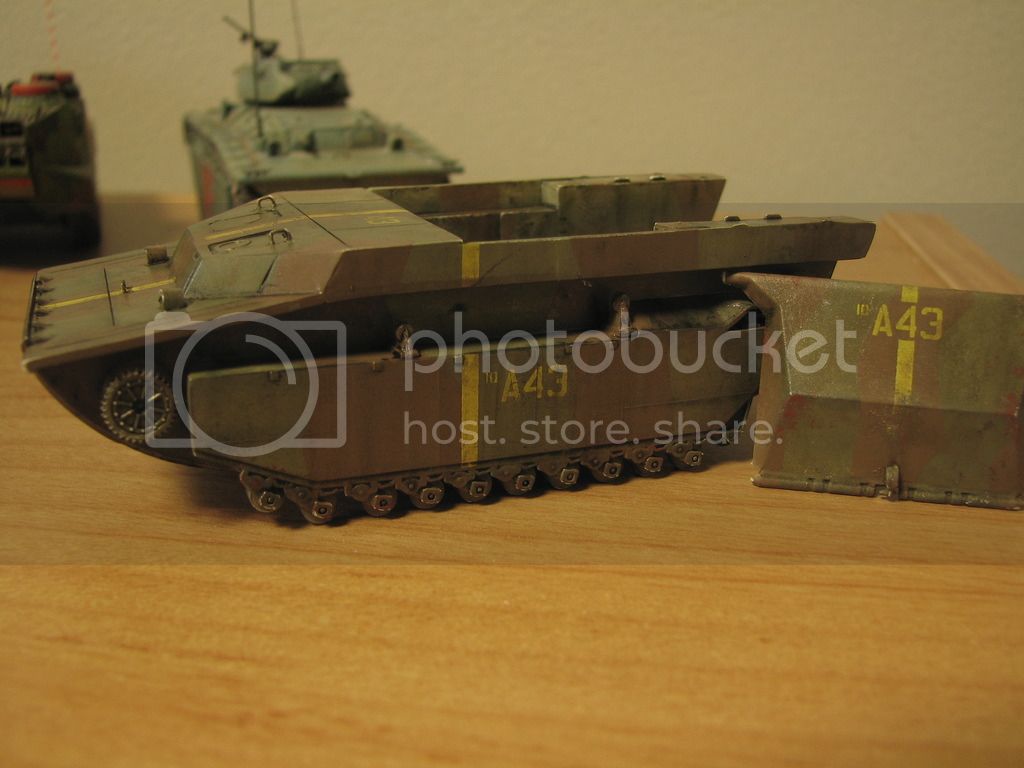
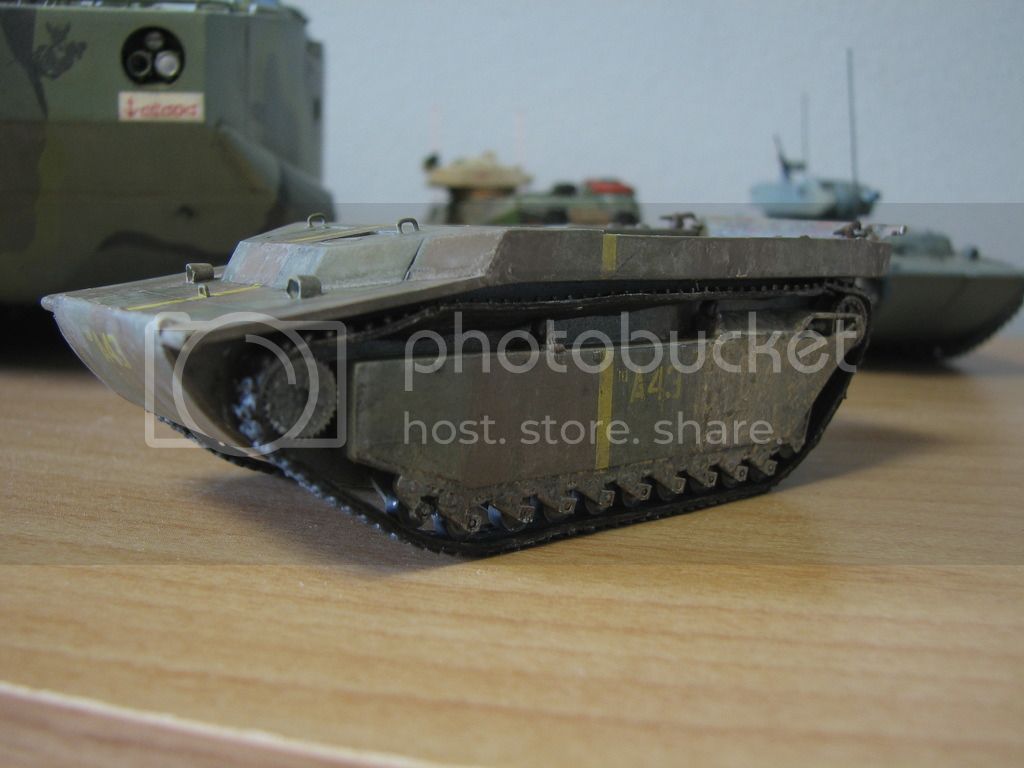
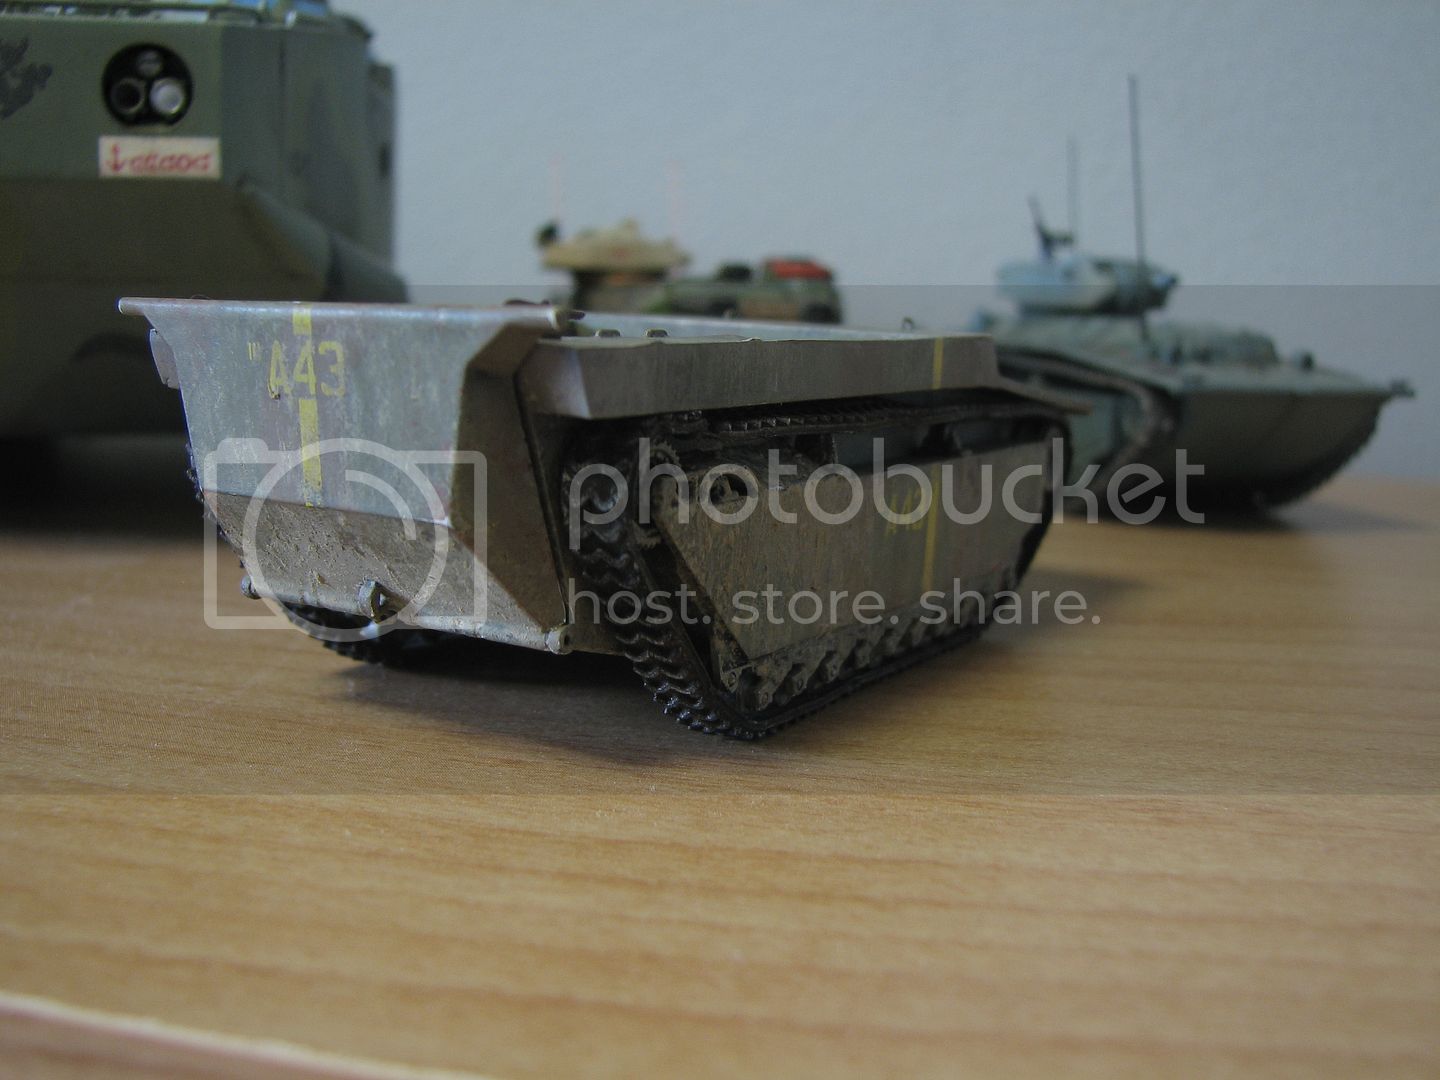
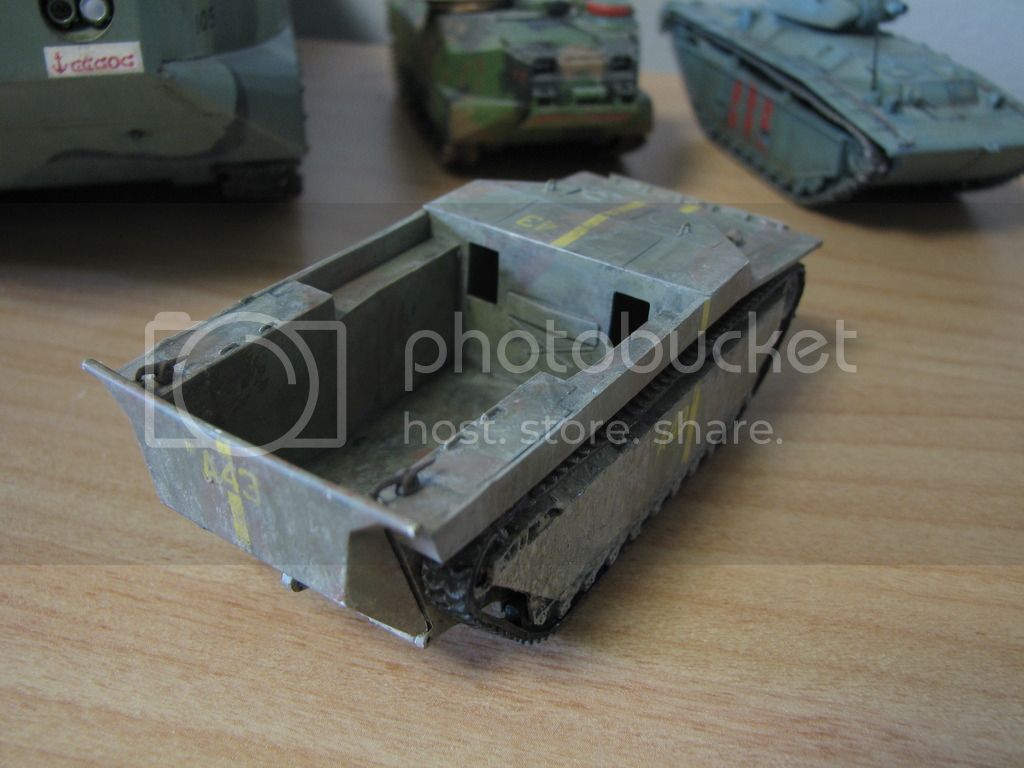
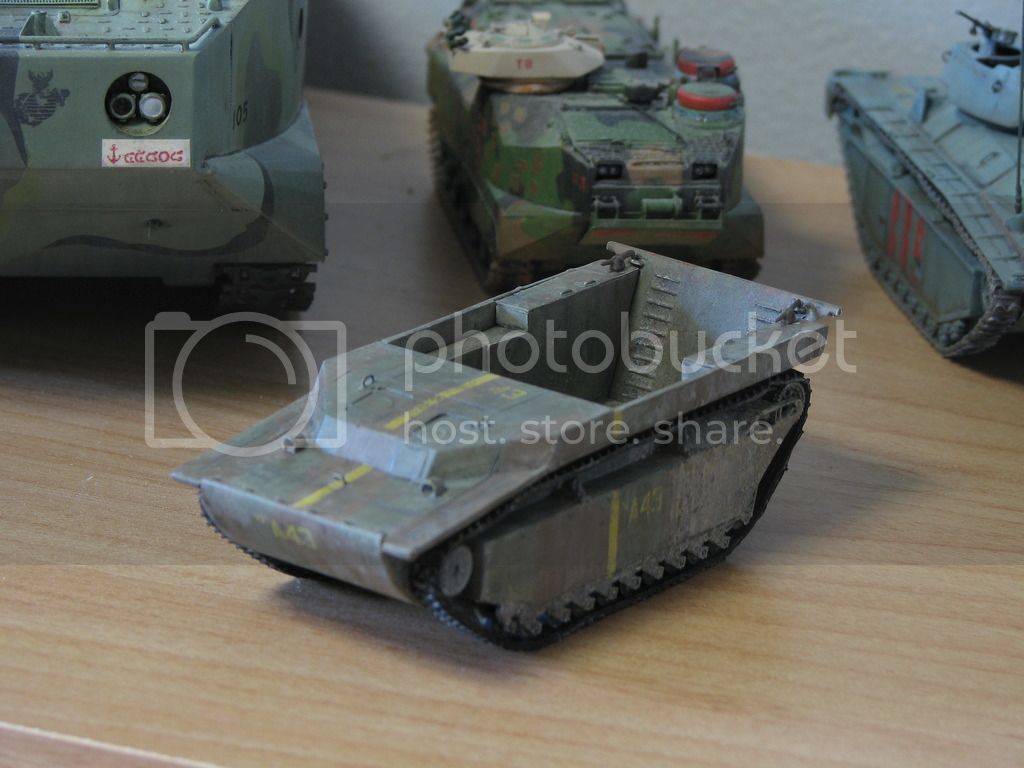
I was away from home for couple weeks but am trying to make up for the missed hobby time this weekend. The tracks are in the initial stages of painting/weathering and the hull is in the final stages of weathering.


SaxonTheShiba

Joined: February 01, 2009
KitMaker: 1,233 posts
AeroScale: 663 posts

Posted: Saturday, July 02, 2016 - 09:17 PM UTC
Daniel, that looks great. Really nice weathering on your finish.
Best wishes,
Ian


Best wishes,
Ian


Posted: Saturday, July 02, 2016 - 10:53 PM UTC
Thanks Ian, still tinkering with dirtying her up. The intent is to make it look as if it ran around on Iwo Jima for couple weeks.
Working on the tracks at the moment. They're way too shiny for something that is supposed to look like it has spent time on an island in the South Pacific - currently anyway.
Working on the tracks at the moment. They're way too shiny for something that is supposed to look like it has spent time on an island in the South Pacific - currently anyway.
Posted: Saturday, July 02, 2016 - 11:16 PM UTC
ok I think I have it at this point for photos
http://gallery3.kitmaker.net/data/500/M4A3-1.jpg
http://gallery3.kitmaker.net/data/500/M4A3-1.jpg
Posted: Sunday, July 03, 2016 - 01:03 AM UTC
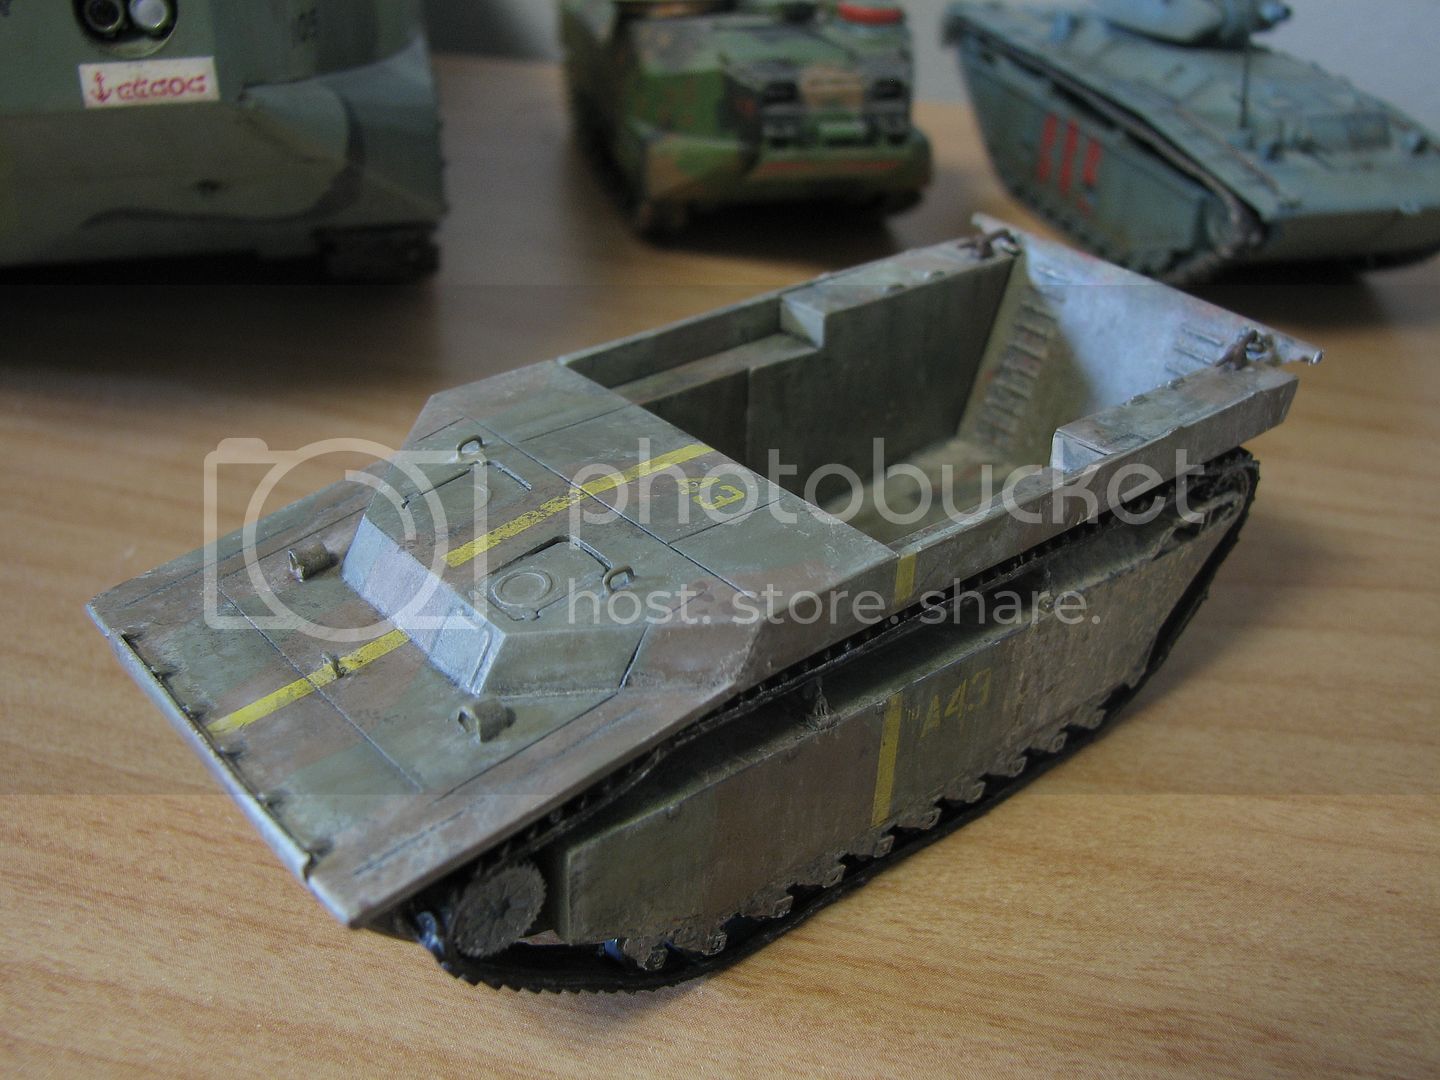
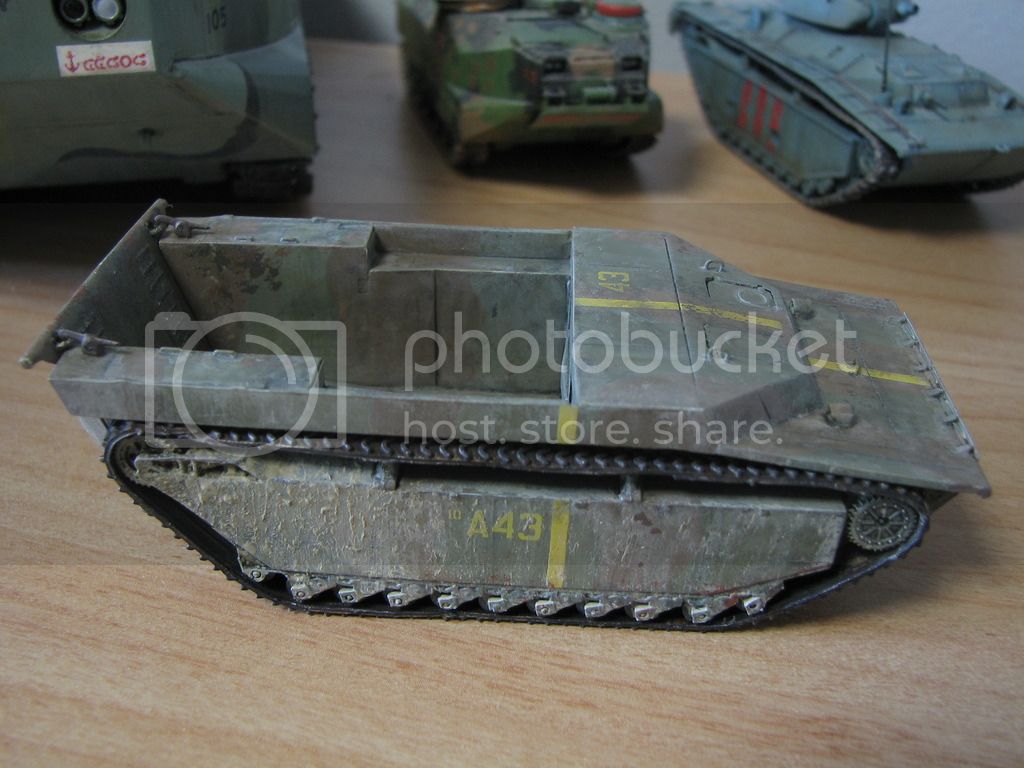
Iím calling this one done sir done. The rubber tracks are sloppier than I would like and I couldnít get the 1/72 water troughs sanded to fit the 1/76 hull. It is more OOB than I was intending. Iíll call this my last Airfix/MPC LVT, Iíll stick to the Dragon kits from here out.



Posted: Sunday, July 03, 2016 - 02:11 AM UTC
Nice weathering, Daniel!


Posted: Sunday, July 03, 2016 - 02:55 AM UTC
Daniel,
Very nicely done!
Gaz
Very nicely done!
Gaz
Posted: Sunday, July 03, 2016 - 02:55 AM UTC
I had half an hour to spare today so I made a start on my build.
Figured the engine was as good a place as any to start. The fit is of course exceptional.
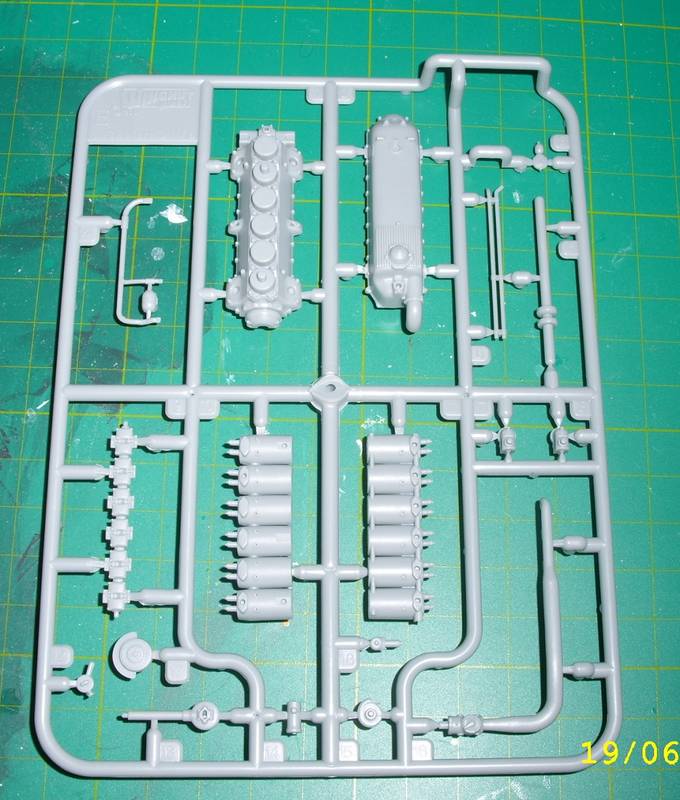
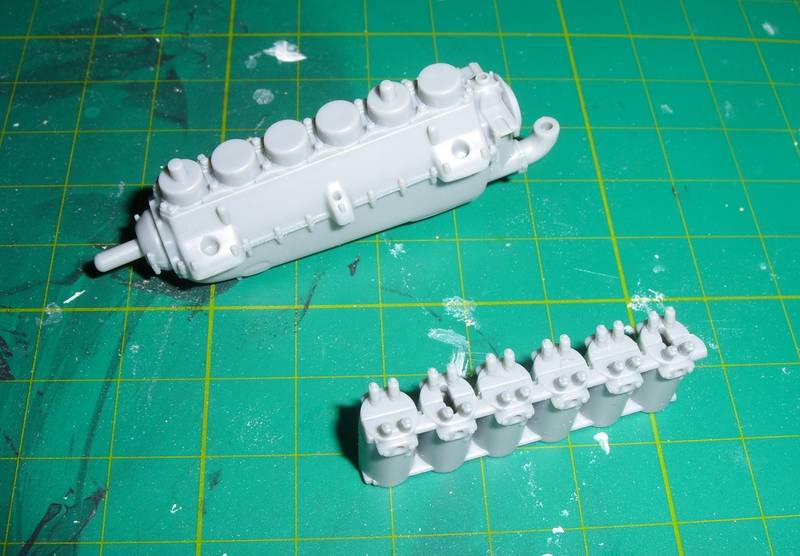
I also had these gorgeous little spark plugs arrive in the post yesterday. Cheap as chips and will really add to already brilliant detail.
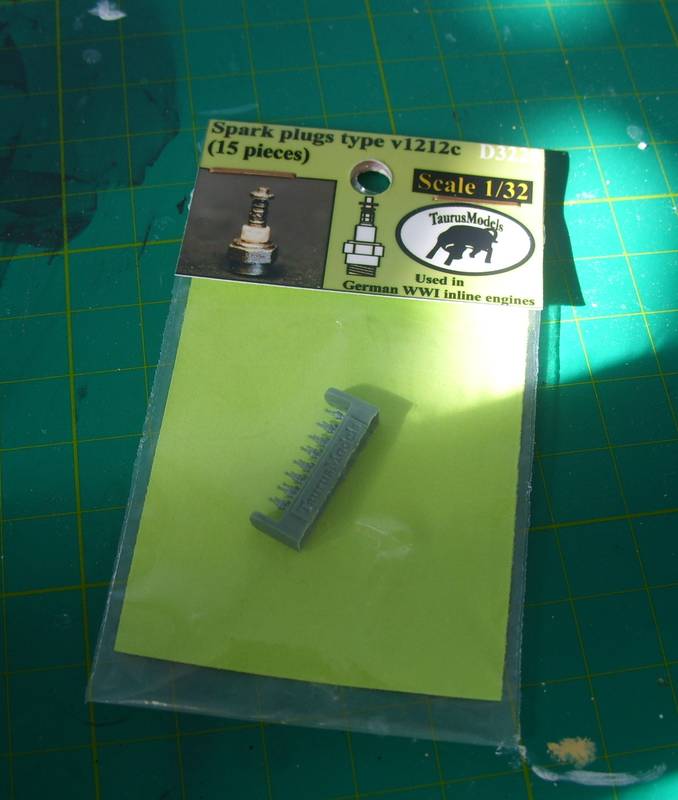
Still figuring out how to wire it up. A bundle of 6 wires go into the end of each tube from the two magnetos. But how exactly those wires come out of the tubes and into the plugs is a mystery. Do they come out the opposite end and then to the plugs? I'm also trying to work out what needs to be plugged into the holes on the right hand side of the engine cylinders. I've worked out that there are 2 plugs per cylinder on the left, but nothing I've found shows the right side.
Figured the engine was as good a place as any to start. The fit is of course exceptional.
I also had these gorgeous little spark plugs arrive in the post yesterday. Cheap as chips and will really add to already brilliant detail.
Still figuring out how to wire it up. A bundle of 6 wires go into the end of each tube from the two magnetos. But how exactly those wires come out of the tubes and into the plugs is a mystery. Do they come out the opposite end and then to the plugs? I'm also trying to work out what needs to be plugged into the holes on the right hand side of the engine cylinders. I've worked out that there are 2 plugs per cylinder on the left, but nothing I've found shows the right side.
MichaelSatin


Joined: January 19, 2008
KitMaker: 3,909 posts
AeroScale: 2,904 posts

Posted: Monday, July 04, 2016 - 03:44 AM UTC
Nice work Dan! And off to a good start Stephen!
Well, I've been having a bit of modeler's block and was looking around the room at what to get going on. I have a lot of Skyhawks, Phantoms, Shermans, Wildcats, etc. that would qualify for this campaign, but one kit kept drawing my eye...
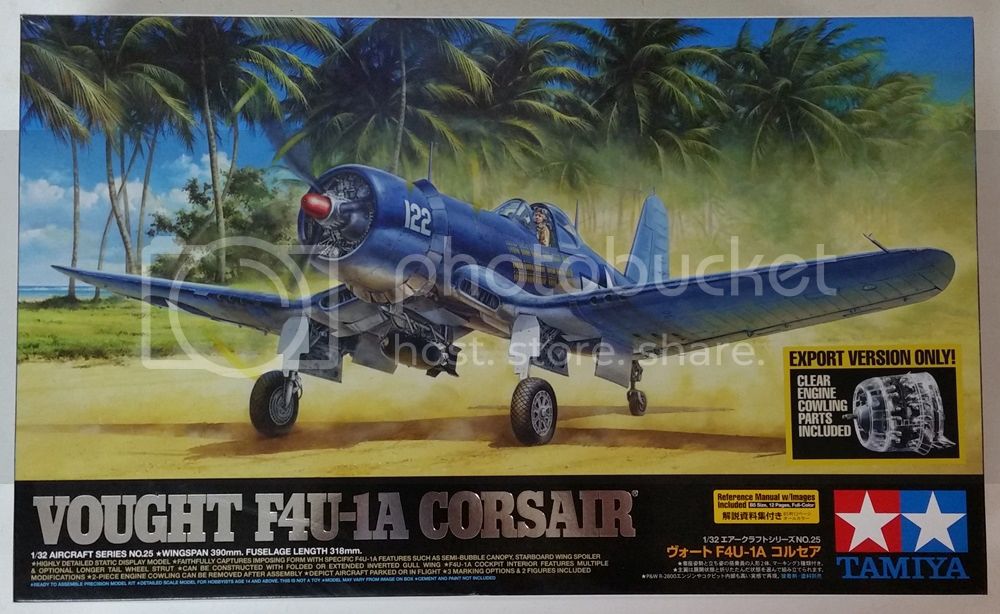
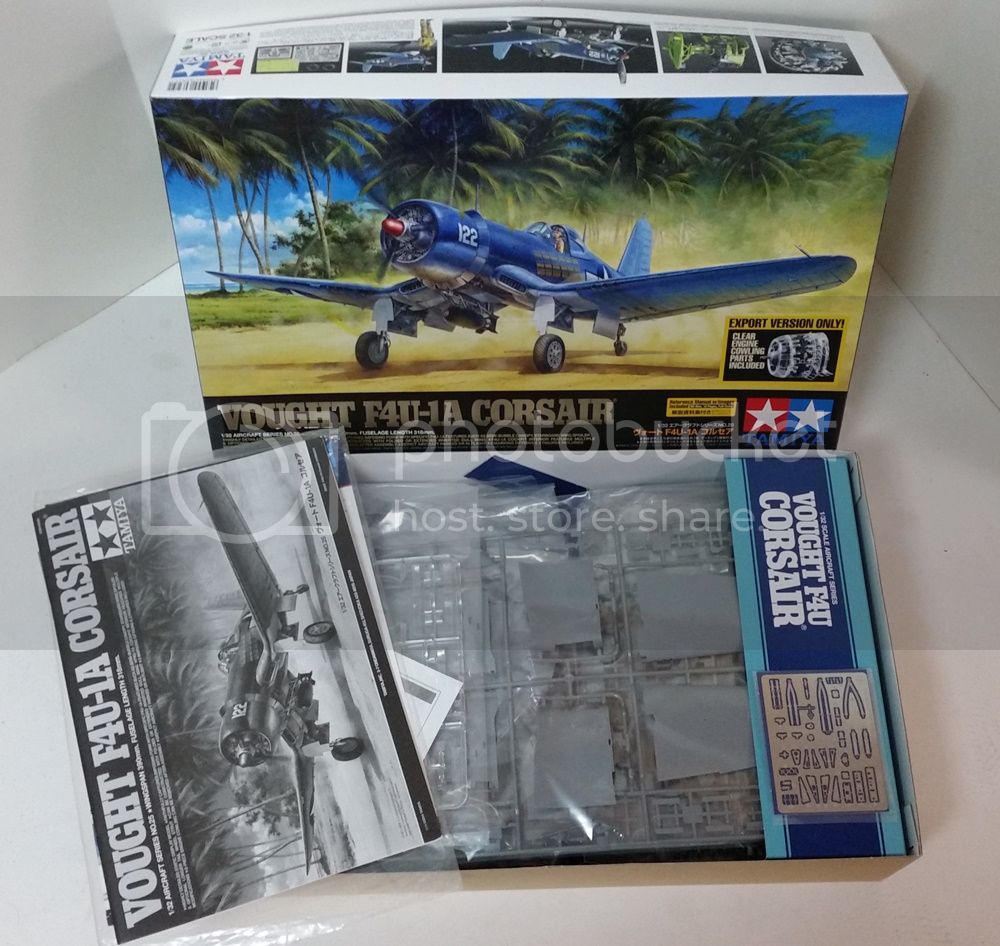
There's no way I have time for this; but man, what a kit! This one goes in my intended American Aces collection in the colors of Lt. Robert Hanson, VMF-215 the highest scoring F4U ace. I'm going to regret this...
Michael
Well, I've been having a bit of modeler's block and was looking around the room at what to get going on. I have a lot of Skyhawks, Phantoms, Shermans, Wildcats, etc. that would qualify for this campaign, but one kit kept drawing my eye...


There's no way I have time for this; but man, what a kit! This one goes in my intended American Aces collection in the colors of Lt. Robert Hanson, VMF-215 the highest scoring F4U ace. I'm going to regret this...
Michael

Posted: Monday, July 04, 2016 - 03:55 AM UTC
Michael that is one kit I would love to have a crack at building. Maybe one day.
Till then I have a plan to get the cheap Revell kit at some point to convert to an FAA version. I know the two kits are worlds apart, but I figure if I'm going to slice off the wingtips it would be less traumatic than doing it to Tamiya's.
Till then I have a plan to get the cheap Revell kit at some point to convert to an FAA version. I know the two kits are worlds apart, but I figure if I'm going to slice off the wingtips it would be less traumatic than doing it to Tamiya's.
MichaelSatin


Joined: January 19, 2008
KitMaker: 3,909 posts
AeroScale: 2,904 posts

Posted: Monday, July 04, 2016 - 04:14 AM UTC
Quoted Text
Michael that is one kit I would love to have a crack at building. Maybe one day.
Till then I have a plan to get the cheap Revell kit at some point to convert to an FAA version. I know the two kits are worlds apart, but I figure if I'm going to slice off the wingtips it would be less traumatic than doing it to Tamiya's.
The Tamiya kit has (of course) separate wing tips. I don't think the shortened ones are in this kit or the -1 but perhaps a special RN boxing is coming...?
Michael

Removed by original poster on 07/04/16 - 23:20:15 (GMT).
Posted: Monday, July 04, 2016 - 11:30 AM UTC
Quoted Text
Quoted TextMichael that is one kit I would love to have a crack at building. Maybe one day.
Till then I have a plan to get the cheap Revell kit at some point to convert to an FAA version. I know the two kits are worlds apart, but I figure if I'm going to slice off the wingtips it would be less traumatic than doing it to Tamiya's.
The Tamiya kit has (of course) separate wing tips. I don't think the shortened ones are in this kit or the -1 but perhaps a special RN boxing is coming...?
Michael
Michael, thanks that's great to know. Even if they don't, I can imagine someone will do a resin set eventually. It's just an idea at the moment but knowing I won't have to take such drastic measures does alter things.
Stephen

bomber14

Joined: February 02, 2015
KitMaker: 330 posts
AeroScale: 286 posts

Posted: Wednesday, July 06, 2016 - 03:25 AM UTC
i am in need of a little help.i am planning on adding rockets from my spares box to my korean war era corsair. i know the front half should be olive drab color but what color paint should be the rest of the body of the rocket? i've seen directions call out white,silver,grey to name a few. i can not seem to find a good color photo of one.
anyone know?
thanks, joe
anyone know?
thanks, joe
 |


