@John
Hi!!!!! I´m now in my country working hard!!!! And you?
@Bob,
Thanks for the welcome! 1/72 s my scale from now.... I need more space to the models in 1/48 and 1/32. At the end of the year I suposed I make more space.... If my wife give me permission to that...
Air Campaigns
Want to start or join a group build? This is where to start.
Want to start or join a group build? This is where to start.
Hosted by Frederick Boucher, Michael Satin
OFFICIAL: The Sign of the Four Campaign

SHAKY962

Joined: May 21, 2012
KitMaker: 765 posts
AeroScale: 316 posts

Posted: Sunday, July 10, 2016 - 08:07 AM UTC
Posted: Sunday, July 10, 2016 - 08:23 AM UTC
G'day Bob.
Nice progress on the P-40, it's looking good.
No strict formula, I just took a jar of Tamiya Extra Thin that was about 1/3 full and started adding small pieces of black sprue (from a Monogram P-61 kit) until it was just over half full, then left it overnight to have a think. I added some more sprue to thicken it up a bit after that, and since then I have added more cement or more sprue from time to time as required. I find it easy to use when it is about the consistency of thick acrylic craft paint, and I use either the brush under the lid or a toothpick to apply it.
Cheers, D
Nice progress on the P-40, it's looking good.
Quoted Text
@ Damian, I’ve tried making putty using the same method, but it either came out too hard or too stringy. What is your formula?
No strict formula, I just took a jar of Tamiya Extra Thin that was about 1/3 full and started adding small pieces of black sprue (from a Monogram P-61 kit) until it was just over half full, then left it overnight to have a think. I added some more sprue to thicken it up a bit after that, and since then I have added more cement or more sprue from time to time as required. I find it easy to use when it is about the consistency of thick acrylic craft paint, and I use either the brush under the lid or a toothpick to apply it.
Cheers, D
Posted: Sunday, July 10, 2016 - 11:50 AM UTC
Small update on my 109E4.

Cheers,
Gaz

Cheers,
Gaz
Posted: Tuesday, July 12, 2016 - 05:34 AM UTC
Here's an update on my build:-


Posted: Sunday, July 17, 2016 - 01:59 AM UTC
Made a little more progress this weekend, mostly tidying up the interior parts to ready them for some paint. I've been sure to test fit and trim as I go as I understand the tolerances on the interior parts are quite high. Everything fits nicely.

I also had another read through of Aeronaut Books Rumpler Aircraft and found an interesting version I'm giving serious thought to doing. A late Rumpler with a field modified rear gun mount sporting both the Parabellum and a captured Lewis! Eduard do some really nice resin Lewis guns that will be perfect for this.


The colour scheme is also interesting. Looking at the photo's I'm pretty convinced that the fabric areas of the fuselage were lozenge covered, but at some point was oversprayed in a light green. The close-up photo in the bottom left of the first pic does seem to show a faint lozenge pattern. Later the original crosses were overpainted in dark green and late style crosses applied.
My aim is to show the aircraft in it's earlier colours with the light green overspray. I know I'm taking a big guess with this and I'm basing it on an assumption from a few poor quality photo's, but who's to say? A lot of WW1 colour schemes are open to a lot of conjecture and guess work, especially field applied markings.
I also had another read through of Aeronaut Books Rumpler Aircraft and found an interesting version I'm giving serious thought to doing. A late Rumpler with a field modified rear gun mount sporting both the Parabellum and a captured Lewis! Eduard do some really nice resin Lewis guns that will be perfect for this.
The colour scheme is also interesting. Looking at the photo's I'm pretty convinced that the fabric areas of the fuselage were lozenge covered, but at some point was oversprayed in a light green. The close-up photo in the bottom left of the first pic does seem to show a faint lozenge pattern. Later the original crosses were overpainted in dark green and late style crosses applied.
My aim is to show the aircraft in it's earlier colours with the light green overspray. I know I'm taking a big guess with this and I'm basing it on an assumption from a few poor quality photo's, but who's to say? A lot of WW1 colour schemes are open to a lot of conjecture and guess work, especially field applied markings.
MichaelSatin


Joined: January 19, 2008
KitMaker: 3,909 posts
AeroScale: 2,904 posts

Posted: Sunday, July 17, 2016 - 04:18 AM UTC

SaxonTheShiba

Joined: February 01, 2009
KitMaker: 1,233 posts
AeroScale: 663 posts

Posted: Sunday, July 17, 2016 - 04:44 AM UTC
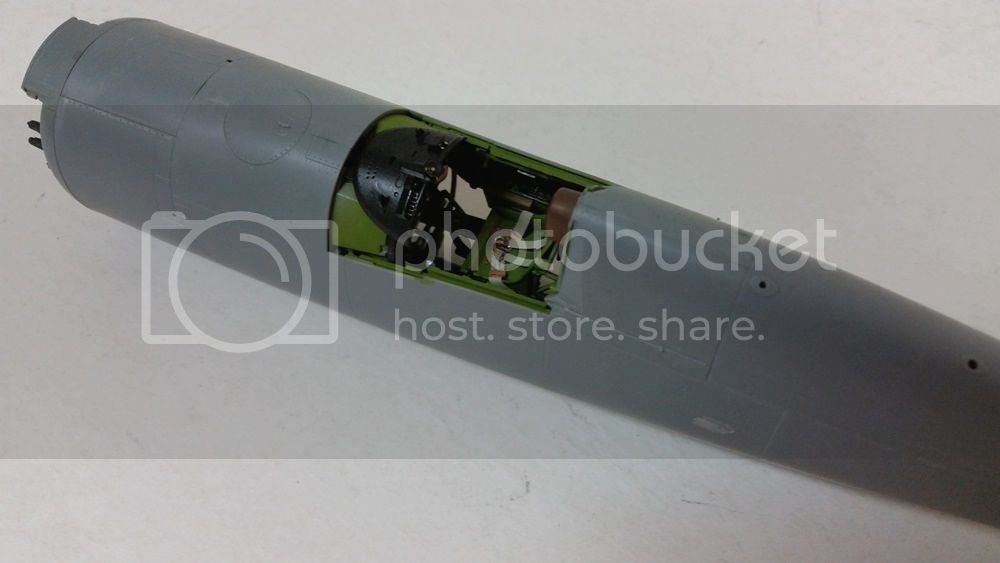
Michael---The work on the cockpit is simply fantastic. Looks like I could get in and fly it.
Bob---The P-40 is shaping up nicely. Looking forward to the rest of the project.
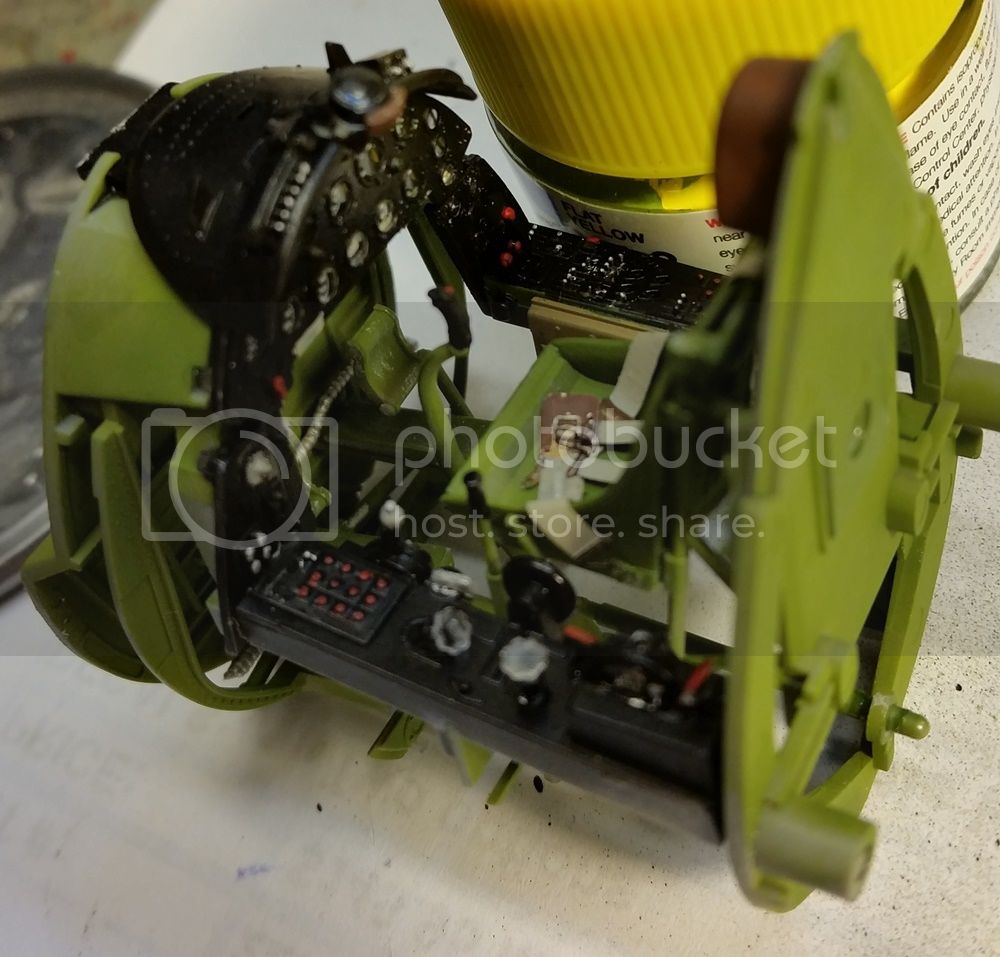
Gary---Cockpit looks great on the -109.
Richard---Classic airplane. Can't wait to see that built up.
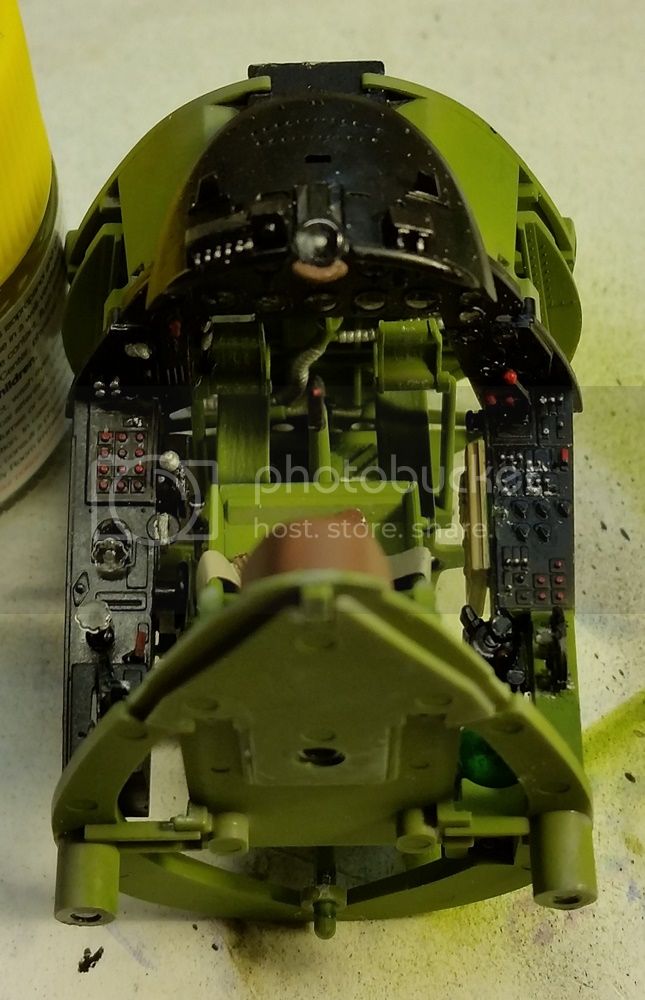
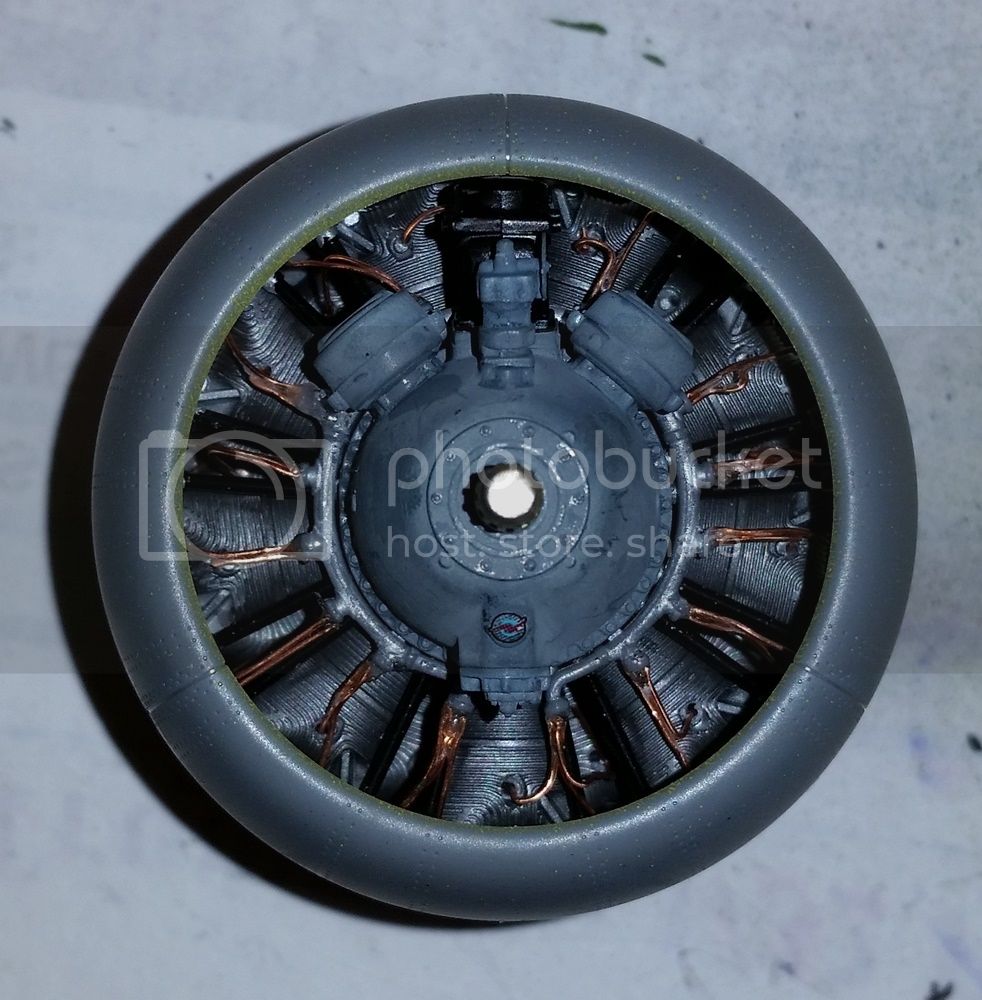
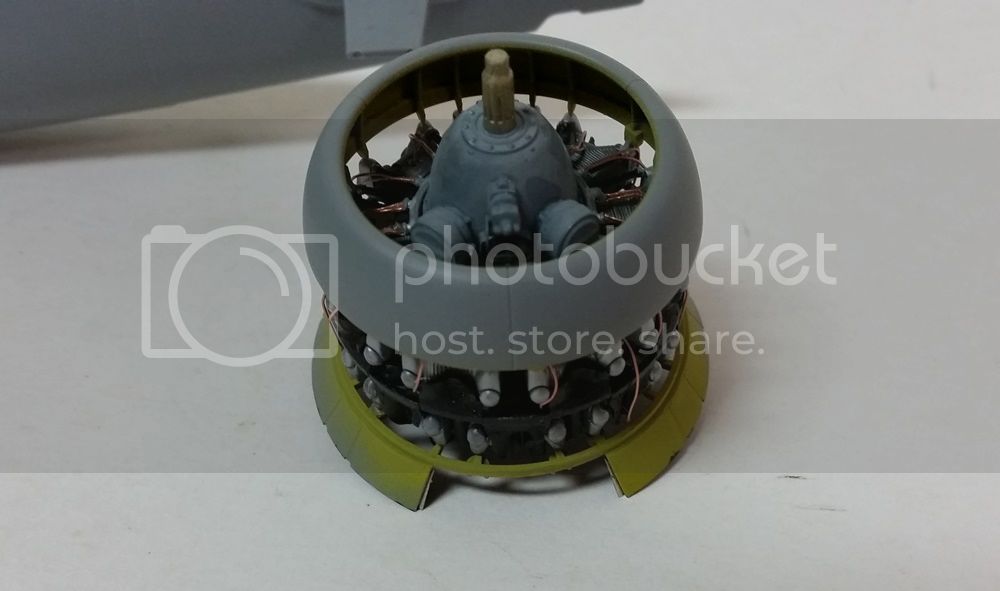
Stephen----Outstanding work on the powerplant. Really nicely done.
Roland----Great concept for your project. Can't wait to see that one finished as well.
I have my F-4D painted and I will try to get some photos up this week.
Happy modeling!
Ian
Posted: Tuesday, July 19, 2016 - 10:49 PM UTC
ok after some research on the M4A3 I have taken the advice and bought a TASK/AUST (or something like that) kit and it is being shipped and hopefully I can join in the fun. this kit will solve a lot of issues with the Tamiya kit and I am praying the resin engine compartment with engine with fit the new kit. I will post some pictures soon of the resin engine as soon as I get it together.
glue on Ron.S
glue on Ron.S

Posted: Thursday, July 21, 2016 - 01:53 AM UTC
Thanks Ian. It's a pretty impressive kit. I haven't had to do anything to the engine besides from add the spark plugs. I've since given it a was with Humbrol Oil Stain wash which has really brought it to life. I still need to add the last few bits and then wire it up.
But before I do that I thought I had best get the wooden interior painted up with oils as it will take a long time to dry.
First step was to spray the interior with Vallejo Model Air 71077 Wood and leave it overnight to thoroughly dry.

Next, I used Mig Oils Light Rust Brown to paint the wood grain. I used an old flat brush and using only a small amount of paint, brushed it back and forth across the parts till I got the effect I wanted. I varied the direction of the grain on the floor panels. Same with the internal structure. Horizontal longerons brushed forward and back, while vertical struts were brushed up and down. Overall I'm happy with the effect and it was far easier than I expected. All these parts are now in a sealed air tight tub while the oil paint dries.


While they dry, I'll get cracking on a few other things. I also have some Eduard Lewis guns in the post so when they arrive I'll figure out how to build the twin gun mounting.
But before I do that I thought I had best get the wooden interior painted up with oils as it will take a long time to dry.
First step was to spray the interior with Vallejo Model Air 71077 Wood and leave it overnight to thoroughly dry.
Next, I used Mig Oils Light Rust Brown to paint the wood grain. I used an old flat brush and using only a small amount of paint, brushed it back and forth across the parts till I got the effect I wanted. I varied the direction of the grain on the floor panels. Same with the internal structure. Horizontal longerons brushed forward and back, while vertical struts were brushed up and down. Overall I'm happy with the effect and it was far easier than I expected. All these parts are now in a sealed air tight tub while the oil paint dries.
While they dry, I'll get cracking on a few other things. I also have some Eduard Lewis guns in the post so when they arrive I'll figure out how to build the twin gun mounting.

SaxonTheShiba

Joined: February 01, 2009
KitMaker: 1,233 posts
AeroScale: 663 posts

Posted: Thursday, July 21, 2016 - 07:26 AM UTC
Stephen, great work so far. I have an Encore Albatros on the horizon and it will require the oil paint over buff wood grain treatment. What's the drying time on that for safe handling, regarding the oils?
Best wishes,
Ian
Best wishes,
Ian
Posted: Thursday, July 21, 2016 - 12:02 PM UTC
Thanks Ian. I'll try to answer as best I can, but it depends on various factors. How much you apply, brand of oil paint, environmental conditions. But you're looking at at least a week, maybe 2 for small parts like these. I find Mig oils dry a little more quickly than usual artists oils, but still longer than the usual enamels and acrylics.
Practice on a scrap piece first and put it away to dry. Keep checking it every few days to see how it dries and use that as a rough timescale. To be on the safe side I would factor in a couple more days with something as large as the Albatros.
It does have a lot of advantages to other methods. The result is more subtle and scale like, you have more control over the final look, it's goes on thin and the colour choice is huge.
Good luck with it.

SaxonTheShiba

Joined: February 01, 2009
KitMaker: 1,233 posts
AeroScale: 663 posts

Posted: Thursday, July 21, 2016 - 04:30 PM UTC
Stephen, thanks for the informative response. I have used oils a lot in washes and filters but never in a large scale application like wood grain simulation so handling will be uncharted territory for me. Once again, thanks.
Best wishes,
Ian
Best wishes,
Ian
Posted: Thursday, July 21, 2016 - 04:38 PM UTC
No problem Ian.
This is the first time I've used it on anything as large as this. Used it plenty of times on 1/72 aircraft and crates and other scenic parts for 1/35 armour.
I've also got a Roden 1/32 Albatros D.III in the stash, but I'm thinking of doing Von R's red aircraft to save myself the time and effort.
This is the first time I've used it on anything as large as this. Used it plenty of times on 1/72 aircraft and crates and other scenic parts for 1/35 armour.
I've also got a Roden 1/32 Albatros D.III in the stash, but I'm thinking of doing Von R's red aircraft to save myself the time and effort.
Posted: Thursday, July 21, 2016 - 06:36 PM UTC
Stephen,
Nice Work on the wood grain. It looks very good and subtle.
Thanks for the info on how to do it as well.
Nice Work on the wood grain. It looks very good and subtle.
Thanks for the info on how to do it as well.
Posted: Thursday, July 21, 2016 - 06:48 PM UTC
Thanks Jeff.
I surprised myself with how well it turned out and I'm all to happy to share my technique. It's surprisingly easy to do. Another big advantage of using oil over acrylic is that if your not happy with it, you can wipe it off with a rag damped with white spirit and start again.
I surprised myself with how well it turned out and I'm all to happy to share my technique. It's surprisingly easy to do. Another big advantage of using oil over acrylic is that if your not happy with it, you can wipe it off with a rag damped with white spirit and start again.
Posted: Thursday, July 21, 2016 - 07:39 PM UTC
I have seen other tutorials that finish with a light coat of clear yellow and clear amber to deepen the appearance of varnished wood.


Posted: Thursday, July 21, 2016 - 09:15 PM UTC
Quoted Text
I have seen other tutorials that finish with a light coat of clear yellow and clear amber to deepen the appearance of varnished wood.

I often use that finishing method myself. Tamiya Clear Yellow and Orange work very well. I usually finish props with a coat of orange. An Albatros would look nice with a yellow overcoat. In this case I'm not going to as I've got the shade I want. So it will just be a coat of Klear, then paint in the metal panels followed by some weathering.
duckdawgs

Joined: August 01, 2010
KitMaker: 143 posts
AeroScale: 55 posts

Posted: Friday, July 22, 2016 - 01:07 AM UTC
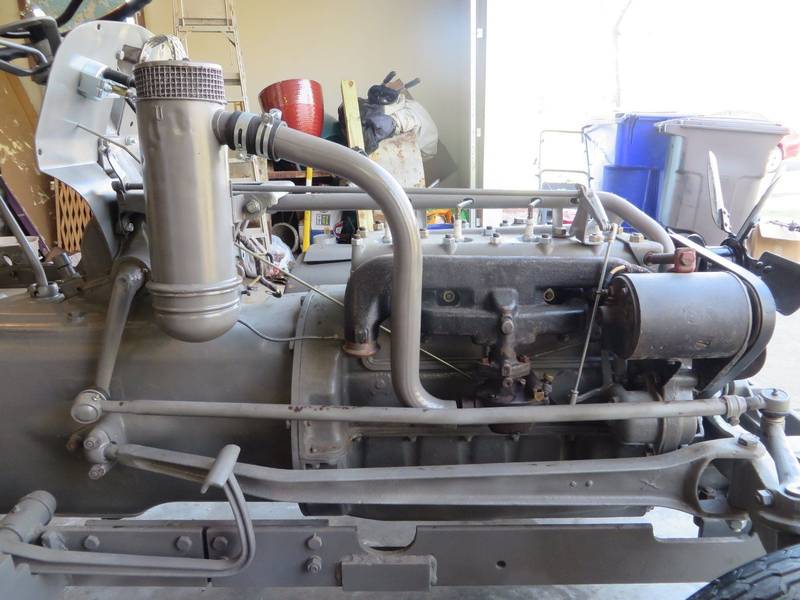
Found some good reference pictures of the Ford BNO-40 sans bodywork. I could now start scratching some pieces up using truck engine spares and other bits I have lying around.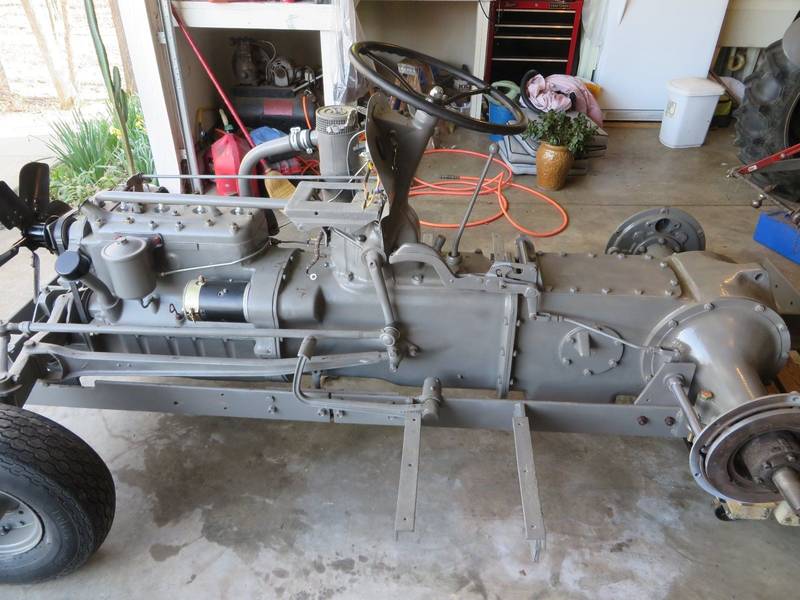
 Also started on some bulkhead profiles and marked the location of the internal ribbing.
 Found this picture on the internet showing a Korean war era F4U-4, and two of the deck crew personnel are wearing the same work coveralls that are on the ZM figures
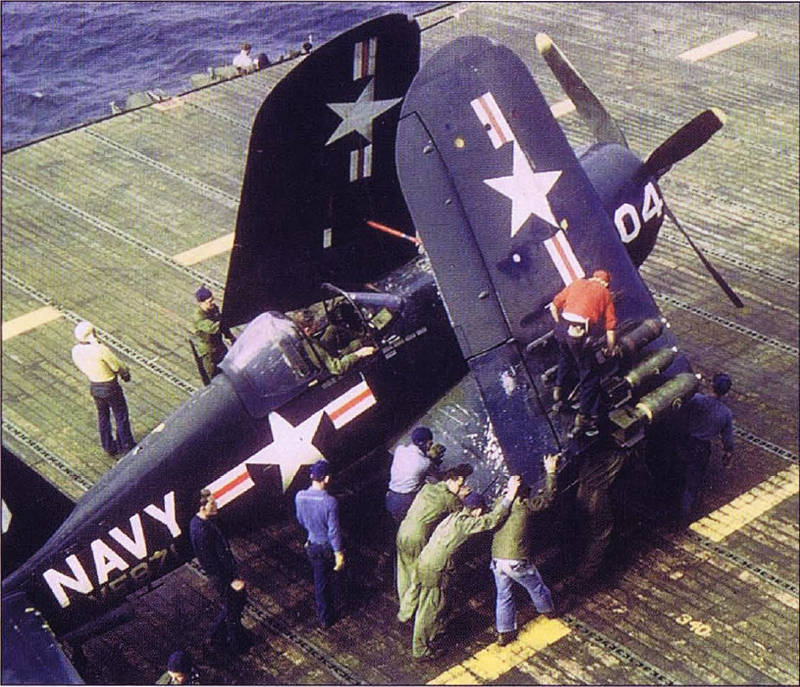 So only one figure will be modified wearing dungarees and sweater.

 Also started on some bulkhead profiles and marked the location of the internal ribbing.
 So only one figure will be modified wearing dungarees and sweater.
SaxonTheShiba

Joined: February 01, 2009
KitMaker: 1,233 posts
AeroScale: 663 posts

Posted: Friday, July 22, 2016 - 04:00 PM UTC
Well, I have a slight update on my Bergstrom AFB F-4D. The Cloud Scheme camo has been applied which consists of Gunship Grey and Neutral Grey. Post shading was applied on the upper surfaces to show some fading from the hot Texas sun. I am in the process now of drawing in the panel lines. Also have something special planned for the baggage pod.
Best wishes,
Ian


Best wishes,
Ian


Posted: Friday, July 22, 2016 - 04:03 PM UTC
Looks like four wearing coveralls, including the one in the cockpit. What strikes me as interesting is the dude standing on the weapons pylons. I wonder if that's permitted in the NATOPS or NAVOSH...
Phantom is shaping up nicely, Ian. Looks like a spot on the left wing where you had a puddle of thinner settle. May want to hit that with another quick coat of paint before you get too much farther along.

Phantom is shaping up nicely, Ian. Looks like a spot on the left wing where you had a puddle of thinner settle. May want to hit that with another quick coat of paint before you get too much farther along.


SaxonTheShiba

Joined: February 01, 2009
KitMaker: 1,233 posts
AeroScale: 663 posts

Posted: Friday, July 22, 2016 - 04:15 PM UTC
Mark it's actually a spot of Tamiya Filler where there was a divot. I have several areas to touch up and a ways to go on the finish.
Regards,
Ian
Regards,
Ian
Removed by original poster on 07/23/16 - 12:12:03 (GMT).

duckdawgs

Joined: August 01, 2010
KitMaker: 143 posts
AeroScale: 55 posts

Posted: Friday, July 22, 2016 - 10:03 PM UTC
Good eye Mark with the crewman in the cockpit, I'm figuring those guys are probably mechanics. Yeah the redshirt seems like he's in a precarious situation. Being an ordnance man, I'm sure he knows what he's doing. Yes he is using the weapons pylon as a convenient step, but I've seen several pictures of this being done, dating back to WW2. One in particular shows one fella standing on the inboard pylon with a foot on each F/R pylons and loading a rocket onto the outboard pylons. Deadlifting a 135lb rocket while standing on a relatively small step, crazee. One thing I didn't know was that you could mix up the weapons load like that. Looks like two 150lb and one 250lb bombs... Check out these guys on a Skyraider wing 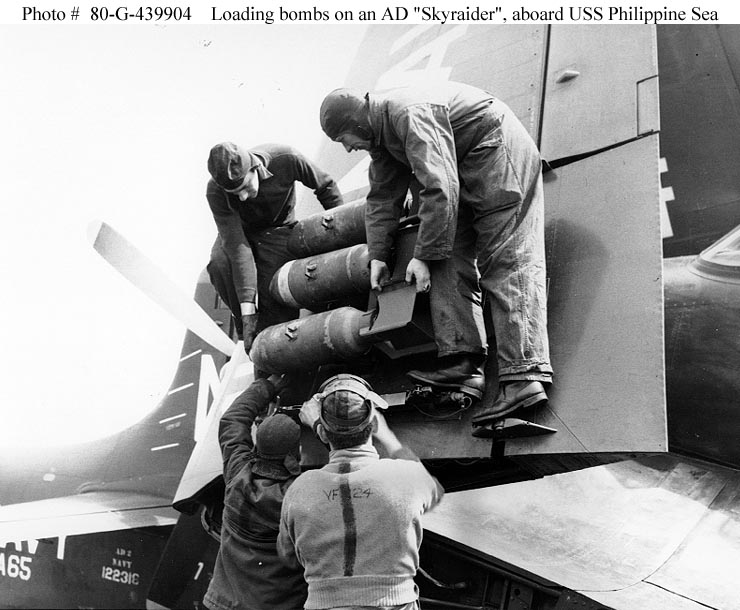 Here's a Corsair
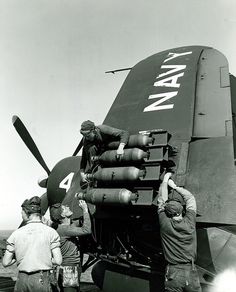
 Here's a Corsair
MichaelSatin


Joined: January 19, 2008
KitMaker: 3,909 posts
AeroScale: 2,904 posts

Posted: Friday, July 29, 2016 - 11:27 PM UTC
Removed by original poster on 07/30/16 - 18:35:50 (GMT).
 |


