Subtle enhancements Richard, but really well done. They will add a lot to the final appearance of the model.
Cheers, D
Hosted by Rowan Baylis
1/48 Hasegawa Ki 43 Hayabusa build
Posted: Thursday, December 15, 2016 - 05:32 PM UTC
Posted: Thursday, December 15, 2016 - 10:31 PM UTC
Hi Richard
Incredible fix for the kit!!
all the best
Steffen
P.S. I wish Tamiya had chosen the Hayabusa instead of the Hien for their next release .. sooo many aces on that crate.
Incredible fix for the kit!!
all the best
Steffen
P.S. I wish Tamiya had chosen the Hayabusa instead of the Hien for their next release .. sooo many aces on that crate.
Joel_W

Joined: December 04, 2010
KitMaker: 11,666 posts
AeroScale: 7,410 posts

Posted: Friday, December 16, 2016 - 01:46 AM UTC
Richard,
Your continued fixes and added details are really making quite a difference.
Joel
Your continued fixes and added details are really making quite a difference.
Joel

rdt1953

Joined: February 06, 2015
KitMaker: 1,098 posts
AeroScale: 900 posts

Posted: Friday, December 16, 2016 - 03:41 AM UTC
Damian - Thanks very much !
Steffen- Thank you as well and I agree with you completely on the Tamiya release . While I'll be happy to add their Hien to my stash I wish it were a Hayabusa instead.
The modeling world REALLY needs a state of the art Ki 43 .
Joel - Thank you also - I'm inching forward with the cockpit - may get some paint started over the weekend and I'm experimenting with a few method for the oil cooler.
Cheers ! I've got one of these in my hand as I type this - - Richard
Steffen- Thank you as well and I agree with you completely on the Tamiya release . While I'll be happy to add their Hien to my stash I wish it were a Hayabusa instead.
The modeling world REALLY needs a state of the art Ki 43 .
Joel - Thank you also - I'm inching forward with the cockpit - may get some paint started over the weekend and I'm experimenting with a few method for the oil cooler.
Cheers ! I've got one of these in my hand as I type this -
 - Richard
 thegirl

Joined: January 19, 2008
KitMaker: 6,743 posts
AeroScale: 6,151 posts

Posted: Saturday, December 17, 2016 - 07:19 AM UTC
Been following along enjoying my popcorn , a few pepsi refills and restroom backs and the progress so far on the fuselage corrections are top notch work !
Terri
Terri

rdt1953

Joined: February 06, 2015
KitMaker: 1,098 posts
AeroScale: 900 posts

Posted: Saturday, December 17, 2016 - 08:01 PM UTC
Quoted Text
[email protected] Been following along enjoying my popcorn , a few pepsi refills and restroom backs and the progress so far on the fuselage corrections are top notch work !
Terri
Terri - Thank you - I'm glad you are enjoying the show but be careful - apparently fuselage correction disease is contagious and you may become infected !
Cheers ! Richard
thegirl

Joined: January 19, 2008
KitMaker: 6,743 posts
AeroScale: 6,151 posts

Posted: Saturday, December 17, 2016 - 08:30 PM UTC
Quoted Text
Quoted Text[email protected]Been following along enjoying my popcorn , a few pepsi refills and restroom backs and the progress so far on the fuselage corrections are top notch work !
Terri
Terri - Thank you - I'm glad you are enjoying the show but be careful - apparently fuselage correction disease is contagious and you may become infected !
Cheers ! Richard
No worries on getting infected with that horrible disease , I had my shot !


rdt1953

Joined: February 06, 2015
KitMaker: 1,098 posts
AeroScale: 900 posts

Posted: Thursday, December 29, 2016 - 06:56 AM UTC
A brief update -
I've been chipping away at the cockpit - sidewalls , floors and front bulkhead shot with Vallejo Model Air Aluminium as was the fuselage and cowl interior. These were then oversprayed with Vallejo Aotake - color looks good but the clear gloss base looked out of scale to me so I dusted all with a very thin mix of Tamiya flat blue and flat deep green and flat yellow to match the Vallejo Aotake.
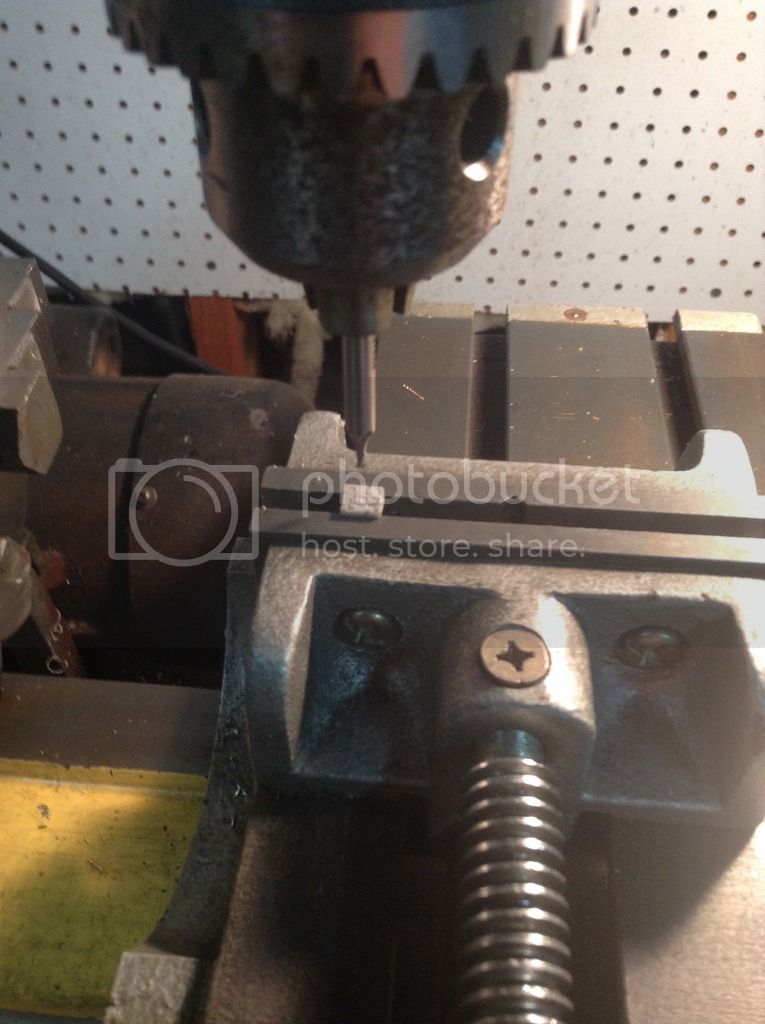
I spotfaced the raised instrument detail on the panel with a small end mill-
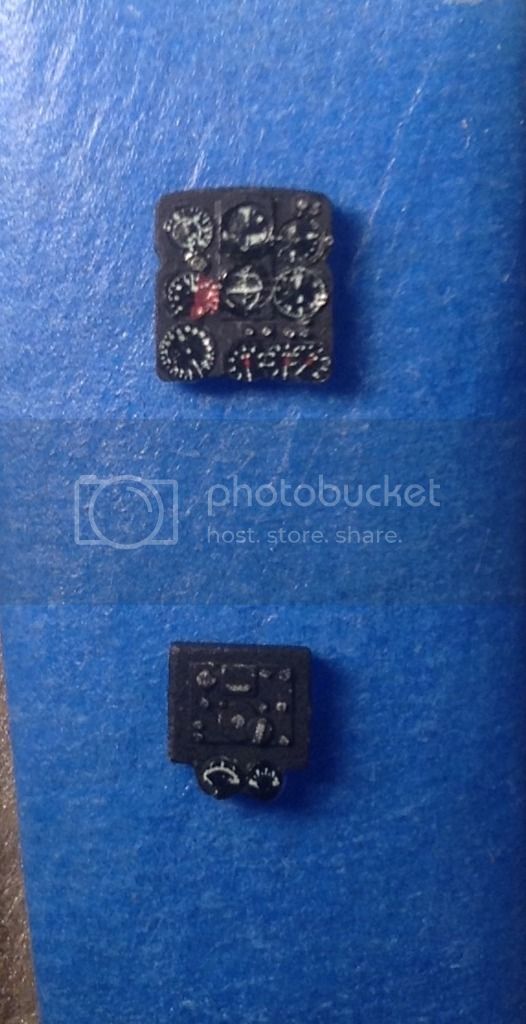
The IP, Radio and various boxes on the sidewalls and floor were done in Tamiya flat black and gauges and panels were detailed with Airscale Japanese Instrument decals -
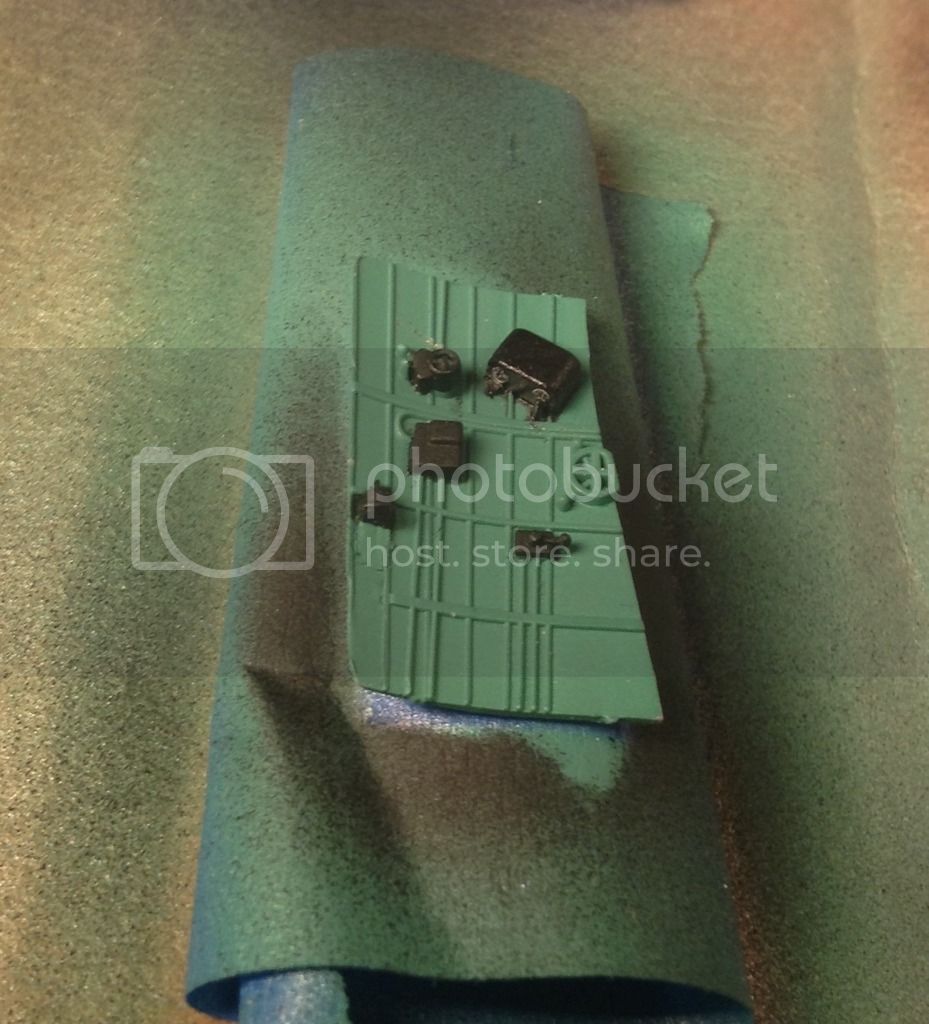
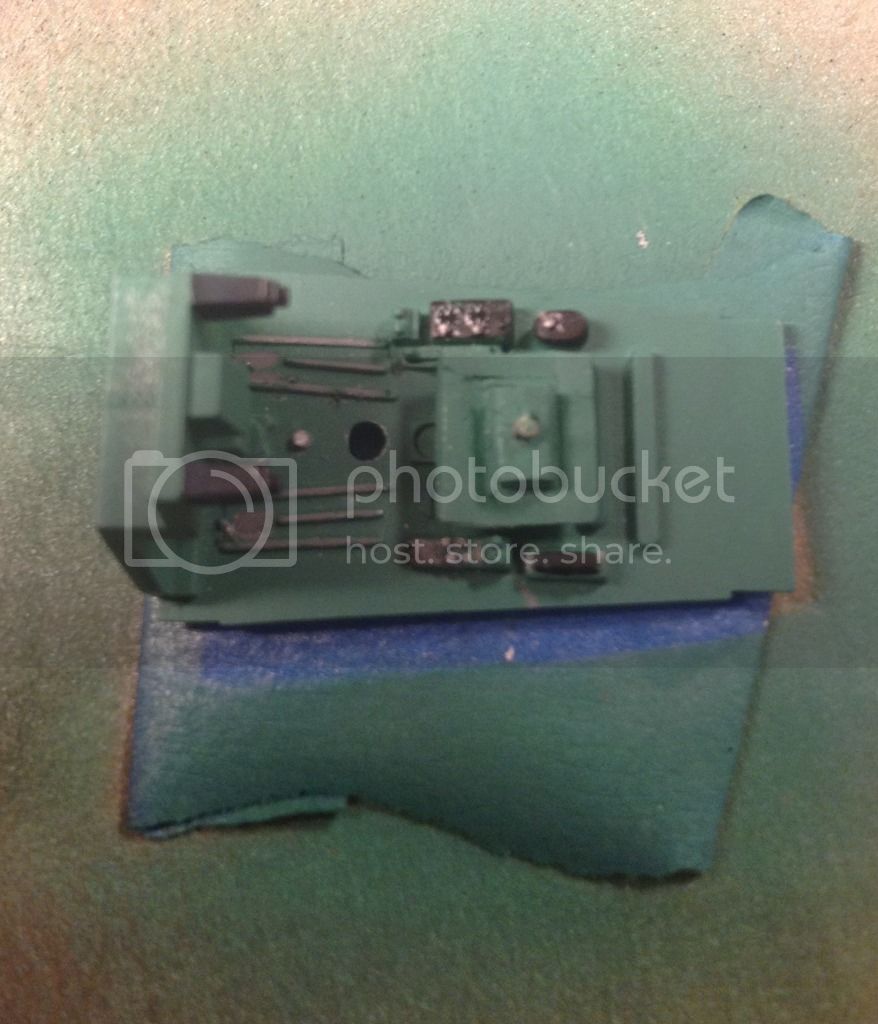
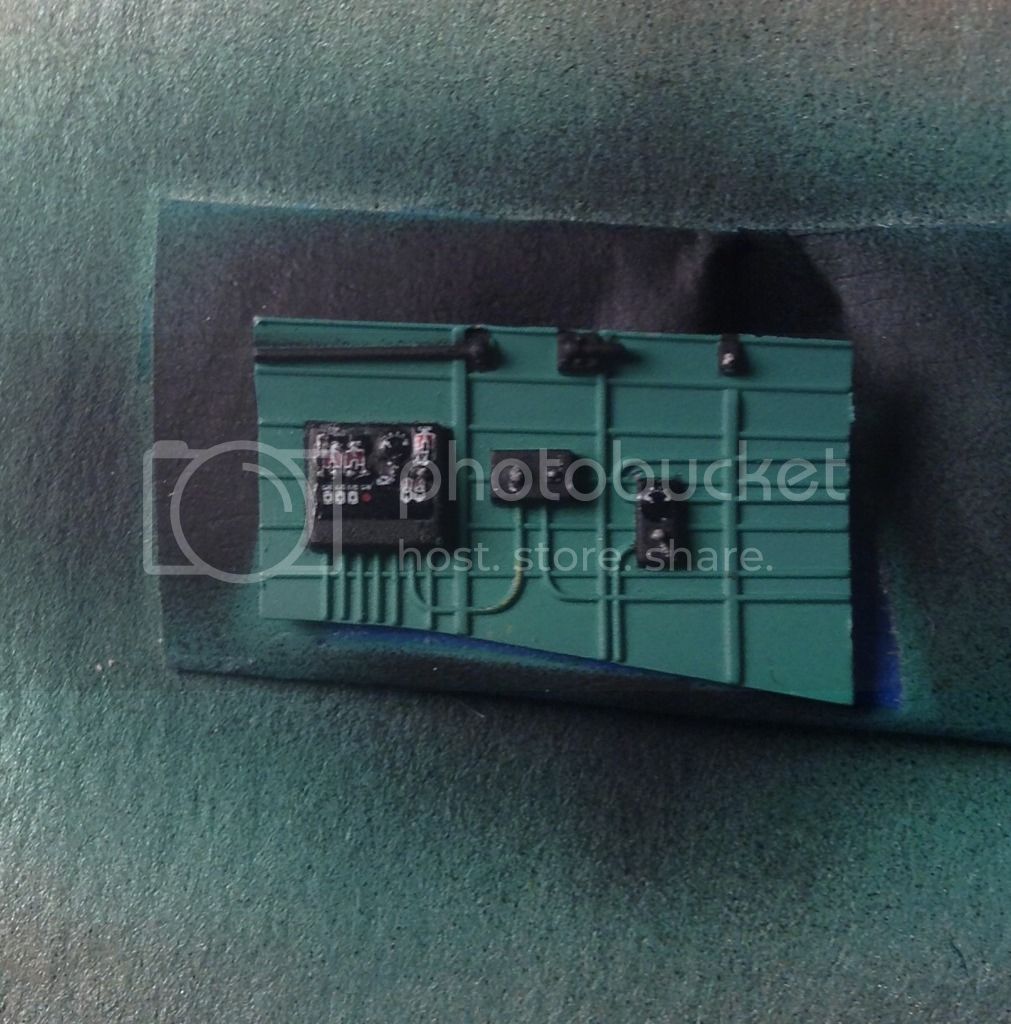
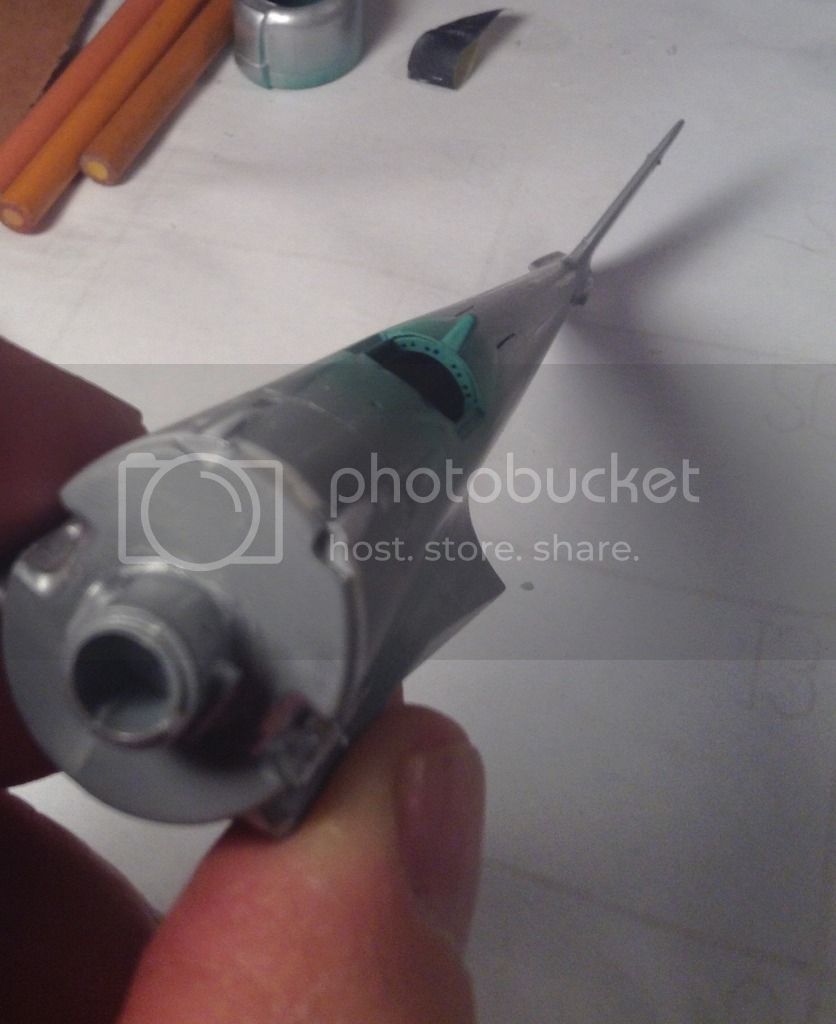
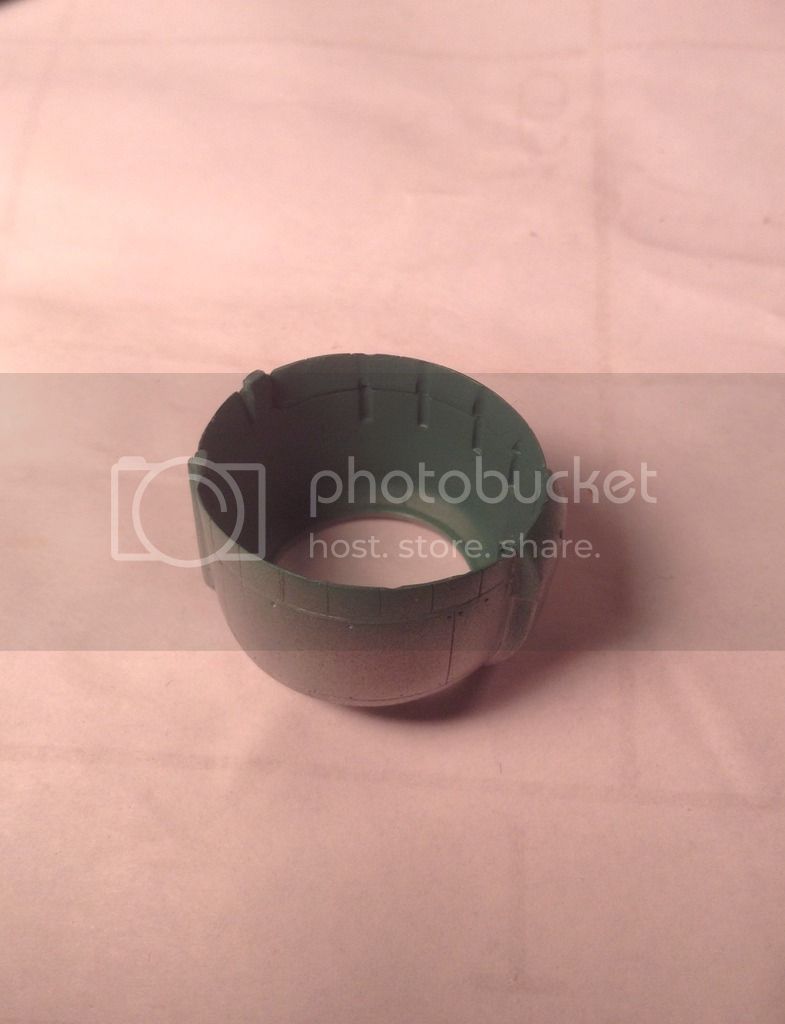
Still some details to pick out then light dusting overspray to tone things down a bit.
The pilot figure was shot in Tamiya Flat white as a base and this revealed it needed more work on joints, mold seams etc. so it will need another go around-
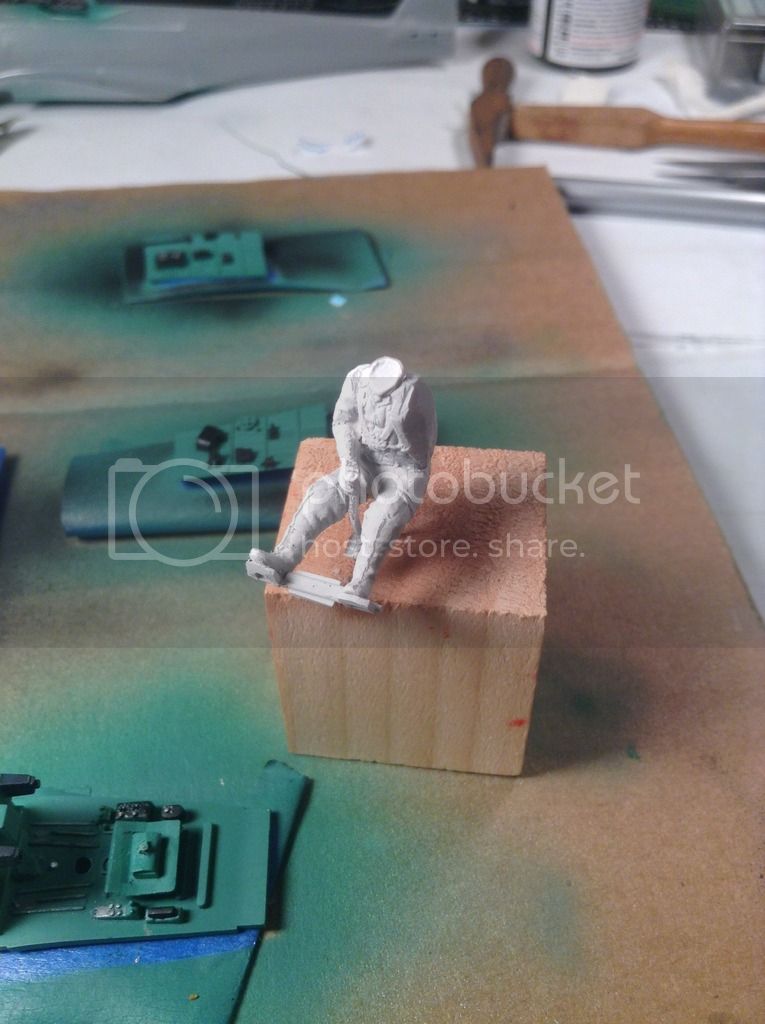
I've been playing around with making the oil cooler but nothing to my satisfaction yet - more to follow.
Thanks for looking- all input welcome - Richard
I've been chipping away at the cockpit - sidewalls , floors and front bulkhead shot with Vallejo Model Air Aluminium as was the fuselage and cowl interior. These were then oversprayed with Vallejo Aotake - color looks good but the clear gloss base looked out of scale to me so I dusted all with a very thin mix of Tamiya flat blue and flat deep green and flat yellow to match the Vallejo Aotake.
I spotfaced the raised instrument detail on the panel with a small end mill-

The IP, Radio and various boxes on the sidewalls and floor were done in Tamiya flat black and gauges and panels were detailed with Airscale Japanese Instrument decals -


Still some details to pick out then light dusting overspray to tone things down a bit.
The pilot figure was shot in Tamiya Flat white as a base and this revealed it needed more work on joints, mold seams etc. so it will need another go around-

I've been playing around with making the oil cooler but nothing to my satisfaction yet - more to follow.
Thanks for looking- all input welcome - Richard
Kendzior

Joined: January 29, 2016
KitMaker: 96 posts
AeroScale: 91 posts

Posted: Thursday, December 29, 2016 - 04:10 PM UTC
Nice progress, Richard.
As I'm currently making a research in preparation to launch my two 2017 Hayabusa projects, one of the things that brought my attention is the cockpit colour.
Your build is an early Hayabusa.
Relying on the online sources, that look convincing to me, I would say, that for an early Hayabusa the cockpit interior, including the instrument board and seat, should rather be coated with Nakajima's interior colour, such as green-olive (FS*4255) or grey-green (FS*4226).
http://www.aviationofjapan.com/2009/11/useful-colours-army-interiors-part-two.html
http://www.ipmsstockholm.org/magazine/1997/02/stuff_eng_oscar.htm
Of course there are also some sources and opinions, which I guess you followed, that the production aircraft had the whole interior, including the cockpits, finished in aotake, but for me it is rather applicable to the period from 1944 on, when the protective coating was less cared for due to worsening war situation of Japan.
Which doesn't solve my problem, because I'm going to build later versions of Hayabusa...
I don't mean that aotake is obviously not correct here - painting of Japanese aircraft of this period is subject to endless debate .
.
Keep it up, your work is very inspiring to me.
Best regards
Hubert
As I'm currently making a research in preparation to launch my two 2017 Hayabusa projects, one of the things that brought my attention is the cockpit colour.
Your build is an early Hayabusa.
Relying on the online sources, that look convincing to me, I would say, that for an early Hayabusa the cockpit interior, including the instrument board and seat, should rather be coated with Nakajima's interior colour, such as green-olive (FS*4255) or grey-green (FS*4226).
http://www.aviationofjapan.com/2009/11/useful-colours-army-interiors-part-two.html
http://www.ipmsstockholm.org/magazine/1997/02/stuff_eng_oscar.htm
Of course there are also some sources and opinions, which I guess you followed, that the production aircraft had the whole interior, including the cockpits, finished in aotake, but for me it is rather applicable to the period from 1944 on, when the protective coating was less cared for due to worsening war situation of Japan.
Which doesn't solve my problem, because I'm going to build later versions of Hayabusa...
I don't mean that aotake is obviously not correct here - painting of Japanese aircraft of this period is subject to endless debate
 .
. Keep it up, your work is very inspiring to me.
Best regards
Hubert

rdt1953

Joined: February 06, 2015
KitMaker: 1,098 posts
AeroScale: 900 posts

Posted: Thursday, December 29, 2016 - 05:01 PM UTC
Hubert -
Thank you for the interest and the compliments . I chose the Aotake interior finish from Mikesh's book "Japanese Aircraft Interiors ". Pages 18 thru 23 feature the Ki -43 1 b that was restored by the Alpine Fighter Collection in New Zealand. This aircraft is now in the USA in, I believe, The Flight Heritage Collection in Everett ,WA.
The aircraft is serial number 750 and the colors were all matched to remaining original paint found throughout the airframe. Like you I originally envisioned Nakajima interior green but the evidence in the book changed my mind. To further support the all Aotake interior finish pages 21 ad 27 feature the Ki -43 II belonging to the NASM . This aircraft has an original unrestored interior and it ,too is all Aotake. An oddity of this aircraft is it has the early flat type canopy - likely a replacement done in the field.
The Alpine / Flight Heritage Hayabusa is all authentic including Nakajima power and instrumentation. It is airworthy to some degree and can be seen on You Tube
lifting off the ground during high speed taxi runs. I believe the current owners do not fly it because of it's rarity.
I hope this clears some things up for you and your project rather than adding to the
confusion - such is the nature of modeling Japanese aircraft !
Looking forward to posts on your Ki - 43 project - Richard
P.S. The instrument panels were done both ways - some in flat black - some in interior green . I would assume that Interior green panels would more likely be seen in aircraft with interior green paint elsewhere but it seems assumptions are dangerous where Japanese aircraft are concerned.
Kendzior

Joined: January 29, 2016
KitMaker: 96 posts
AeroScale: 91 posts

Posted: Thursday, December 29, 2016 - 05:59 PM UTC
Thanks for your quick response and very useful information, Richard.
This sounds convincing to me.
Best regards
Hubert
This sounds convincing to me.
Best regards
Hubert
Joel_W

Joined: December 04, 2010
KitMaker: 11,666 posts
AeroScale: 7,410 posts

Posted: Thursday, December 29, 2016 - 10:11 PM UTC
Richard,
I'm really quite impressed at the detail work you did on the IP. With the addition of the Airscale decals, it's a great improvement over the original kit parts.
I also read through both Hurbert's and your responses to his questions and concerns about the correct colors for the interior. It's an on going issue for most WW11 aircraft.
I've struggled with this very issue on my F4F-3 build. More then one color was used on USN fighter aircraft early 1942-3. The documentation when it does exist as a ANA number doesn't necessarily mean that the actual paint used matched the chip. Or in my case Bronze Green there is no chip nor an actual ANA number.
The issue as you've found out is that for restorations they often try to match what paint they do find. The issue I have with that is the paint is more then 70 years old, it been subjected to humidity, salt water moisture, temps, fungus, dirt, grease, grime, etc. So what they're looking at isn't the color that was originally applied.
I took the same course as you, and used a FS color that an expert (Dana Bell)said most closely matched the original color. I looked several restorations and not one really matches another restoration.
So I guess that the correct color is the one you decide on based on your research.
Joel

rdt1953

Joined: February 06, 2015
KitMaker: 1,098 posts
AeroScale: 900 posts

Posted: Friday, December 30, 2016 - 01:09 AM UTC
Joel -
Correct colors can get contentious with some. In the case of Aotake the color can vary between two adjacent components on the same airframe. The experts ( which I definitely am not ) believe there were many cottage industry subcontractors supplying components of all sorts to the aviation industry and one color seldom matched the other. No one is even certain of the purpose of the Aotake coating . Opinions range from corrosion protection to decoration to it being a mark out surface the way blue dye is used in machining today.
I'm with you on " the correct color is the one you chose" as this helps maintain sanity.
Thanks for the input - Richard
thegirl

Joined: January 19, 2008
KitMaker: 6,743 posts
AeroScale: 6,151 posts

Posted: Friday, December 30, 2016 - 02:52 AM UTC
Looking very sharp so far , love the detailing !
Terri
Terri

rdt1953

Joined: February 06, 2015
KitMaker: 1,098 posts
AeroScale: 900 posts

Posted: Friday, December 30, 2016 - 03:21 AM UTC
Quoted Text
Looking very sharp so far , love the detailing !
Terri
Terri - Thanks for the kind words ! Richard

rdt1953

Joined: February 06, 2015
KitMaker: 1,098 posts
AeroScale: 900 posts

Posted: Wednesday, January 04, 2017 - 04:44 AM UTC
A little progress to report-
The cockpit and partial pilot have been completed.
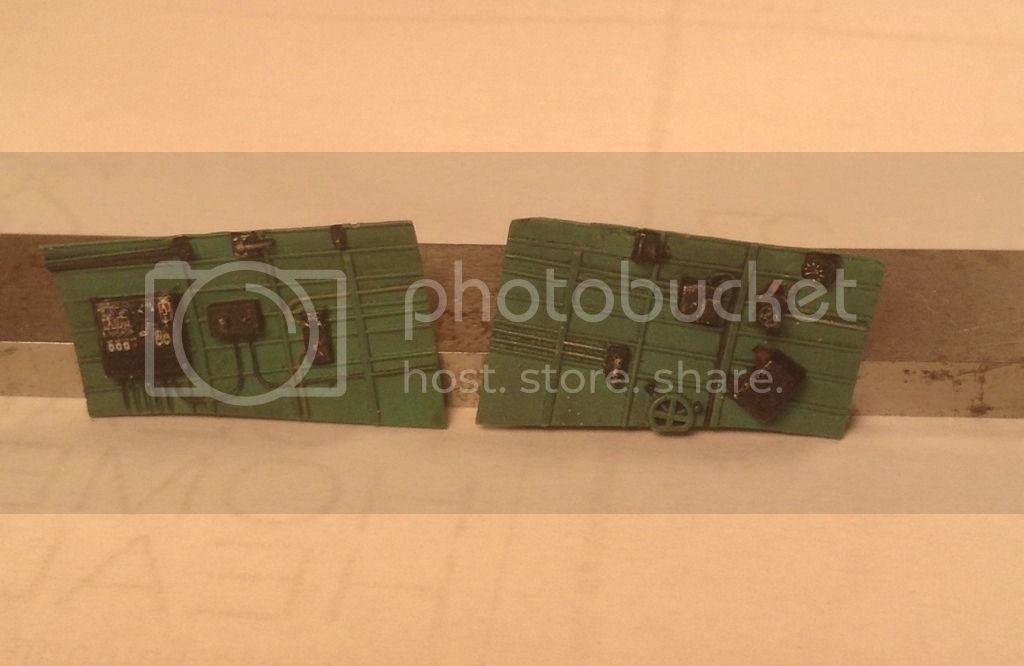
Here are the side walls after detailing and dirtying up a little:
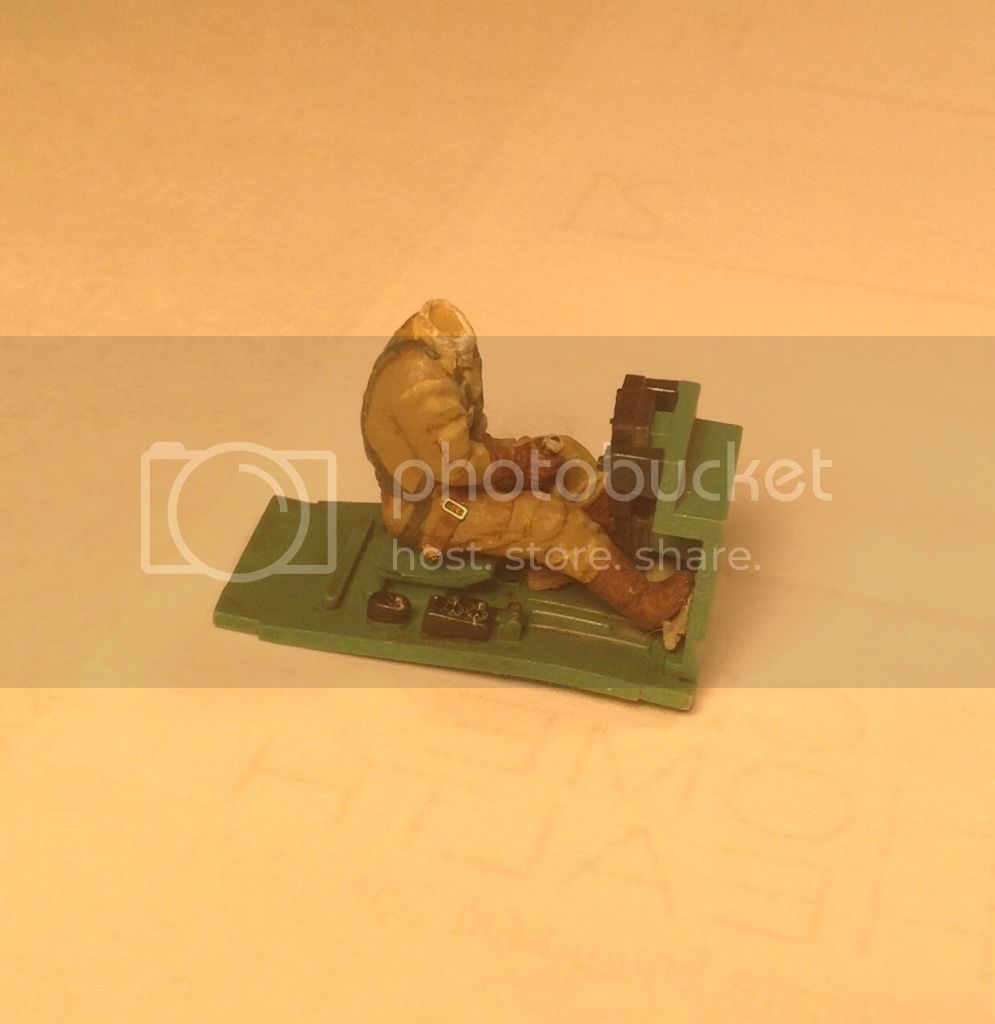
and some shots of the pilot seated:


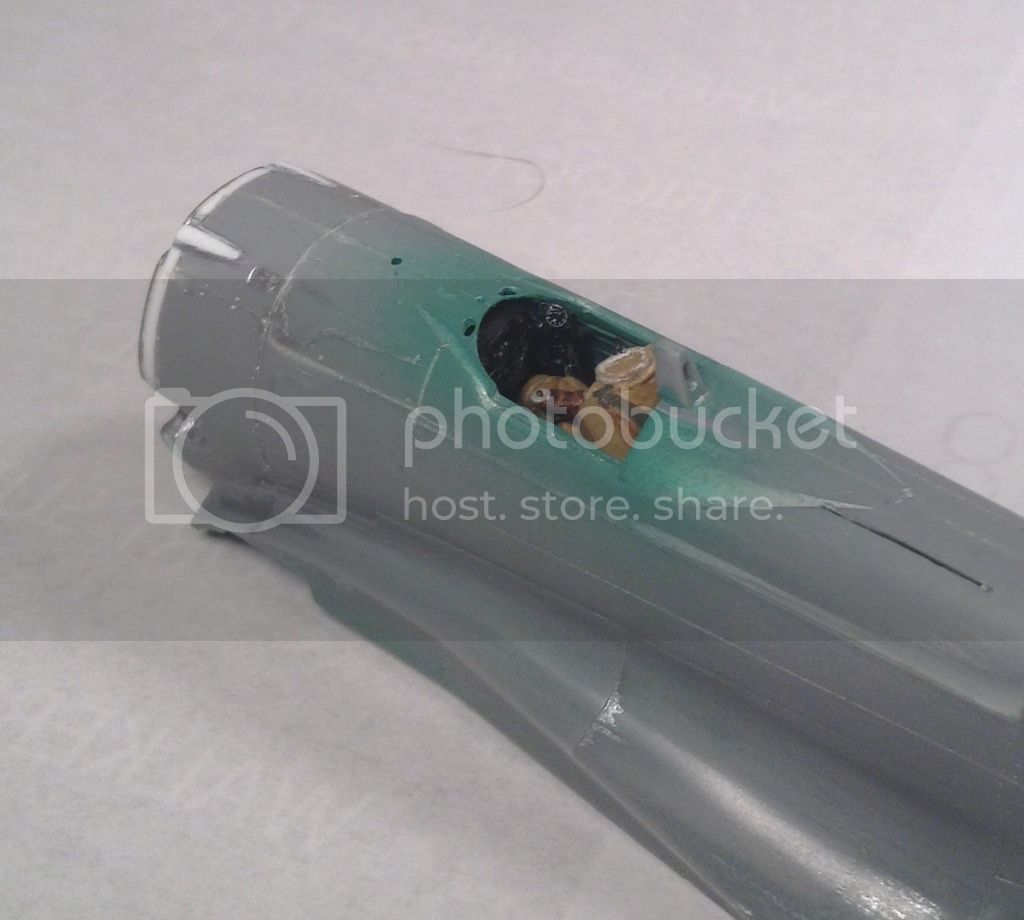
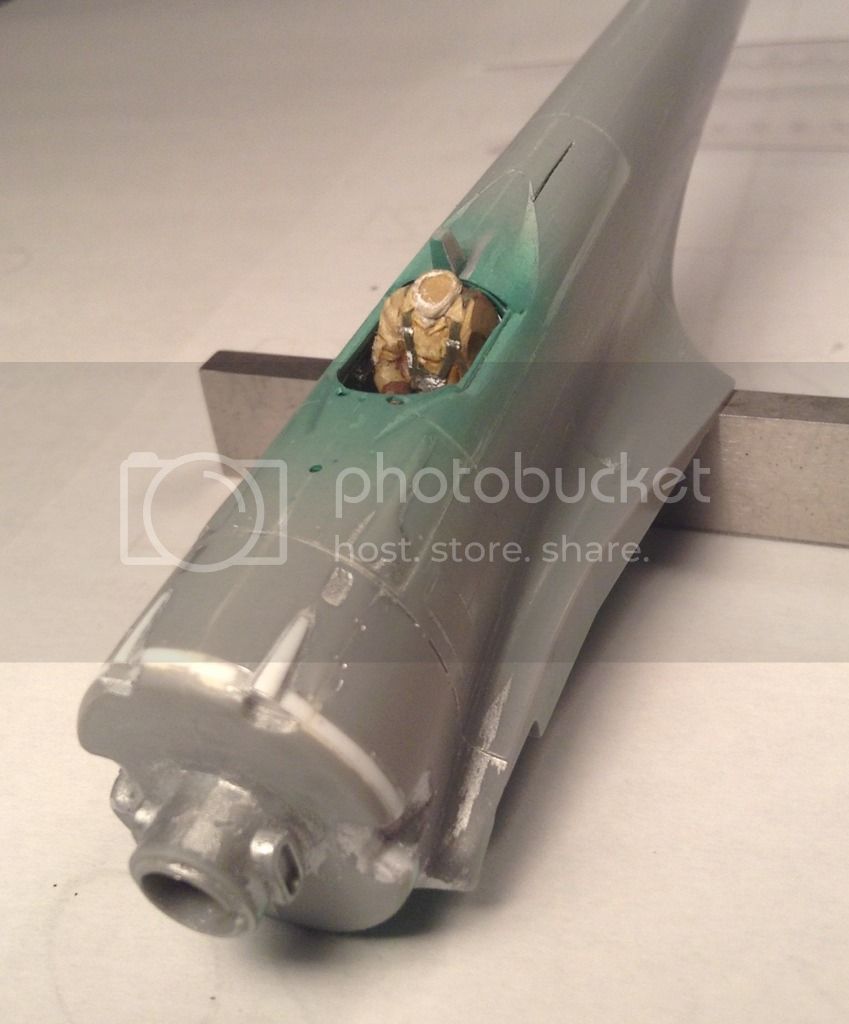
and in the fuselage - not much can be seen as the cockpit is extremely confined- just as it was in the real thing :
This may be the pilot Flight Leader Ichabod Crane reported seeing on Oct. 31, 1943 while leading his group " The Sleepy Hollow Boys" somewhere in the Pacific . I believe this squadron operated off the carrier
U.S.S Washington Irving .
Working now on the engine and next up will be attaching the wing.
Thanks for looking and as always , all input welcome !
Richard
The cockpit and partial pilot have been completed.
Here are the side walls after detailing and dirtying up a little:

and some shots of the pilot seated:


and in the fuselage - not much can be seen as the cockpit is extremely confined- just as it was in the real thing :


This may be the pilot Flight Leader Ichabod Crane reported seeing on Oct. 31, 1943 while leading his group " The Sleepy Hollow Boys" somewhere in the Pacific . I believe this squadron operated off the carrier
U.S.S Washington Irving .

Working now on the engine and next up will be attaching the wing.
Thanks for looking and as always , all input welcome !
Richard
Posted: Wednesday, January 04, 2017 - 05:16 AM UTC
Quoted Text
This may be the pilot Flight Leader Ichabod Crane reported seeing on Oct. 31, 1943 while leading his group " The Sleepy Hollow Boys" somewhere in the Pacific . I believe this squadron operated off the carrier
U.S.S Washington Irving .
The perils of flying with the canopy open, or as the case may be here, with no canopy!
Really nice work, looking good. As always it's a shame to hide those lovely IP details away, but we always have these images to refer back to.
Cheers, D

rdt1953

Joined: February 06, 2015
KitMaker: 1,098 posts
AeroScale: 900 posts

Posted: Wednesday, January 04, 2017 - 06:31 AM UTC
D -
Thanks for the kind words ! Richard
Thanks for the kind words ! Richard

rdt1953

Joined: February 06, 2015
KitMaker: 1,098 posts
AeroScale: 900 posts

Posted: Friday, January 06, 2017 - 03:26 AM UTC
Hi to all -
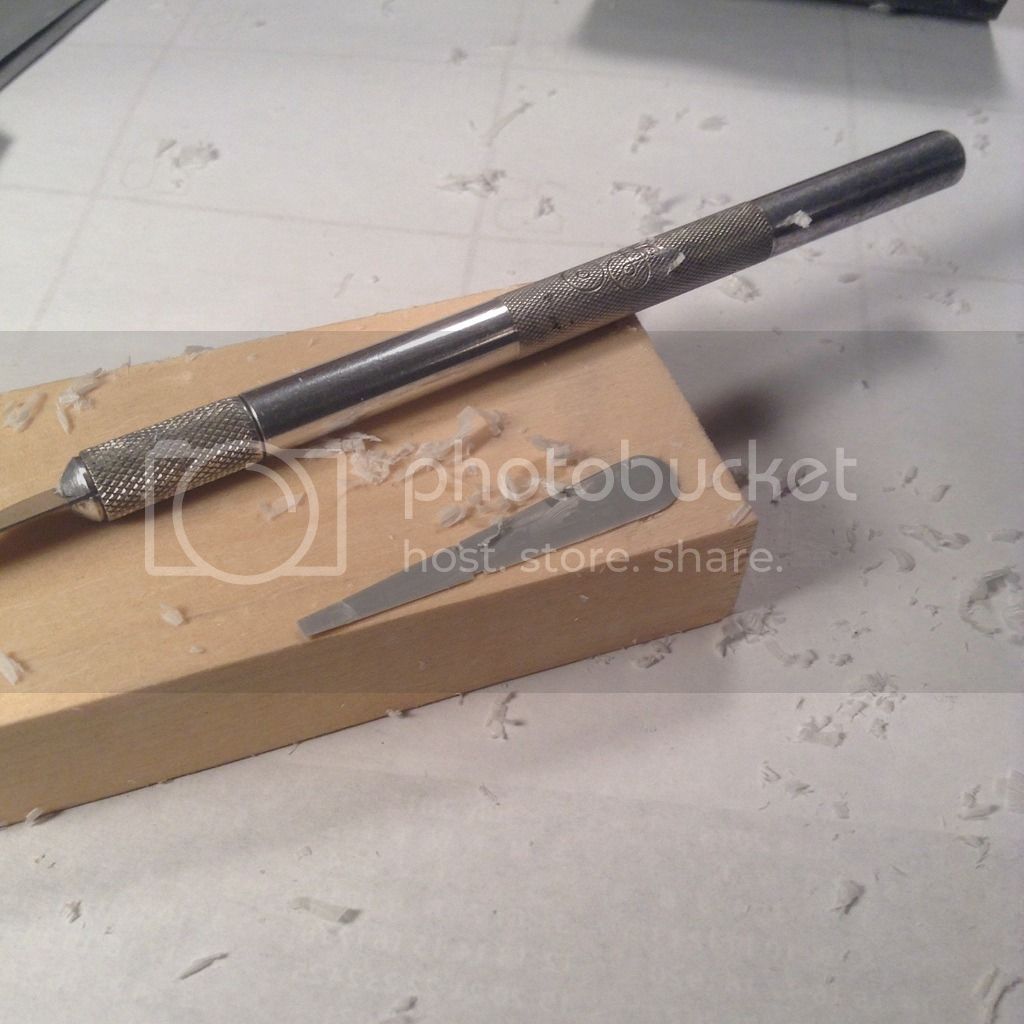
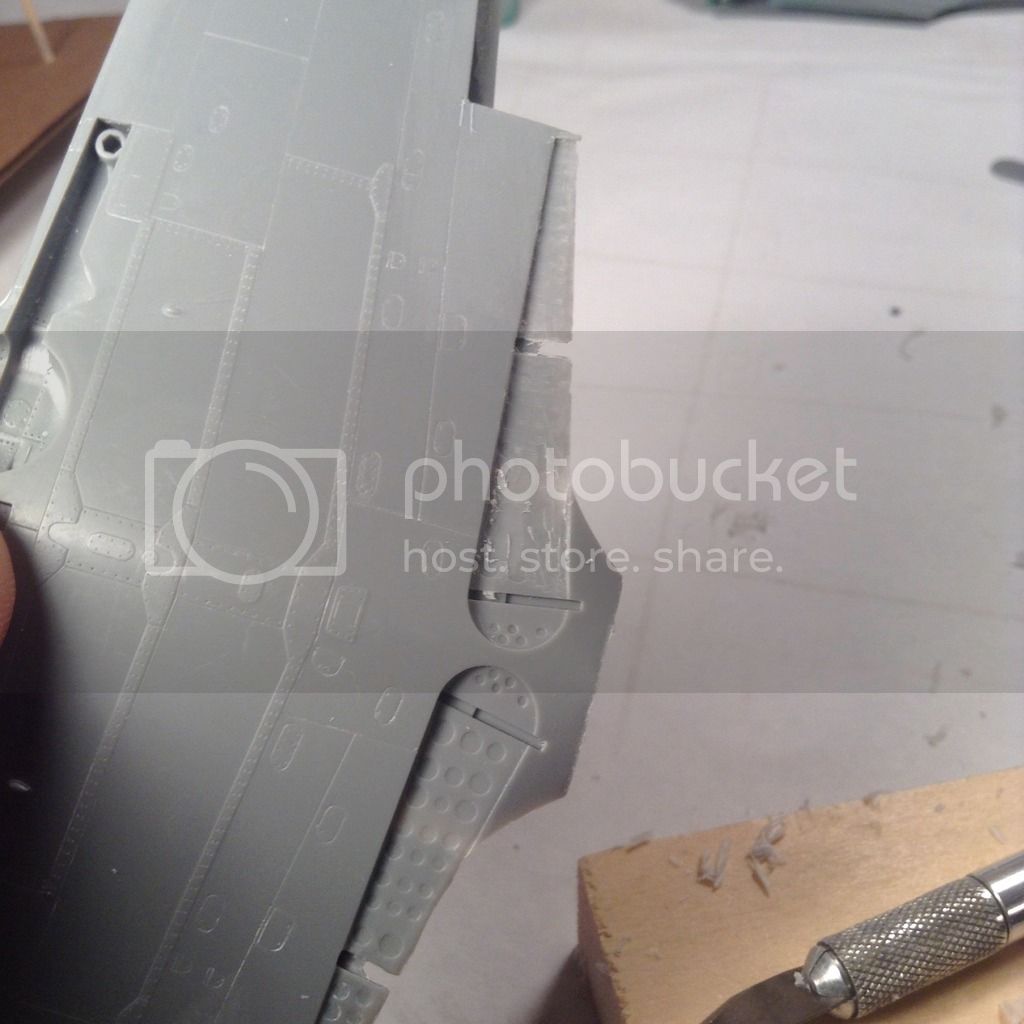
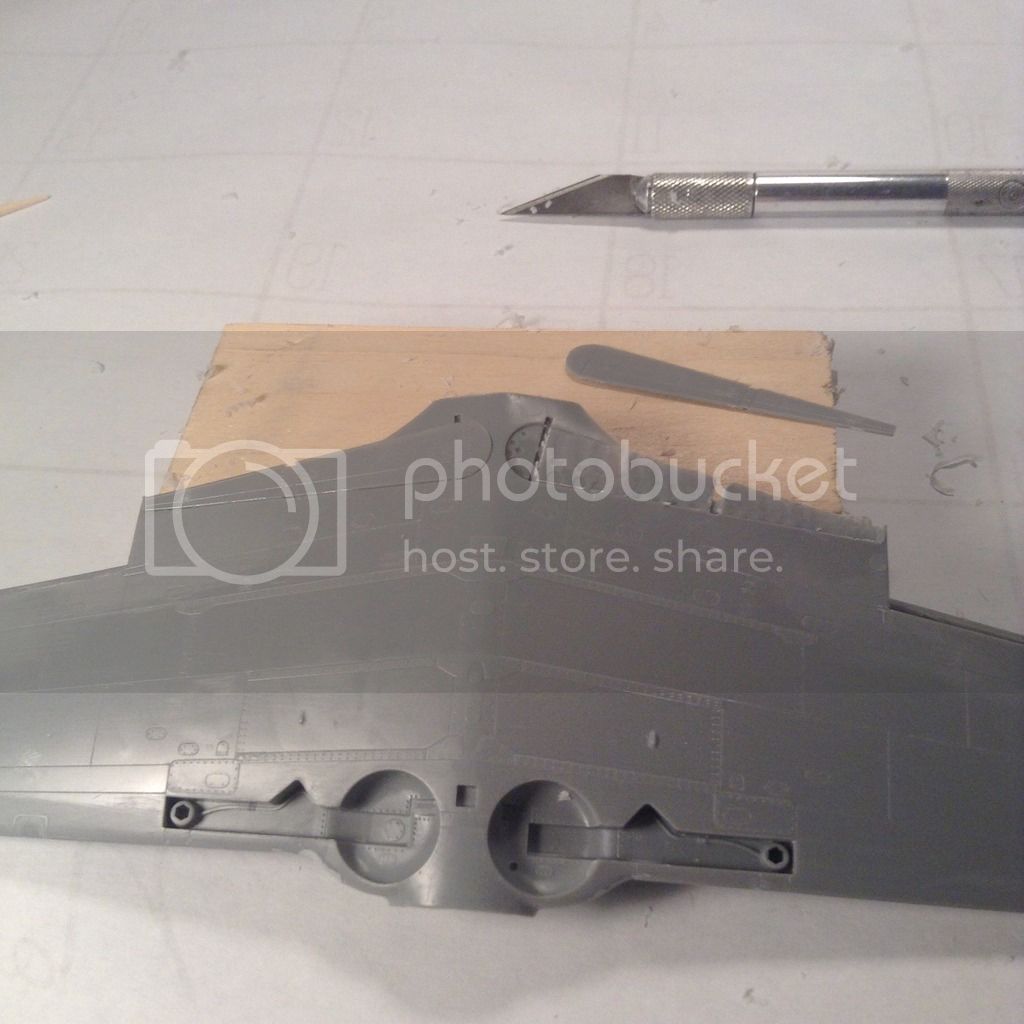
A short post here - I've been doing some work on the butterfly flaps to have them in the retracted position. I was not happy with the fixed rudder, ailerons and elevators so I cut them away . Hasegawa very nicely saved me the trouble by molding the flaps separate so what did I do to show my gratitude ? Like a spoiled child I decided I wanted to have them retracted !
Both the upper surfaces of the flaps and the undersides of their bays in the wing needed careful scraping to get them to fit flush-
Getting ready to fit the wing next -
Thanks for looking - Richard
A short post here - I've been doing some work on the butterfly flaps to have them in the retracted position. I was not happy with the fixed rudder, ailerons and elevators so I cut them away . Hasegawa very nicely saved me the trouble by molding the flaps separate so what did I do to show my gratitude ? Like a spoiled child I decided I wanted to have them retracted !
Both the upper surfaces of the flaps and the undersides of their bays in the wing needed careful scraping to get them to fit flush-


Getting ready to fit the wing next -
Thanks for looking - Richard

Bigrip74

Joined: February 22, 2008
KitMaker: 5,026 posts
AeroScale: 2,811 posts

Posted: Tuesday, January 10, 2017 - 01:29 AM UTC
Richard, I have been following your Ki43 build with interest to help me with a possible ARII Ki43 for the Pearl Harbor campaign.
Great build and process, love the attention to your Ki43.
Bob
Great build and process, love the attention to your Ki43.
Bob
Joel_W

Joined: December 04, 2010
KitMaker: 11,666 posts
AeroScale: 7,410 posts

Posted: Tuesday, January 10, 2017 - 01:43 AM UTC
Richard,
I thought that one had to be from New York in order to use any reference to the Headless horseman, Ichabod Crane, or Sleepy Hollow. But I must confess that when I saw your Headless pilot, that's what popped right into my head.
You did some job on thinning out those flaps, as they fit perfectly.


Joel
I thought that one had to be from New York in order to use any reference to the Headless horseman, Ichabod Crane, or Sleepy Hollow. But I must confess that when I saw your Headless pilot, that's what popped right into my head.
You did some job on thinning out those flaps, as they fit perfectly.


Joel

rdt1953

Joined: February 06, 2015
KitMaker: 1,098 posts
AeroScale: 900 posts

Posted: Tuesday, January 10, 2017 - 07:06 AM UTC
Quoted Text
Richard, I have been following your Ki43 build with interest to help me with a possible ARII Ki43 for the Pearl Harbor campaign.
Great build and process, love the attention to your Ki43.
Bob
Thanks for the kind words Bob - Hope you do the Ki 43 - Richard

rdt1953

Joined: February 06, 2015
KitMaker: 1,098 posts
AeroScale: 900 posts

Posted: Tuesday, January 10, 2017 - 07:07 AM UTC
Quoted Text
Richard,
I thought that one had to be from New York in order to use any reference to the Headless horseman, Ichabod Crane, or Sleepy Hollow. But I must confess that when I saw your Headless pilot, that's what popped right into my head.
You did some job on thinning out those flaps, as they fit perfectly.


Joel
Joel - Thanks - Pretty spooky , eh ? - Richard

rdt1953

Joined: February 06, 2015
KitMaker: 1,098 posts
AeroScale: 900 posts

Posted: Tuesday, January 10, 2017 - 07:18 AM UTC
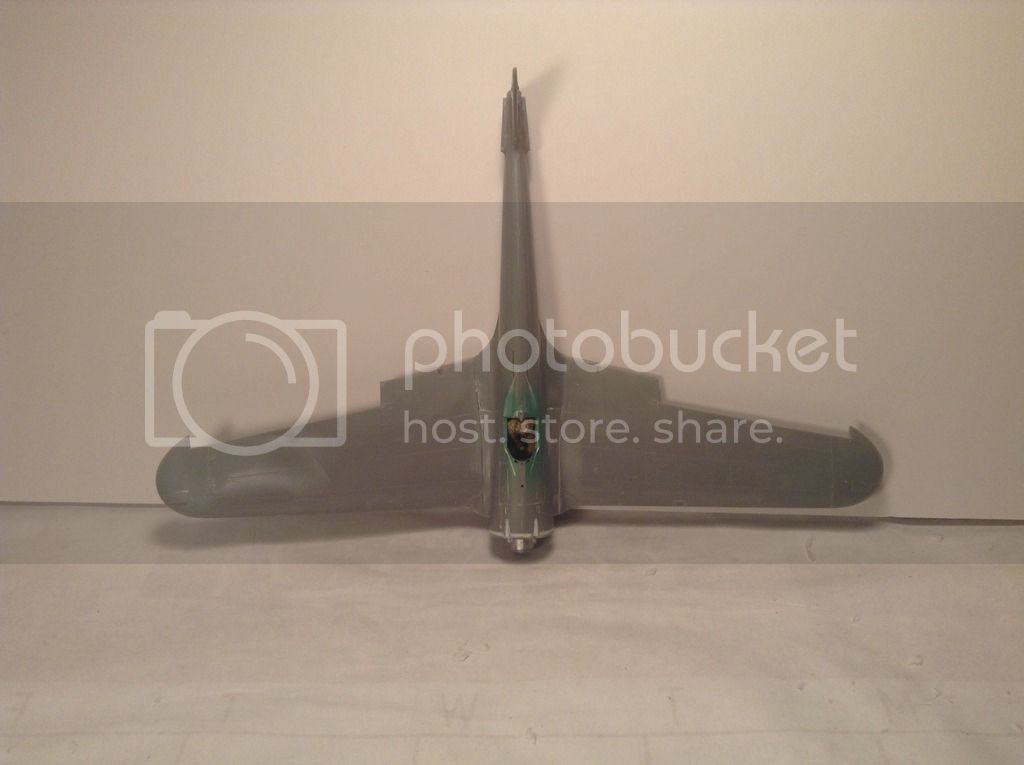
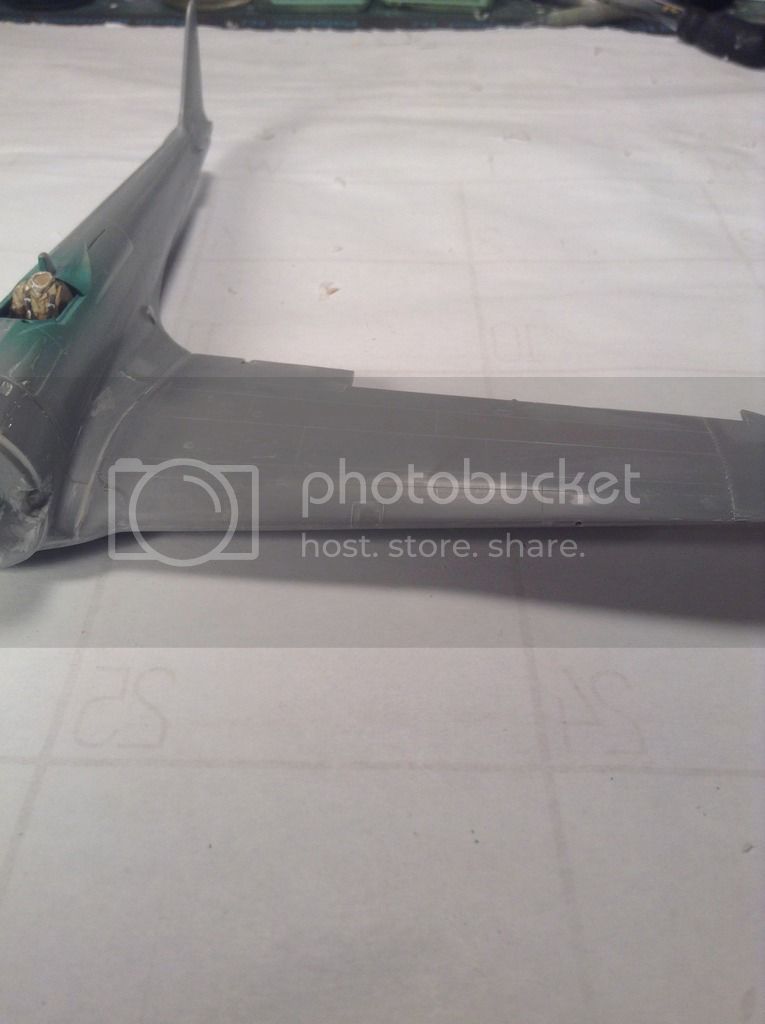
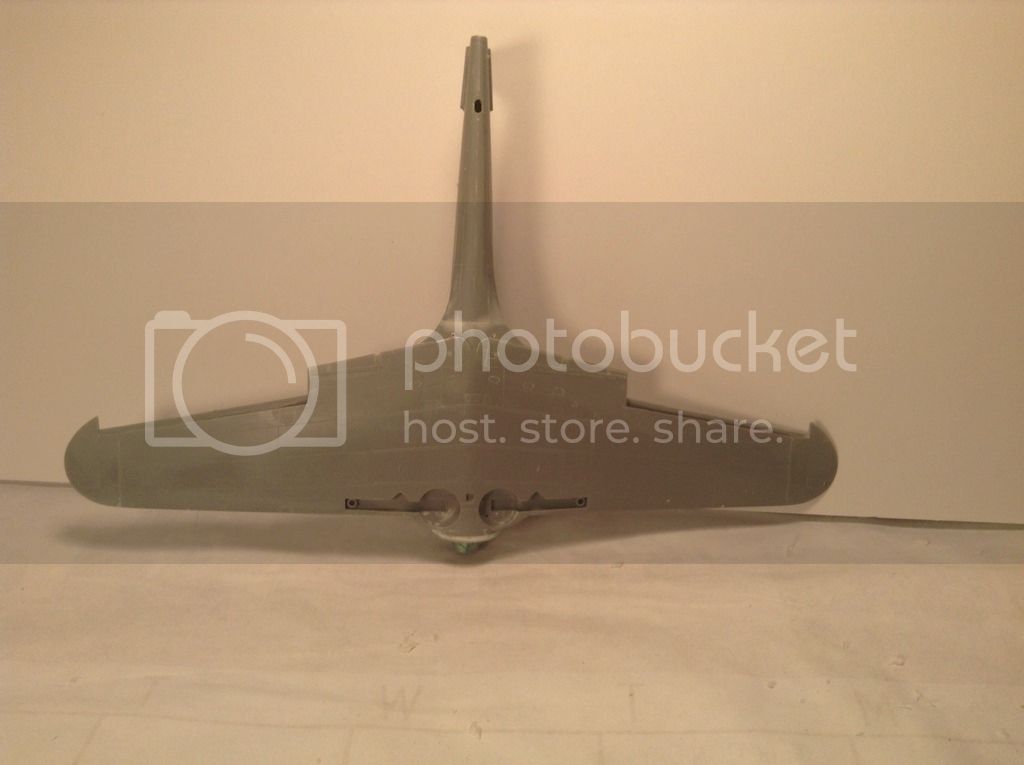
Update - It's now a thing with wings !
Lots of fussing, shimming, filling , scraping, rescribing - you get the idea - and still more to do-
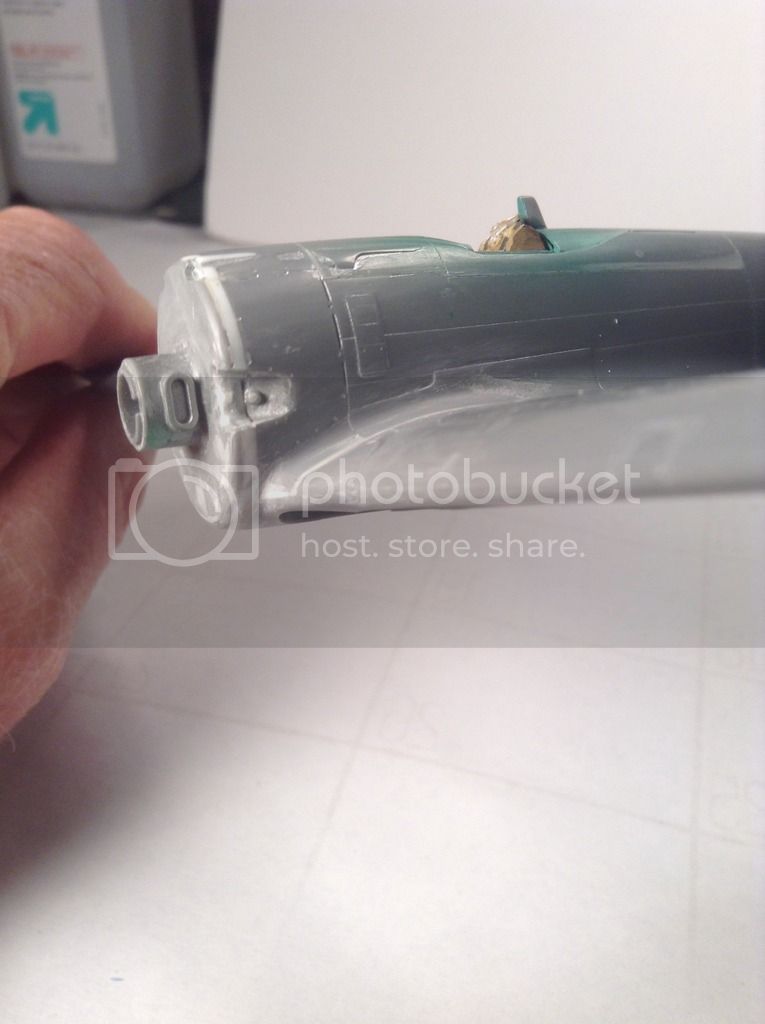
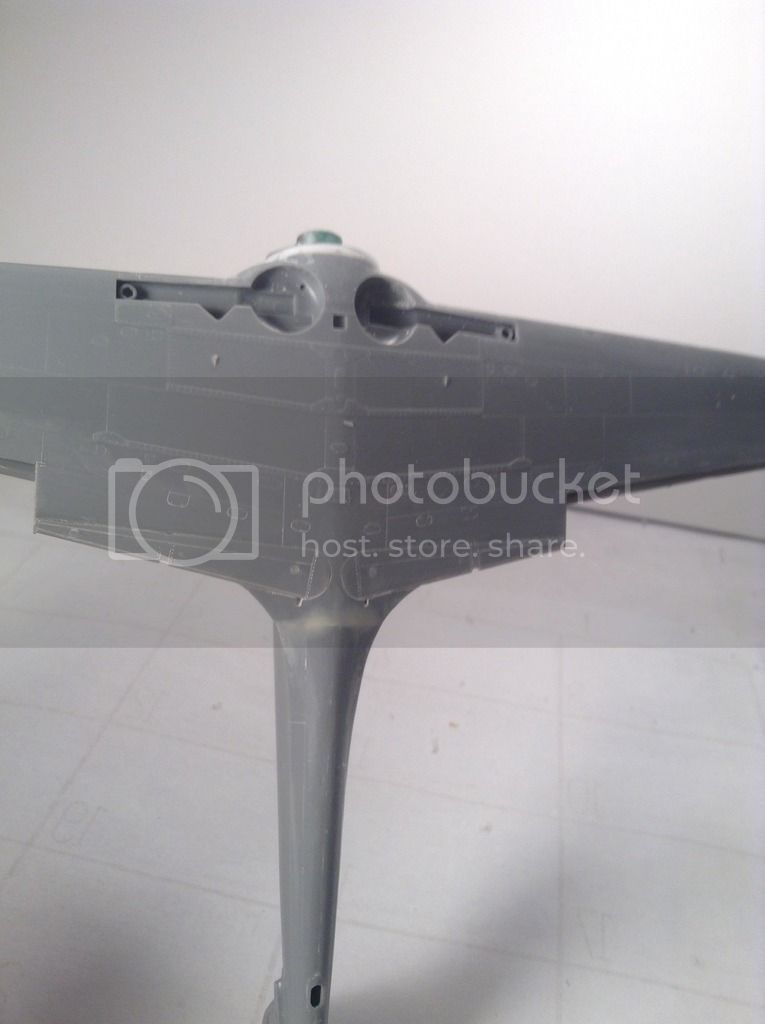
Landing light filled in as this did not appear until type II Otsu
Thanks for looking - Richard
Lots of fussing, shimming, filling , scraping, rescribing - you get the idea - and still more to do-


Landing light filled in as this did not appear until type II Otsu


Thanks for looking - Richard

Bigrip74

Joined: February 22, 2008
KitMaker: 5,026 posts
AeroScale: 2,811 posts

Posted: Tuesday, January 10, 2017 - 07:37 AM UTC
Richard, is the interior color your mix or does Tamiya have a comparable shade?
Bob
Bob
 |


