Air Campaigns
Want to start or join a group build? This is where to start.
Want to start or join a group build? This is where to start.
Hosted by Frederick Boucher, Michael Satin
OFFICIAL: Eastern Front Campaign
Posted: Tuesday, July 16, 2019 - 08:45 AM UTC
Klasse-Vogel, Torsten! Congrats! 

Antilles

Joined: March 22, 2015
KitMaker: 671 posts
AeroScale: 614 posts

Posted: Sunday, July 21, 2019 - 03:08 AM UTC
Peter:
Well done! Looks really nice and Ready to fly!
Torsten:
Very nice Henschel. The extra Color for the gun looks very good. Nice mixture! Beautiful!
Ian;
The interior work for Your kit looks good and hopefully it will be nicely seen after the canopy is closed due to the lot of crystal parts!
Oliver
Well done! Looks really nice and Ready to fly!
Torsten:
Very nice Henschel. The extra Color for the gun looks very good. Nice mixture! Beautiful!
Ian;
The interior work for Your kit looks good and hopefully it will be nicely seen after the canopy is closed due to the lot of crystal parts!
Oliver


BlackWidow

Joined: August 09, 2009
KitMaker: 1,732 posts
AeroScale: 1,336 posts

Posted: Sunday, July 21, 2019 - 06:15 AM UTC
Thanks Peter and Oliver! 
Meanwhile I have uploaded some better photos to the gallery and to my Assembly Line Thread with some background infos to plane and pilot. Have a look if you like.
Have fun!
Torsten

Meanwhile I have uploaded some better photos to the gallery and to my Assembly Line Thread with some background infos to plane and pilot. Have a look if you like.
Have fun!
Torsten

brekinapez

Joined: July 26, 2013
KitMaker: 2,272 posts
AeroScale: 158 posts

Posted: Monday, July 22, 2019 - 12:21 PM UTC
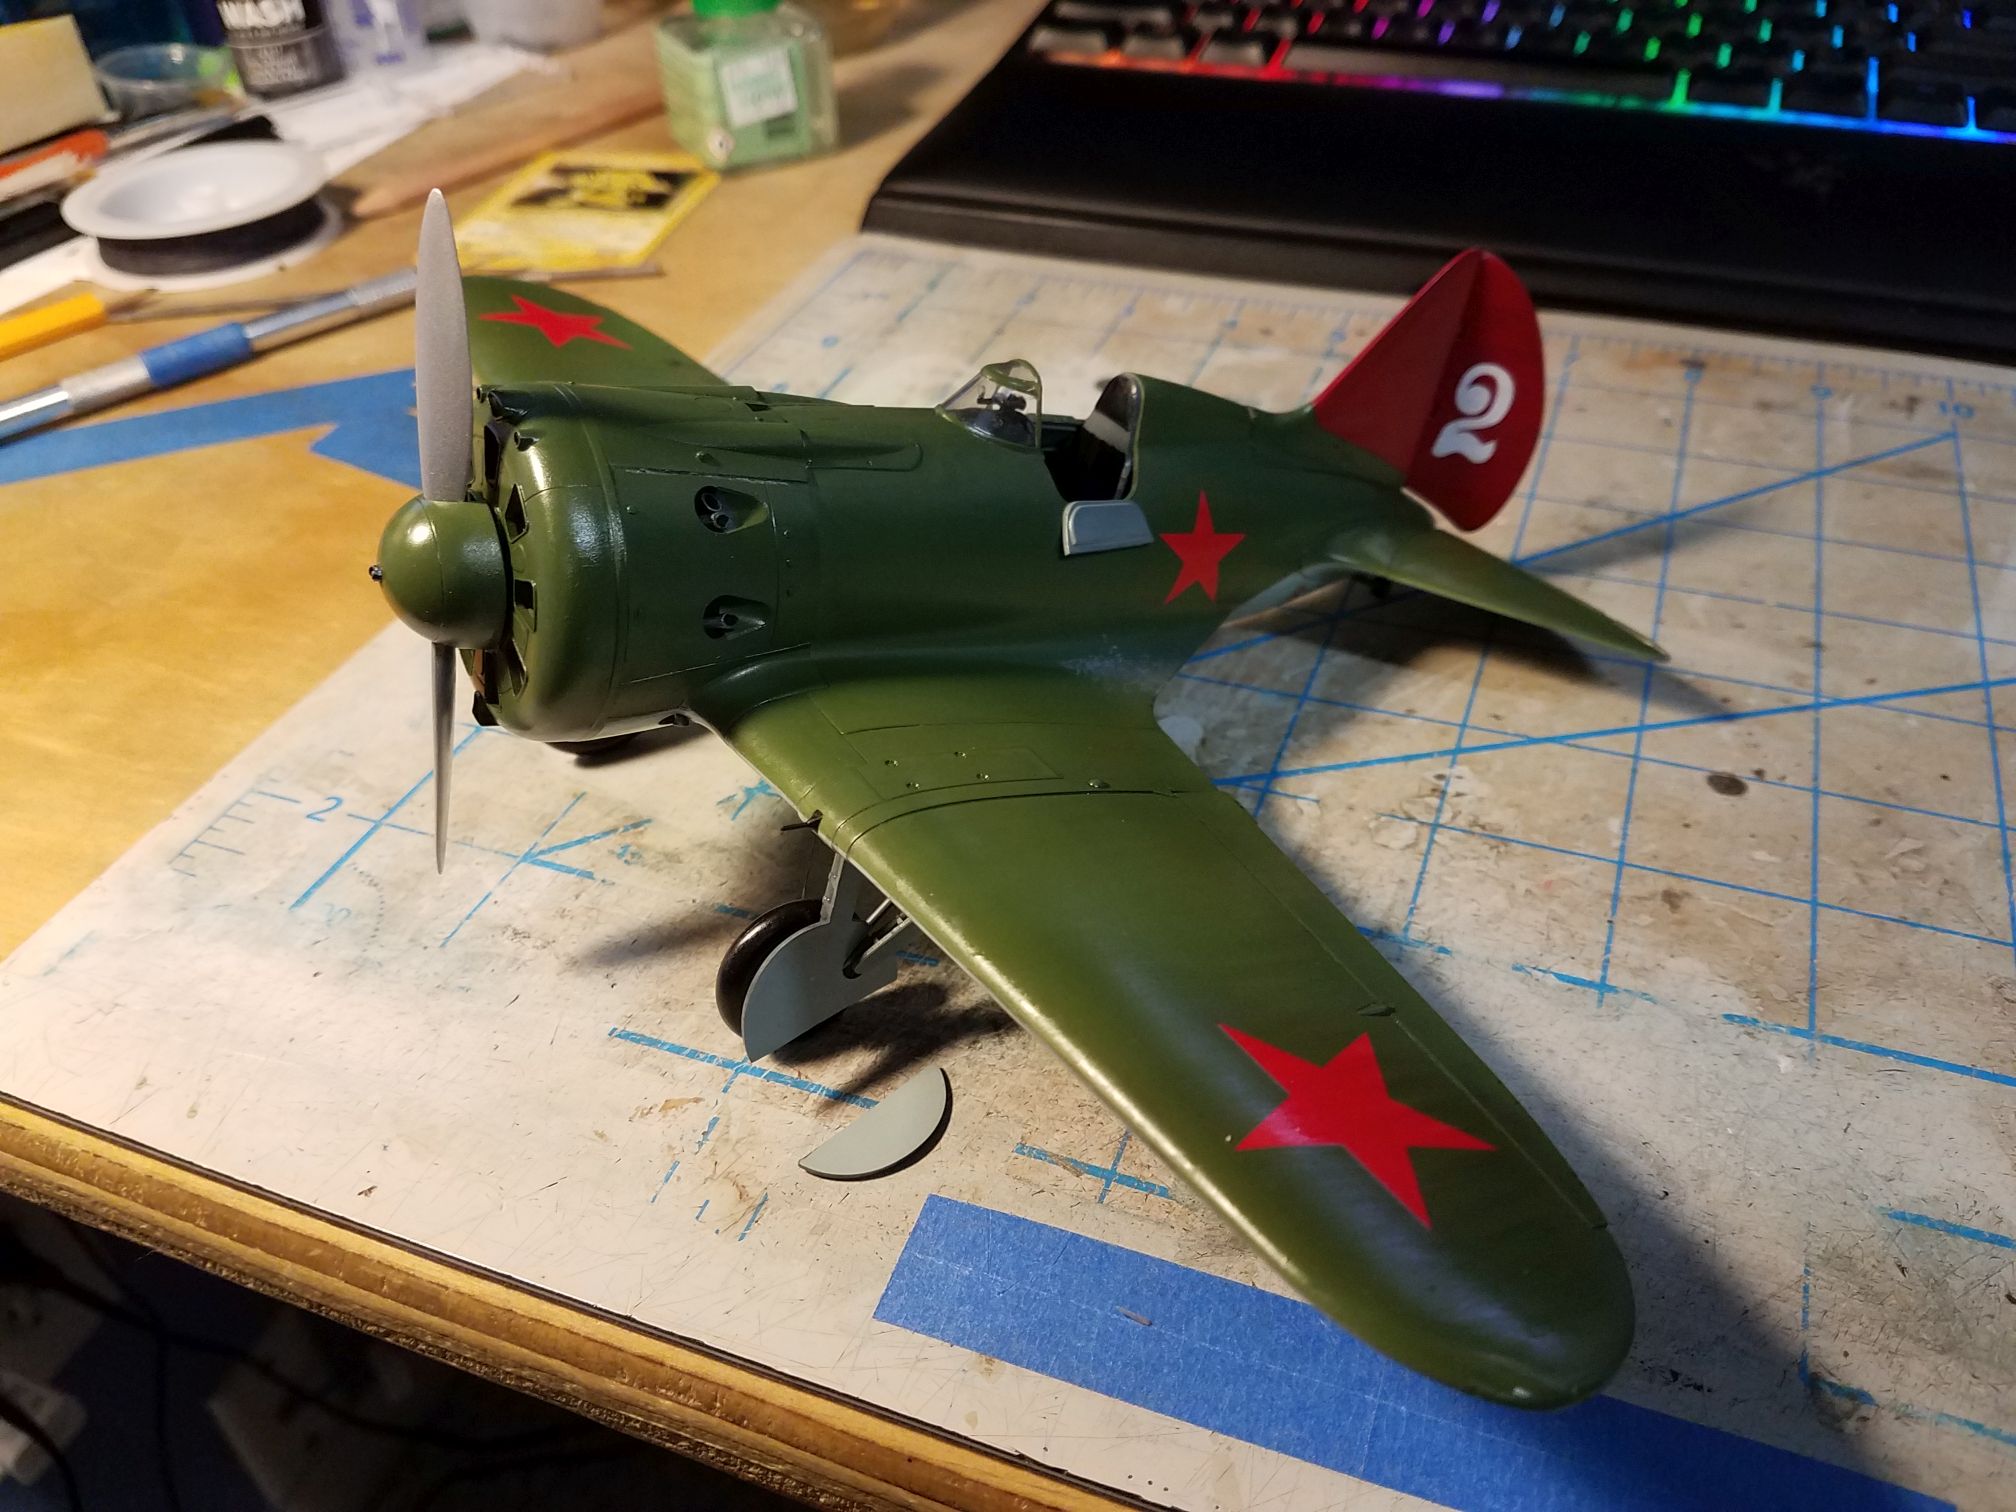
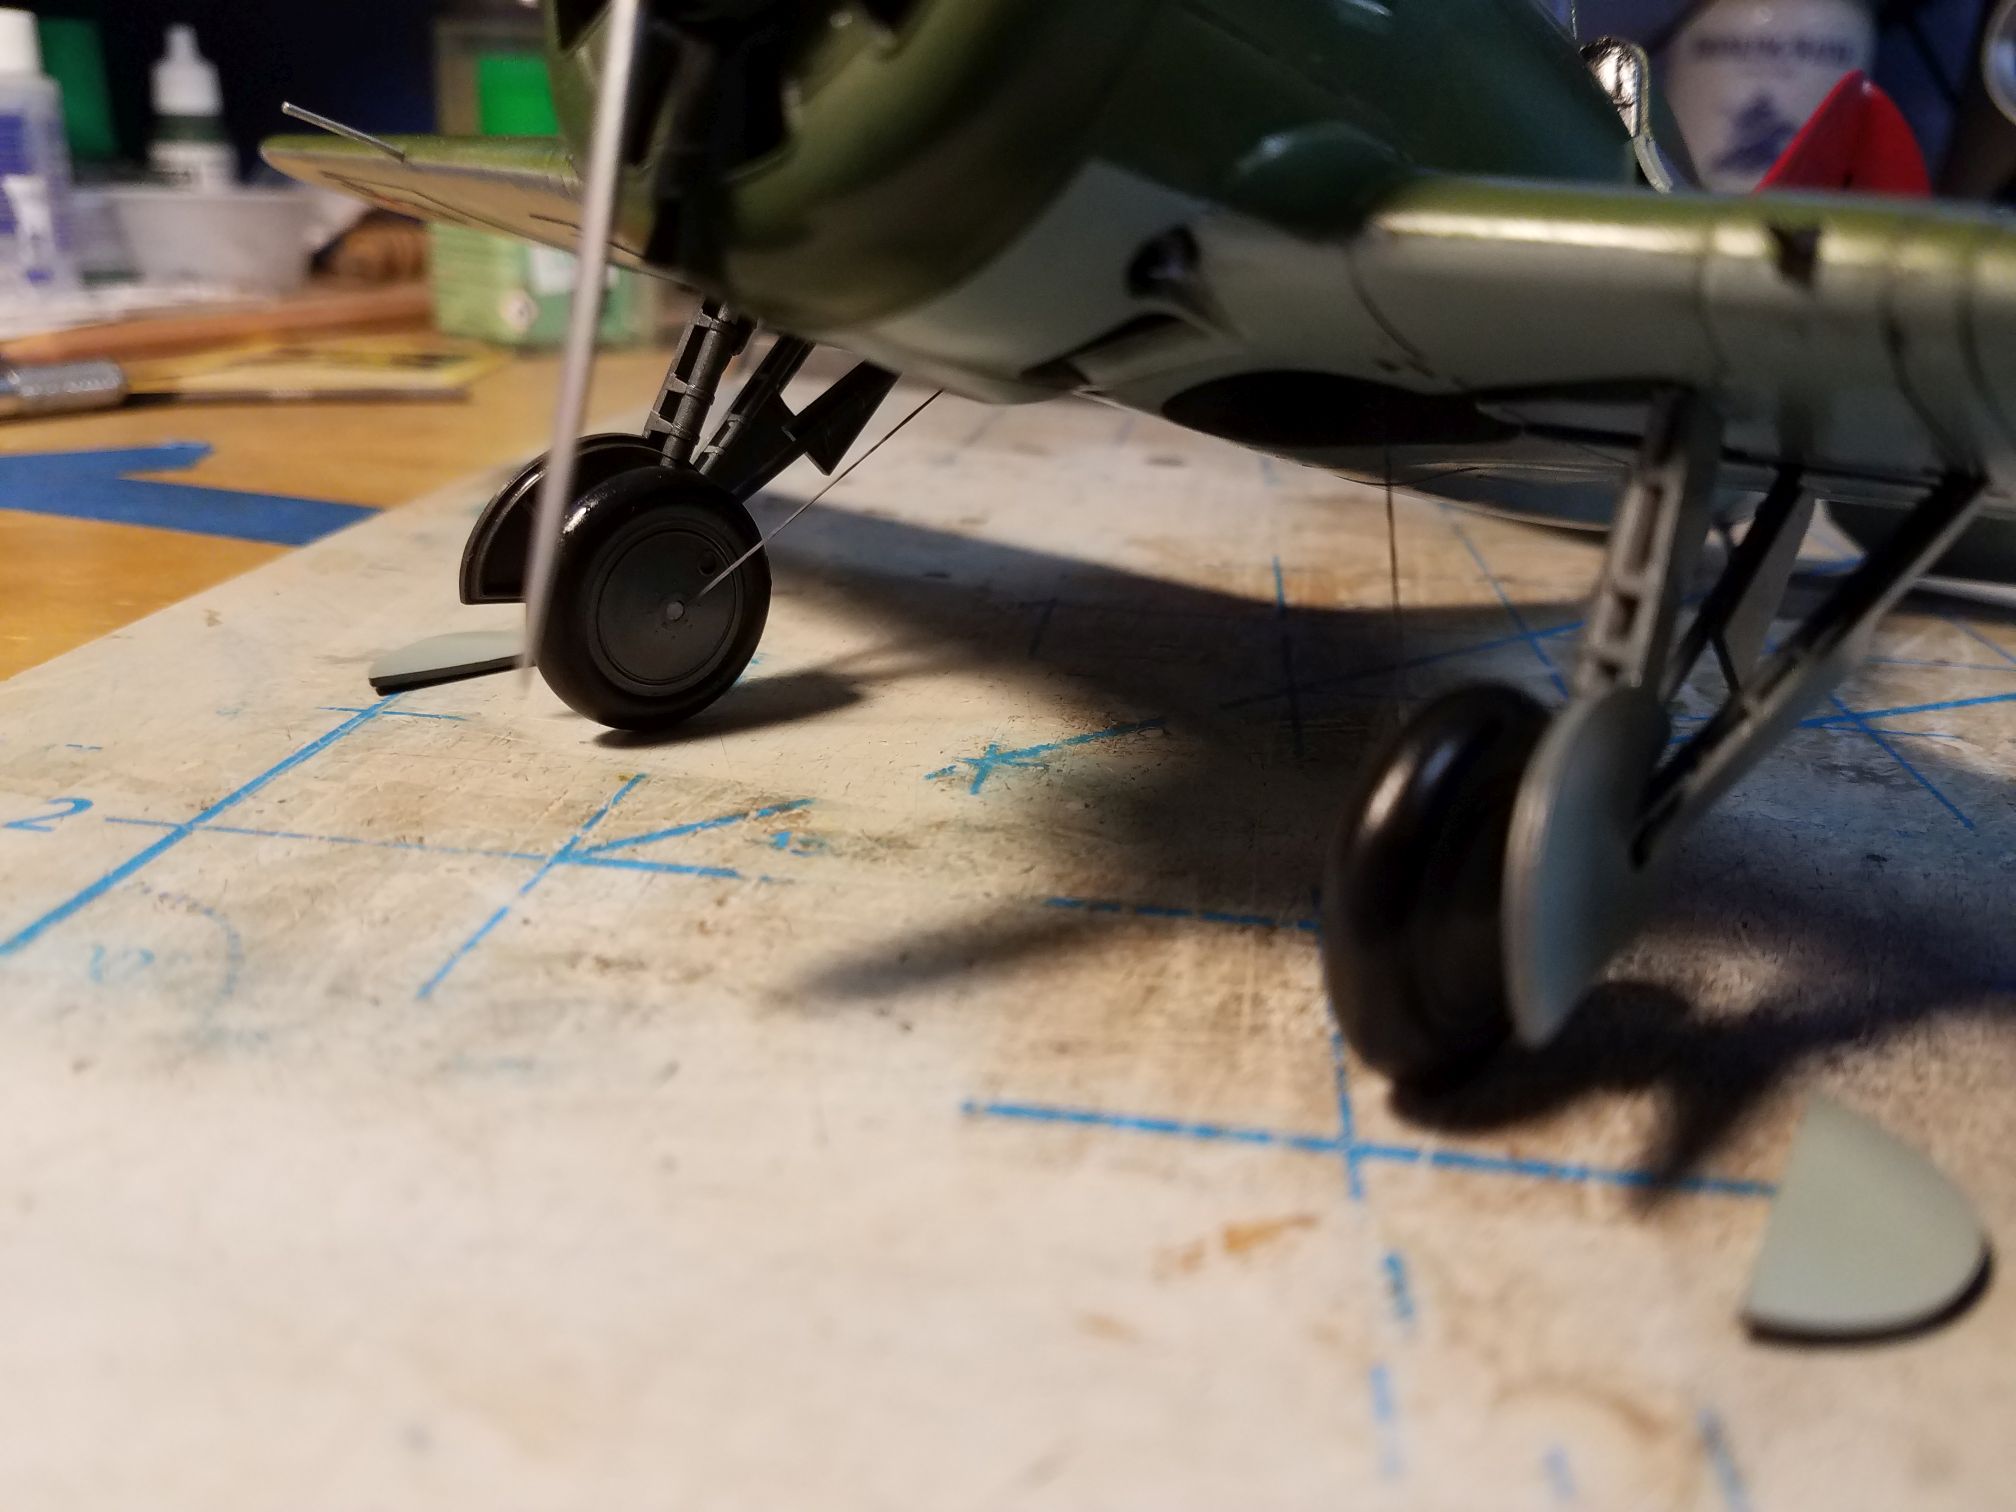
Getting close to done; just have to attach the outermost landing gear covers and the landing lights, do a little touch-up and apply a final coat to knock off some shine and weather the prop and exhausts.


Removed by original poster on 07/23/19 - 01:44:04 (GMT).
Removed by original poster on 07/23/19 - 01:45:51 (GMT).
Removed by original poster on 07/23/19 - 01:54:46 (GMT).

bomber14

Joined: February 02, 2015
KitMaker: 330 posts
AeroScale: 286 posts

Posted: Monday, July 22, 2019 - 02:02 PM UTC

Shrimpman

Joined: August 14, 2016
KitMaker: 148 posts
AeroScale: 123 posts

Posted: Friday, July 26, 2019 - 11:43 PM UTC
Some progress photos on FW 189.
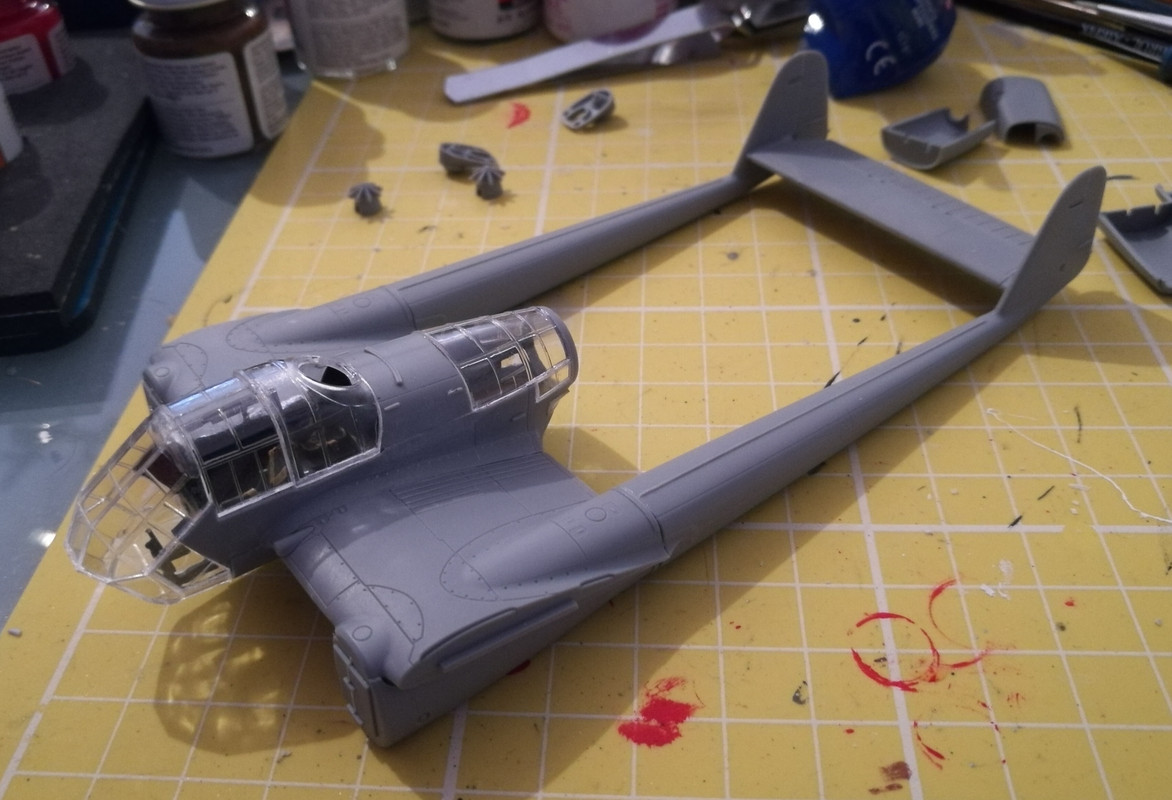

So far I am very impressed with model quality. There is literally no mold seam leaks, parts are crispy sharp, fit is very good. One thing they did wrong though is a small ladder. It is very delicate and located in such a spot that it breaks immediately the moment you pick up the sprue. I would recommend to cut it off the sprue the very moment you open the box, there is no way it can survive any handling of the sprue. I was also having trouble with landing gear assembly, but that was my fault. So far very satisfying build.


So far I am very impressed with model quality. There is literally no mold seam leaks, parts are crispy sharp, fit is very good. One thing they did wrong though is a small ladder. It is very delicate and located in such a spot that it breaks immediately the moment you pick up the sprue. I would recommend to cut it off the sprue the very moment you open the box, there is no way it can survive any handling of the sprue. I was also having trouble with landing gear assembly, but that was my fault. So far very satisfying build.

Shrimpman

Joined: August 14, 2016
KitMaker: 148 posts
AeroScale: 123 posts

Posted: Monday, July 29, 2019 - 07:08 AM UTC
I need a little help from Eastern Front experts. I am getting ready to start painting, but I have ran across a little trouble with colours. My model is from 1.(H)/32 based in Finland in summer 1943. Instruction sheet says camo should be RLM 78 at the bottom, RLM 79 top with RLM 71 spots. This would be same as North Africa markings. But then i have learned RLM79 used in second half of the war was darker than African RLM 79 and there is contraditory information whether green blotches should be RLM 71 or RLM 80. Does anyone have the answer what colour are the blotches supposed to be?
Also instructions suggest bombs should be RLM 66? Is that correct? I mean these are 50kg bombs. I thought they were RLM 70, but I also seen photo of museum plane carrying same bombs in RLM 79 with red bands. Any advice would be greatly appreciated.
Also instructions suggest bombs should be RLM 66? Is that correct? I mean these are 50kg bombs. I thought they were RLM 70, but I also seen photo of museum plane carrying same bombs in RLM 79 with red bands. Any advice would be greatly appreciated.
brekinapez

Joined: July 26, 2013
KitMaker: 2,272 posts
AeroScale: 158 posts

Posted: Saturday, August 03, 2019 - 11:01 AM UTC
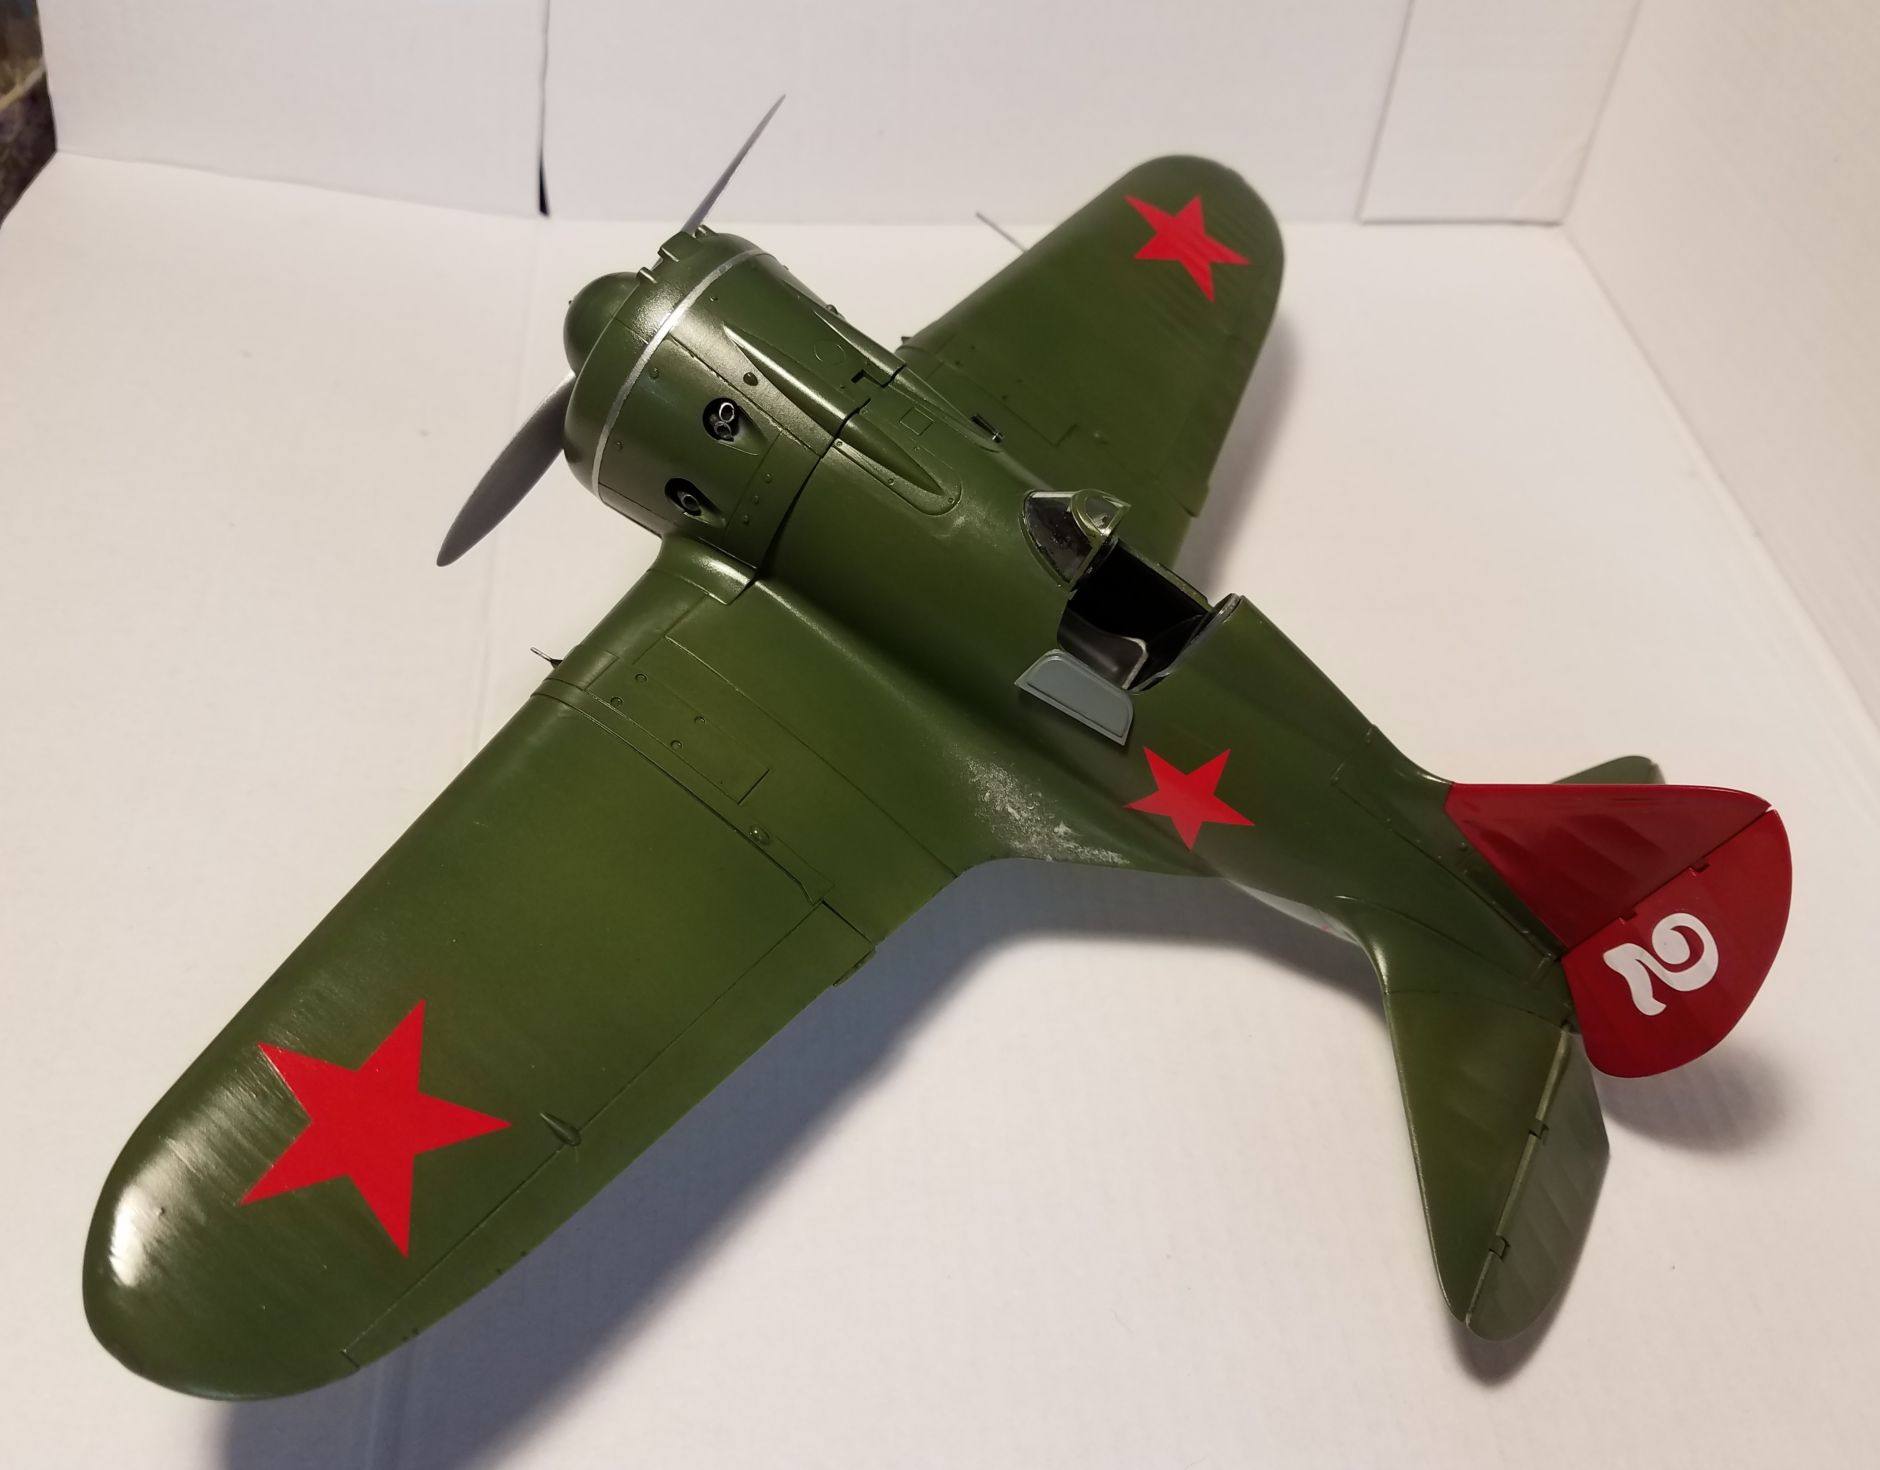
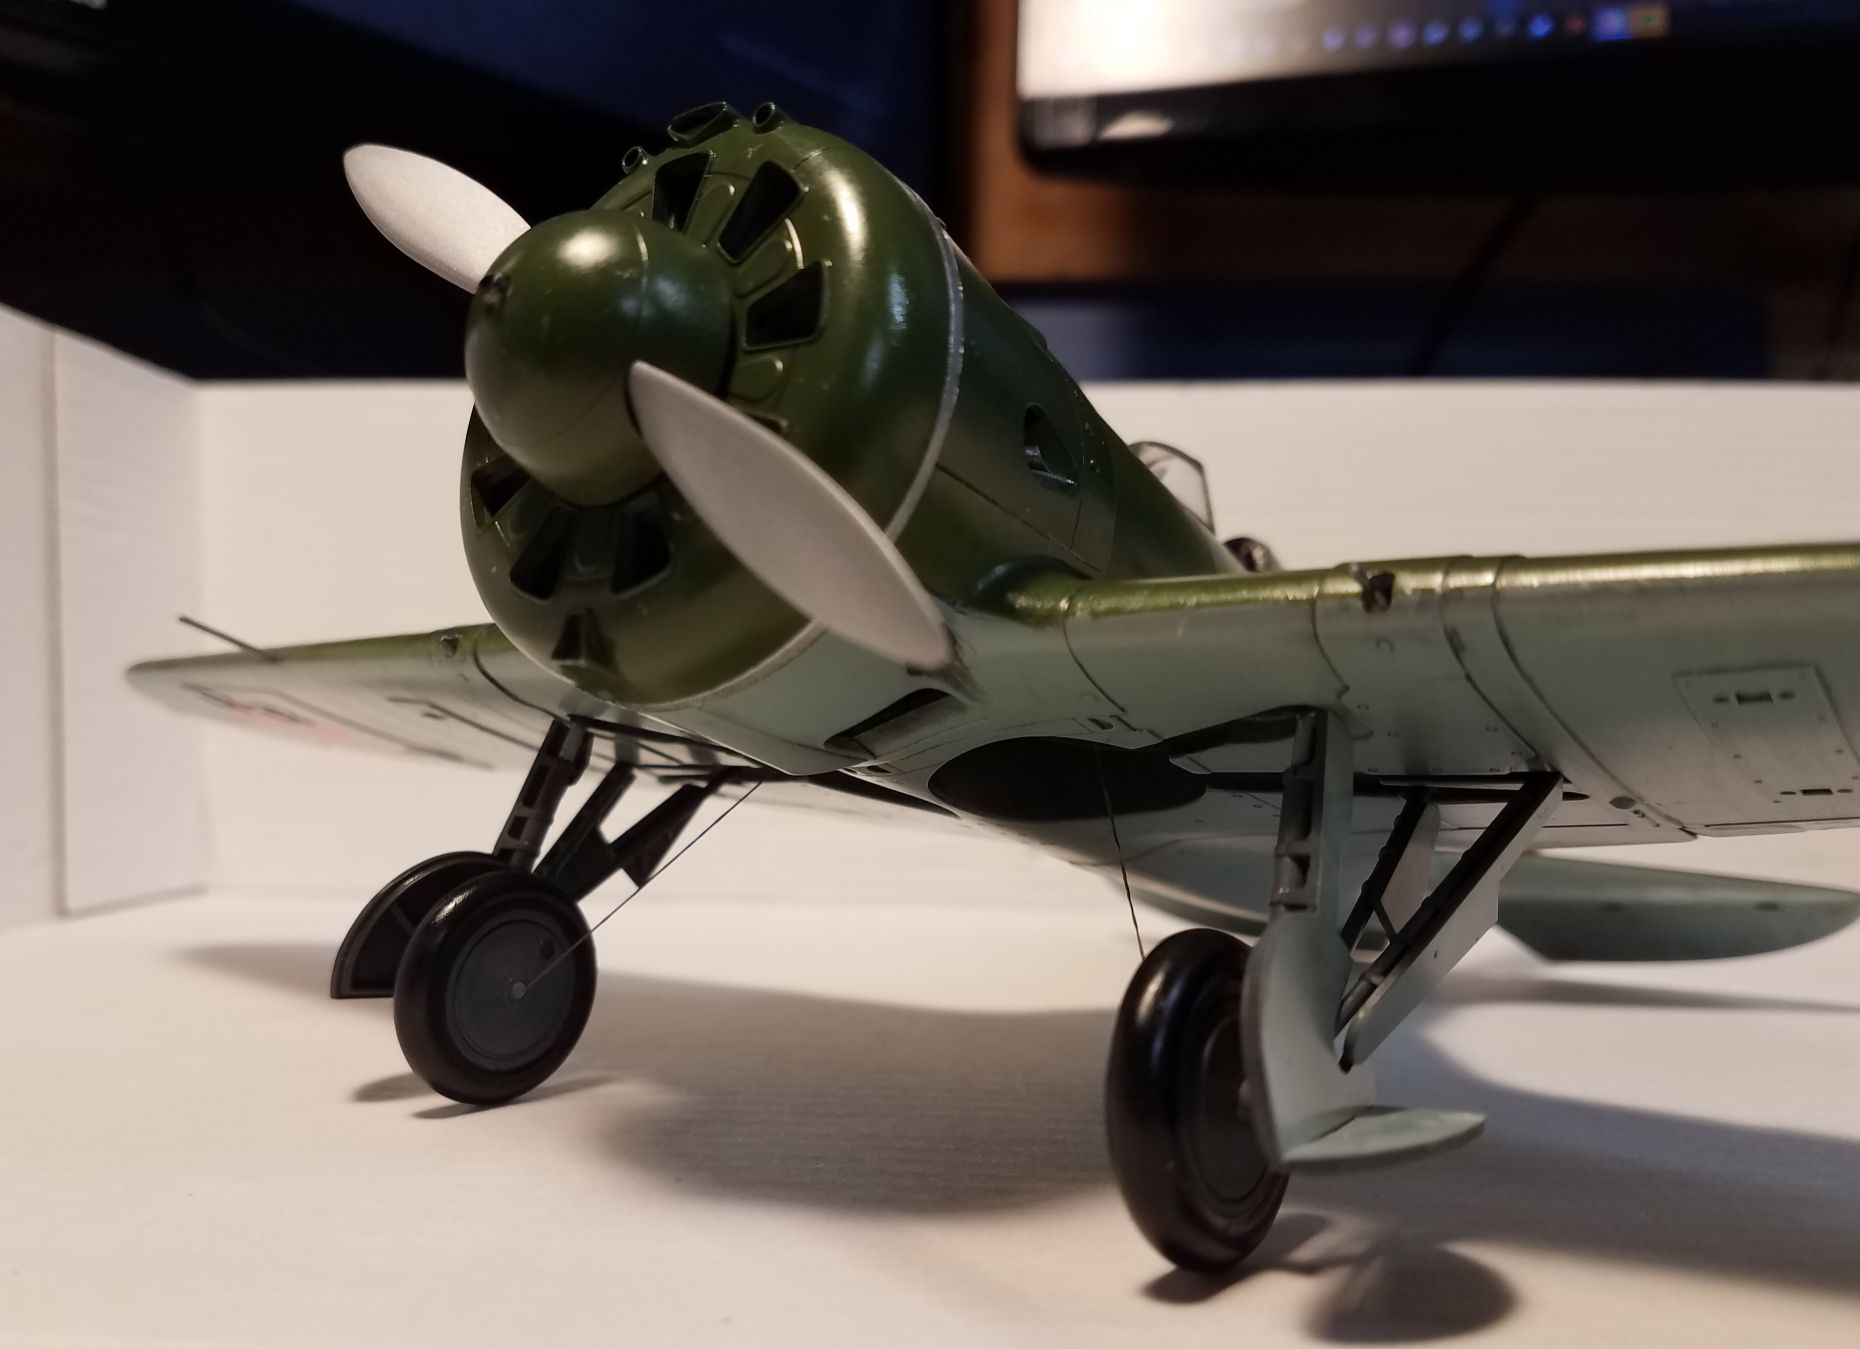
Going to work on the propeller and the exhausts today and that should wrap her up. Hoping to finish my Stalingrad build this weekend as well.


Bigrip74

Joined: February 22, 2008
KitMaker: 5,026 posts
AeroScale: 2,811 posts

Posted: Saturday, August 03, 2019 - 04:38 PM UTC
I have been watching everyone's progress and I love what has been posted.
Bob
Bob

Shrimpman

Joined: August 14, 2016
KitMaker: 148 posts
AeroScale: 123 posts

Posted: Sunday, August 11, 2019 - 06:44 PM UTC
That is such a beautiful Ishak, Shell! I have a very weak spot for Polikarpov's designs. Well done!
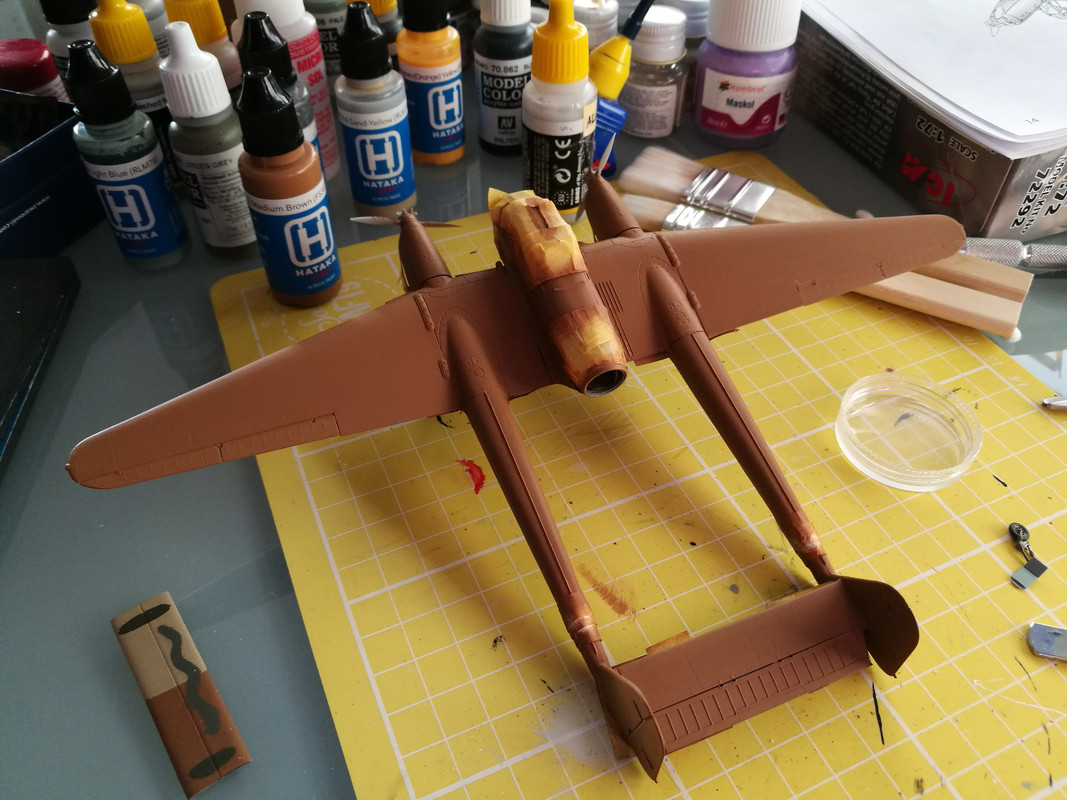
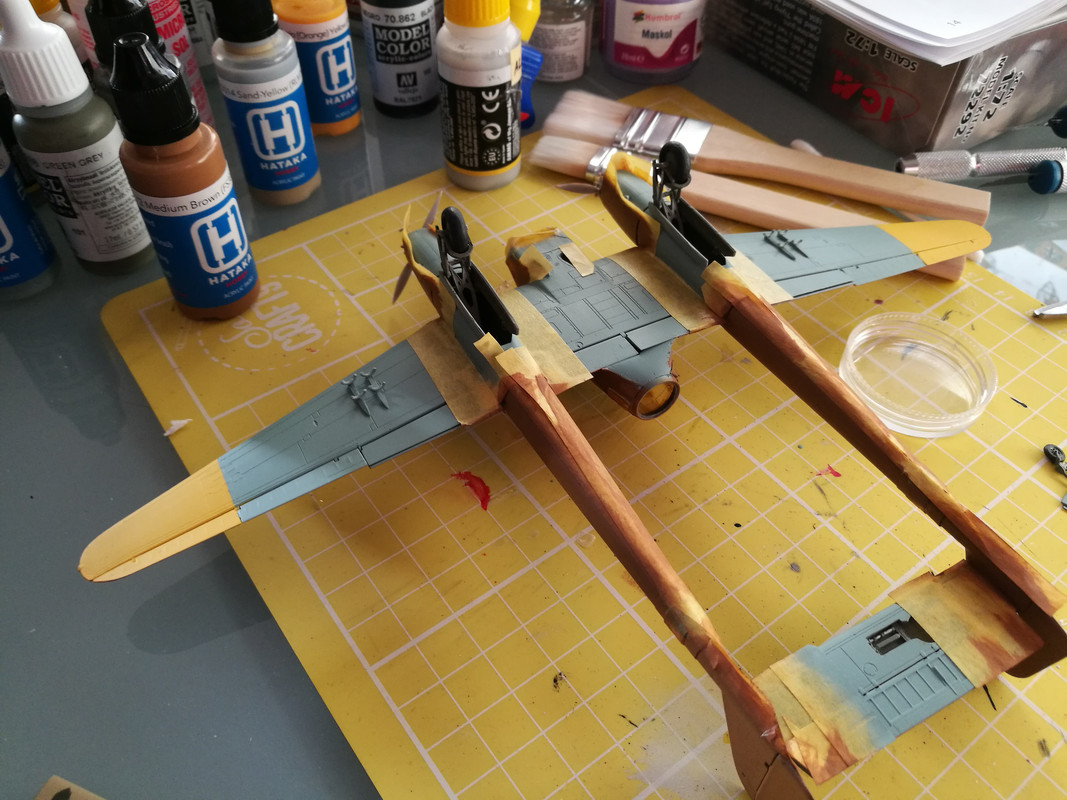
I've got some progress photos on my FW 189. Unfortunately real life has caught up with me and I was tied up last couple of weeks. Hopefully I will crack on now. Not that much work left. Trouble is I am leaving for 2 weeks on Saturday and bad things happen when I try to rush my painting. Is it possible to have the deadline extended a week after 1st of September? I mean it's 80th annoversary, so the date is quite fixed. If you did not want to wait, it's perfectly fine. It's my fault I was so slow.
EDIT: forgot the photos. doh!


MichaelSatin


Joined: January 19, 2008
KitMaker: 3,909 posts
AeroScale: 2,904 posts

Posted: Monday, August 12, 2019 - 12:08 AM UTC
Shrimpman, I entirely understand! I'm certainly willing to look at an extension if people want one.
Michael
Michael


bomber14

Joined: February 02, 2015
KitMaker: 330 posts
AeroScale: 286 posts

Posted: Monday, August 12, 2019 - 06:25 AM UTC
Quoted Text
Shrimpman, I entirely understand! I'm certainly willing to look at an extension if people want one.
Michael
michael i could probably benefit from an extension. had some "life" issues.
joe
MichaelSatin


Joined: January 19, 2008
KitMaker: 3,909 posts
AeroScale: 2,904 posts

Posted: Tuesday, August 13, 2019 - 11:35 PM UTC
Very good. This campaign is extended another month, to 1 October, 2019. But that's it, so git movin'!
Michael
Michael


bomber14

Joined: February 02, 2015
KitMaker: 330 posts
AeroScale: 286 posts

Posted: Tuesday, August 13, 2019 - 11:41 PM UTC
thank you
69mudbone

Joined: April 26, 2016
KitMaker: 362 posts
AeroScale: 42 posts

Posted: Wednesday, August 14, 2019 - 02:12 AM UTC
Thanks Michael, it has been a crazy summer this should be very helpful.

Shrimpman

Joined: August 14, 2016
KitMaker: 148 posts
AeroScale: 123 posts

Posted: Wednesday, August 14, 2019 - 06:30 PM UTC
Thank you so much!
Painting is nearly finished, but going away tomorrow, so I will post new progress in September!
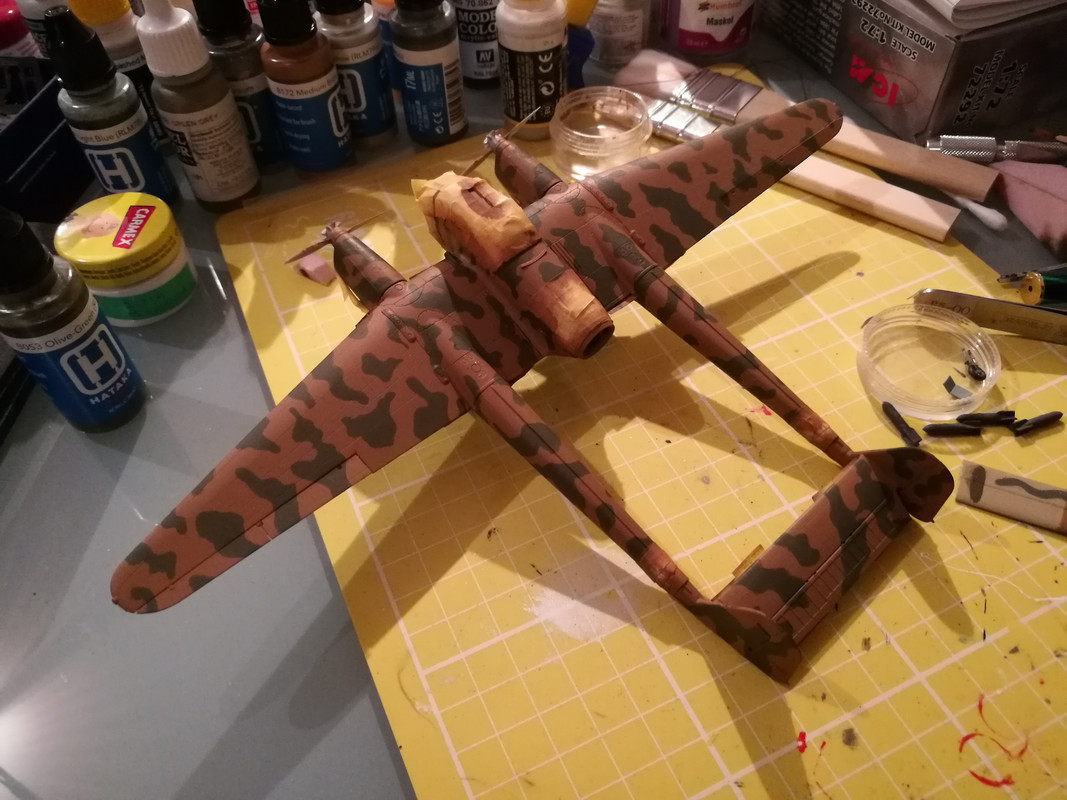
Painting is nearly finished, but going away tomorrow, so I will post new progress in September!


bomber14

Joined: February 02, 2015
KitMaker: 330 posts
AeroScale: 286 posts

Posted: Wednesday, August 14, 2019 - 11:45 PM UTC
Quoted Text
Thank you so much!
Painting is nearly finished, but going away tomorrow, so I will post new progress in September!

shrimpman i am curious how you did the green camo. did you trace and cut out of tape or use an existing pattern?
joe

Shrimpman

Joined: August 14, 2016
KitMaker: 148 posts
AeroScale: 123 posts

Posted: Thursday, August 15, 2019 - 05:12 AM UTC
Hi Joe, I did it old school way: painted it by hand. I used the camo pattern on the instructions as reference and tried to replicate it as close as possible. I will need one more coat. I had a bit of trouble with paint drying out too quickly in my mix jar and leaving some brushstrokes. I definitely need a retarder.

bomber14

Joined: February 02, 2015
KitMaker: 330 posts
AeroScale: 286 posts

Posted: Friday, August 16, 2019 - 02:15 AM UTC
Quoted Text
Hi Joe, I did it old school way: painted it by hand. I used the camo pattern on the instructions as reference and tried to replicate it as close as possible. I will need one more coat. I had a bit of trouble with paint drying out too quickly in my mix jar and leaving some brushstrokes. I definitely need a retarder.
interesting. did you use acrylic? i could see then why you would need a retarder. i went to michaels near me and bought a bottle of standard acrylic retarder the artists use.

bomber14

Joined: February 02, 2015
KitMaker: 330 posts
AeroScale: 286 posts

Posted: Friday, August 16, 2019 - 03:00 AM UTC
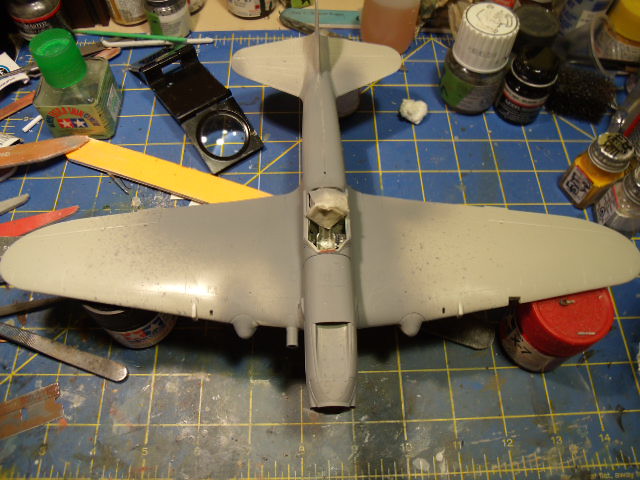
a quick updat on my IL-2 build. ready for paint

 " BORDER="0">
 " BORDER="0">
 Removed by original poster on 08/17/19 - 02:20:39 (GMT).

69mudbone

Joined: April 26, 2016
KitMaker: 362 posts
AeroScale: 42 posts

Posted: Friday, August 16, 2019 - 02:23 PM UTC
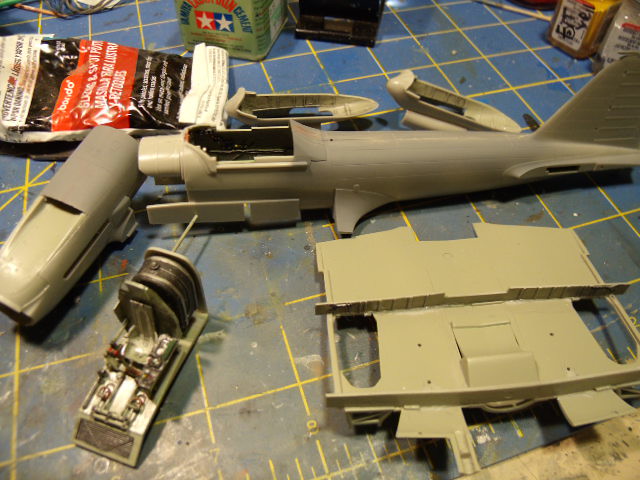
 |





 " BORDER="0">