OFFICIAL: Those Radial Fighters Campaign

#123
New Mexico, United States
Joined: November 17, 2008
KitMaker: 1,202 posts
AeroScale: 292 posts
Posted: Sunday, January 26, 2020 - 01:08 PM UTC
Franck your build is really coming out nice. I too am wondering how the Mig product compares to regular poster tack. Looking forward to seeing more.
Take care,
Don "Lakota"

Working on Campaigns:
1/72 Hasegawa Ki-84 Frank
1/144 Dragon Armor
Georgia, United States
Joined: July 26, 2013
KitMaker: 2,272 posts
AeroScale: 158 posts
Posted: Sunday, January 26, 2020 - 02:07 PM UTC
Quoted Text
I also wonder how the Mig stuff compares to plain old poster tack.
The Mig stuff is more like the slime toy that kids play with; poster tack is much firmer and has to be kneaded to soften it up. Now, the Mig can get tangled in PE and stuff but you can work it out if you are careful.
On the Campaign Trail:
Tank Destroyer 2020
British Columbia, Canada
Joined: October 16, 2006
KitMaker: 480 posts
AeroScale: 67 posts
Posted: Sunday, January 26, 2020 - 03:21 PM UTC
would seem like its close to silly putty then?
Georgia, United States
Joined: July 26, 2013
KitMaker: 2,272 posts
AeroScale: 158 posts
Posted: Sunday, January 26, 2020 - 03:23 PM UTC
Softer. And without the residue.
On the Campaign Trail:
Tank Destroyer 2020
HGBARNES
 Associate Editor
Alberta, Canada
Joined: March 15, 2017
KitMaker: 45 posts
AeroScale: 33 posts
Posted: Sunday, January 26, 2020 - 03:47 PM UTC
I can offer a lower priced option which is the same as "panzer putty/MIG". It's called "HAND PUTTY". I bought my tin of it for 4 or 5 bucks from bang good in china works better than blu-tac in some cases. For your consideration. The powder blue color takes longer to droop.
Bas-Rhin, France
Joined: September 22, 2016
KitMaker: 224 posts
AeroScale: 191 posts
Posted: Sunday, January 26, 2020 - 08:01 PM UTC
Quoted Text
Franck your build is really coming out nice. I too am wondering how the Mig product compares to regular poster tack. Looking forward to seeing more.
Take care,
Don "Lakota" 
For 4 years i've used poster tack for a couple of armor models. And when i have peeled the tacks, the paint came off and had a lot of shadow traces.
And I discovered this mig putty and it works like a charm: no shadows, adheres properly and removes perfectly without damaging the paint.
Western Australia, Australia
Joined: January 01, 2019
KitMaker: 81 posts
AeroScale: 38 posts
Posted: Thursday, January 30, 2020 - 06:27 PM UTC
Such great looking builds going on. The 190 and Type 24 very nice.
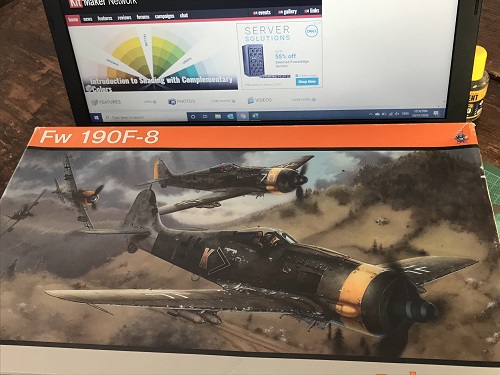
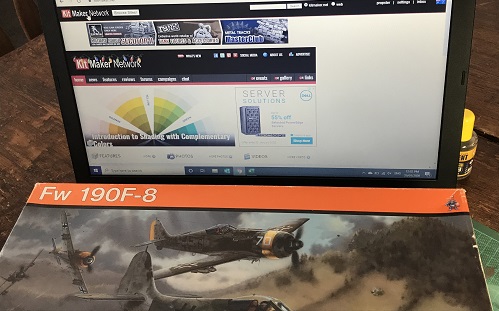
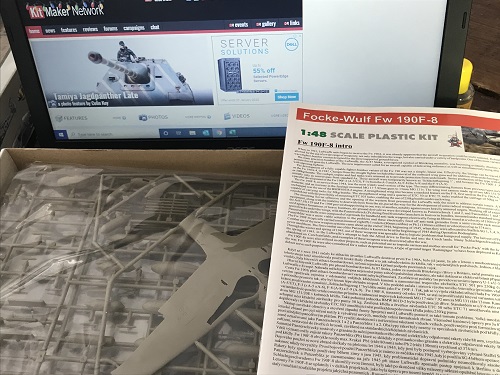
I am starting in on Eduard's FW190-F8
ColinEdm
 Associate Editor
Alberta, Canada
Joined: October 15, 2013
KitMaker: 1,355 posts
AeroScale: 107 posts
Posted: Friday, January 31, 2020 - 04:24 PM UTC
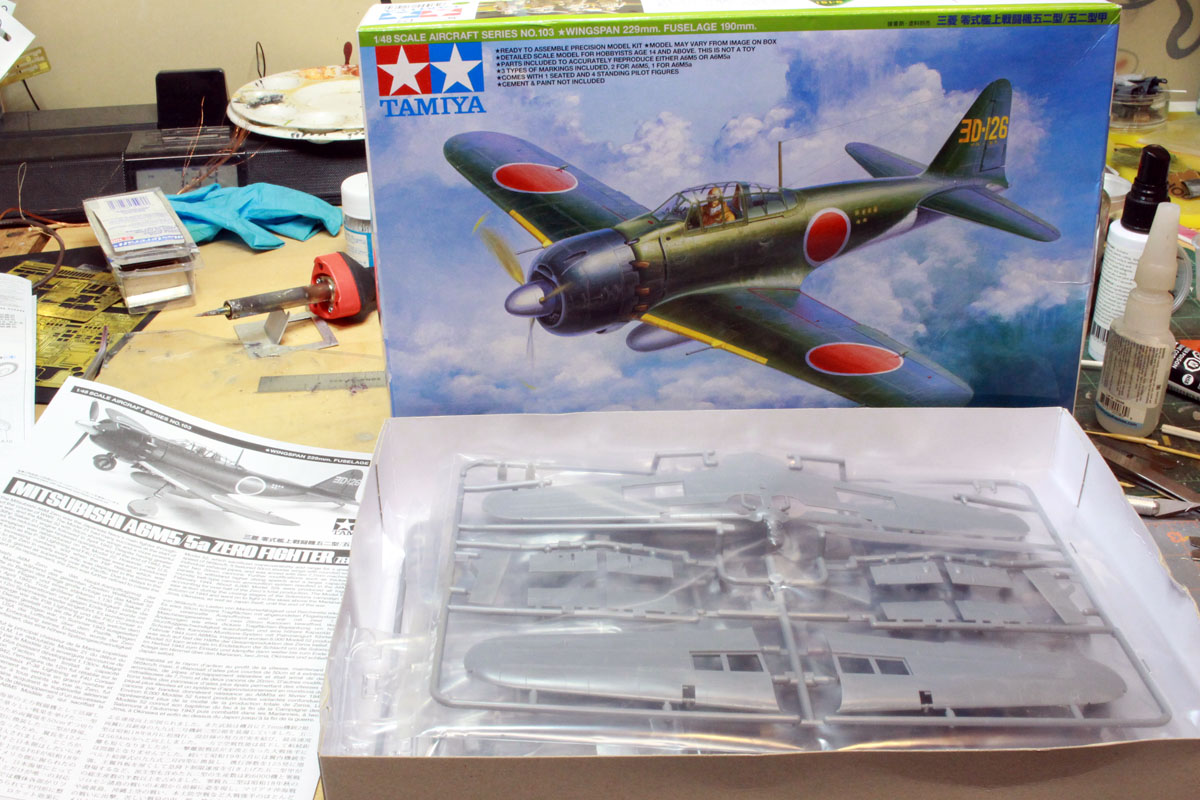
Wot the hay, this treadhead is in with Tamiyas' new(ish) A6M5/5a Zero:
The voices are back.....excellent....

#501
Kerala, India / भारत
Joined: August 25, 2009
KitMaker: 292 posts
AeroScale: 194 posts
Posted: Sunday, February 02, 2020 - 03:48 AM UTC
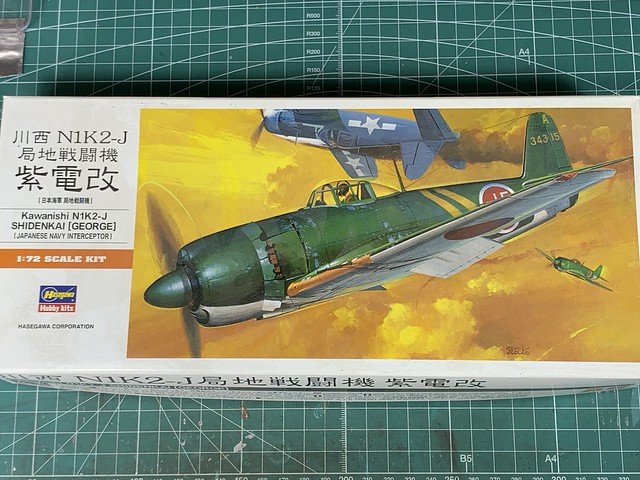
Hello Folks
This will be my entry for the Campaign. Been suffering from severe loss of Mojo and I hope this will bring me back to the bench with full flow.
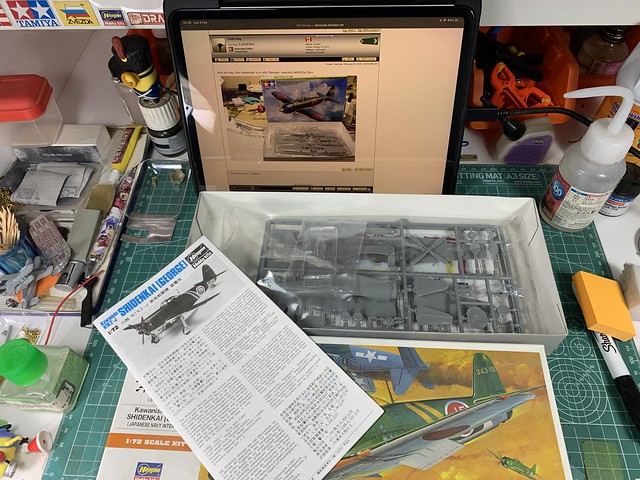
Cheers


#041
Kobenhavn, Denmark
Joined: July 20, 2006
KitMaker: 10,069 posts
AeroScale: 3,788 posts
Posted: Sunday, February 02, 2020 - 08:23 AM UTC
Welcome back, Raj. Seems like a nice rebound kit to get the mojo flowing!

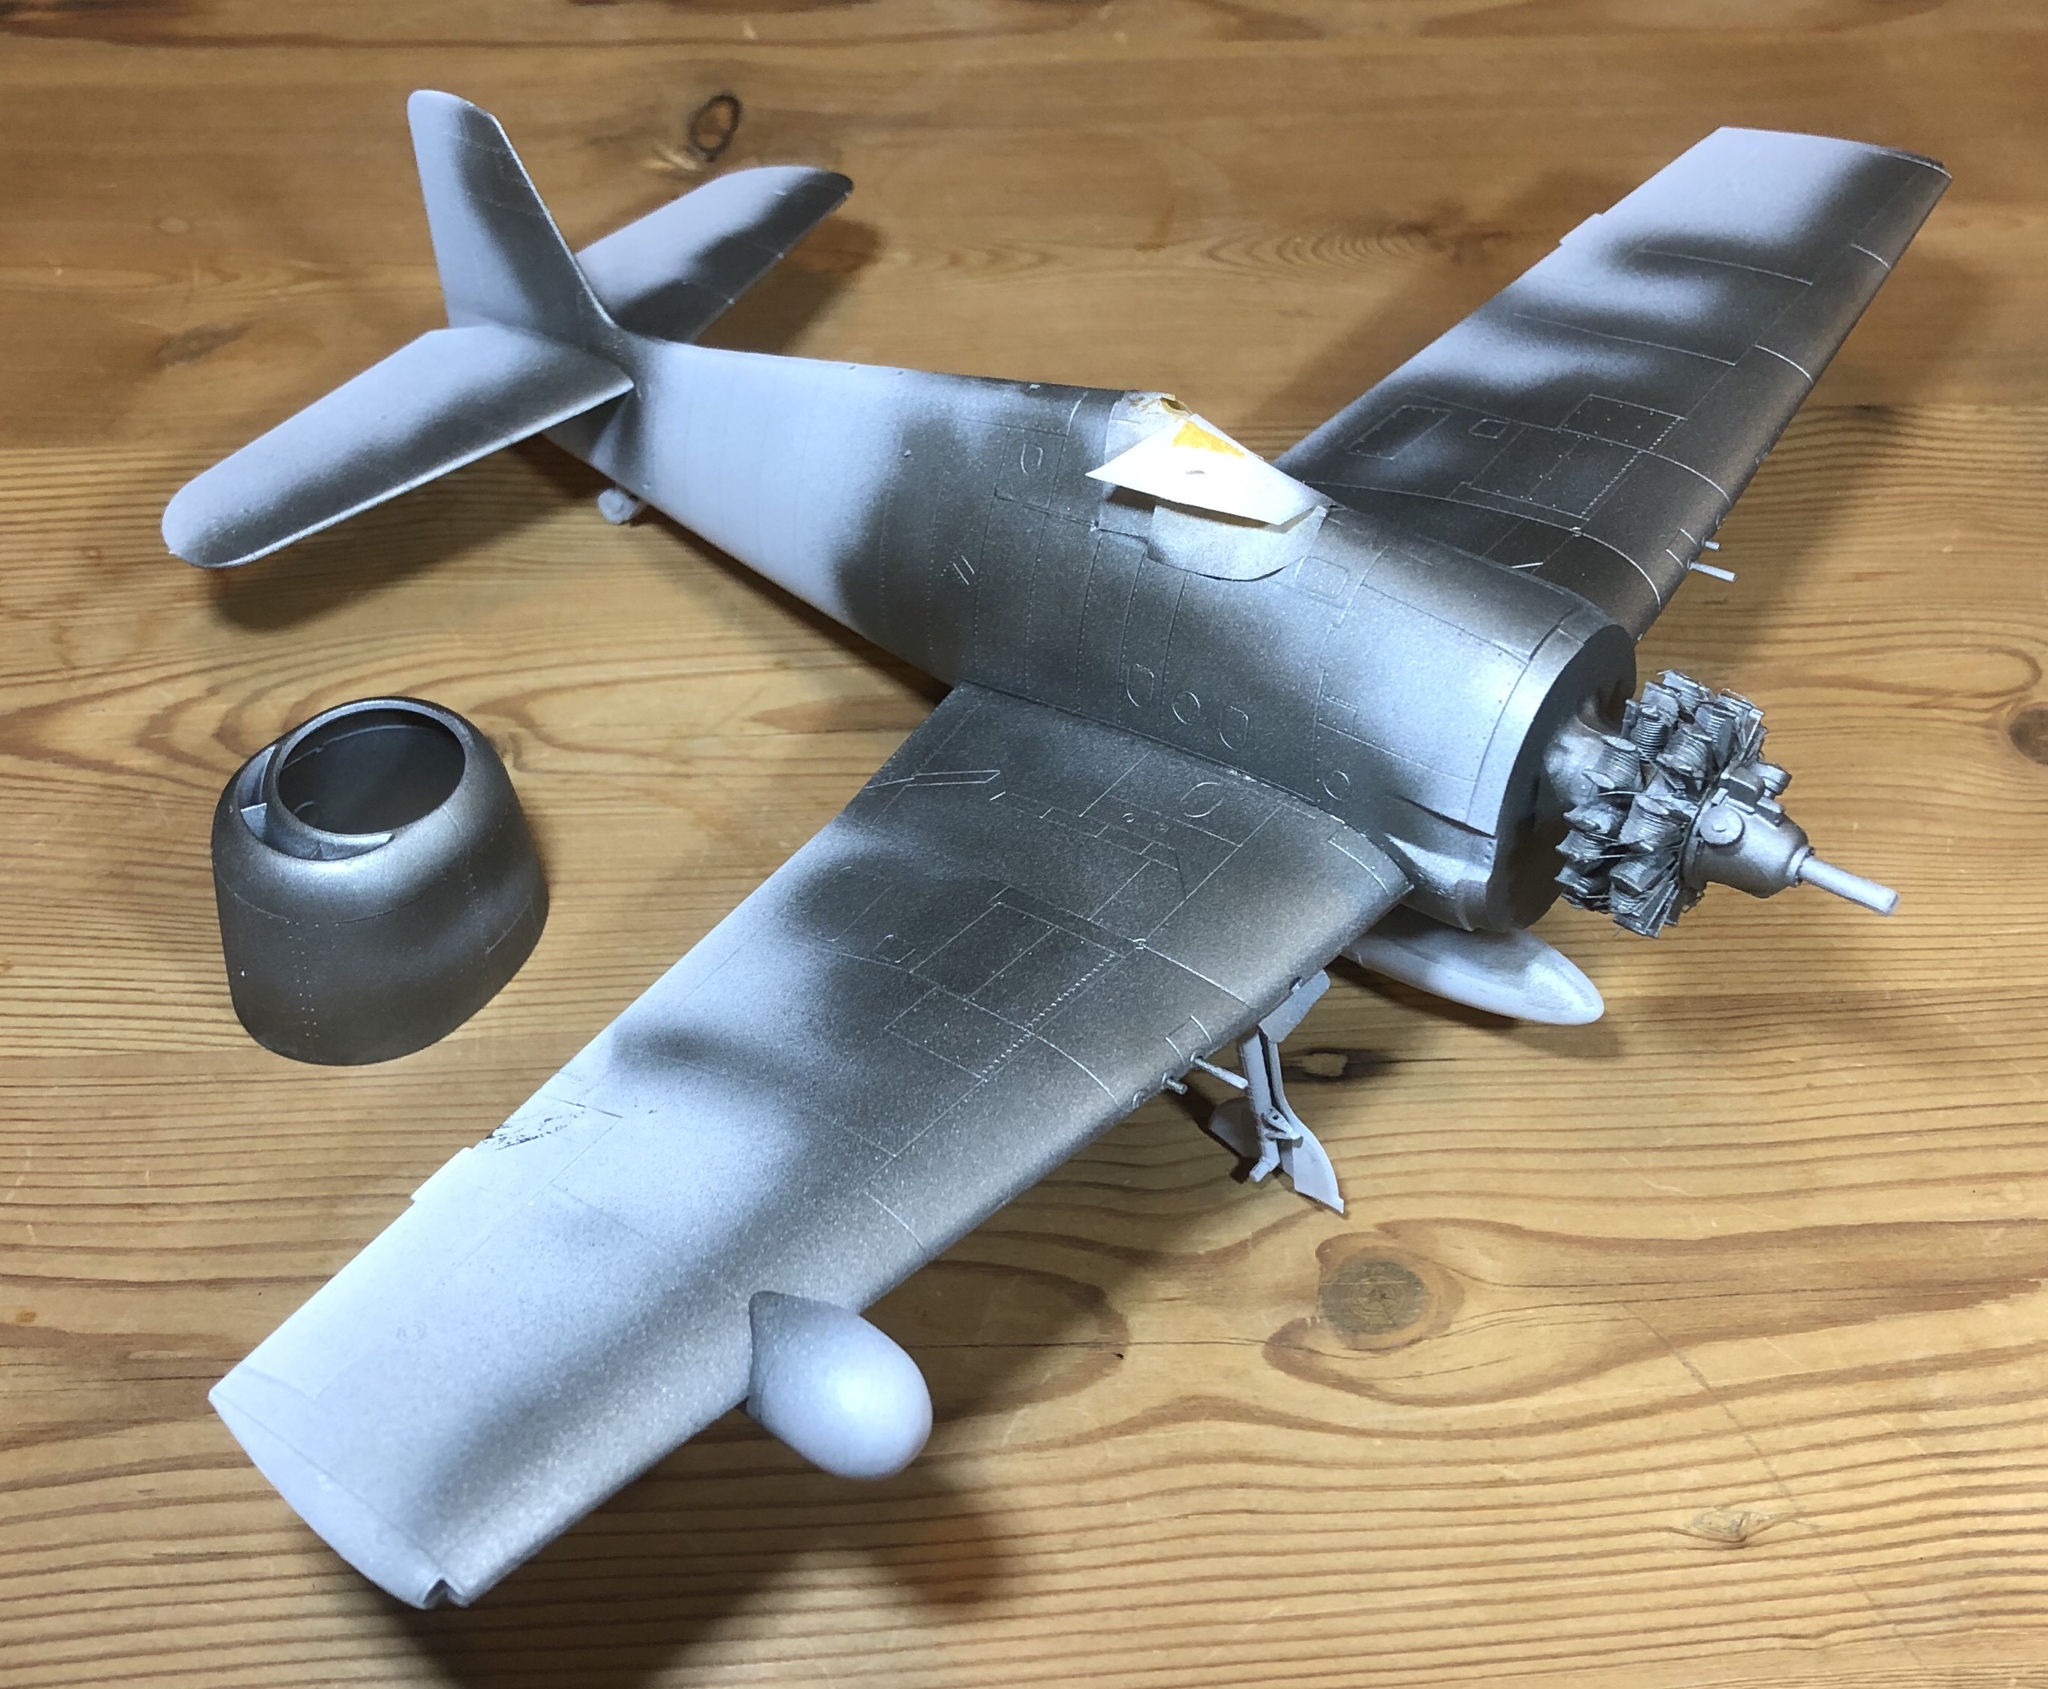
I have added a metallic coat and some chipping fluid. First time I try the AK heavy chipping fluid, so it will be interesting to control and see the final result.
Campaign'oholic - 252+ campaigns completed

#439
Washington, United States
Joined: November 05, 2005
KitMaker: 4,950 posts
AeroScale: 3,192 posts
Posted: Tuesday, February 04, 2020 - 06:58 PM UTC
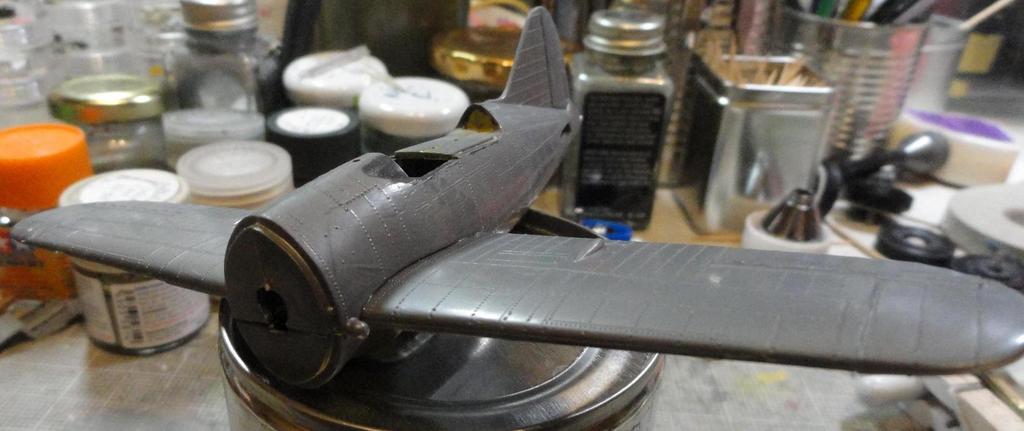
It's gonna look like a Radial Fighter eventually. Airfix F2A Buffalo.

Hanger Queens in Waiting:
Monogram 1/72 F8F-1
Corsair the Sky Pirate - 1/72 Ace A-7D
Century Series - Airfix 1/72 F-105G
Anti Shipping - Academy 1/72 PBJ-1D
Academy 1/72 F-84E

#511
Michigan, United States
Joined: July 10, 2018
KitMaker: 52 posts
AeroScale: 51 posts
Posted: Friday, February 07, 2020 - 02:53 PM UTC
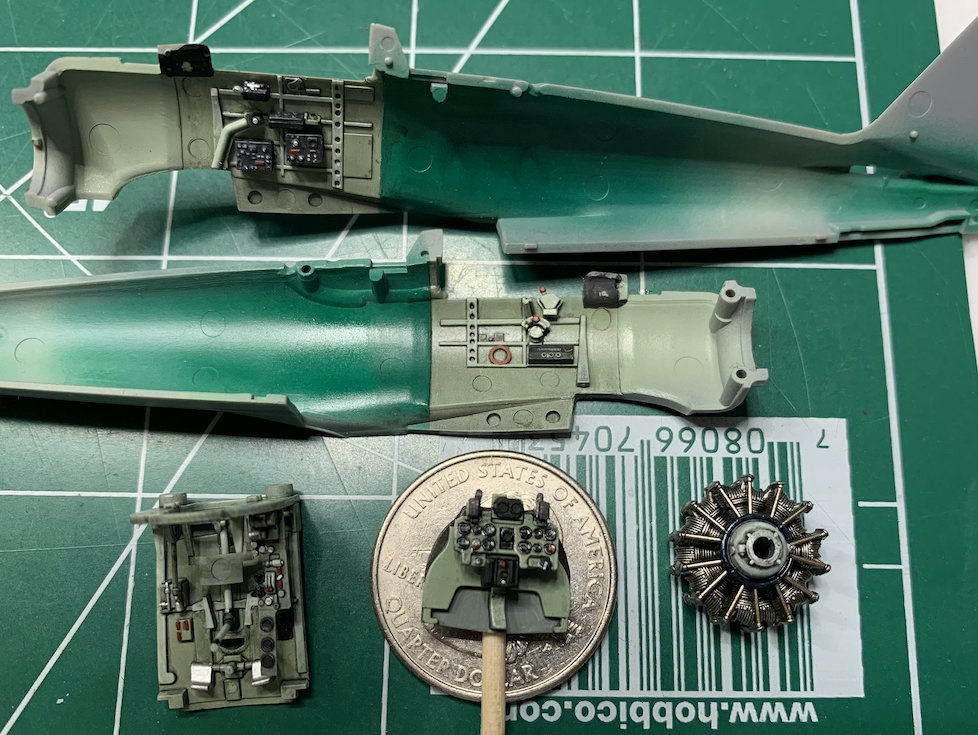
Tamiya 1/72 A6M2 @ Pearl. Underway!!
Workbench Items:
Airfix Glos. Gladiator Mk.I/II - WWII Bips Campaign
Airfix F4F-4 Wildcat - Siege of Malta - WW2
AMC 1963 Chevrolet Impala (for the ole' man)
ColinEdm
 Associate Editor
Alberta, Canada
Joined: October 15, 2013
KitMaker: 1,355 posts
AeroScale: 107 posts
Posted: Saturday, February 08, 2020 - 10:54 AM UTC
Very nice Chaz! Here's my 1/48 A6M5 version so far:
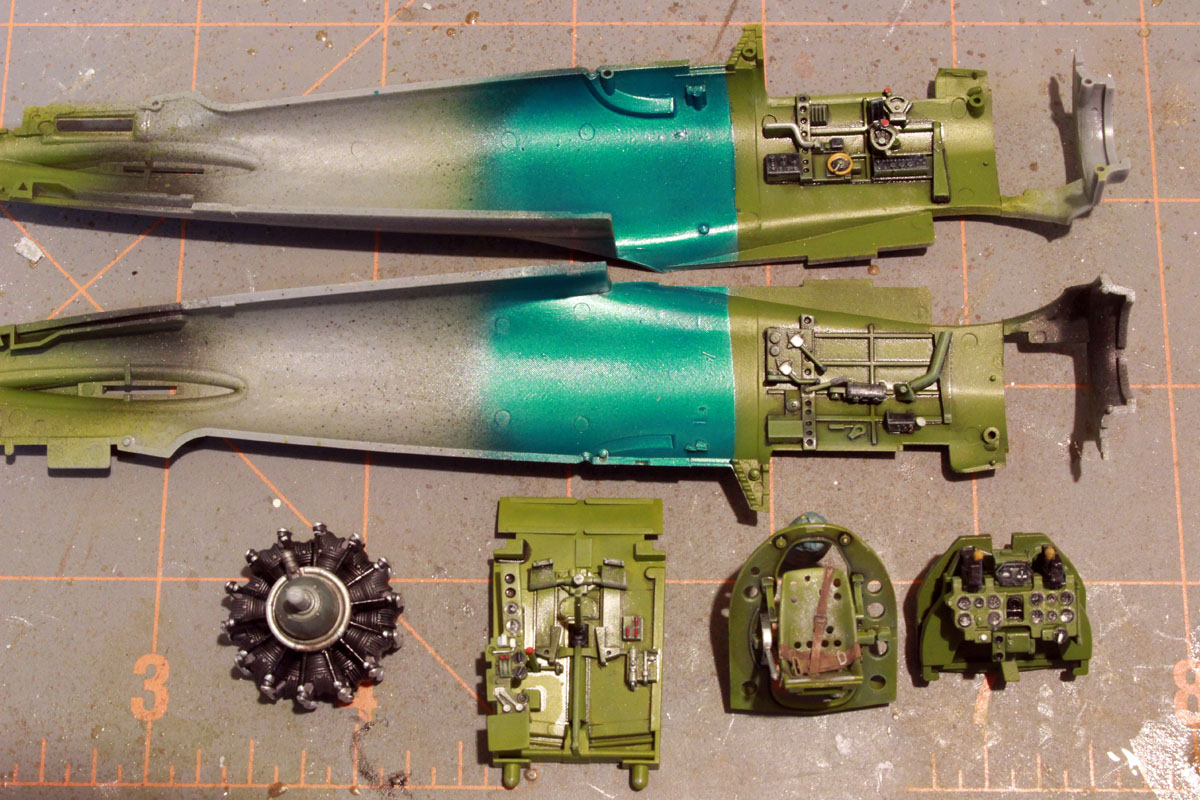
The voices are back.....excellent....

#511
Michigan, United States
Joined: July 10, 2018
KitMaker: 52 posts
AeroScale: 51 posts
Posted: Monday, February 10, 2020 - 04:55 AM UTC
I was looking over your shoulder..... LOL

Workbench Items:
Airfix Glos. Gladiator Mk.I/II - WWII Bips Campaign
Airfix F4F-4 Wildcat - Siege of Malta - WW2
AMC 1963 Chevrolet Impala (for the ole' man)

#041
Kobenhavn, Denmark
Joined: July 20, 2006
KitMaker: 10,069 posts
AeroScale: 3,788 posts
Posted: Thursday, February 13, 2020 - 03:25 PM UTC
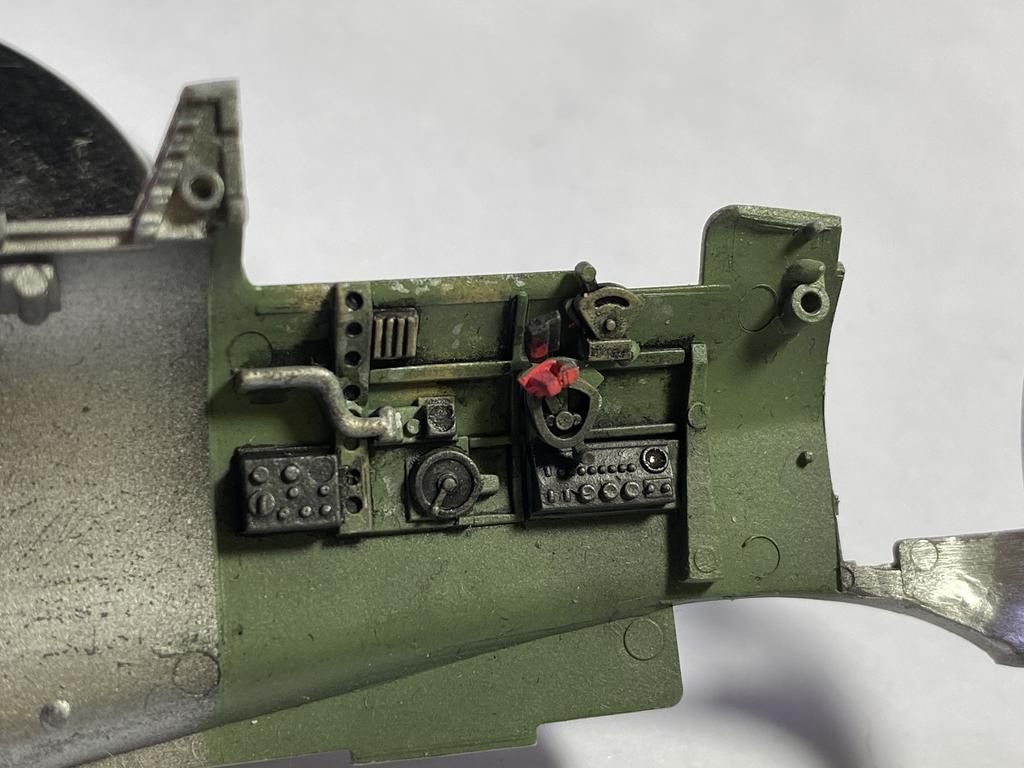
Beautiful work on the cockpits, Colin and Chaz! It is like twin builds in different scales

Campaign'oholic - 252+ campaigns completed
Ohio, United States
Joined: May 02, 2010
KitMaker: 596 posts
AeroScale: 197 posts
Posted: Friday, February 14, 2020 - 03:46 PM UTC
Echoing Jesper's comments, outstanding work by you two!! Looking forward to more progress on those Zekes

I just finished my build! I've been making such incremental progress the last few weeks that I guess I forgot to take pictures along the way...oops. I also have to figure out my photography situation since my DIY photocube didn't exactly survive my recent move.


#442
Malacca, Malaysia
Joined: July 20, 2015
KitMaker: 363 posts
AeroScale: 335 posts
Posted: Sunday, February 16, 2020 - 01:55 PM UTC
Hi all!
Chaz and Collin, I didn't look over your shoulders!
Base coats on, and the instrument panel getting there!
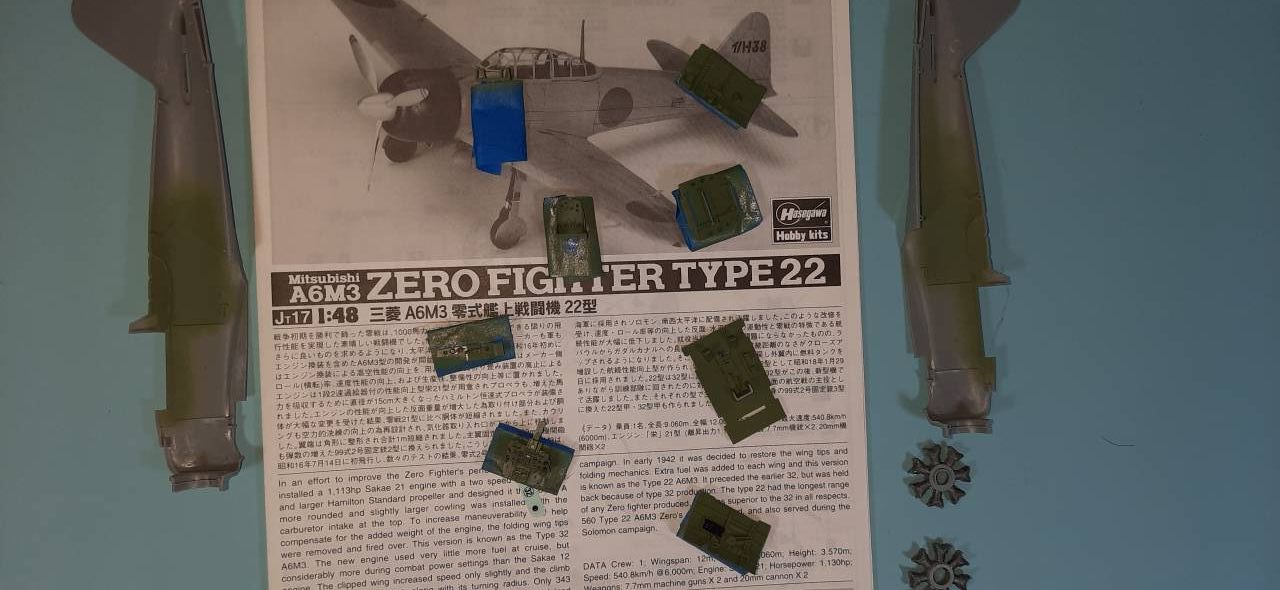
Just gotta get the MiG 21 to make a little room around here!
ColinEdm
 Associate Editor
Alberta, Canada
Joined: October 15, 2013
KitMaker: 1,355 posts
AeroScale: 107 posts
Posted: Sunday, February 23, 2020 - 06:59 AM UTC
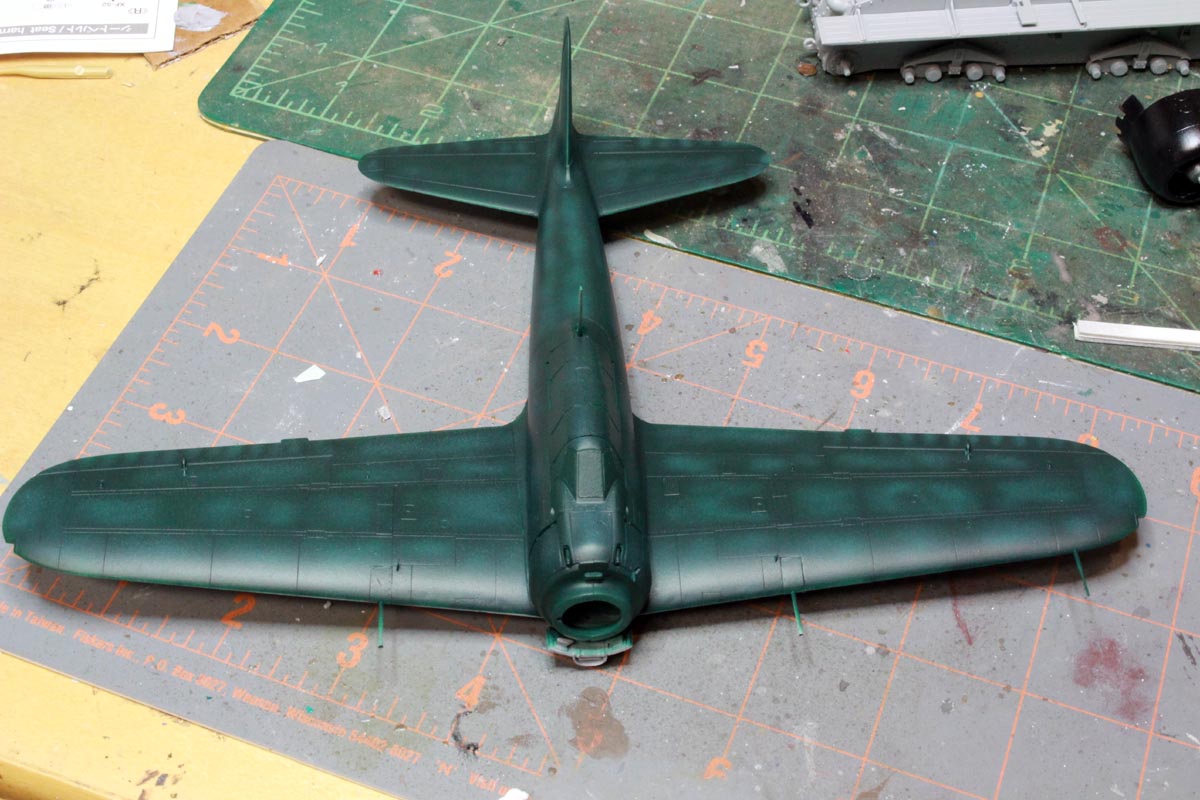
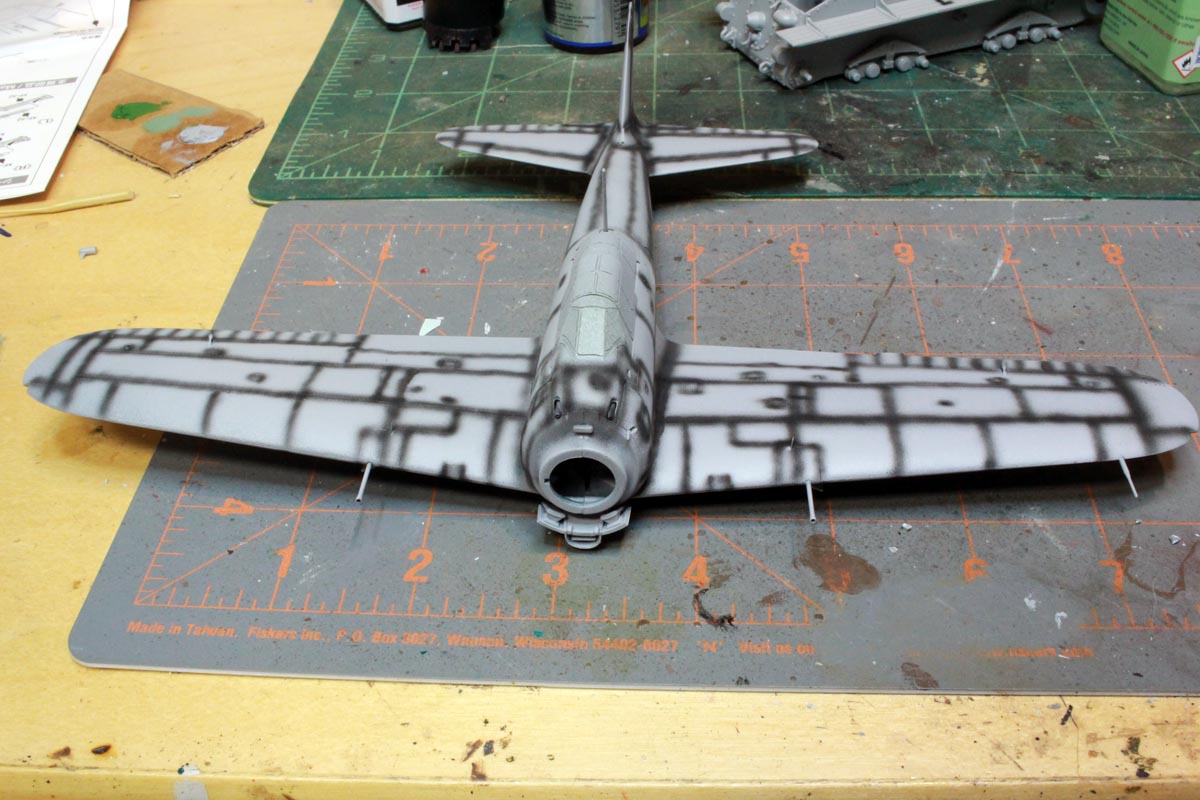
Lots of Zekes lol! Got it all together and ready for paint:
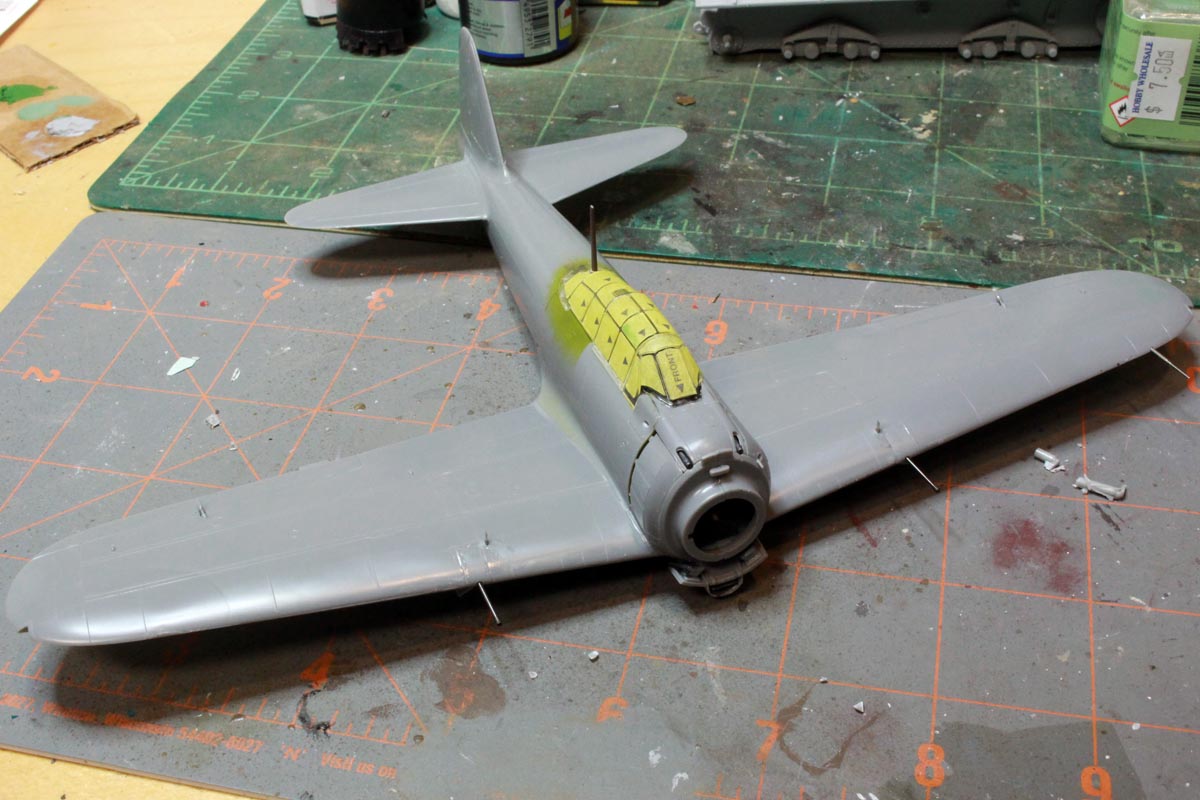
Primed and preshaded, and I hit the cockpit frames with interior green before the grey primer.
The voices are back.....excellent....
Georgia, United States
Joined: July 26, 2013
KitMaker: 2,272 posts
AeroScale: 158 posts
Posted: Sunday, February 23, 2020 - 09:21 AM UTC
Butcher Bird still coming along:
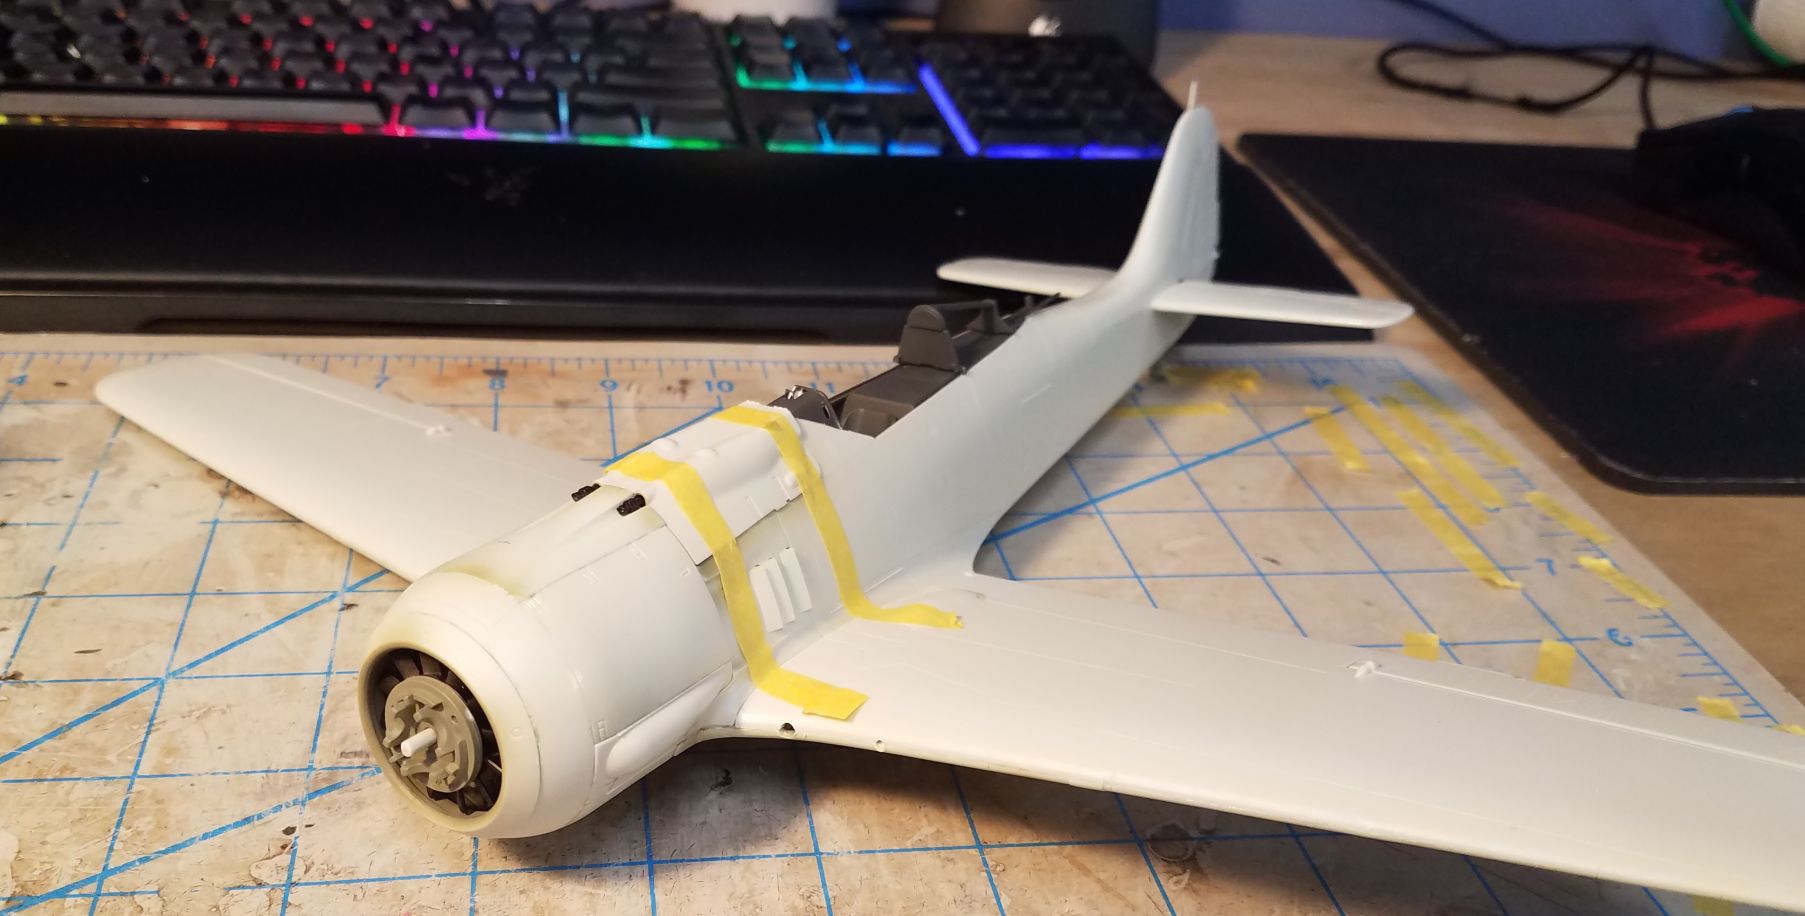
On the Campaign Trail:
Tank Destroyer 2020

#392
Hessen, Germany
Joined: January 09, 2013
KitMaker: 696 posts
AeroScale: 608 posts
Posted: Thursday, February 27, 2020 - 09:00 AM UTC
Hi mates,
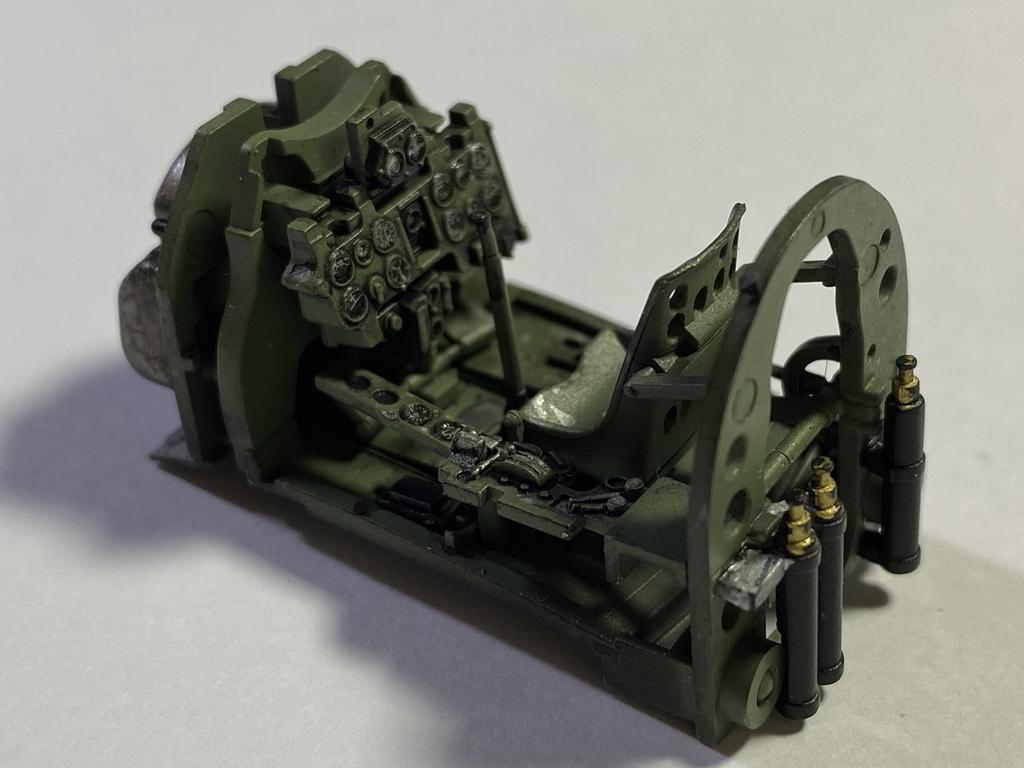
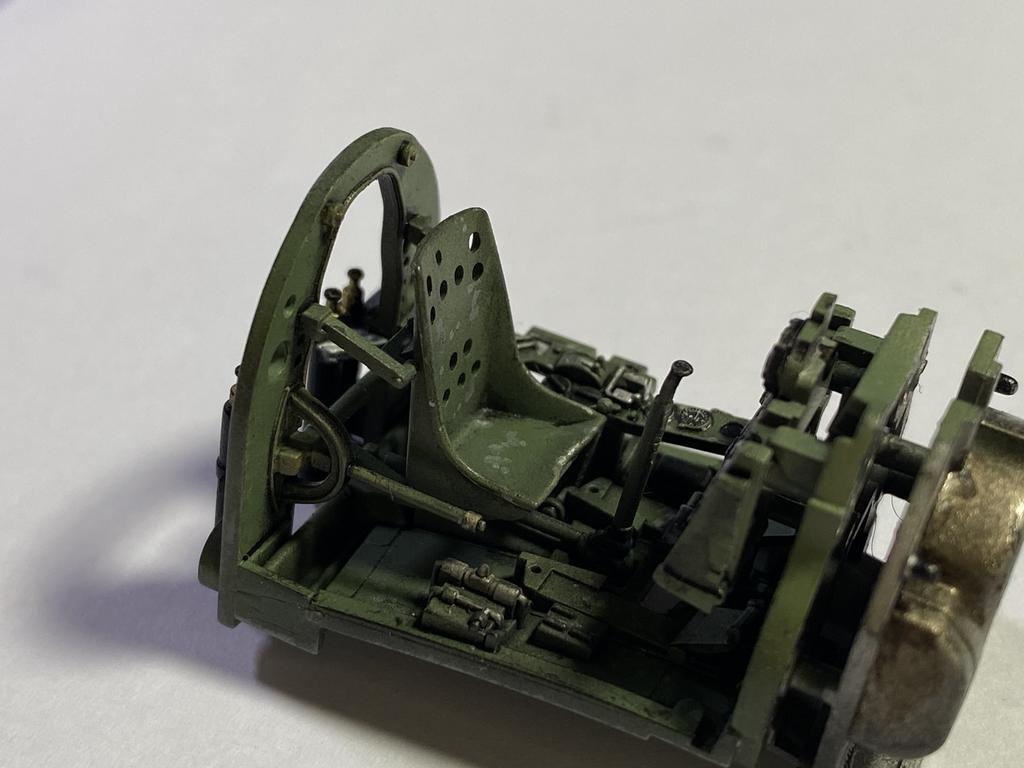
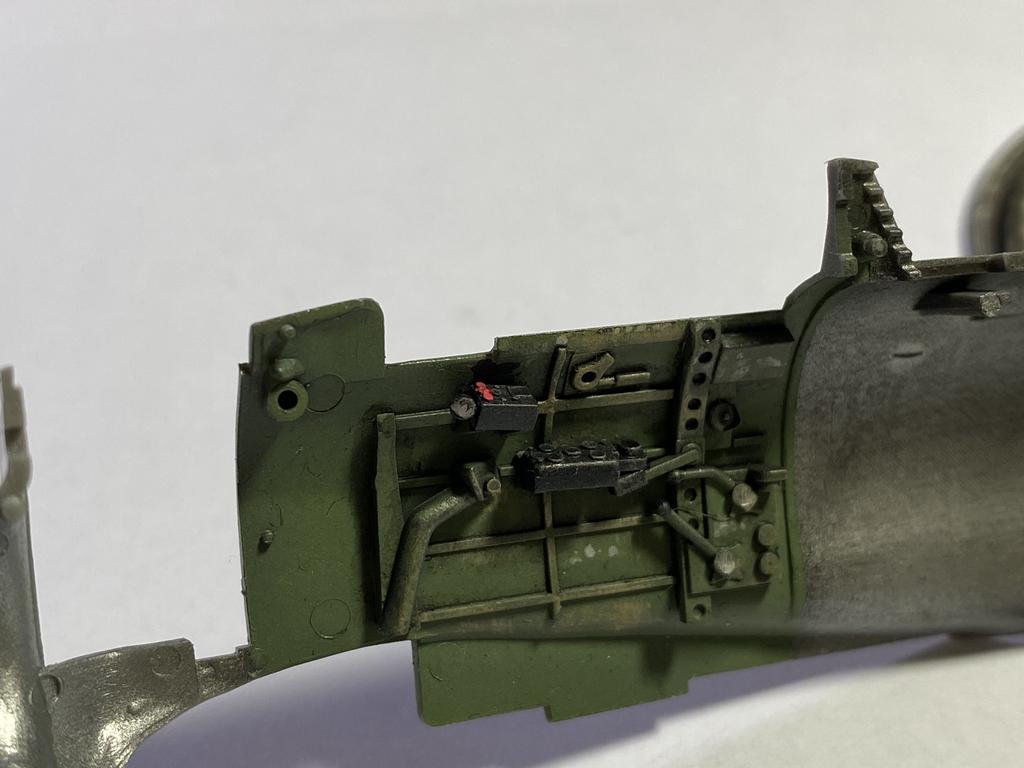
started today with my entry for this campaign:
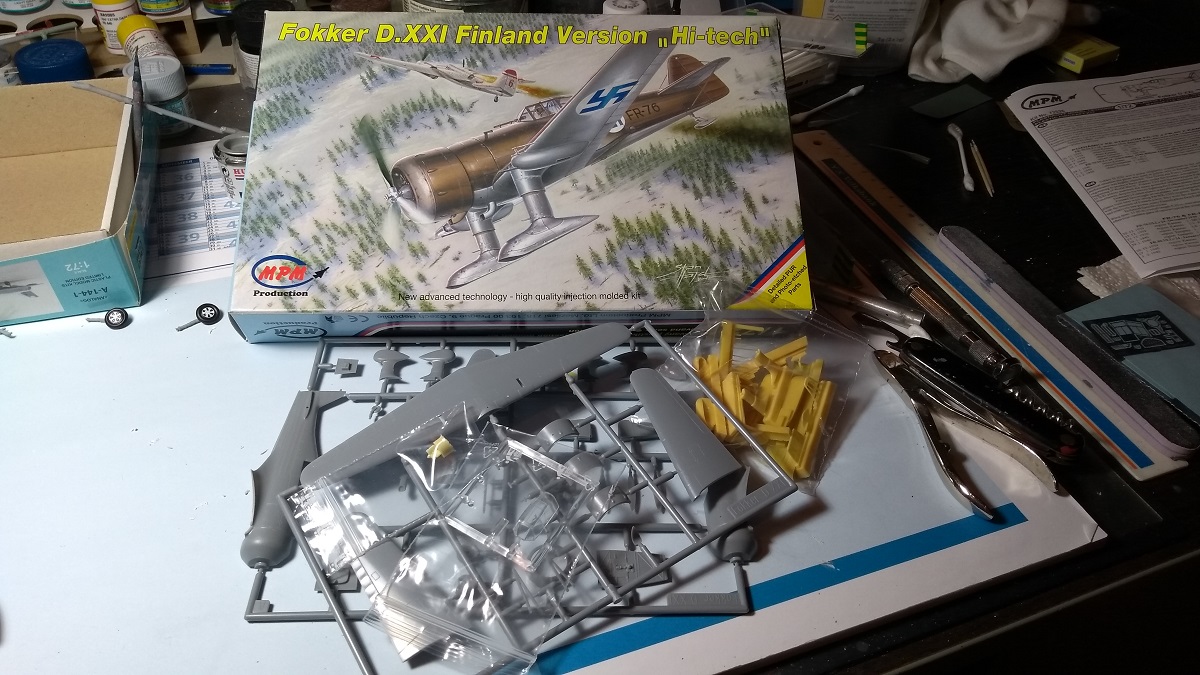
I won't probably use ALL of the resin parts, I think the plastic cockpit with resin seat and sidewalls will do. I'm not in the mood to deal with fitting issues with the assembled resin interior. The canopy will be closed, so what? We'll see how things will go

Cheers Peter
On the bench:
EE(BAC) Lightning F.2A (Airfix 1:72)
Singapore / 新加坡
Joined: August 30, 2012
KitMaker: 265 posts
AeroScale: 72 posts
Posted: Thursday, February 27, 2020 - 11:44 AM UTC
God created Arrakis to train the faithful.

#392
Hessen, Germany
Joined: January 09, 2013
KitMaker: 696 posts
AeroScale: 608 posts
Posted: Friday, February 28, 2020 - 09:13 AM UTC
Damian, that cockpit looks amazing!

On the bench:
EE(BAC) Lightning F.2A (Airfix 1:72)
ColinEdm
 Associate Editor
Alberta, Canada
Joined: October 15, 2013
KitMaker: 1,355 posts
AeroScale: 107 posts
Posted: Friday, February 28, 2020 - 12:01 PM UTC
The voices are back.....excellent....
Singapore / 新加坡
Joined: August 30, 2012
KitMaker: 265 posts
AeroScale: 72 posts
Posted: Sunday, March 01, 2020 - 11:27 PM UTC
Quoted Text
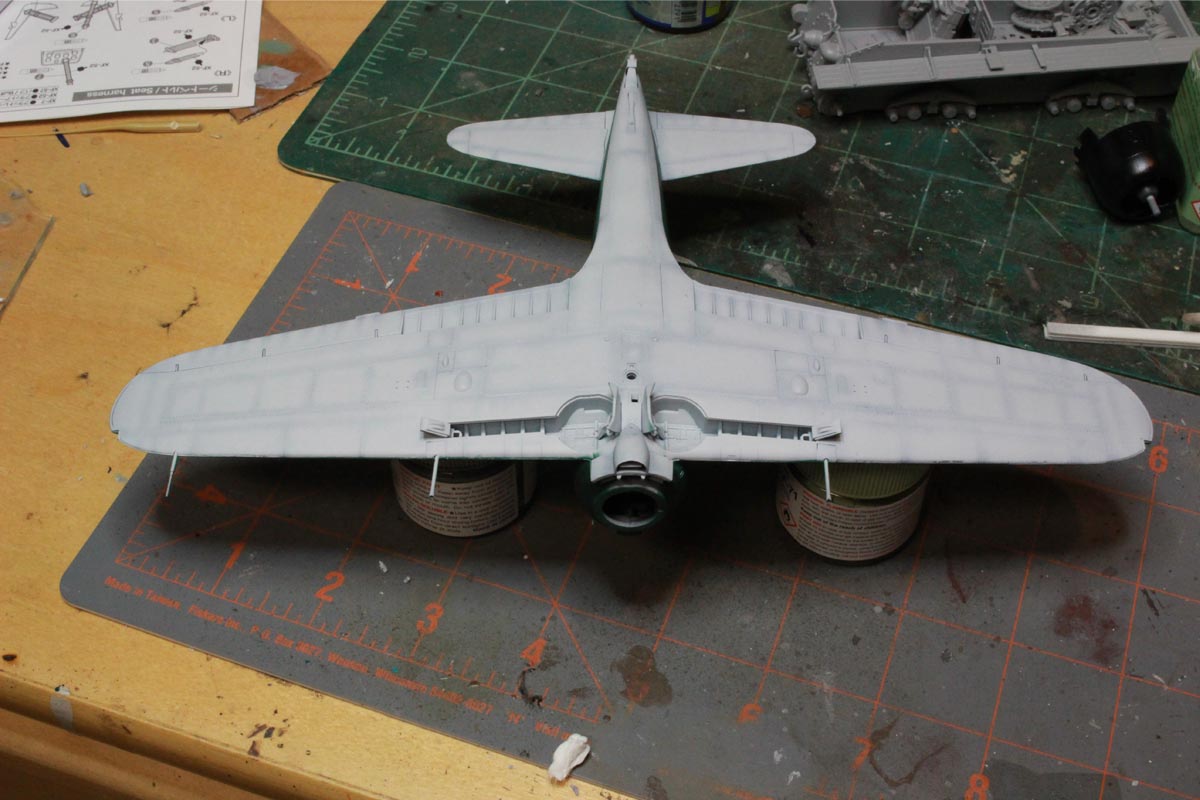
Looking good! Got my colours on, doing a Mitsubishi built Zero, so no Aotake in the wheel wells!

I see that no Aotake on the interior of the flaps too - is that correct?. The kit manual says to use Aotake, but your approach is right.
God created Arrakis to train the faithful.
ColinEdm
 Associate Editor
Alberta, Canada
Joined: October 15, 2013
KitMaker: 1,355 posts
AeroScale: 107 posts
Posted: Monday, March 02, 2020 - 01:49 AM UTC
Quoted Text
Quoted Text
Looking good! Got my colours on, doing a Mitsubishi built Zero, so no Aotake in the wheel wells!

I see that no Aotake on the interior of the flaps too - is that correct?. The kit manual says to use Aotake, but your approach is right.
According to the Mushroom Model Publication’s “big yellow, Mitsubishi A6M Zero” the Misubishi Zeros were exterior colour in the landing gear bays, inside of landing gear covers and inside of flaps. Hopefully they're correct!
The voices are back.....excellent....


