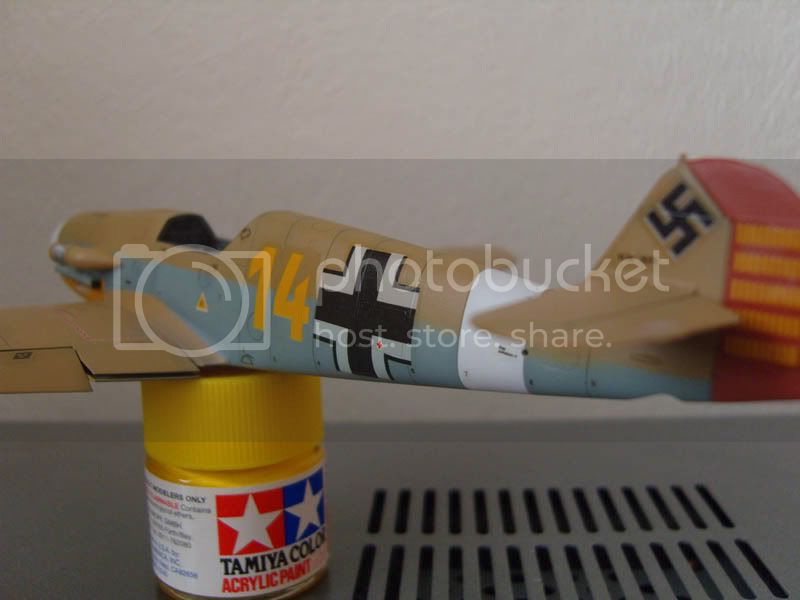
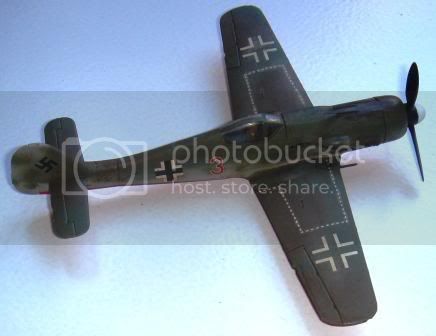
Looking good everyone.

I've made a start on my entry as well, Academy's 1:72 scale Bf-109 G6, which I'll be painting as the Finnish MT-437, flown by m.sgt Leo Ahokas, an ace of twelve aerial victories, five of which he achieved flying Messerschmitts.
http://fi.wikipedia.org/wiki/Luettelo_Lentolaivue_24:n_ilmavoitoista_ja_sotatoimitappioista ^ Here's a detailed list of victories and losses of Fighter Squadron 24. It in Finnish Wikipedia, but reading it doesn't require Finnish language skills. The first table has victories from the Winter War, and the second from Continuation war.
The colums from left to right are:
Date - Time - Place - Pilot - plane flown - plane(s) shot down
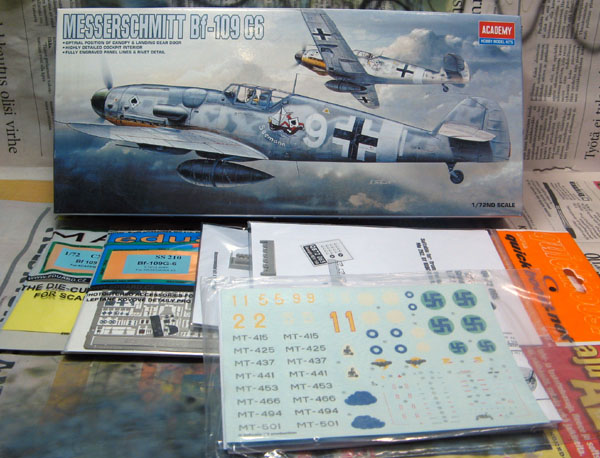
Here's what I'm working with. The typical situation. In the beginning I'm thinking about building the kit almost straight from the box, only adding InScale decals, PE seatbelts and a gunsight missing from the kit. Now I'm adding Eduard's Zoom PE set and Quickboost's exhausts as well.

And those masks were another accessory I couldn't resist purchasing...

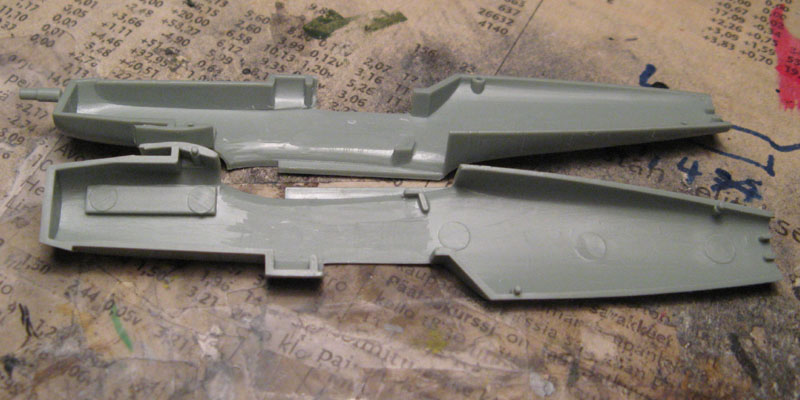
As usual with PE sets, the sidewall cockpit details had to be removed from the fuselage halves. With this kit, the front cockpit floor locator had to go, but fortunately the parts fit just fine with the rear ones alone.
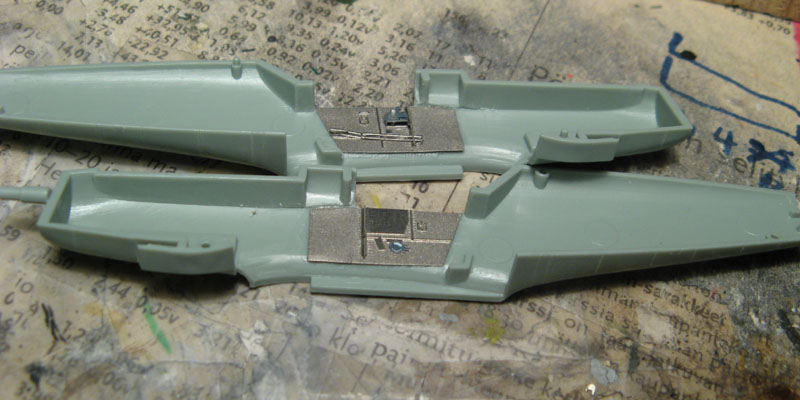
Here the most of the cockpit sidewall details have been added and the fuselage halves are almost ready for priming. Some of the pre-painted parts I'm leaving until the rest is in RLM66, some I'm painting over, for example the numerous boxes and the throttle. Folding them removes the paint from the edges (at least when I haven't varnished them in this case), and touch-ups would be tricky.
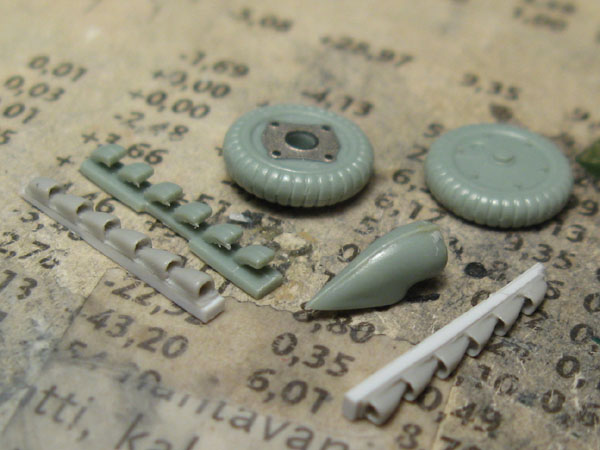
Here's the wheels with PE parts added, the engine supercharger air intake stll in progress and the resin exhausts with one kit-part for comparison.
Most of the tires used on Finnish 109s were apparently of the smooth-tired variety made in Finland, so I may have to work them with milliput or resort to buying aftermarket parts.
The exhausts are originally meant for Finemolds kits, but they can be used on this kit with minimal modification. I had to replace the "base" of the exhausts with plastic card because I slightly messed up the cutting and sanding of them.
The kit supercharger intake is modified by first scraping the edges of the parts, to make a groove in the assembled component. To this groove I superglued strecthed sprue to depict the seam. The opening was too large, so I filled it with milliput, with the intention of drilling a new better hole in there.
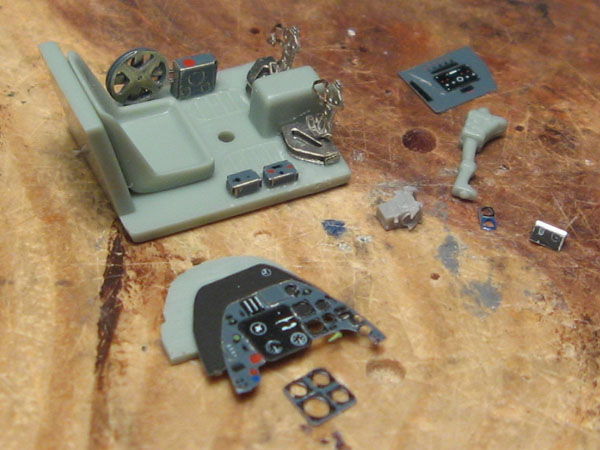
And here's the cockpit components,almost ready for priming as well. I know, I messed up the chain going to the flap control wheels. I managed to glue the chain pointing to the wrong side, and I didn't feel like taking the finished component apart to fix it, so I just attached to the cockpit floor the wrong way.
The Revi 16 gunsight is already there, unpainted and without its glass. No big modifications here. I only sanded down the sides of the seat and added a button to the control stick.
Until next time.

ps. Btw, school's out already for me, meaning much more time to build.

I should be concentrating on my Blenheim as well, as Twin Spinners' deadline is at the end of next month.


 We'll se if I can get through that without breaking down. "I really like this jacket, but the sleeves are much too long" Ian Kilmister.

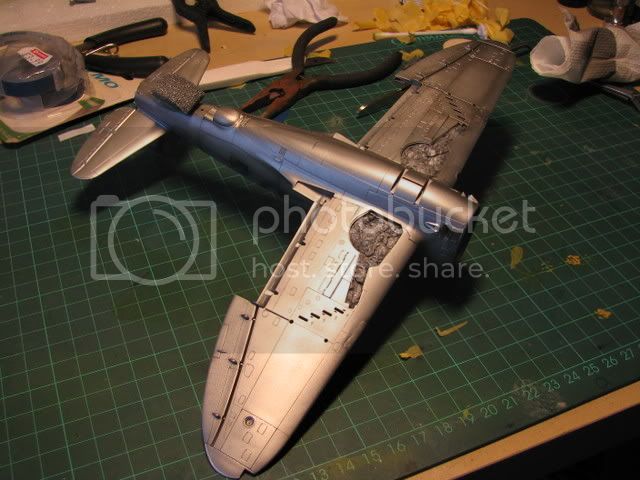


 And those masks were another accessory I couldn't resist purchasing...





 .
.
 They are a stunning display and with all those colours it will also be very interesting for people not normally interested in modelling or aviation.


