


Hermon


 before moving on to my next planned build in Rumblings in the Dark, a Sopwith 1 1/2 Strutter from Roden, looking forward to that. If I have time I will come back for a quick build here, two suitable in the stash, either a Revell Wright Flyer or a Hasagawa EE Lighting F6. The Flyer would be cool amongst all the streamlined machines. Hope to be back later but will keep watching


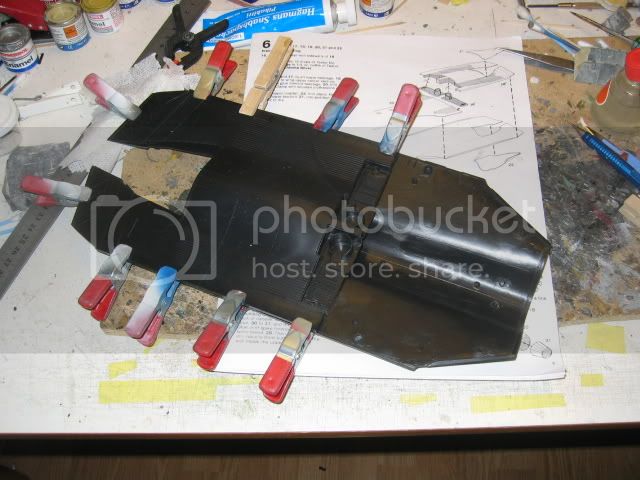
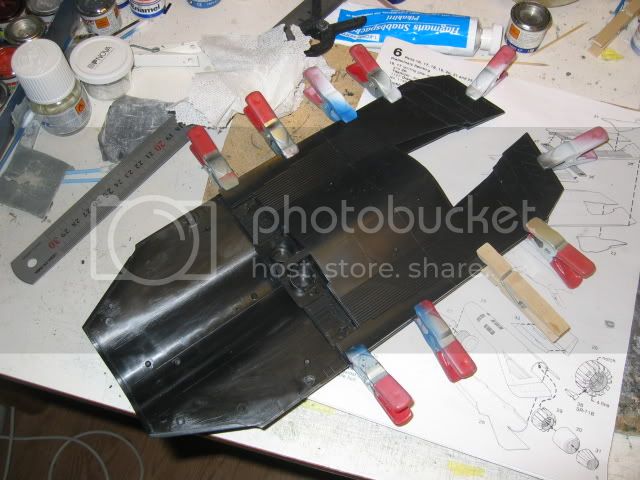
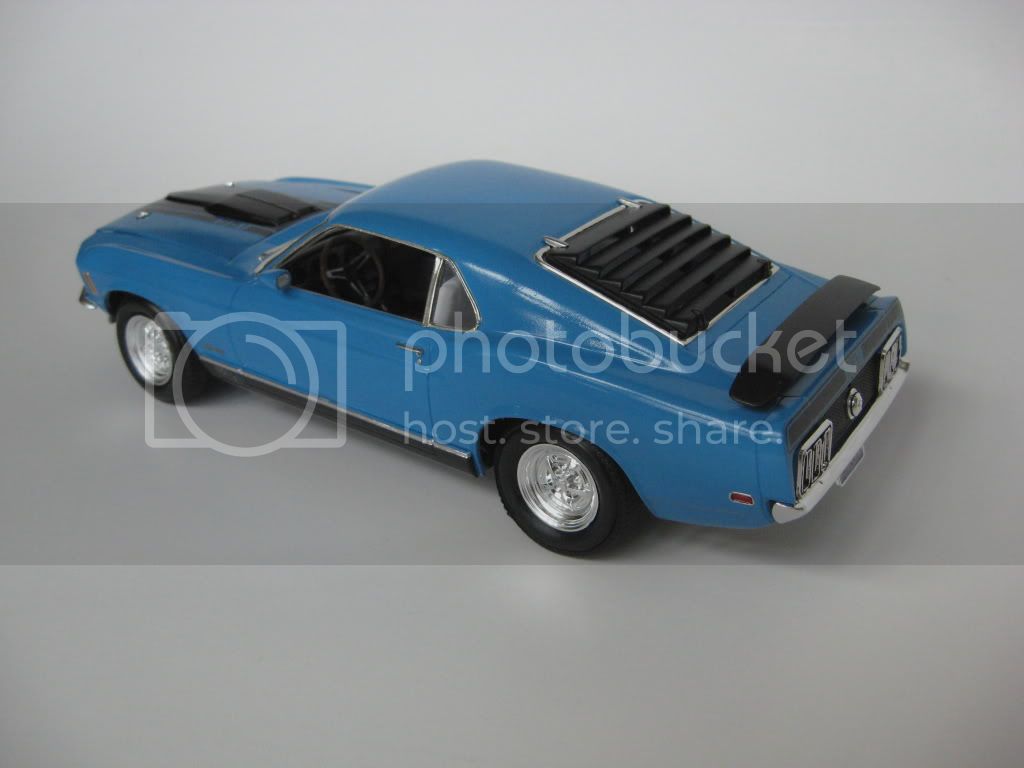
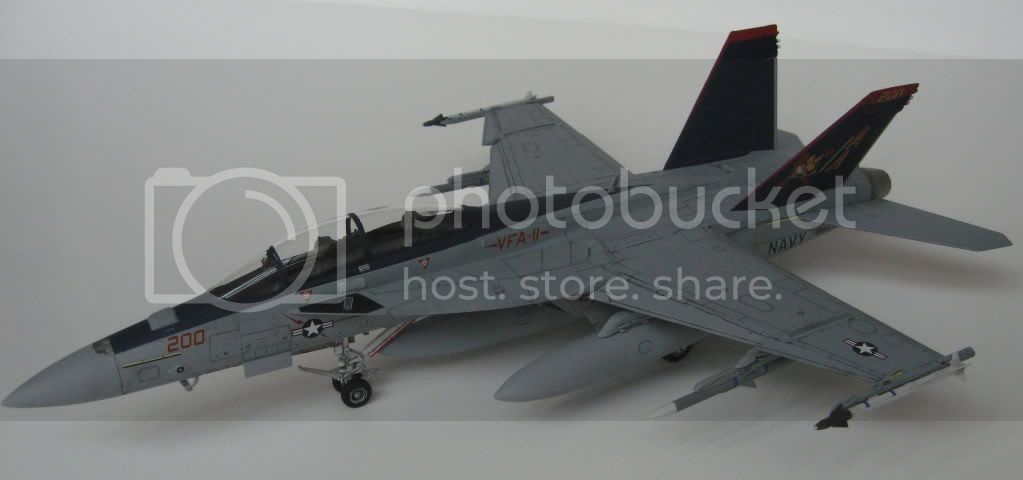
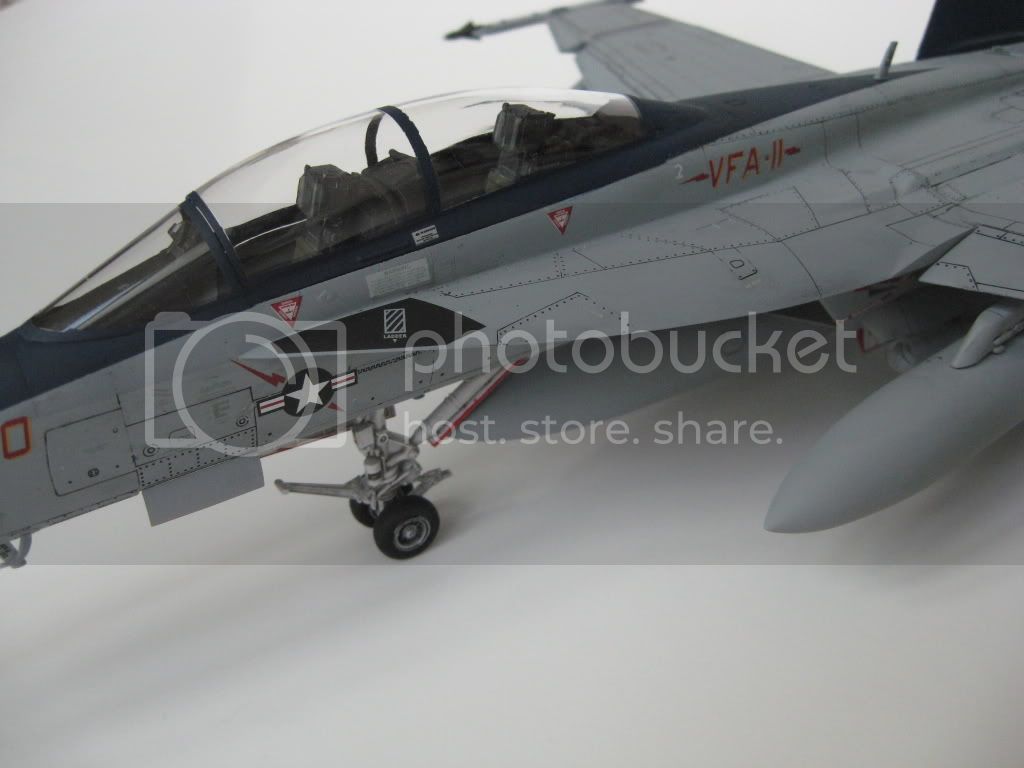
 Just kidding, the F/A-18F will be finished soon. Just thought I would show you what else was on the workbench. This is the first car model I've built in probably 35 years. It was great to do something different for a change.
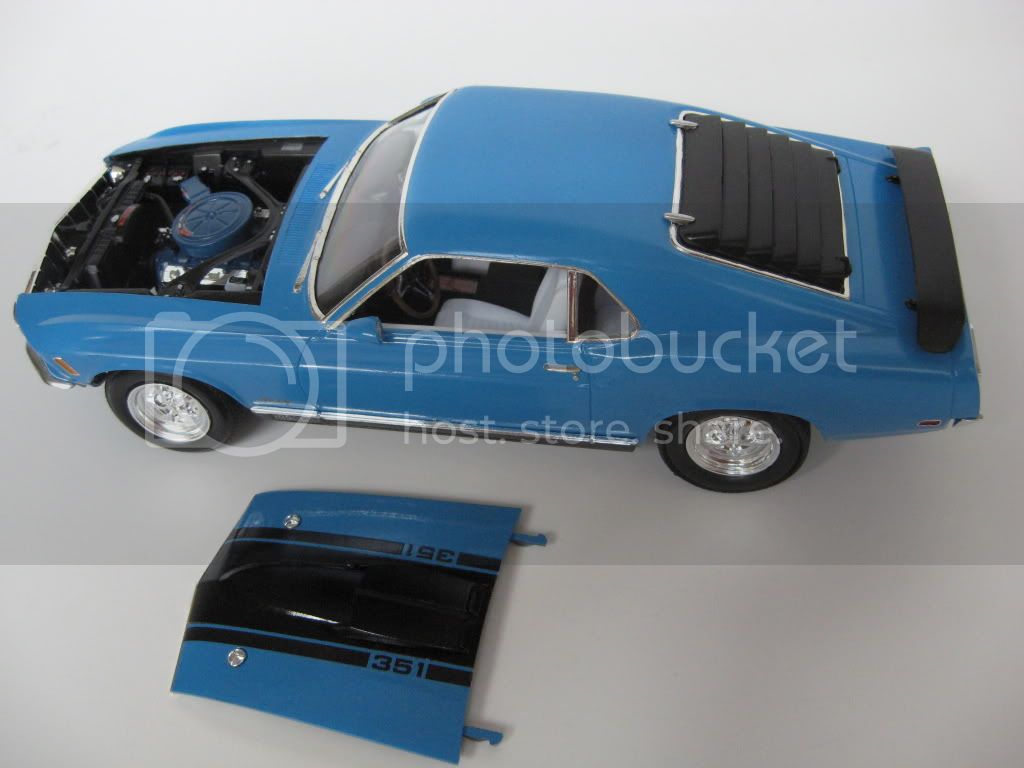
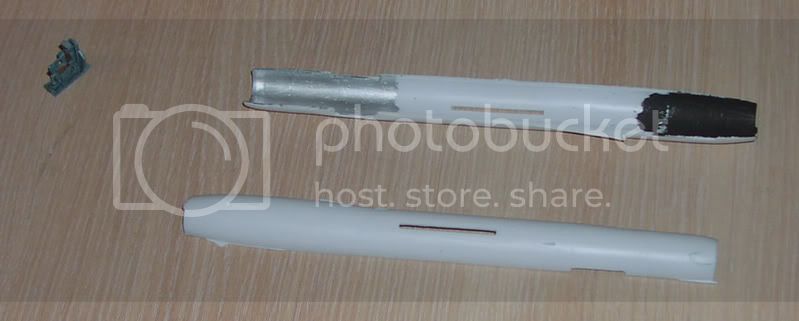
 Have finally been able to sit down at the bench and get in a little modeling time. I got my X-1A painted a few days ago, and got the decals on it tonight. All that is left is to install the fiddly bit and add a light wash to the panel lines. Its the 1/72 Hobbycraft kit. Kit decals were more than accomodating....thankfully! Thats about it for me. Thanks, "Q"
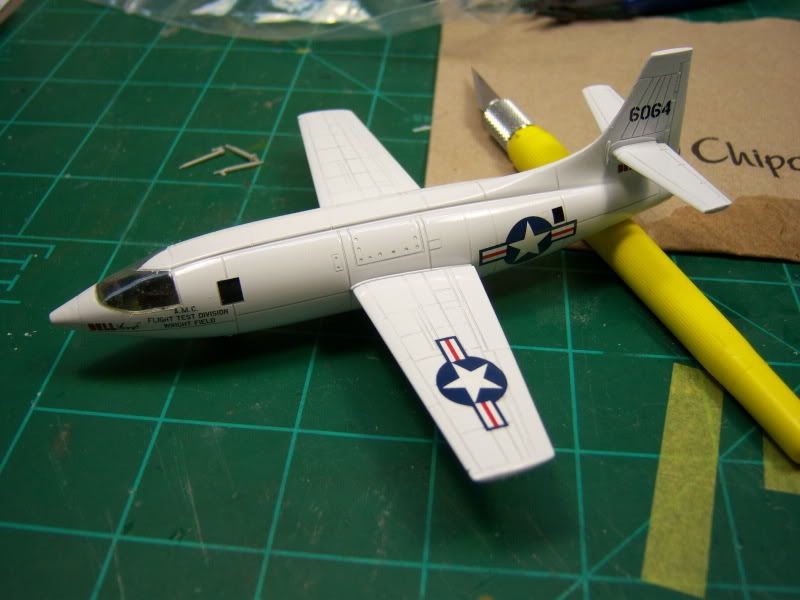
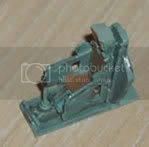
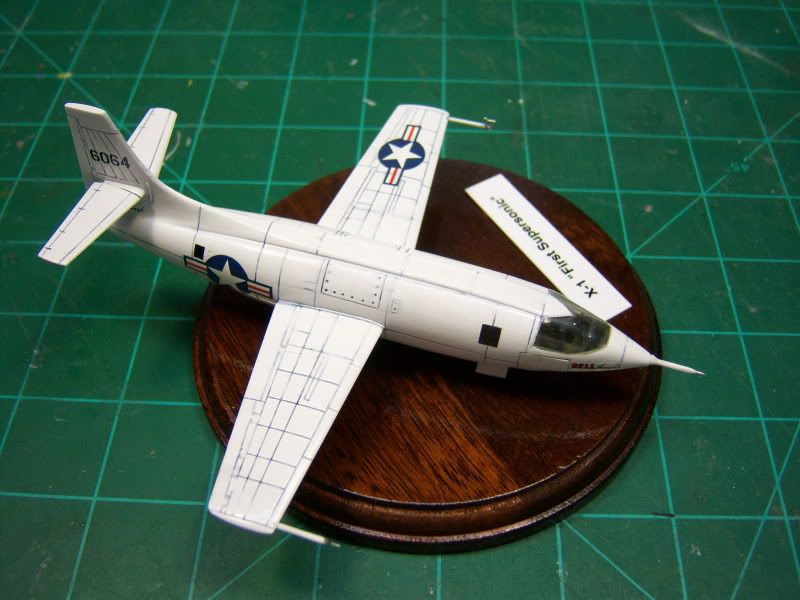
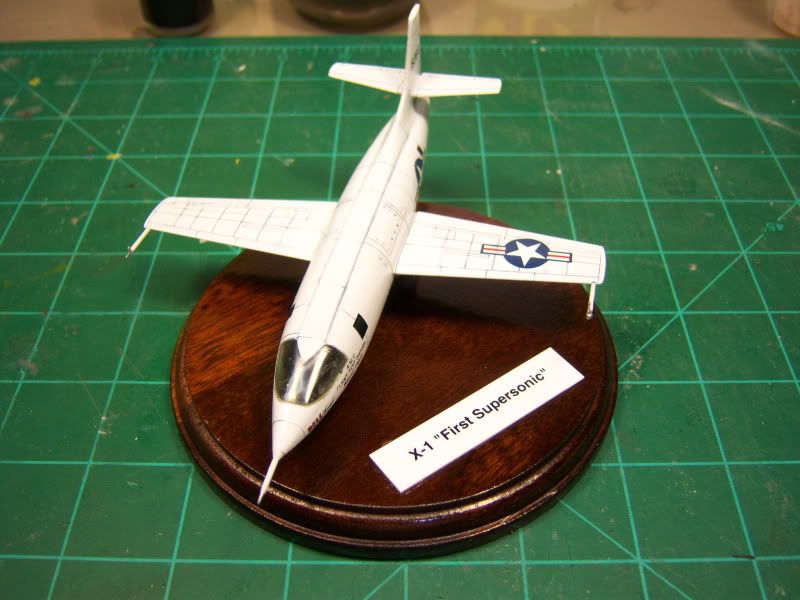
 Just put the wraps on it a few minutes ago. I was trying to figure out how to make a little title card for it, then looked at the decal sheet. Right there across the top was my answer. I sprayed the remainder of the sheet with decal set from Testors, let it dry, and then applied it as a regular decal on a piece of scrap plastic sheet I had gloss coated and glued to the base. Worked like a charm. The kit is the Hobbycraft 1/72 offering of the X-1. As I have seen a lot of builds in Chuck Yeagers markings, I decided to go with something a little different. This isn't my best effort by far, but it looks good in the case, and "finished is better than perfect". One down, oh so many more to go! Thanks, "Q"
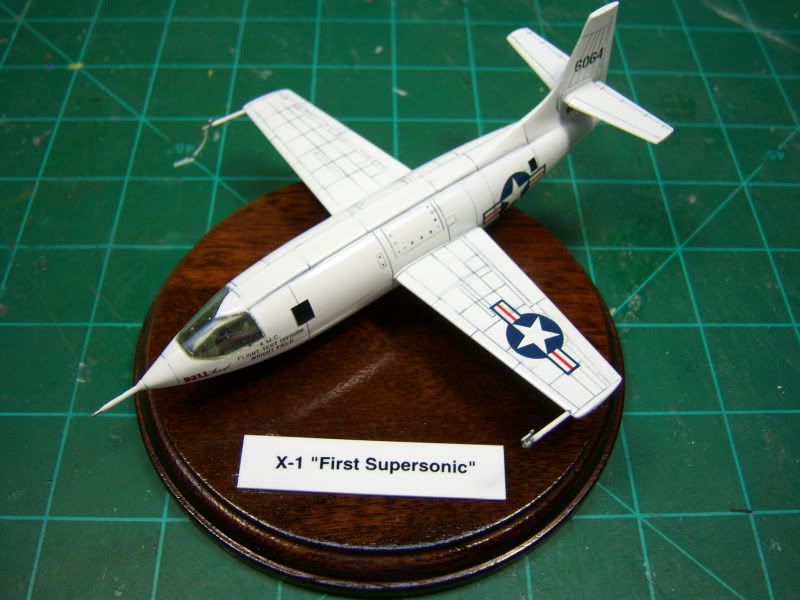


 Tony Tony
 |


