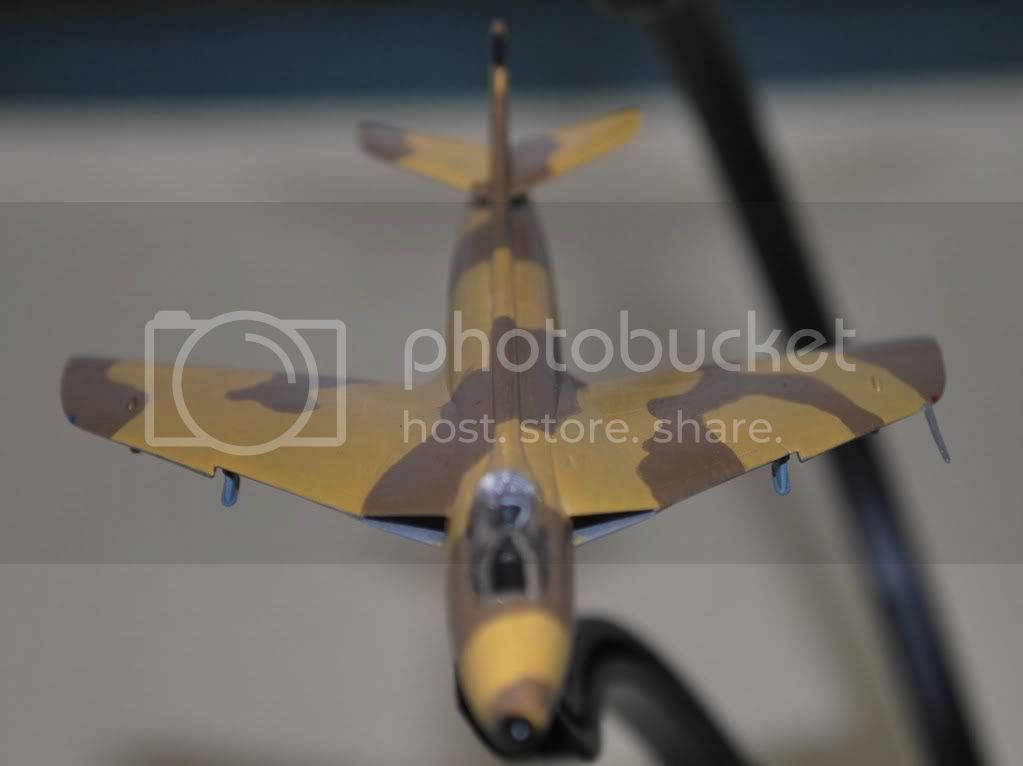
OK paint has found it's way on to the five. Had some fun finding the correct colours for some of the schemes and had to do plenty of research.
NOT A CAMPAIGN ENTRY.
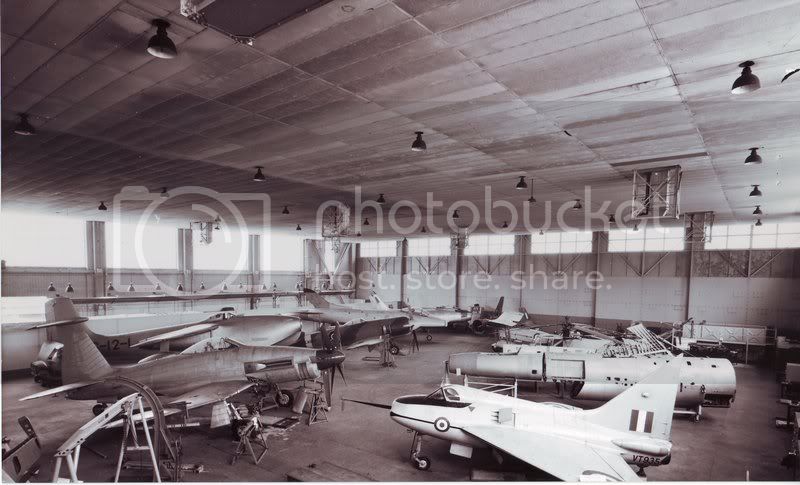
Oh another Camm design which I have almost finished, (started before the campaign) the P1121. I always believed that this only existed as a mock up but having a good read of the Hawker history I've found that the prototype was 80% complete when the project was cancelled. A 1958 design for a mach 2.5 Strike- Fighter.
Air Campaigns
Want to start or join a group build? This is where to start.
Hosted by Frederick Boucher, Michael Satin
OFFICAL: Camm-paign, Sir Sydney Camm Campaign
Posted: Thursday, June 30, 2011 - 10:24 AM UTC
Bigrip74
Texas, United States
Joined: February 22, 2008
KitMaker: 5,026 posts
AeroScale: 2,811 posts
Joined: February 22, 2008
KitMaker: 5,026 posts
AeroScale: 2,811 posts
Posted: Thursday, June 30, 2011 - 10:52 AM UTC
Luciano,
Nice job on the (5) a/c, did you make a template for the camo just to keep all (5) alike? That last photo was a suprise of an a/c that I knew nothing about, now I need to do some research.
Bob
Nice job on the (5) a/c, did you make a template for the camo just to keep all (5) alike? That last photo was a suprise of an a/c that I knew nothing about, now I need to do some research.
Bob
Posted: Thursday, June 30, 2011 - 11:13 AM UTC
Quoted Text
Luciano,
Nice job on the (5) a/c, did you make a template for the camo just to keep all (5) alike? That last photo was a suprise of an a/c that I knew nothing about, now I need to do some research.
Bob
Bob no template all free hand. The blue-grey was a compromise as my references state that the paint is of unknown origin, also the sand colour is a best match and not 'Light stone' as xtradecal suggest.
The P1121, looking like a F-16 on steroids but around 10 - 15 years before it.
The mock up
The prototype
Second from bottom on the right, apparently it's still around and in store at RAF Cosford.
And a great what if artwork
Posted: Thursday, June 30, 2011 - 11:08 PM UTC
Great collection of colour schemes for the Hunter, Luciano. Looking forward to see it finished.
I have not started yet, but I am planning to do the old venerable Matchbox Harrier in US camouflage. It will probably still be some time until I get space on the work table for this little gem.
Posted: Friday, July 01, 2011 - 03:25 AM UTC
Here's my build guys.
The box
The Sprues
The Decals
and the dream
I have to finish up my Voodoo for the Century Series Campaign, then I'm on it !!
Cheers, D
The box
The Sprues
The Decals
and the dream
I have to finish up my Voodoo for the Century Series Campaign, then I'm on it !!
Cheers, D
Middle_Franconian
Bayern, Germany
Joined: January 02, 2011
KitMaker: 279 posts
AeroScale: 239 posts
Joined: January 02, 2011
KitMaker: 279 posts
AeroScale: 239 posts
Posted: Friday, July 01, 2011 - 09:12 PM UTC
Hi all,
I had a few days off (vacation in Italy ) but now I am back.
@ Chris: Outstanding work on that Tempest!
@ Luciano: Impressive display! Thanks for the onfo about that P1121. Never heard of.
--->
@ Jesper: Yeah! I like those early USMC Harriers! Do you want to render that winter camo? Also that weapons load with 4 x napalm? BTW, they always remind me of those aluminium beer drums
I have tried to get my hands on an 1:72 ESCI AV-8 A but with no succes up to now.
@ Damian: Nice choice! Looking forward to seeing the building progress!
Servus,
Sebastian
I had a few days off (vacation in Italy ) but now I am back.
@ Chris: Outstanding work on that Tempest!
@ Luciano: Impressive display! Thanks for the onfo about that P1121. Never heard of.
Quoted Text
The P1121, looking like a F-16 on steroids [...]
--->
@ Jesper: Yeah! I like those early USMC Harriers! Do you want to render that winter camo? Also that weapons load with 4 x napalm? BTW, they always remind me of those aluminium beer drums
I have tried to get my hands on an 1:72 ESCI AV-8 A but with no succes up to now.
@ Damian: Nice choice! Looking forward to seeing the building progress!
Servus,
Sebastian
Posted: Saturday, July 02, 2011 - 11:34 AM UTC
@ Sebastian well there's an Esci AV8-a on evilbay right now! Ends in 22 hours here's hoping you've the time and finances to take advantage of it..... LOL just saying. And thanks for the kind words about my Tempest I have to admit I'm pleased with the way it turned out!
@ Littorio: Outstanding work on those Hunters fella..... I now have an urge to do one in 1/32nd scale ..... go figure?!
@Aussie: The Hobbycraft kit? I'm really interested to see that turn out as I've seen it bagged by the various reviewers and I honestly believe that it's a better kit than it's given credit for!
Posted: Saturday, July 02, 2011 - 11:41 AM UTC
@ Sebastian: Uhmmmmm should I be the devils advocate and say I have an AV8-B in 1/48 scale if you want it?
Posted: Saturday, July 02, 2011 - 12:04 PM UTC
Quoted Text
@ Littorio: Outstanding work on those Hunters fella..... I now have an urge to do one in 1/32nd scale ..... go figure?!
Thanks Chris, what you've said rings true with me also with these little ones almost finished I've the urge to dig out my 1/72 and 1/48 Hunters also to track down a 1/32 example.
Mind you the 1/48 Academy one needs the Aeroclub correction set as by all accounts the kit tail pipe drops into the correction tail pipe it's that under size.
Any takers on naming the five airforces I have depicted? I'll let you have the desert one though as it could be any of five, so the desert one is Abu Dhabi with red cheat line (or will have once decals are on)
Posted: Sunday, July 03, 2011 - 11:53 AM UTC
Quoted Text
@Aussie: The Hobbycraft kit? I'm really interested to see that turn out as I've seen it bagged by the various reviewers and I honestly believe that it's a better kit than it's given credit for!
Yeah Chris, Hobby Craft. I have seen some poor reviews as well but this came up very cheap at a swap meet with a heap of extra decal sets in the box so I grabbed it. I'm no expert on accuracy, but as far as the construction goes I'll keep you posted.
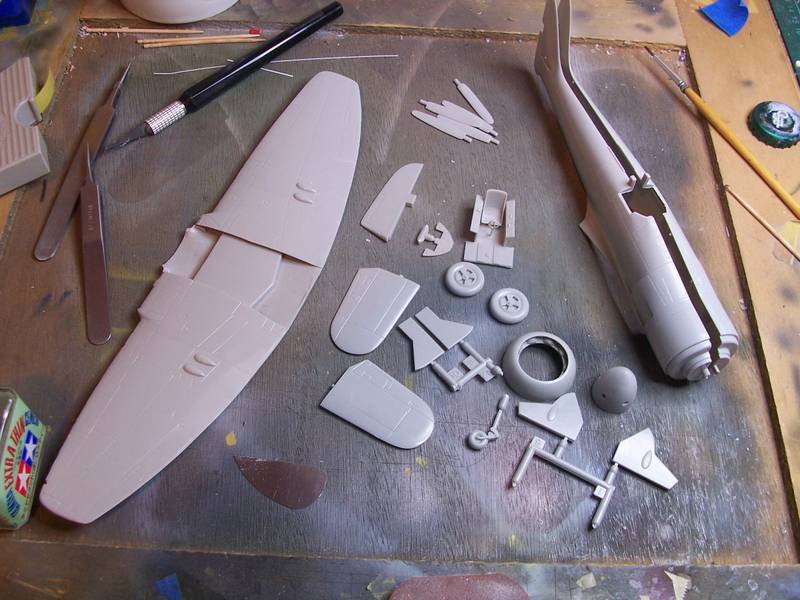
I have started on the sub-assemblies, and no major problems so far. The cockpit details are very basic but you won't see much through the small opening anyway so I'm not going to do any improvements. There are about 10 ejector pin marks in the wheel wells but, once again, I display my models with that part facing mother earth so nobody will know I haven't dealt with them
There are a couple of small sink marks on the front part of the spinner, and the two parts don't slot together perfectly, but a small dab of Mr Surfacer will fix it. The wing assembly fitted very nicely, no issues there to deal with, and test fitting against the fuselage shows no major fit problems there either.
My main comment is that the plastic itself is quite soft and even light sanding is removing any detail.
Progress to now . . .
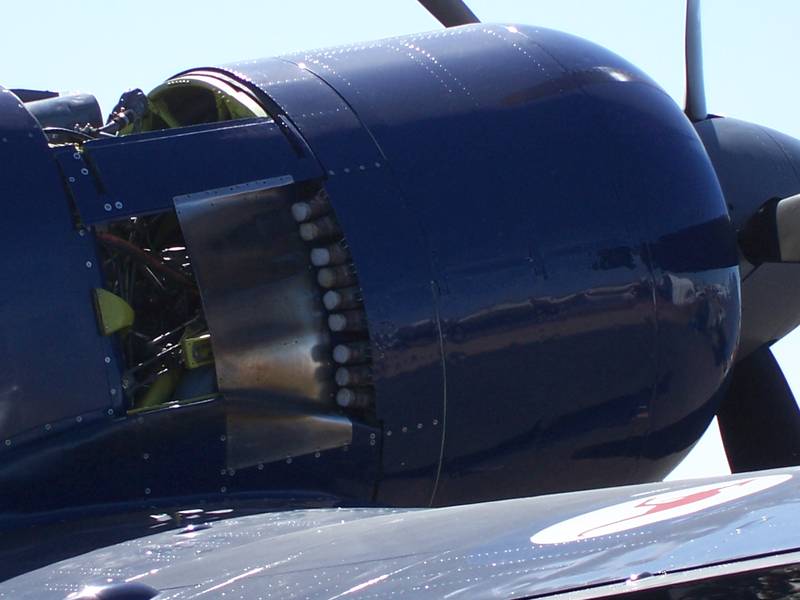
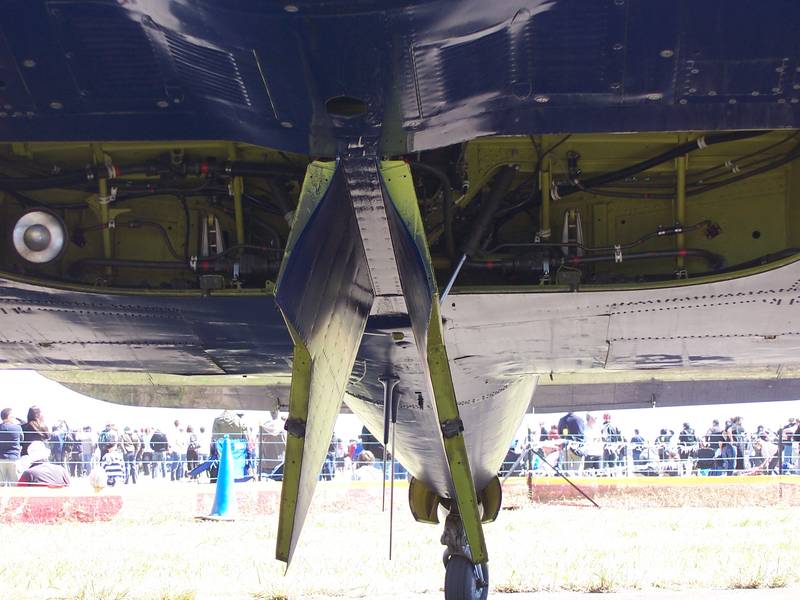
and a couple more shots of the real deal that I took at the airshow. . .
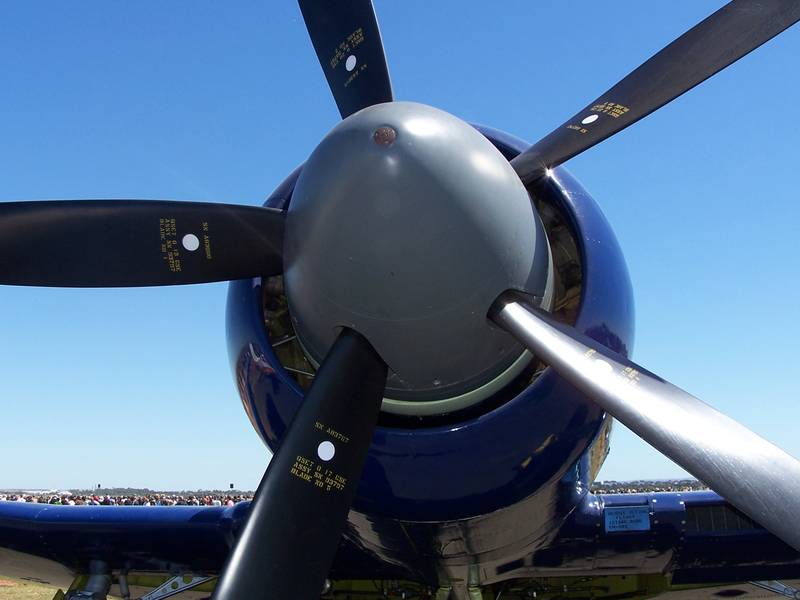
Now, before anybody asks, NO, I'm not detailing the wheel wells !!
Cheers, D
Philippus
England - South East, United Kingdom
Joined: March 13, 2007
KitMaker: 182 posts
AeroScale: 65 posts
Joined: March 13, 2007
KitMaker: 182 posts
AeroScale: 65 posts
Posted: Wednesday, July 06, 2011 - 12:02 AM UTC
Hi all,
Bit more progress,
The main seem along the bottom needs some more work but as this is an old kit it had raised panel lines etc so I'm not to sure if I'll bother really I have the top surfaces looking OK.
And you are looking at the first ever attempt at an airbrushed finish by the Mrs. wow not bad!
Thanks,
Philip.
oraora
Kuching, Malaysia
Joined: June 19, 2002
KitMaker: 216 posts
AeroScale: 128 posts
Joined: June 19, 2002
KitMaker: 216 posts
AeroScale: 128 posts
Posted: Thursday, July 07, 2011 - 02:39 PM UTC
I'm gonna build a hunter FGA.9 too but using the revell 1/72nd kit.
Posted: Friday, July 08, 2011 - 09:35 PM UTC
OK national markings applied, stencils and weathering still to go.
Abu Dhabi Air Force
Indian Air Force
Singapore Air Force
Omani Air Force
Rhodesian Air Force
All together
Abu Dhabi Air Force
Indian Air Force
Singapore Air Force
Omani Air Force
Rhodesian Air Force
All together
Posted: Saturday, July 09, 2011 - 12:23 AM UTC
@Luciano: Outstanding work there fella! They look fantastic with the national markings! I notice the Omani air force doesn't have any yet does this mean they're to be applied or that you need to find a set?
@ Damian: Yes the kit certainly does look basic but still doesn't look to bad it certainly looks like a Sea Fury! Nice work so far Damian keep it up!
Posted: Saturday, July 09, 2011 - 04:21 AM UTC
Quoted Text
@Luciano: Outstanding work there fella! They look fantastic with the national markings! I notice the Omani air force doesn't have any yet does this mean they're to be applied or that you need to find a set?
Chris look very closely at the tail and you will see a small shield (not in focus), that and the serial number on the side of the rear fuselage (just make it out) is the only national markings that those aircraft carried. No wing or fuselage markings and no squadron markings. The only thing on these is the odd colour that no two references can agree on but the photo's I've found show them to be on the blue side of blue-grey. Mine is a little bit too blue at the moment but should tone down once a wash is applied and a matt coat goes on.
Posted: Sunday, July 10, 2011 - 06:08 AM UTC
Ive decided to make a start on mine today I was going to do the Hasegawa 1/48 pro Tiffy (the one that came with a resiin cockpit set) however I dont think I can get it done in time as still not really started it and I really want to take my time with that one. I had a look through what stash we have a found my Trumpter 1/72 Sea Fury so Im going OOB with that to get the build done in time with the other builds I have on the go, house decorating and horse caring.
Posted: Sunday, July 10, 2011 - 05:39 PM UTC
@Sam: Good lord when do you find time to breathe? The Trumpeter sea fury is a really nice kit in either 1/72nd or 1/48th scale and it goes together very nicely, I know i've built the 1/72nd scale version. Good luck Sam I look forward to seeing it completed.
Middle_Franconian
Bayern, Germany
Joined: January 02, 2011
KitMaker: 279 posts
AeroScale: 239 posts
Joined: January 02, 2011
KitMaker: 279 posts
AeroScale: 239 posts
Posted: Monday, July 11, 2011 - 09:17 AM UTC
@ Luciano: This is such a cool looking display! Great!
@ Phillip: This is the way I planned to paint my Hunter first: high speed silver underside with the landing gear and doors already attached in order to speed up things a little. But then I noticed that late British Hunters were painted in Light Aircraft Grey on the undersides...
Your Hunter is on the right way
@ Samantha: Nice choice! Modelling I S house decorating in a way... A plane on the shelf makes your home cosy .
Servus,
Sebastian
Posted: Monday, July 11, 2011 - 09:52 AM UTC
When I sleep Its that bad Tomcat has to sort out the dog, sometimes the rabbit and hamster and do house chores aswell. Id have much more time if I didnt have to work full time
Anyway back to the build
jaypee
Scotland, United Kingdom
Joined: February 07, 2008
KitMaker: 1,699 posts
AeroScale: 1,384 posts
Joined: February 07, 2008
KitMaker: 1,699 posts
AeroScale: 1,384 posts
Posted: Monday, July 11, 2011 - 10:07 AM UTC
Good to see you've all been beavering away in my absence. Not much online or bench time for me lately. Running and drinking have been taking up my spare time.
Lovely squadron there Littorio. Jealous in the extreme.
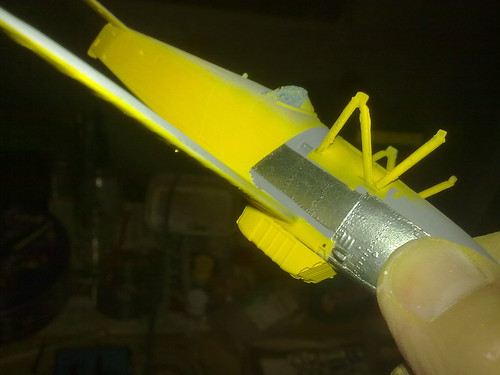
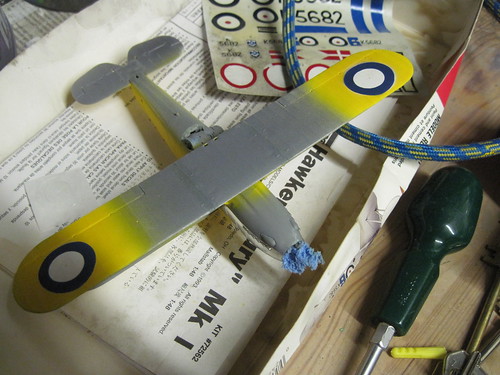
But I did steal and hour or two to shoot some yellow at the Fury, over a pink undercoat. First time I've tried this and it worked really well, yellow is infamously difficult to get even.
Metal panels lifted a bit with masking tape so in future I'll do them after the painting stage.
Philippus
England - South East, United Kingdom
Joined: March 13, 2007
KitMaker: 182 posts
AeroScale: 65 posts
Joined: March 13, 2007
KitMaker: 182 posts
AeroScale: 65 posts
Posted: Tuesday, July 12, 2011 - 11:15 PM UTC
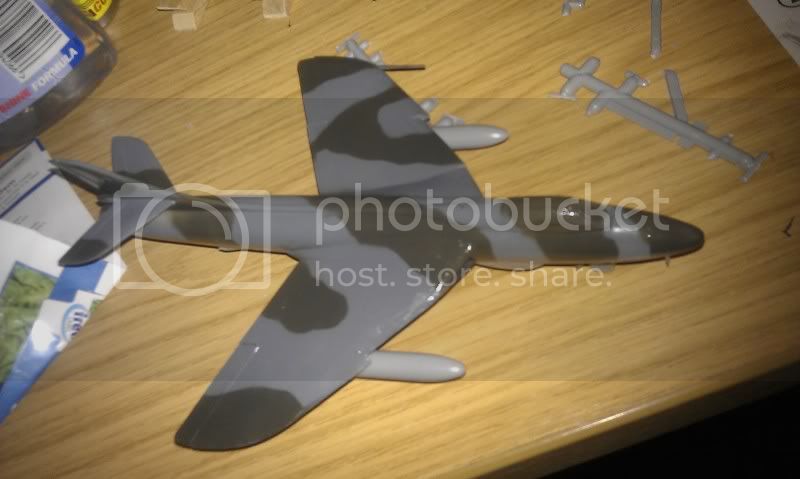
So a bit more work done on the Hunter:
I used Xtracolor enamel paints. To get the camo pattern I scaled up the plans and used them as masks over the surfaces. Worked out OK i thinks. Little bit more painting then its decal time.
Thanks,
Philippus
I used Xtracolor enamel paints. To get the camo pattern I scaled up the plans and used them as masks over the surfaces. Worked out OK i thinks. Little bit more painting then its decal time.
Thanks,
Philippus
Posted: Tuesday, July 12, 2011 - 11:30 PM UTC
@Phillipus: That camo job worked out really well there fella. I've always preferred soft edges as I find them much easier to do. Tried my first hard edge camo job on the Tempest I built for this build.
@Littorio: I have a 1/32nd scale hunter coming my way off eBay which if you believe some of the reviews is the best Hunter in any scale. Now that's a very big ask I'll have to see if I can work it into a build somewhere!
@AussieReg: How's that Sea Fury going fella?? Can't wait to see it in all it's blue splendiferousness!
jaypee
Scotland, United Kingdom
Joined: February 07, 2008
KitMaker: 1,699 posts
AeroScale: 1,384 posts
Joined: February 07, 2008
KitMaker: 1,699 posts
AeroScale: 1,384 posts
Posted: Thursday, July 14, 2011 - 09:48 PM UTC
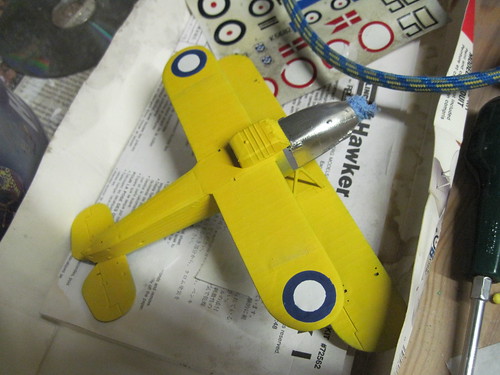
The decals were shot so I tried masking and painting the roundels, using masks cut from frisket (upper wing) and tamiya tape (lower wing). Not entirely convinced.
I think the trick is to cut the mask in frisket and use masking tape to secure it.
Will try to touch it up but to do it again best to shell out for pro masks (say Mal's or montex) for this. Or print the decals on clear film and spray white underneath
Will take the red spot from the decal sheet as I can't cut a mask that small.
Blueheeler
New South Wales, Australia
Joined: March 18, 2008
KitMaker: 347 posts
AeroScale: 223 posts
Joined: March 18, 2008
KitMaker: 347 posts
AeroScale: 223 posts
Posted: Friday, July 15, 2011 - 01:49 AM UTC
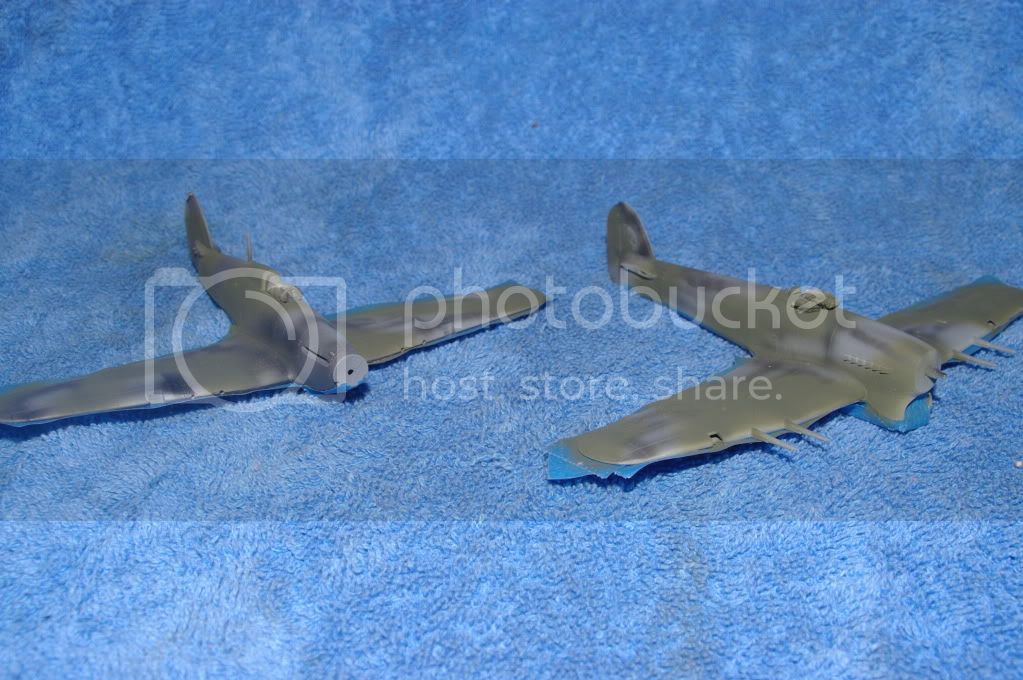
Have got my entry started the other week and now since I have the camera back up and working, thought I would post some progress shots. Its not much, both have the undersides painted and masked off and now the dark green camo sprayed. I was going to use both for the campaign, however, the airbrush started playing up on the Typhoon and long story short, is now part of my 5yr olds ever growing Airforce!
Both aircraft are 1/72 Academy kits.
jaypee
Scotland, United Kingdom
Joined: February 07, 2008
KitMaker: 1,699 posts
AeroScale: 1,384 posts
Joined: February 07, 2008
KitMaker: 1,699 posts
AeroScale: 1,384 posts
Posted: Friday, July 15, 2011 - 11:06 AM UTC
Neat Nick, All my builds go to the boys' airforce.
I gave in and ordered some Mal's Masks for the roundels. Means it costs me one modelling session to respray but it is well worth the hassle, I can get on with the main camo while I wait for them. Seems like a lot left to do but I'm sure I'll get more time now and crack on and finish up.