

I have a lot of these Eduard 110s in my stash. Based on your and Emres comments I know what to look out for.
Looking forward to see more

PS. congratulations on giving up your freedom, Emre


 . cowlings...


@ Emre,
In my opinion there is no easy path to resolve painlessly those
Actually my approach is the epoxy putty ( lots!) on the cowling side of the step, mainly because it makes more sense in ease of apply (of putty I mean), and has less panel lines & rivets to scribe.
Mind you Emre, the C/D/E version can be less vicious than the G version with that bump right next to the step
Spirits up, because the the kit is actually very good in all the rest, though I wonder how the Cybber-Hobby kit behaves in this area?!?!
Cheers


 Managed to forget to spray the doors so will have to do them this weekend. Admittly not the best spray job in the world but didnt think it was too bad for a first attempt at this camo pattern


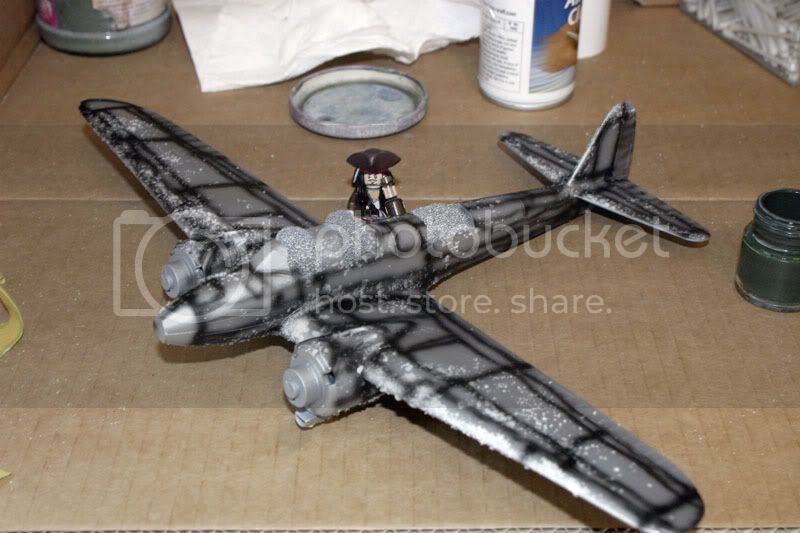
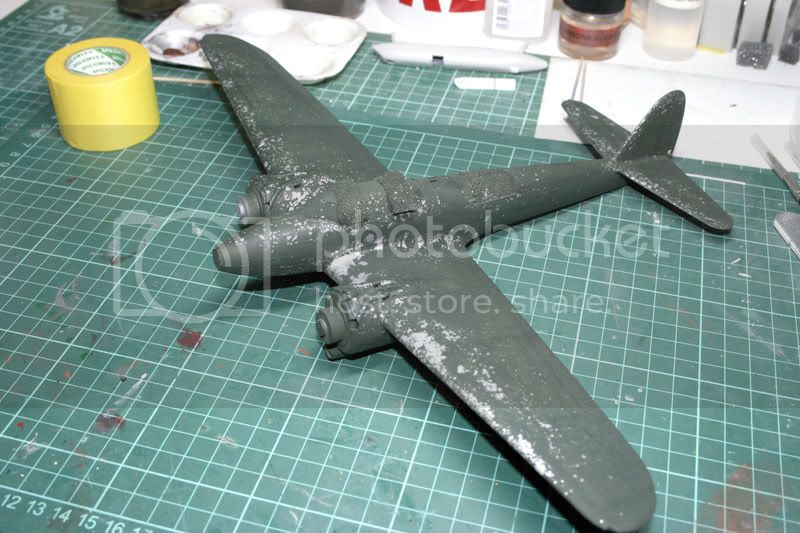
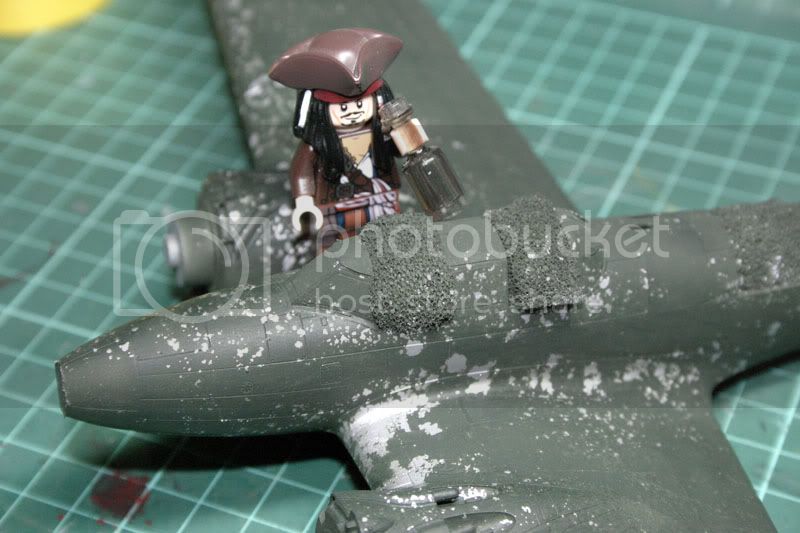


 and I'm getting preciousl little bench time. I would rather save the Zerstorers in my stash for a future Campaign, when I can do a decent job, than rush through one and stuff it up.
@Damian, I may have done too many tamiya kits to form that impression, but it is quiet a dilemma to sand the joints and lose the raised panel lines.
Quoted Text@Damian, I may have done too many tamiya kits to form that impression, but it is quiet a dilemma to sand the joints and lose the raised panel lines.
Yeah, I know the feeling for sure. Maybe my explanation wasn't very clear though. I found that when I test fitted the parts there were gaps caused by "raised" sections along the edge of the part, especially around the locating pins. Once I evened those areas out, sometimes by removing the locating pins, the gaps disappeared and I barely used any putty at all.
I hope this makes more sense.
Cheers, D


 |


