OFFICIAL: "Zerstorer!" Campaign Thread

#501
Kerala, India / भारत
Joined: August 25, 2009
KitMaker: 292 posts
AeroScale: 194 posts
Posted: Saturday, April 23, 2011 - 06:34 PM UTC
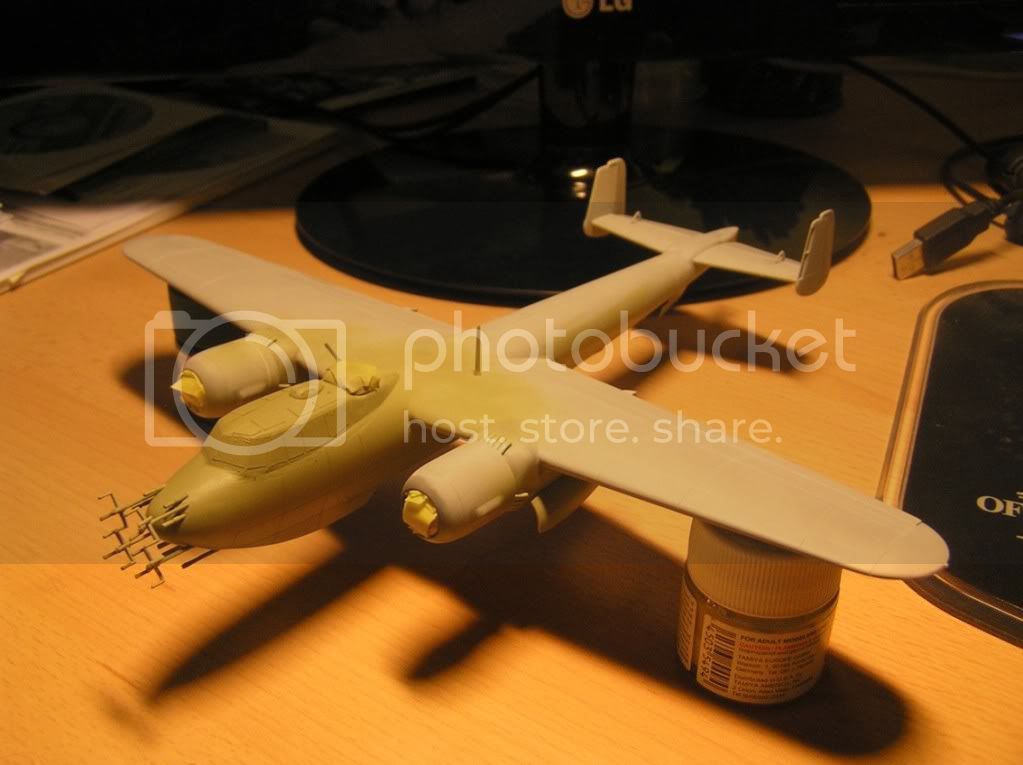
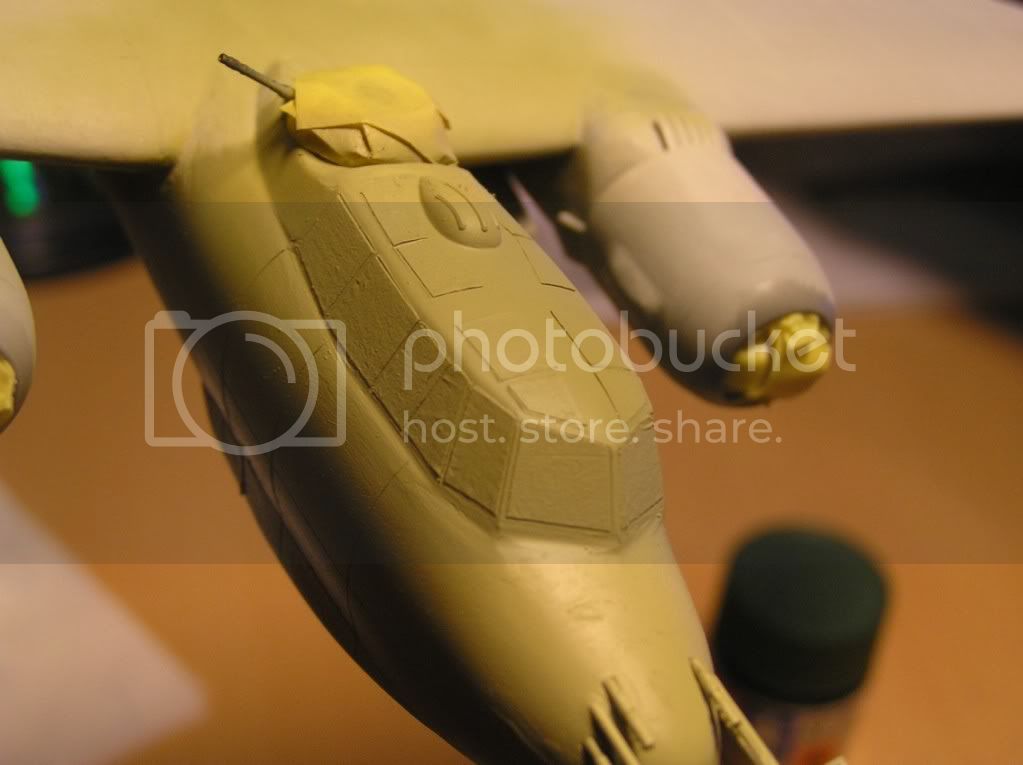
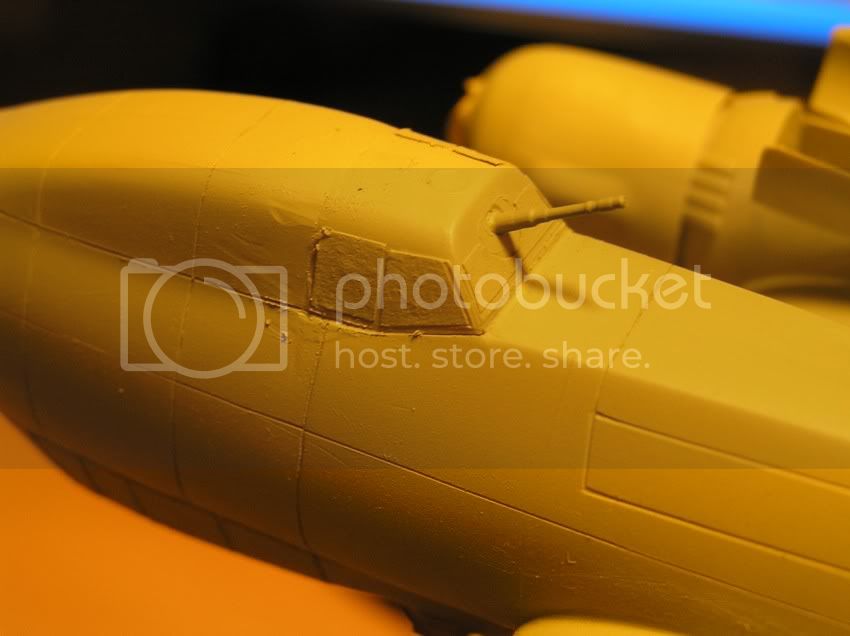
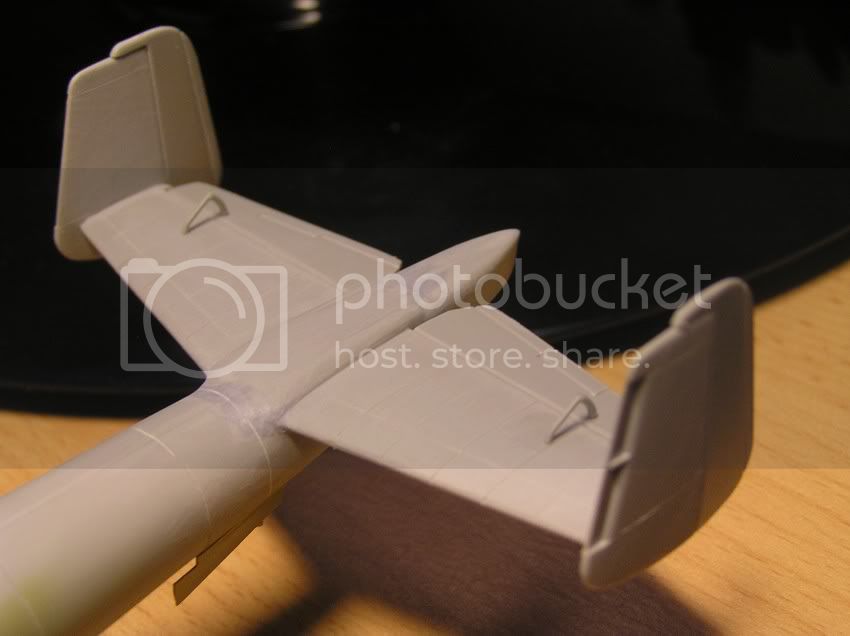
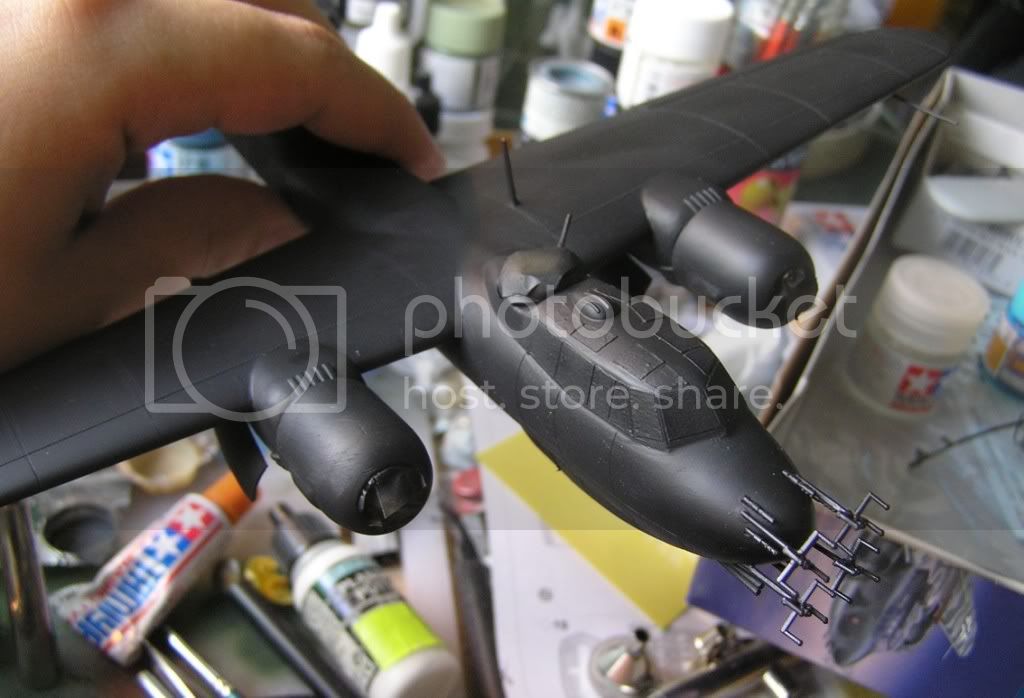
After almost 2 months, she is finally up on her feet

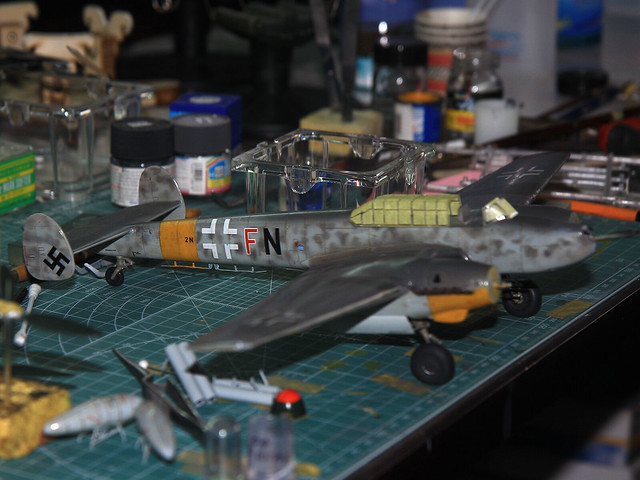
The canopy masks finally arrived. I still have to paint the greenhouse aka canopy, attach the drop tanks + WGr 21s and the props. I have a busy week ahead but i am trying to finish it by the next weekend.

#041
Kobenhavn, Denmark
Joined: July 20, 2006
KitMaker: 10,069 posts
AeroScale: 3,788 posts
Posted: Monday, April 25, 2011 - 03:53 AM UTC
Beautiful Uhu, Anthony. It looks great. That camouflage came out excellent!
Raj, nice progress on your 110. Looking forward to see more.
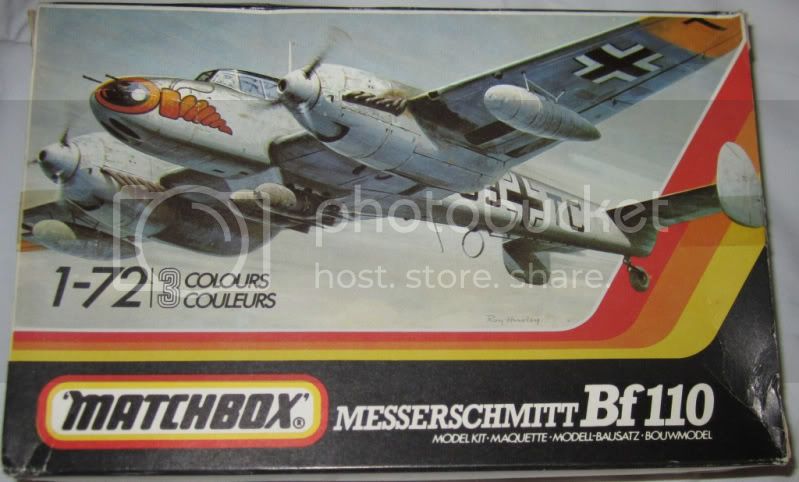
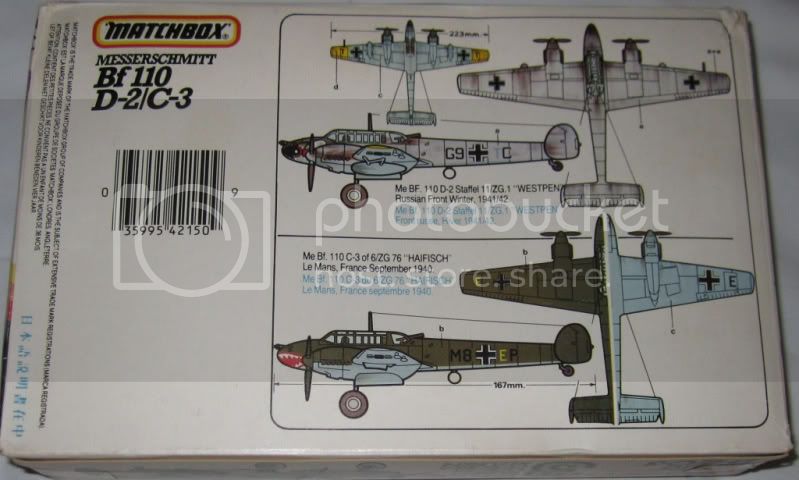
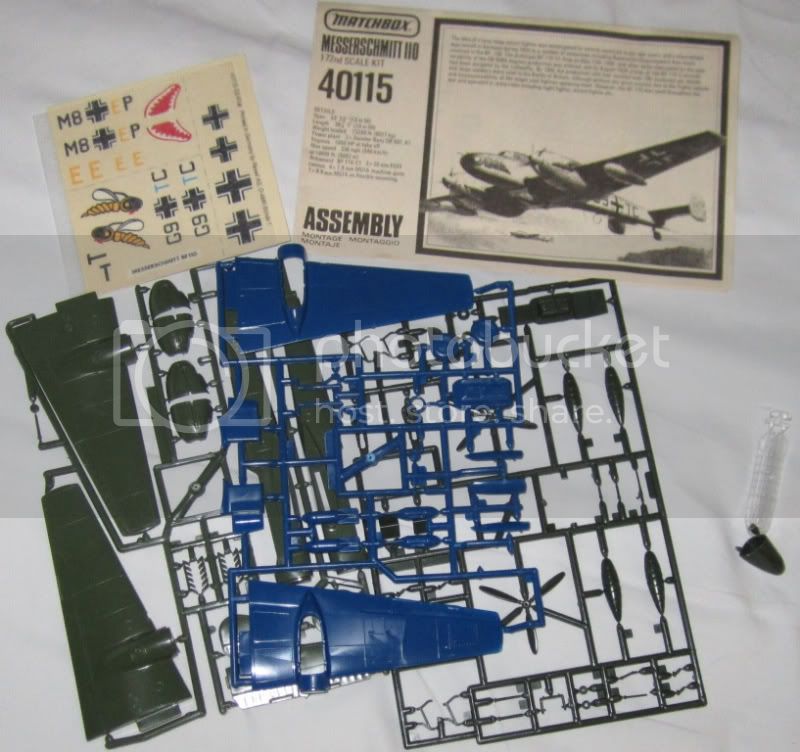
I have been promoted at work and are relocating to the US. This is of course fantastic, but it means I have to work on some smaller projects as I will be living in hotel rooms for some time. Therefore I have decide to postpone my Eduard 1/48 Bf 110 to another time and instead go for a Matchbox 1/72 Bf 110C/D. I will be building it very old school without any airbrush painting, strictly what brush painting can be done in a hotel room

I will use the kit decals, but have not decide on what version yet.
More to follow

Campaign'oholic - 252+ campaigns completed
European Union
Joined: August 09, 2009
KitMaker: 1,732 posts
AeroScale: 1,336 posts
Posted: Monday, April 25, 2011 - 07:00 AM UTC
@Raj
Your Zerstörer looks stunning, mate! Congrats on that! Hope my 110 will look a bit that good ....
@Jesper
Good luck for you over there in the "New World"

and with your old Matchbox kit.
I made some progress on my Me 410 as I've promised. It's completed now and Future is on. Now comes the best part of building kits, the decals.

I hope to finish by next weekend ,,,,, Pics follow then.


The Bf 110 will still need some time but I hope I finish it by the end of this campaign .....

Happy modelling!
Torsten

My campaigns for 2020:
MiGs - Done !
The Big Three - Done !
65 years Bundeswehr - Done !
40 years Leopard 2 - Done !
Land Lease - Done !
SgtRam
 Editor-at-Large
#197
Ontario, Canada
Joined: March 06, 2011
KitMaker: 3,971 posts
AeroScale: 511 posts
Posted: Monday, April 25, 2011 - 10:34 AM UTC
I am getting there, construction almost complete, barely. I must say the instructions for the Dragon Bf110D are not very clear when it comes to part numbers. Alot of trial and error, and some careful dissections and re-gluing, and some putty in spots. But I am ready for primer.


Lisboa, Portugal
Joined: August 27, 2010
KitMaker: 679 posts
AeroScale: 669 posts
Posted: Tuesday, April 26, 2011 - 06:27 AM UTC
Hi everyone,
Just to share a few pics of my ongoing Bf.110 G-2/R1
model
 Sem título
 por
rochaped38 Sem título
 por
rochaped38the end business of this version, a BK 3,7mm Kanon, the gun being from Master with some Milliput (yet to be retouched) acting as the gun sleeve
 Sem título
 por
rochaped38 Sem título
 por
rochaped38 Sem título
 por
rochaped38In my next post hoping to have all cockpit subassembly finished before glueing
the fuselage halves.
Hope you all enjoyed, comments are welcome!
Best
Pedro

#041
Kobenhavn, Denmark
Joined: July 20, 2006
KitMaker: 10,069 posts
AeroScale: 3,788 posts
Posted: Tuesday, April 26, 2011 - 07:53 AM UTC
Thanks for the kind words, Torsten. Looking forward to see the Me 410 with decals on.
I actually started the Matchbox Bf 110 yesterday and it goes together very well. Of course with very limited detail, but that was expected. I think it will still turn out as a decent model.
Kevin, the Dragon Bf 110 is coming along nicely. I just bought that kit myself and it looks great. Mine even comes with two complete engines(!) Very nice. I will continue to follow you build with interest.
Nice progress on the cockpit, Pedro.
Campaign'oholic - 252+ campaigns completed
SgtRam
 Editor-at-Large
#197
Ontario, Canada
Joined: March 06, 2011
KitMaker: 3,971 posts
AeroScale: 511 posts
Posted: Tuesday, April 26, 2011 - 08:50 AM UTC
Jesper - be careful with the instructions, my plan was to mount and show off one engine, and when I got to that part, realized I had the two firewalls wrong, but I followed the instructions. The engine would not fit properly, unfortunately. There was also an issue with mounting the tanks. I am thinking about just leaving them off. I like the kit, but am very disappointed in the instructions, unclear is some areas, and wrong part numbers in others, especially hard when parts look alike. The molding is very nice and the fit seems ok. Priming and painting are next, will update when I get through it.
Slovakia
Joined: October 15, 2010
KitMaker: 825 posts
AeroScale: 476 posts
Posted: Tuesday, April 26, 2011 - 09:34 AM UTC
Singapore / 新加坡
Joined: April 05, 2009
KitMaker: 120 posts
AeroScale: 26 posts
Posted: Wednesday, April 27, 2011 - 06:47 PM UTC
Alright I was finally able to get some work done on my toryu...
Applied a base coat of Gunze gray-green...

and applied the camouflage by brush painting...


Overall I am quite pleased with the results... can't wait to finish this bird!

p.s. and yes Torsten i opt for the closed canopy lol
Slovakia
Joined: October 15, 2010
KitMaker: 825 posts
AeroScale: 476 posts
Posted: Wednesday, April 27, 2011 - 11:23 PM UTC
@ Lawlzw: The hand painted camo is great, and the "flakes" arent the same, which adds to the reality of it. You have huge skills with the brush.
SgtRam
 Editor-at-Large
#197
Ontario, Canada
Joined: March 06, 2011
KitMaker: 3,971 posts
AeroScale: 511 posts
Posted: Thursday, April 28, 2011 - 12:12 AM UTC
@ lawlzw - Very impressive, looks great, the camoflauge must have taken some time. Can't wait to see the finished model.
New South Wales, Australia
Joined: April 15, 2006
KitMaker: 158 posts
AeroScale: 70 posts
Posted: Thursday, April 28, 2011 - 09:51 AM UTC
Quoted Text
Hi guys, I'm back again doing my admin duties. I've gone over the last few pages and updated the Roll Call/Build Status post on Page 1. We are up to 15 builds underway and 2 completed.
Awesome work by Graham on the Me 262 and Anthony on the He 215, congrats guys on 2 superb builds ! Anthony, don't forget to drop a pic or two in the Campaign Gallery HERE to keep Graham's Schwalbe company while the rest of us catch up.
With a bit of good management and a lot of luck I might even get a start on the interior of my 110 later today.
Cheers, D
Hi all,
Howdo I add pics to the gallery??
AussieReg
 Associate Editor
#007
Victoria, Australia
Joined: June 09, 2009
KitMaker: 8,156 posts
AeroScale: 3,756 posts
Posted: Thursday, April 28, 2011 - 04:04 PM UTC
Hi Anthony. Click on the link to get to the gallery, then you will need to make sure that you are logged in again (top right corner). Once you are logged in click the "upload photos" link (top right corner again) and this will let you select the pics from your PC that you want to load.
Hope this helps.
D
ON the bench
Revell 1/24 '53 Corvette (building as '54)
Revell 1/24 BMW 507 Coupe and Cabrio
Italeri 1/48 Me262 B-1a/U1 Nightfighter
Monogram 1/24 '57 Chevy Nomad
Dragon 1/350 USS Frank Knox DD-742
South Australia, Australia
Joined: August 14, 2007
KitMaker: 5,926 posts
AeroScale: 2,201 posts
Posted: Thursday, April 28, 2011 - 04:41 PM UTC
Well, my 1/32 Dragon BF110C has ground to a halt. I have already finished building the cockpit and installing the Bf110C Interior Set from Eduard. I then started the seatbelts and was going fine until I realised that there was not enough of one of the pieces to complete the three belts.

I have email Eduard about the problem but have not received a reply as yet.
More news as it comes to hand..
You may be right, I may be crazy.
Istanbul, Turkey / Türkçe
Joined: December 16, 2004
KitMaker: 1,163 posts
AeroScale: 255 posts
Posted: Thursday, April 28, 2011 - 08:55 PM UTC
Warren, I had a similar issue with my Eduard 1/48 Bf 110D kit. One of the aerolons(or however you spell them, the things in the wing that move so that the aircraft can bank right/left) were missing although the packaging was intact.
I contacted Eduard and they responded (very politely) within a few days. Then they sent me the entire sprue for the missing part. I'm sure if it's a mistake on their part, they will take care of the situation, but it might take them some time to respond. In my case it was four days.
Proud Supporter of Armorama Campaigns
South Australia, Australia
Joined: August 14, 2007
KitMaker: 5,926 posts
AeroScale: 2,201 posts
Posted: Thursday, April 28, 2011 - 09:04 PM UTC
Thanks Emre..
But one wonders about how a company like Eduard could design a sheet of PE without the correct number of parts for the kit, 5 instead of 8???
You may be right, I may be crazy.
Slovakia
Joined: October 15, 2010
KitMaker: 825 posts
AeroScale: 476 posts
Posted: Saturday, April 30, 2011 - 07:20 AM UTC
Lisboa, Portugal
Joined: August 27, 2010
KitMaker: 679 posts
AeroScale: 669 posts
Posted: Saturday, April 30, 2011 - 07:57 AM UTC
Well, this is an unusual luftwaffe night camo scheme!
Very attractive, as are all experimental camouflages.
By the way Naseby, I encourage you to get "handy" with vallejo paints, even in fine spraying. You're quite right to say they tend to dry fast, thus clothing the tip of the airbrush, but try to dilute with tap water in 1-6 ratio(or even 8 ) in darker shades with low air pressure, and proper fine lines will flow evenly. I'm sure you will be pleased with the results.
Keep this Dornier build posted, can't wait to see the end stuff

South Australia, Australia
Joined: August 14, 2007
KitMaker: 5,926 posts
AeroScale: 2,201 posts
Posted: Saturday, April 30, 2011 - 08:34 AM UTC
Hi Naseby.
Your Dornier is looking great so far!
You may be correct about the middle seat, but even without the belts there there still aren't enough for belts for the two other seats...
Cheers
Warren
You may be right, I may be crazy.
European Union
Joined: August 09, 2009
KitMaker: 1,732 posts
AeroScale: 1,336 posts
Posted: Saturday, April 30, 2011 - 09:13 AM UTC
@Lawrence
Awesome painting you did on your dragon killer!

I'm really impressed by your skills with the good old brush! But why is there no camo on the canopy?
@Naseby
You have also done some fine and unusual camo on your Do 217! I remember your problems with the kit when I built my ship sinker earlier this year, also a Do 217 but in 1/48.
@Warren
As far as I remeber the 3. seat in a Me 110 was only used in the G-4 nightfighter for the navigator. Someone had to look at the radar monitors ....
My Me 410 is 99% finished. Today I painted the final satin coating on it. It has to dry now for 2-3 days before I can paint the last few things like guns and position lights. Last thing will be removing the canopy mask. Pics follow soon .....
Happy modelling!
Torsten

My campaigns for 2020:
MiGs - Done !
The Big Three - Done !
65 years Bundeswehr - Done !
40 years Leopard 2 - Done !
Land Lease - Done !

#501
Kerala, India / भारत
Joined: August 25, 2009
KitMaker: 292 posts
AeroScale: 194 posts
Posted: Sunday, May 01, 2011 - 09:05 AM UTC

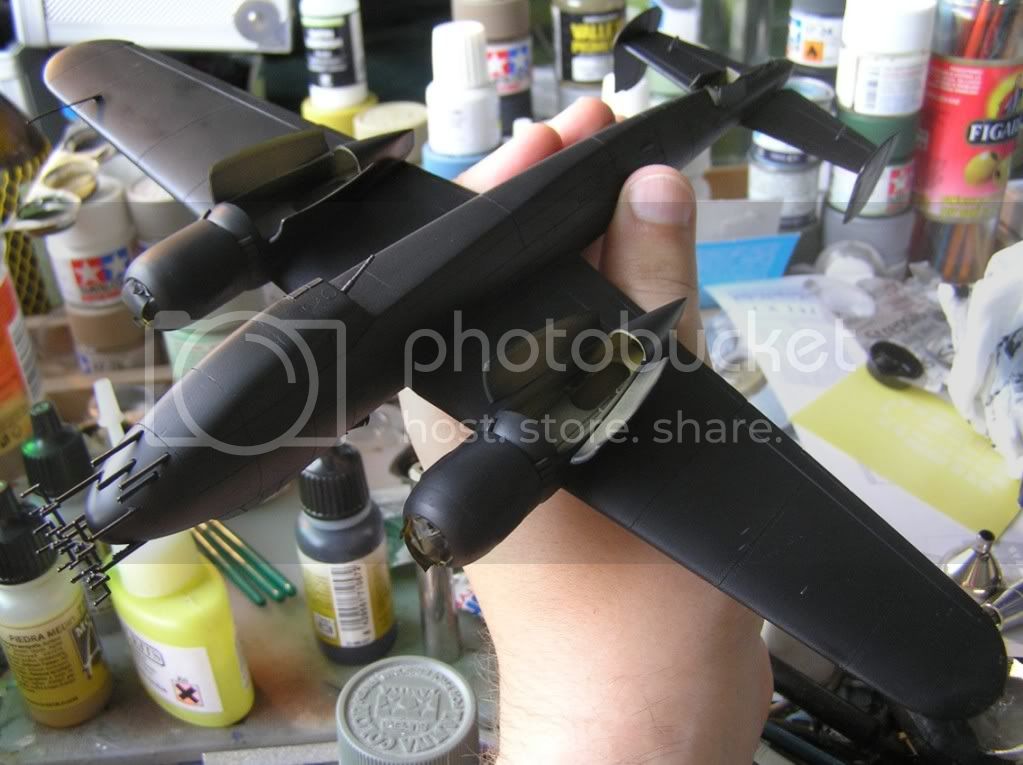
What she looks like right now. Still need to do a bit of touching up and add the aerials. Hopefully should be ready in a day or two

Ontario, Canada
Joined: January 24, 2011
KitMaker: 470 posts
AeroScale: 99 posts
Posted: Monday, May 02, 2011 - 05:42 PM UTC
Awesome to see the Matchbox 110 alive again. I did two of them (badly) as a kid. Fond memories of that kit.
South Australia, Australia
Joined: August 14, 2007
KitMaker: 5,926 posts
AeroScale: 2,201 posts
Posted: Monday, May 02, 2011 - 07:28 PM UTC
@ lawlzw, that is a great camo scheme you did there.
Still no word from Eduard... I am thinking of just using the kit belts for this one and save these belts for the inevitable Bf-110G when it is released.
You may be right, I may be crazy.
Singapore / 新加坡
Joined: April 05, 2009
KitMaker: 120 posts
AeroScale: 26 posts
Posted: Monday, May 02, 2011 - 11:38 PM UTC
@Torsten: my bad! I thought the canopy frame was without camo lol... went back and did some touch up on that... will post pics again when I have some more progress!

South Australia, Australia
Joined: August 14, 2007
KitMaker: 5,926 posts
AeroScale: 2,201 posts
Posted: Tuesday, May 03, 2011 - 03:32 PM UTC
Well I have made a decision and will leave the belts off the centre seat, and to diguise the lack of buckles for the shoulder harness I will shorten it enough so you wouldn't have been able to see the buckles anyway.
So the zerstorer is go again. Progress pics later.
You may be right, I may be crazy.


 and with your old Matchbox kit.
 I hope to finish by next weekend ,,,,, Pics follow then.






 I'm really impressed by your skills with the good old brush! But why is there no camo on the canopy?


