Quoted Text
Jessie, we're all looking forward to see what magic you work on those kits-- after the trouble you've had lately with your last few, these will be fantastic!
Don't be so quick to hope. Remember, one of them is a Roden kit

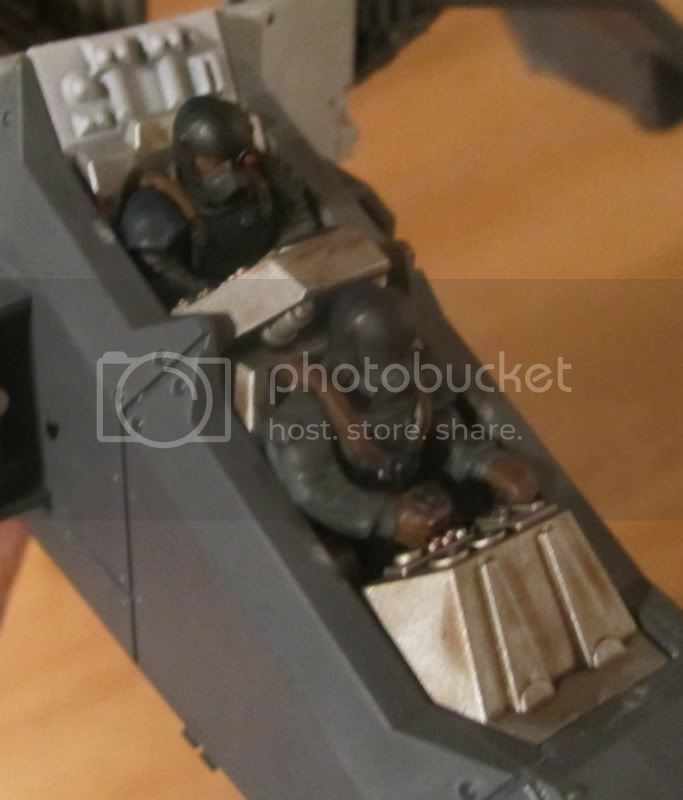
Speaking of things Roden, I did the interior painting on the Traveller. My story is that it was an Executive airplane before it was requisitioned for the war effort. Probably donated by the CEO of Molson's, and thus it had the deluxe civvy interior rather than the military one. Hey, it's my airplane and I can paint it the way I like it. The upper sidewalls and headliner got a couple coats of Tamiya Deck Tan, while the lower sidewalls and seats got a nice Burgandy red leather covering. The floors and bulkheads got a coat of Tamiya Buff.
I had a problem with the door, and I note that Jean Luc must have had the same one in
his kit; there's a huge ejector pin mark smack in the middle of the pocket on the door. I did much the same as Jean Luc must have done; I cut out a foil pouch and superglued it on the door. I cut the top wider than the bottom, superglued the 3 edges leaving the top sagging open, then carefully crushed the top in, leaving some nice realistic wrinkles in the pouch. Perhaps it needs another one beside the right front seat, maybe with some maps sticking out?
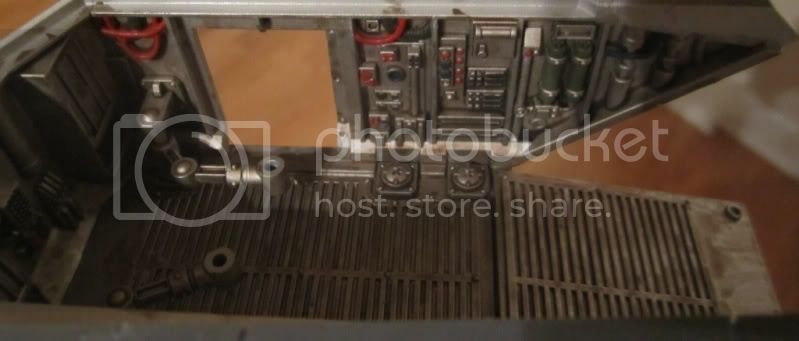
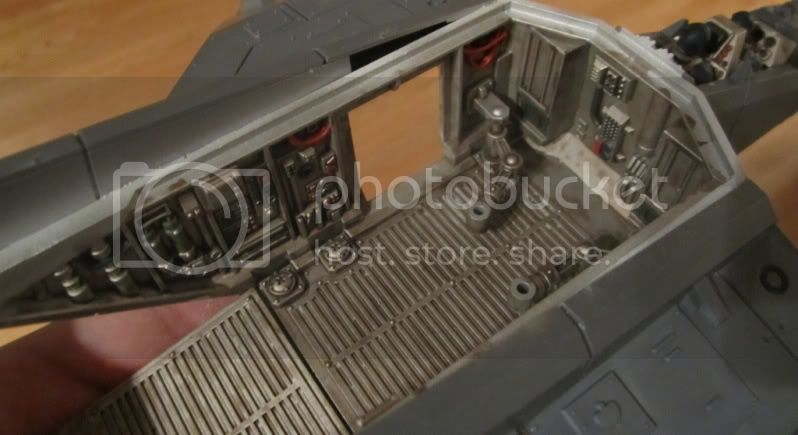
I wasn't happy with having a totally flat, blank instrument panel so I built some basic 3D effects. I traced the raised portion onto a piece of paper, cut it out and glued it to a piece of .10" card stock. Then I drew the locations of the instruments I wanted and punched them out. I glued a section of .30 X .60 strip in the centre of the panel to hold the throttle, mixture and propeller levers. Once everything is painted, I'll aply some Mike Grant instrument faces and placard decals to liven it up. Then some basic seatbelts and I'll be able to close up the fuselage.