Air Campaigns
Want to start or join a group build? This is where to start.
OFFICIAL: Small is Beautiful Campaign
ludwig113
_VISITCOMMUNITY
England - South East, United Kingdom
Joined: February 05, 2008
KitMaker: 1,381 posts
AeroScale: 1,110 posts
Posted: Tuesday, March 20, 2012 - 02:23 AM UTC
thats really nice jessie and to everyone else, great builds.
mine are coming along, the decals arn't very flexable so i'm having to be very careful with them...


paul
JClapp
#259
_VISITCOMMUNITY
Massachusetts, United States
Joined: October 23, 2011
KitMaker: 2,265 posts
AeroScale: 1,715 posts
Posted: Tuesday, March 20, 2012 - 06:23 PM UTC
OK, back on track. was not able to locate miliput, so fabricated new engines from some tubing. I think this is actually an improvement over the kit parts.
JClapp
#259
_VISITCOMMUNITY
Massachusetts, United States
Joined: October 23, 2011
KitMaker: 2,265 posts
AeroScale: 1,715 posts
Posted: Tuesday, March 20, 2012 - 07:34 PM UTC
and a coat of primer. pretty good. the wing root and engine nacelle fairings are almost perfect.

usethermite
_VISITCOMMUNITY
Washington, United States
Joined: February 14, 2012
KitMaker: 252 posts
AeroScale: 209 posts
Posted: Thursday, March 22, 2012 - 02:27 PM UTC

I sure hope this works. Never, ever used a digital camera or uploaded a photo. If nothing appears, just imaged a Cyber-Hobby Vulcan B.2. Ok, here it goes!
usethermite
_VISITCOMMUNITY
Washington, United States
Joined: February 14, 2012
KitMaker: 252 posts
AeroScale: 209 posts
Posted: Thursday, March 22, 2012 - 02:33 PM UTC
Well-- it kinda worked. Now, how do get the image to appear with the post and not as a link? I tried highlighting the img on the reply site but the dang thing wouldn't do it. Any help? I guess half a loaf is better than none. Long "sigh".
jt
AussieReg
Staff MemberAssociate Editor
AUTOMODELER
#007
_VISITCOMMUNITY
Victoria, Australia
Joined: June 09, 2009
KitMaker: 8,156 posts
AeroScale: 3,756 posts
Posted: Thursday, March 22, 2012 - 02:46 PM UTC
JT you almost got there mate ! You just copied the wrong link. When you click on your pic in the gallery there's a link below it with a little brown "button" to the right. Click on the button and another link will appear beneath it. Copy and paste that bottom link into your post here and . . .


usethermite
_VISITCOMMUNITY
Washington, United States
Joined: February 14, 2012
KitMaker: 252 posts
AeroScale: 209 posts
Posted: Thursday, March 22, 2012 - 03:04 PM UTC
Thanks, Damian. I swear, between you and the magical Jessie C, I get there yet. I owe you a pint! Now, where is the glue?
Thanks, again. JT
Tomcat31
#042
_VISITCOMMUNITY
England - North East, United Kingdom
Joined: November 18, 2006
KitMaker: 2,828 posts
AeroScale: 1,720 posts
Posted: Thursday, March 22, 2012 - 07:42 PM UTC
You were even closer than you thought it looks like you clicked the {img} tag but instead of pasting the link to the image between the tags you pasted it after.

Your post looked like this

{img}http://put.url.here/image.file{/img} http://gallery.kitmaker.net/data/500/IMG_000313.jpg

When it should have looked like this

{img}http://gallery.kitmaker.net/data/500/IMG_000313.jpg{/img}

i've used { instead of [ so the tags show up and I've fixed the post for you
V2Phantom
_VISITCOMMUNITY
United States
Joined: December 26, 2008
KitMaker: 288 posts
AeroScale: 195 posts
Posted: Saturday, March 24, 2012 - 03:16 AM UTC
There are some really great (make that a LOT of great) 1/144 models in this thread. This has been a gold mine for me to make some notes on what kits to pick up and how to build them. Thanks!

Continueing my slow build saga on the F-15J, I am still working on applying the many different paint coats on the exterior. While that is still underway, here's a few photos of the modified bang seat for this build. You might remember that the kit has a solid cockpit area and I have converted a 1/144 seat from a resin upgrade kit for the F-18. It is not close in accuracy but it does look a lot better to the eye than a smooth area where the cockpit should be!


Have fun modeling!
Mike
Frigate
_VISITCOMMUNITY
West Virginia, United States
Joined: April 22, 2006
KitMaker: 500 posts
AeroScale: 243 posts
Posted: Saturday, March 24, 2012 - 10:04 AM UTC
Folks,
We definitely have some very nice builds going on here. I've finally started to catch up on my backlog, so I thought I would give all a clue of my entry. Providing I don't blow it on the build,I'm in with a Revell AH-64D converted to the Israeli AH-64D "Saraf". Not a major conversion, but to me it is an interesting version and a different color scheme. Sooooo....below is the layout shot just taken. You can see I've started to convert the stub wings with the added flare ejectors. This should be an interesting build.
Enjoy,Gang ................Bruce


Tomcat31
#042
_VISITCOMMUNITY
England - North East, United Kingdom
Joined: November 18, 2006
KitMaker: 2,828 posts
AeroScale: 1,720 posts
Posted: Sunday, March 25, 2012 - 07:03 AM UTC
I'm In with this kit


I don't normally build F-18's as I'm not keen on them but as my favourite Navy Squadron (VFA-31 Tomcatters) has transitioned to them from the Tomcat and they decked the CAG's bird out for the Squadrons 75th Anniversary I just had to get this kit when I saw it.

I might be crazy or it's this flu that I've got, but i'm going to make some modifications to this build so I'll start a separate Blog for the build.
JClapp
#259
_VISITCOMMUNITY
Massachusetts, United States
Joined: October 23, 2011
KitMaker: 2,265 posts
AeroScale: 1,715 posts
Posted: Saturday, March 31, 2012 - 08:20 AM UTC
Filling and fairing done. Finish painting now, overall gloss white.


GaryKato
_VISITCOMMUNITY
California, United States
Joined: December 06, 2004
KitMaker: 3,694 posts
AeroScale: 163 posts
Posted: Saturday, March 31, 2012 - 02:01 PM UTC
No pics but I finally am starting on the Sukhoi-22. Cockpit and gear/wheel well today. Hope I can get it done before mid-April.
mtnflyer
_VISITCOMMUNITY
Alberta, Canada
Joined: March 08, 2009
KitMaker: 394 posts
AeroScale: 360 posts
Posted: Saturday, March 31, 2012 - 02:33 PM UTC
Jonathon. Well done on the HS748. Looks very clean.
ludwig113
_VISITCOMMUNITY
England - South East, United Kingdom
Joined: February 05, 2008
KitMaker: 1,381 posts
AeroScale: 1,110 posts
Posted: Sunday, April 01, 2012 - 12:56 AM UTC
hi all,

great builds...
having this one scale build has really brought out some great subjects.
we have military,civil and rotary that cover a period of 70 odd years.

keep going everyone

paul
JClapp
#259
_VISITCOMMUNITY
Massachusetts, United States
Joined: October 23, 2011
KitMaker: 2,265 posts
AeroScale: 1,715 posts
Posted: Thursday, April 05, 2012 - 09:05 AM UTC
Guy, thanks for the kind words. This model is going extremely well.

In fact, Im so pleased with it, I ordered a couple more kits from Welsh. I'm a vacuform building fool now.
when I signed up for this campaign I intended to build a Ozmods/Airfix 727, which I still intend to do, but now this Dornier 228 has jumped to the the top of the pile.

V2Phantom
_VISITCOMMUNITY
United States
Joined: December 26, 2008
KitMaker: 288 posts
AeroScale: 195 posts
Posted: Sunday, April 08, 2012 - 06:27 AM UTC
I have now finished most (all?) of the exterior painting on my F-15J. It has been drying on my shelf for almost two weeks. Here is how it looks so far:


Next step is the decaling!


Have fun modeling!
Mike
JClapp
#259
_VISITCOMMUNITY
Massachusetts, United States
Joined: October 23, 2011
KitMaker: 2,265 posts
AeroScale: 1,715 posts
Posted: Monday, April 09, 2012 - 09:52 AM UTC
not the best masking job on the blue, but the silver nacelles and the red stripe came out ok.


Next to print some windows, flags, and the tail decals.
some reference photos
JClapp
#259
_VISITCOMMUNITY
Massachusetts, United States
Joined: October 23, 2011
KitMaker: 2,265 posts
AeroScale: 1,715 posts
Posted: Sunday, April 15, 2012 - 04:40 AM UTC
The color laserjet is down, so I havent been able to print decals. hopefully that will be ready on Monday.
Meantime, I got a new set of metal props from Welsh Models and painted them the right way this time.
mbittner
_VISITCOMMUNITY
Nebraska, United States
Joined: June 07, 2005
KitMaker: 191 posts
AeroScale: 171 posts
Posted: Saturday, April 28, 2012 - 12:33 AM UTC
Wow, I have completely forgotten about this Campaign - sorry about that folks.

Here's where the FT-6 is at. After I sand the seam around the intake, then I'll glue the stabs and canopy on. Then it's time for painting? I'll have to take a close look to see if there's anything I missed.


spaarndammer
_VISITCOMMUNITY
Noord-Holland, Netherlands
Joined: January 28, 2007
KitMaker: 1,945 posts
AeroScale: 388 posts
Posted: Monday, April 30, 2012 - 05:43 AM UTC
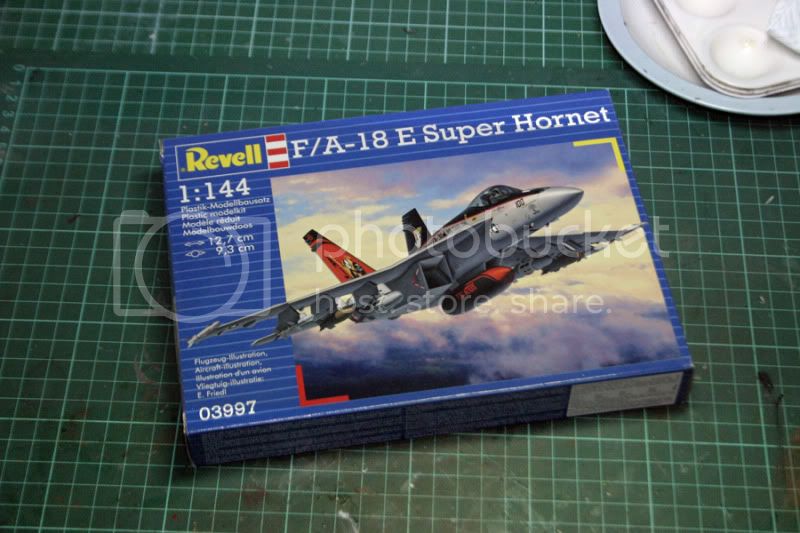
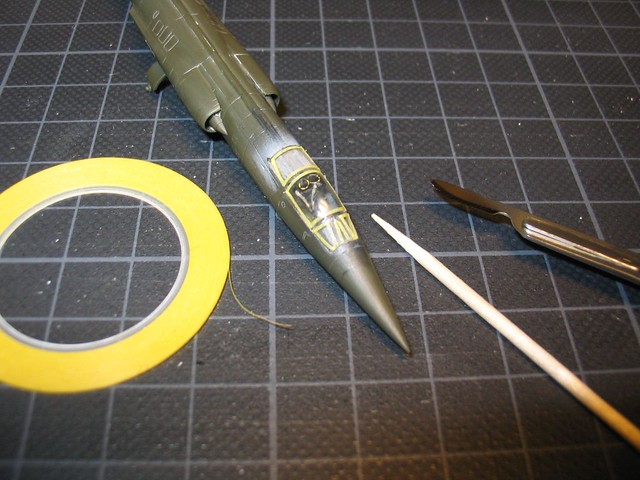
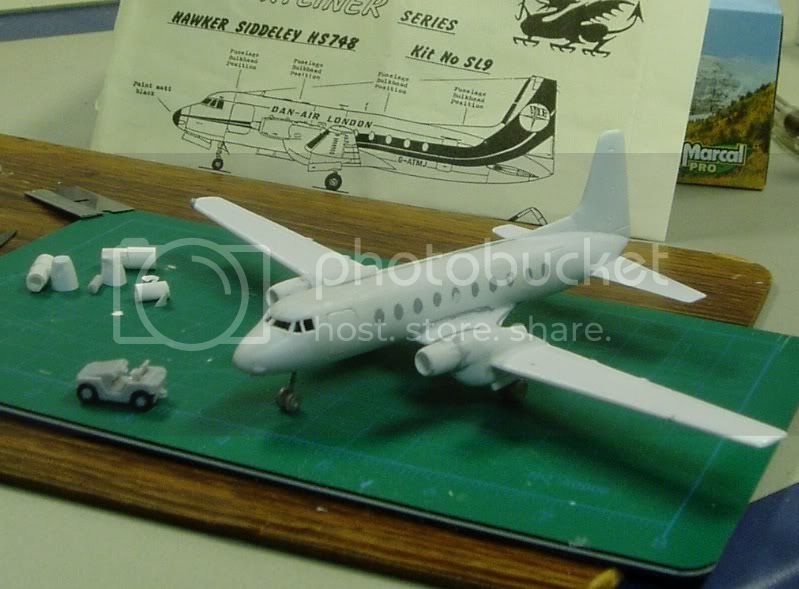
Seeing all these fine build, it is about time that I post some progress here.

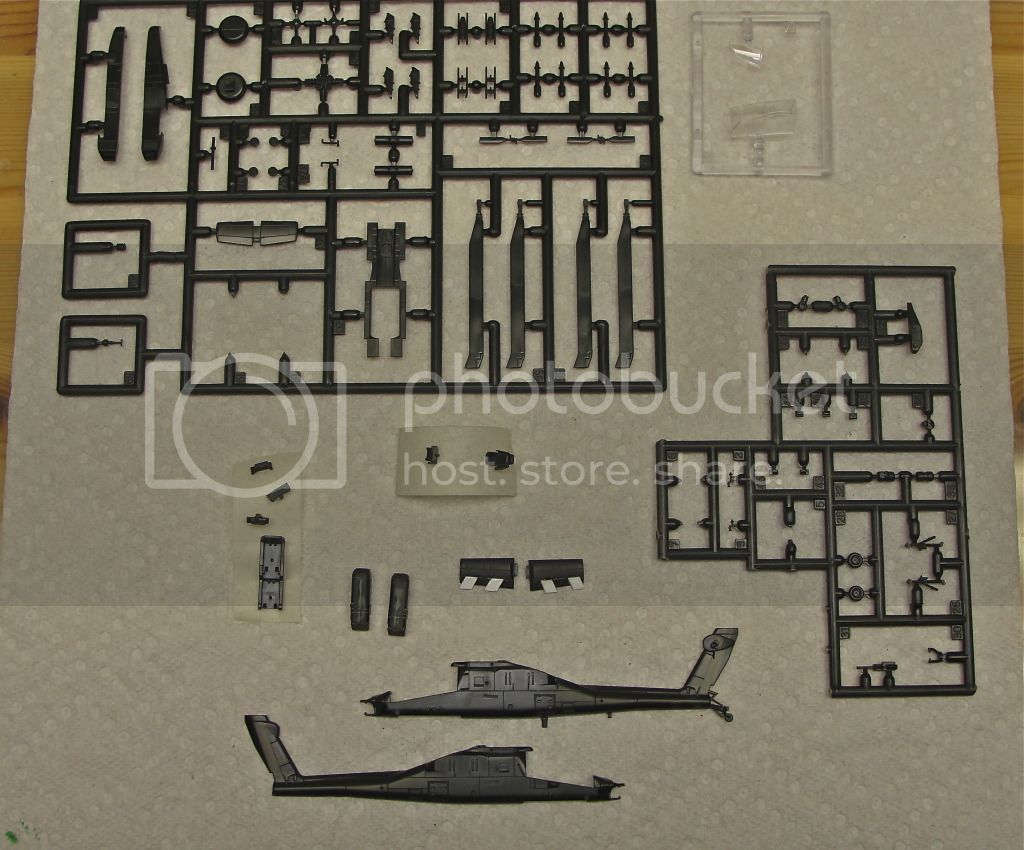
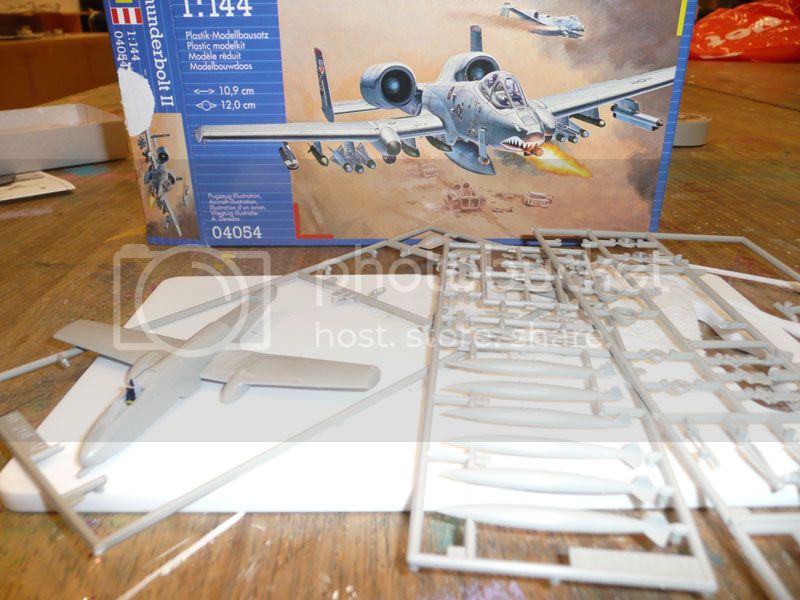
The Revell A-10 kit is a nice kit, but not surprisingly, a bit simple, especially when compared to the nice Eduard kits. The fit of the kit is fine, but the outer engine parts do not fit well. Also, the fuselage halves don't fit well at the bottom, but I am not bothered by that and leave it as it is as you hardly don't see it


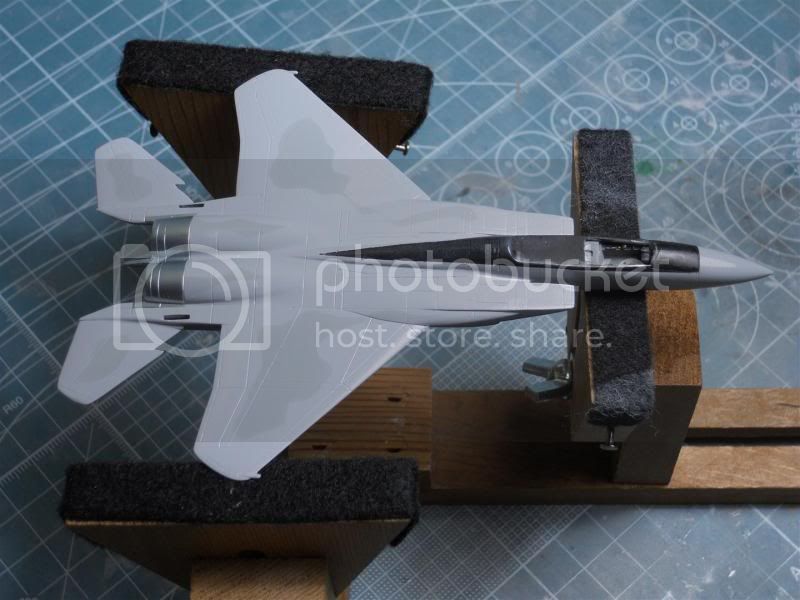
After glueing all parts together, I first gave the little beast a coat of Tamiya fine surface primer. Unfortunately, it ended up a bit rough. After drying one night, I sprayed a layer of Tamiya Sky gray on the model.


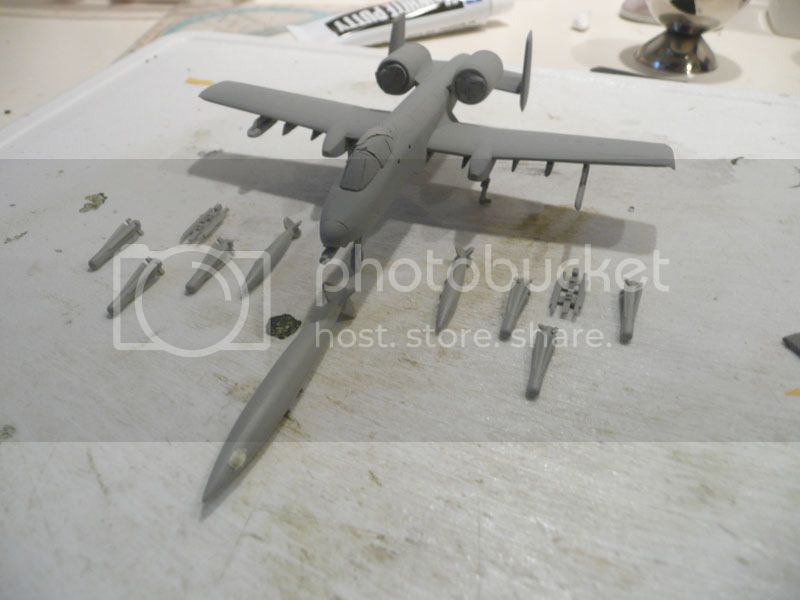
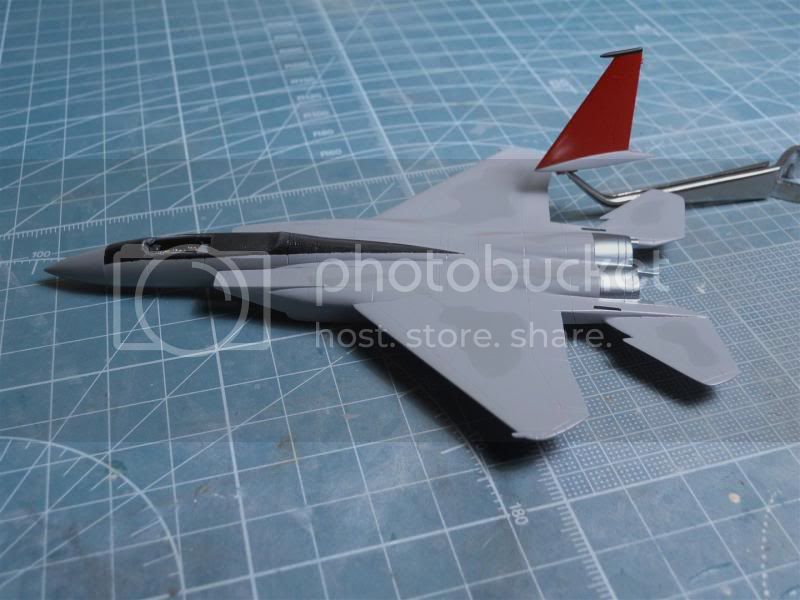
This is the stage the model is currently in. The next step will be adding a darker shade of gray on certain spots as is in real life.

The real bonus in this kit is in my opinion the large amount of ordnance that can be put on the pylons under the wings. This gives the model the look it deserves, being the flying tank on the battle field. Also a big plus in this kit is the decal sheet, containing a lot of decals covering the tiniest details, like the 'no step' signs for the wings.


Jelger
Middle_Franconian
_VISITCOMMUNITY
Bayern, Germany
Joined: January 02, 2011
KitMaker: 279 posts
AeroScale: 239 posts
Posted: Monday, April 30, 2012 - 07:21 AM UTC
Hello all ,

nice work so far! Some late update on my project (F-104 G Starfighter from Revell):

I enhanced the bang seat a little by adding some belts and ejection handles:


After that I closed the cockpit and masked the canopy:


In this scale it is not easy to avoid breathing in fiddly parts...

Regards,

Sebastian
TheDiggs
_VISITCOMMUNITY
Illinois, United States
Joined: April 25, 2008
KitMaker: 338 posts
AeroScale: 20 posts
Posted: Tuesday, May 08, 2012 - 06:07 AM UTC
Hello everyone, I found this little guy while I was traveling and couldn't resist. This is my first model fixed wing aircraft bigger than 1/700 so we'll see how 1/144 treats me.

Middle_Franconian
_VISITCOMMUNITY
Bayern, Germany
Joined: January 02, 2011
KitMaker: 279 posts
AeroScale: 239 posts
Posted: Tuesday, May 08, 2012 - 06:51 AM UTC

Quoted Text

This is my first model fixed wing aircraft bigger than 1/700 so we'll see how 1/144 treats me.


...that´s quite a big hop

Welcome aboard!
ludwig113
_VISITCOMMUNITY
England - South East, United Kingdom
Joined: February 05, 2008
KitMaker: 1,381 posts
AeroScale: 1,110 posts
Posted: Wednesday, May 09, 2012 - 03:41 AM UTC
welcome david, hope you enjoy the campaign.

paul

p.s. (to everyone) just a little reminder to post pictures in the relevant campaign folder when finished.