Greetings everyone!

Nice "little" (pun intended) campaign going here and with some really fantastic results. I last built a flying thing (Super Tomcat) for a previous Aeroscale campaign and it was always my intention to participate in this one. Unfortunately I've been delayed as I had several other campaigns to finish. With barely a little over a month left in this campaign and with a build request from an associate I felt that it was now or never.
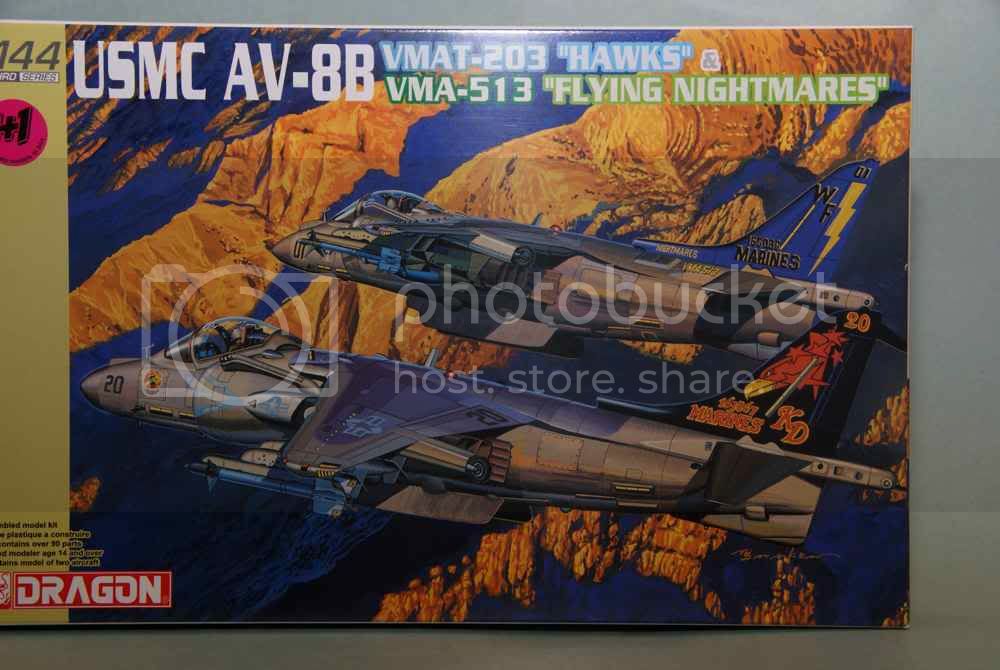
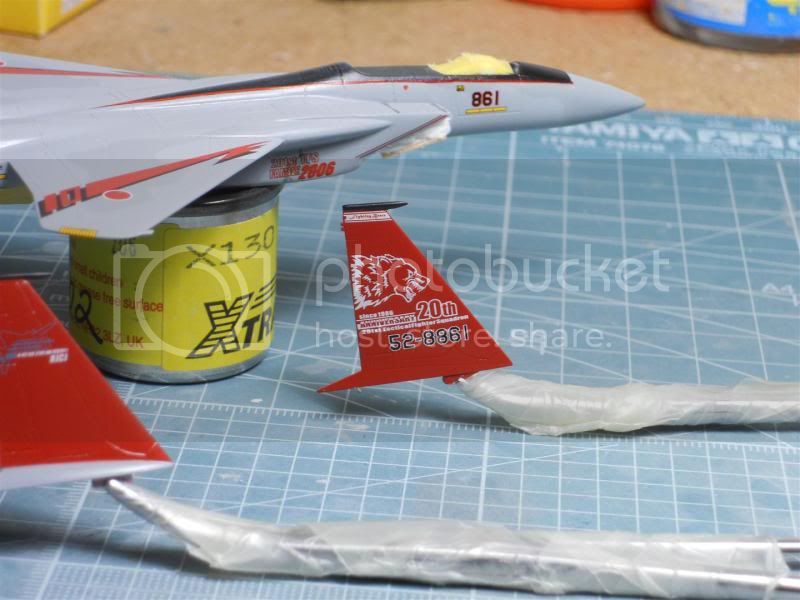
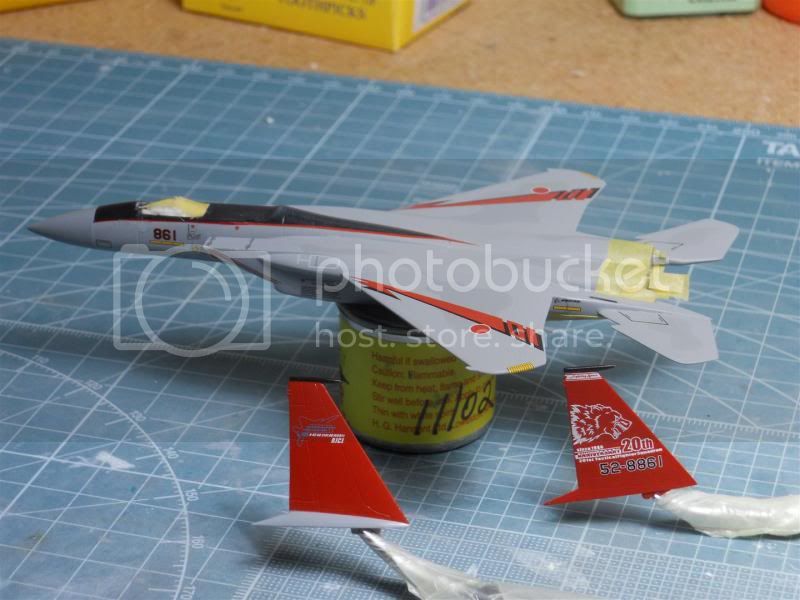
The request was to build the following.
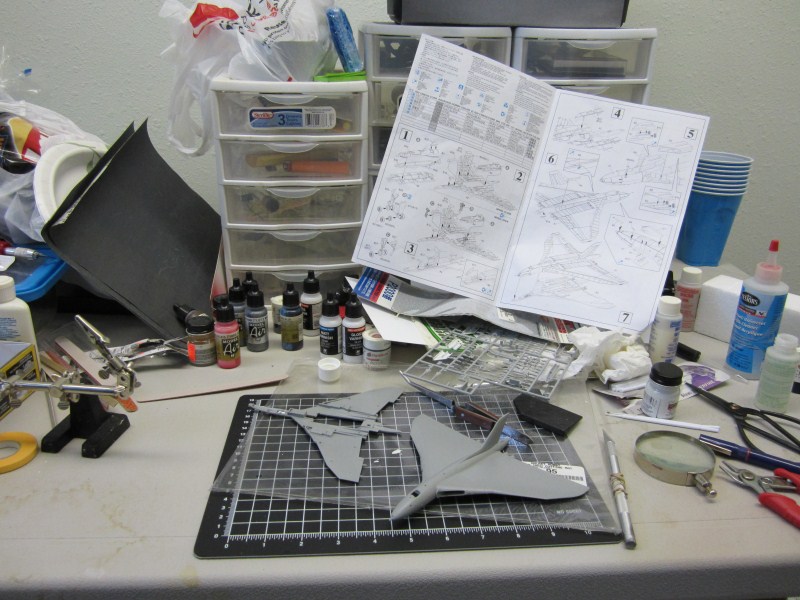
And the required shot with a time stamp.

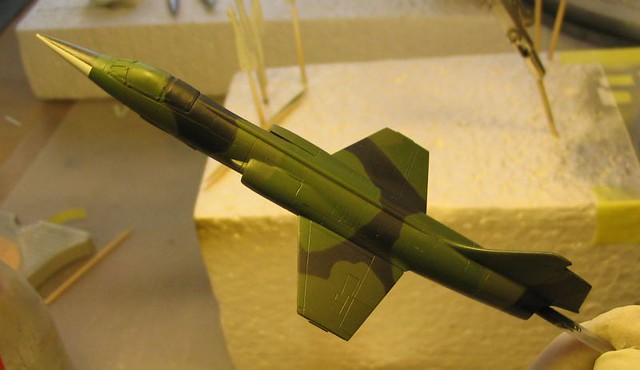
I got started on the beast on Thursday and I must say that I am not at all impressed with Dragon's efforts in this kit. The main Harrier sprues have more flash on them than I've ever seen in one of their kits. Just by looking at the parts I could already see this will take some patience.

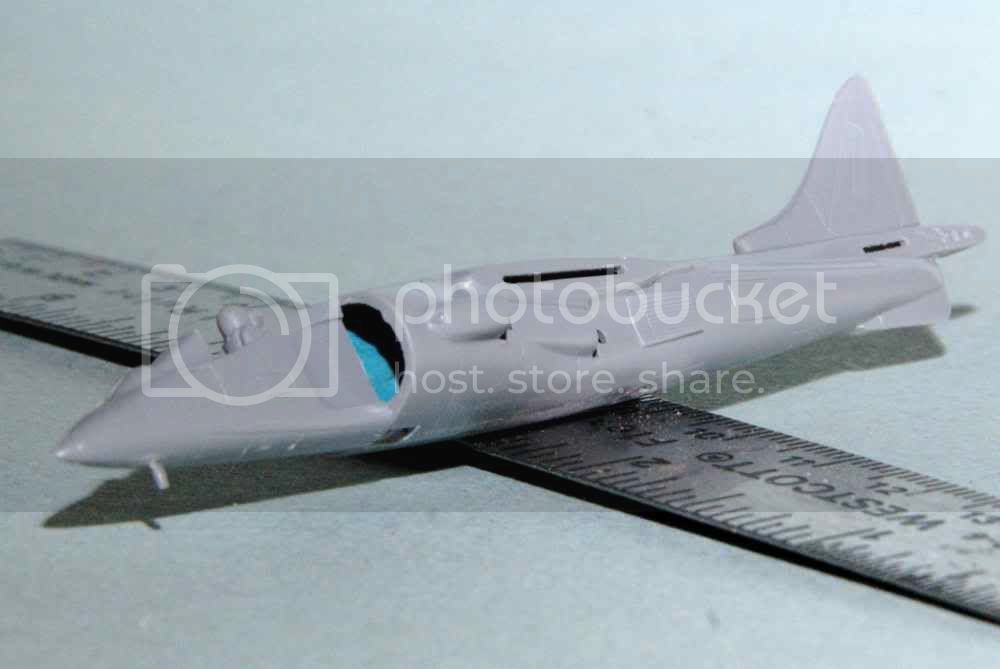
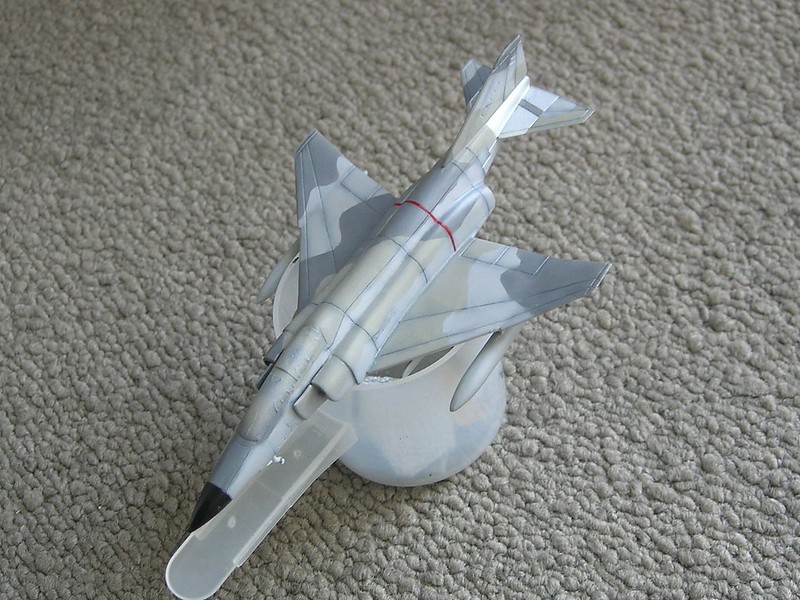
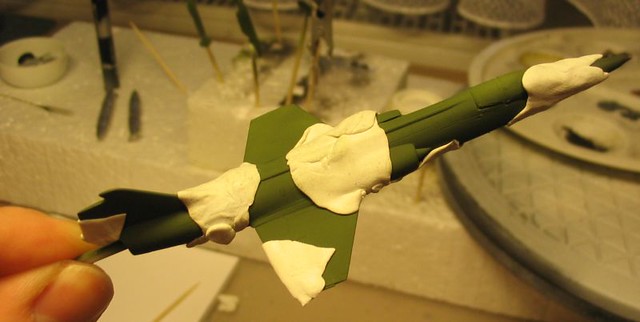
The main body halves together, the front weighted and the space alien pilot and cockpit installed. The pieces needed a lot of filing, sanding and clamps to get them to this point.

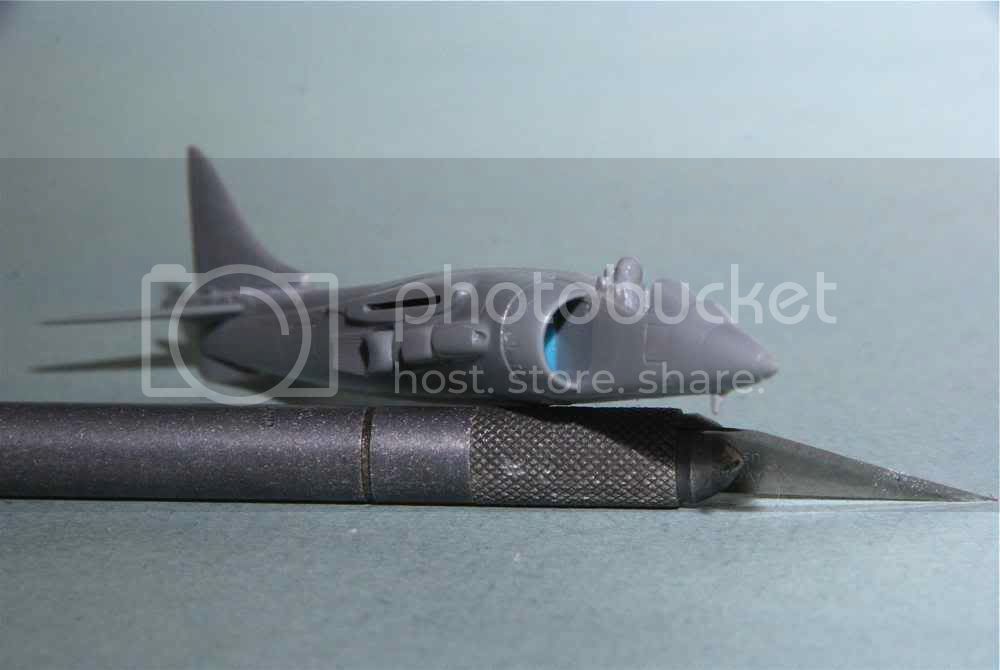
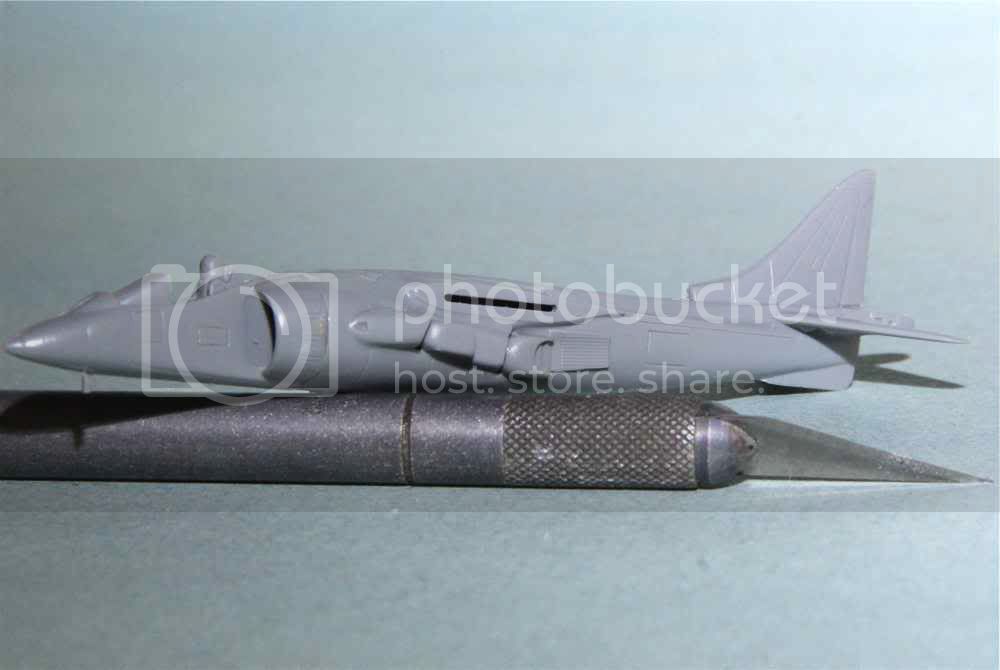
The next pictures have an Xacto with a #11 blade to show size. None of the parts added fit properly without a fair amount of trimming and then some. The holes for the forward thrusters weren't even round and one was more like a slit than a hole.

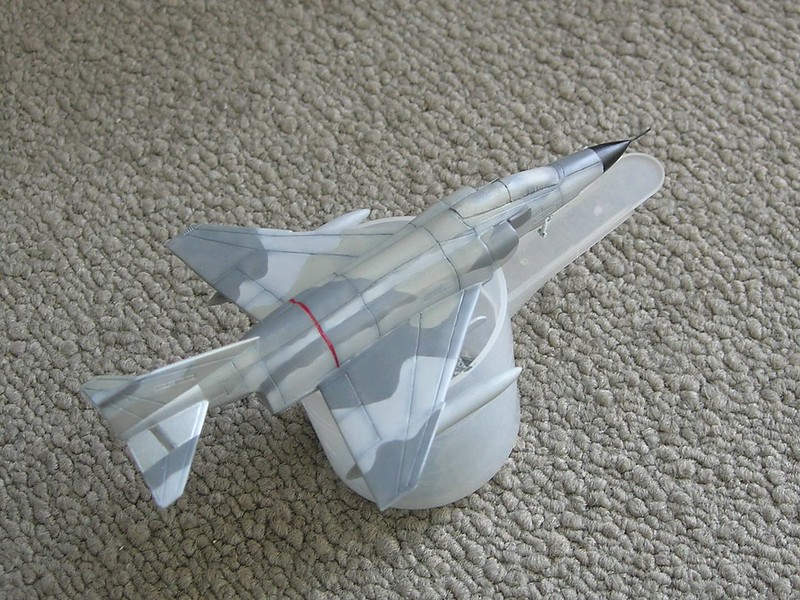
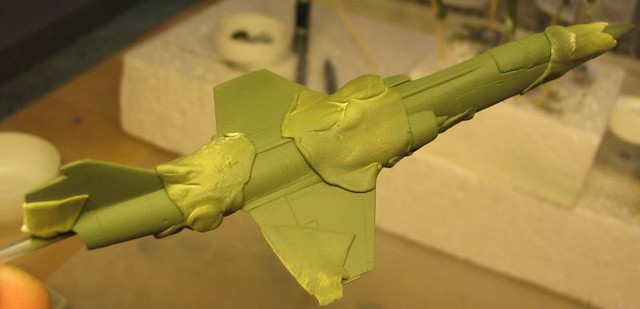
The stabilizer mounting slots were also far to small for the locating tabs.
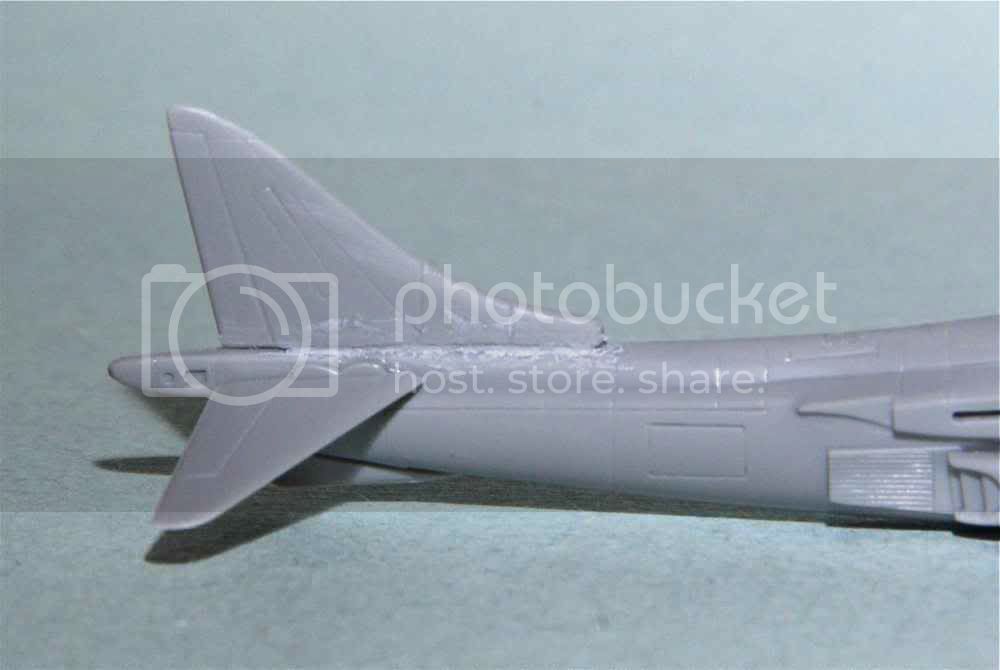
To top it all off, the tail fin has a large gap on the right side that needs further attention.
Compared to the Revell F-14D, this kit really stinks. Hope things don't get any worse.
Cheers,
Jan


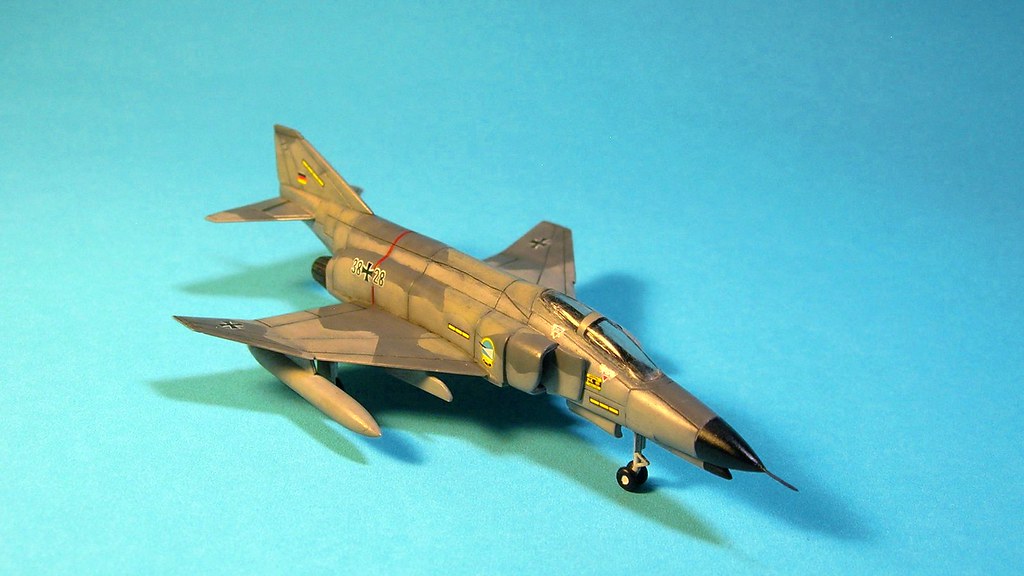


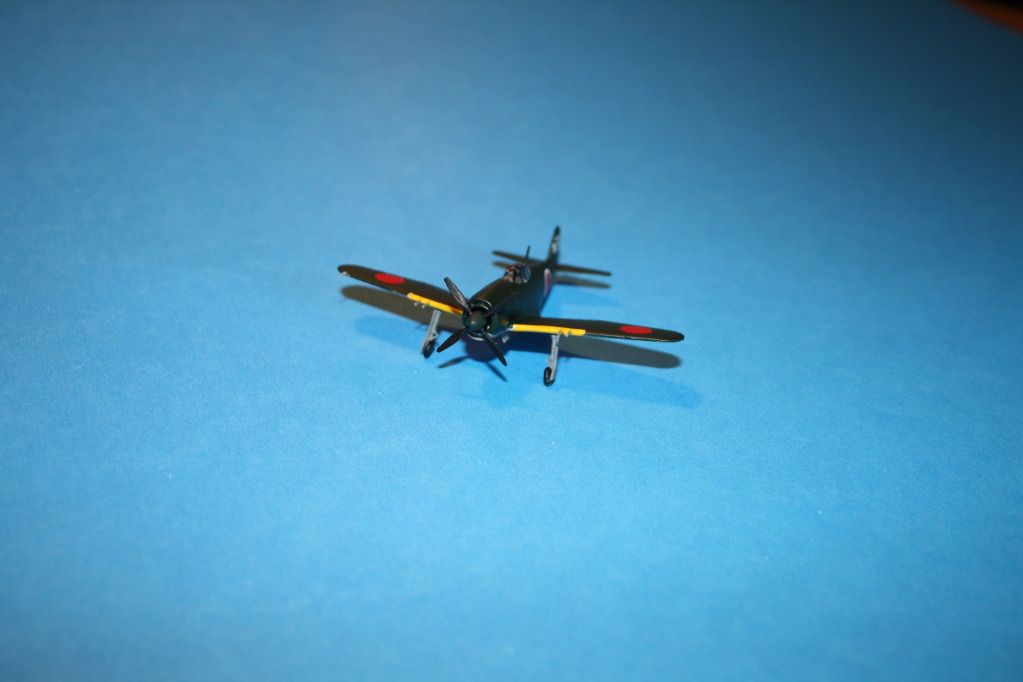
 a great paint job.